
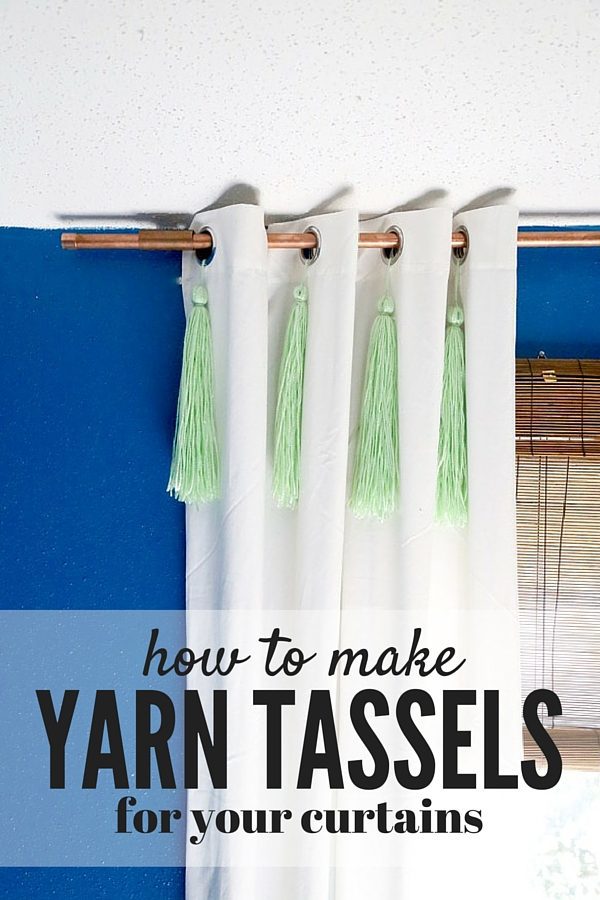
How to Make DIY Yarn Tassels
Yarn tassels are all over the place in home decor right now – they seem to be popping up on absolutely everything, and I’m not complaining. They have the perfect blend of whimsy and class and I’ve been looking for a good excuse to put a few in our house lately.
When Corey and I started talking about putting curtains in our bedroom, we struggled to decide exactly what route to go. Our bedding is very bright and colorful, so curtains with a pattern or too much color might compete with that, and since our walls are painted such an intense color it can be limiting when we’re making other design decisions. We waffled back and forth for a while, but I couldn’t get past the idea of plain, white curtains. Something about bright, clean white curtains sounded like the perfect solution for our color-saturated room…the only problem was that felt too boring! So, since I already had tassels on the brain I figured some DIY yarn tassels might be the perfect solution…and I’m pretty sure I was right!
Love the copper curtain rod? Click here for the tutorial!
I’m beyond pleased with how they turned out, and I cannot even tell you how simple it was to put them together. Are you ready for this?
How Make Yarn Tassels
Step 1:
Take a book that’s approximately the size you want your tassel to be. I went with a very large book because I wanted the tassels to be nice and big.

Step 2:
Cut a piece of yarn the length of one side of the book. Normally I’d do the spine because it’s easier, but I wanted a longer tassel so I went with the top of the book.
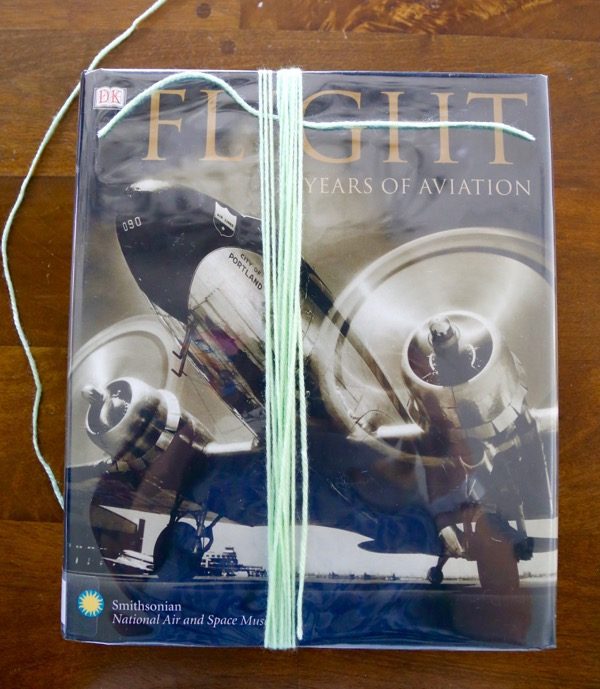
Step 3:
Start wrapping your yarn around the book. I wrapped each tassel around the book 50 times for a nice, full tassel but if you’re making smaller ones I would recommend closer to 30 or so.
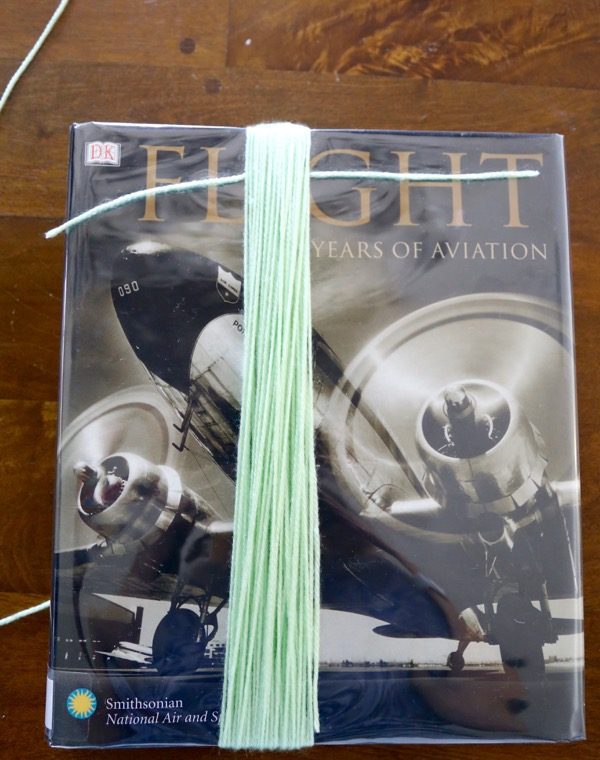
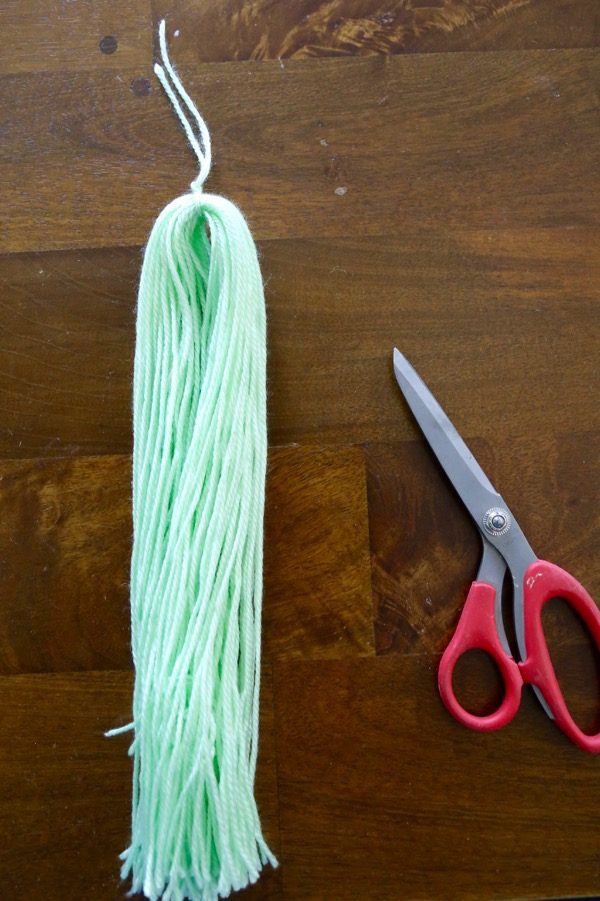
Step 4:
Tie the first piece that you cut around the top of the yarn. The tighter the better!

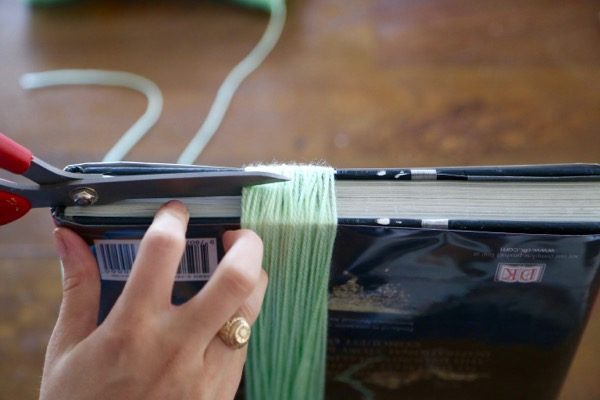
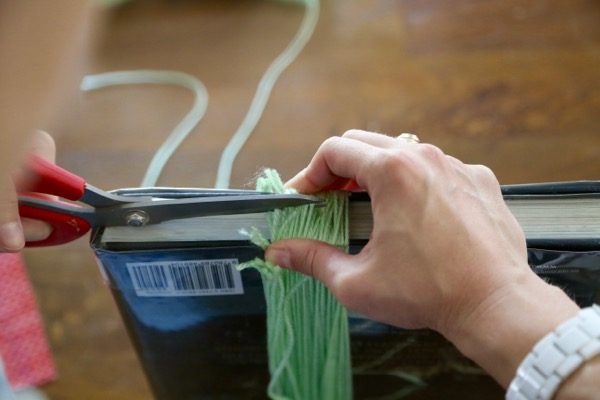
Step 5:
Cut the opposite end of the yarn off of the book. It’ll take some elbow grease!
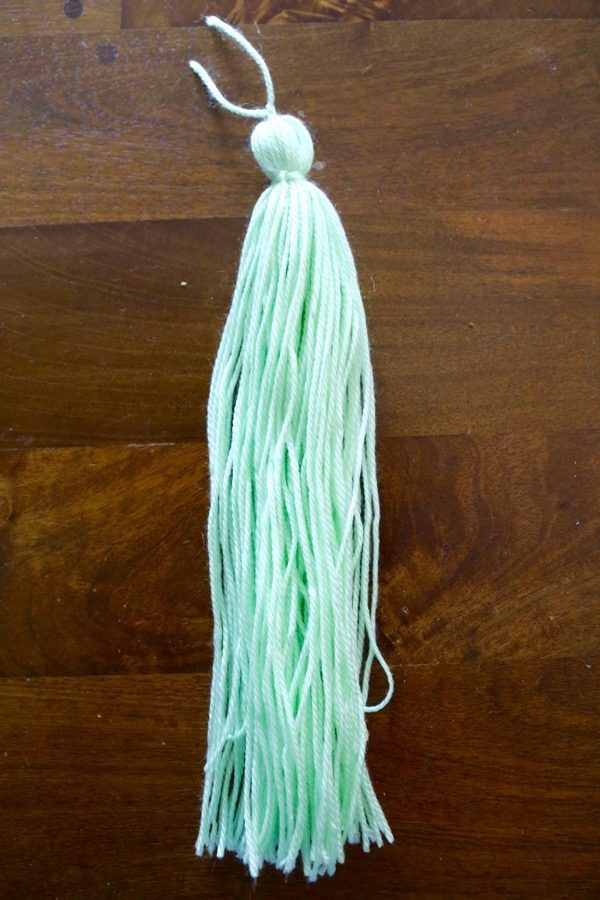
Step 6:
Take another small piece of yarn and wrap it around the top of the tassel, about one inch down. Tie it a few times, then cut off the excess. If it’s something that will get handled frequently, I’d add a small dab of hot glue to the knot to ensure it doesn’t come undone – mine will be mostly left alone, so I just tied it one extra time and called it a day.
Once my tassels were created, I just took my hot glue gun and glued them onto the back of the grommets of the curtain. I left about 2 inches in the front for them to hang down, and put a tassel on every other grommet.
It took a bit of primping to get them all to hang right, but I am so pleased with how the curtains turned out!
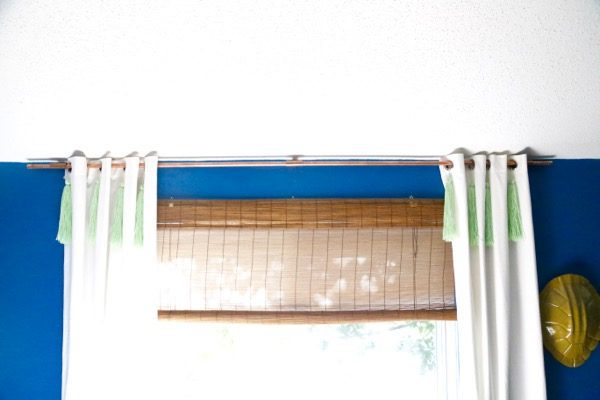
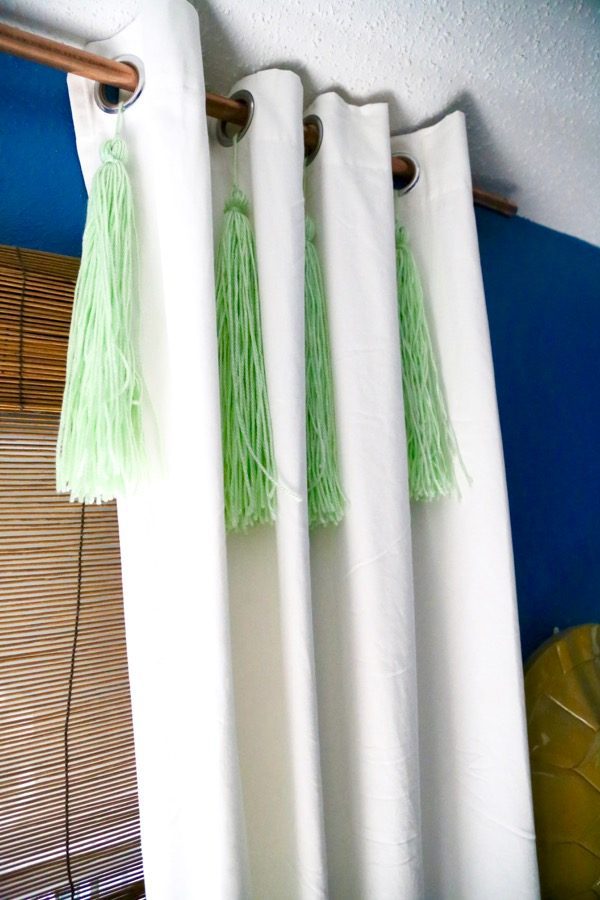

It’s a fun upgrade from plain ol’ white curtains, and it cost a whopping $4.00 for the yarn (the curtains were $30 from Ikea, so the whole project is under $40)! Plus, now that I know how to make tassels I’m kind of tempted to put them all over my house. I think every pair of curtains could probably be improved by a few tassels!
We’ve still got a (long, long) ways to go before our room is where we want it to be, but we’ve been making good progress lately! We’re toying around with the idea of tackling the flooring sometime this summer, and I’m keeping my fingers crossed that it works out.
What are your favorite types of curtains? Do you go for pattern or keep ’em plain?
After reading I had that duh moment, why haven’t I think of this. Haha still thanks for this, looks simple but great.
Omg how cute! I love the tassle craze too and these would look so cute in my living room!
Tania
Love these gorgeous tassel additions to your curtains! They add such a perfect touch of color and texture, and they don’t look too hard to make. Love those curtain rods, as well!
Thanks, Celeste! They were SO easy to make!
Such a simple solution. Great
Thanks, Frank!
Great advice and tutorial, I like the way you gave style touch to your curtains. I was thinking to buy new curtains because they don’t mach to my room interior since I bought new sofa. With this idea you solve my problem, thanks.
Thanks, Jason! Glad the post could be some inspiration!