
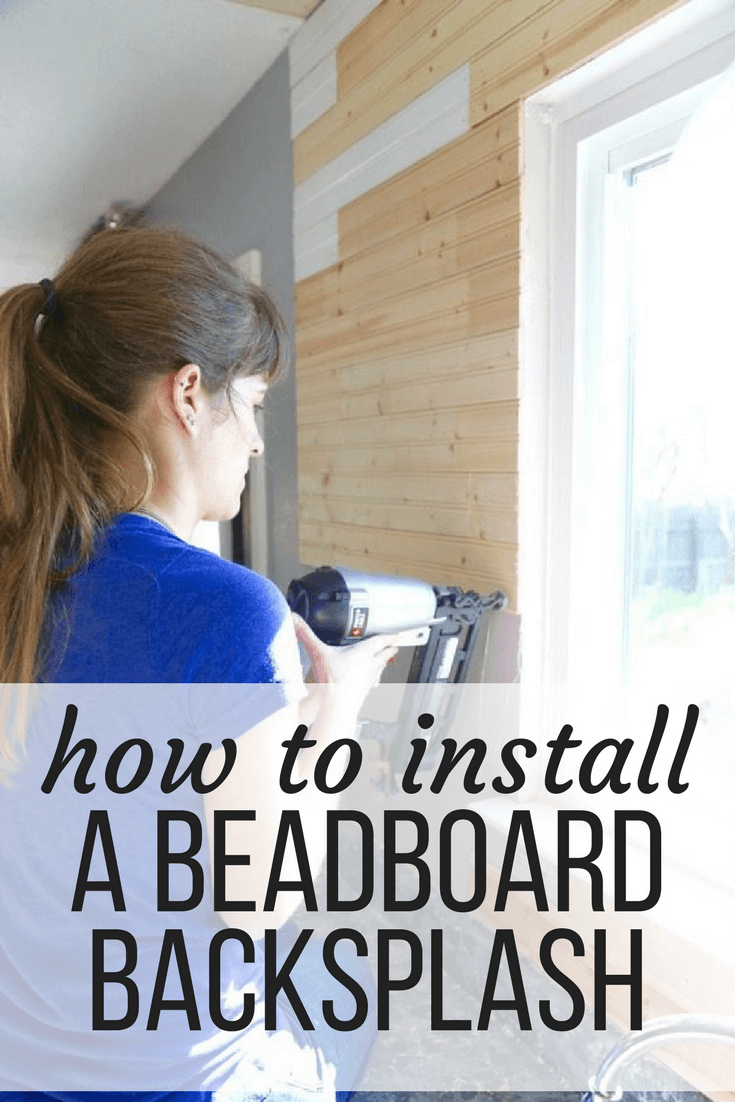
Installing a Beadboard Kitchen Backsplash
This post will show you how to install an affordable, modern, and beautiful beadboard backsplash in your kitchen or any other room of the house to totally transform your room. Installing beadboard is an affordable and gorgeous way to update your kitchen.
If I was creating my dream kitchen, it would include lots of simple white subway tiles with black grout.
Quite frankly, I could probably cover every wall in my house with white subway tile and black grout and be happy. I have a problem.
But that’s not what this post is about.
You see, in our kitchen, there are some things standing in the way of a pretty white-subway-tile-covered wall. Namely, the texture – at some point someone got the grand idea to cover the walls in the kitchen and every bathroom in our house with a strange, splotchy texture that is so ugly it confounds me than anyone would ever choose it. In order to install tile, we’d have to scrape that texture off the walls and start from scratch. And, let’s be real – I’m not doing that.
Sorry.
I love DIY, but I just don’t have the time/energy/patience/willpower. Not. Gonna. Happen.
So, since our dream of white subway tiles wasn’t going to become a reality anytime soon Corey and I decided to go a different route. When my mom offered up some beadboard that they had leftover from renovating my grandmother’s house, we jumped at the chance to install a beadboard backsplash. I had plenty of people look at me kind of funny for saying I was going to install a beadboard backsplash in my kitchen (including my husband, let’s be honest), but I knew it would look fabulous so I stuck to my guns.
And boy, am I ever so glad I did.
This post contains affiliate links for your convenience.
Y’all, this project is so affordable, so simple, and so gorgeous.
Let’s talk details.
How to Install a Beadboard Backsplash:
Materials:
- Interlocking pine beadboard planks (enough to cover whatever square footage you need)
- Trim (whatever style you like, for finishing off the edges)
- Primer
- I use this brand exclusively
- Paint roller + paintbrush
- This is my favorite paint brush
- White paint
- Caulk
- Nail gun + nails
How to Install the Beadboard Backsplash:
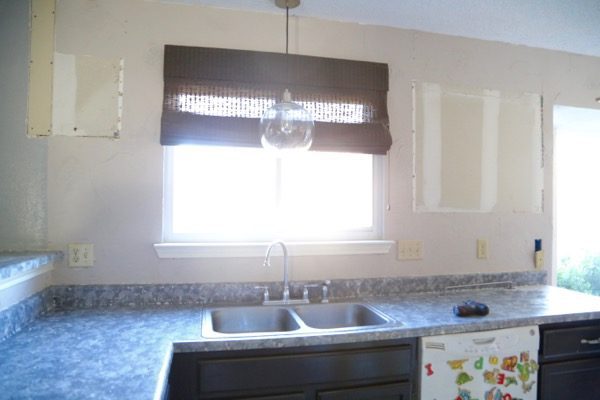
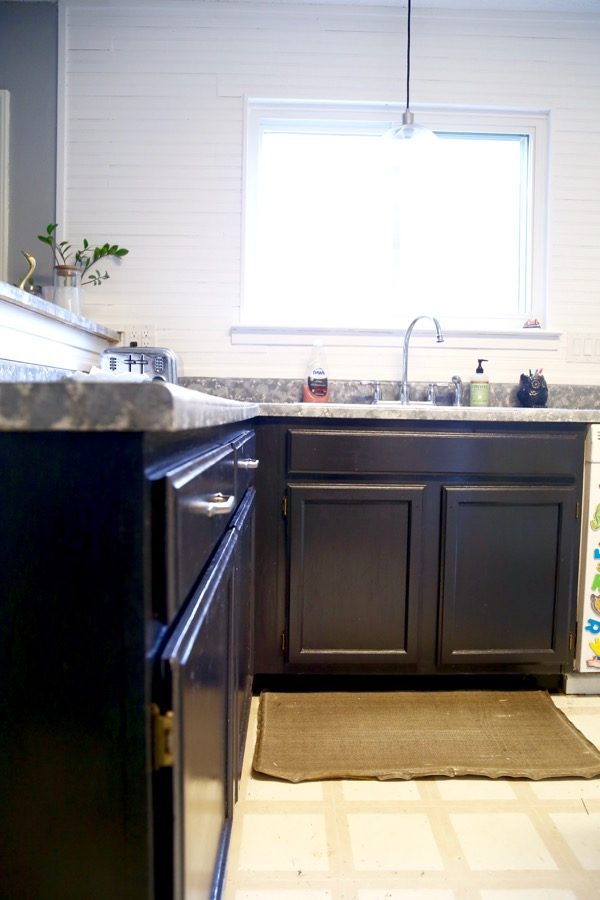
If you’re new around these parts, let me show you what that wall used to look like:
That lone little cabinet sitting on the wall all by itself has bothered me since the day we moved into the house. It made the room feel smaller, it looked strange all by itself, and I knew it had to go. When we painted the cabinets we chose to leave it alone, knowing that we would eventually get rid of it, which meant that it stuck out even more.
So, I don’t think I need to tell you that when it was time to finally take that cabinet down I was practically doing a happy dance. The room looked better pretty much the second we took it off the wall.
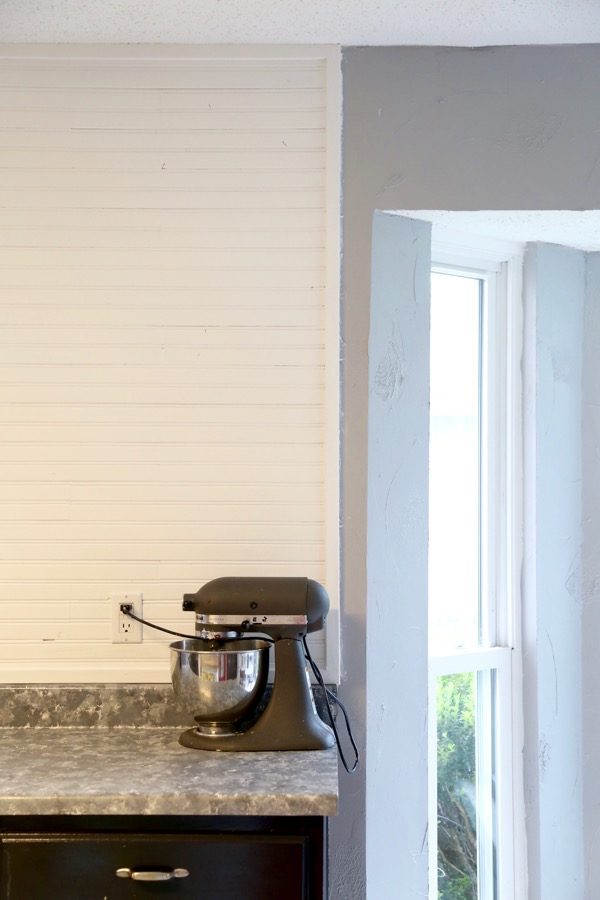
The installation of the beadboard backsplash was very straightforward – Corey started by drawing a level line across the top of the ceiling (just in case the ceiling wasn’t level which, of course, it’s not) and then we nailed in the boards across the top row.
We decided to go with a staggered look similar to how you would install flooring – the top row started with a 32″ board, then the next row started with a 16″ board, and the third row started with a 24″ board. Then, we just repeated the pattern all the way down. This keeps the seams from looking too uniform and helps your eye to skim right over them.
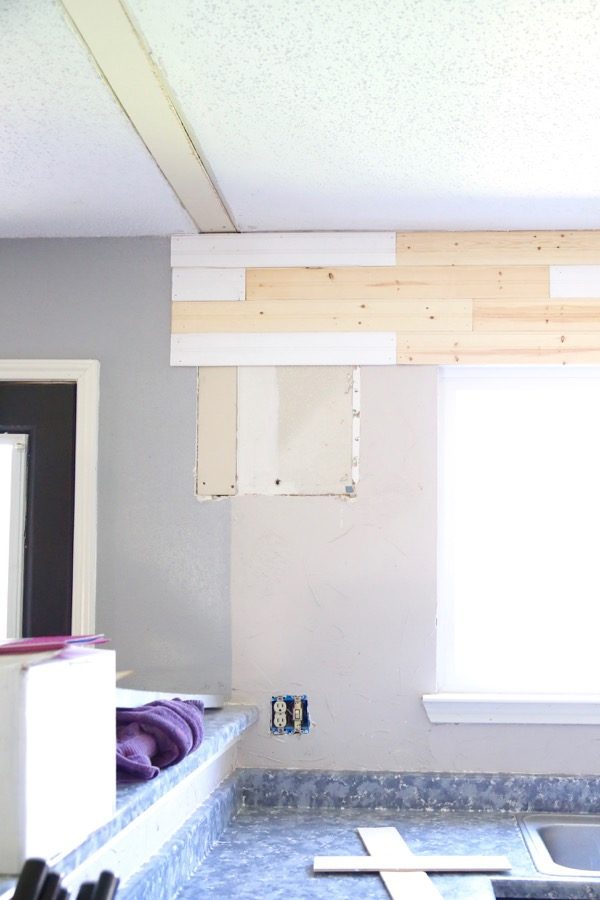
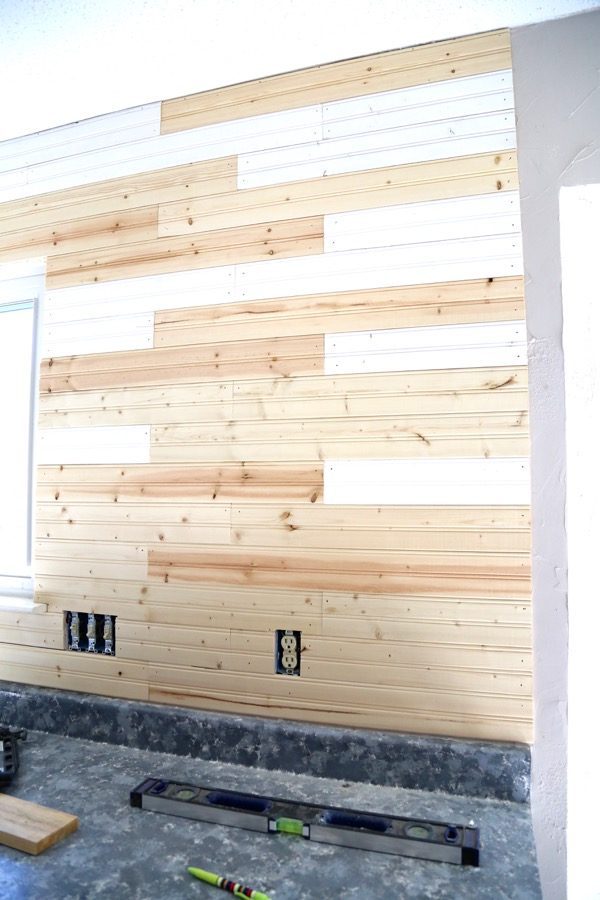
To install the boards, we just used a nail gun to nail them into place – the boards interlock as you go down (similar to wood flooring), so it’s almost like putting together a puzzle.
Once the boards were completely installed, we moved on to installing trim.
For the edges (both sides, top, and bottom) of the beadboard backsplash, we installed a simple trim piece that’s about 2″ wide. Corey cut it at a 45-degree angle on the corners so that it fits together nicely. We also replaced the trim pieces under the windowsill and the bar with something a little more simple than what was there before.
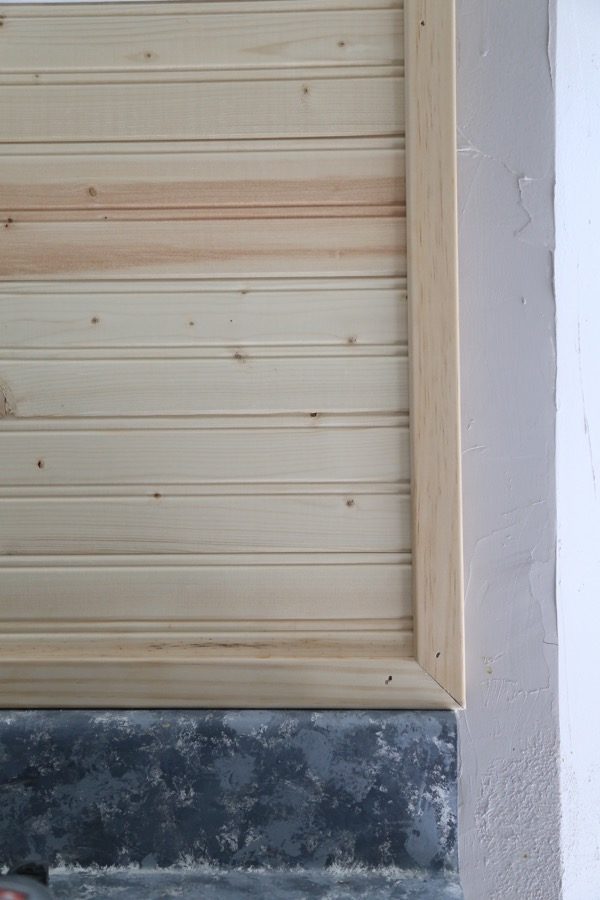
For the windowsill, we got some corner trim to hide the edges. It was so fun to watch it all come together as Corey put the trim in, because it helped the whole thing feel so much more put together!
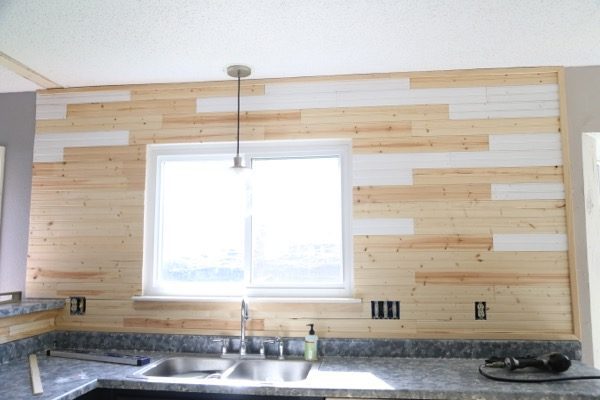
Once all was said and done, the fun part started – caulk and paint! I caulked all of the seams, the nail holes, and a few wonky places where our wall was warped and let it dry for about 20 minutes. Then, I painted. Some of our boards were already primed (we got an assortment from my mom), so that made the job a little easier. It took me one coat of primer and two coats of paint (left over from painting the cabinets) to get it completely covered.
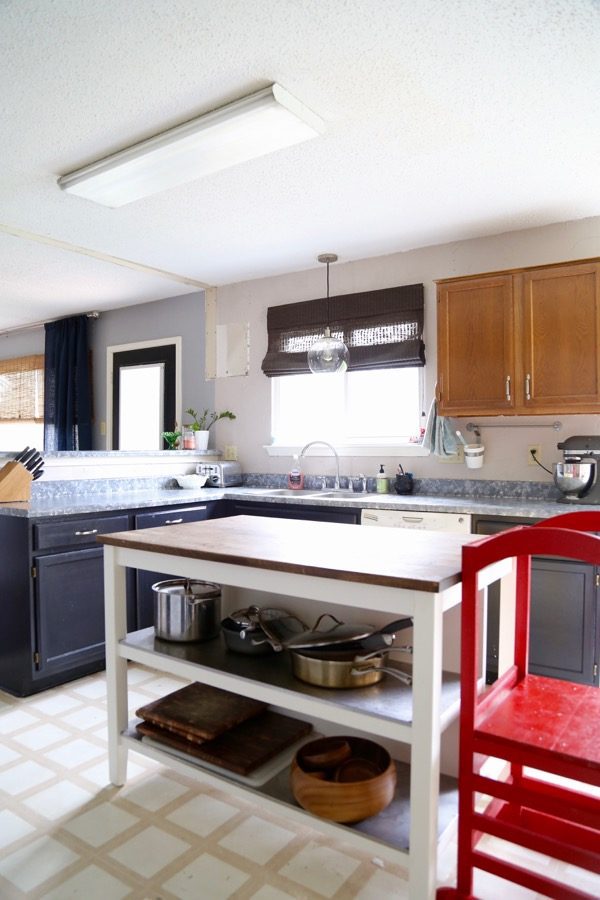
Oh, and while I was at it, I decided to go ahead and paint the kitchen to match the rest of our downstairs. The color is Olympic’s Flagstone (color matched to Lowe’s Valspar paint), and I still adore it after almost five years of living with it. I can’t believe how much it transformed the look of the whole kitchen – it feels so much more modern now.
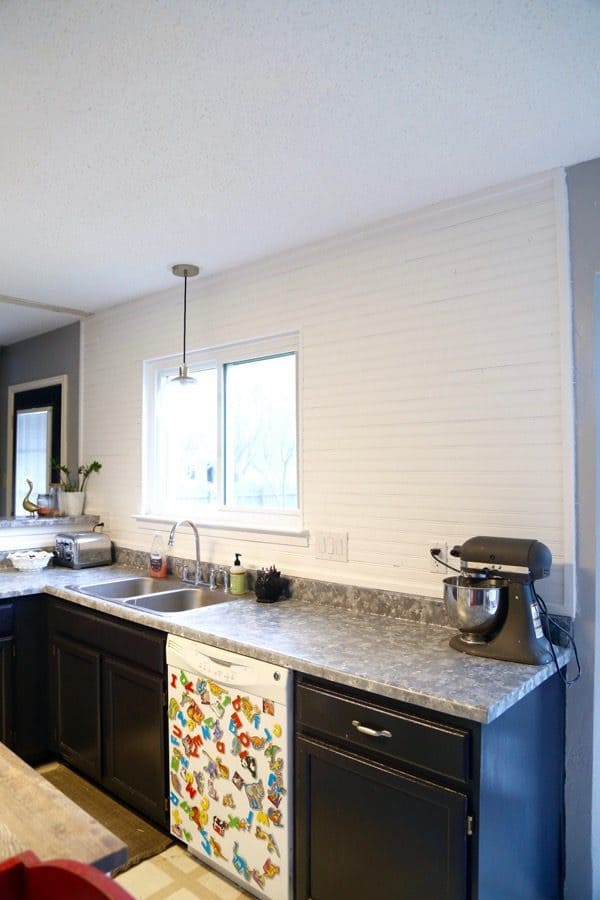
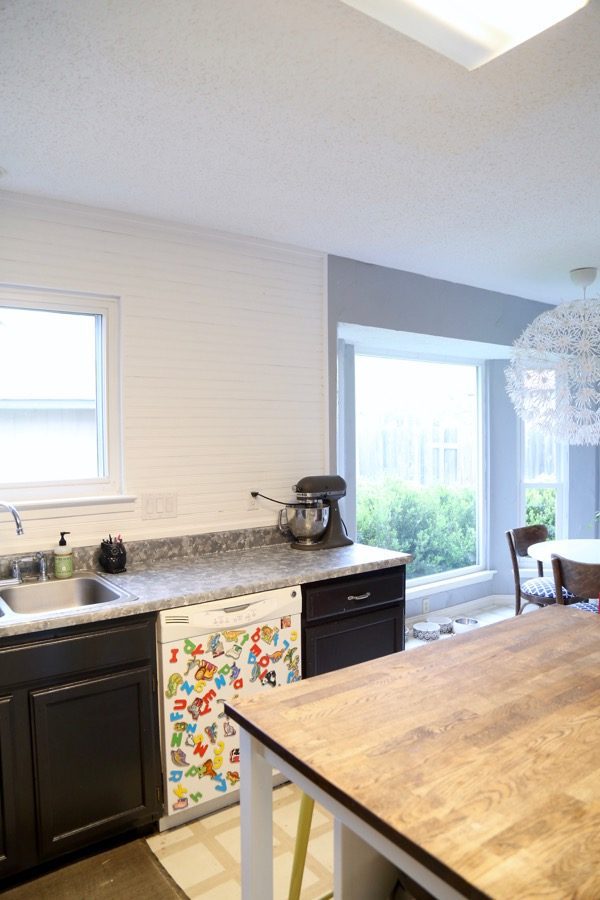
The moral of the story here, my friends, is that even if people think you’re crazy for wanting to try something a little different in your home, just do it. Most projects like this are relatively low cost and don’t require a ton of time, so why not just try? I’m so glad we took a chance on this DIY beadboard backsplash and Corey can’t stop talking about how it transformed the entire feeling of the kitchen – it feels brighter, bigger, and more open now!
Oh, and I’m sure you’re wondering what in the world we’re doing with all of the dishes that were in that cabinet…not to worry, we have a plan. I’ll share our new, more modern solution for dishes storage (and filling up that empty wall) next week!
I absolutely love how this looks and have wanted to do this in my kitchen on a couple of walls. Our theme is primitive country and I really believe it would be perfect. How does this hold up on the wall behind the sink with the moisture and possibility of water splashing on it? That would be a big concern for me.
As long as it’s painted (not raw wood) and you don’t let water just sit on it, it’ll hold up great!
This looks great and I’d like to try it! But…a question….my backsplash will also include my kitchen stove area. Do you think this would stand up to the heat? Especially when using the VERY hot self-clean?
I can’t imagine that it would be an issue, but I’m definitely not qualified to say for sure! Generally, there’s a bit of a space between the stove and the wall behind it, so I’d guess that space would be enough to allow for some ventilation. But, I’m no professional so I’d suggest doing a bit of research before you commit!
Was looking for a tutorial for installing beadboard, using beadboard sheets, to cover a plaster or drywall mud with a texture that looks horrid, and here you came. i didn’t want to sand or anything either, just cover the mess. Thanks for the inspiration!
Glad it helped!!
I am so impressed with your bead board back splash, I now know what I am going to do with our wall. thanks
Glad it was an inspiration, Maryann! I’d love to see photos when you’re done! 🙂
Great job,I think it looks amazing!
Thank you, Sharon!
I love this…..my husband keeps telling me I need to pick out tile for the back splash for when we do a DIY kitchen remodel…..but I’ve kept postponing it because I didn’t know what I wanted…..this would be so PERFECT. It’s a ranch style home, so it would go really nicely. We could update but still have that Texas ranch sort of feel to it at the same time. I can’t wait to see your open shelving, because that was already in our plans to do as well!
I think it would look great! We’re in love with it in our kitchen! And yes, the open shelving is one of my favorite things we’ve ever done – can’t wait to share!
Looks so good! I also like the dishwasher decorations 😉 #lifewithkids
Haha, yeah I considered moving them but it ALWAYS looks like that so I figured I’d keep it real. 😉
I did the exact same thing. My husband thought I was crazy too! Love it!
Thanks! Glad I’m not the only one – my mom kept trying to talk me out of it…it was pretty funny! Luckily, now that she’s seen it she loves it too!
This is a very cool look! Sadly, I don’t have the kitchen to do a similar project. But I’m definitely tackling a cabinet makeover soon, after seeing how much a coat of paint can make the room so different!
It will change your life! I can’t even get over how different our kitchen looks with a little bit of paint. 🙂