Building A Tree Flower Bed
This post is sponsored by Scott’s, but all opinions are 100% mine. This post contains affiliate links for your convenience. Click here to see my full disclosure policy.
Our backyard is one area of our home that has been woefully neglected since the day we moved in. We don’t have any furniture back there aside from a couple of plastic adirondack chairs, we’re horrible about keeping up with the mowing (though our grass usually looks pretty good anyways!), and our house is desperately in need of a fresh coat of paint.
But, now that we have Jackson and he’s getting older, we find ourselves spending more and more time outside, even if we don’t love how it looks right now. This is the time of year when Jackson starts to beg to be outside at all hours of the day, and I’d really like for our yard to be a place that everyone can enjoy hanging out, not just him.
So! My goal this spring and summer is to do something about our backyard to make it a happier place to be.
Step one? Take care of the grass and add a little color.
We really lucked out with our yard and the gorgeous Bermuda grass that the previous owners planted. Our grass is usually pretty lush and bright, and it feels great underfoot when you’re running around with no shoes on (which I do pretty much always). But, we haven’t done much over the years to maintain it, and it was high time we put in the effort to feed the grass and get it looking even nicer.
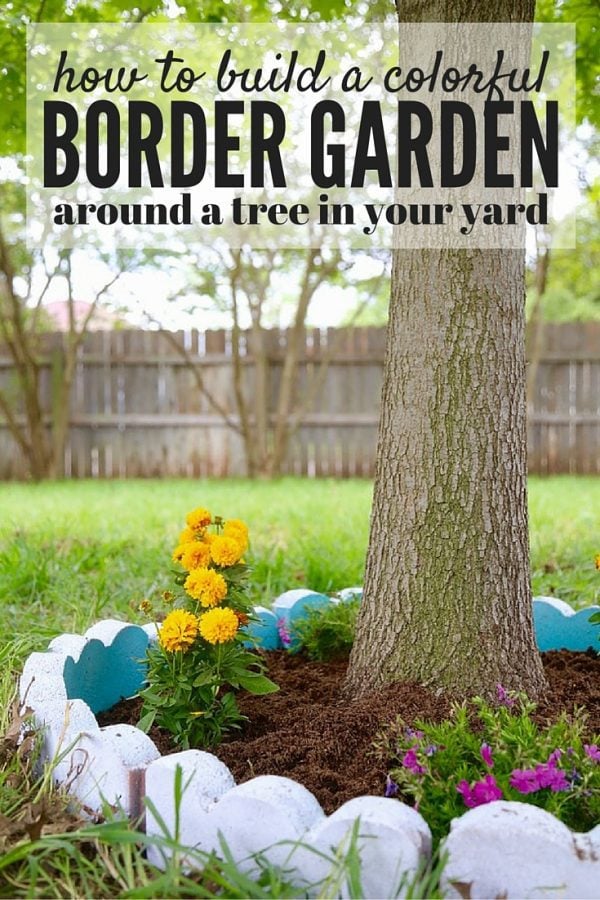
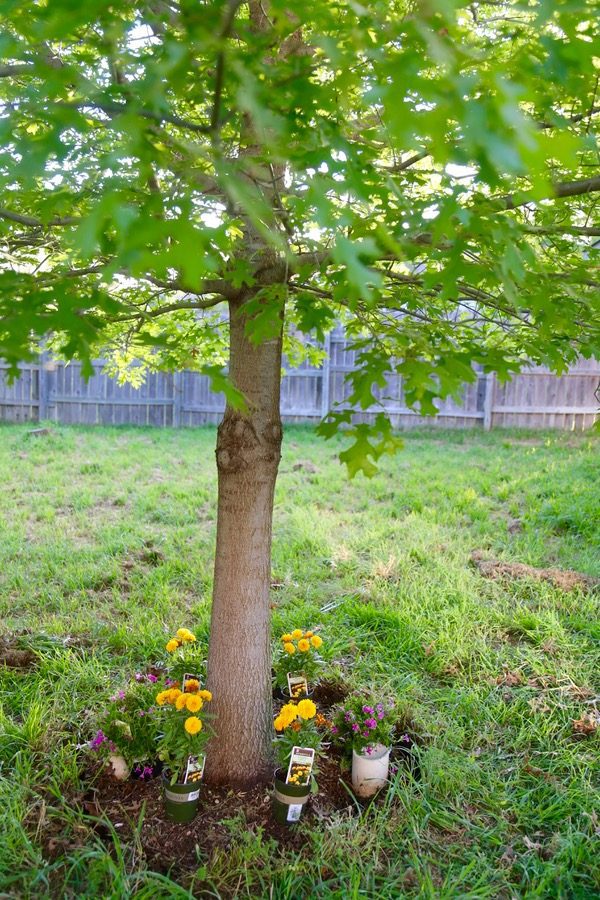
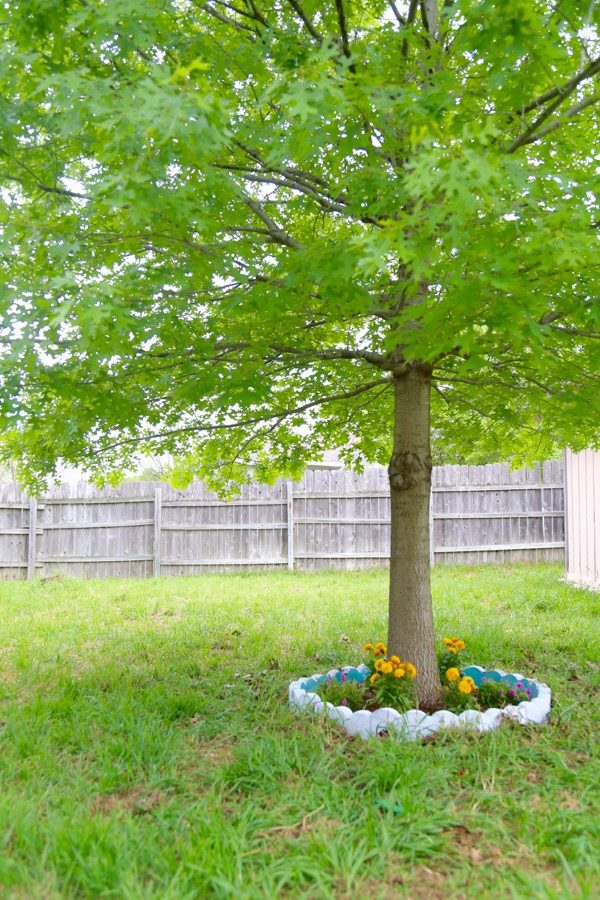
Oh, and we put a little flower bed under the tree in the middle of our yard – because flowers automatically make any space feel a little brighter and happier.
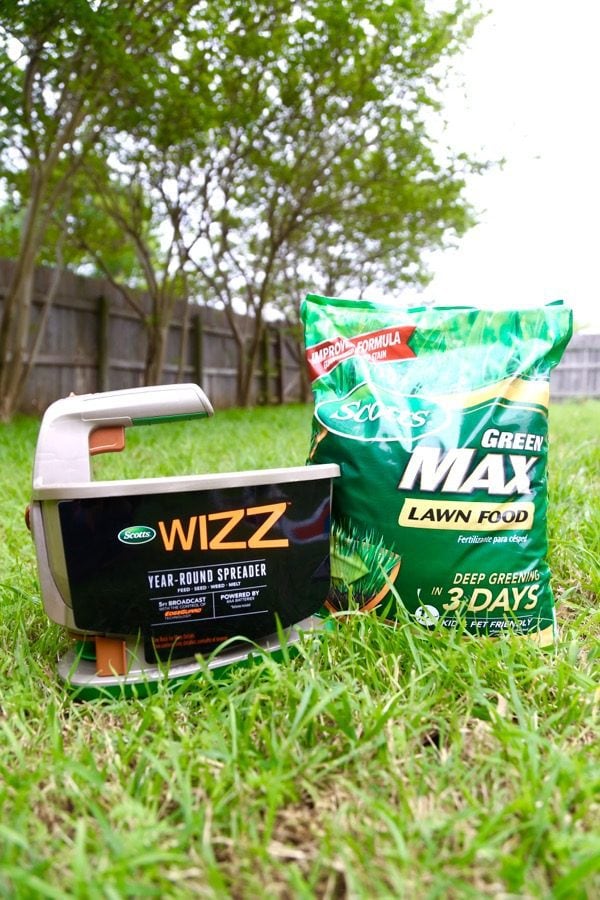
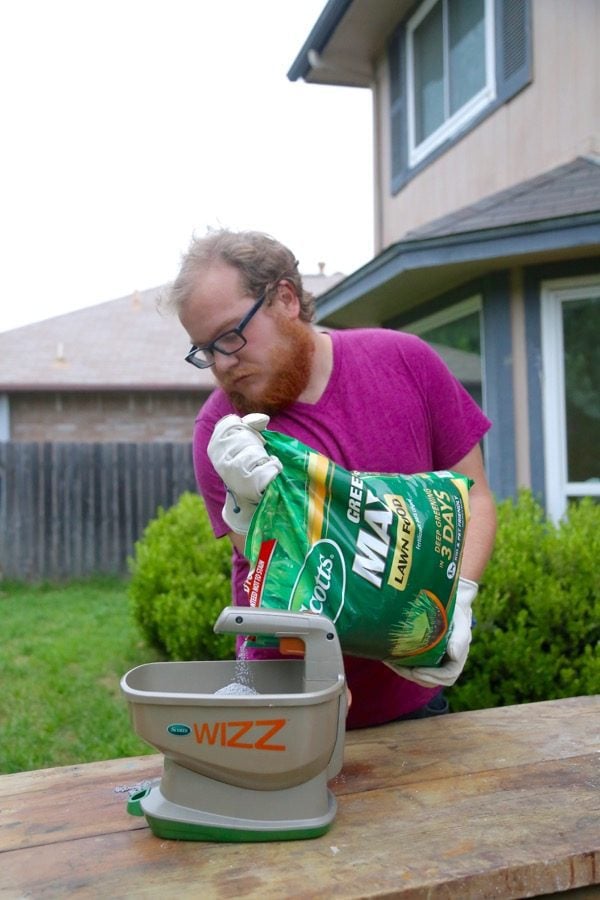
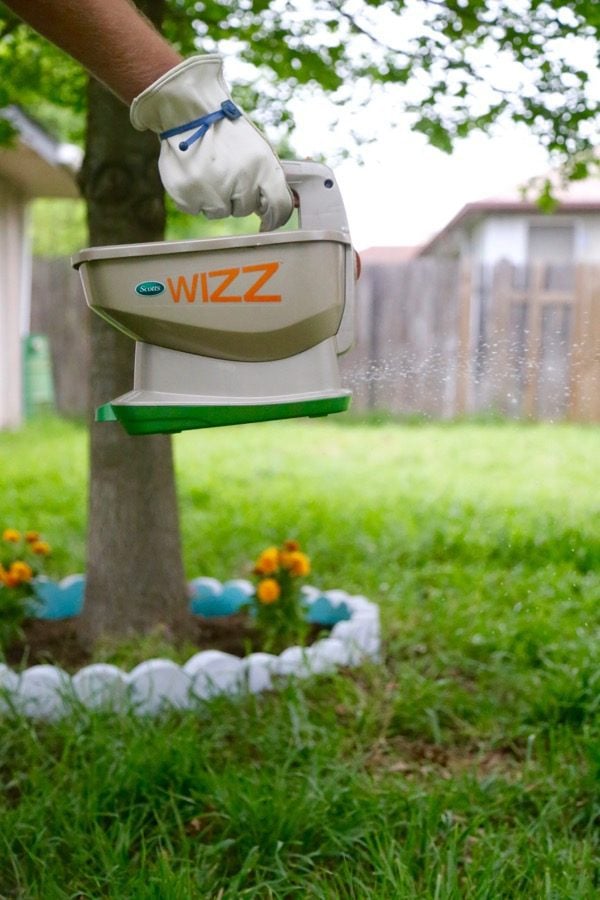
To feed the grass we used Scotts Green MAX Lawn Food and the WIZZ Spreader. I’ve never used lawn food before, mostly because I was highly intimidated by the idea of spreading something all over our entire yard, but this was incredibly simple.
This thing was crazy easy to use – it’s more or less foolproof. The bag covers 5,000 square feet so it was more than enough for our yard, and it has all of the essential nutrients that the grass needs for a nice, deep green color in just three days! It’s a 2-in-1 formula so it supplements your lawn with iron AND feeds it – and, honestly, it felt so good to know we were taking care of our grass and actually feeding it for the first time ever. The greener and fuller our yard is, the more I want to hang out back there, so it seems like a no-brainer to make sure we’re keeping it fed and happy.
Oh, and the WIZZ Spreader? It’s battery-powered which means it’s quick and easy to use – you can use it to feed, seed, weed, and melt and it doesn’t wear your hand out at all because it’s so simple to operate. Corey was pretty enthralled with it!
In addition to taking care of feeding our grass, I also decided to build a little border garden under our tree. There actually used to be a flower bed there when we first moved in, but we didn’t take care of it at all, so the flowers all died.
Whoops.
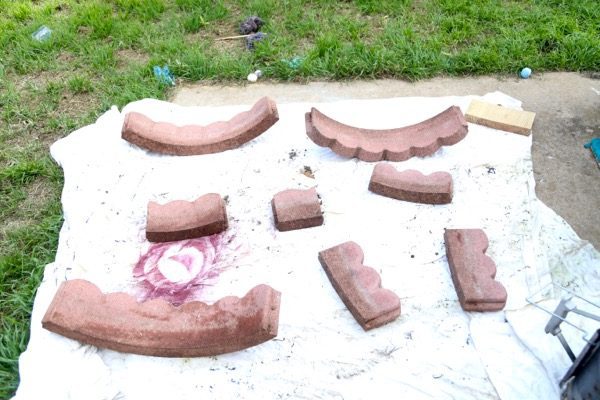
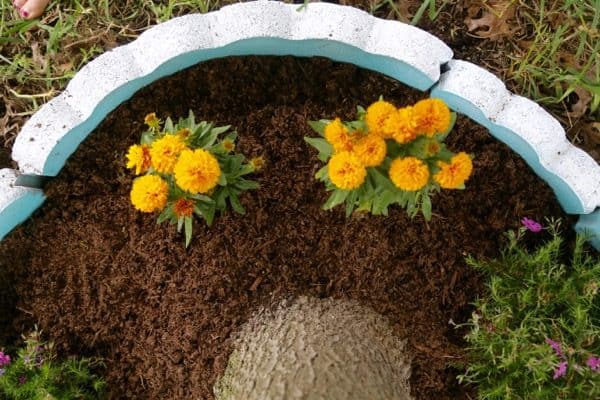
Luckily, that just meant it was pretty easy to rebuild one! We already had the border (and it was already placed, which meant the hard part was done), we just needed to make it our own. I didn’t love the border that was already under the tree, but I also didn’t have it in my budget to purchase anything else, so I grabbed some outdoor spray paint and decided to make it a little prettier.
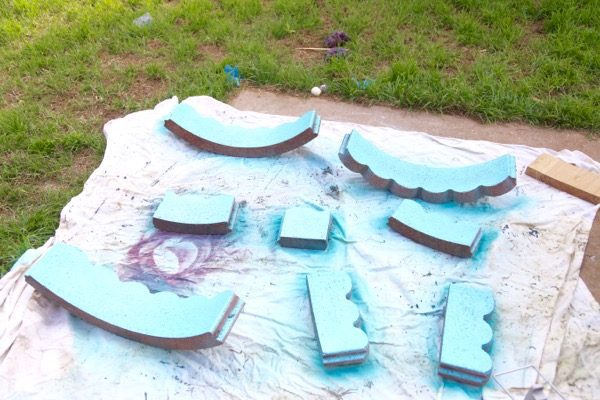
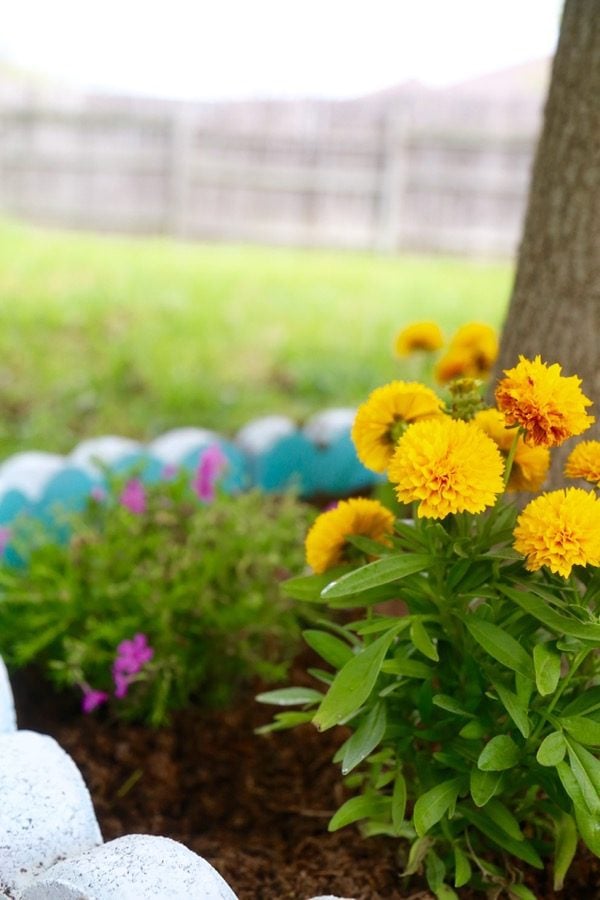
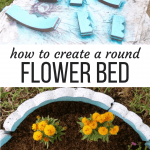
I painted the interior of the border a pretty pale blue…
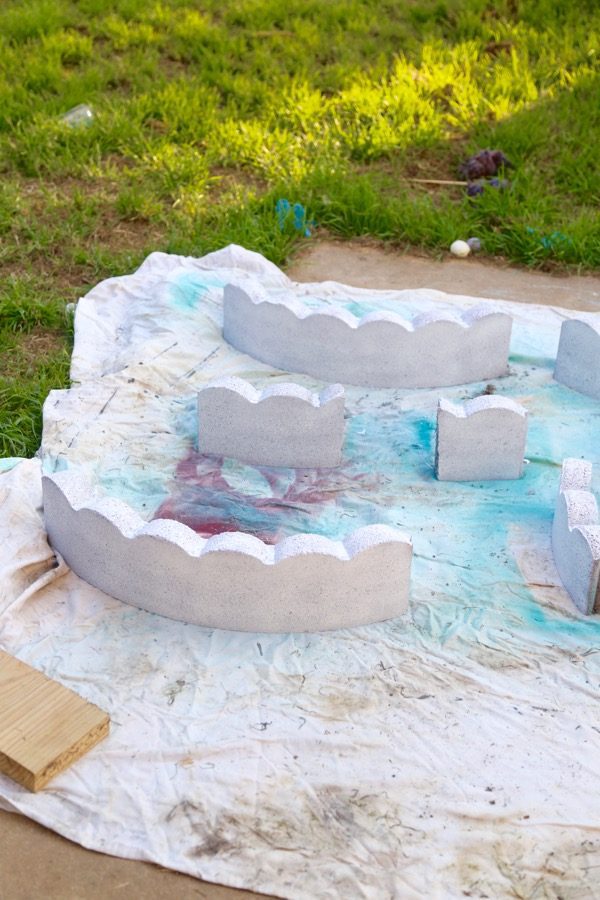
…and I painted the exterior of the border white. There was no special technique here, I just sprayed one side, flipped ’em over, and sprayed the other. Simple, quick, and much more fun than before.
Once my border was painted and dried, it was time to get to planting. I’ll be honest and tell you I have little to no clue about what plants work well in border gardens or around trees – I just chose a couple of different perennials that Jackson and I thought looked pretty when we went to the store.
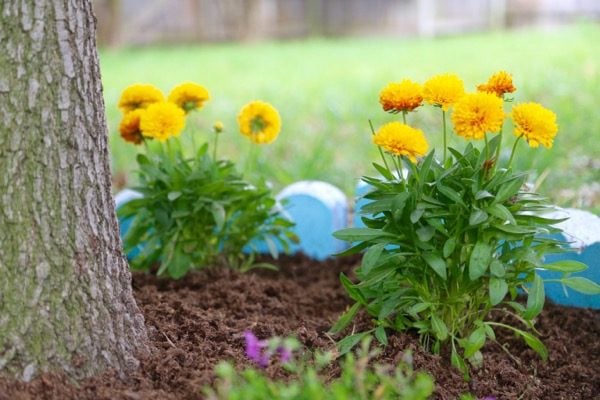
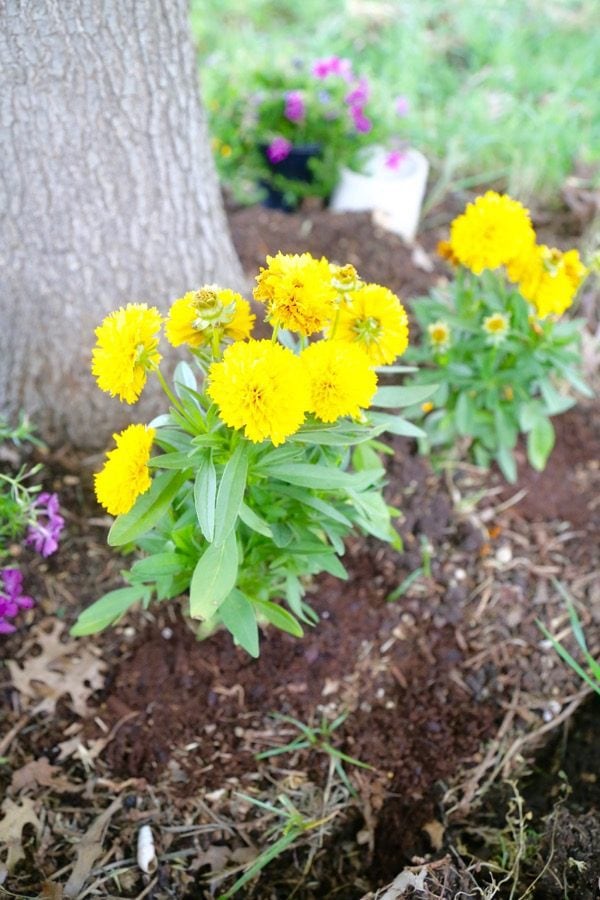
We ended up with some Golden Sphere Coreopsis flowers and some Drummond’s Pink Creeping Phlox – the yellow flowers should spread out a little bit and fill the front and back of the bed a bit more while the Phlox is a ground-covering flower so I’m hoping it will fill in on the sides and blend nicely.
While I was already digging and moving things around, I pulled up the pipes that were on either side of the tree – when we first moved in this tree was just a baby, so the previous owners had installed the pipe to be sure water could get down to the roots of the tree. It’s now a very established tree, so it’s an unnecessary step at this point – luckily it was easy to pull them out and just plop the plants into the space where they were!
After I planted, I put the border back (it was like a giant, heavy puzzle!) and filled in the bed with some gardening soil.
And now? Our backyard is already looking like a brighter, cheerier place! I’m excited to lay this groundwork for a couple of other projects I have up my sleeve later this season, and I’m hoping that by taking care of our yard a little more, we’ll be encouraged to keep maintaining it and spending more time out there with Jackson. I think it will make a huge difference if we keep using the Green MAX Lawn Food to make sure that our grass stays pretty and bright – and with the WIZZ Spreader it takes less than 30 minutes for us to feed the whole yard!
I’m learning that a beautiful and enjoyable backyard doesn’t mean you have to spend a ton of money – it just means you have to put in some time and effort to do little things that make you want to be there! My list of little projects I want to tackle back here is growing pretty quickly, and I’m keeping my fingers crossed that a bunch of little projects will add up to some big changes over time.
How is your backyard looking this spring?

I love this idea. I have a huge oak tree out front some roots visible would you have any recommendations for filling the area in with soil for very low cost?
You could always use mulch!
I love your idea of painting the tree borders to give a fresh look! I want to do the same thing but was wondering if you used a particular paint to get a good coverage?
Did you prime it or is it really not necessary?
I didn’t prime but you’d probably get better coverage if you do! I just used regular spray paint.
This is so cute. However, if the plants don’t do well, it is possible that they are not getting enough sun under that tree. If you need to buy more plants, look for plants that say ‘part sun’ under light requirements. Happy gardening!
Thanks for the tip, Cindy! So far they’re looking okay, but we’ll see – I’m a master at killing plants!
You painted the inside my favorite color!! This turned out beautifully.
Thank you, Tanya! It’s one of my favorite colors too!
Your border is so refreshing and one of my favorite colors. I would have never thought to use this color as a border. Thank you for sharing your creativity!
Thanks so much, Susan!
How close to the tree can you come with the soil and mulch without damaging the tree?
I actually don’t have any mulch in this bed, it’s all soil. From what I’m hearing and reading elsewhere, it sounds like you should try to keep the new soil a few inches away from the trunk of the tree and that you should make sure and give some extra water to the tree for the first season or so until it adjusts to having the flowers there.
For the sake of the health of the tree, you should not place extra soil above its roots near the trunk! The additional soil and the water you use in the flower bed will cause the tree to send roots upward toward the surface in an osmotic process. This will begin soon after the extra soil and water are applied, but you may not see the damage for some time– it’s underground. But it will harm the tree, for the sake of a “cute” flower bed you could place elsewhere. Or you could make a little circular platform around the tree, not on the ground, and place some patio-pots on it for flowers.
Good to know – thanks for the tip!
I love your flower border around your tree so much I’ve just added it to our yard to-do list (my husband will be so thrilled, haha)! It looks gorgeous and makes such an impact. The little pop of color you added to the inside of the border pieces is the perfect touch!
Thanks so much, Celeste!
It turned out beautifully! We are looking to make some improvements to our outdoor space, so thank you for this post!
Thanks! We still have a long way to go, but it’s a good start. Let’s just hope I can keep them alive. 😉