How to Fix a Damaged Dresser
Today I’m going to show you a super quick and easy way to repair a damaged dresser or piece of wood furniture. You won’t believe how simple it is to make it look like new!

This post is sponsored by Mohawk Consumer Products and contains affiliate links, but all opinions are mine. Thanks for supporting the brands that support Love & Renovations!
Y’all, I have an amazing project for you today. I am so, so excited to show you this (incredibly easy) tutorial for how to repair a damaged piece of wood furniture in just a few minutes. I’m so impressed with the final product that I may just end up changing my plans for the bedroom!
Let’s start at the beginning, though. I have a small wooden dresser that I use as a nightstand. I’ve had it for years and never really liked it all that much, but I’ve just never put in the effort to find anything else. Well, I recently decided I’d like to swap it out for a desk (more on that later!), and so I wanted to spruce it up a bit before I sell it.
Mostly just because it’s kind of hard to get good money for a dresser with a chunk missing off the side.
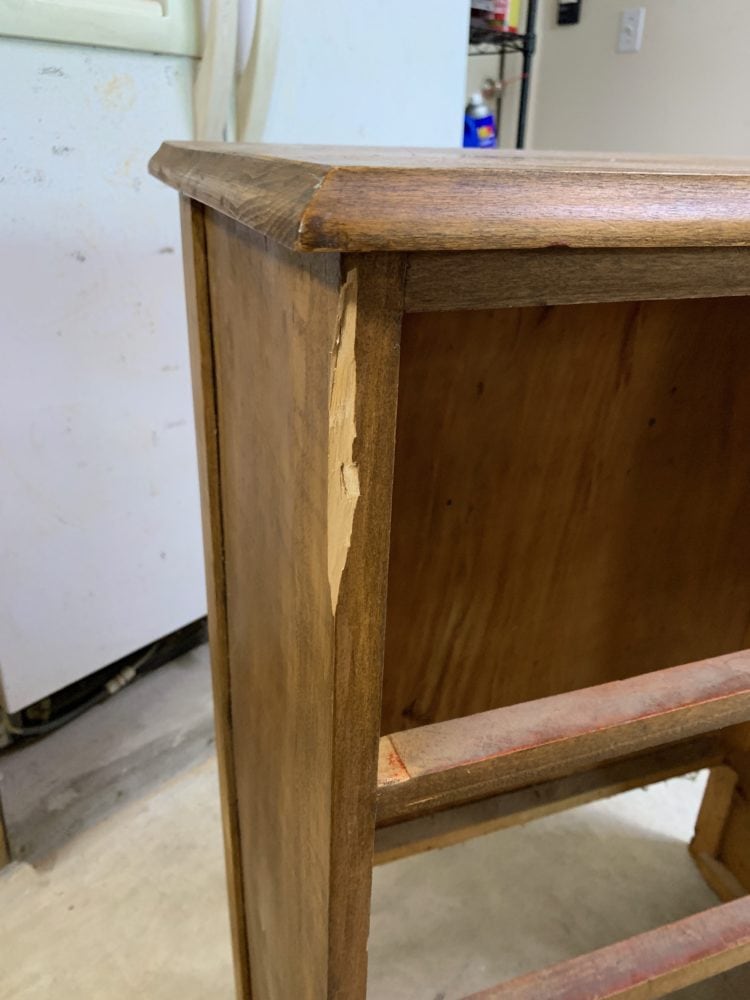
That’s a cute look, right?!
So, today I’m going to take you through the process of fixing this little old dresser and making it look like new. It was honestly much simpler than I expected, and I love how it turned out enough that I might end up deciding to keep it after all!
How to repair a damaged wood dresser
This is a really simple project, but it really lends itself best to a video tutorial so you can see the putty in action. Here’s a quick video I put together to give you a good visual of how it’s all done. I’ll detail the steps below as well, but I highly encourage you to check out the video if you plan to try this on a piece in your home!
Materials needed
- Mohawk Epoxy Putty Stick
- Orbital sander (or a sanding block and some elbow grease!)
- Paint or stain
Instructions
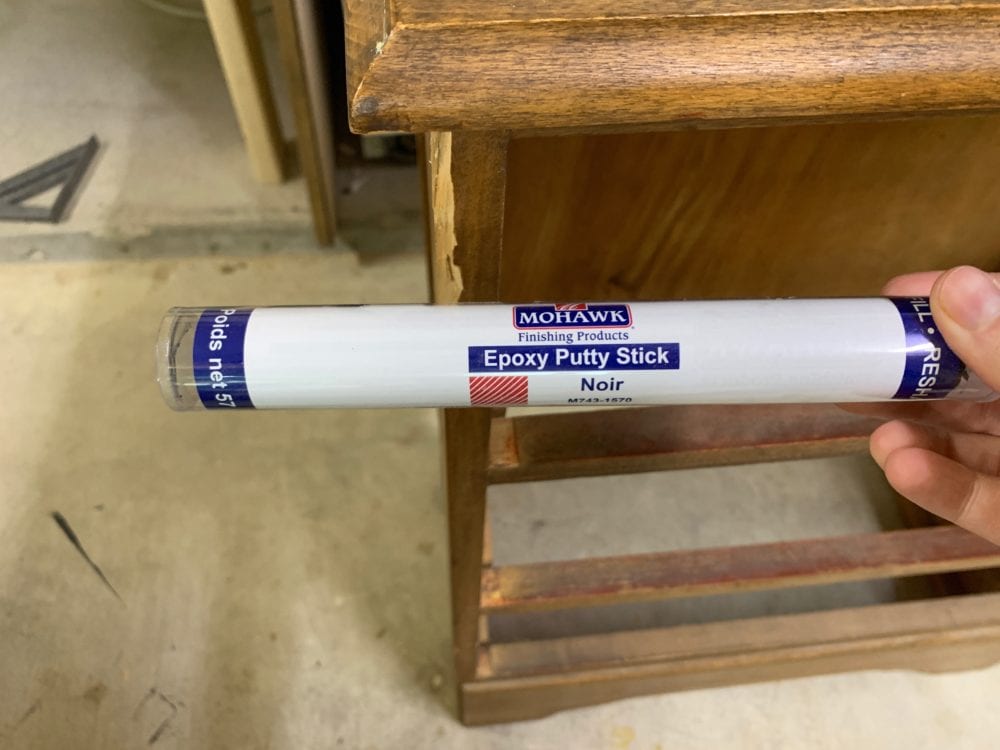
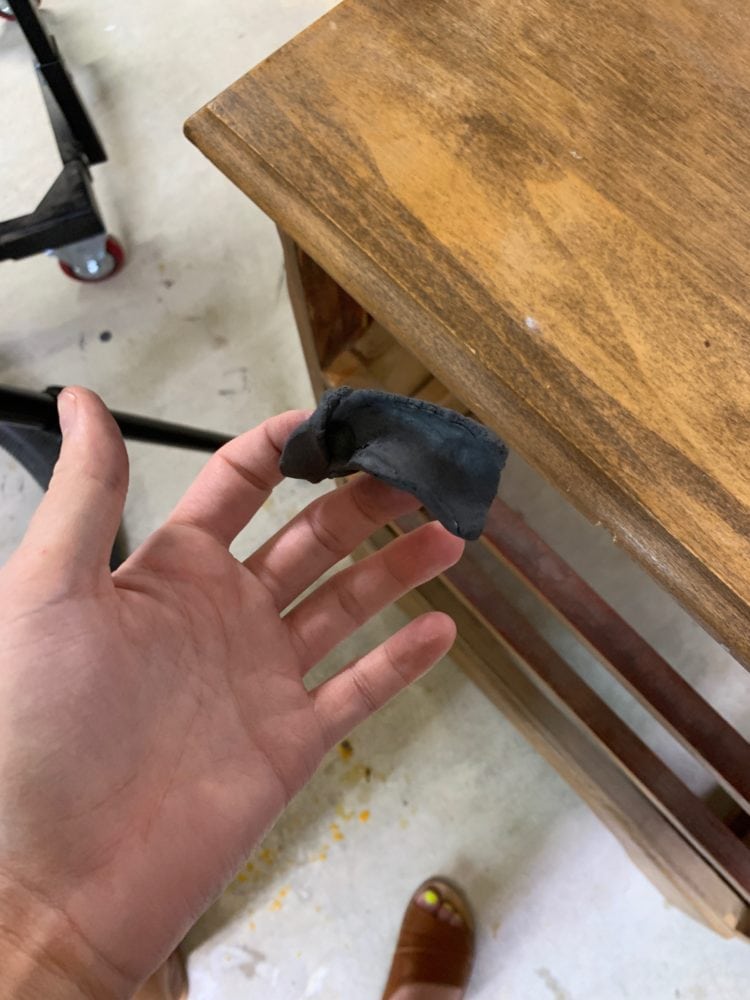
Step One: Prepare the Epoxy Putty
Start off by breaking (or cutting) off a piece of the epoxy from the stick and mixing it thoroughly with your fingers until it’s all a uniform color. The epoxy comes in a ton of different colors, so just grab the one that’s closest to the color you want your finished product to be.
Step Two: Apply the putty
Once the epoxy is prepared, simply use your fingers to spread it into the area you’re wanting to repair. It helps to have slightly wet fingers for this part.
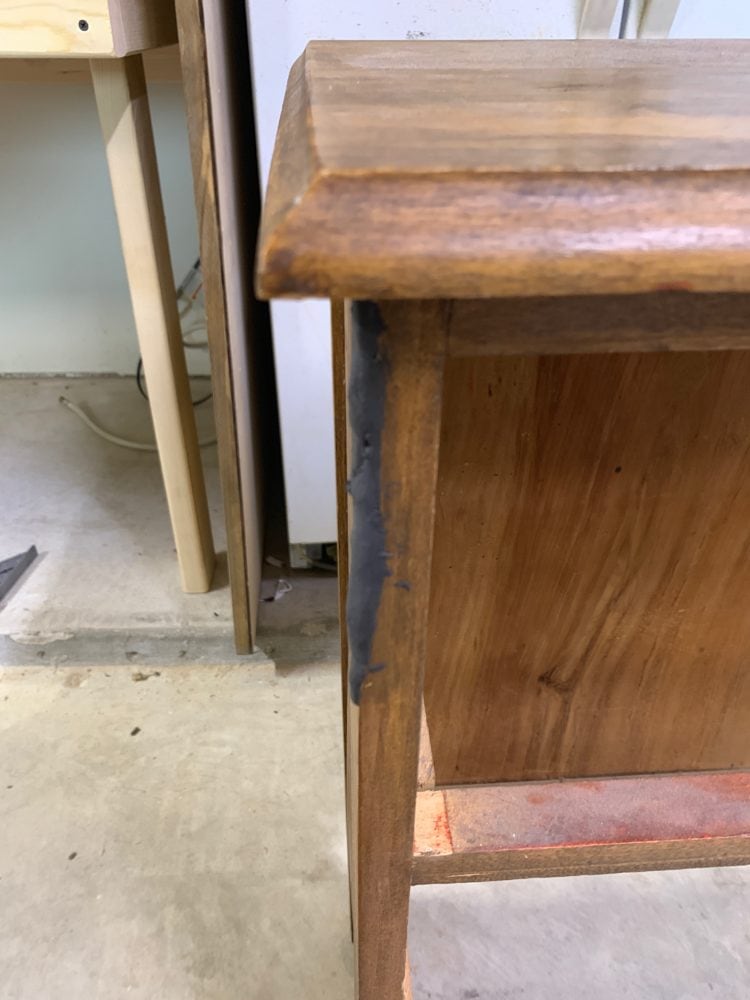
Do your best to form it so that it matches the natural line of the piece (for example, I tried to create mine to have a 90-degree corner, as best I could). Once you’ve got the damaged part filled in, allow the epoxy to dry for about 30 minutes.
You’ll notice from the image below that you don’t have to do a perfect job (at all) of applying the putty. You’ll be sanding it down before you finish the piece, so it’s really easy to knock down any high spots or areas where the epoxy shouldn’t be.
Step Three: Sand
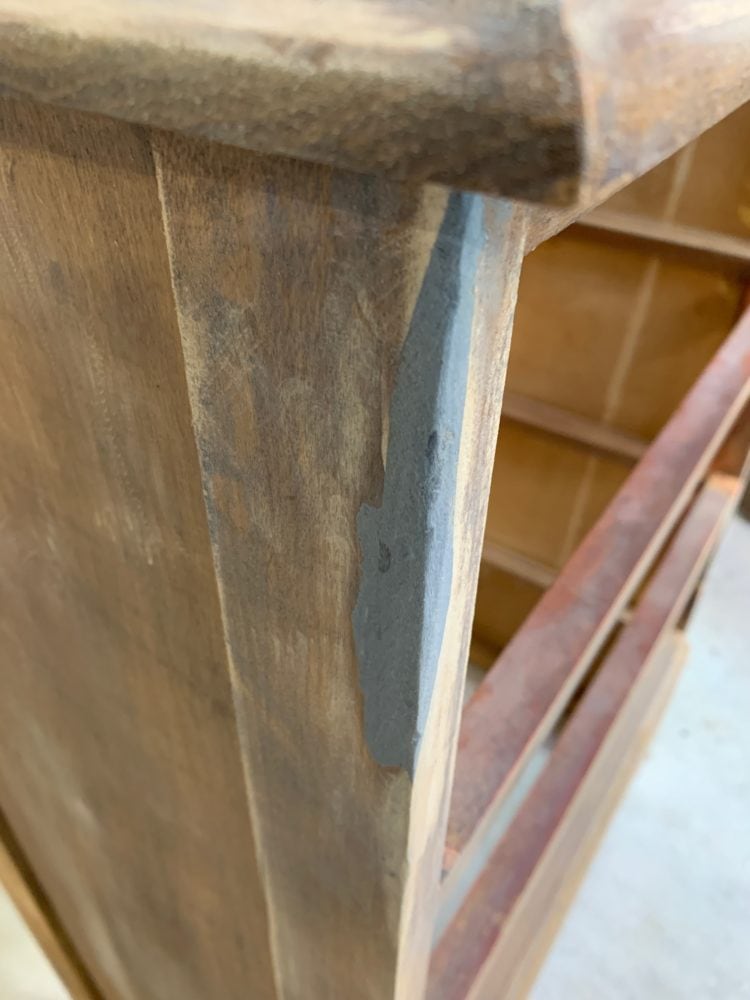
Once it’s dry, you are ready to sand. I used my orbital sander to sand it down, but if you don’t have one a regular sanding block would work just fine. Sand off any of the excess and, if you’re working on a corner like I was, try to shape it to match the existing corner.
Once I finished sanding, here’s how it was looking:
Step Four: Apply Your finish!
Now, you’re ready to finish the piece! The epoxy putty can take paint or stain, so you can finish it pretty much however you’d like. I chose black paint only because I already had a bunch of it in the garage!
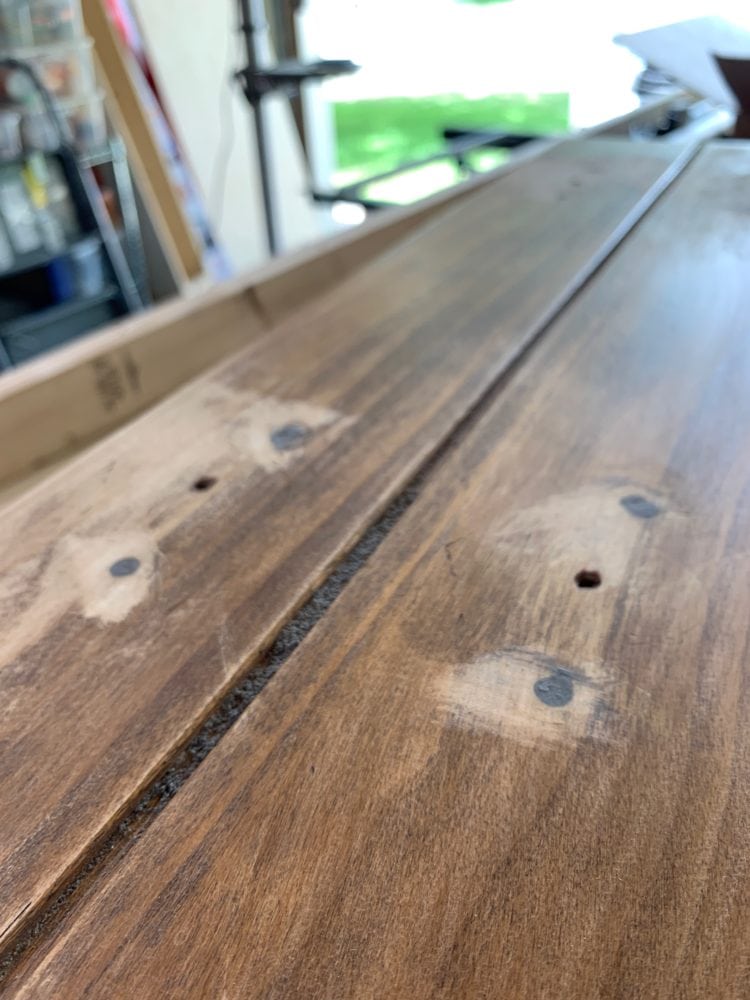
While I was prepping the drawers for paint, I also decided to fill in some of the hardware holes so that I could use knobs that only needed one hole. I just used some more of the putty to fill in the holes, then sanded them down as before. You can’t even tell where the original holes were in the finished piece!
I gave the whole dresser two coats of paint and a finishing coat, then I added the new knobs and put it back in my room.
I mean, I still want to replace it with a desk but I’m definitely liking this dresser a lot more now. Why didn’t I do this sooner?!

This is such a simple solution if you have any furniture in your home that has seen better days and needs some repairs. And, really, who doesn’t?!
You can see all 12 colors Mohawk offers in the Epoxy Putty Stick right here, and if you’re curious about the other products they offer (like tons of other wood repair and finishing supplies, plus tons of options for cleaning and repairing leather), head over to their website!
Should I put this up to a vote? What should I do with the dresser now – sell it? Keep it and forget the desk? Put it on Corey’s side of the bed?!


I love your night stand! Nice work, what color and brand is the black paint?
Hi! It’s Chalked paint from Rustoleum in the color Eclipse!