Easy DIY Cornhole Boards
I love looking for easy ways I can create things to encourage my family to get outside. We have a great outdoor space in this house, and when the weather is warm there’s not much more I love than hanging out with my family back there! A couple of years back, I made these cute DIY cornhole boards – and I’ll admit, we haven’t used them much!
But, I’m determined this is the year we get outside even more and so I spent some time recently getting some new bean bags for them (because the children lost them all – of course) and encouraging a few games.
This is such a quick and simple DIY, so I thought it was worth re-sharing the tutorial.
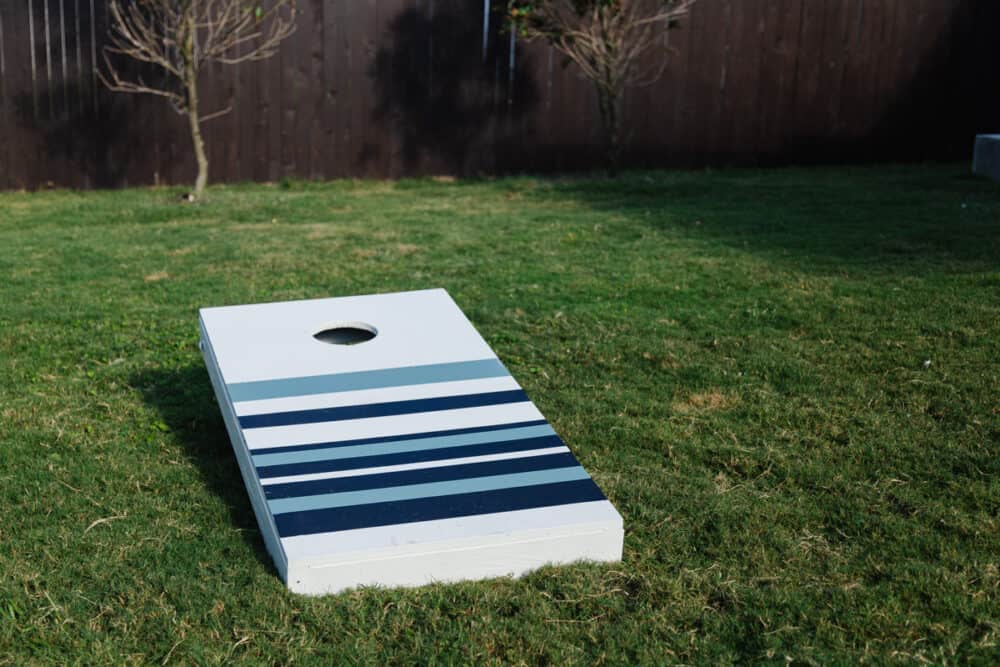
What is Cornhole?
Okay, let’s start with the obvious because I realize maybe not everyone knows what cornhole even is. It’s a really fun game common at tailgates, but perfect for any backyard gathering. If you really want to take things seriously, click here to see the official cornhole rules. Otherwise, here’s an overview.
how to play cornhole
- Set up your cornhole boards facing one another, about 27′ apart if your backyard is big enough. If not, just do what’s comfortable for your yard.
- Each team stands by their cornhole board and alternates throwing their four bean bags at the hole of the board across from them.
- You get 1 point if you get your bean bag to land on the cornhole board.
- You get 3 points if you get your bean back into the hole (or manage to knock a previously-thrown one into the hole).
- At the end of each frame (or set of four bean bags thrown), you determine who got more points and subtract the other team’s score from that to get their score for the round. For example, if one team scored 7 points and the other team scored 5, the first team would get 2 points for that round (7-5).
- Play until one team reaches 21 points!
It’s a really fun game for kids and adults alike, and the perfect thing to bust out at any backyard gathering. I also love how easy the boards are to store. Just fold the legs up and they can hang on your fence, or be tucked away. We store ours in the space between the camper and the back fence.
Ready to learn how to build one?
How to Build DIY Cornhole Boards
Tools you’ll need
Remember, you can also have most boards cut down at your local hardware store, if you don’t have the tools at home to make it happen!
Step One: Create Cornhole Board Bases
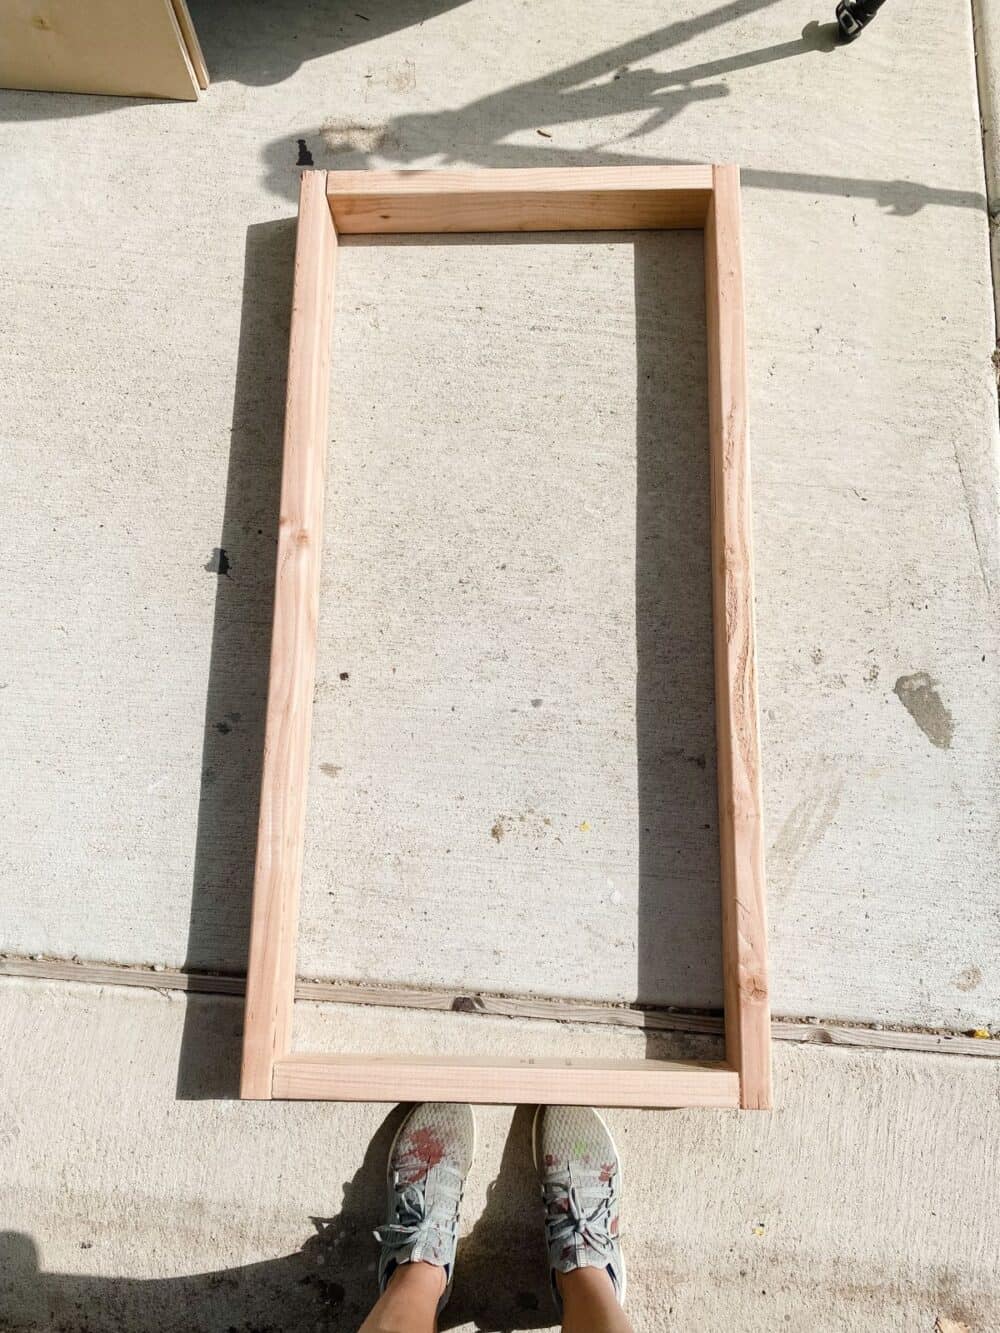
Start by cutting four 48″ lengths from your 2x4s, and four 21″ lengths. You can use miter saw or circular saw to make your cuts.
This will be what you use to create the bases for both of your cornhole boards. Use your drill and exterior or deck screws and form two rectangles, using two 48″ lengths and two 21″ lengths for each rectangle.
You can also assemble this with a Kreg Jig and pocket holes if you’d like the screws to be invisible.
Be sure to put the 21″ pieces between the 48″ ones so that the final dimensions of your rectangle is 24″ x 48″, which is regulation size according to the American Cornhole Organization!
Step Two: Attach Top and Drill Hole
Now, grab your half sheets of plywood and attach them to the bases you’ve created. They should fit perfectly on top. Use wood glue and screws to attach.
Once the top is on, you’re ready to create the hole! You’ll want a hole that’s 6″ in diameter. Grab your hole saw bit and attach it to your drill, then measure and mark the for the hole.
The center of the hole should be centered on the board, and 9″ from the top. So, measure and mark the center of the top of the board (which should be at 12″), and then go 9″ down from there. Place the drill bit centered on that point and drill a 6″ hole.
Step Three: Sand
Next up, you should take the time to sand the entire base of the cornhole board, along with the edges of the circle. I recommend using an orbital sander for this, as it’ll be a lot easier. Start with a lower grit sandpaper (like 120-grit), and then work slowly up to a 400-grit sandpaper.
This will give you a really smooth finish, and make sure no one gets any splinters while you’re playing!
Step Four: Create Legs
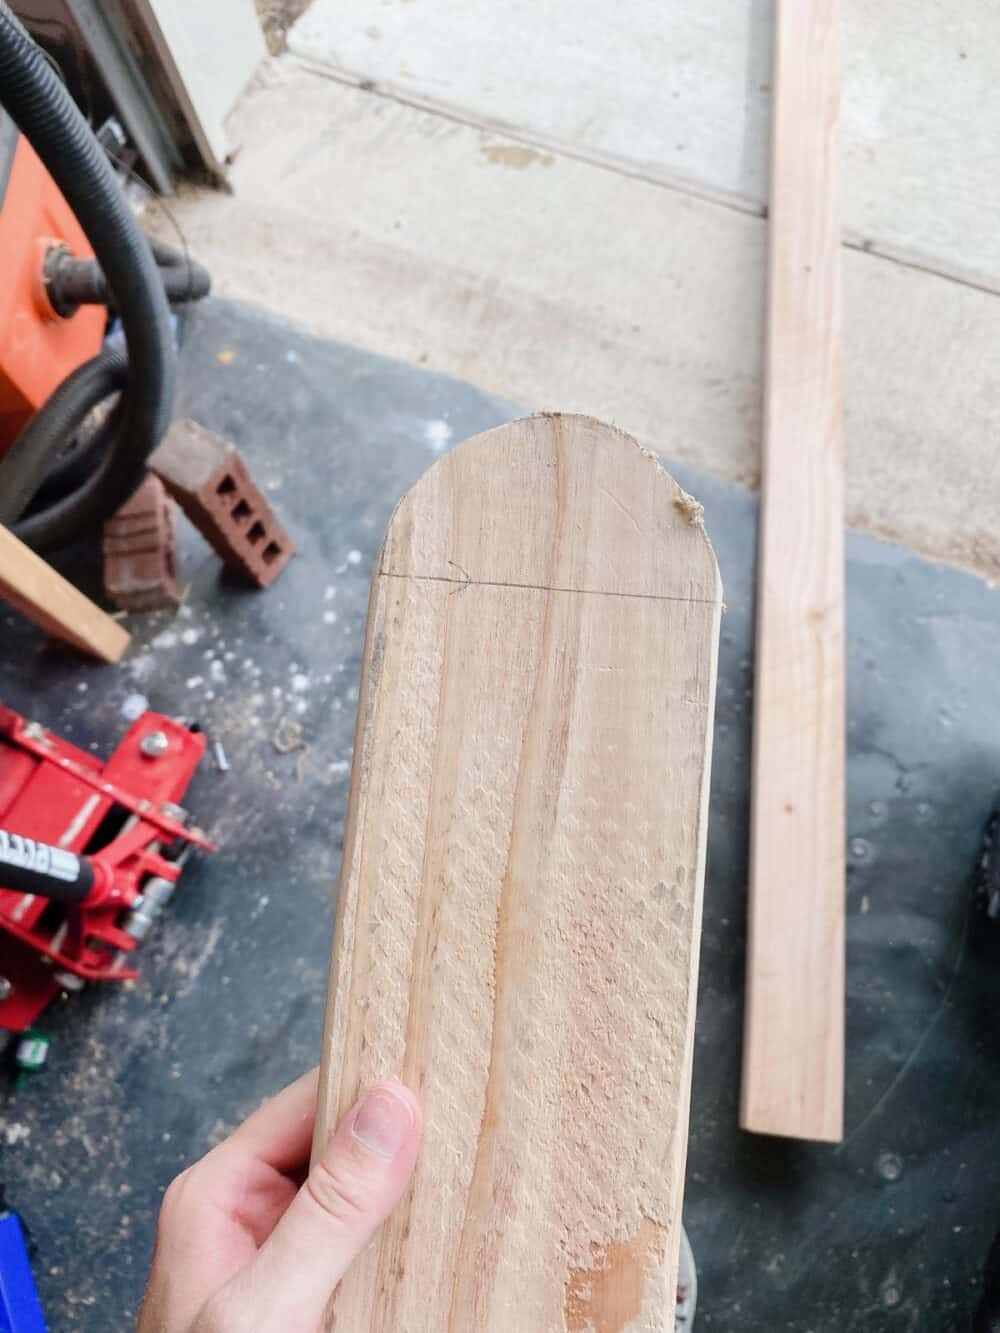
Now, it’s time for legs! This is the part that might feel the most intimidating, but I promise it’s easy. Here’s the step-by-step instructions:
- Cut four pieces from your 2×4 down to 12″. You’ll use two for each board.
- Use a miter saw to cut a 30-degree angle on one side of each of the legs.
- Grab a roll of painter’s tape (or something that’s round and approximately the same size as a 2×4). Use that to trace an arc on the end of the leg that isn’t angled.
- Now, use a jigsaw to cut a half circle on the leg, as shown in the image above.
- Sand it down a bit to smooth it out before attaching.
Step Five: Attach Legs
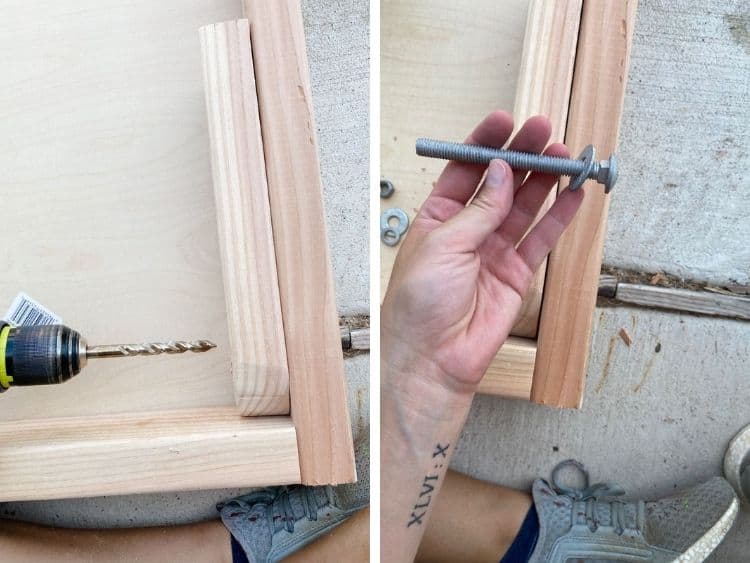
Use a pencil to make a mark in each leg for where it will be attached. The mark should be centered widthwise on the leg, and about 1 1/4″ from the top of the curved part.
Use a 3/8″ drill bit to drill a hole where you’ve marked.
Now, set the leg inside cornhole board base, at the top. Get it adjusted to where you want it attached, and use that same drill bit to drill through the hole you’ve already made in the leg and into the side of the cornhole board. This helps make sure all of the holes line up properly! You may want to use a clamp to hold the leg in place while you drill.
Attach each leg to the frame using the carriage bolts, adding a washer between the leg and the base, and also between the leg and the nut. Thread a nut onto the bolt and tighten it, then test the leg to make sure it moves freely.
At this point, you may need to pull the fasteners back off and sand down the top a bit to ensure it rotates easily. I had to do this a couple of times before it all moved smoothly.
Step Six: Paint or Stain
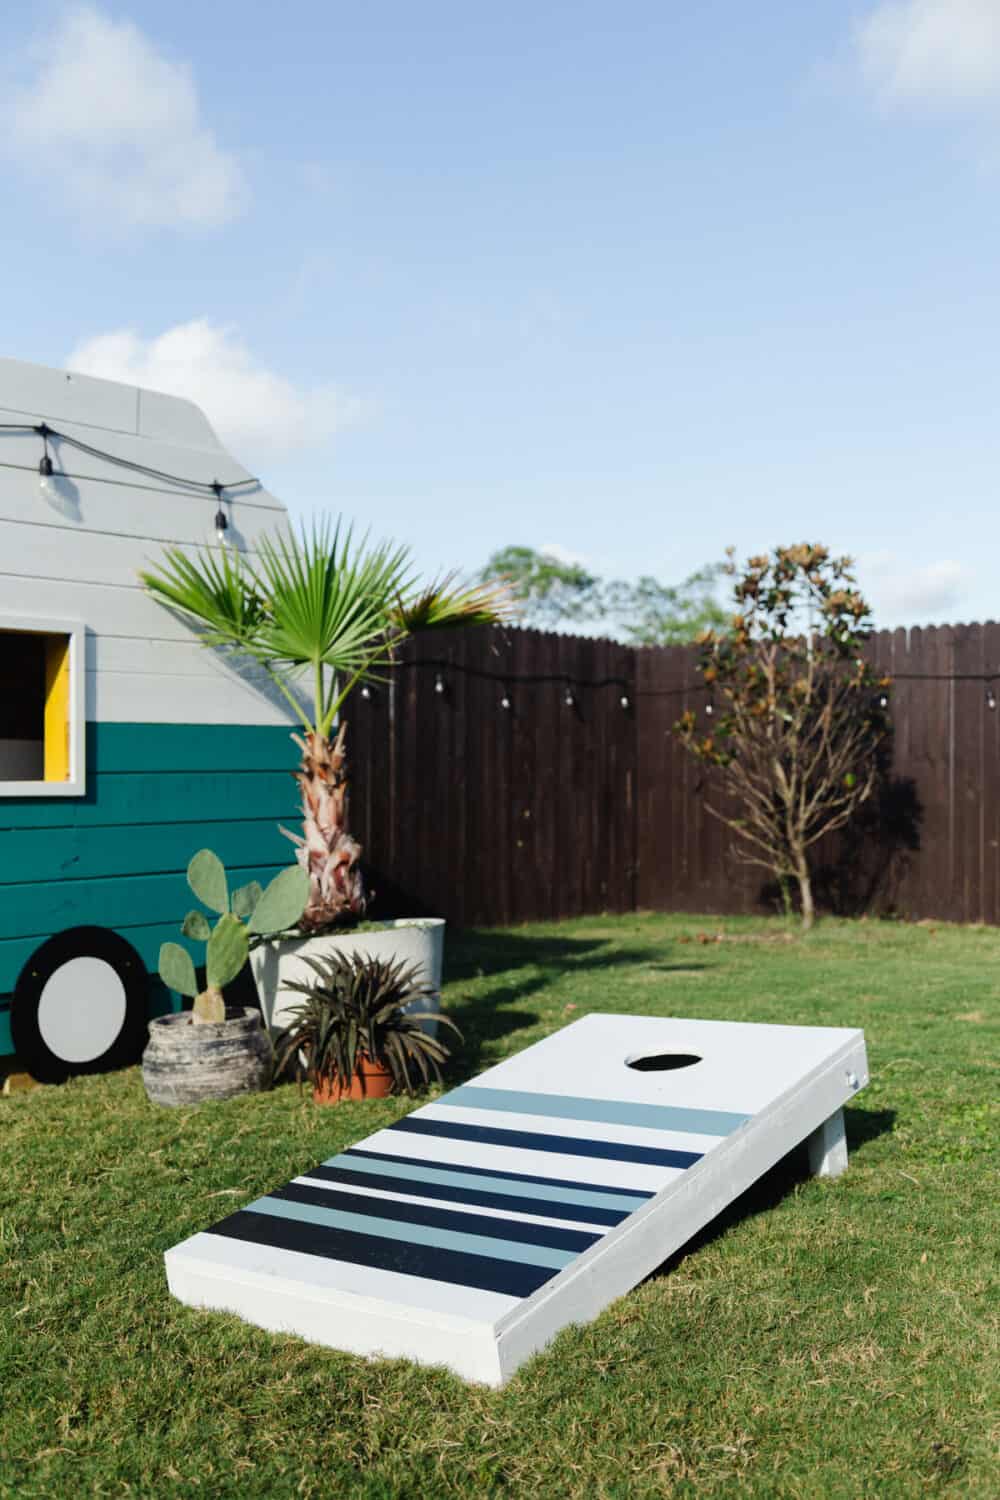
With all that done, you’re ready for finishing! You can really have fun and create your own custom cornhole board here – some people paint on a team logo, some people stain their boards…the sky’s the limit! If you’re painting, it’s probably a good idea to start with a primer to make your life easier, then just use a paint roller or sprayer to paint whatever color or style you like.
I painted my boards white and added some blue and black stripes with the help of some painter’s tape.
Once the paint dried, I added these cornhole board scorekeepers – it’s the perfect way to keep track of the game!
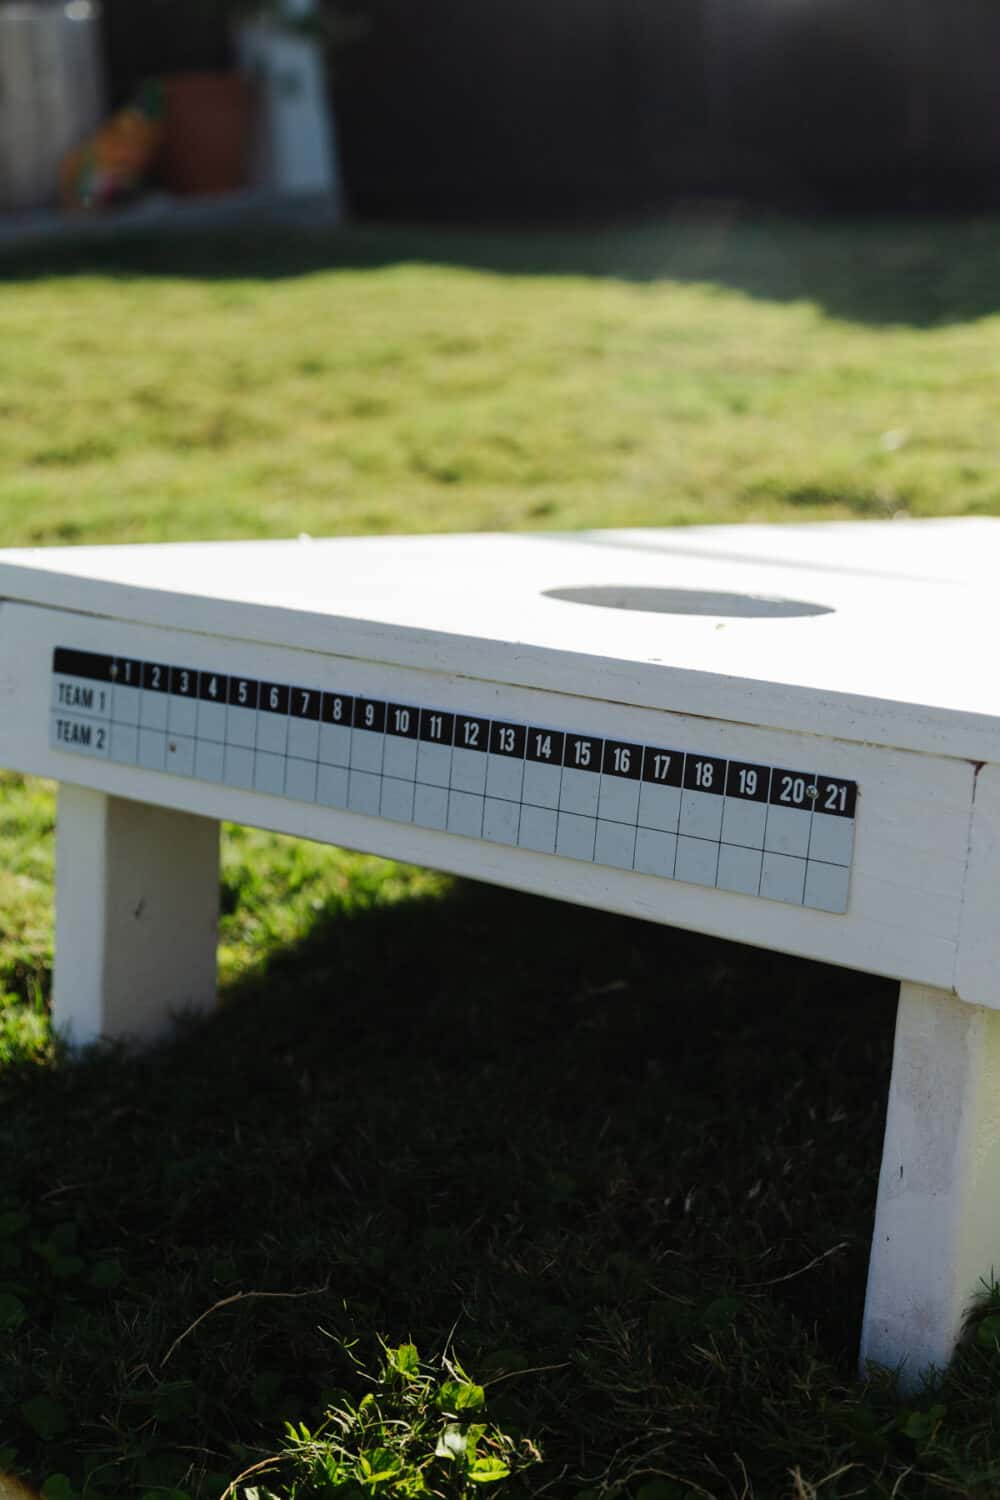
And that’s that! This is such a quick and easy afternoon project that’s sure to bring a lot of joy to your family all spring and summer long.


while making the board was interesting, im interested in making the bags. You gave no information about that.
Hi! I didn’t make the bags – I purchased the ones linked here on the post.
How to make and what are the dimensions for the bean bags ?
I didn’t make them – I used the ones linked in the post.