The Cutest DIY Halloween Door Mat
I’ve been having so much fun this season creating some unique Halloween DIY projects, and this one is one of the easiest of them all. But, it might also be one of my very favorites! I’ve always wanted a fun Halloween door mat, but I’ve never really found one in stores that speaks to me…so I decided to make my own! Thankfully, a DIY Halloween door mat is so easy it’s almost scary.
See what I did there?
This is my favorite kind of project. It’s one that anyone can do, it can be customized endlessly, and it requires very little time. Oh, and it can be done while you mindlessly watch television in the background. Seriously, it doesn’t get any better than that.
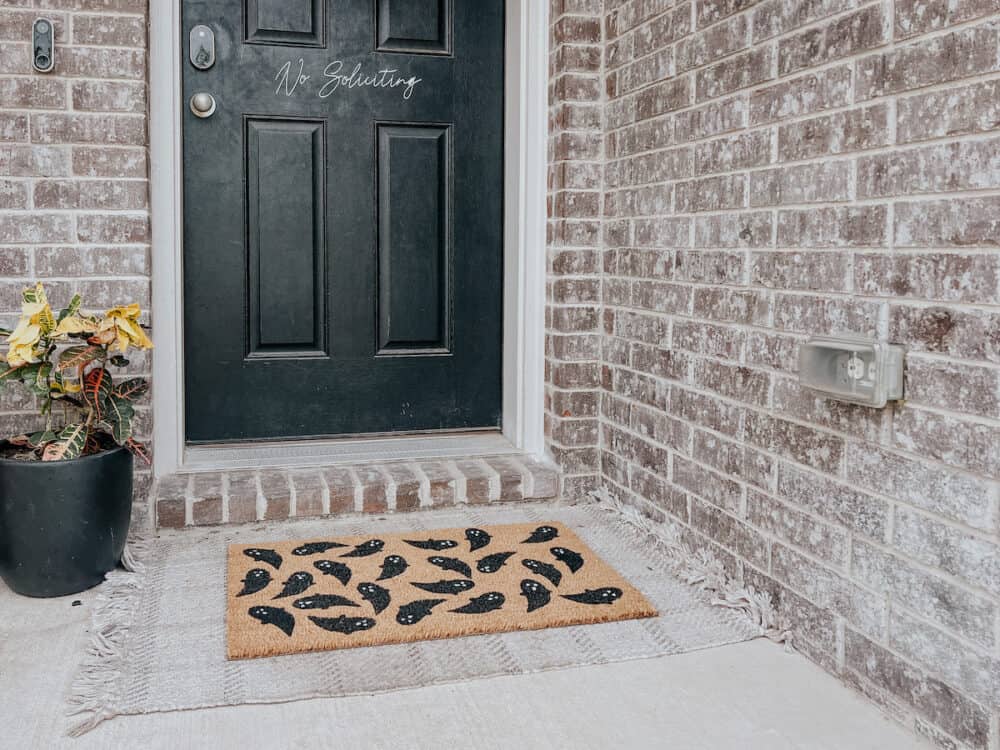
Isn’t it ADORABLE?! Let me show you how I made it.
DIY Halloween Door Mat
Materials Needed
I’m listing acrylic paint here because it’s the cheapest option, but if you actually have any black latex paint laying around, use that! I used black Porch & Floor paint left over from the playhouse camper, and it worked great.
Step One: Create (Or Buy) A Stencil
Your first step is to track down a stencil for your little ghosts. I used my Cricut for this, and I just searched “ghost” in the Cricut app to find my little ghost guy. I then cut out a few of them on pieces of removable vinyl and used those as stencils. If you don’t have a Cricut, though, don’t worry! Here are a few other ideas for you:
- Use painter’s tape: Use strips of tape to cover the door mat, then draw your ghosts on and use a sharp blade to cut away the designs. Remove the tape in the outline of the ghosts!
- Cut a stencil out of a piece of cardboard or thin plastic
- Draw a ghost on a piece of removable vinyl, then use a blade to cut it out by hand.
- Buy a ghost stencil – here’s a really cute option!
Step Two: Paint Ghosts on Door Mat
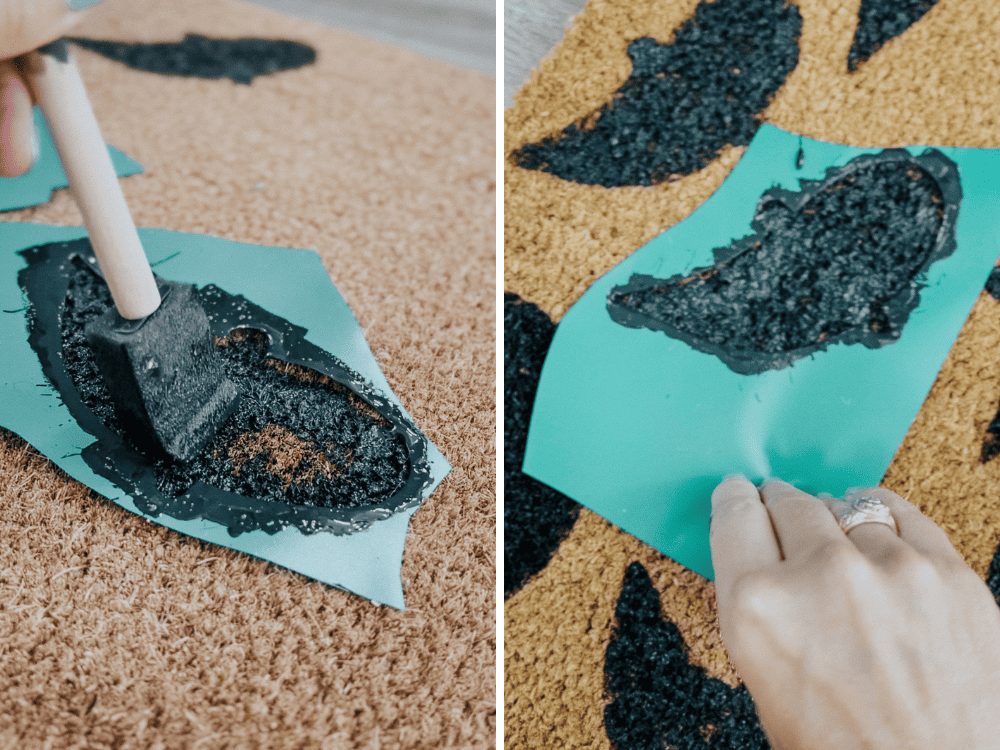
Now, you’re ready to paint! I tried not to overthink the placement of my ghosts. I just used my foam brush to dab the blank paint onto the door mat. With something like this, you don’t want to brush – you want to press the paint into the door mat with a dabbing motion. It will take a little more paint than you expect to get it fully covered!
If you can, it helps to have a few different stencils. I worked with two at a time so I could let one sit for a second before I moved it. I also made extra so I could change them out as they got saturated with paint. I honestly don’t think it was a necessary step though, so if you only have one stencil, don’t stress!
I kept adding until my door mat felt full, rotating the ghosts as I went so it felt random.
Step Three: Add Eyes & Mouth (Optional)
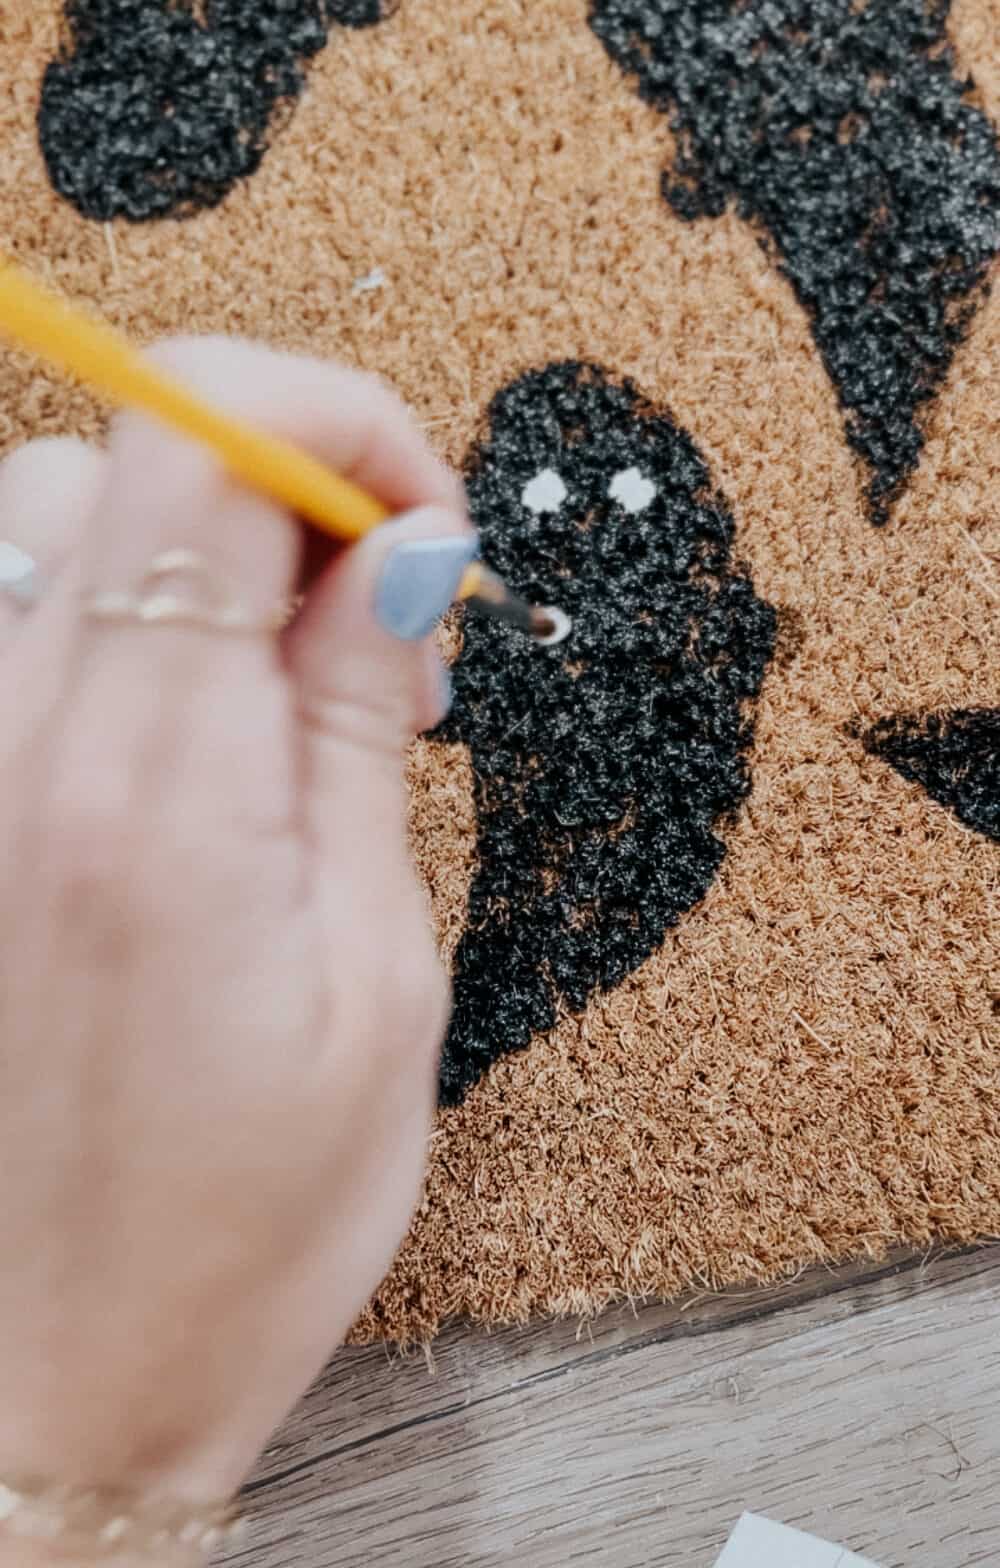
Once I was done with painting my ghosts black, I decided to add some eyes and a mouth to each of them. It’s totally not a necessary step, but they felt slightly incomplete to me without them.
This step took less than 5 minutes total. I just grabbed a small paintbrush from the kids’ crafting closet, and used some white acrylic paint. I did a small dot for each eye and an oval-shaped dot for the mouth. Don’t overthink this part, it should only take a few seconds per ghost!
Step Four: Let It Dry & Enjoy!
And that’s literally it! Let it dry and you’re good to go!
Of course, there are about a zillion different DIY Halloween door mat designs you could use here. I considered painting the word “BOO” in white on top of the ghosts, but I decided to leave it as-is for now. You could paint one big ghost, you could paint a different Halloween-y object… the options are endless.
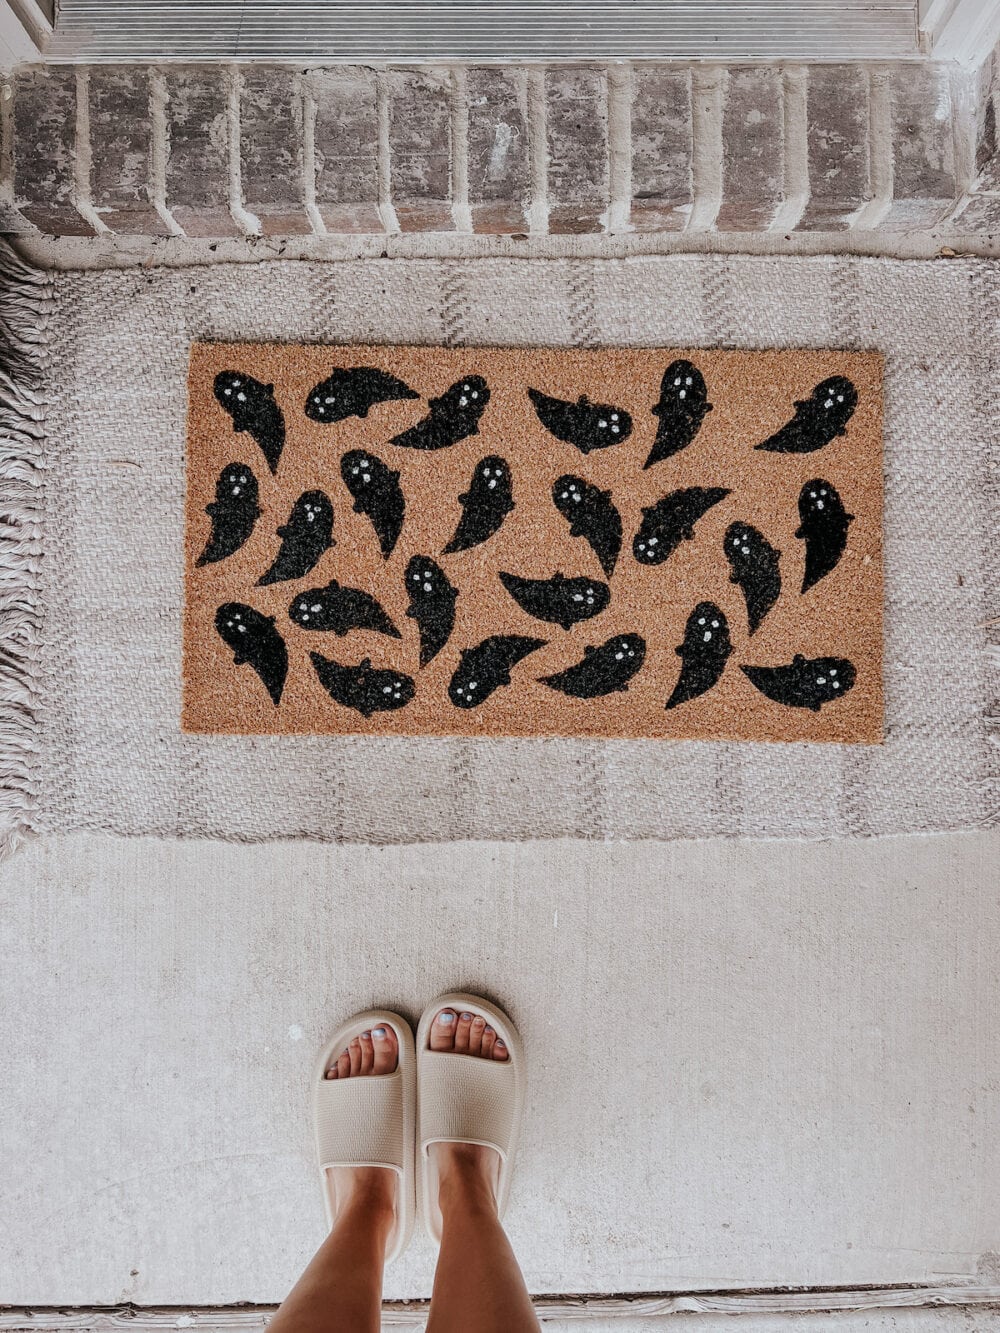
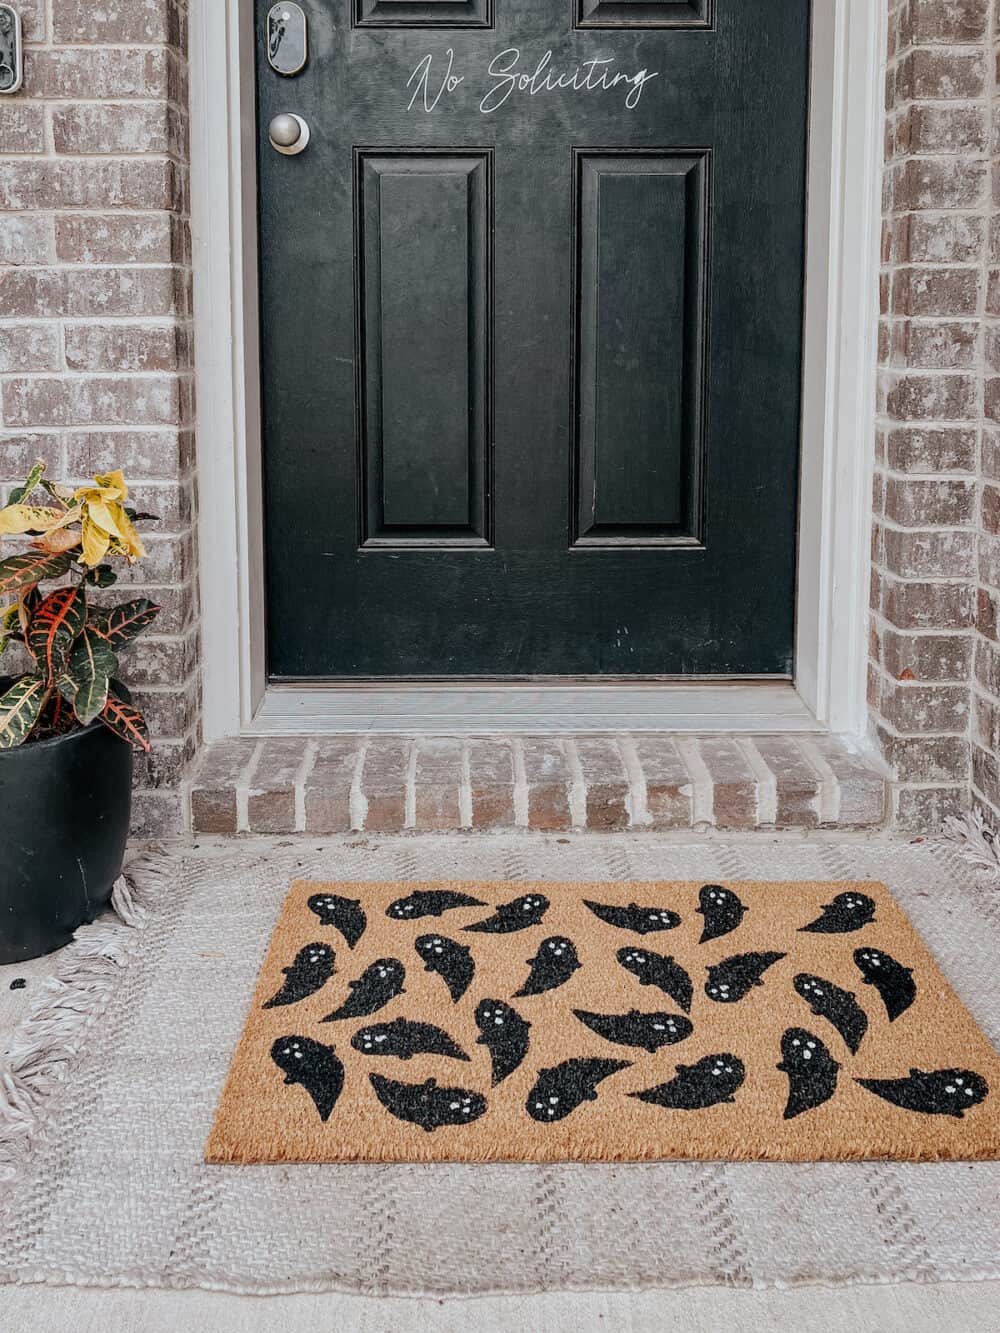
But I personally think my little ghost guys are pretty dang adorable.
I’ve still got a few more Halloween crafts up my sleeve this year, so stay tuned for aaallll the Halloween content you could ever desire!
