DIY Leather Drawer Pulls
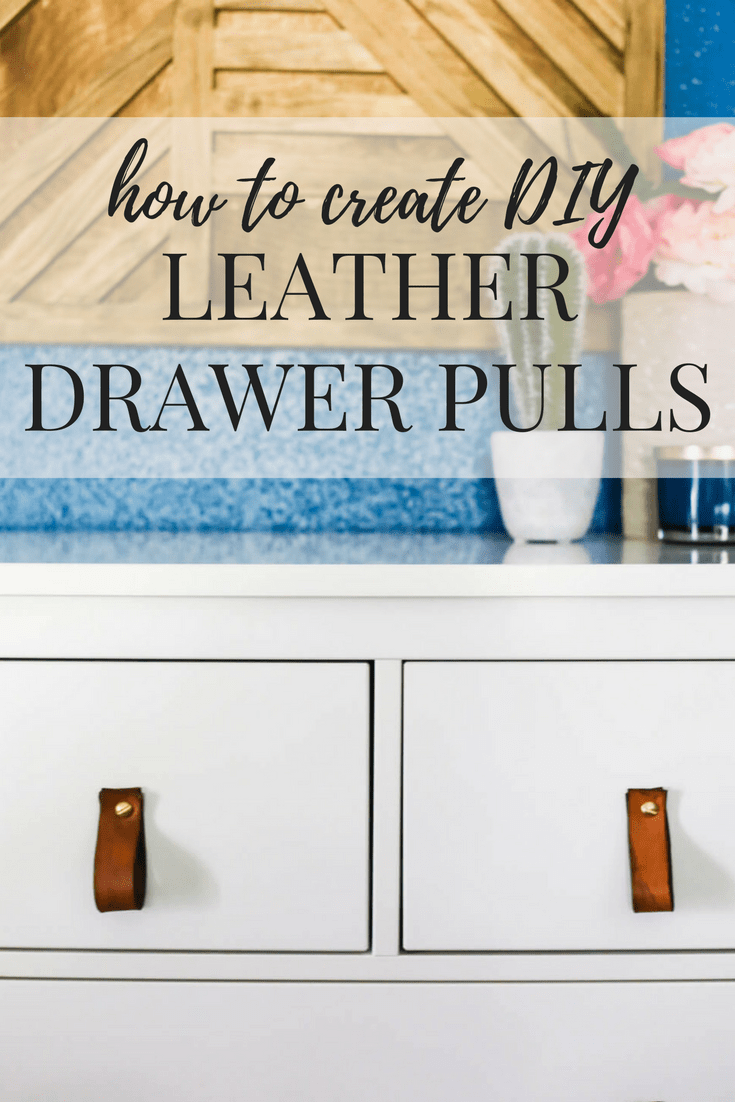
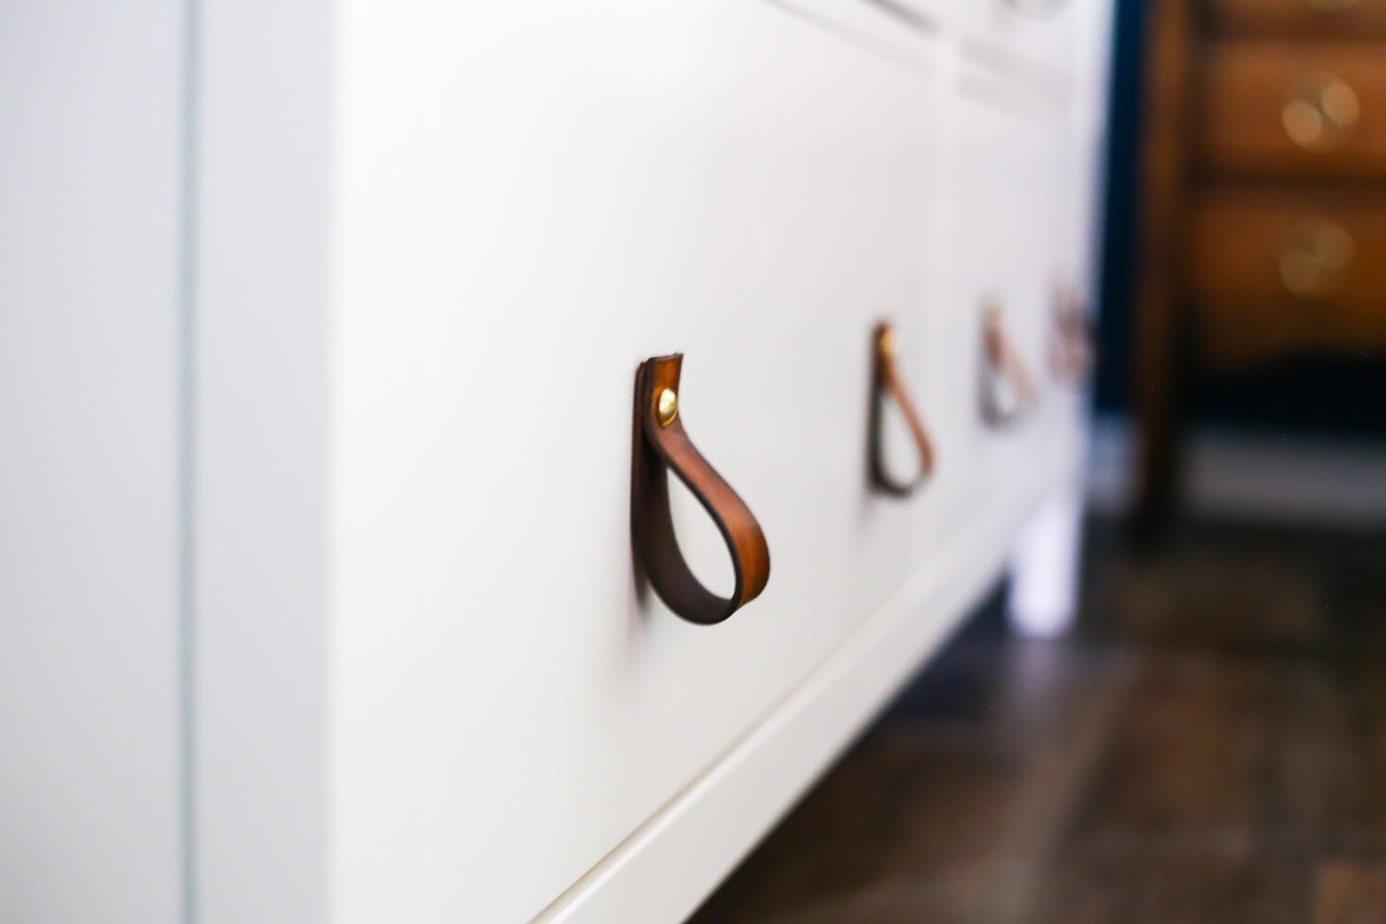
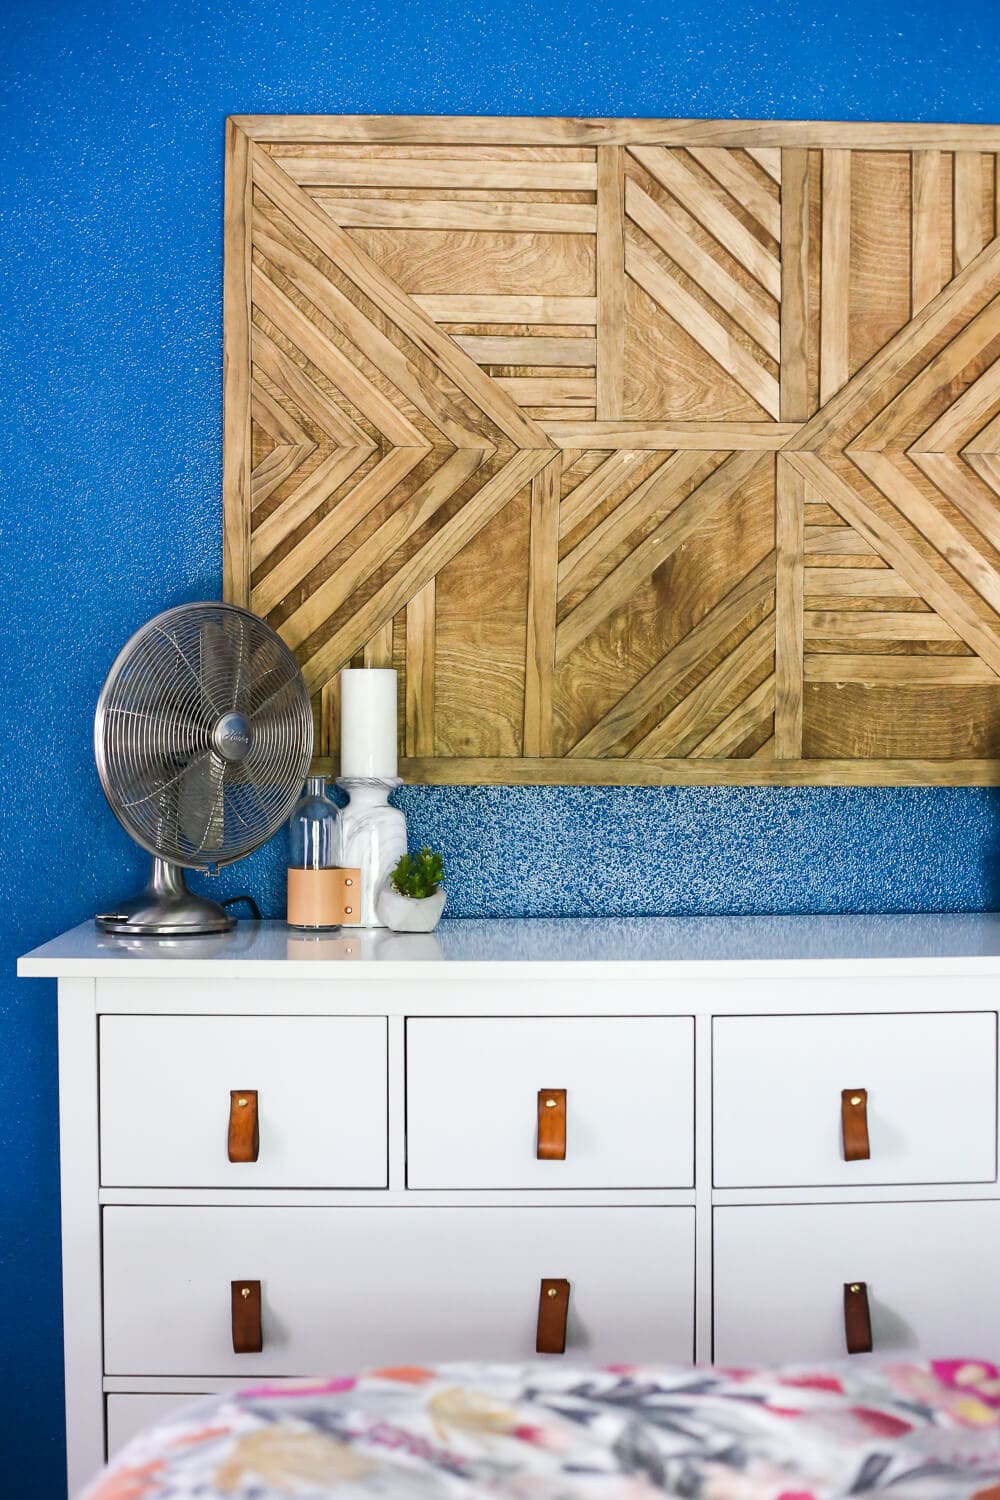
Last week I showed you the new art I created for our bedroom, and I gave a little sneak peek at how our old IKEA HEMNES dresser is looking a lot more grown-up thanks to some leather drawer pulls that I created. I promised I’d be back with the details, and today is the day.
This post contains affiliate links. Click here to see my full disclosure policy.
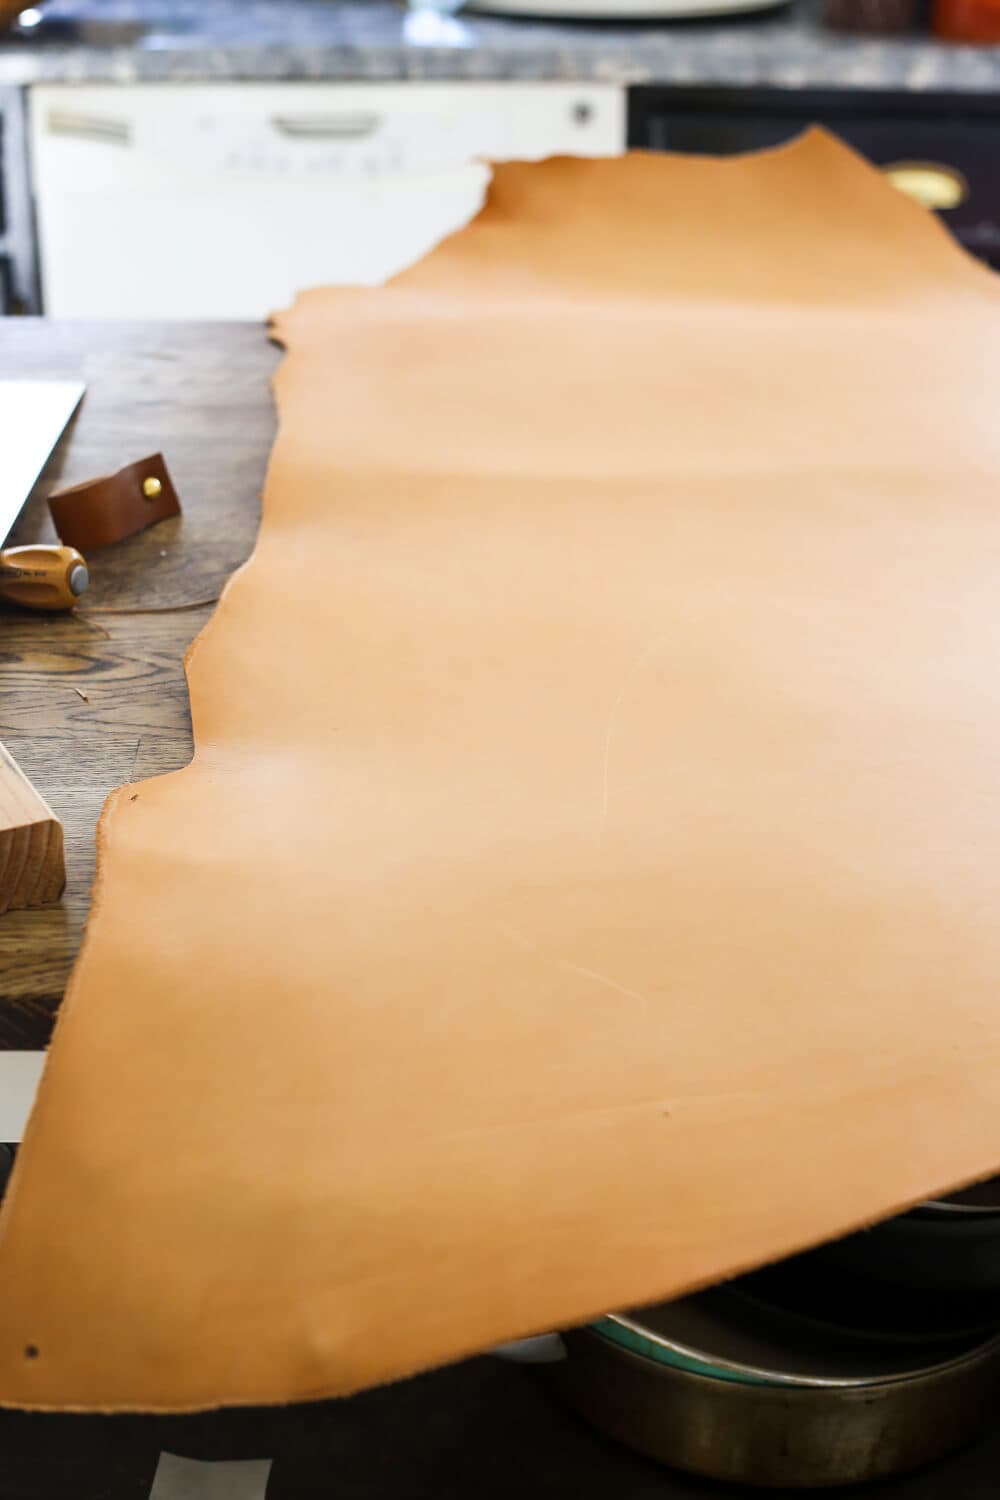
Now, before I dive into this tutorial, I feel like I have to give a disclaimer. This is not the “normal person” way to do this. The normal person way would be to buy some leather already finished and go from there. Apparently, our way is to do everything from scratch because my husband has taken up a sudden passion for learning leatherworking, so we’ve got practically an entire cow’s worth of raw, undyed leather and all of the supplies that go along with it.
He has issues.
But that’s okay. I love him, and it was fun. So, read the tutorial with that in mind – if you want to go wild and do the whole thing yourself that’s awesome, but you totally don’t have to. This works just as well.
How to Make Leather Drawer Pulls
Supplies for leather drawer pulls:
Note: You can easily substitute something like this for the first 4 items on the list, or even an old belt you have laying around!
- Leather
- Leather dye
- Leather sealer
- Wool daubers
- Leather awl (optional, but helpful!)
- Drill
- Lint-free cloth
- Utility knife
- Straight edge or ruler
- Gold screws and nuts
- Rubber mallet
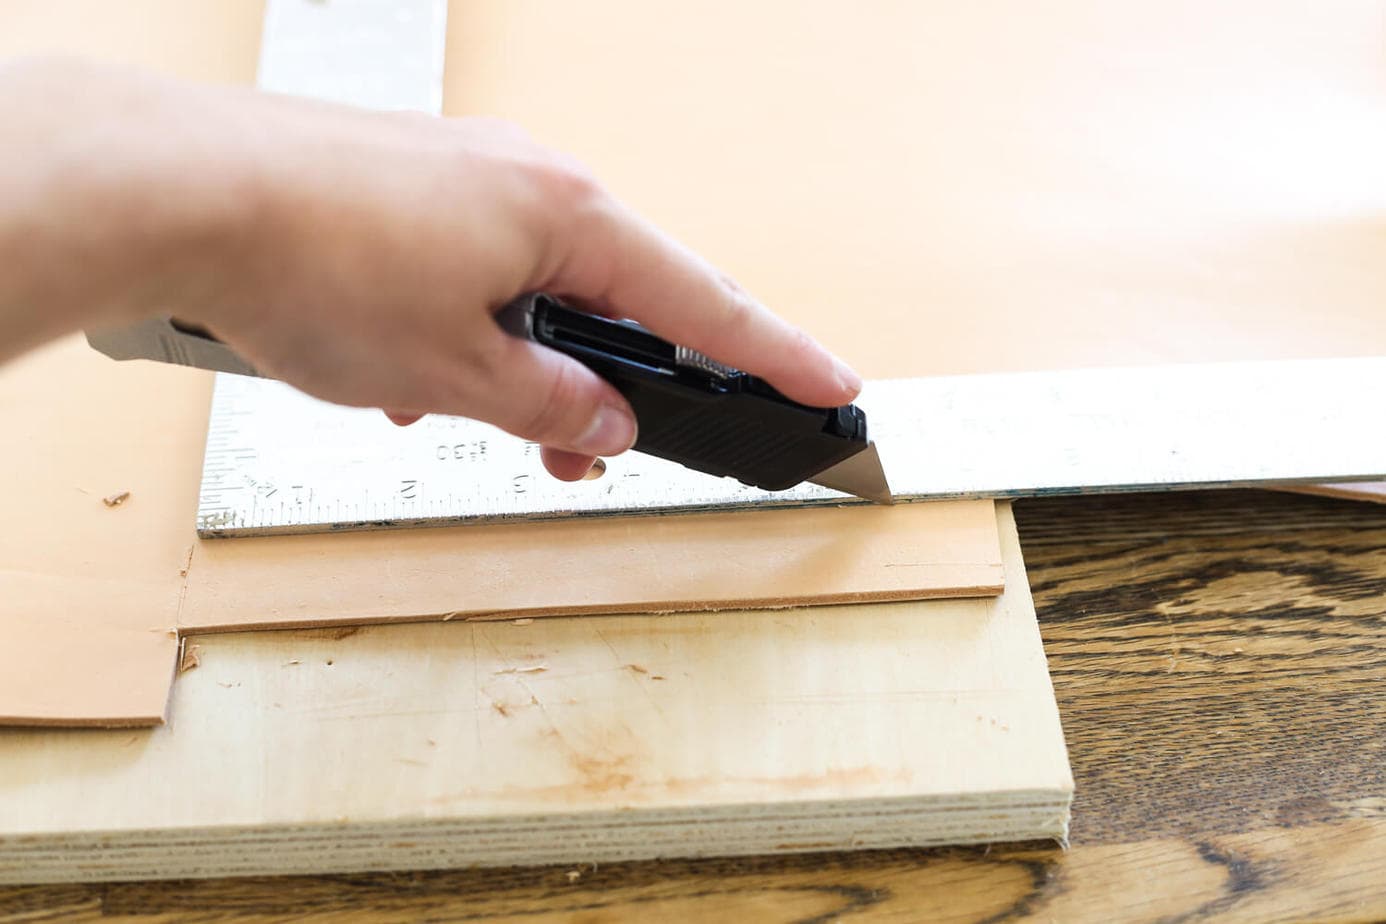
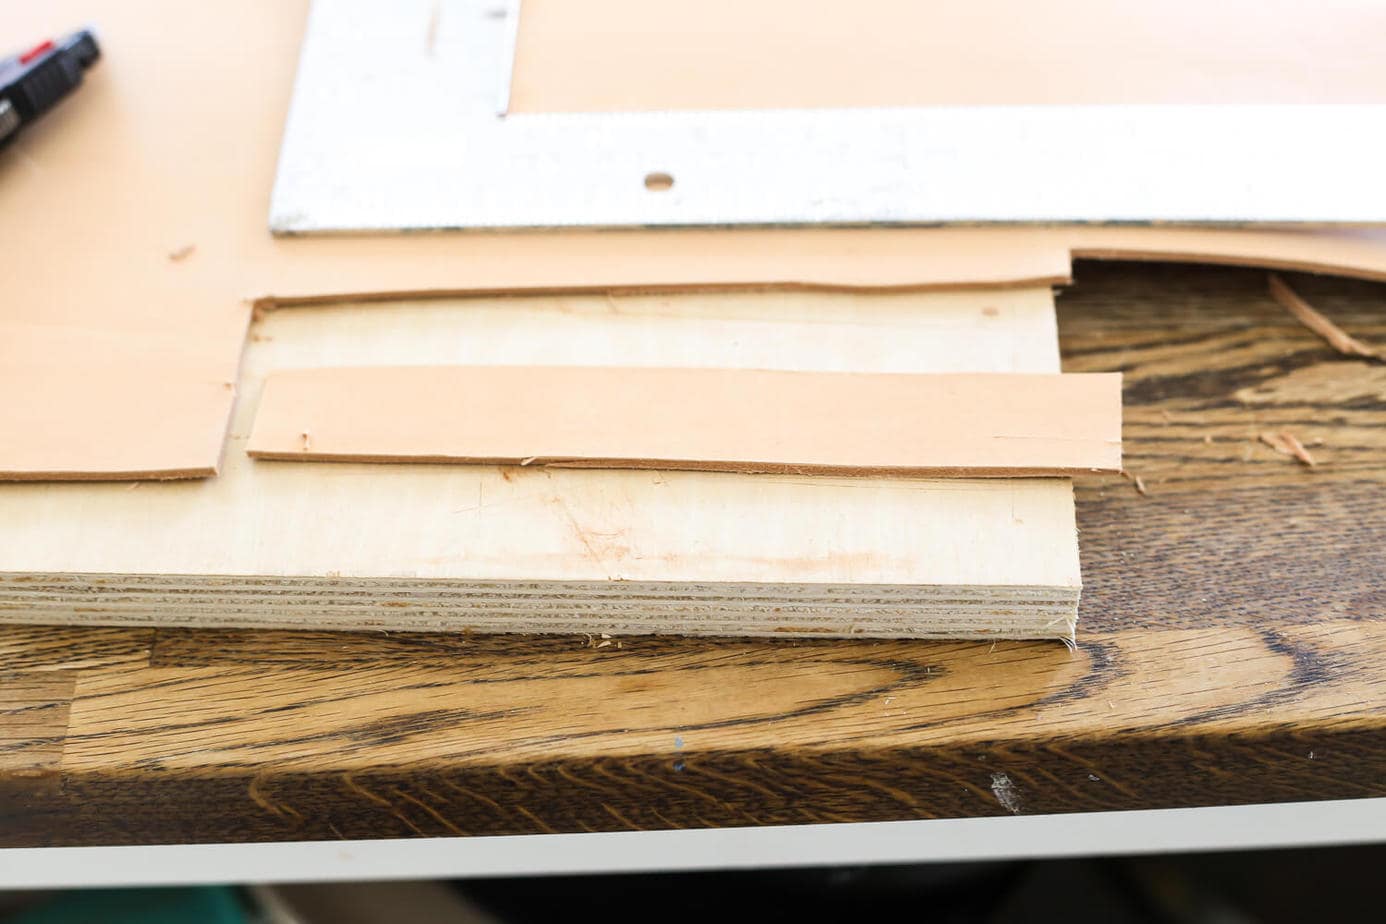
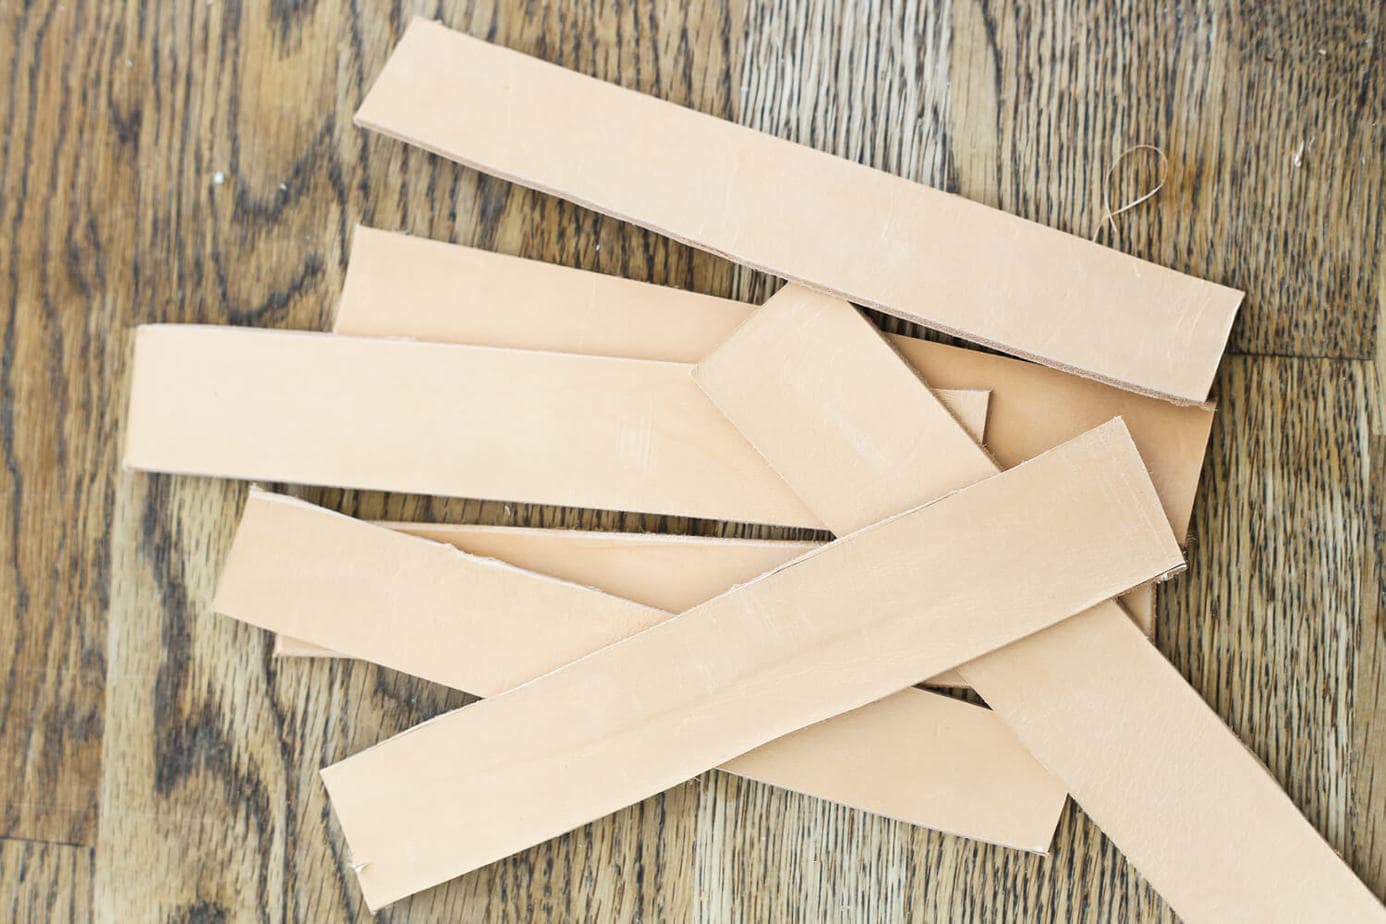
I started by cutting down my leather into strips that were about 7″ long by 1.5″ wide. Again, normal people will not have this much leather. Just buy the pre-dyed strips (or, if you want to dye your own – it’s fun! – get the strips, not a whole dang cow).
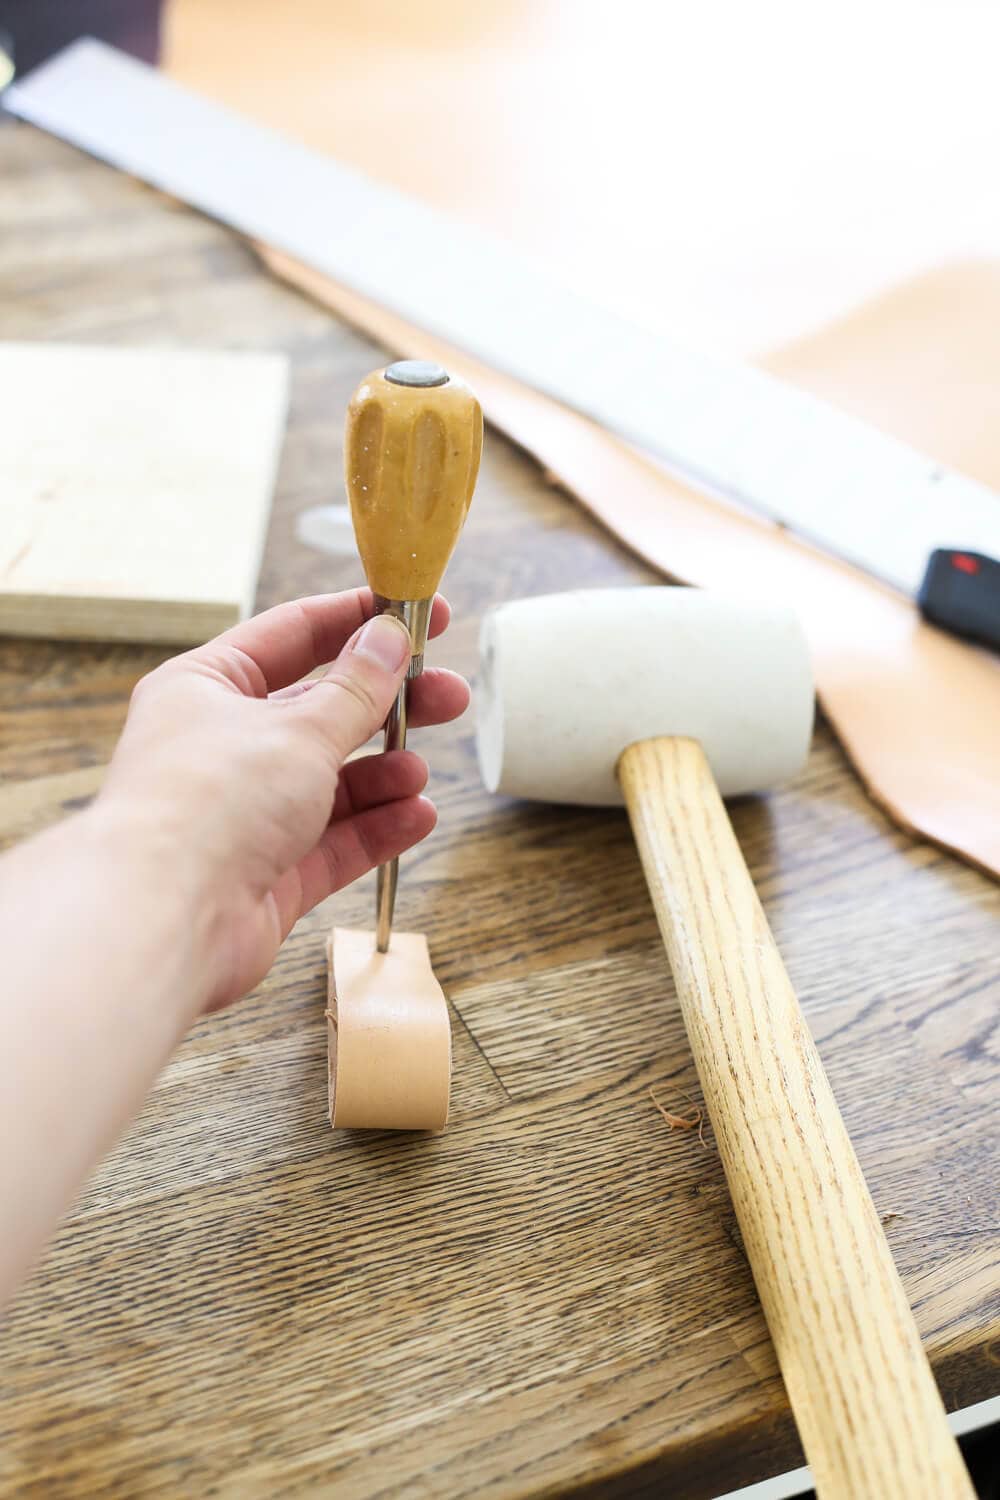
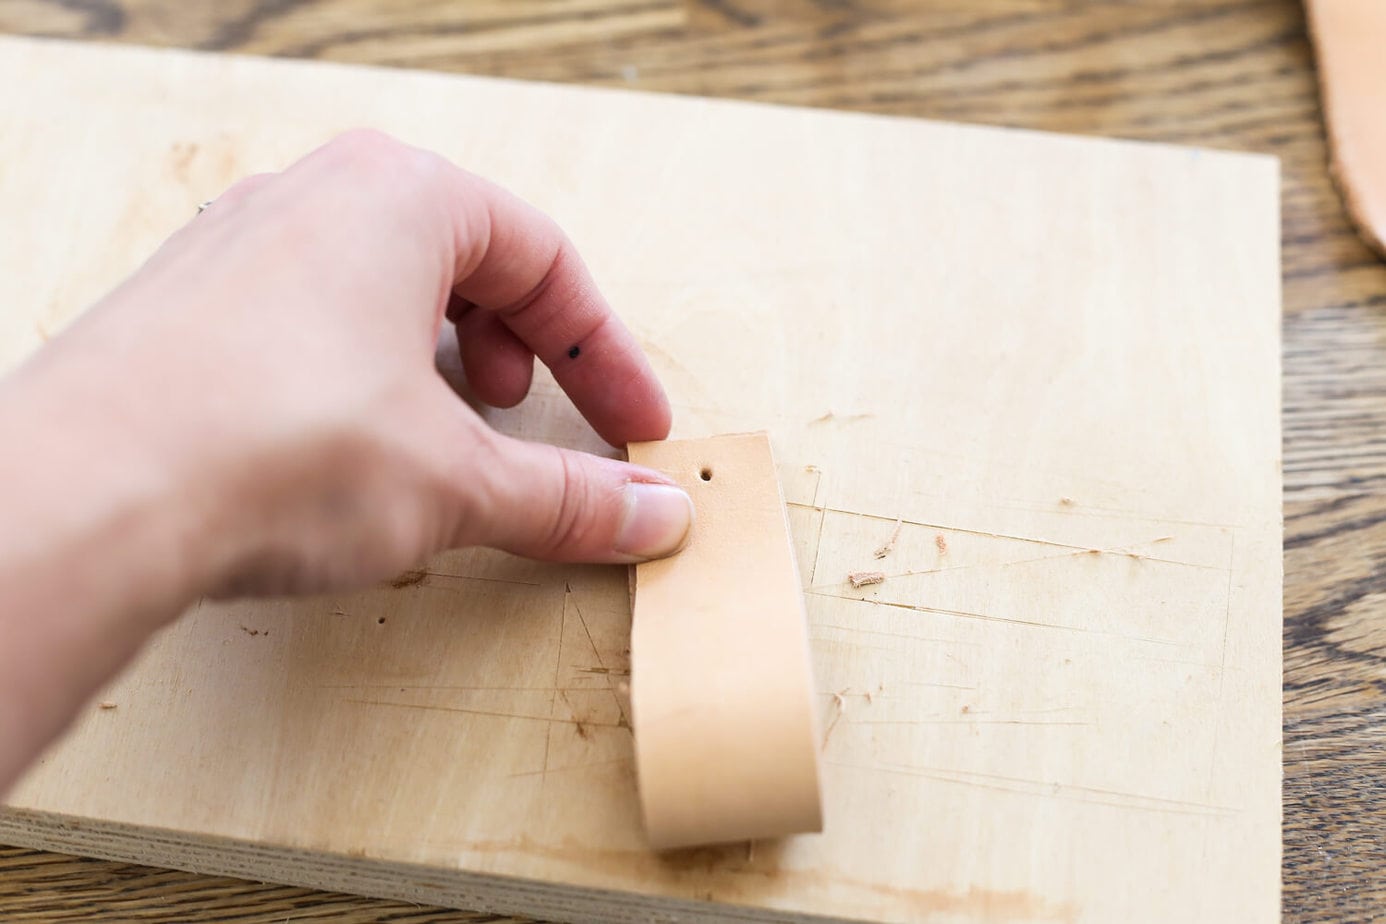
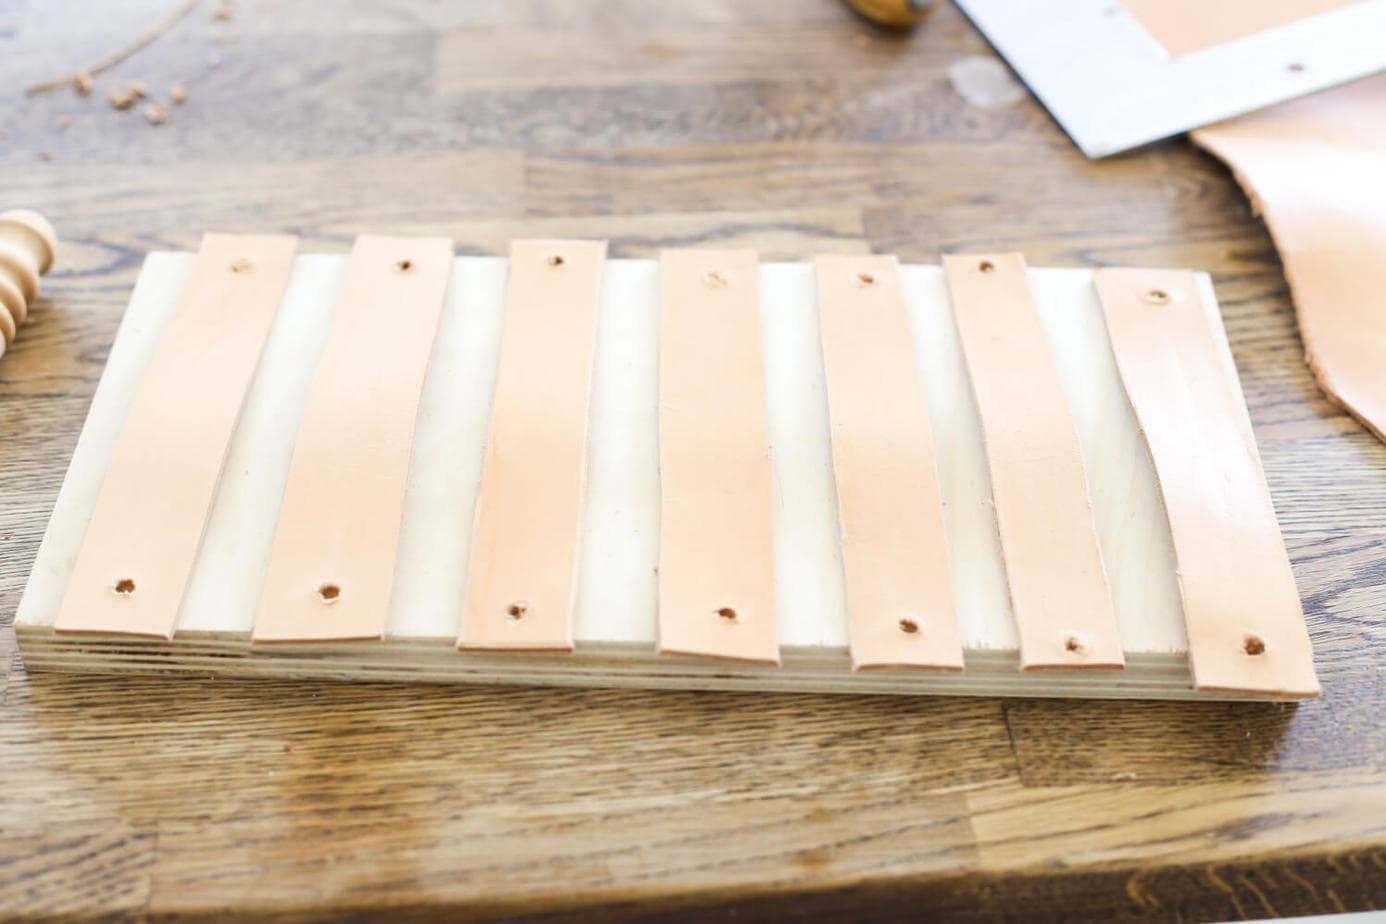
Once I had my strips, I created the holes. I just folded them in half and used an awl to poke the initial hole (place it where you want the hole, then hit it with your rubber mallet). Then, I went back in with my drill to create a hole large enough to fit the screws.
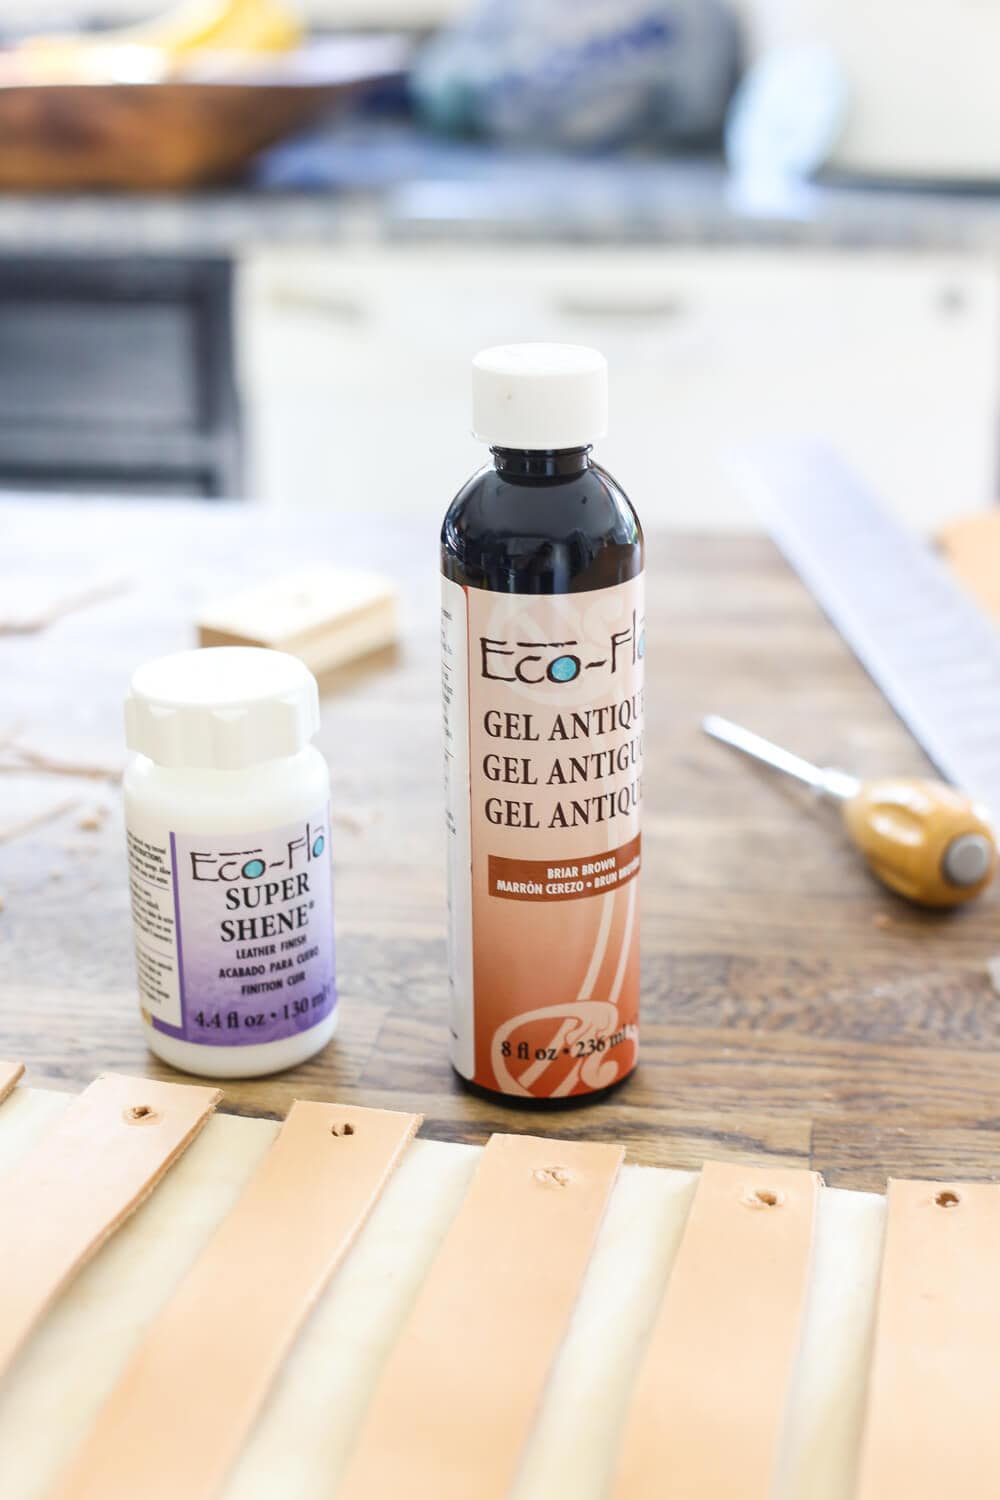
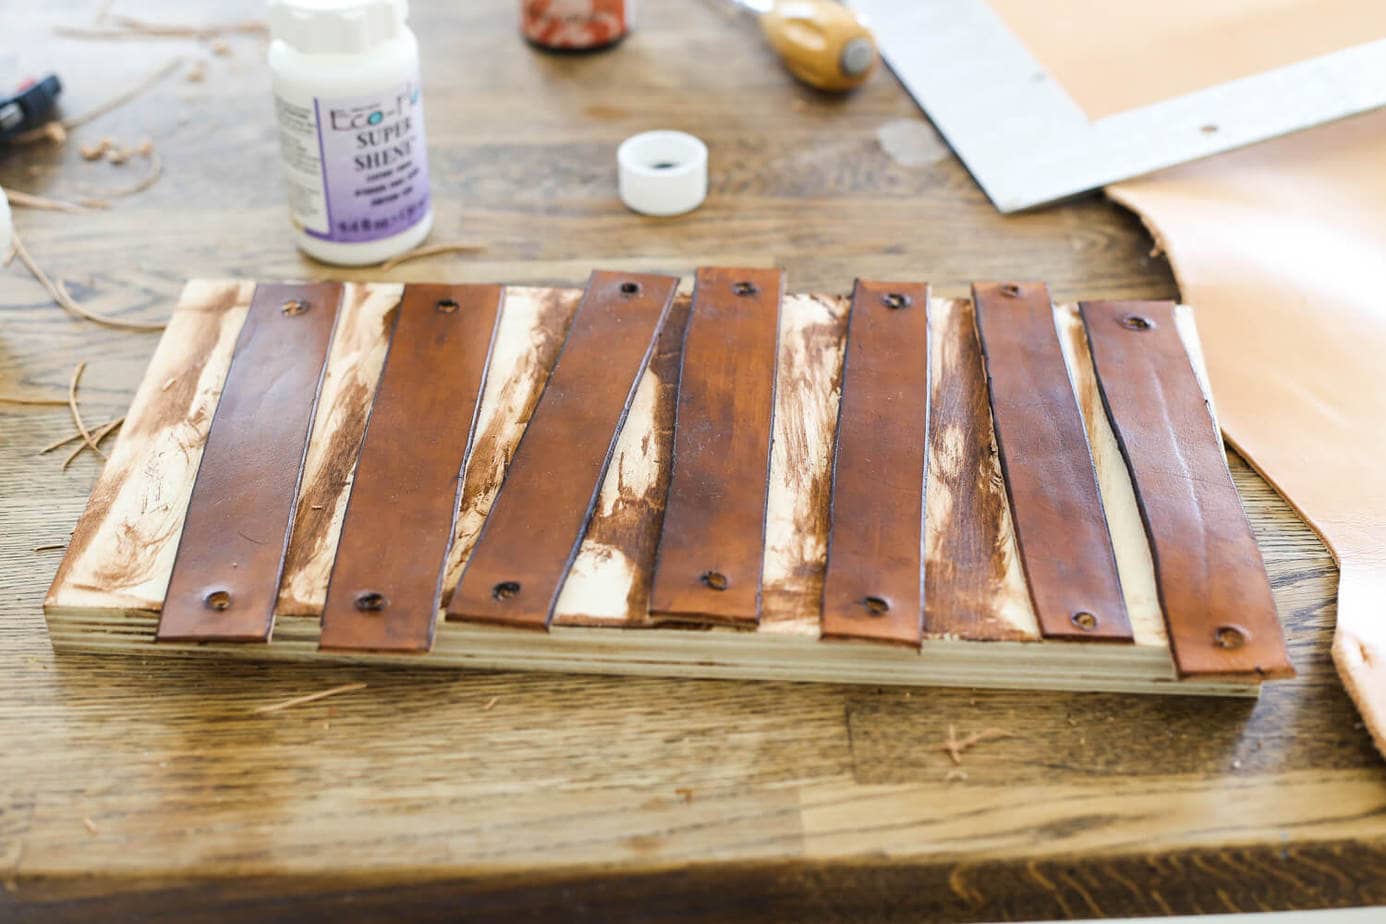
Then, I used a lint-free cloth to apply the leather stain. It works pretty much the same as regular stain – rub it on, let it sit a minute, wipe off the excess. It was pretty satisfying to watch this gorgeous color emerge from the light tan leather! If you’re dying, don’t forget to dye the back and the sides as well. I almost forgot, and had to go back and re-do it – annoying!
Finally, use your wool daubers to apply the sealer. It all dries pretty quickly – I applied the sealer about 20 minutes after dying, and they were good to go after another 30 minutes or so.
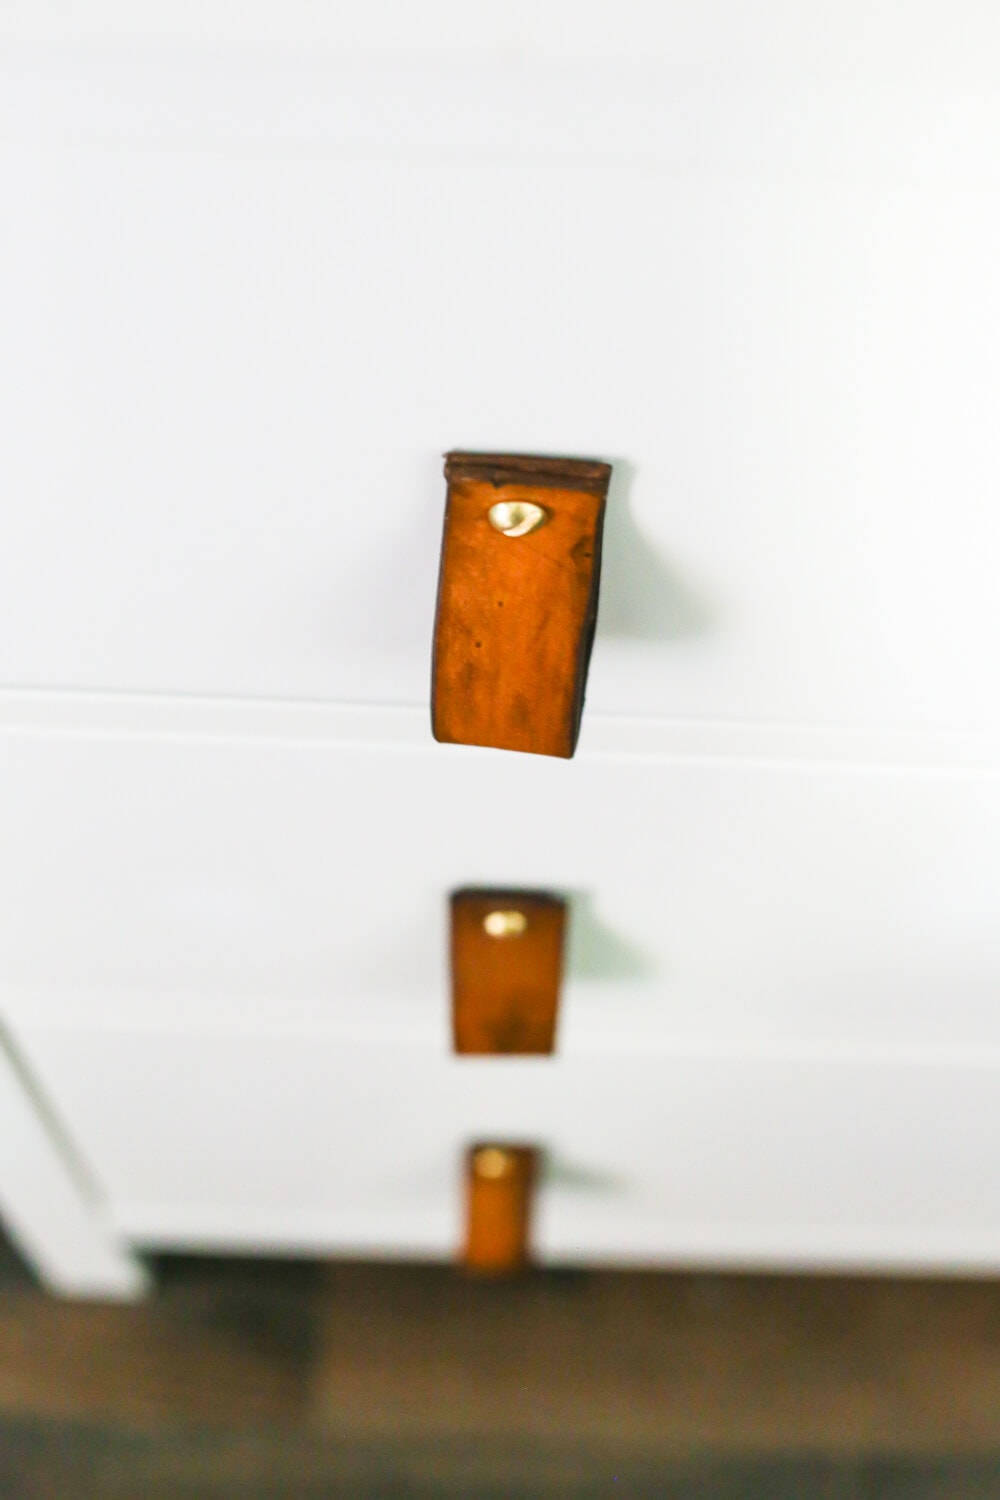
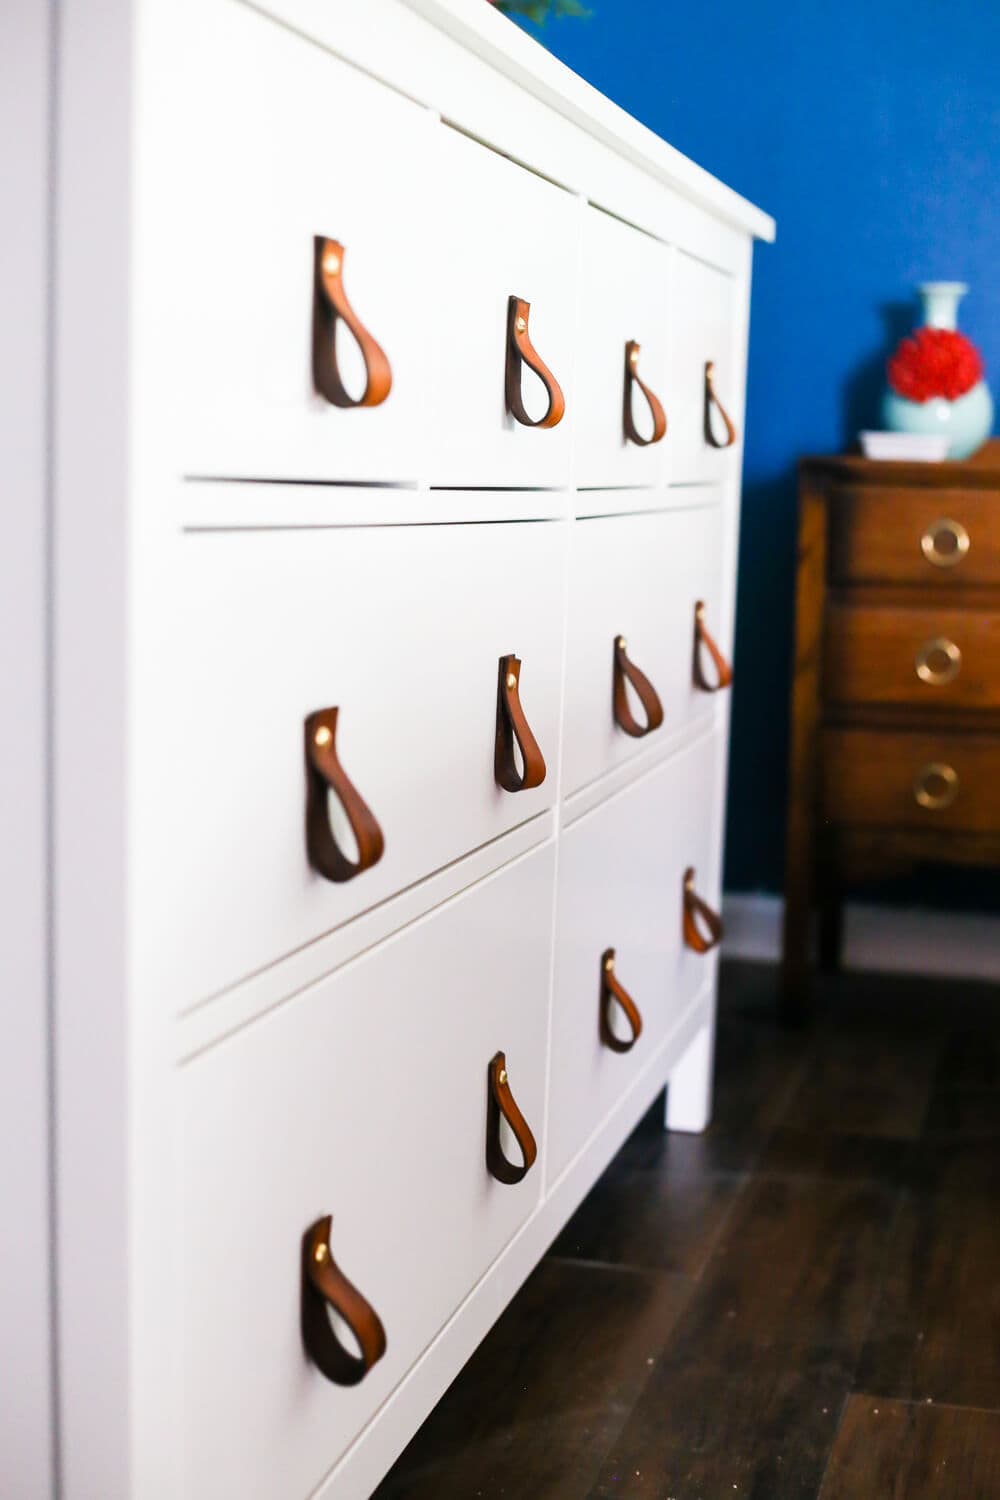
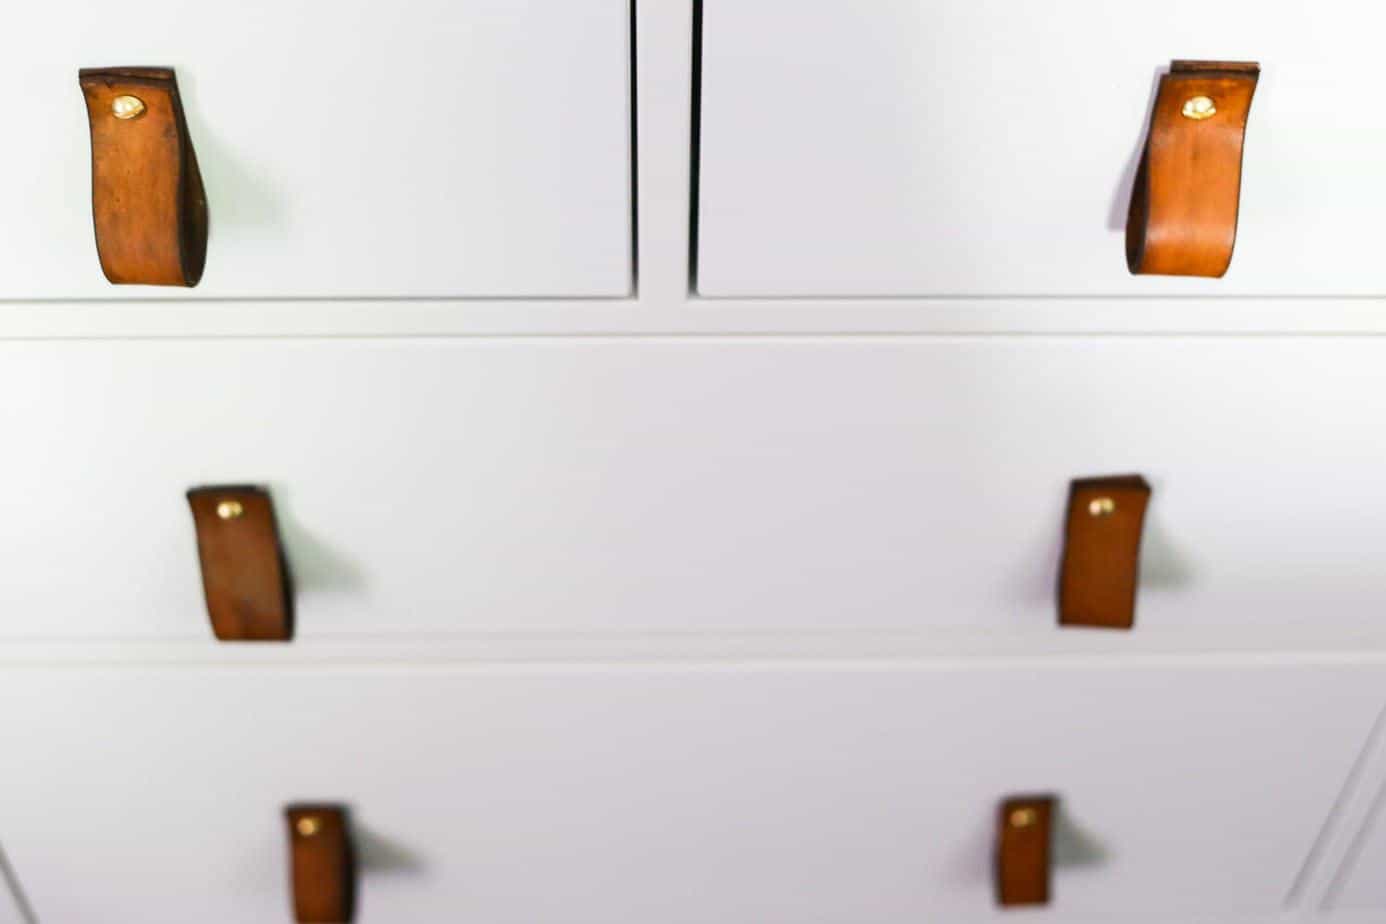
Then it was time to install them! I just slipped the screws into the holes of the leather (you may have to use the mallet to help them go through all the way), pushed it into the holes on my drawer (we had to use a drill to make our holes slightly bigger so the screws would fit), and threaded the nut onto the screw to hold it all in place.
And just like that, my dresser went from boring to hubba hubba.
I’m in LOVE.
Because they were all cut and dyed by hand (instead of using pre-cut and dyed leather strips) they have a very rustic and handmade feel to them. I love that touch, and for me it really makes it feel even more special. Maybe I’m just trying to convince myself of that because I’m subconsciously annoyed that I couldn’t just use the dang pre-made strips, but I really do think there’s something cool about knowing these are completely handmade.
But, now I’m curious. Does your significant other (or do you) have a tendency to go all in on a hobby before even beginning it? Seriously, my husband bought all of this stuff without even knowing what project he wanted to do first.
He’s a crazy person.
But he’s my crazy person. And goodness knows I have plenty of my own, um, quirks.
Anyways, uh…aren’t my drawer pulls pretty?!
But seriously – spill on the quirky hobbies!

My brother literally just send me a message that was a meme tweet he saw. Step 1, get an idea. Step 2, spend a week researching the idea and required tools. Step 3, buy the tools. Step 4, really enjoy the new hobby/task for a week, start buying more equipment. Step 5, lose motivation, go back to step one with a completely new thing. My reply…yep, totally! But, I have a lot of really cool tools. lol. I love the all in approach to things.
I love this!
Thank you!
Fantastic idea. They look great. Pinned.
These look great. We have the same dresser and when it was new I switched the knobs for pretty glass ones which I still like but I will also bear this in mind as I love this completely different look.
My husband doesn’t do anything even remotely creative but I make up for it! My worst habit though is saving things in case they ‘come in’ for a project. I have a piece of leather rescued from the back of our old leather sofa before it fell apart which I plan to do soemthing fabulous with one day!
Thanks, Julie! I bet the glass knobs look great, too. I definitely tend to hoard things for possible projects too, haha – I think that’s just a byproduct of being a DIYer! 😉
These drawer pulls are the bomb!!! What a great idea!
Thank you!
I absolutely love these! They turned out great and look so professional. I think dyeing them yourself was totally worth it. 🙂 And yes my spouse likes to go all in on projects, too. When we built our deck last summer, he spent forever drawing up plans and consulting with his fellow engineer friends to make sure it was absolutely perfect. Totally worth it!