DIY Shoe Cubby Bench
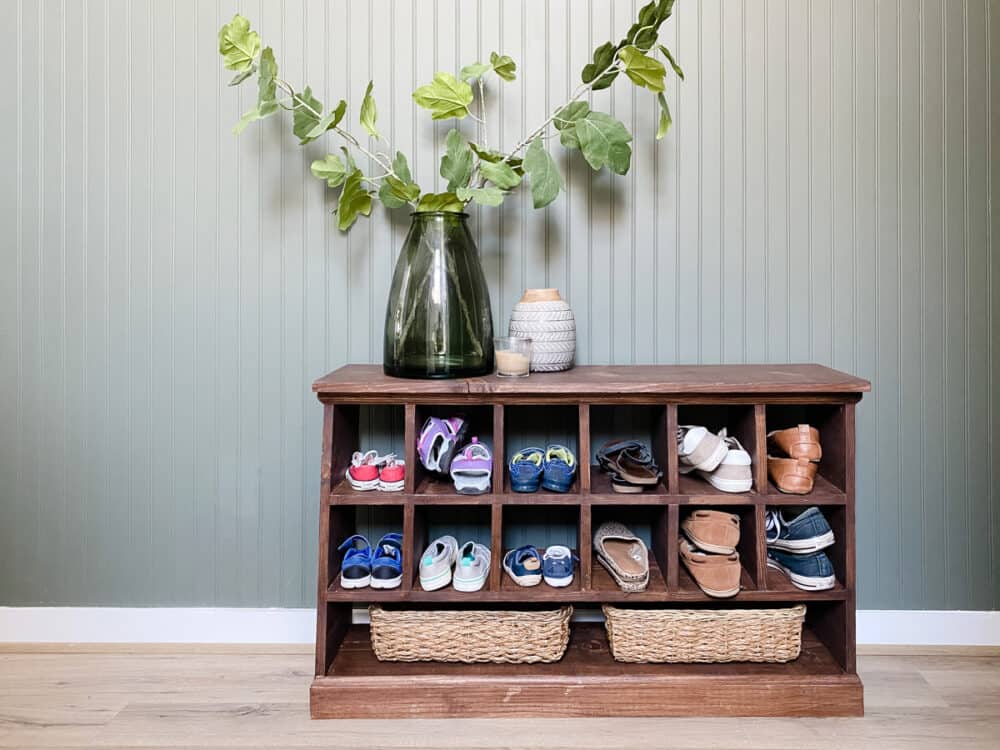
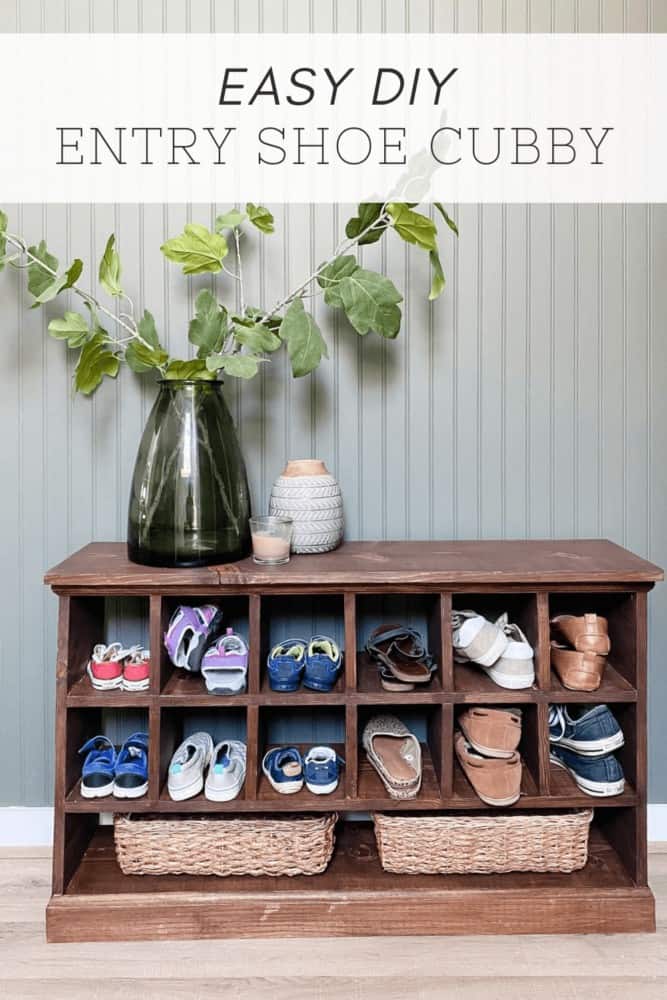
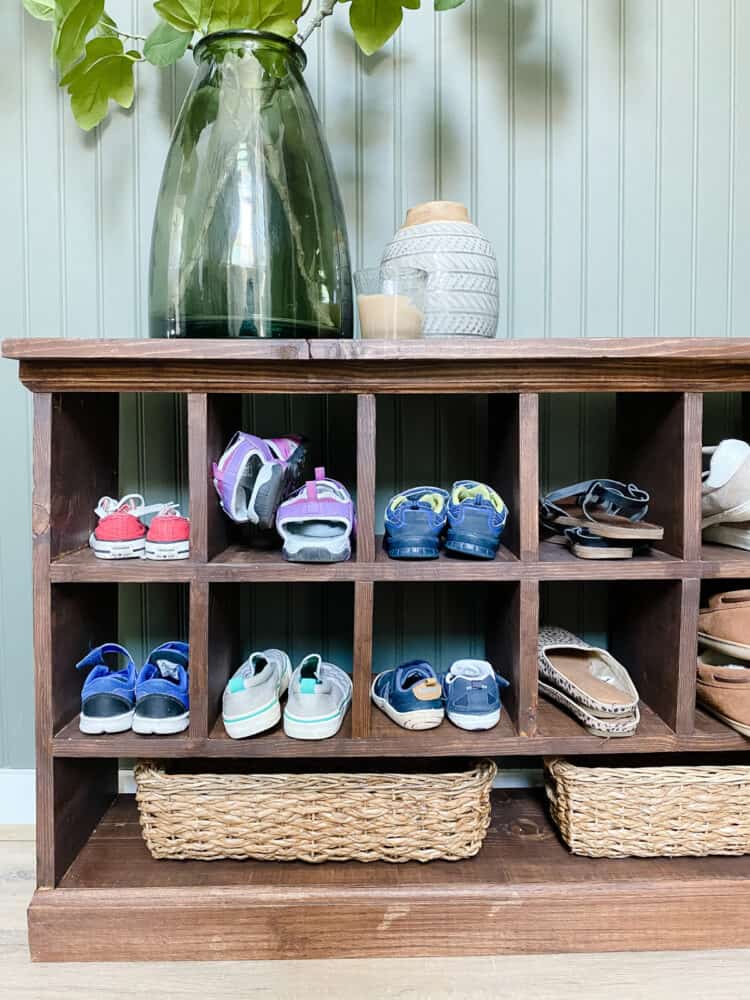
All the details on how to build this adorable, functional shoe cubby bench. It’s perfect for entryway shoe storage! This post is sponsored by Kreg and Build Something.

Does your family constantly leave shoes (and socks) scattered all over your house?
Do you feel like you’re always picking shoes up and wish you had a more dedicated, central spot for everyone to put them?
I’ve got your solution right here, friends!
(Do I sound like an infomercial? Sorry, I do that sometimes when I’m excited)
Have you ever noticed that most kids are drawn to putting things into cubbies? (Am I doing it again?) I’m not sure why but my kids love to have a dedicated little spot for things and are way more likely to keep up with putting their junk away when there’s a little cubby to put it in.
I don’t question it, I just roll with it.
So, when I was working on coming up with a solution to the shoes all over the place, I decided to build this little shoe cubby – the intention was to put it in our entry closet to corral all of the shoes we wear on a day-to-day basis but, long story short, I mis-measured and it didn’t fit.
Whomp whomp.
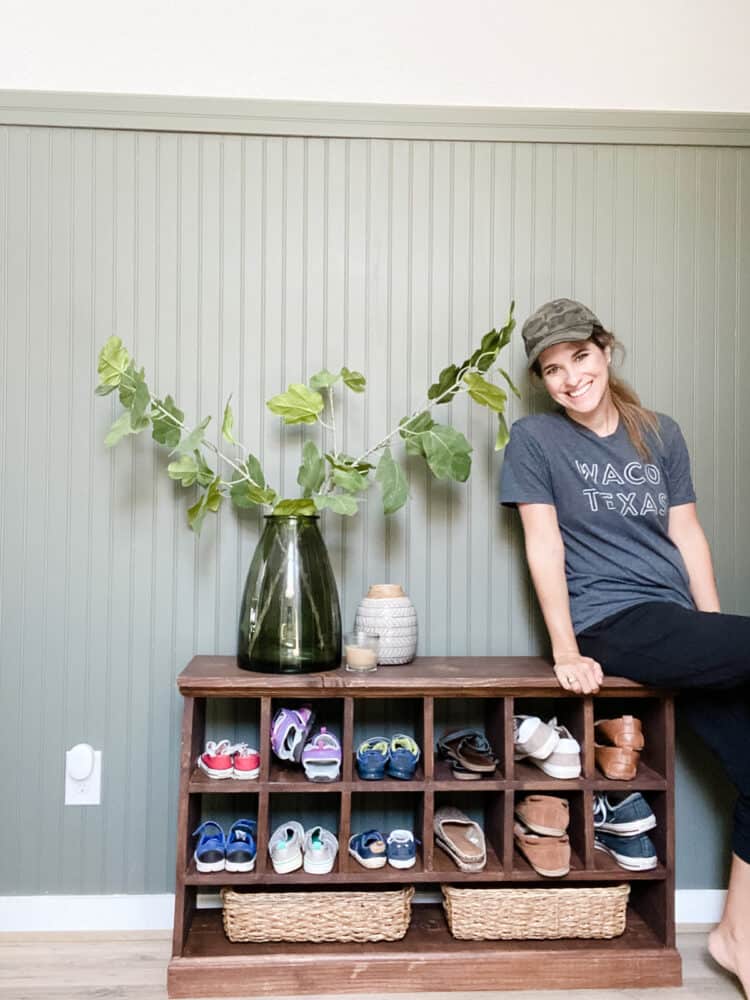
But, that doesn’t make it any less beautiful or functional, so today we’re just gonna focus on the good and celebrate that I built this shoe cubby all by myself! With no help!

I mean, having a shoe cubby doesn’t guarantee that your family’s shoes will actually end up in the cubbies, but it certainly doesn’t hurt right?!
Let’s cut right to the chase – if you want to go straight to the plans for this post, just click here for all of the details! If you want more info first, keep reading!
This project was really quick to put together – I built it from start to finish in one afternoon, and knocked out all of the sanding and finishing during Grant’s nap the next day! I’m still learning and still have a lot of learning to do when it comes to building furniture, so there are definitely some mistakes and imperfections and I learned a few things while building it. But, that’s half the fun of learning a new skill – practicing, getting a little better each time, and learning as you go! If you want to watch the process of how this project came together (along with all the mistakes, issues, and sitcom-level shenanigans), click here to watch this Instagram highlight!
One of the reasons I have really loved partnering with Kreg this year is it’s that it’s a tool that really makes woodworking feel more accessible to me. The Kreg Jig is easy to use and it’s great for beginners and experts alike! This partnership has really been giving me a really great opportunity to hone some of my building skills, get creative, and try things that I might normally be too intimidated to do on my own.
I mean, can you even believe I built this entire thing by myself? Without help?? Because I barely can!


If you want to give it a whirl yourself (and you totally should – if I can do it, I promise you can too), CLICK HERE for the free plans over on Kreg’s site, Build Something.
While you’re there, I always recommend you take a minute to poke around and look at some of the other building plans. There are thousands of incredible plans for just about any building project you could ever dream up, and it’s a great place to find inspiration or get some help if you know you want to build something but aren’t sure where to start.
I’ve also worked with Kreg for the DIY book ledges I built for Grant’s room, and the nightstands I built for our bedroom – it’s always my go-to tool when I’m building furniture because it makes everything a little bit easier!
Now, if only I could correctly measure things so they actually fit in the space I build them for. Details, right?!
