
DIY Workbenches in the Workshop
Last updated on July 17th, 2024 at 11:27 am
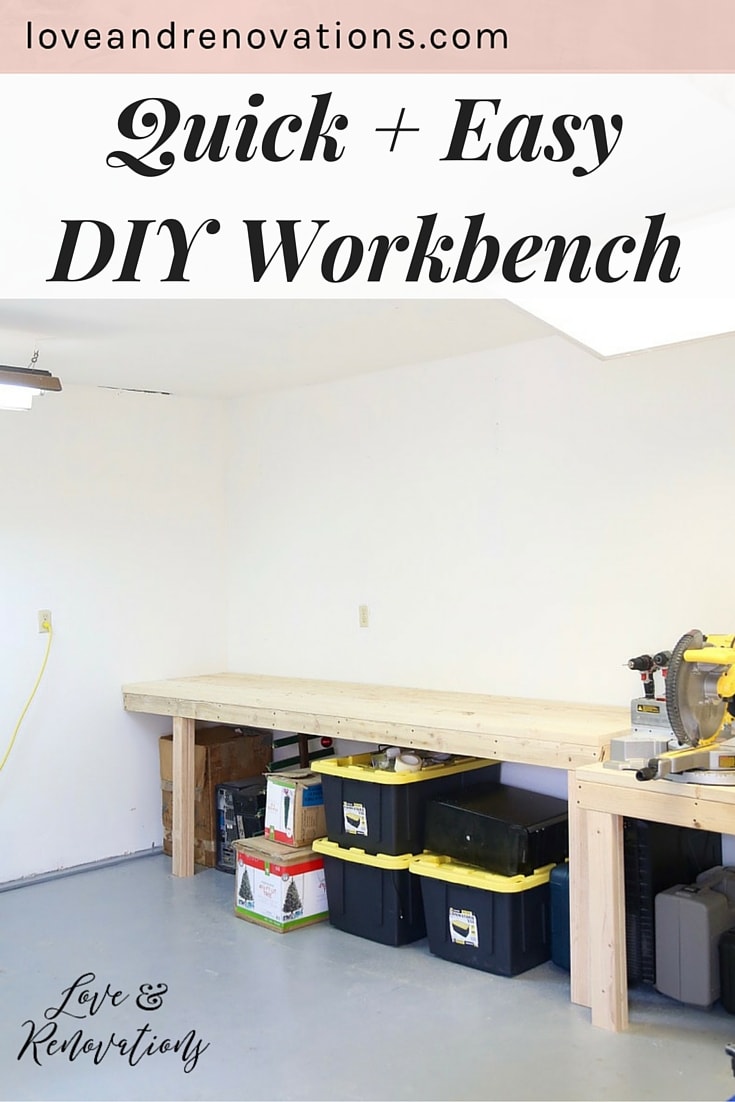
I recently build a simple DIY workshop bench in our outdoor workshop. Here’s a look at how they turned out!
If you’ve been following along with our workshop transformation, then you know that it’s been kind of a nightmare project so far. We had so many different issues with the flooring, it took about three times longer than we originally anticipated. We were so over this whole project before we really even got started!
But, we decided to keep pushing forward. Because the entire contents of our workshop were laying in our backyard. So, it was just about time to get it all done. Luckily, my husband is a total DIY whiz. He threw a quick and simple DIY workshop bench together in just a couple of days. It was such a relief after the headache that was the rest of the room!
How to Build a DIY Workshop Bench: The Plans
Materials needed:
- Three 2x4s at the desired length of your workbench (our longer one is 12 feet)
- Eight 8-foot 2x4s
- Five 12-foot 2x6s
- Box of 3-inch screws
- Drill
- Miter saw (you can also have your local hardware store cut your boards for you)
- Impact driver
- Clamps (we used both F-style and ratcheting clamps)
Step 1: Build a Frame
Corey started by building a frame for the top of the workbench. Nothing fancy, just a long rectangular frame built from 2x4s.
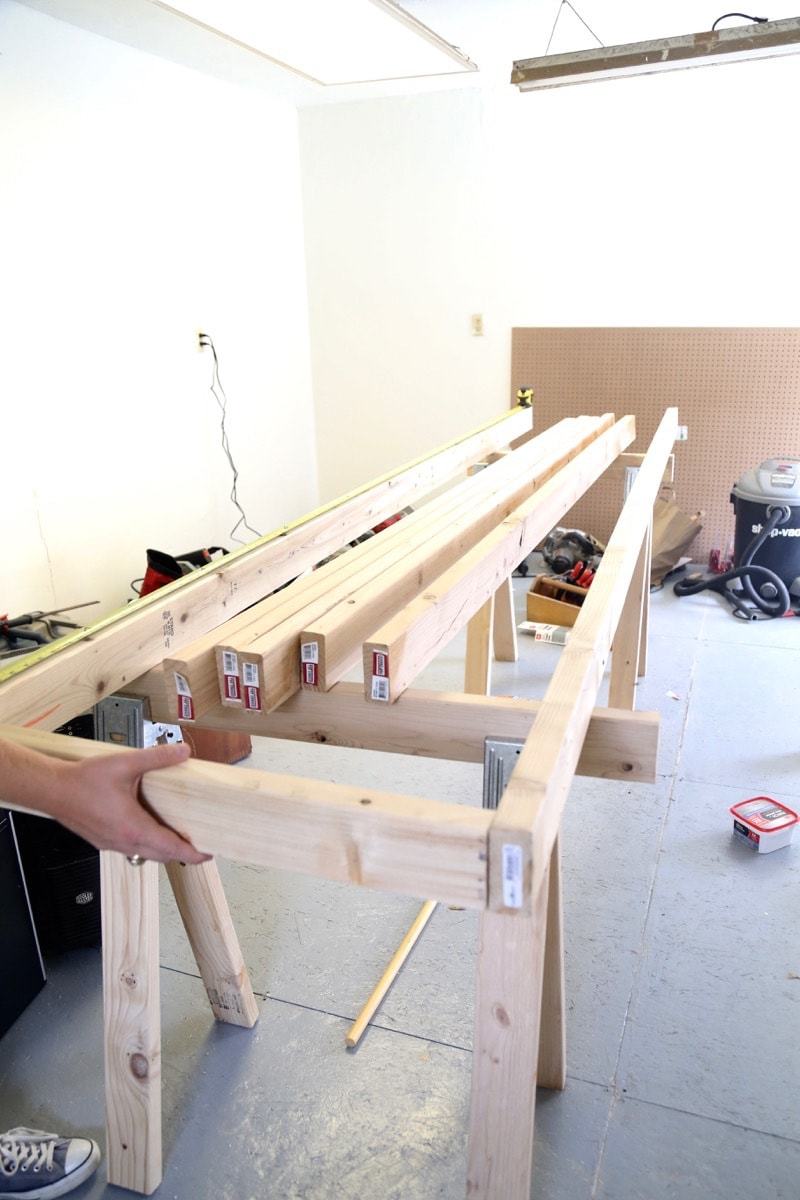
Once the frame was built, he went down the side of the boards and marked every 16 inches for the supports.
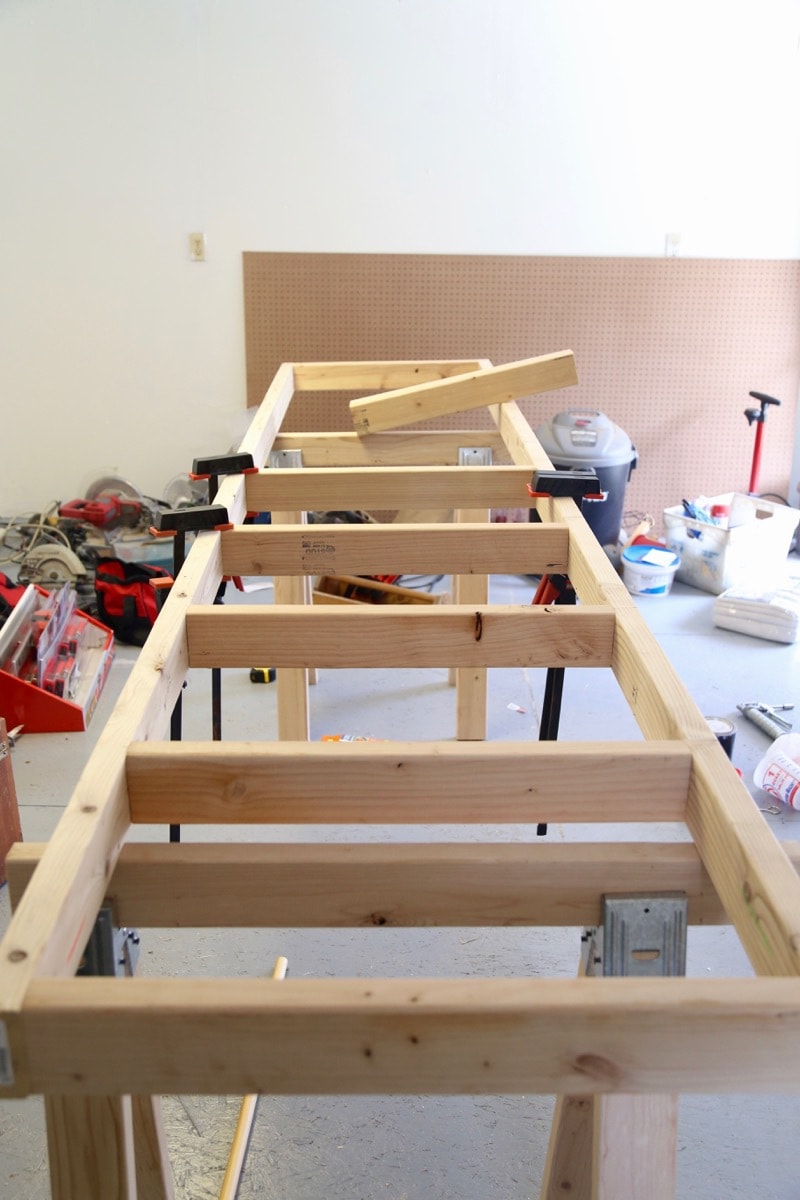
Step 2: Add Support Boards
Next, he went back in and added support boards by drilling them in. He used clamps on each piece as he worked. This helped to ensure nothing moved while he was drilling the rest of the table.
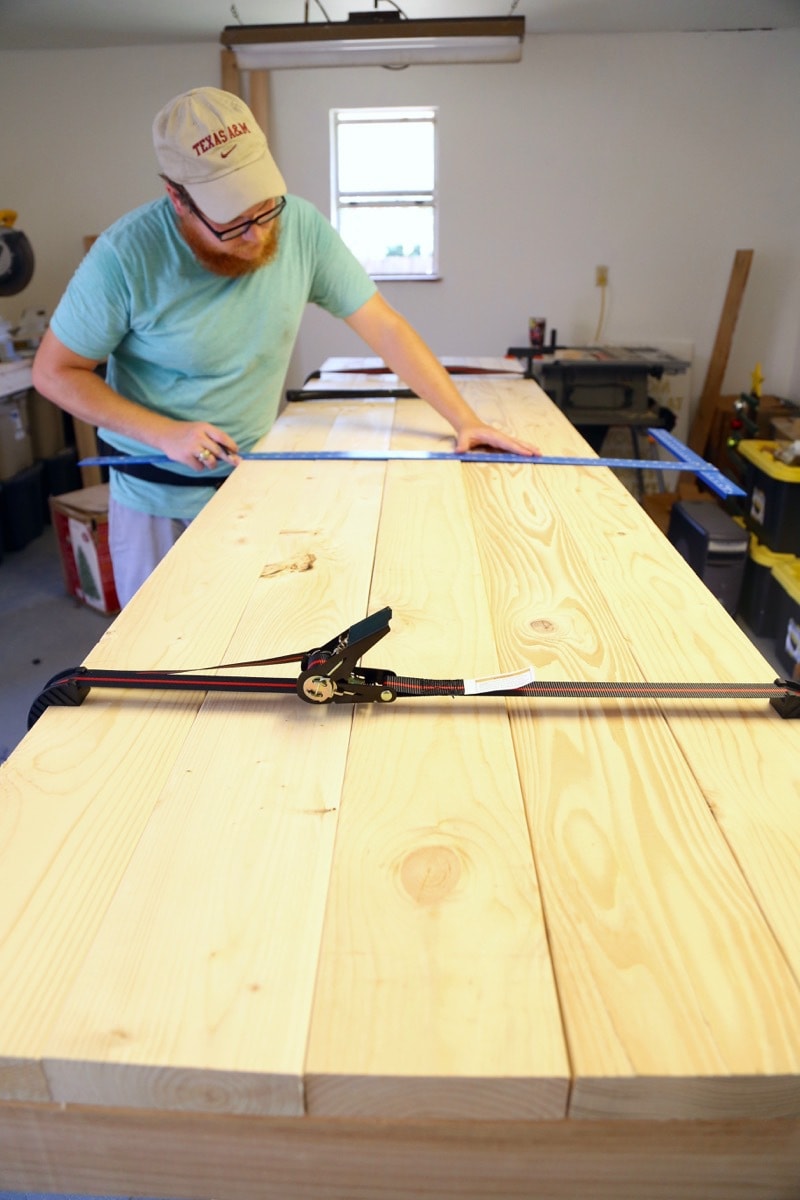
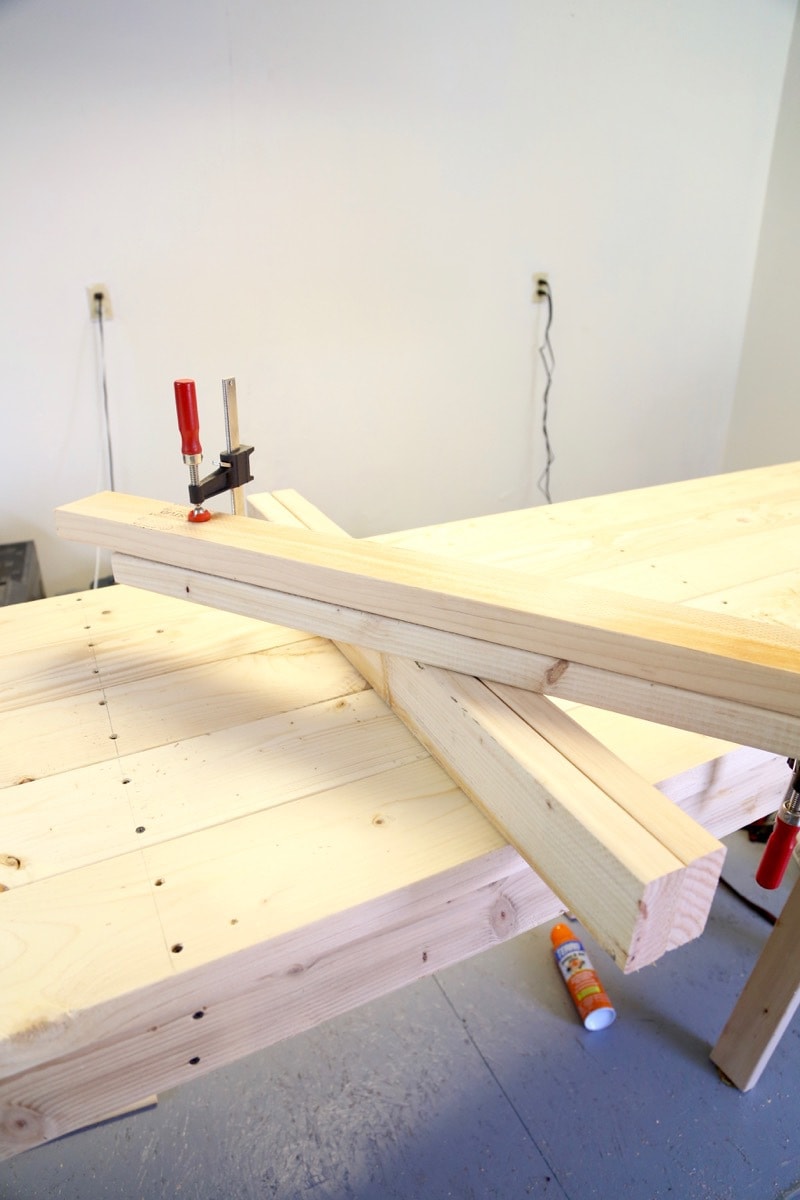
Step 3: Add Top Boards
Once the base of the table was built, it was time to add on the top. Remember, we were going for functional here and not necessarily pretty. Corey laid his 2x6s on the table and clamped with the ratcheting clamp to hold in all in place while he worked. Then, he went back over the top of the table and drew a line every 16 inches. This helped him know where to screw the top boards into the supports.
Step 4: Build Legs
And just like that, the entire table top was complete! Easy peasy! All that was left at this point were the legs. To make them, Corey just screwed two 2x4s together. They were already cut to his desired height – in this case, 31.5″ and 35″. This made a nice, thick leg. He staggered the tops of them so that one would go behind the apron of the table and the other sit right under it.
Adding a ledger board:
He made legs just for the front of the table. The back of the table is attached directly to the wall, like so:
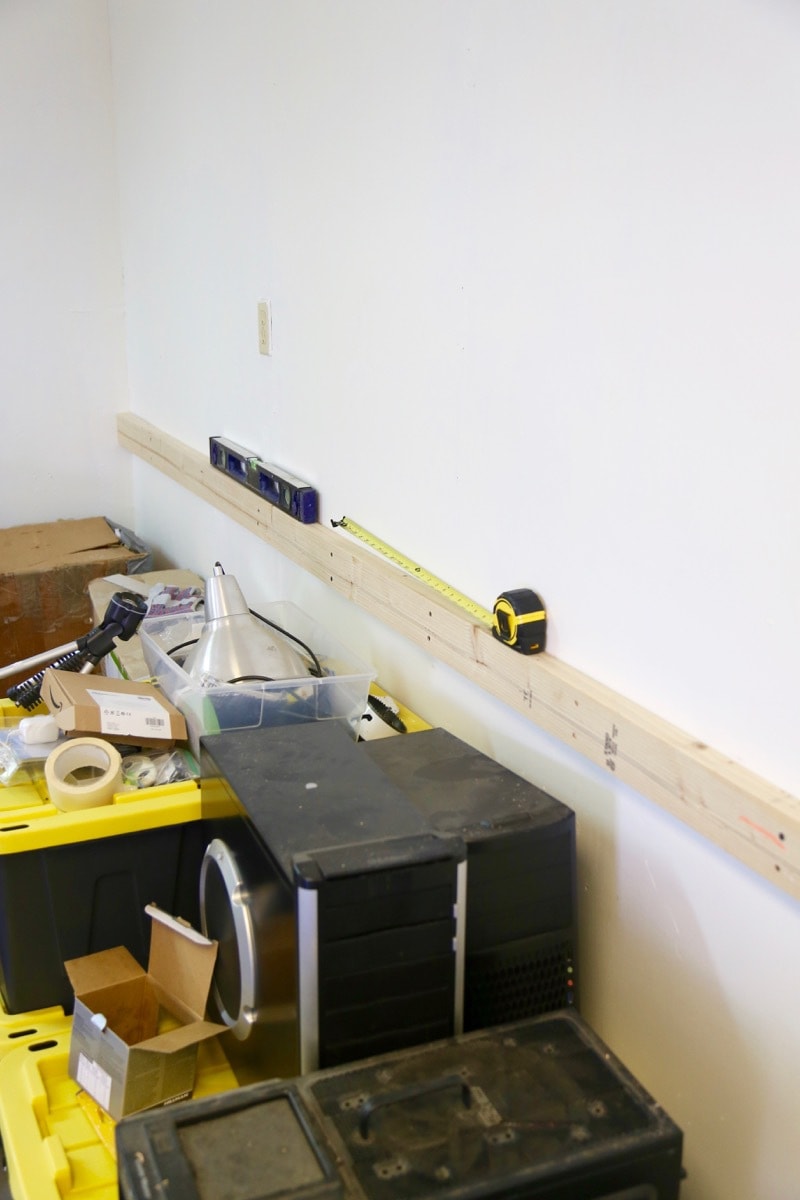
That’s just a 2X4 board that is the same length as the table. It has been screwed into the wall, then we lifted the table top + legs onto this support. We didn’t drill the table into this support. Rather, it’s resting on the support and the apron of the table was drilled directly into the studs.
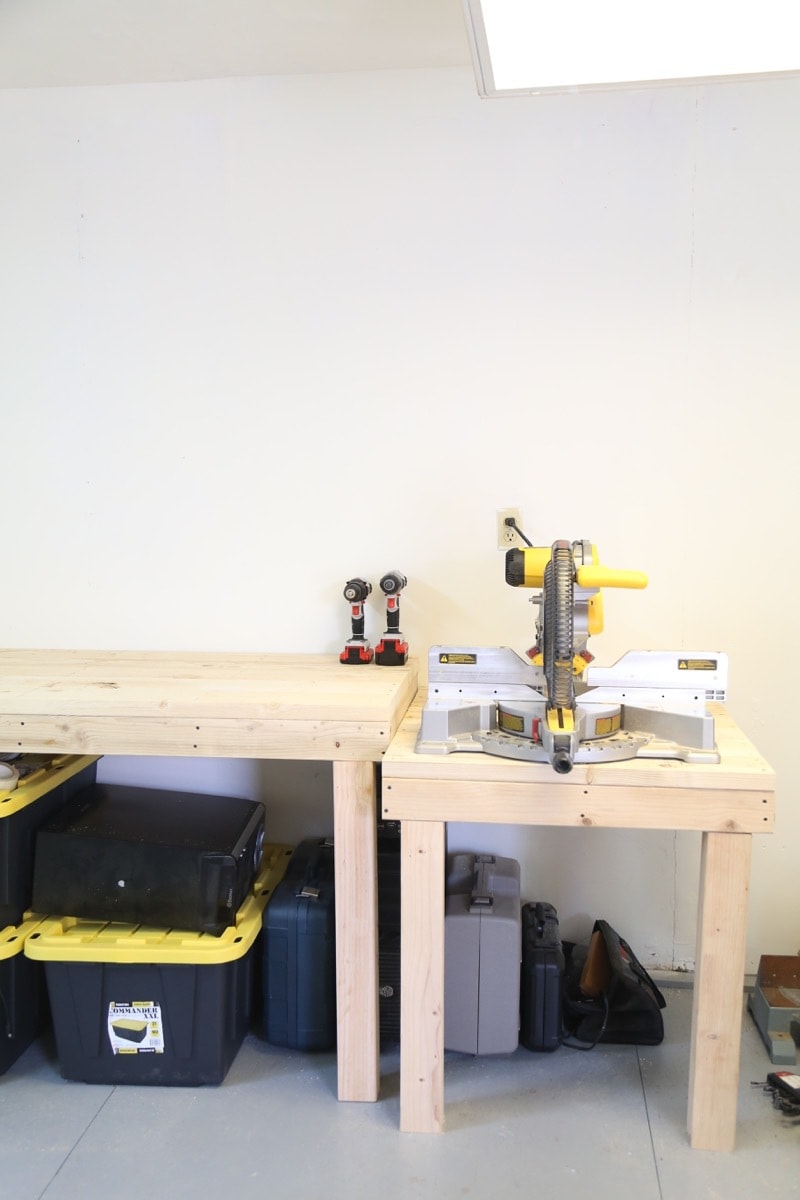
The Finished Workshop Benches
Corey built a workshop bench for each side of the room. He also built a smaller bench that he attached on one side that’s specifically intended to house the table saw. It’s a little shorter and deeper than the other tables. It’s so nice to have a dedicated spot for this giant tool where it’s easy to use and access!
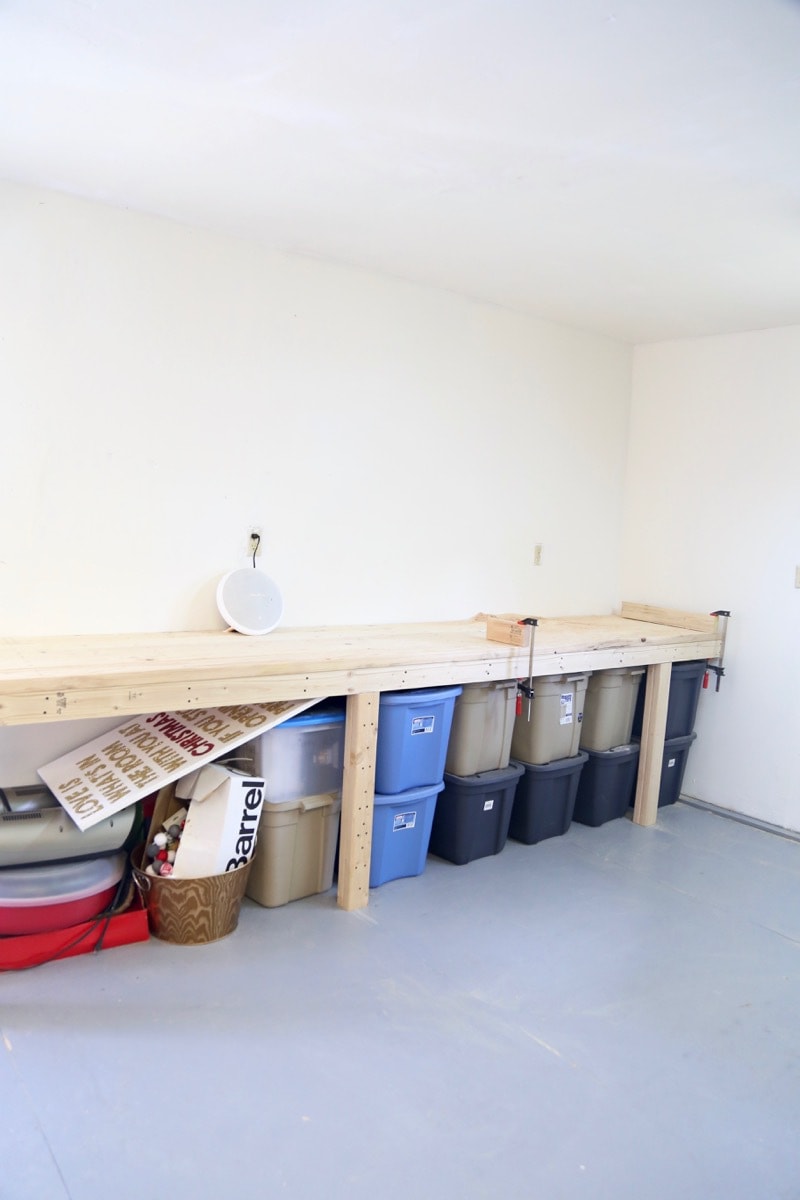
As you can see, we’re using the space underneath the benches for storage. We did this because our workshop has always been the place where we store our Christmas decorations. Our attic is very small and hard to access! We didn’t want to take up usable space to keep all of this stuff. It’s a little absurd how much we’re storing in there. So, we’re hoping to pare it down and consolidate it a bit at the end of this year when we pull out the Christmas decor.
Oh, and lest you think that this room is totally organized at this point, allow me to direct your attention to the other side of the room.
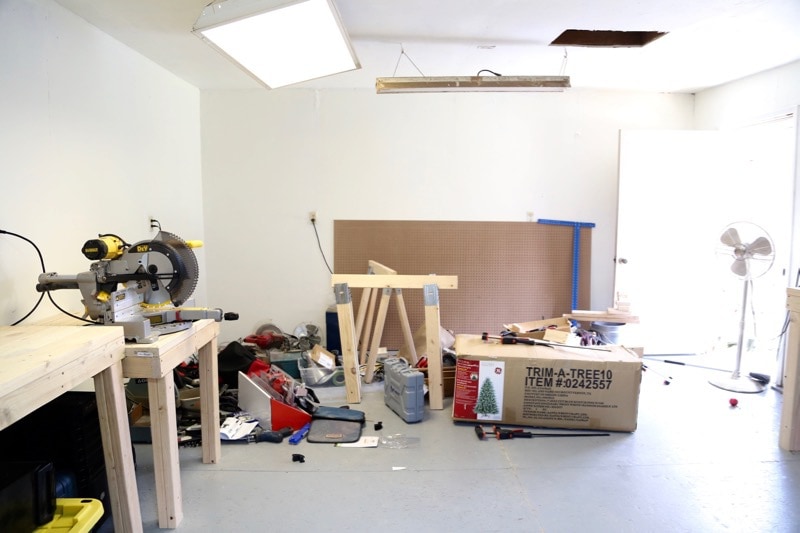
Insert giant sigh here.
Next up on the agenda is installing a giant peg board. You can see it on that back wall just waiting to be hung! Then, we’ll purge as much unnecessary clutter as possible. And finally, we’ll add in some functional storage systems to keep us organized.
This little room has come a long way from where we started. But, it’s still far from finished. I’m hoping that I’ll be back in a couple of weeks for the big reveal. I am so ready for this dang room to just be done!