
DIY Side Table Makeover (With a Faux Marble Top)
Last updated on July 9th, 2024 at 07:08 am
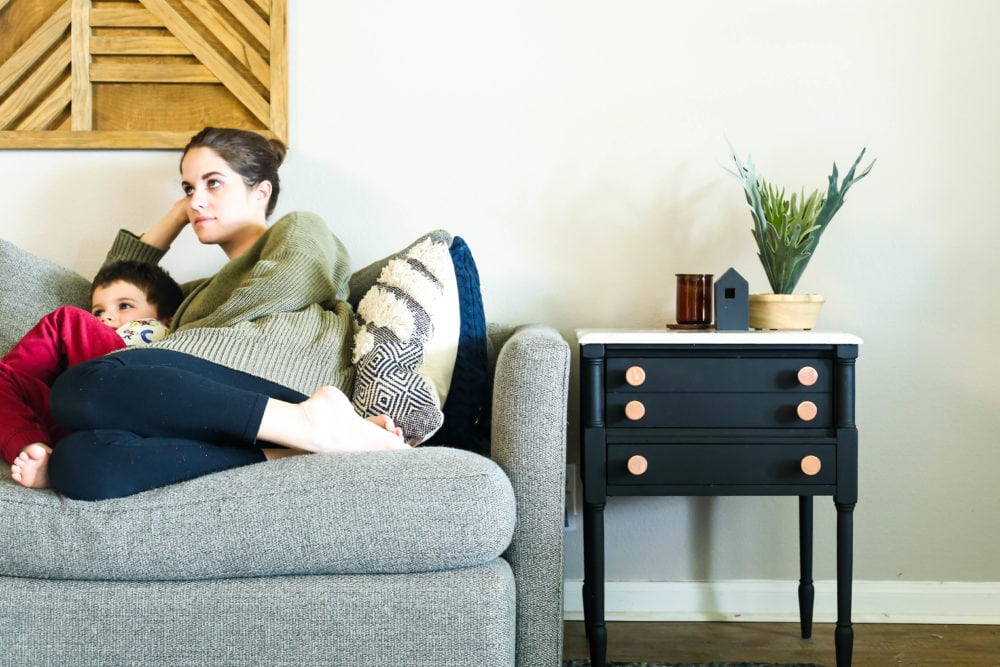
Today I’m sharing my latest thrift store find and how I did this side table makeover using marble contact paper. It was a quick and easy project, but you won’t believe the transformation!
I’ve been searching for a new side table for our living room for quite some time. We used to have a large glass side table, and it just wasn’t practical for kids. I wanted something a little more compact, with some storage, and a little more durable.
After lots of searching (if you watch our vlog, you’ll know that it took a few tries!), I found this little guy on Facebook Marketplace for just $50.

It was the perfect size, and had tons of potential. So, I snatched it up and got to work!
Side Table Makeover: Video Tutorial
I took some video of the full process! So, you can watch that below if you want to see the makeover in action. Otherwise, keep reading to see all of the details of how I added a faux marble top and gave this little side table a whole new look!
If you’re reading this in a feed reader, you may need to click over to the full post to see the video. Or, you could click here to watch it on YouTube.
DIY Thrift Store Side Table Makeover
FAUX STAGHORN FERN | WOODEN HOUSE | CANDLE | KNOBS | STRIPED PILLOW | RUG | SOFA
Painting the Table
For starters, I decided to paint the base of the table. I honestly would love loved to keep it wood, but there were a few factors at play:
- The wood on the table was just a veneer. Meaning, it wouldn’t look great if I sanded it down and tried to re-stain it. You always run the risk of completely sanding away the veneer and being left with cheap boards beneath it.
- We already have a lot of wood tones in our living room. We’ve got the floor, the mantel, the floating shelves, the tree stump side table, the art above the couch, and the brown leather ottoman. I thought it would be a little too much if I added this too.
- The wood wasn’t really in fantastic shape on parts of the table. The flaws in the wood will be much more noticeable when you stain something versus painting over it!
So, after we decided paint was the way to go, I chose this Rustoleum Milk Paint Finish. We had some leftover from painting our dining table with it, and I really love the matte finish and the velvety texture.
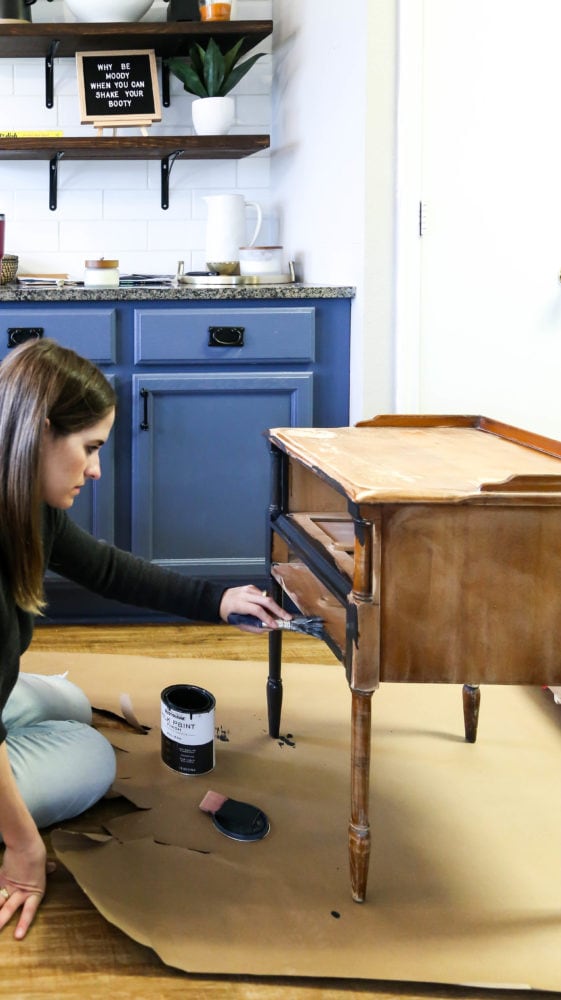
I gave the whole thing about three thin coats of paint (you only have to wait 30 minutes between coats!). Then, I let it all fully dry before moving on. You can check out this post to get all of the details on how to use this paint if you have any questions!
How to Add a Faux Marble Table Top
Next up, I decided to add a faux marble top to the table instead of just painting the whole thing. I love a stone-topped table, and the lines of this table really lend themselves well to the look. I used this contact paper and I love the look!
My original plan was to leave the little ridges along the top of the table and just wrap them in the marble contact paper as well. But, once I got started I realized it was going to be next to impossible to have that look good. So instead, we just pulled those out and filled the holes (see more on that process in the video!). Then, we had a flat surface. I actually think I prefer this look anyways, so it worked out well!
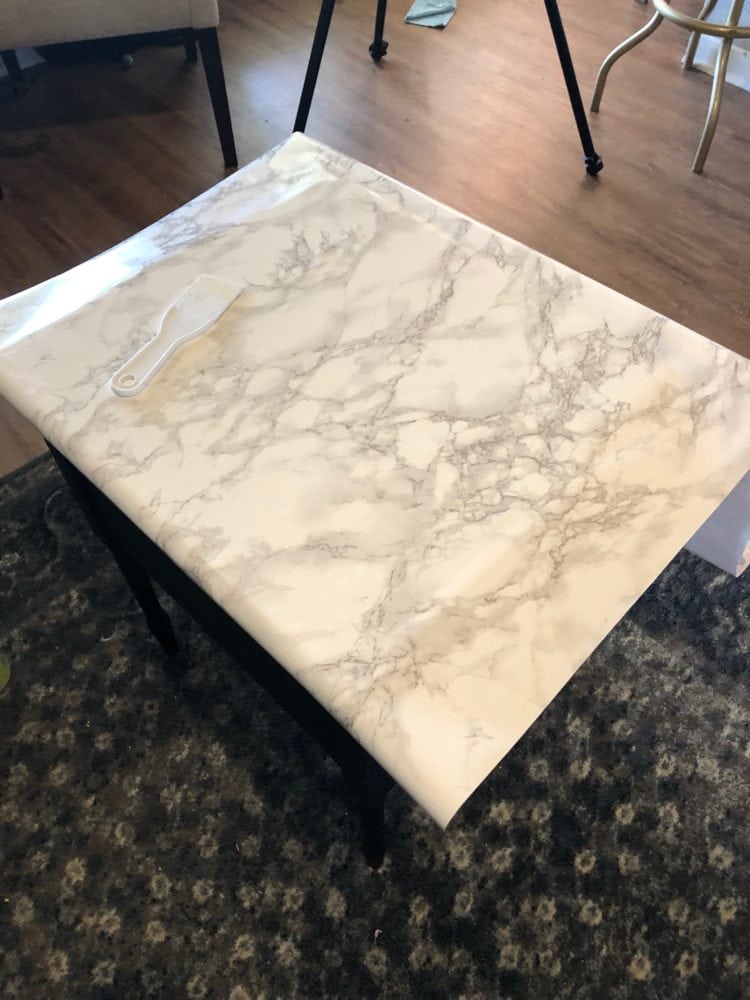
To add the marble contact paper, here are the steps I followed:
- I started by cutting a piece that was a few inches larger than the top of the table. You’d rather have too much than too little!
- Then, I made sure the surface of the table was clean and free of debris. Then, I sprayed it with some water.
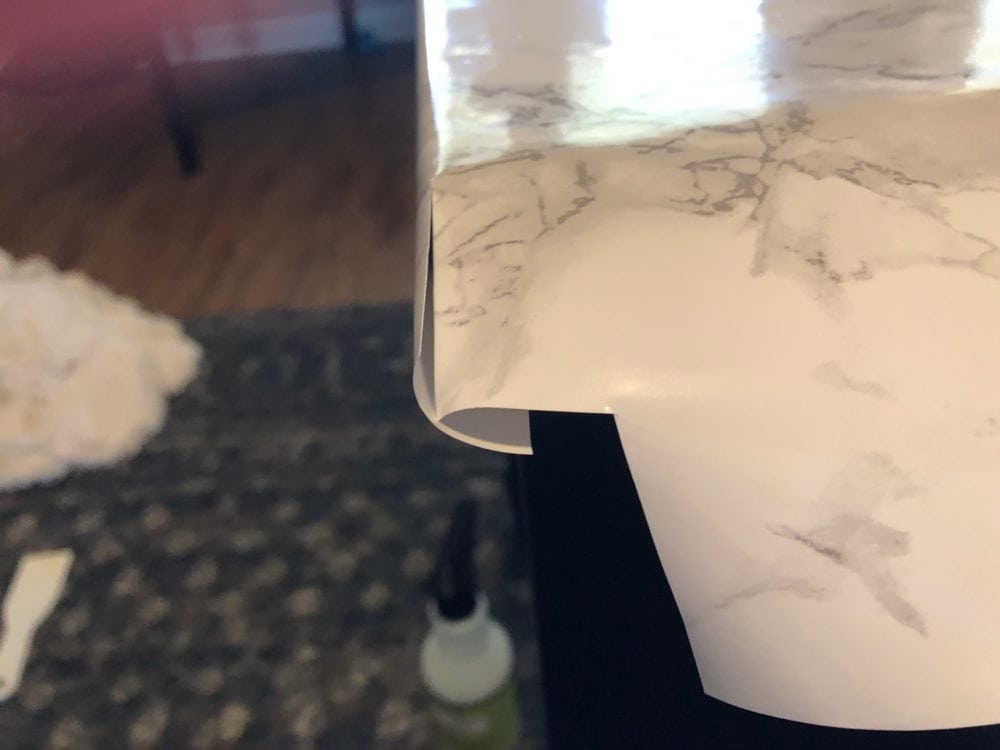
- With the surface of the table still wet, I peeled off the first few inches of the contact paper and began to attach it. I used a plastic putty knife to smooth out the paper. This also pushes all of the water out from under the paper and helps everything adhere better. I continued until the entire top was covered and bubble free.
- Next up, the corners. I started by cutting off a bit of the excess. Then, I cut a line down the paper from the edge of the paper to the edge of the table, like so:
- Then, I folded in the back side and pressed it flush against the side of the table. I folded under the little flap on the bottom and cut off the excess.
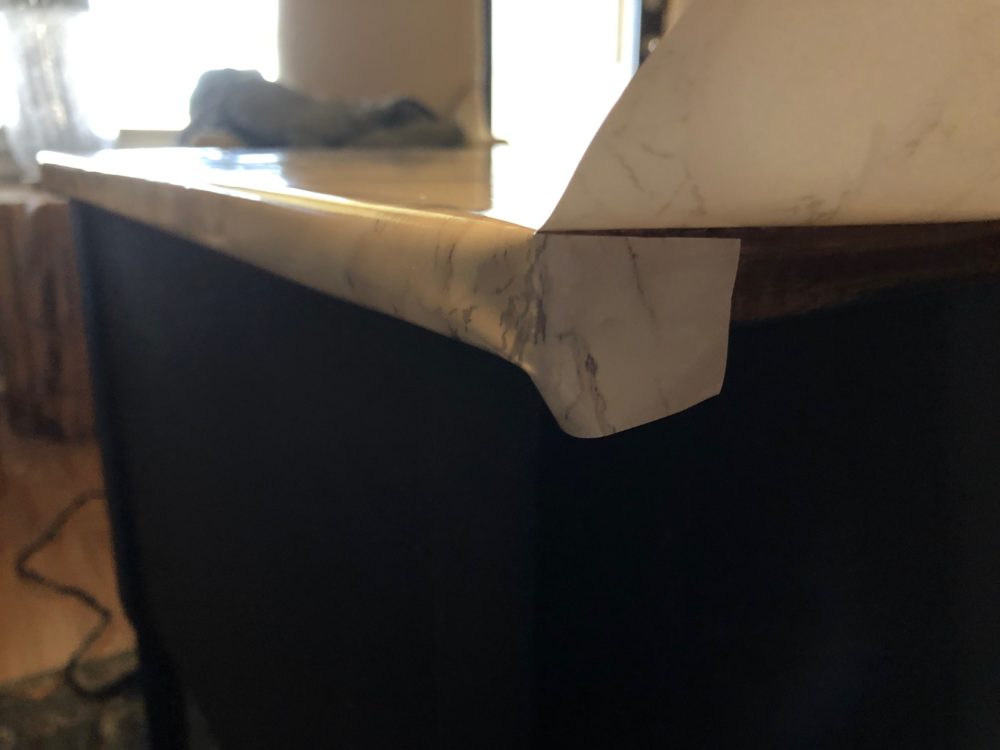
- Finally, I folded down the other part of the contact paper and pressed it all the way flush on the sides and bottom. All that was left to do was cut off the excess using a utility knife and I had perfect corners!

For the front part of the table, it was a little more tricky because it had some curves to it. A quick trick for dealing with non-straight lines and contact paper? A hair dryer! Just switch it to the hot setting and blow it on the contact paper for a few seconds while you stretch it into place. It makes it much more pliable and you’re able to get smooth lines on even the curviest parts of the table.
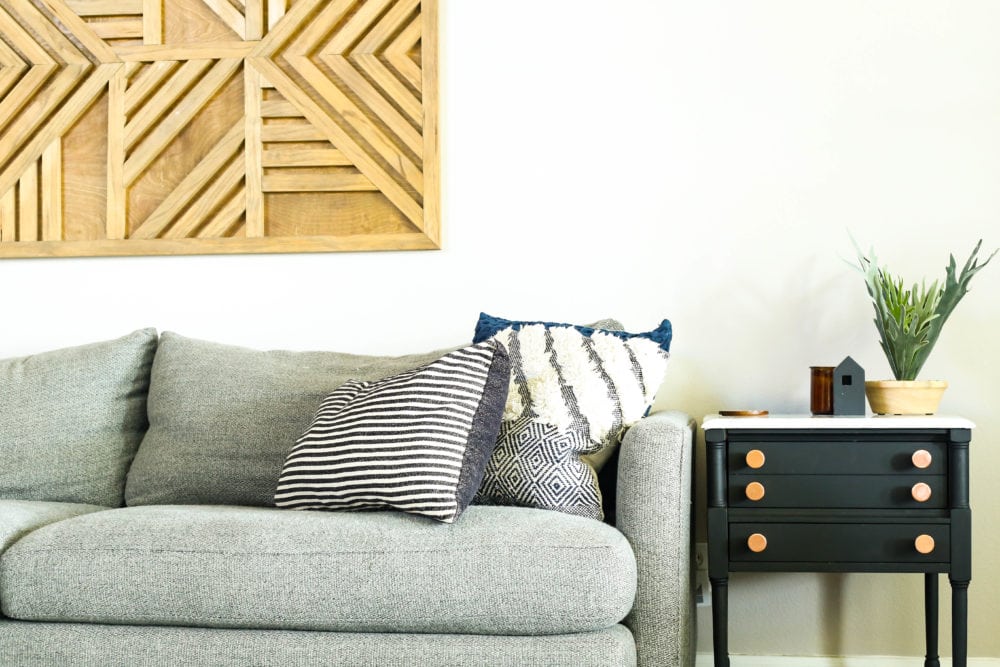
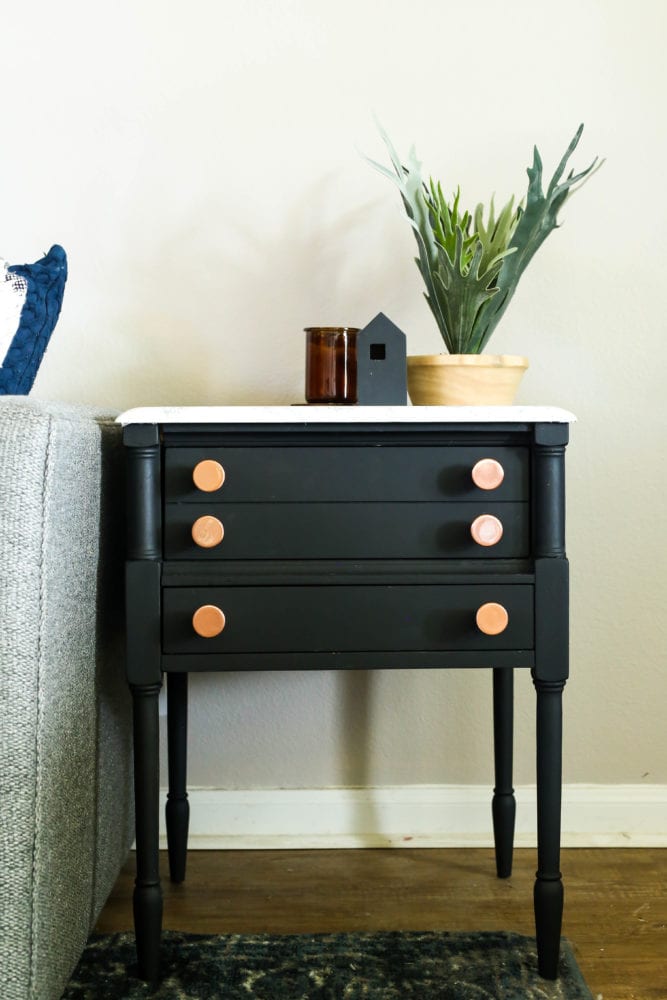
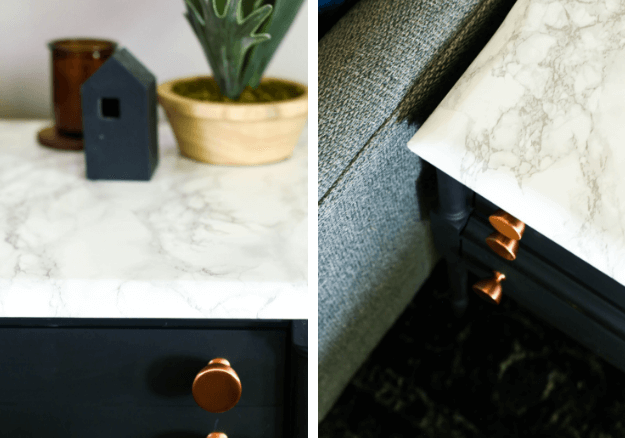
The Final Look
After that, I just added some fresh knobs (I can’t find the exact ones we used online, but they’re these in rose gold), and styled it up and we were good to go!
I really love the new look, but I have to admit that I think it might end up creating a domino effect of changes in here! With the new table, I want to pull the couch down a bit, add a standing lamp on the other side, and I’m thinking about replacing the art above the couch with something else – a gallery wall? A picture ledge? One big print? I can’t decide!
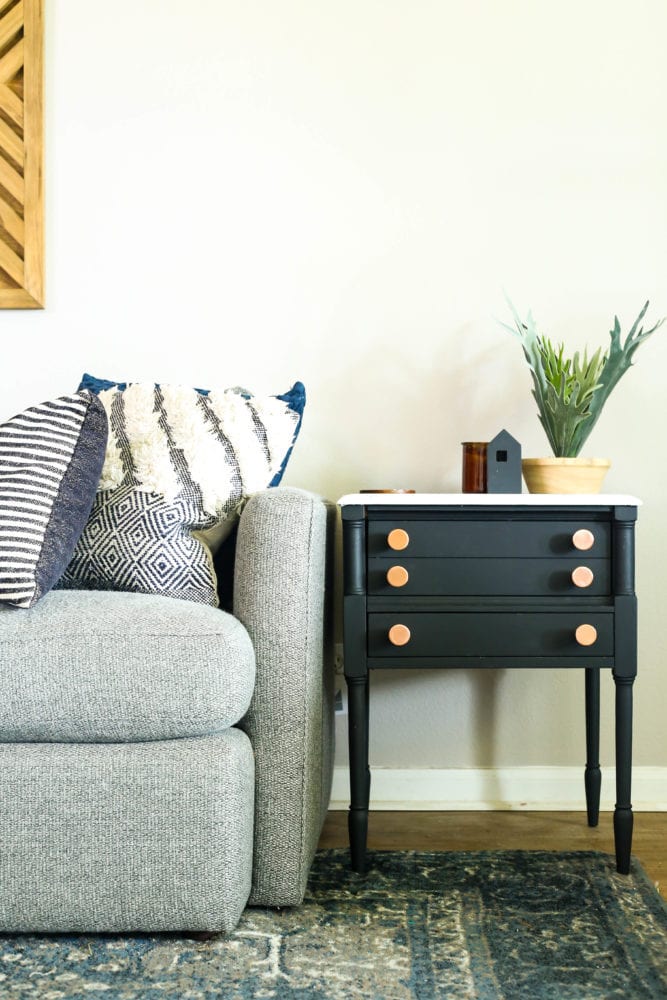
FAUX STAGHORN FERN | WOODEN HOUSE | CANDLE | KNOBS | STRIPED PILLOW | RUG | SOFA
I’m really excited about our new table, and I think we can definitely call this round of the Thrift Shop Challenge a big success!
Now, are you ready for the most fun part? It’s time to check out all of my friends’ fun projects! I’m linking to all of my co-hosts projects below, but if you have a thrift shop find that you’d love to share (even if it’s an older post!) be sure to hop over to Instagram and share it with us using the hashtag #thriftshopchallenge. We’ll all be sharing our favorites over the next few weeks and we may even be choosing our next co-host from the hashtag!
Thrift Shop Challenge Projects

Here are all of the other inspiring projects from this round of the Thrift Shop Challenge:
DIY Unicorn Bookends – By Brittany Goldwyn
How to Paint Wicker Baskets – Small Stuff Counts
DIY Hanging Planter – Love Create Celebrate
Little Girls’ Dress Up Mirror – A Crafted Passion
Nursery Artwork with Thrifted Frame – Green With Decor
Great Job!!!!! I love it
Thank you!
Such a good makeover!! I love that marble top!
Very nice makeover!! I love the color, the knobs and the marble look together.
Love that! And genius hack about the blow dryer! I wish I would have thought of that when we covered our bathroom counter in the marble contact paper.