
How to Make Cheap Grocery Store Flowers Look Expensive
Last updated on March 4th, 2023 at 11:42 am
I don’t know about you, but this time of year is my favorite for keeping fresh flowers in the house. There’s something about the warm spring weather and the promise of summer on the horizon that has me desperate to bring the outdoors into our home as much as possible. I love to pick up fresh flowers from the store every chance I get, and I’d be happy to basically fill every room in my house with flowers.
Of course, I’m also cheap.
I love the look, smell, and feel that fresh floral arrangements bring to my home, but I don’t love the price tag that comes along with them. Corey has surprised me with having bouquets delivered to work a few times, and it’s so sweet but I always cringe inwardly when I see how much it cost.
I used to think that I couldn’t get pretty flower arrangements in our home unless I was willing to shell out a lot of money, but I have done a lot of practicing and I’ve finally mastered the art of making cheap grocery store bouquets look like they’re way more expensive than they really are!
You wanna learn how to do it too?
Of course you do.

How to make cheap grocery store flowers look like a million bucks
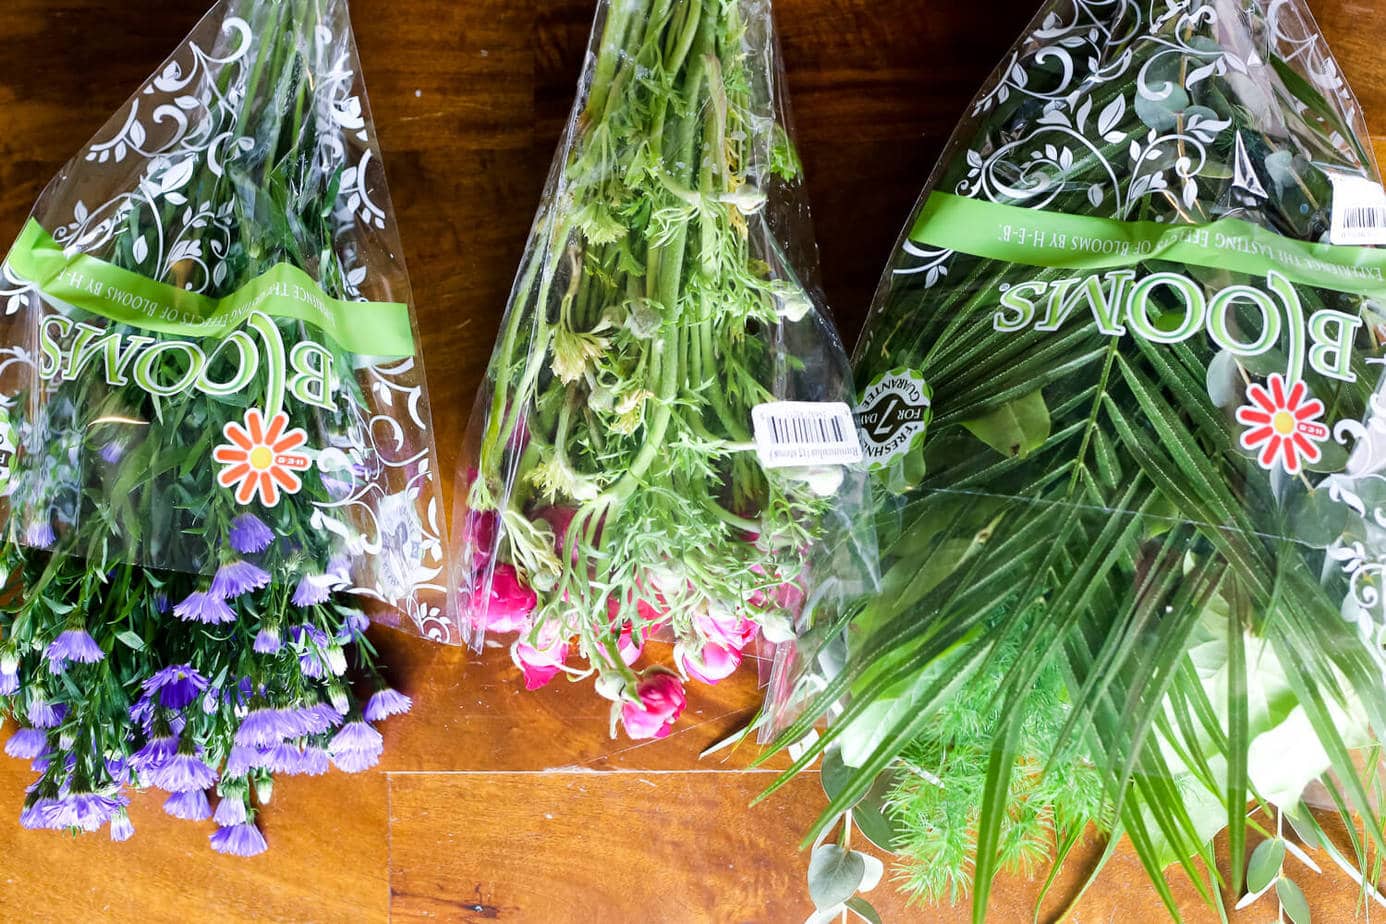
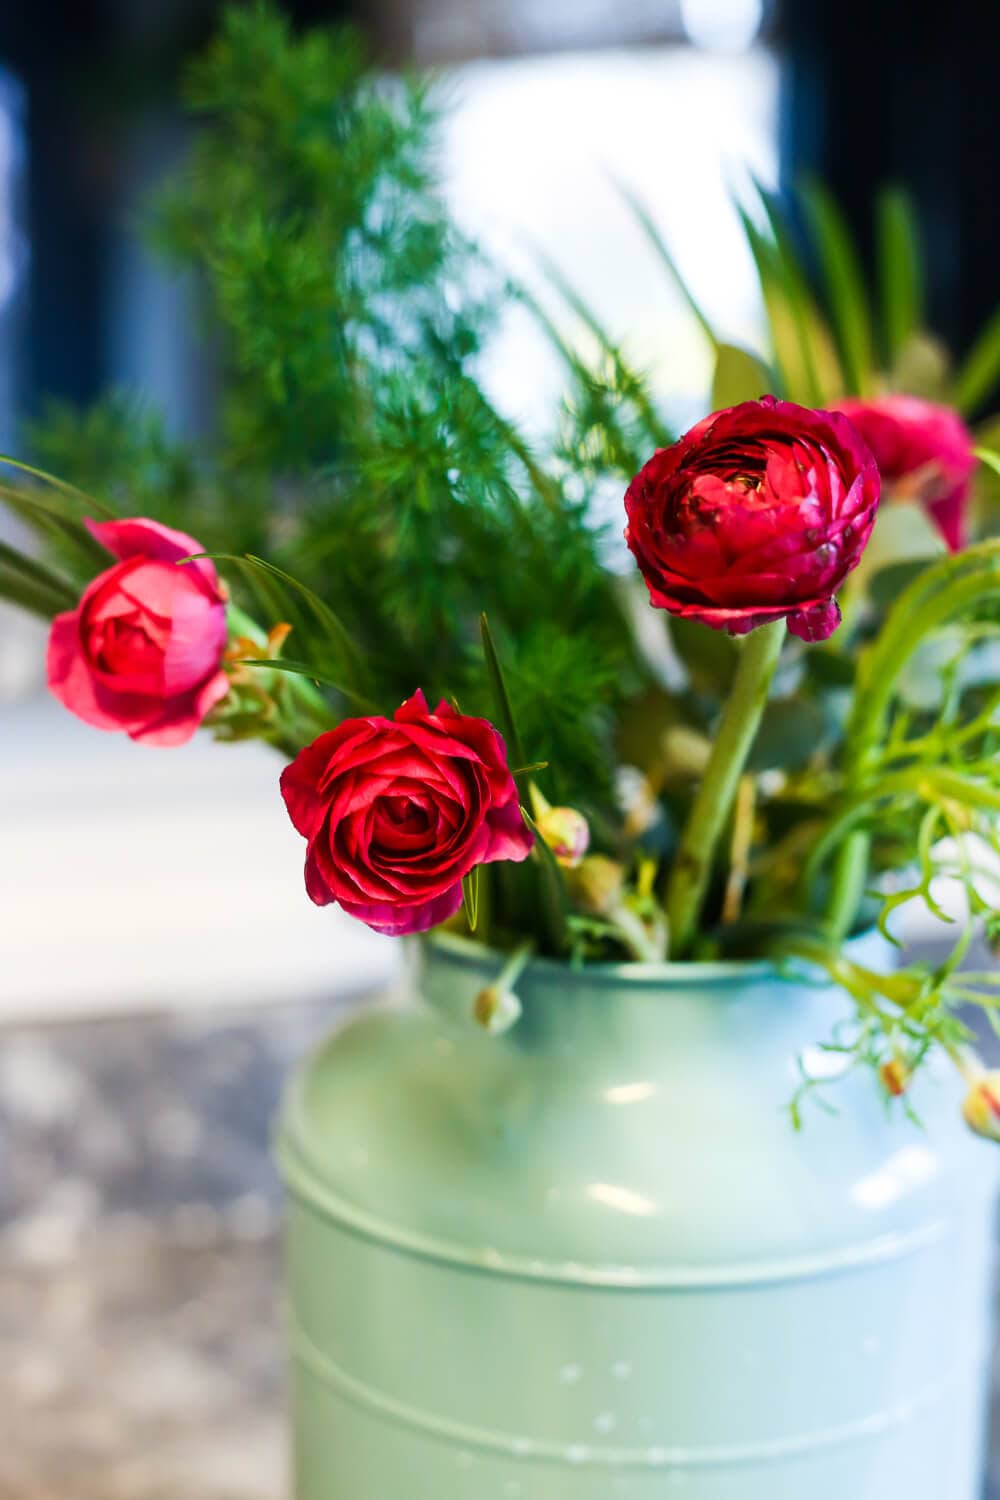
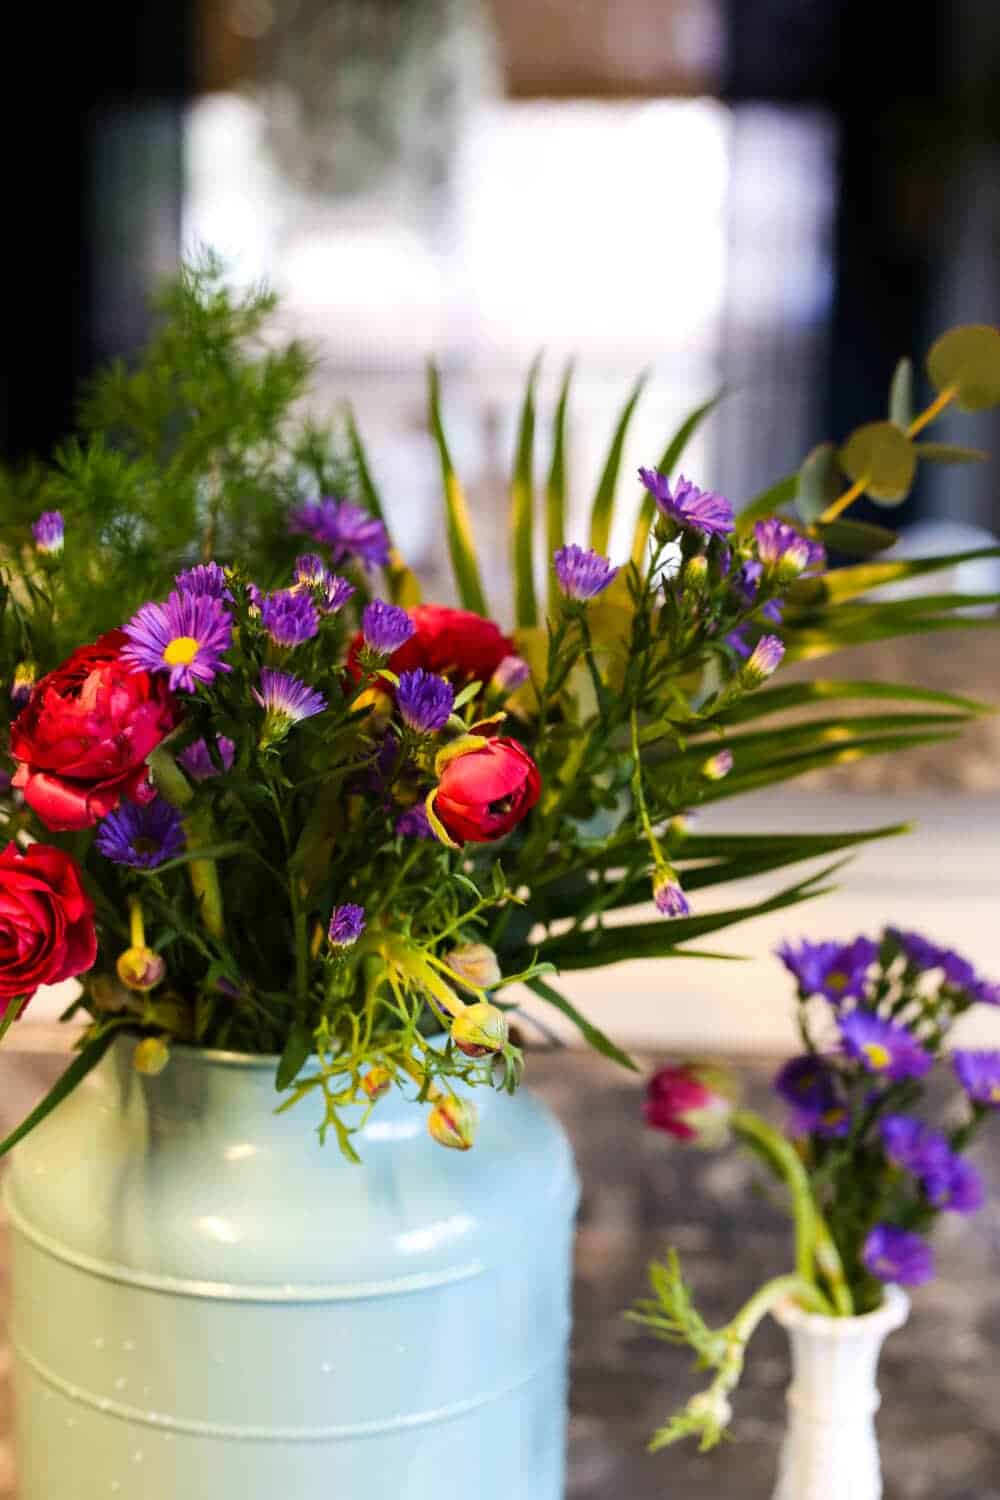
Start with a few different bouquets of flowers from whatever store you like to shop at. I like to splurge on one “fancy” flower (this time it was a small bunch of ranunculus for $10) and then buy one or two cheaper bouquets (both of the other ones I grabbed were just $4).
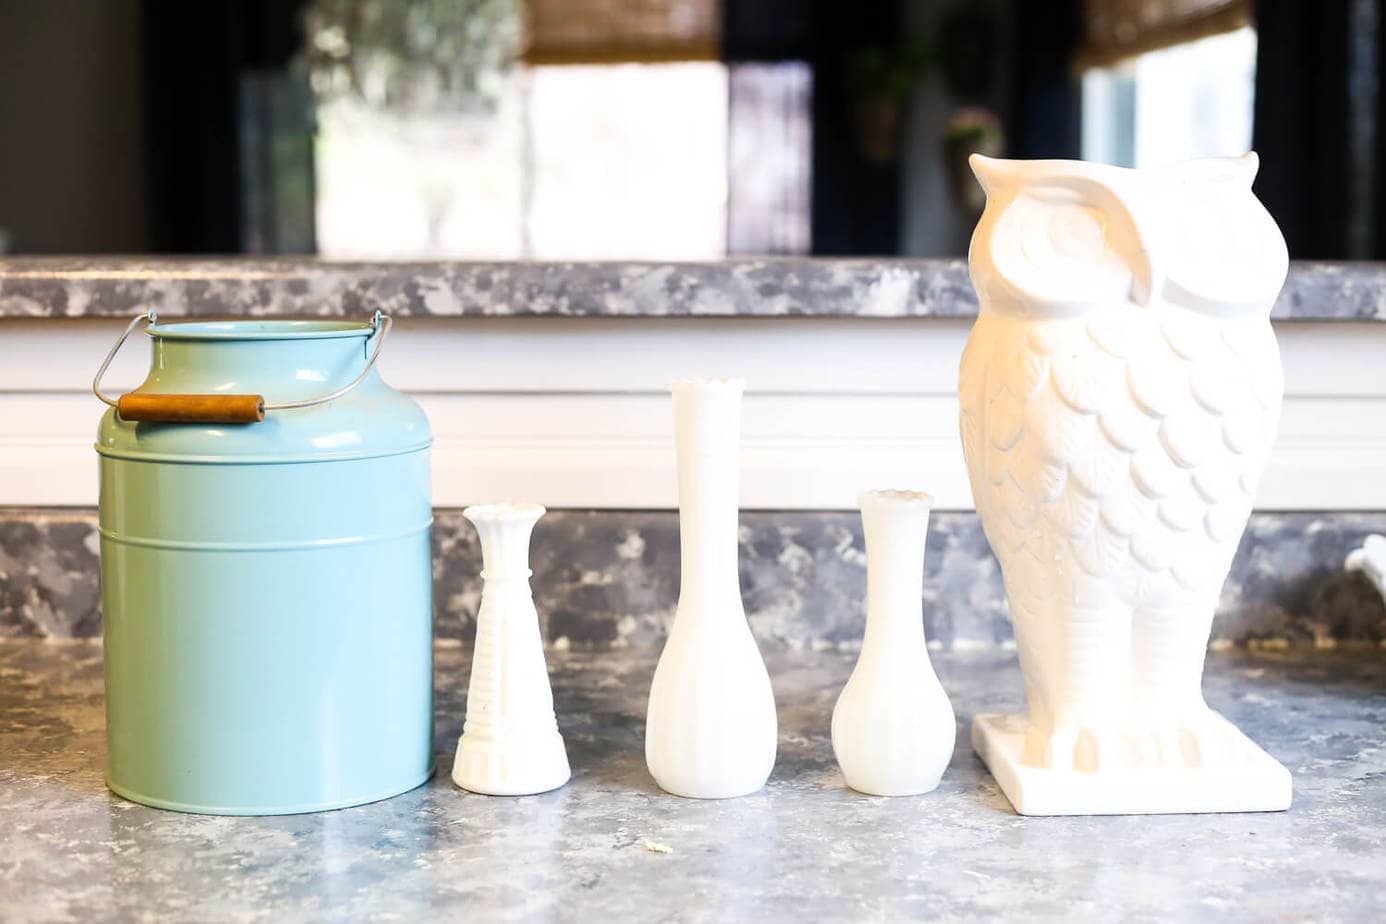
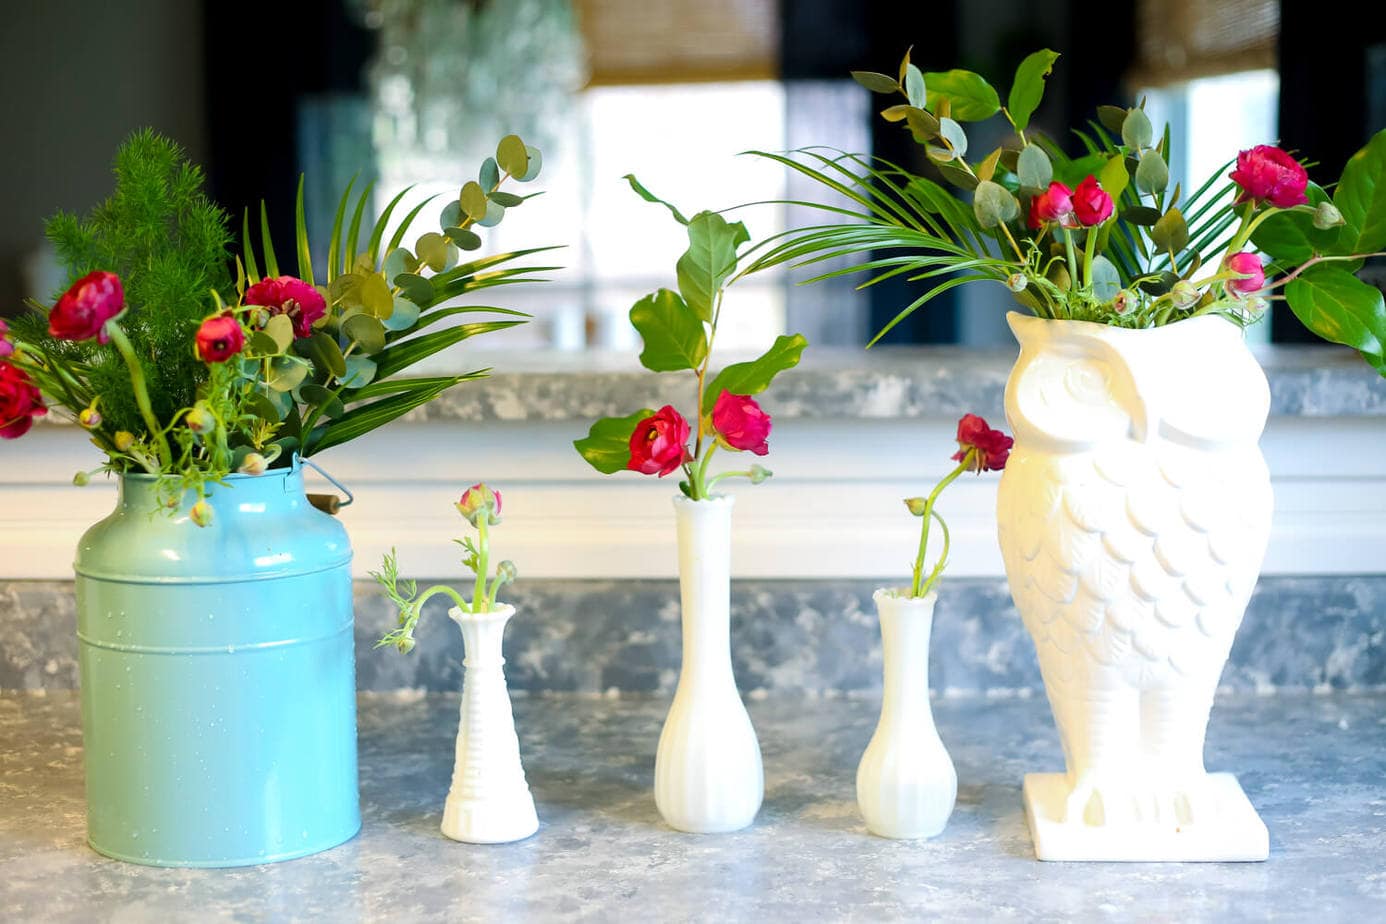
Next up, gather your vases. I find that I’m usually able to get two larger arrangements and several small ones. I always have a ton of bud vases floating around my house, so I just grabbed a few of those to toss my extra flowers in.
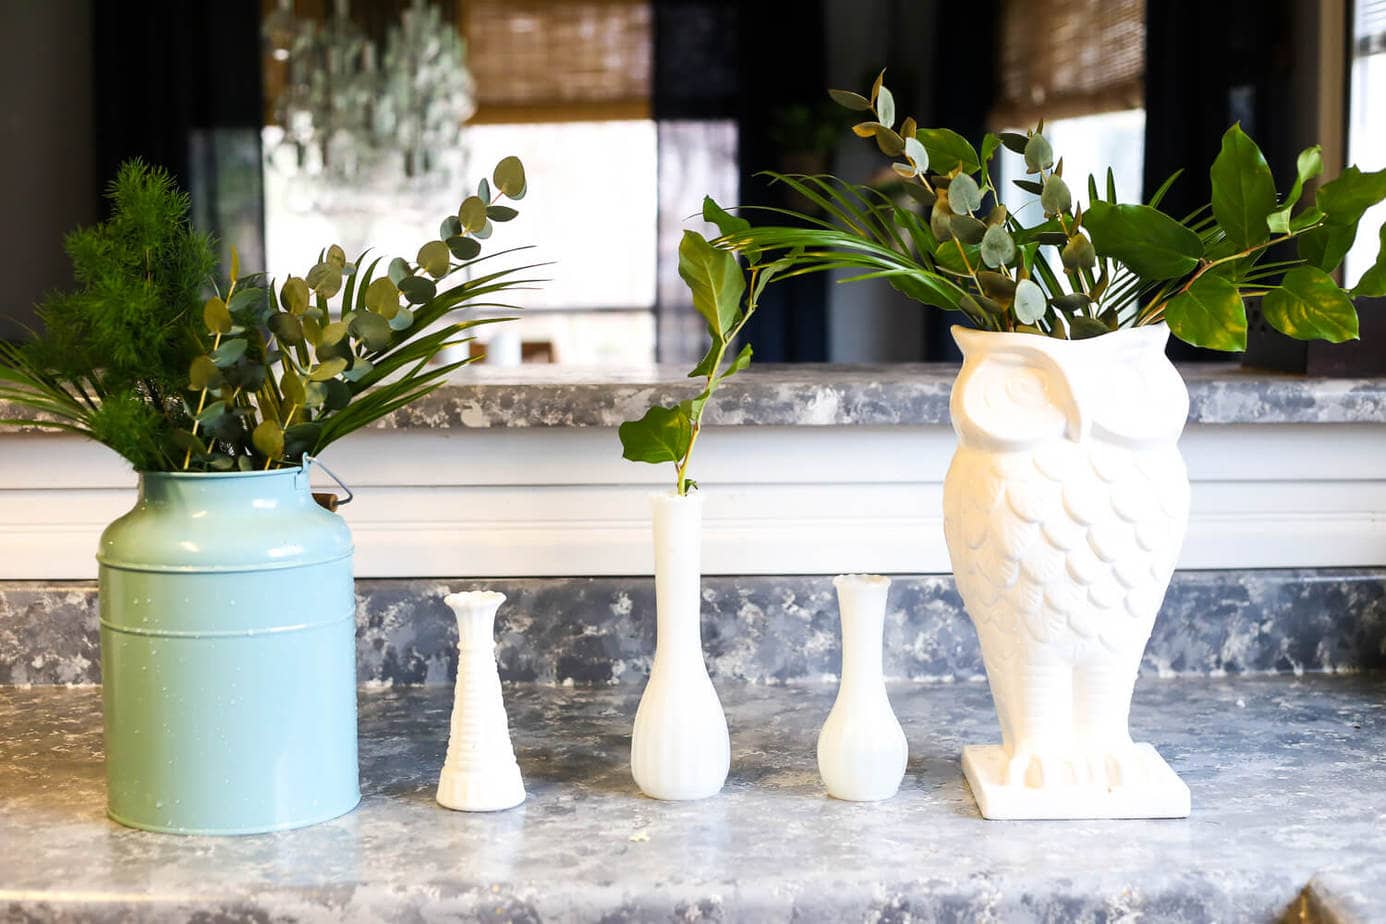
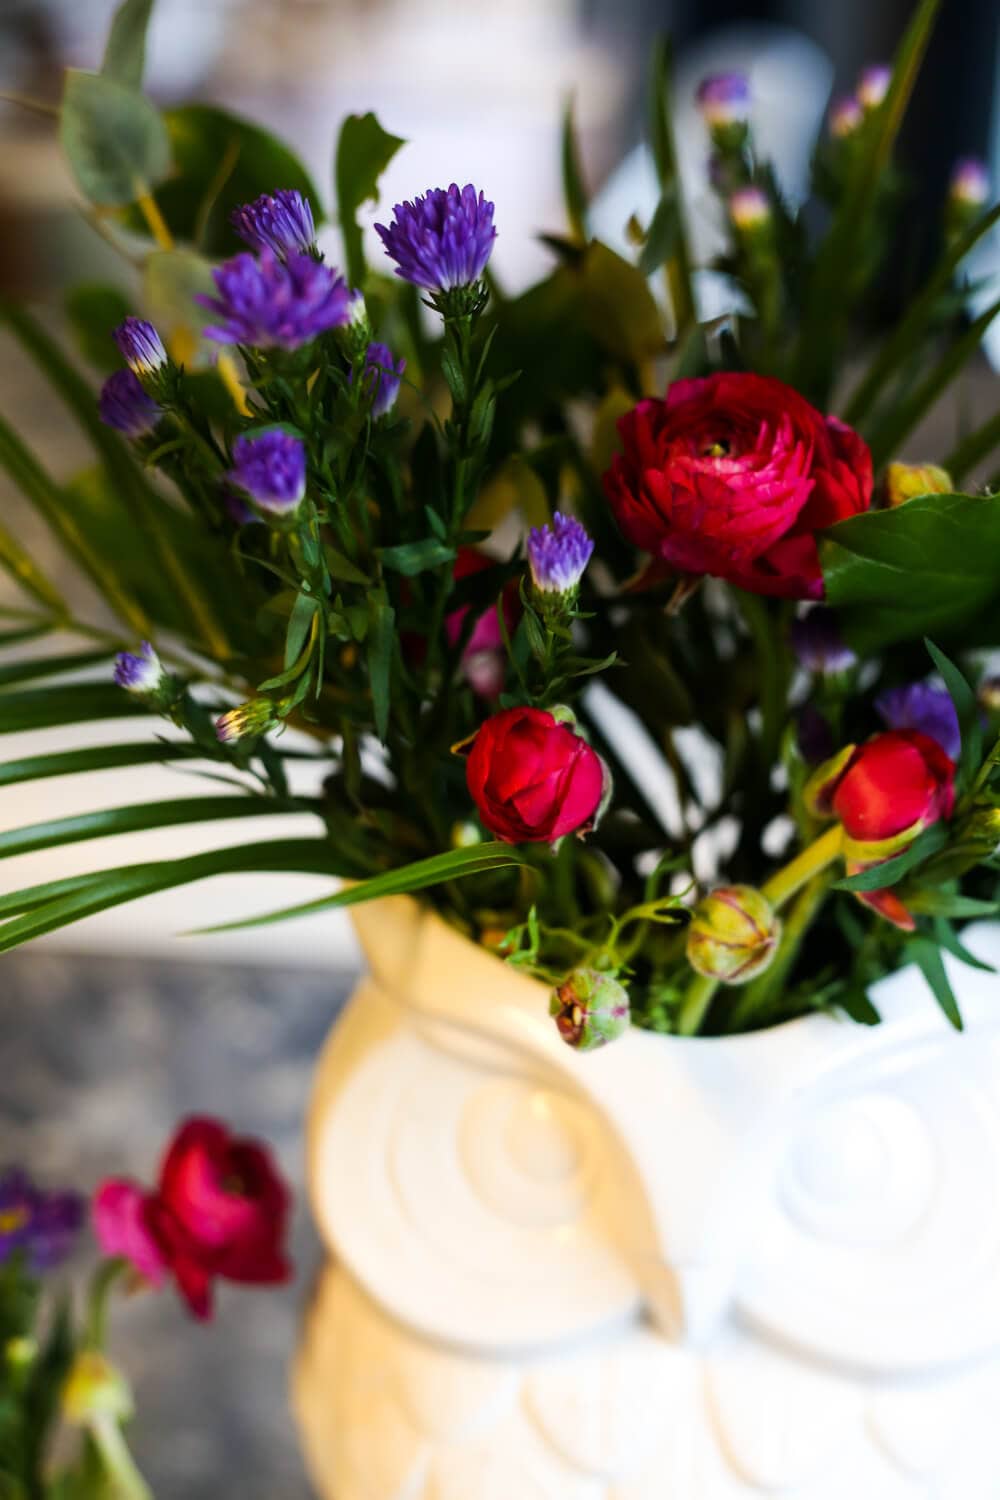
Fill your vases with water and some plant food (those little packets that come with the flowers – they make a difference!), then get to arranging! You’re going to want to start with your “filler” flower – these are the pieces that will act as a backdrop for the more colorful flowers. I almost always buy little bunches of greenery to use as filler – it adds a ton of texture!
Oh, and don’t forget to clip off the ends of your stems before you put them in the water – you should always cut at a diagonal angle, which allows the plant to soak up more water. You should also pull off any excess leaves that would end up sitting in the water – they just get nasty if you leave them! I’m usually pretty liberal with removing the leaves – since I’ve already got greenery that I’m using as filler, I really don’t need them to add any extra color to the arrangement.

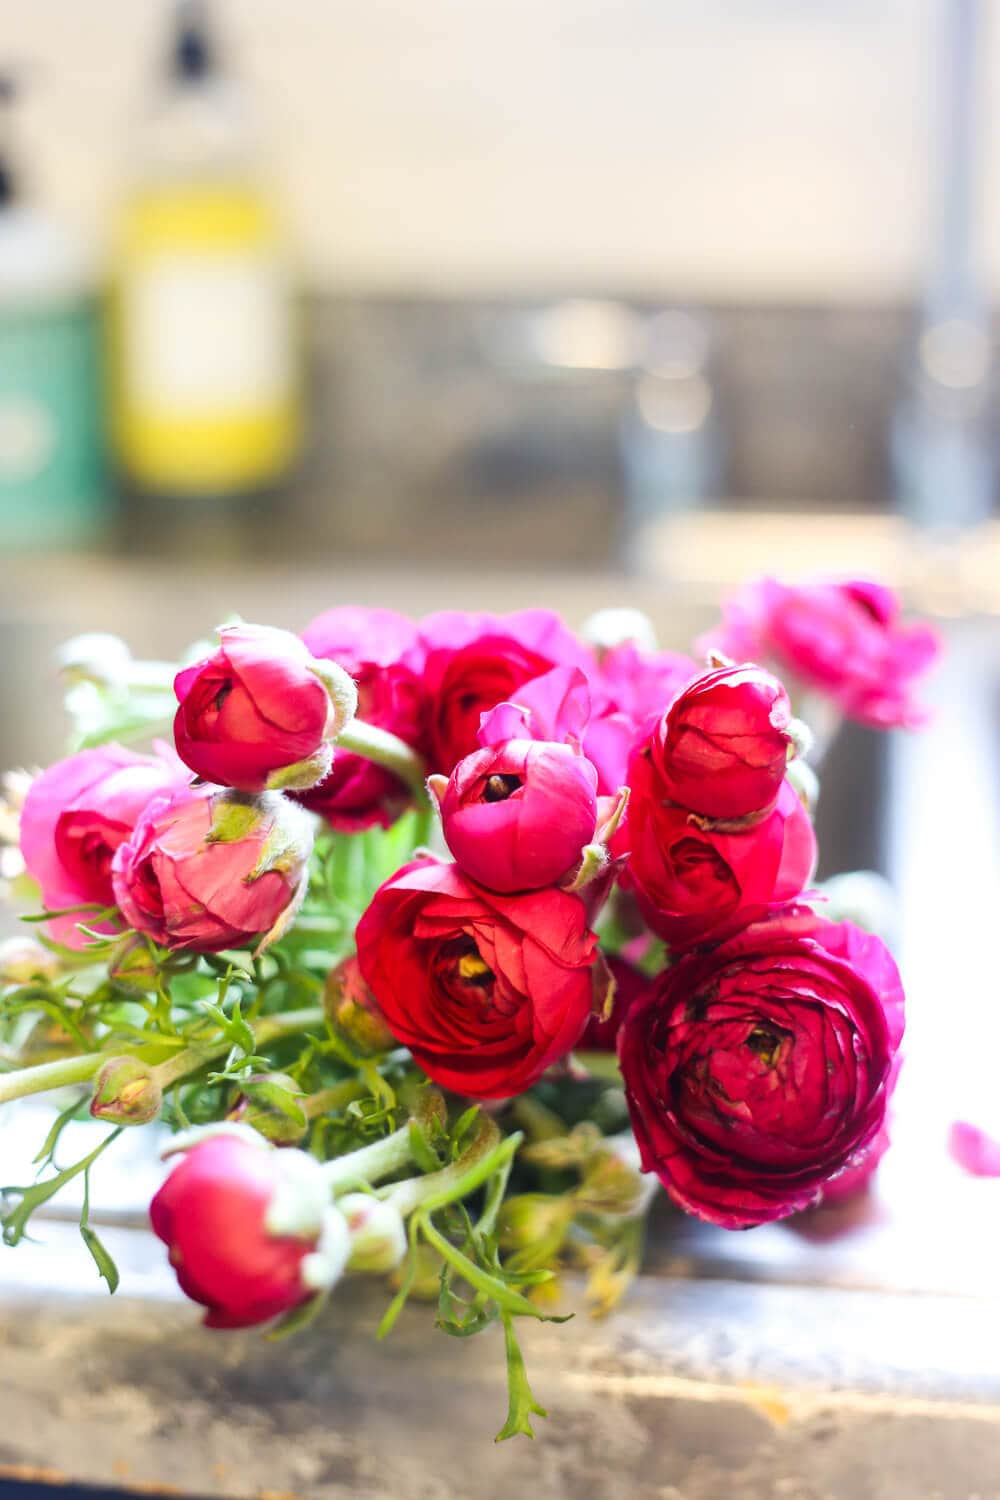
Once you have your filler in, you can add your focal point. This is your favorite flower, the one that you want to be front and center. Be sure to put all of your flowers in one stem at a time – you want to have as much control as possible over where things end up, so you can be sure the focal flowers are well-dispersed throughout the arrangement. If you have a vase with a wider opening, you can use florist’s tape to help everything stay where you want it!
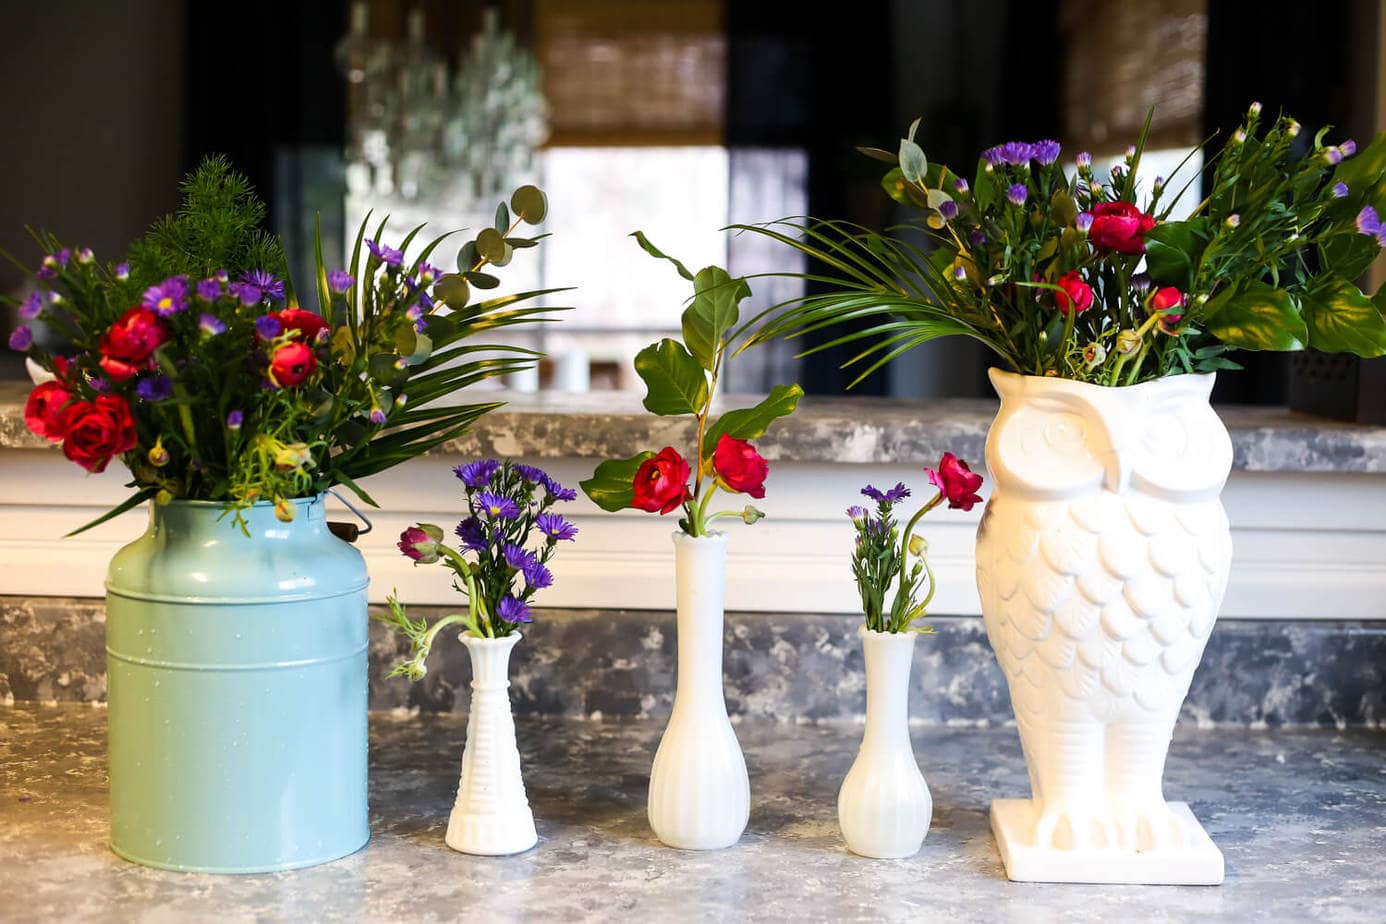
Finally, add in your accent flowers. These will add some more color to the arrangement and help fill in any spots that may be blank. This time I only had one type of accent flower (since the ranunculus were so expensive), but I usually like to have two different types – often, I’ll buy the bouquets from the store that have multiple types of flowers in them so I don’t have to buy a million different bouquets.
And that’s it! Simple, no?
Like I said, I’m definitely no expert when it comes to flower arranging, but over the years I’ve had lots of practice, and I’ve found that this system works really well for me. It doesn’t take long, and it’s really the best way for me to get a lot of bang for my buck with my floral arrangements – I ended up with flowers all over my house from just these three little bouquets! Oh, and this is also the perfect trick to use when you want your house to feel clean in a hurry – flowers are magic like that.
Plus, just try and tell me fresh flowers don’t make you incredibly happy.
It’s impossible.
Oh, and since I’m sure you’re dying to know, I’ve managed to not kill our new hanging plants yet. I’m feeling pretty positive about how they’re doing so far, but I want to give them at least a month or so before I get brave enough to bring any more potted plants into our house.
I can do this.
Right?
What are your favorite types of fresh flowers to bring into your house?
Lil cheesy at moments howver extremely effective and I am grateful i took the few minutes to read this. I am doing last minute shopping for grad gifts and came across this and to the local Albertsons I go asap. I appreciate the advice so much!!! N just to be clear I am a football loving alpha Male that doesnt know crap about flowers. I’ve never even been able to smell them so trust when I say, DUDE THANK YOU!! I SINCERELY APPRECIATE IT!!
This may be the best comment I’ve ever received. 🙂