
$500 No-Renovation Bathroom Makeover Reveal
I’m finally finished giving my kids’ bathroom a full makeover for just over $500 and I am so excited to be sharing the reveal with you today! Read on for all of the before and after pictures, a list of everything we did, and a full budget breakdown!
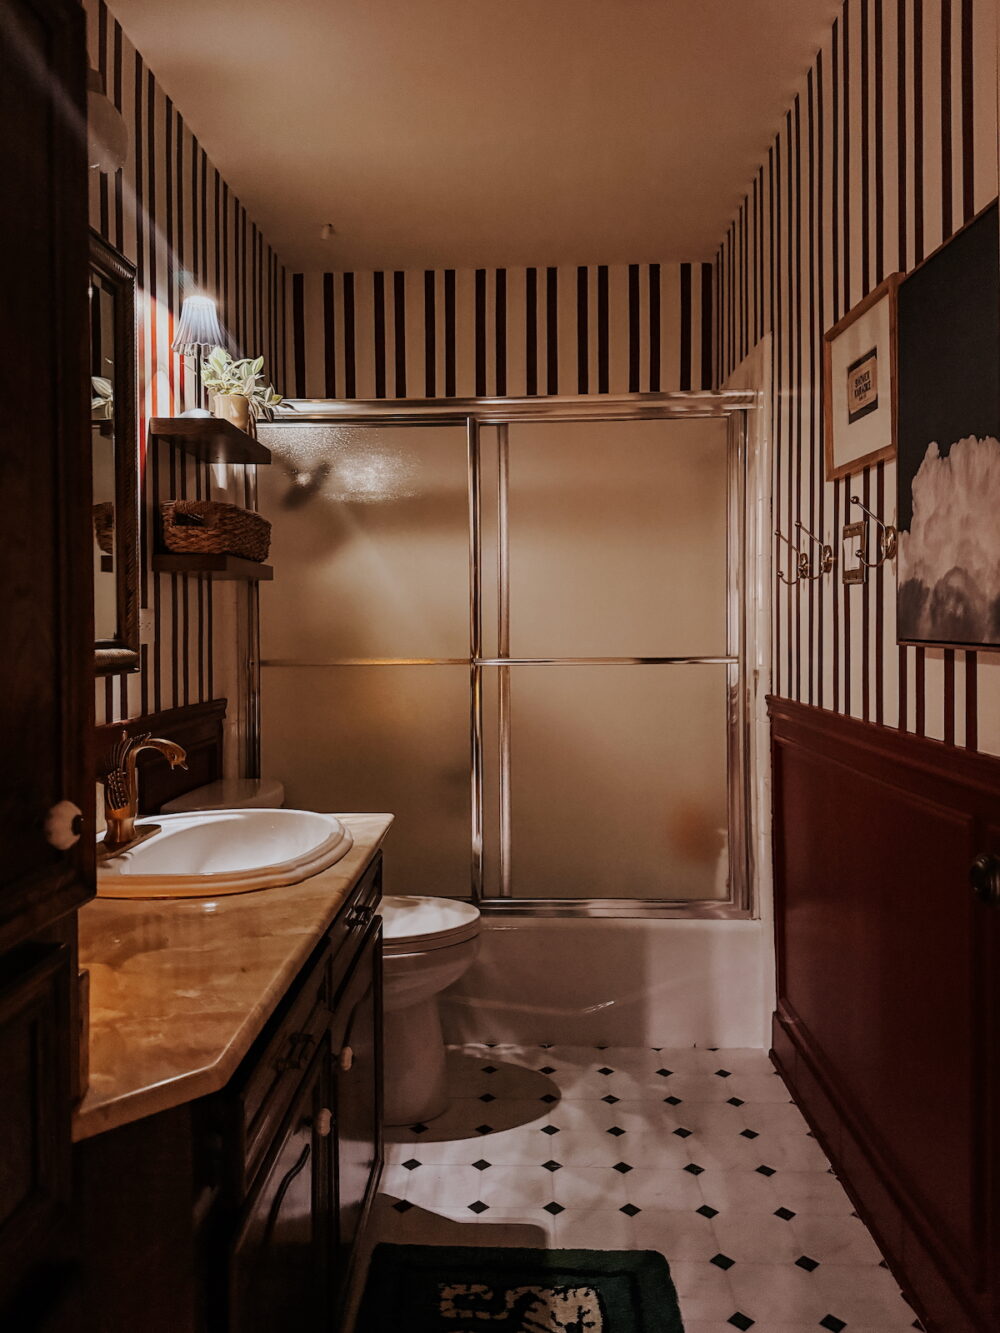
One of the things I love the most about living in a fixer upper home is the ability to do “phase one” projects. Those are the projects where you don’t fully renovate a space, you just take on smaller cosmetic projects until you’re ready for the full rip-it-all-out makeover. Phase one makeovers are more affordable, they make a huge impact, and they’re so much fun.
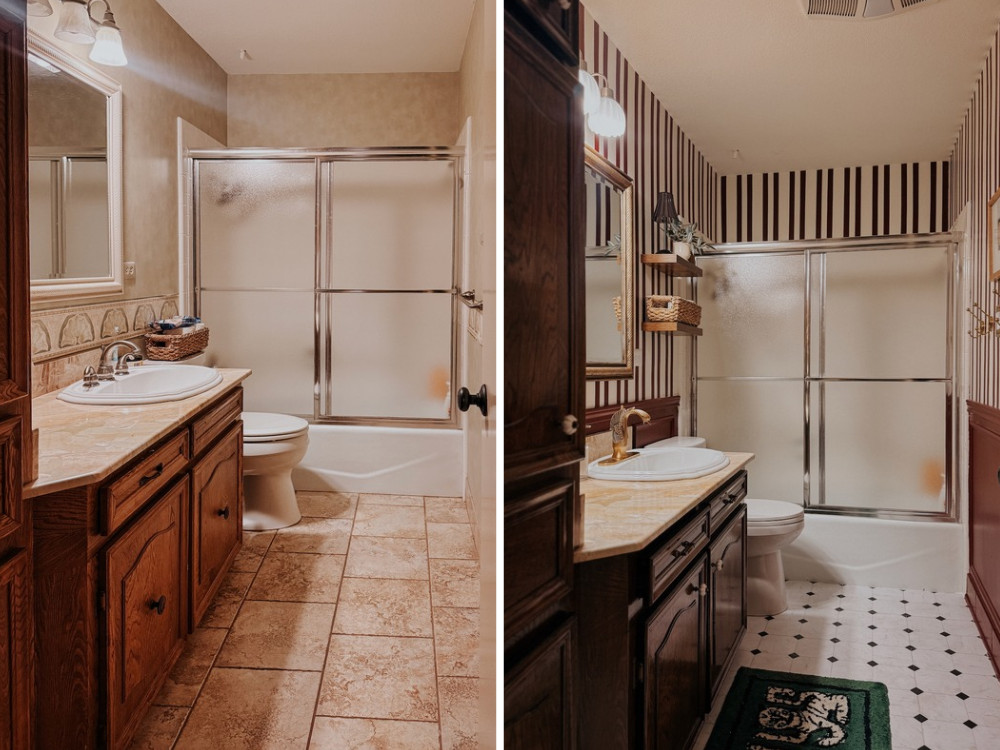
I’ve been working on a quick makeover of our boys’ bathroom for the last couple of months and I’m so excited to say it’s finally done. This bathroom was a pretty major eyesore before, with peeling wallpaper, dated fixtures, and not a lot of personality. I really wanted it to feel special – kind of like a bathroom in a boutique hotel or at a bougie bar. Something bold and unique with a lot of attention to detail. And, well, I kinda think I nailed it.
All The Projects in My Bathroom Makeover
I’ve shared pretty much all of the projects along the way, but I think it’s worth taking a moment to break it all down here. When you see just a set of before and afters that are so drastic it can feel like it was this huge undertaking. But, in reality, there wasn’t that much to this! A few simple projects can go a really long way, and I think this bathroom is proof of that. Here’s everything I took on in this space:
Wallpaper Removal
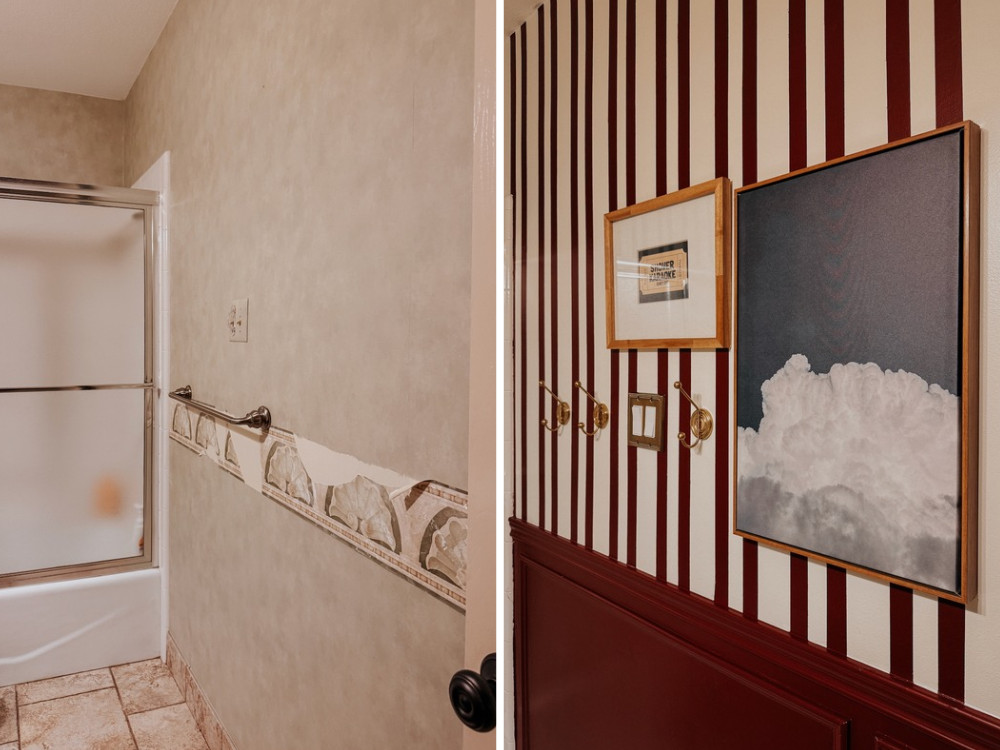
First step was removing all of the dated, peeling wallpaper. It was a massive undertaking but it was well worth it. This is a super cheap project (you just need some drywall compound for patching, and then primer) and it makes a massive difference. Be sure to prime the walls when you’re done before you do anything else! You can read all about my wallpaper removal method here.
Staining the Vanity
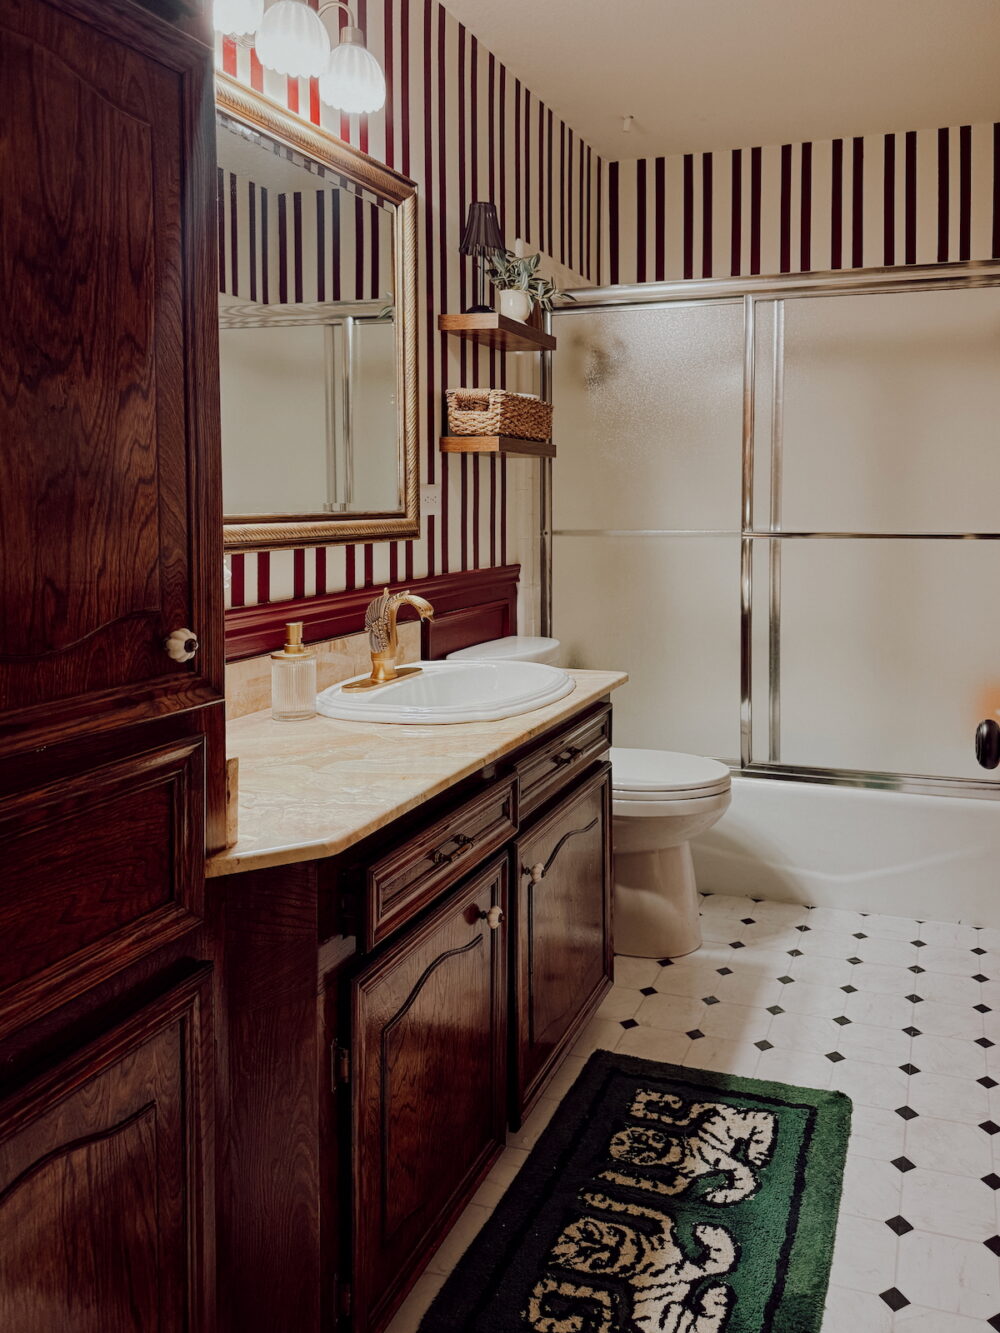
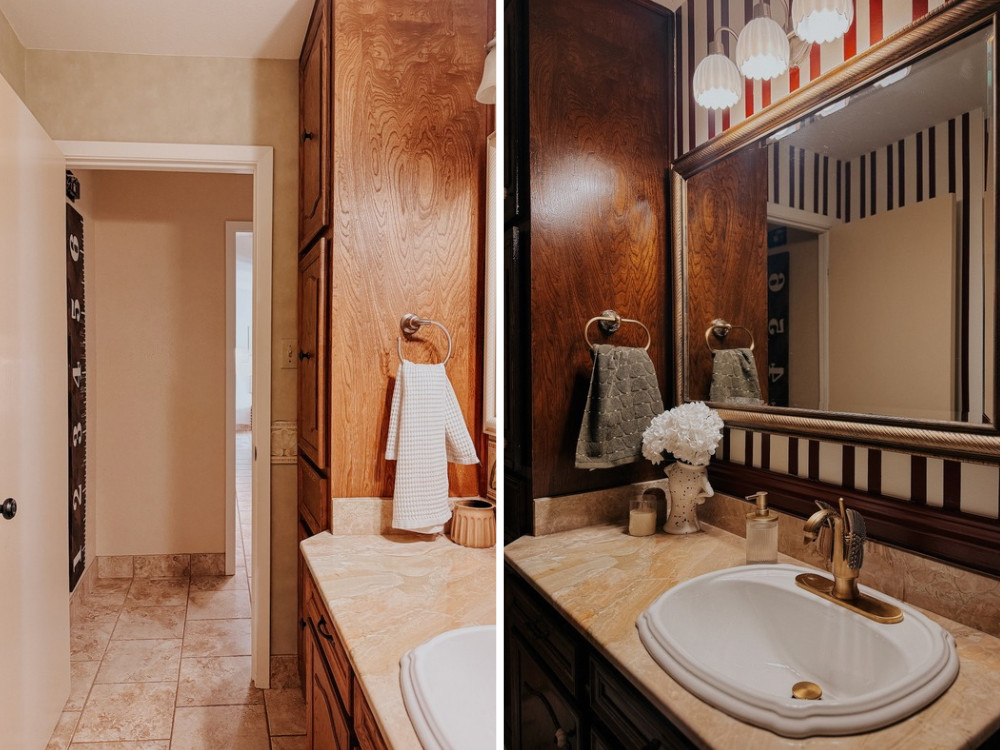
Next up, I stained the vanity. I wanted to make the countertop feel less dated and more intentional, and I had a hunch that a darker stain would do it. I really didn’t want to paint because these are handmade cabinets from the old owner and I love the wood tone. So, I grabbed a gel stain and completely transformed the vanity for $25! See the project breakdown right here. It was really easy and I’m in love with the results. I’m already considering how I might like to do something similar in the kitchen eventually!
Trim
There isn’t a lot of wall space in here, but I wanted to add some visual interest and layers to the room. One of my absolute favorite ways to do that is with picture molding. I’ve did it a couple of times in our last home (see it in our bedroom and in the powder room) but this was my first time just doing it on the bottom half of the walls! Because it’s such a small amount of wall space, it was under $50 for me to get all of the supplies for this!
Painting Stripes
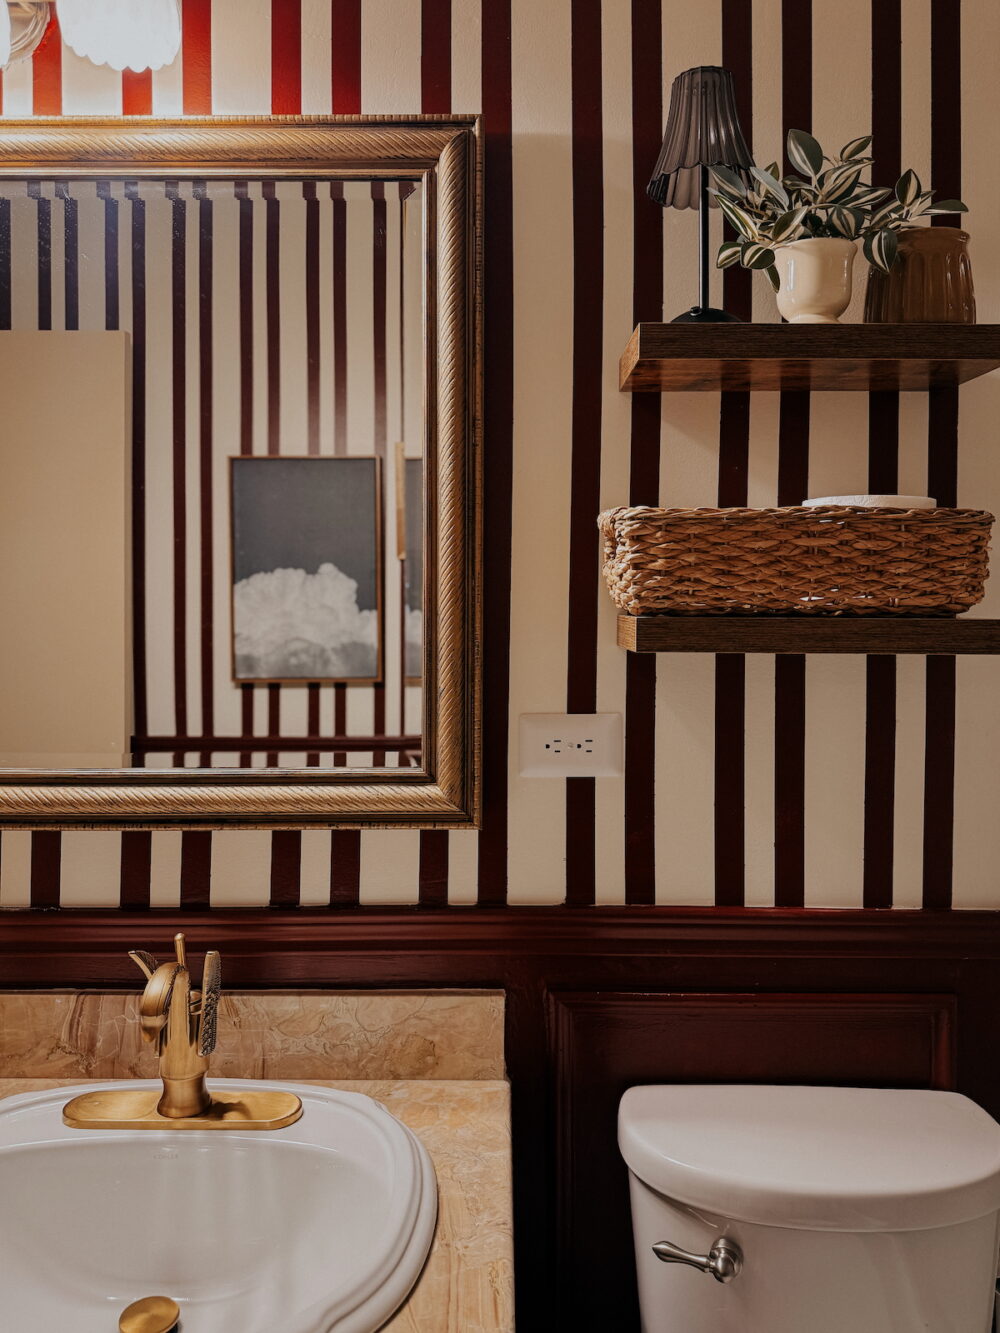
After the trim, it was finally time for paint. I wanted a deep red for this room and I went with Vintage by Clare Paint. It’s an absolutely stunning red that feels so rich and bold. I painted the bottom half of the walls red and then painted red and white stripes on the top half. You can see the full project breakdown here!
Mirror Makeover
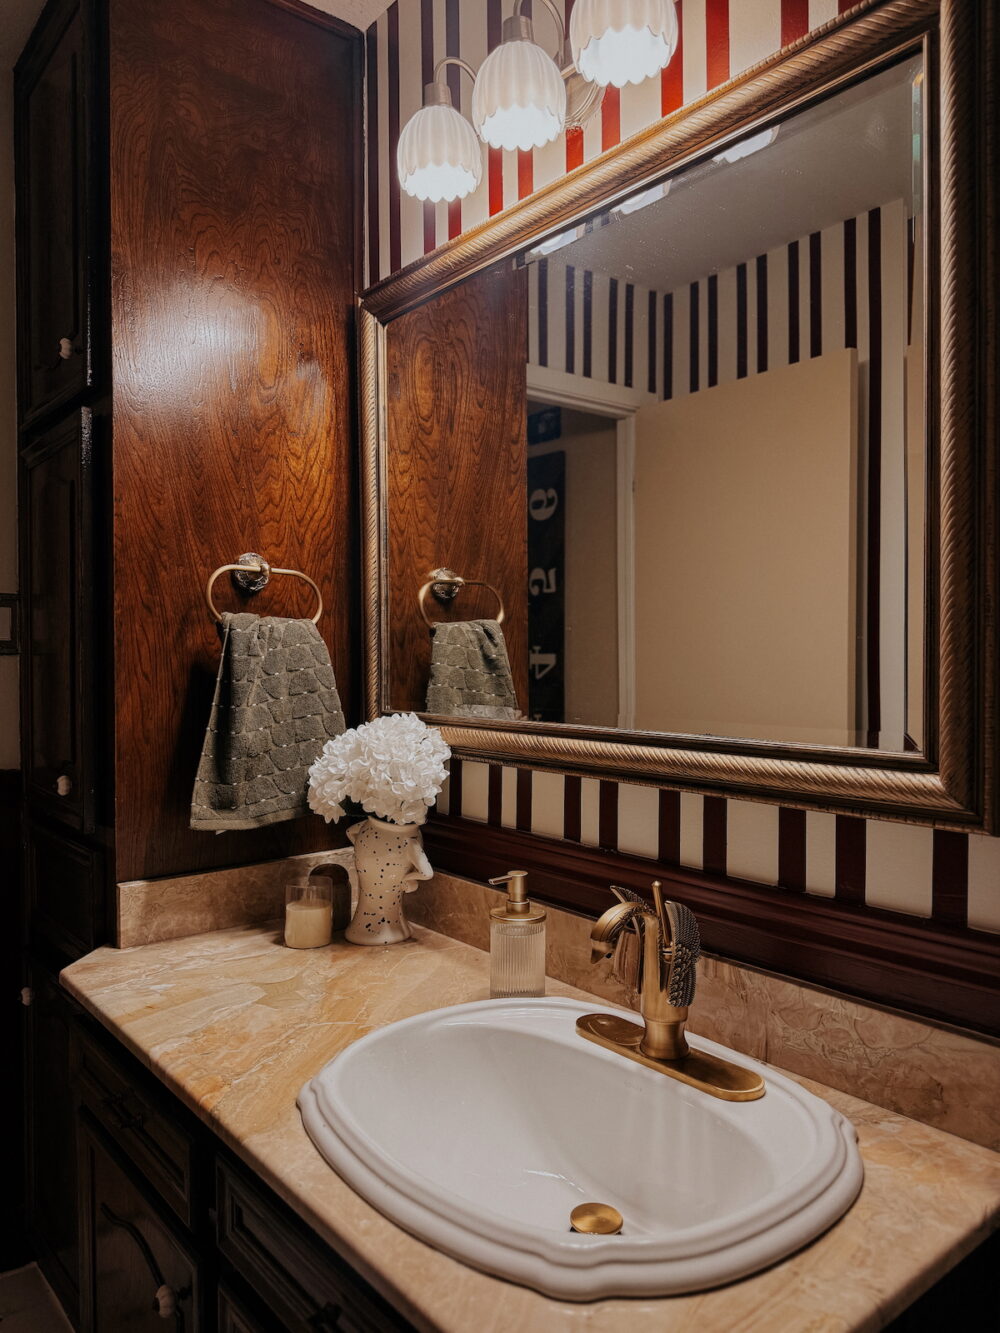
We were lucky that the existing mirror in this bathroom wasn’t really bad at all! It felt a little dated but I knew I could fix that with some Rub & Buff. I spray painted the frame black, then I used rub and buff to make it look antique. It was really easy and made the mirror look so much nicer. If you’ve got a plain builder-grade mirror, you can always add a frame to it instead!
Peel + Stick Floors
The final big project in here was peel and stick flooring! I felt like the existing tile floors would keep the space feeling dated and a little dingy. Plus, I’ve never tried peel and stick tile so this felt like a good opportunity. It was only about $100 total for these FloorPops x Chris Loves Julia Cricket tiles and I absolutely love them. They made the biggest difference in here. You can see the details on my peel & stick floor here!
Swapping Hardware
Finally, we’ve got the details! This is what really takes the room from good to great. I changed things like the faucet, the towel ring, the cabinet hardware, and even the toilet lever. The little things matter here and it all adds up to a space that feels so polished and finished! You can find sources for all of the details in the list below.
Sources:
- Gel Stain
- Drawer Pulls
- Cabinet Knobs
- Faucet + Drain Assembly
- Floating Shelves
- Toilet Paper Holder + Towel Ring
- Towel Hooks
- Toilet Handle
- Bath Mat
- Peel & Stick floor tile
The Before and Afters
It’s not a reveal post without a few before and after photos, right? So, let’s just take a moment to appreciate how far this room has come with just $500 and a little elbow grease.
Budget Breakdown
And now, the part I know you’ve all been waiting for. The budget! I already had quite a few supplies on hand, so that definitely saved me some money here. And, for full disclosure – I did replace the toilet in here, but I’m not counting that towards the budget. I didn’t replace it because it was part of the makeover – the old toilet just didn’t really work well.
Here’s a rundown of everything that I spent for this bathroom makeover:
What I Spent:
- Gel Stain: $25
- Trim: $50
- Light Fixture: $90
- Rub & Buff (for mirror): $11
- Faucet + Drain Assembly + Deck Plate: $100
- Cabinet Hardware: $23
- Towel Ring + Toilet Paper Holder: $30
- Towel Hooks: $20
- Shelves: $17
- Toilet Lever: $15
- Peel & Stick Floor: $100
- Light Switch Plates: $25
- Bath Mat: $25
GRAND TOTAL: $531
Other Supplies You May Need:
- Skim coating supplies: $20
- Primer: $30
- Paint: $70
- Painter’s tape: $20
- Caulk/Wood Filler: $20
ADDITIONAL TOTAL: $160
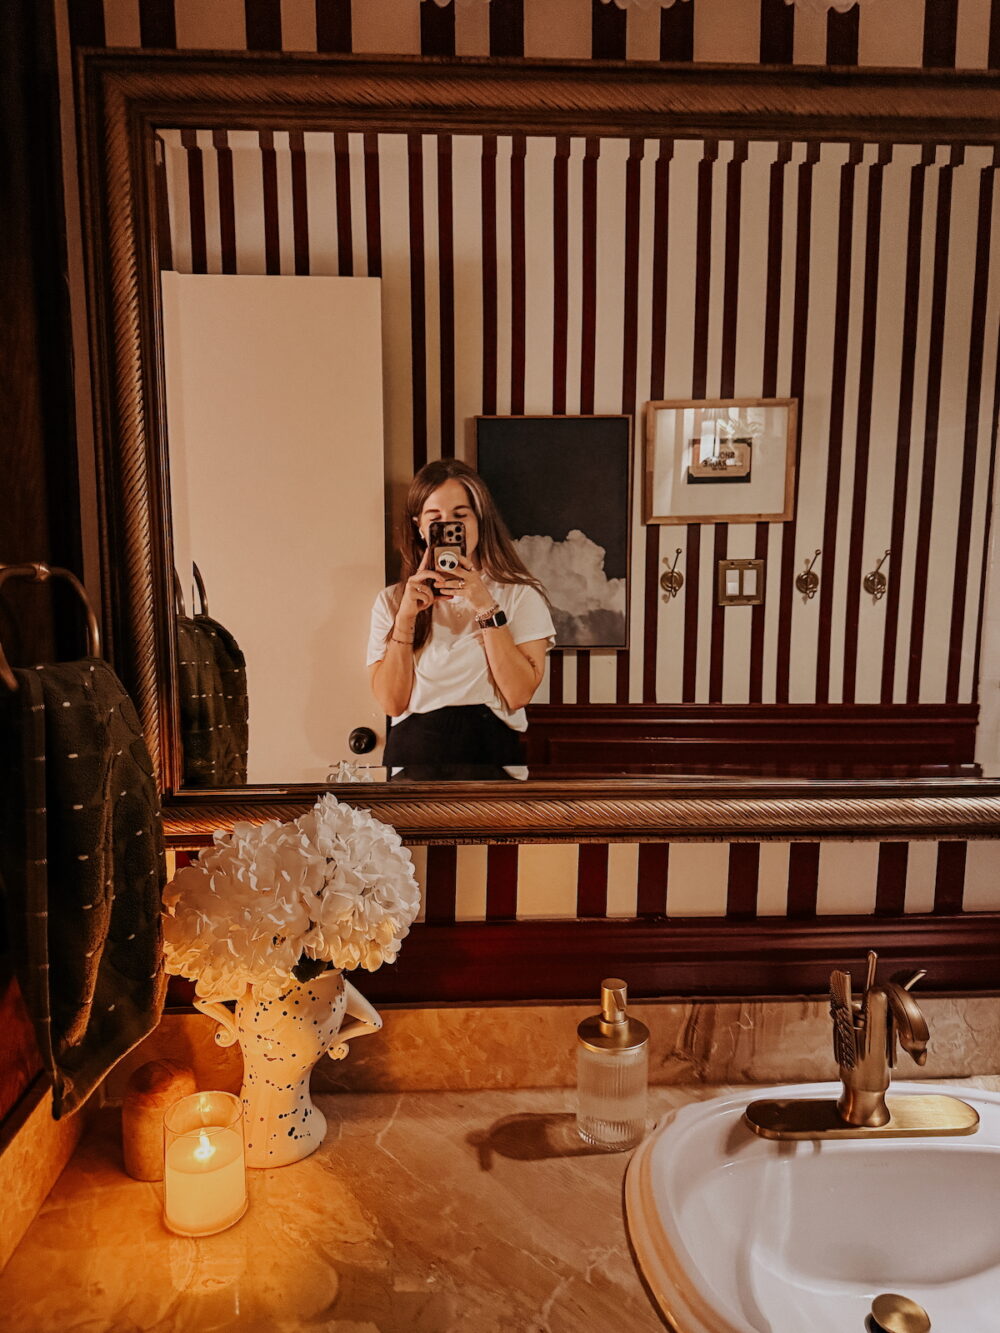
It’s absolutely wild that we made this much progress in this space for just $500. It’s unrecognizable! This was so, so much fun and I’m so glad I took this project on. It felt like a bit of a risk – especially the red and the stripes – but it was absolutely worth it.
Eventually, we may do more a more large-scale makeover in here. I’d love to update the shower for the kids and actually replace the flooring. But it’s well worth the $500 to create a space we love for the next few years until we’re ready for something bigger!