
I Tried 3 Wallpaper Removal Methods – Here’s What I Learned
If you’re here, it’s probably because you’re trying to figure out how to remove wallpaper. I just finished trying this for the first time in my kids’ bathroom and I’m here to share everything I learned!
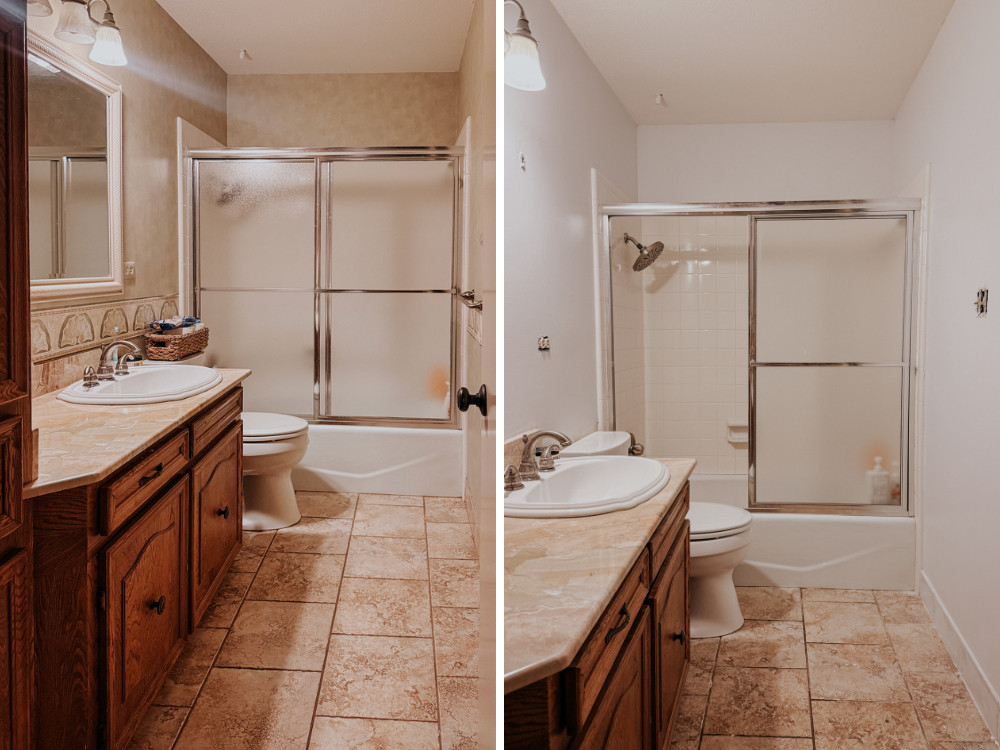
Wallpaper removal is one of those jobs that feels really intimidating to me. It’s super labor-intensive and takes forever, and I’ve spent about a year putting this project off. But, I’m really excited about giving our kids’/guest bathroom a refresh, and so it was time. The entire bathroom was covered in (very 90’s) wallpaper, so I set out to figure out the best way to remove it.
I tried a few different methods and landed on one that made the job very approachable. Today, I’m sharing what worked for me, plus what I’ll be doing differently the next time I remove wallpaper. I’ve got two more bathrooms covered in it, after all.
Wallpaper Removal Video
I’ve got a video for those of you who prefer to learn that way! I recorded pretty much everything as I was working, so you can see how the process looked in real life.
What Didn’t Work
I want to start off by talking a little bit about the methods I tried that didn’t work out for me. I did a lot of research before I jumped into this project, and so I had a few ideas but I knew that every job is different. So, I wasn’t sure where I’d land. In the end, it took some trial and error to find the method that worked best for me. Here’s what didn’t work.
A Steam Machine
A lot of people swear by a steamer for removing wallpaper. And I see why! It’s effective and quick. I don’t have a wallpaper attachment for mine, but But, I do have a steamer with a large surface attachment that felt like a really good fit. I ran into two major issues with using it that made it not the best option for me. First up, the steamer didn’t saturate the wallpaper enough. The steam definitely helped loosen things up, but I needed more water on the walls than it was able to give me. I ended up adding in the water bottle (see below) to help saturate it more, but it still wasn’t as effective as my final method. The other reason the steam machine didn’t work out was that it can only hold so much water. When it needs to be refilled, I had to let it fully cool off enough to be opened up so that I could refill it, then it had to heat back up. It put enough of a pause on my project that I got frustrated and decided to stop using it once the water ran out.
A Water Bottle / Steam Machine Combo
This was the next thing I tried – I would saturate the wall with the water bottle and then use the steam machine on top of that same area. It worked great, but it was really tedious and not nearly as effective as the final method I found below. And, the one I’m sharing doesn’t even require a steam machine!
What You Need to Remove Wallpaper
When it came to supplies, I kept it very simple. Here’s what I used for my wallpaper removal job:
- An empty spray bottle
- Dawn dish soap
- A plastic scraper
- A wet wash cloth
- Scrub daddy scrubbing sponge
- Joint compound
How to Remove Wallpaper: Step By Step
Step One: Peel off the top layer
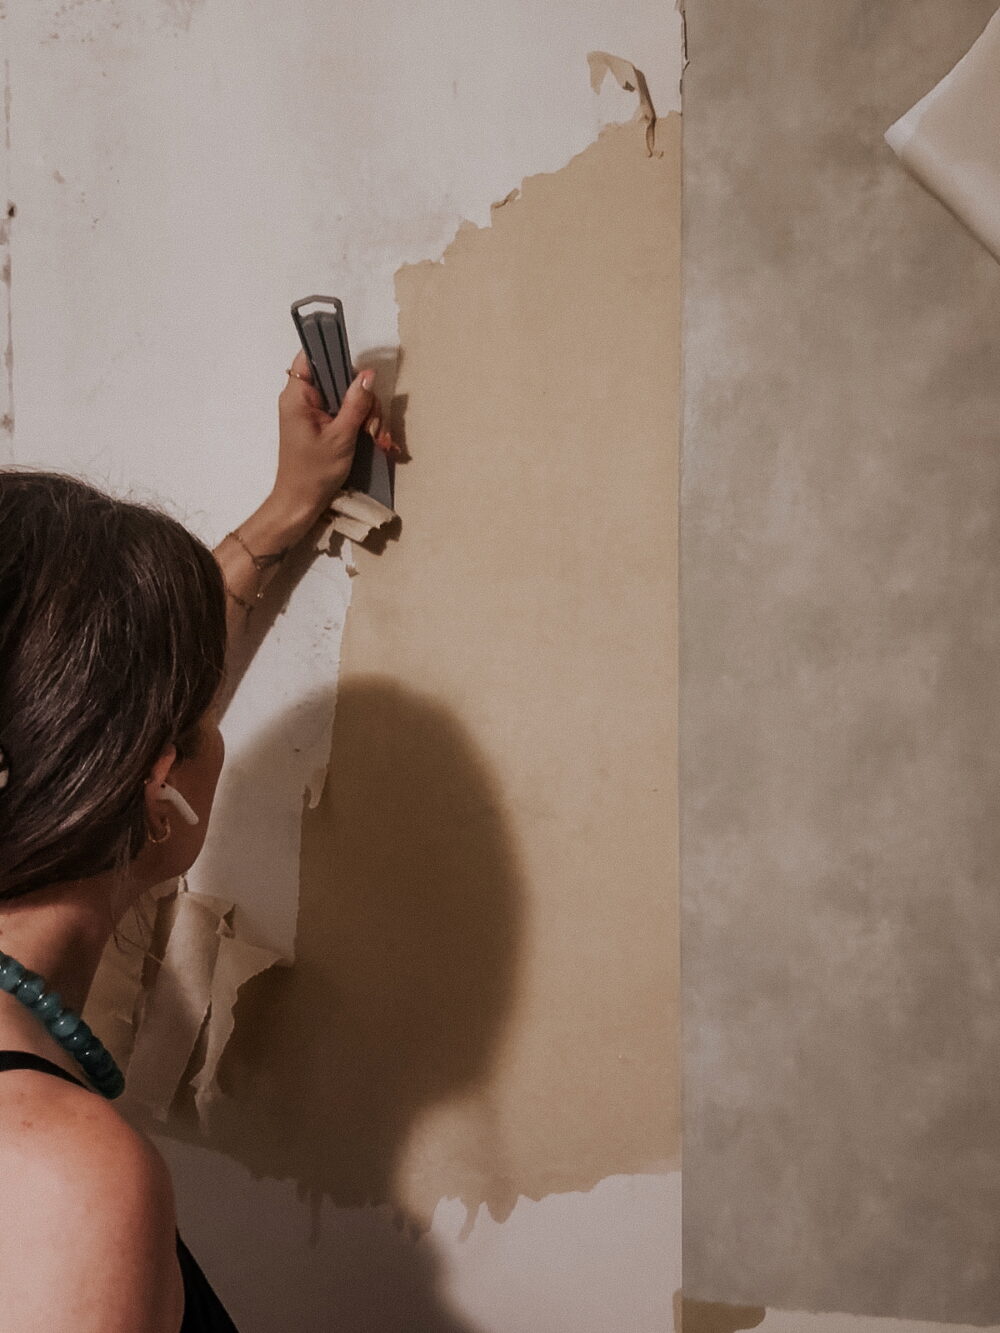
I found that it was easiest if I started by removing the top layer of the wallpaper. Think about peeling a sticker off something and how the first layer comes off but leaves the paper backing. It’s kind of like that!
A professional might tell you to score the wallpaper and then remove it all in one fell swoop. That probably works great too! But, if you’re anything like me then you’ll be itchy to just do the dang thing and I found this was a really efficient method. I just used the edge of a knife to help me grip a corner of the paper, then I pulled it off in strips. Don’t worry too much about if you can get it all off – there will be residue. You’re just trying to expose the backing so it’s easier to remove!
Step Two: Wet a section of wall
Working in sections, get your washcloth wet with warm water and a few drops of dish soap. Saturate the wallpaper and let it sit for a couple of minutes. This step is key, because it helps loosen up the adhesive and makes it easier to scrape off. There was a very noticeable difference after it had set for a little bit, and it got so much easier to remove.
Step Three: Start scraping!
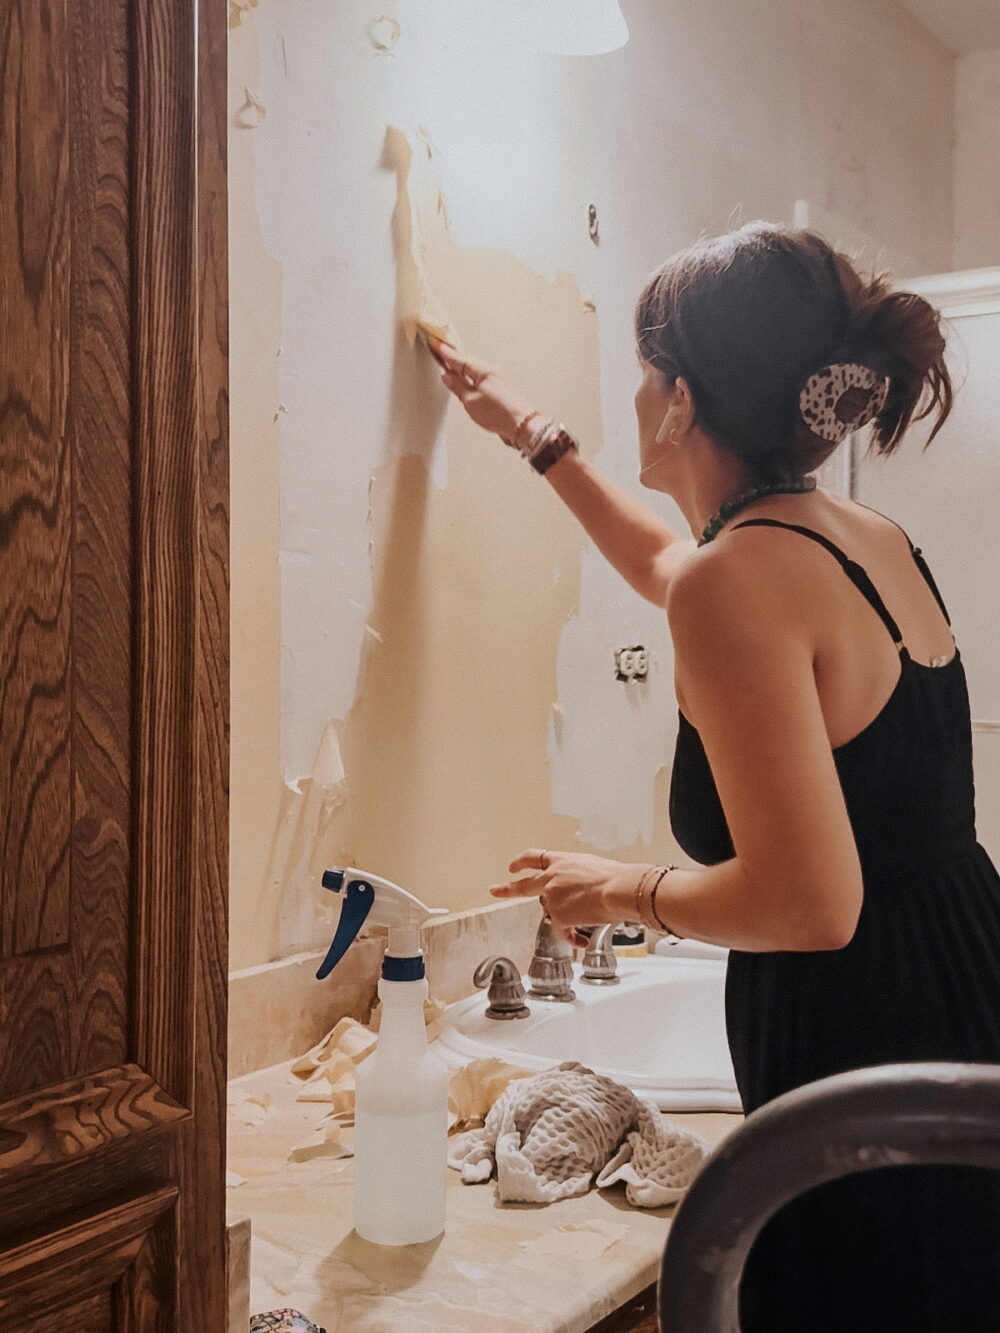
Here’s where things get fun (and also hard). Once the water has had a moment to saturate and loosen the wallpaper, grab your plastic scraper and start scraping down the wall at a 45-degree angle. The wallpaper should come off in small strips as you scrape. It requires a little muscle, but be careful not to press too hard, or you’ll damage the wall.
Depending on your wallpaper, you might have sections that come off in big chunks here. It’s very satisfying! If you have any parts that still feel stuck or won’t come off easily, grab your spray bottle (filled with warm water and a bit of dish soap) and re-wet them. Keeping the wallpaper wet as you work is key to making this easy!
Step Four: Clean it Up!
Keep in mind, this is a messy job. There will be wallpaper and adhesive residue everywhere. Including all over you. As you work, I recommend keeping a large trash bag nearby and dumping your scraps in there as you go.
After you’ve done your first pass around the room removing all the wallpaper, take a second to inspect where you worked and make sure there isn’t any visible wallpaper or backing left. There are likely to be a few super stubborn pieces hanging on. Just spray them with water, let it sit for a second, and then scrape or peel it off.
A Few Things to Remember
Every wallpaper is different so that means every wallpaper removing job is going to be slightly different! Some will come off easier than others. Some wallpapers might feel nearly impossible! But, no matter what kind of wallpaper you’re working with, here are a few additional tips to remember as you work:
- Warm water is your best friend here. If you ever start to feel like it’s getting harder, grab that spray bottle and re-wet the walls. It will help loosen things up and I promise it will make things easier.
- Work in small sections. If you try to wet an entire wall and remove the paper without re-wetting anything, it’s not going to work. I found it worked best when I worked in 2-3 foot square sections. You can wet a large area before you hone in and start scraping – it’ll let the backing start to loosen! But, be sure to re-wet a small section before you start scraping the wallpaper off.
- You might need a stronger cleaner. I did a lot of research before digging into this project and I saw over and over that TSP is a really great option for removing wallpaper. I ended up not needing it because water and dish soap worked great for me, but if your wallpaper is more stubborn it might help!
- A scoring tool can also help stubborn areas! If you aren’t able to remove your top layer of wallpaper or if you’re just hoping to remove it all at once, a scoring tool is a great option. It creates small holes in the wallpaper that allows the water to penetrate through to the bottom. I didn’t try this, but a lot of people swear by it for wallpaper removal!
So, The Wallpaper is Off. What Now?
I have to be honest – I had a moment of panic when I finished removing the wallpaper and saw how bad the bare walls looked. There were tons of little divots from my scraper, areas where the original drywall had peeled off a bit, and just general chaos. But, I’ve done this enough to know that the middle is always messy! You’ve just gotta keep going. So, I stopped letting myself worry and I jumped into the next steps. Here’s what you need to do after you take the wallpaper off.
Clean the Walls
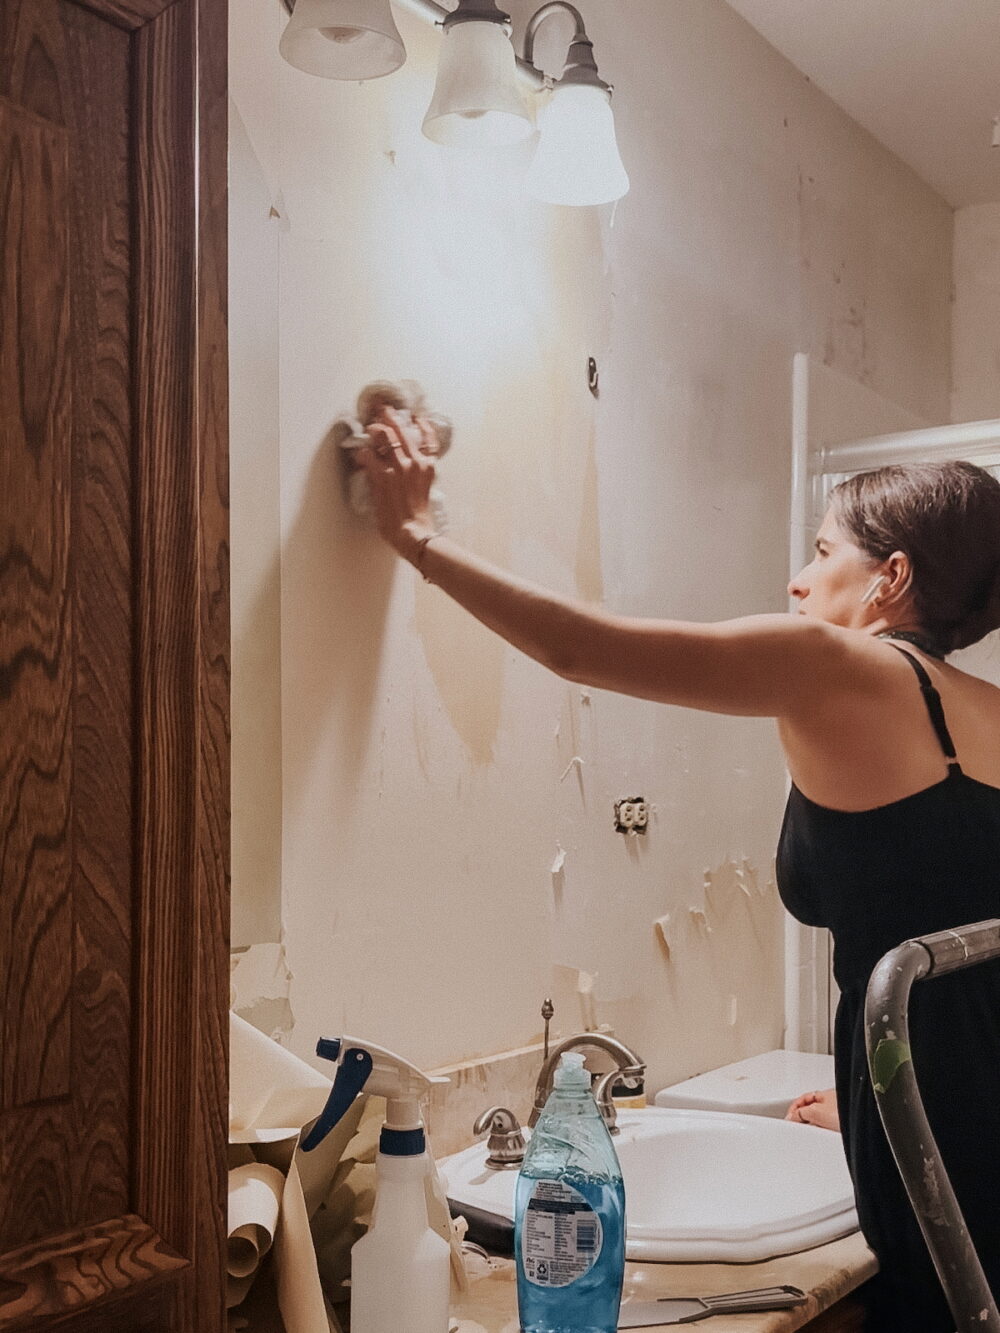
No matter how thorough you are with removing the wallpaper and all of the residue, there will be some left behind. Your walls might still feel slightly sticky or tacky. It’s pretty much impossible to get it all off without a good cleaning! Thankfully, as long as you took your time with removal, this will be easy.
For this part, I grabbed my Scrub Daddy and filled a bowl with a bit of warm water and dish soap. Vinegar would be a great option here, too! Dip the sponge and then scrub in a circular motion on the wall. You should be able to touch the wall and have it feel like drywall, with no stickiness or tackiness.
After you’ve scrubbed the remaining adhesive off, rinse the wall with a warm, wet washcloth.Take your time with this part and don’t rush it – paint won’t stick properly to the wall if you’ve still got wallpaper glue on there!
Patch or Skim Coat
This is the part I was dreading the most because I absolutely can’t stand working with drywall. But, it’s one of the most important steps if you want a polished-looking finished product! If your walls are in good shape, you can definitely get away with just patching any areas that need it. Check out this tutorial for how to patch damage on drywall.
In my case, it was a larger-scale issue and I know that I would need to do a light skim coat to make things look their best. Thankfully, I had some practice in my dining room so I felt confident I could handle it! Check out this post for a full tutorial on how to skim coat walls – I’ll give an overview below!
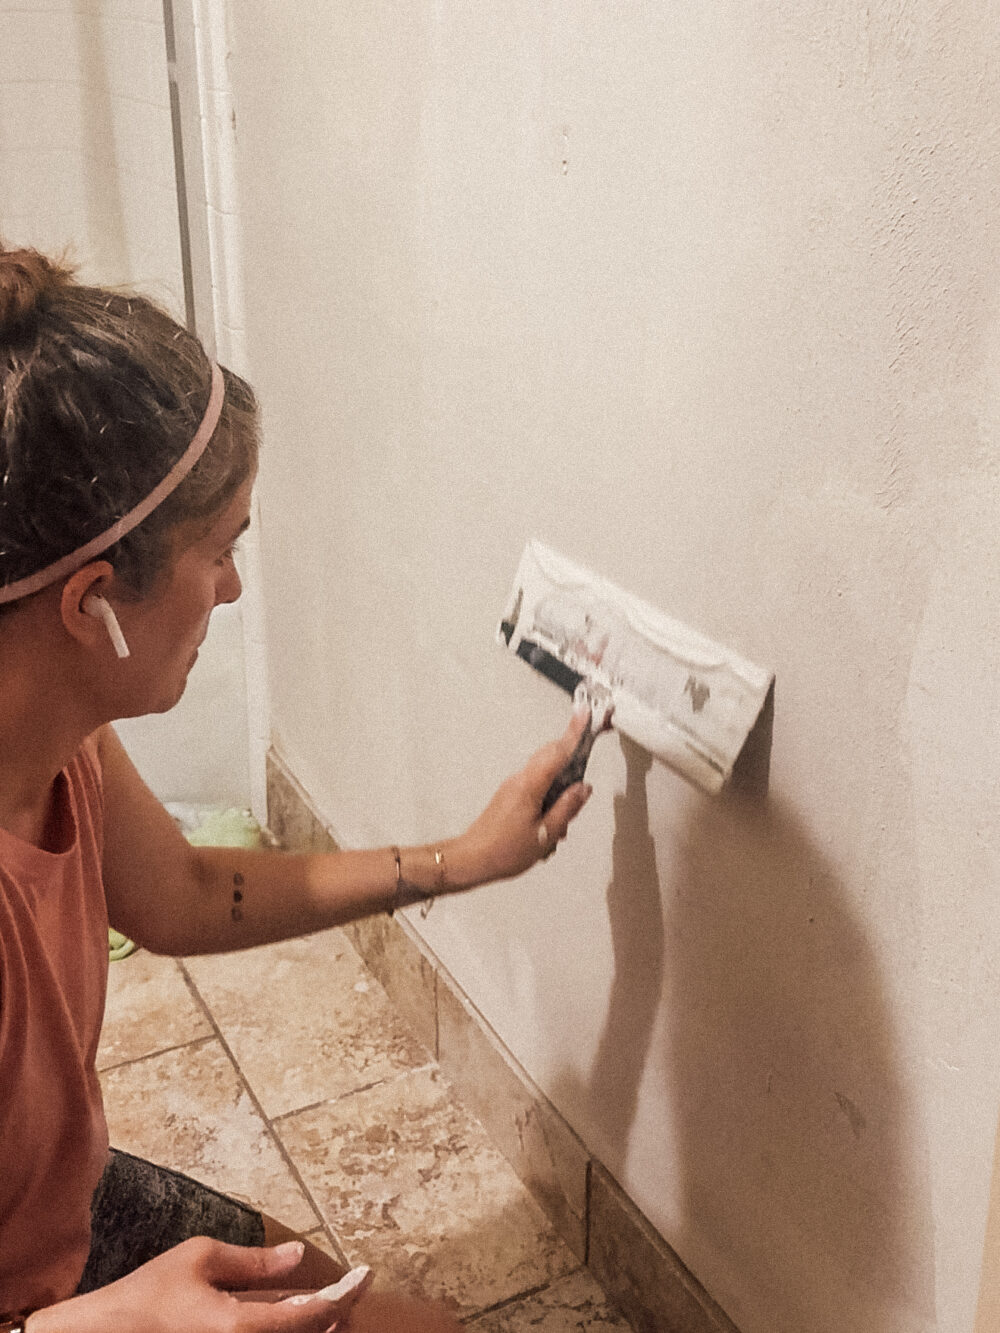
I mixed up a bit of joint compound and then used a drywall knife to add a very light coat over most of the walls, focusing on the areas where there was damage. Take your time here and be sure to check the walls from various angles before calling it quits.
After letting it dry for about 24 hours, sand the entire space (it’s messy! Wear a mask!). Most walls will probably only need one coat, but you can add more if needed! Just be sure to wait 24 hours and then sand in-between each coat you do.
Prime the Walls
And now, finally, you’re at the point where you are ready for the final step before painting! It might be tempting to skip this because you’re itchy to move on. But, priming is very important for proper paint adhesion and durability. As annoying as the extra step of priming is, it feels like such a breath of fresh air to see clean white walls after all these days of staring at the ugly, damaged drywall!
And once the primer has dried, you’re done! You did it! You are ready for paint!
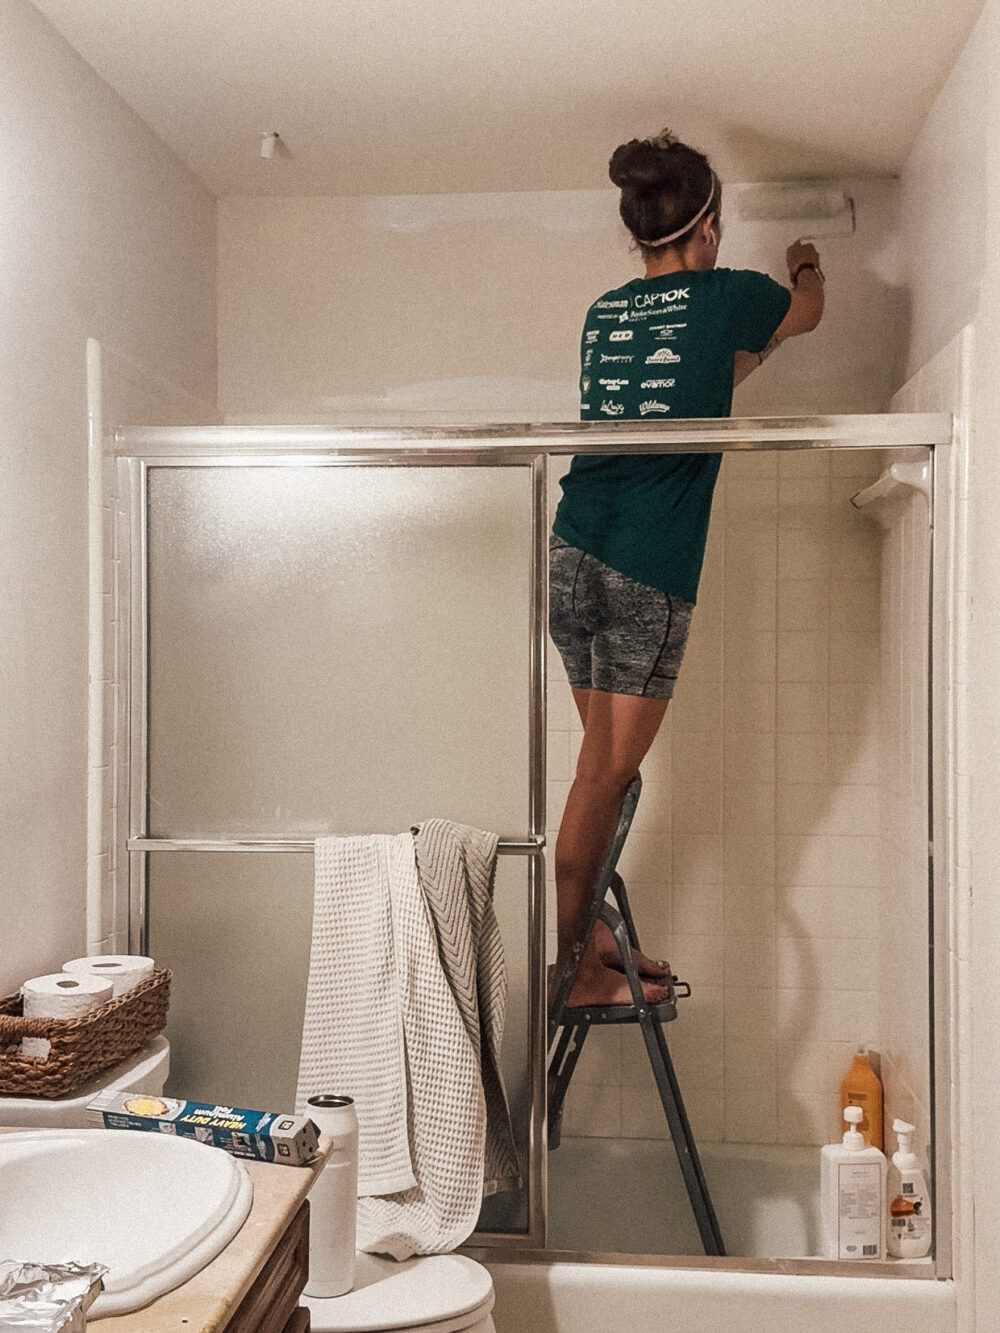
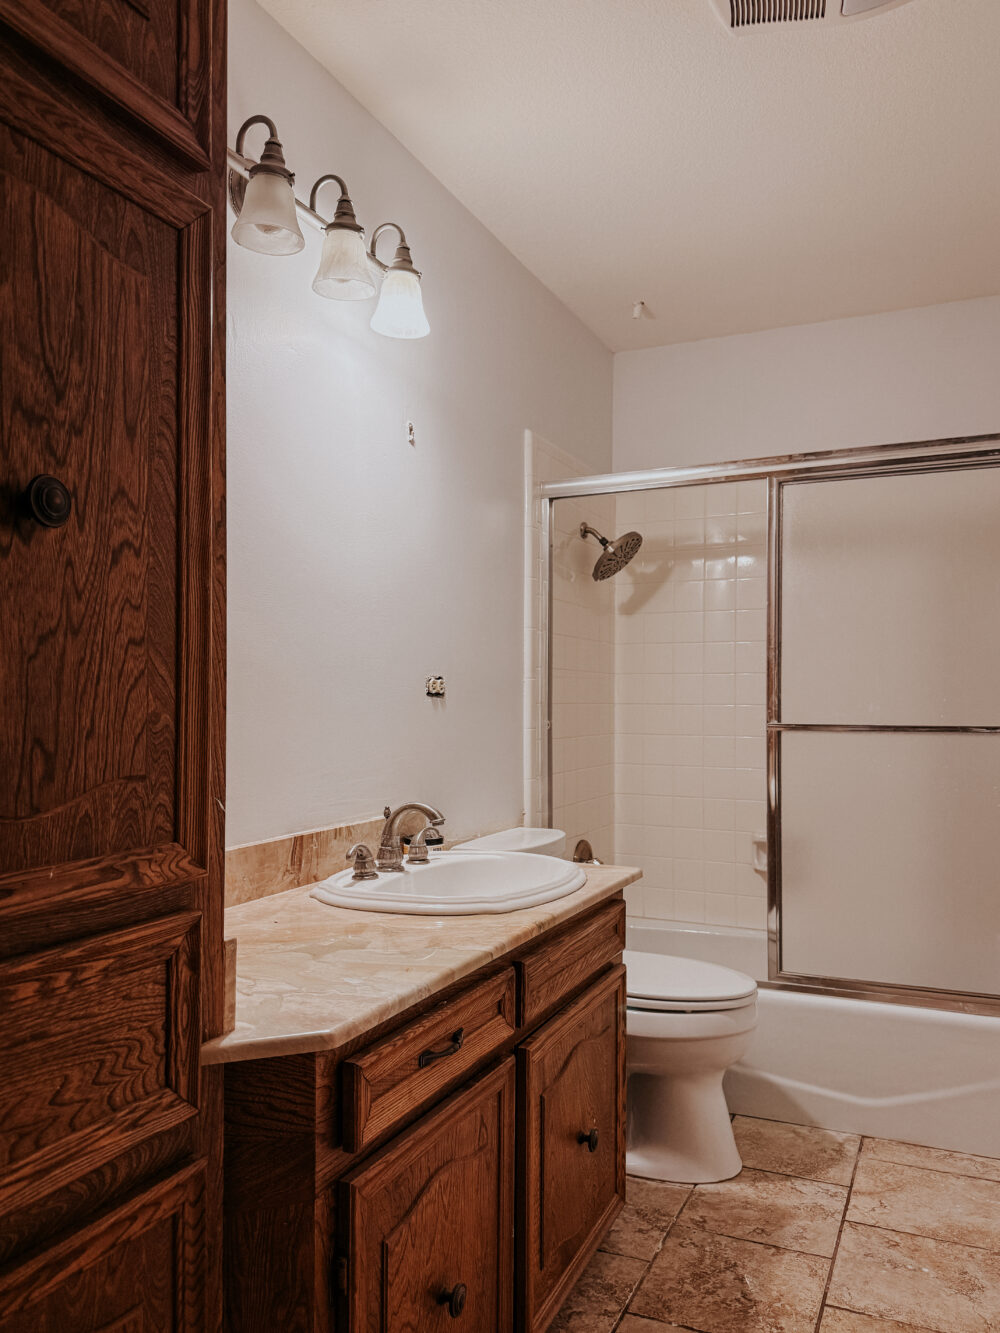
I’m really, really excited for the next steps in this space. As itchy as I am to get started on painting in here, I have a few things I want to tackle first. I’m going to be re-staining the vanity and adding trim to the walls. So, I’m going to take care of those before I paint, so there’s less protection needed! But, it feels so good to have this done, and the bathroom feels so much more updated already.
Related Posts: