Tips & Tricks For Cleaning Kitchen Cabinets
It’s that time of year where we all love to think about how to get our home cleaner and a little more sparkly. One of the big jobs that can make a huge difference in how clean your home feels is the cabinets! Cleaning kitchen cabinets may feel like an overwhelming task, but I promise once you get started you’ll realize it’s not too terrible!
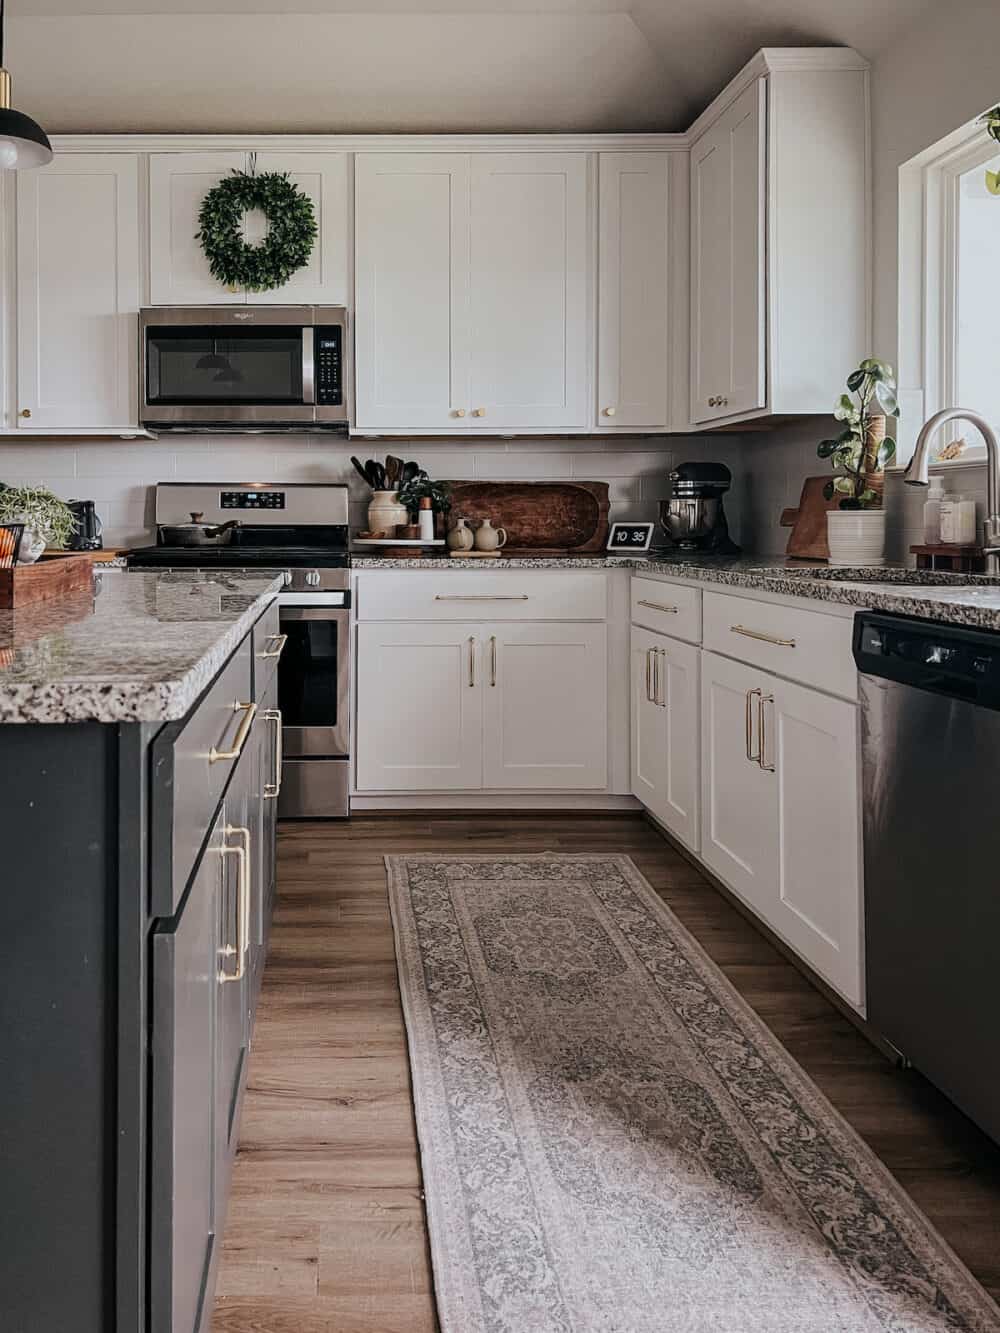
We have white cabinets in our kitchen, and as a result I feel like I’m constantly having to clean them. There are always fingerprints or scuffs or food splatters all over the place, and it makes me more than a little nutty.
But, I’ve come up with a pretty good routine that keeps them (mostly) clean on a day to day basis. And today, I’m sharing it with you. So, let’s dive in!
CABINET CLEANING TOOLKIT
Tips for Cleaning Kitchen Cabinets

Step One: Empty ‘Em Out
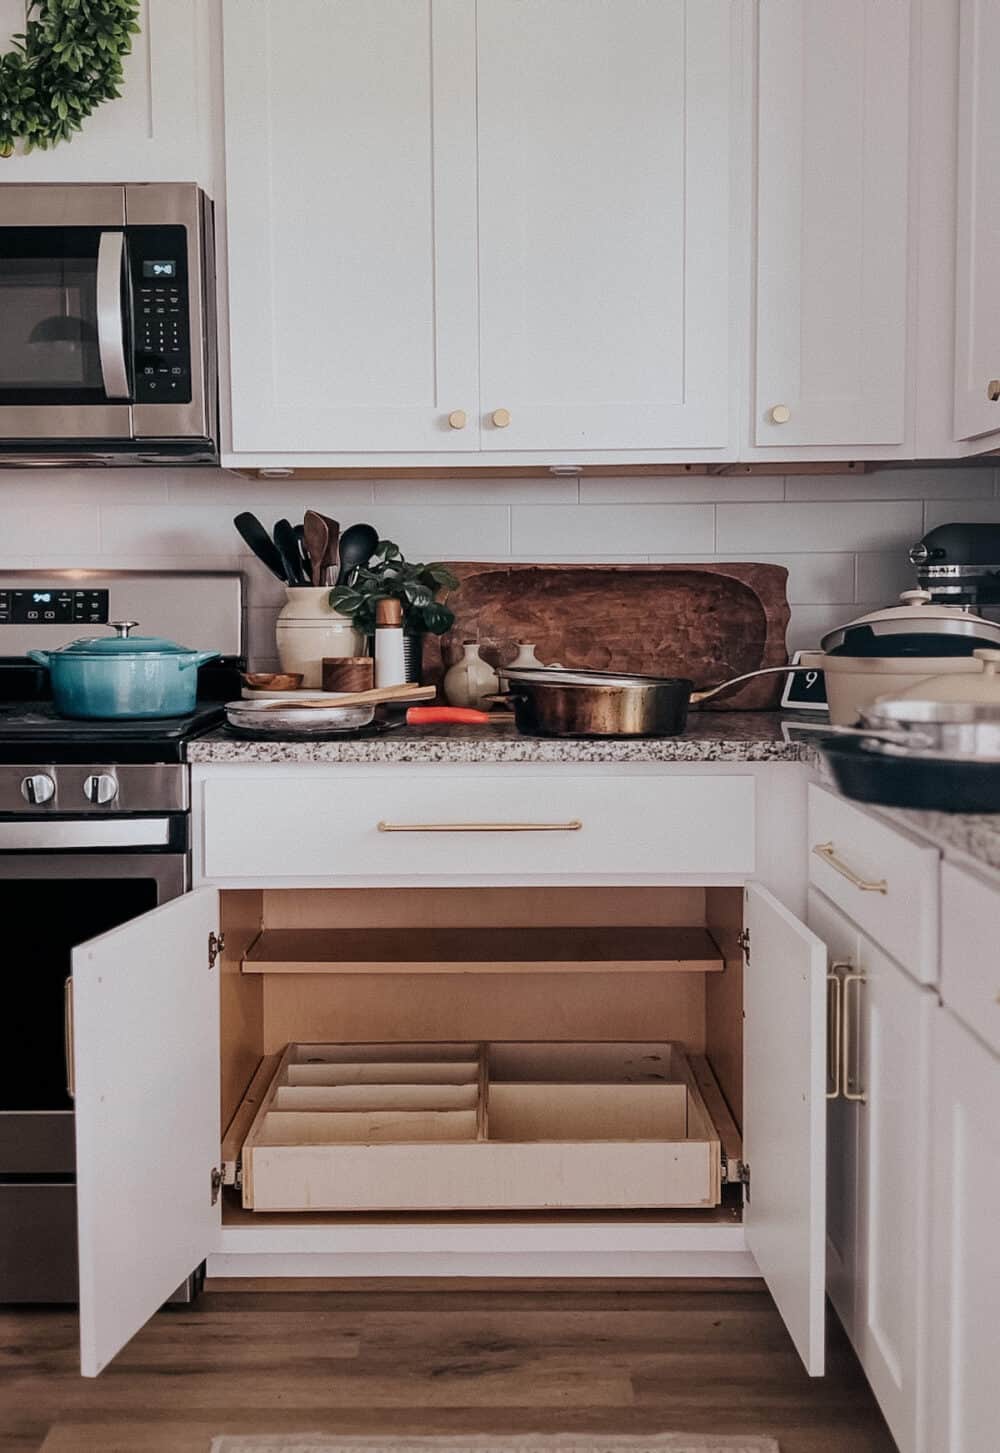
If you plan to really spend some time deep cleaning kitchen cabinets, you’ll want them to be empty.
I know, I know. It’s a huge pain. But, you can’t clean inside if everything is still in them! If you prefer, you can work just a few cabinets at a time to cut down on the chaos a bit – this is what I like to do!
While you’re at it, you might as well empty out the drawers and clean them too.
Step Two: Vacuum the Inside
Once you’ve got a few cabinets (or all of them!) emptied out, grab your vacuum and clean up any crumbs or debris. It’s going to be a lot easier to get things clean if you’ve done this basic first step.
Once you’ve tackled that, it’s time to move on to the real cleaning!
Step Three: Mix Up a Simple Homemade Cleaner
Generally speaking, it’s a good idea to avoid harsh chemicals on your cabinets. I’ve found really great success with just a mixture of two parts hot water and one part dishwashing detergent (I recommend Dawn or a similar mild dish soap)!
This is gentle enough that it won’t scratch up your cabinets or mess with the finish, but tough enough to handle some pretty solid grime. You can also use warm water and white vinegar if you prefer.
Once you’ve mixed it up, pour it into a spray bottle and get to work! I recommend working while the water is still as warm as possible,
Step Four: Clean the Outside
Now the fun can begin! I recommend working from top to bottom (so, upper cabinets first) because as you work some dust or other dirt may fall down onto the lower cabinets.

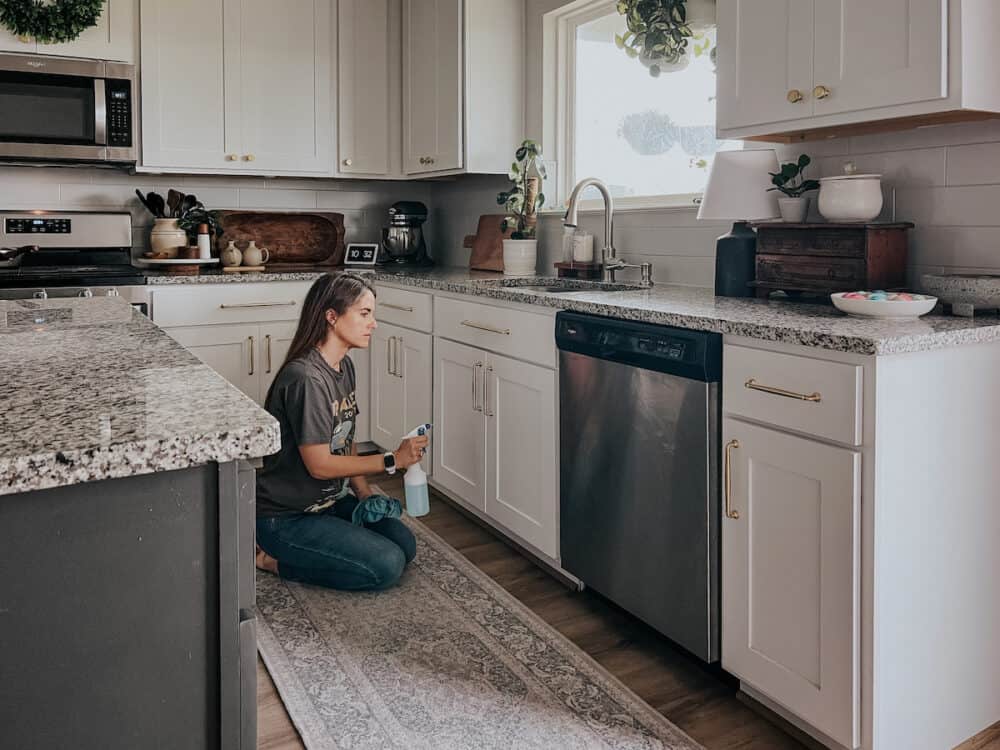
Spray your cleaning solution directly onto the cabinet door and frame. Be careful not to fully saturate it – you don’t want to damage the wood! Just spray enough of your cleaner to allow it to work, and allow it to sit for a minute or two. Then, wipe it down. I recommend using a microfiber cloth to wipe down the cabinets. A clean sponge will work, too!
If there is any soap residue left after cleaning, just go over it with a fresh clean cloth to remove excess moisture and get any cleaning solution that was left behind.
Step Five: Wipe Down the Inside
Once you’ve cleaned the outside of the cabinet, move on to the inside. Use the same cleaning method as before – spray your cleaner on, let it sit, then use a clean cloth to wipe it all down.
Tough stains or spills? Keep reading, we’ll tackle them in a minute!
Step Six: Deal With Crevices & Hardware
Make sure to pay attention to the knobs, pulls, and hinges as you’re working. Most of the time they can just use a quick wipe down with a damp cloth, but sometimes they’ll need more help. You can use a toothbrush to really get into the nooks and crannies.
How to Tackle Tough Stains
Have something that needs a little extra cleaning? Here are some tips for you.
- Mix up a solution of one part baking soda and two parts warm water. Rub it onto the stain and allow it to sit for several minutes. Then, use a soft cloth to do some gentle scrubbing to remove the stain. Wipe it down with a rag and some warm water to remove any residue.
- Some cabinet surfaces can handle a Magic Eraser for tough stains and gunk. But, be aware that it can damage the finish of some cabinet’s, so maybe test it on an inconspicuous spot first!
- Grease spots can be treated with white vinegar and lemon juice!

Tips for Cleaning…
Wood Cabinets
- You can use a cleaner like Murphy Oil Soap to get a bit of shine and polish on your cabinets.
- Be extra careful not to use soaked cloths when cleaning.
- Use a dry microfiber cloth and move with the grain of the wood to buff them towards the end of your cleaning routine.
Painted Cabinets & Laminate Cabinets
- Be sure to use non-abrasive cleaners to avoid scratching up the painted surface.
- For day-to-day spot treating, a multi-purpose cleaner works great!
Glass Cabinets
- Use a glass cleaner or microfiber glass cleaning cloths to clean both the outside and the inside of the glass cabinets.
- Avoid oil-based cleaners as they can leave streaks on the glass that are hard to get rid of.
Cabinet Cleaning Schedule
How often should you follow this whole, big routine? I generally do a major cabinet cleaning (where I do the cabinet interiors as well) about every 6 months. Some people recommend it seasonally, but I just don’t have it in me.
I do, however, wipe down my cabinets weekly! I often use a Clorox Disinfectant Wipe to deal with fingerprints or other small spots on a daily basis. Then, I do a deeper wipe down of the cabinet exteriors once a week or once every other week when I’m already cleaning the kitchen.

Tips for KEEPING Kitchen Cabinets Clean!
Here are a few other things I’ve learned about cleaning kitchen cabinets and keeping them that way:
- Wipe down the high-traffic areas nightly. It isn’t necessarily feasible to wipe down all of your cabinetry every single night, but a little effort goes a long way here. As I mentioned, I try to grab a Clorox wipe and go over the obviously dirty areas every night when I’m cleaning my kitchen. Just like with any cleaning job, the less you can allow things to build up, the better.
- Be sure to use your vent hood! The area above your stove will get gross and greasy. It’s almost impossible to avoid. But the more consistent you are about using your vent hood when cooking, the less you allow grease particles to float up and settle on your cabinets. And we all want fewer grease stains, no?
- Install hardware! If you don’t have cabinet hardware, you’re going to be touching the cabinet surfaces a lot more often and there will be a build-up of grease and grime from that. Installing some knobs and pulls can go a long way!
- Find a routine and stick to it. Put it in your calendar, write it in your planner, whatever you need to do to remember to tackle this regularly will make a world of difference. Whatever your routine is, the key is that you’re consistent with doing something on the regular so things don’t get out of hand.
I’d love to hear your cabinet cleaning tips! What are your favorite tips and tricks for keeping an all-white kitchen looking clean and fabulous?!
Other Cleaning Tips & Tricks
- How to Deep Clean Your Dish Washer
- How to Spring Clean in a Weekend
- Tips for Decluttering Your Home
- How to Deep Clean Your Entire Kitchen


These are great tips. Thanks for sharing!
Amazing! I used Mohawk’s Cabinet Care Kit product on my cabinets and it cleaned them up and made them look brand new.
These are great tips for the DIY homeowner.Thanks for sharing!
Amazing! I used Mohawk’s Cabinet Care Kit product on my cabinets and it cleaned them up and made them look brand new. Seriously, worked much better than just a damp sponge and left no residue.
These are great tips for the DIY homeowner. We’ll have to keep these tips in mind!