DIY Bar Cart
This post is sponsored by Wagner, and all opinions are 100% mine. Thanks for supporting the brands that support Love & Renovations!
You guys. I’m so excited to be here sharing this with you today! This project has been in the works for a while, but between the holidays and the general insanity of life it has taken us longer to get it done than we anticipated.
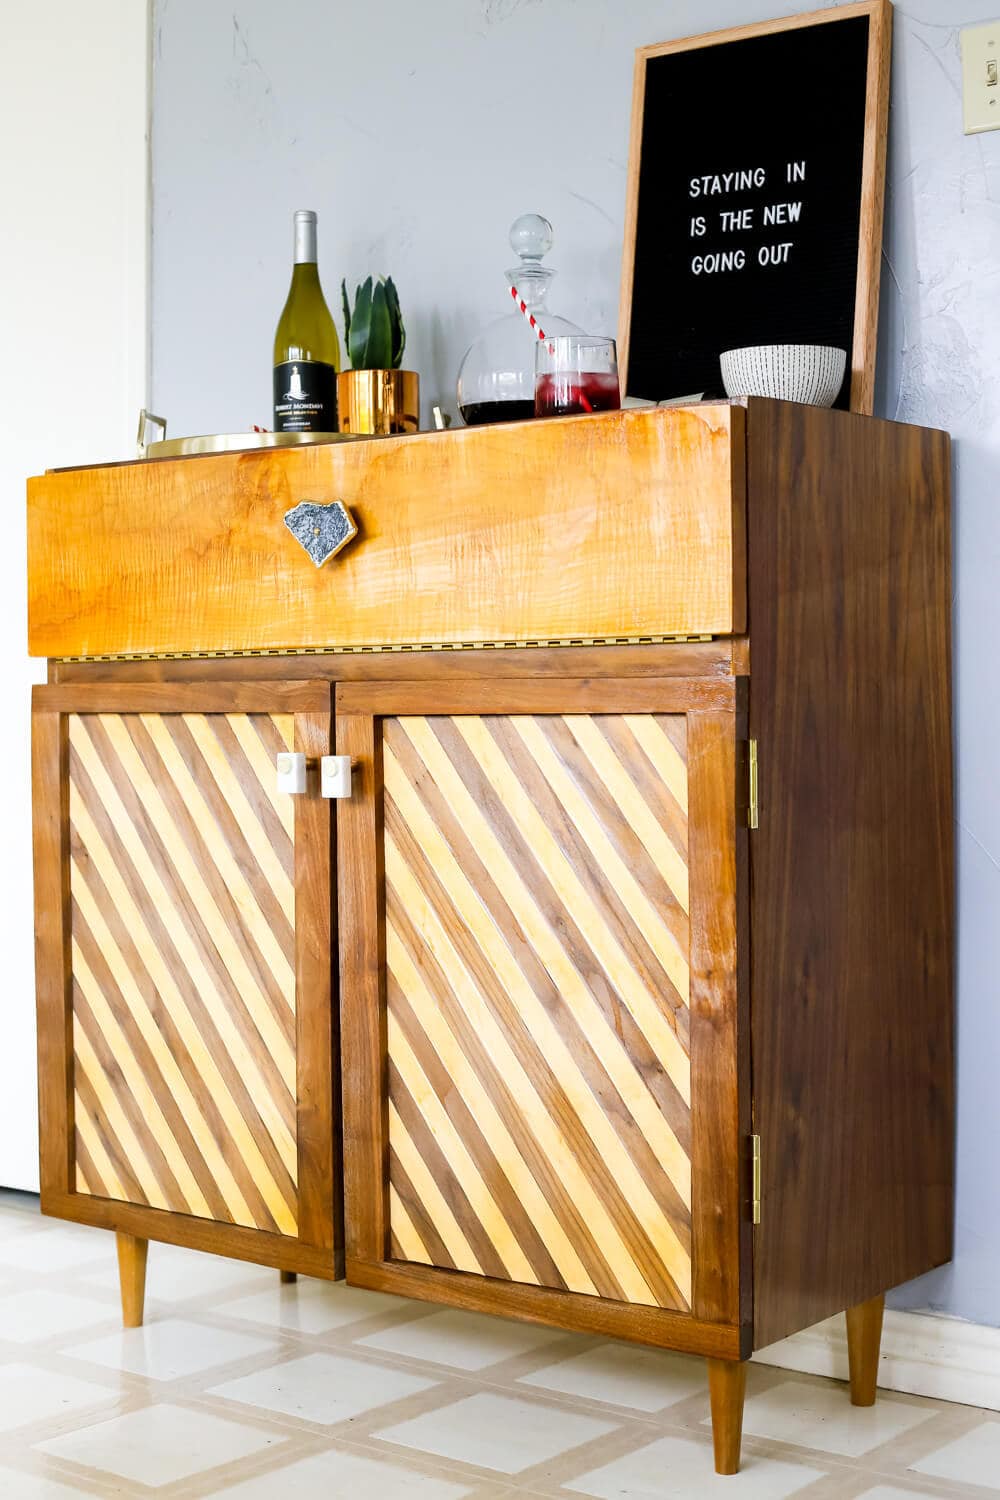
But this beauty is worth the wait.
This post contains affiliate links. Click here to read my full disclosure policy.
I could probably just drop the mic right there and walk away, but I won’t do that to you.
This project was a serious labor of love, and it’s one we’ve been planning for months and months. Unfortunately, I don’t really have many progress or building photos because I’m a terrible blogger and completely slacked at my job. Also, because or workshop has been a disaster zone for the last few months and it was hard enough for Corey to get in there to build, much less having me in there snapping photos. More on that later, though.
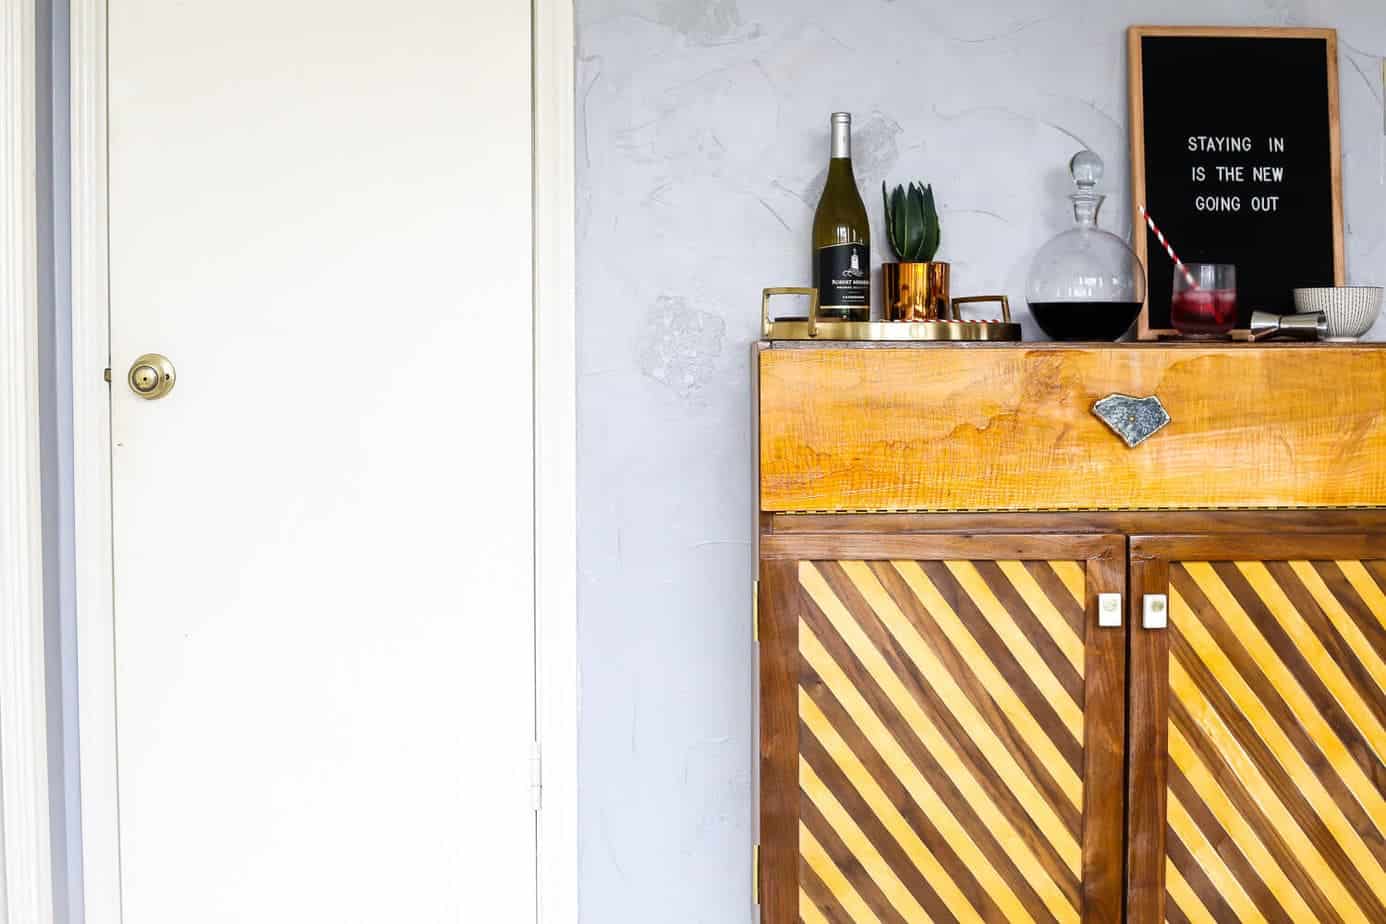
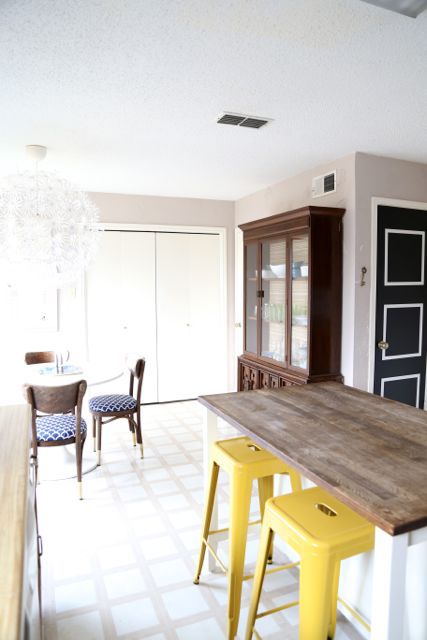
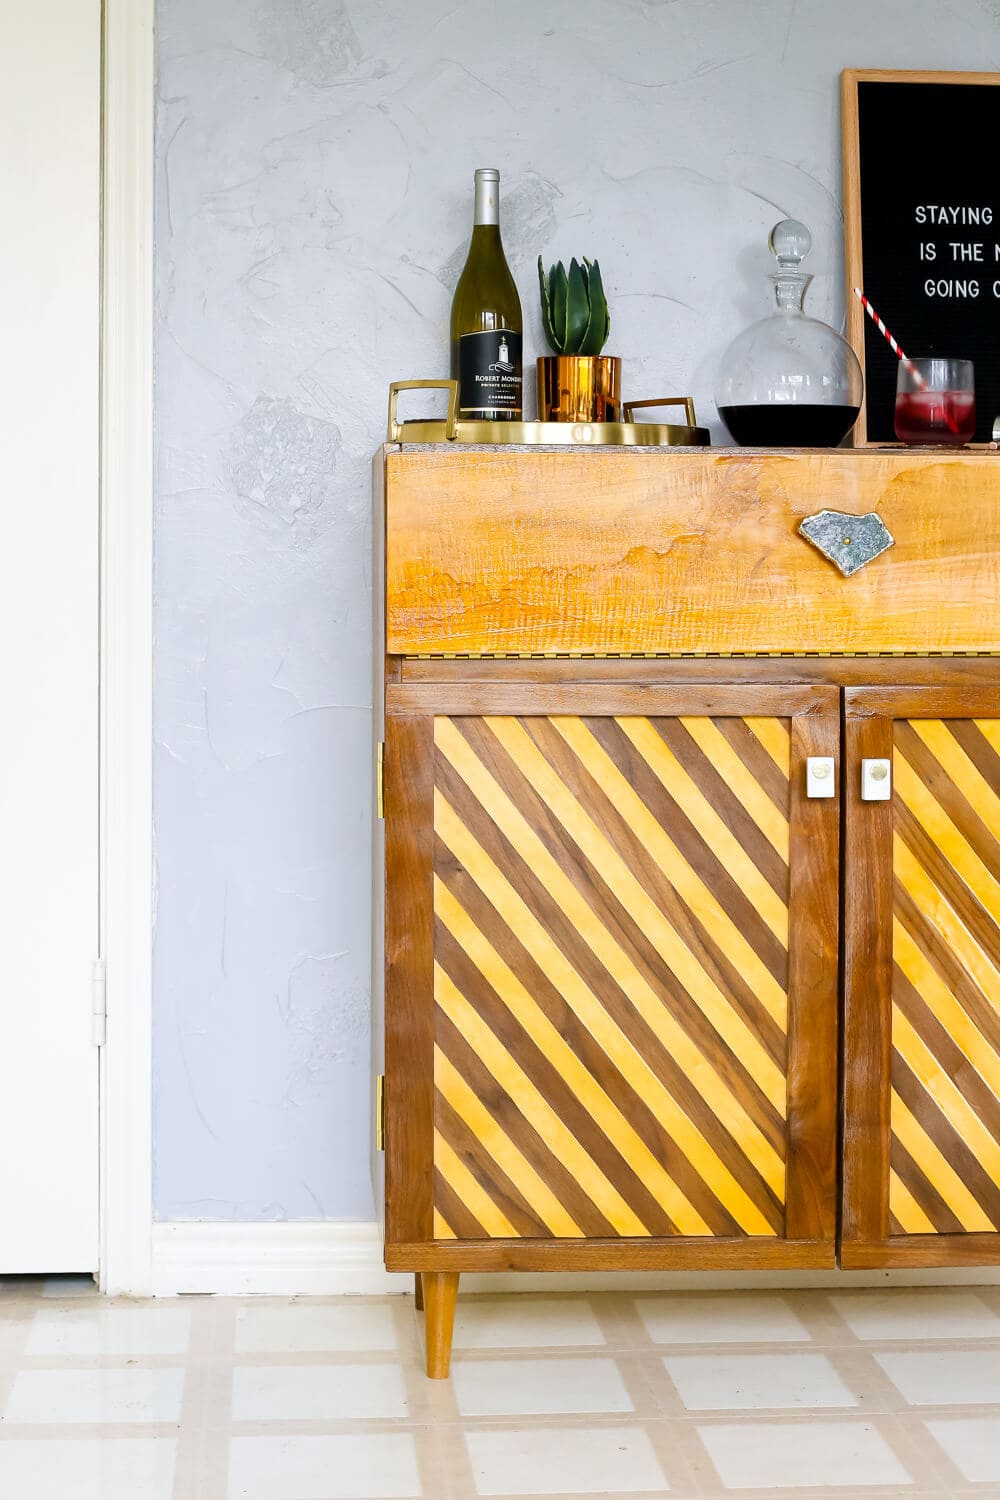
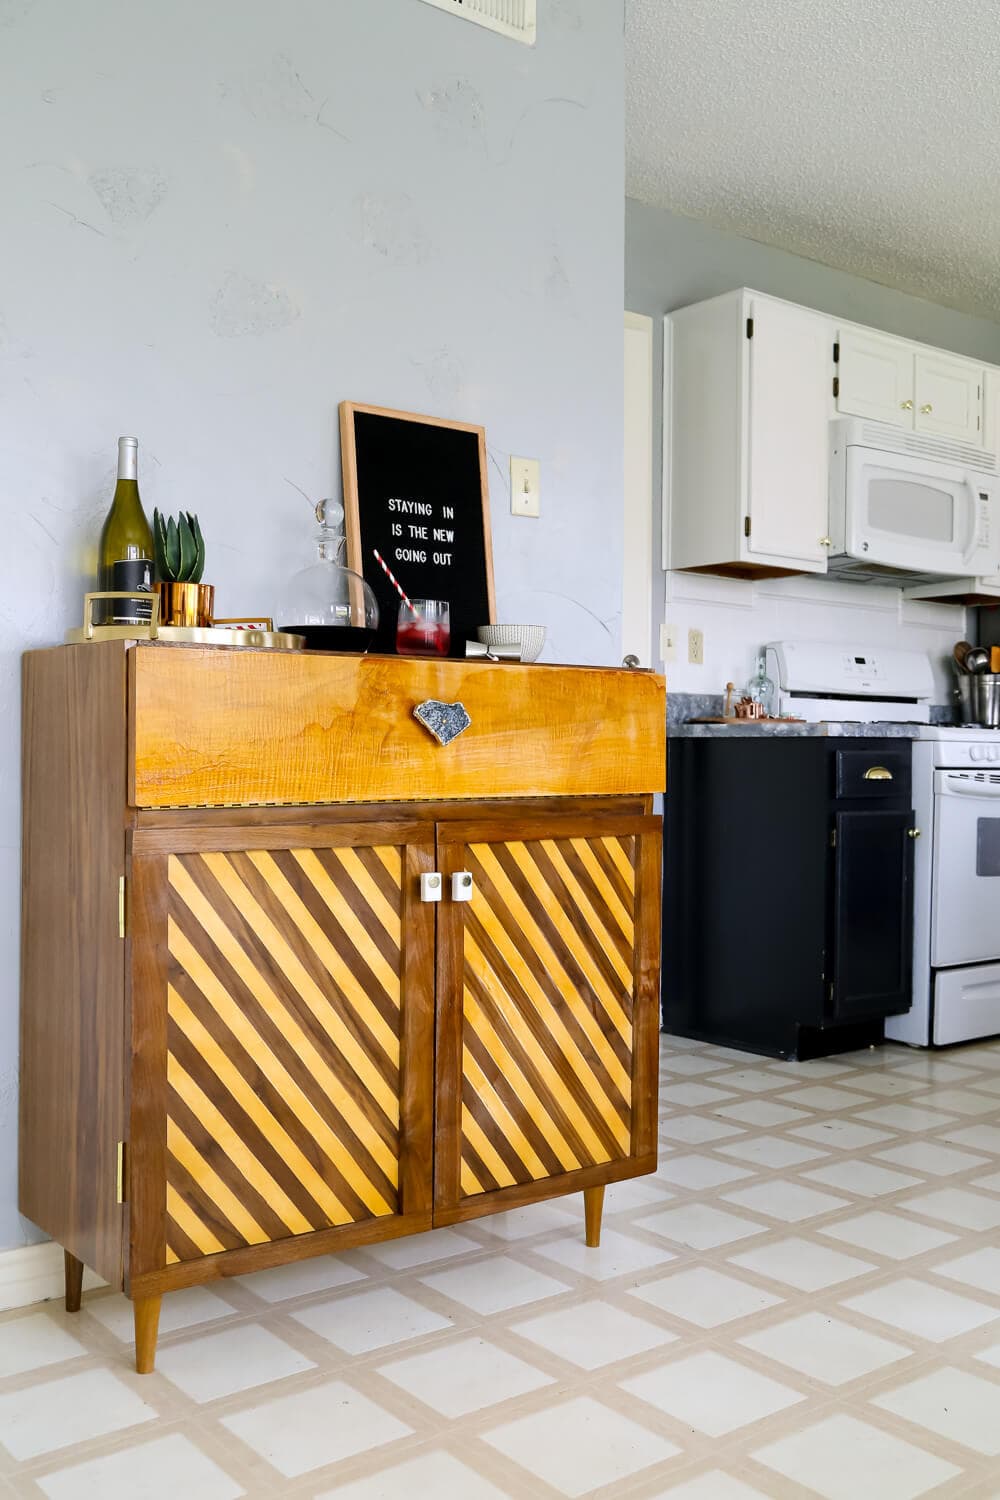
The idea for this bar cart (can it be called a bar cart without wheels? Mini credenza? Sideboard? I’m going with bar cart) was born when I decided that I really wanted to have one in our house but I couldn’t find one that fit the proportions we wanted. We had the perfect space in our kitchen already – this nicely-sized wall that held an old Craigslist china cabinet that had seen better days.
Most of the bar carts I found that were within our budget were much too small for the space – they would have looked really odd on the wall all by themselves, so we knew we needed something with a bit more presence.
Corey and I went back and forth with ideas for ages before we landed on the final design, and I’m so pleased with how it turned out. I’m working on getting Corey to do a SketchUp of the plans for you guys in case anyone is interested in trying to build it, so be on the lookout for that in the future!
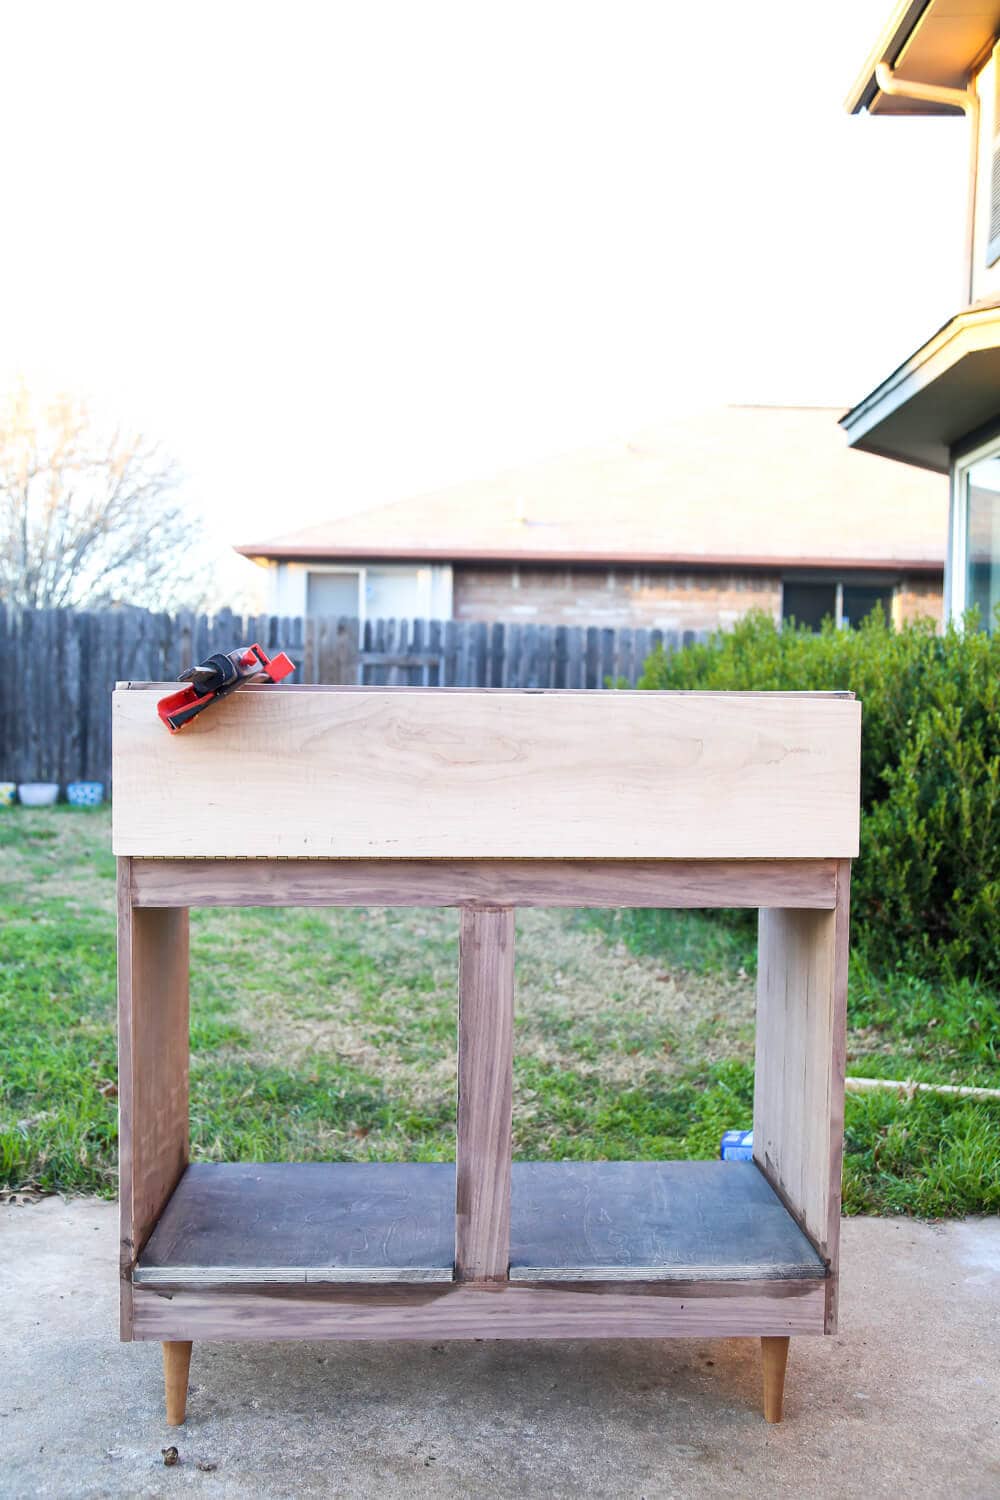
But, since I don’t have progress shots of it being built, let’s chat finishing and details.
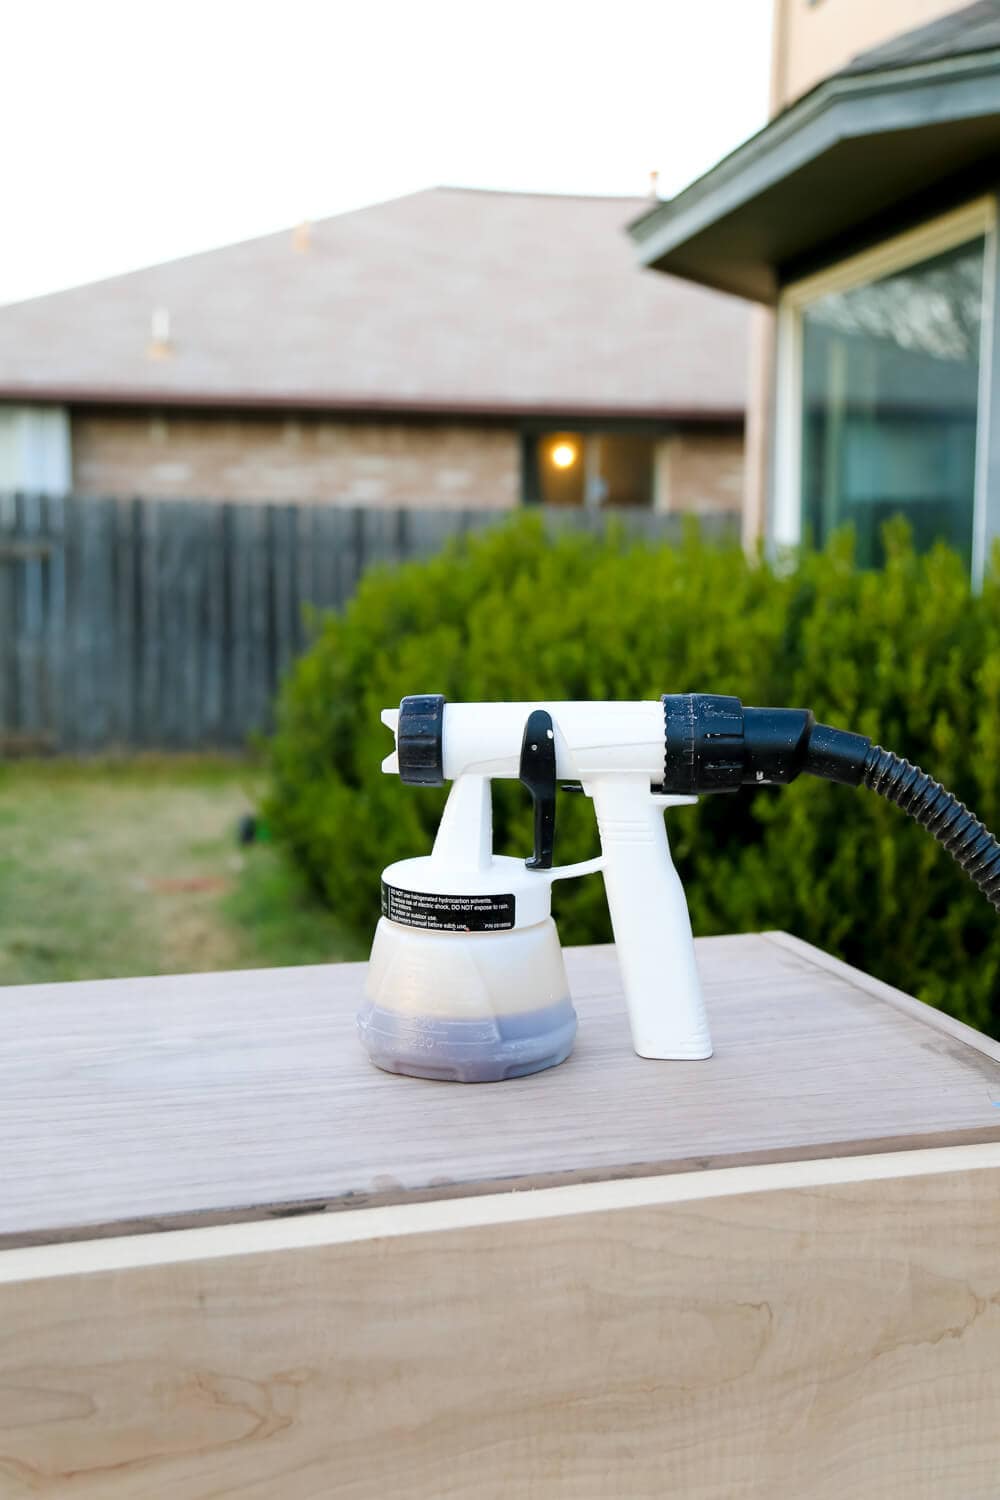
We met the lovely people at Wagner when we went to Haven back in August and I got a chance to try out one of their sprayers. Y’all, I was an instant convert. I had tried a paint sprayer once before and had nothing but issues with it – there was overspray, it was messy, it was hard to clean up, and I could never get the right consistency. With my Wagner sprayer, though? No problem. It makes painting so easy it’s a little ridiculous.
This is the sprayer we have, and I cannot recommend it enough. It’s light, easy to use, and sprays like a dream. It makes projects SO EASY.
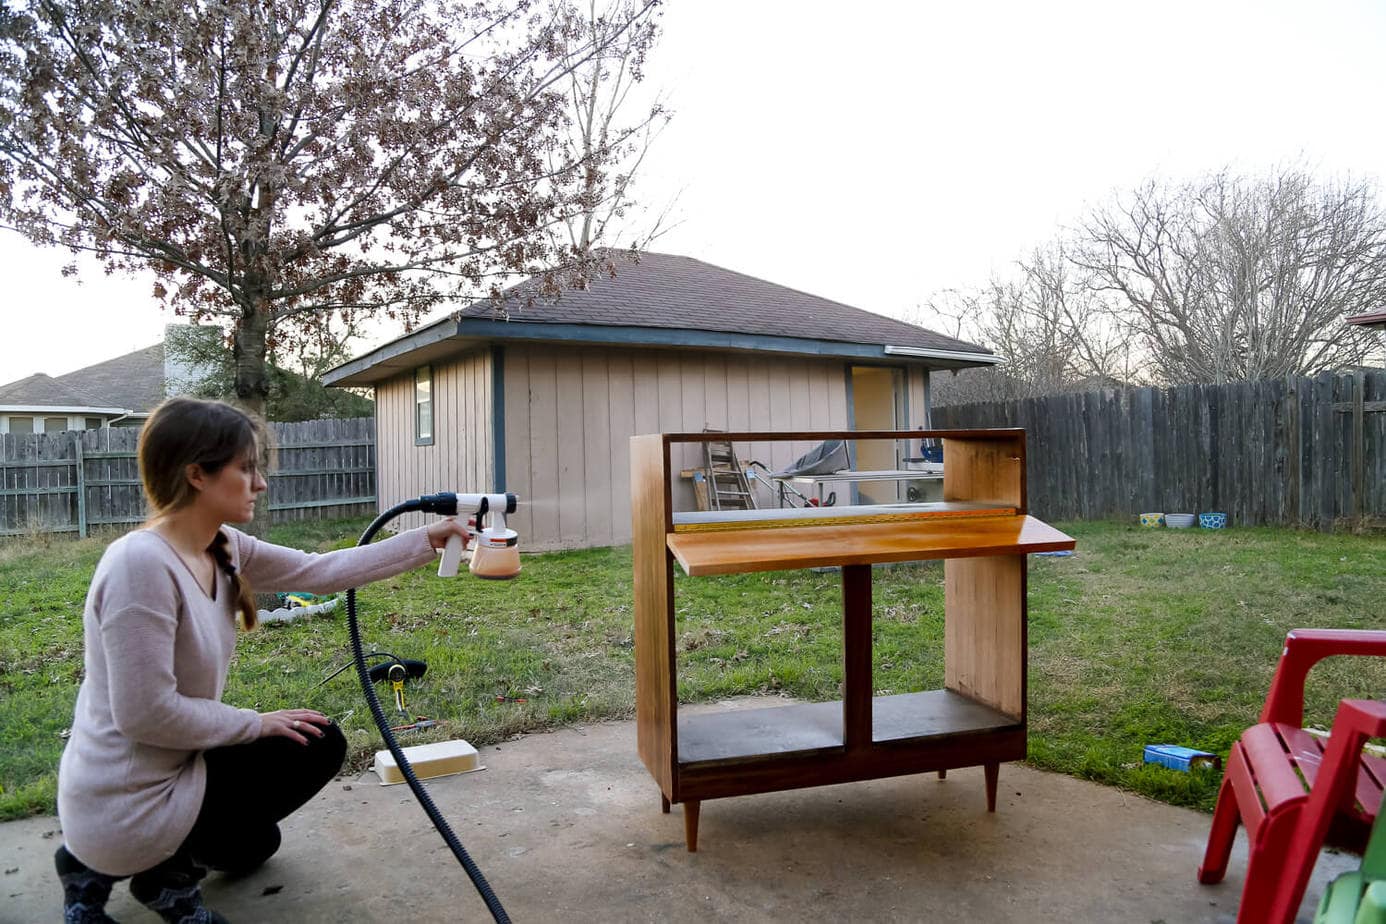
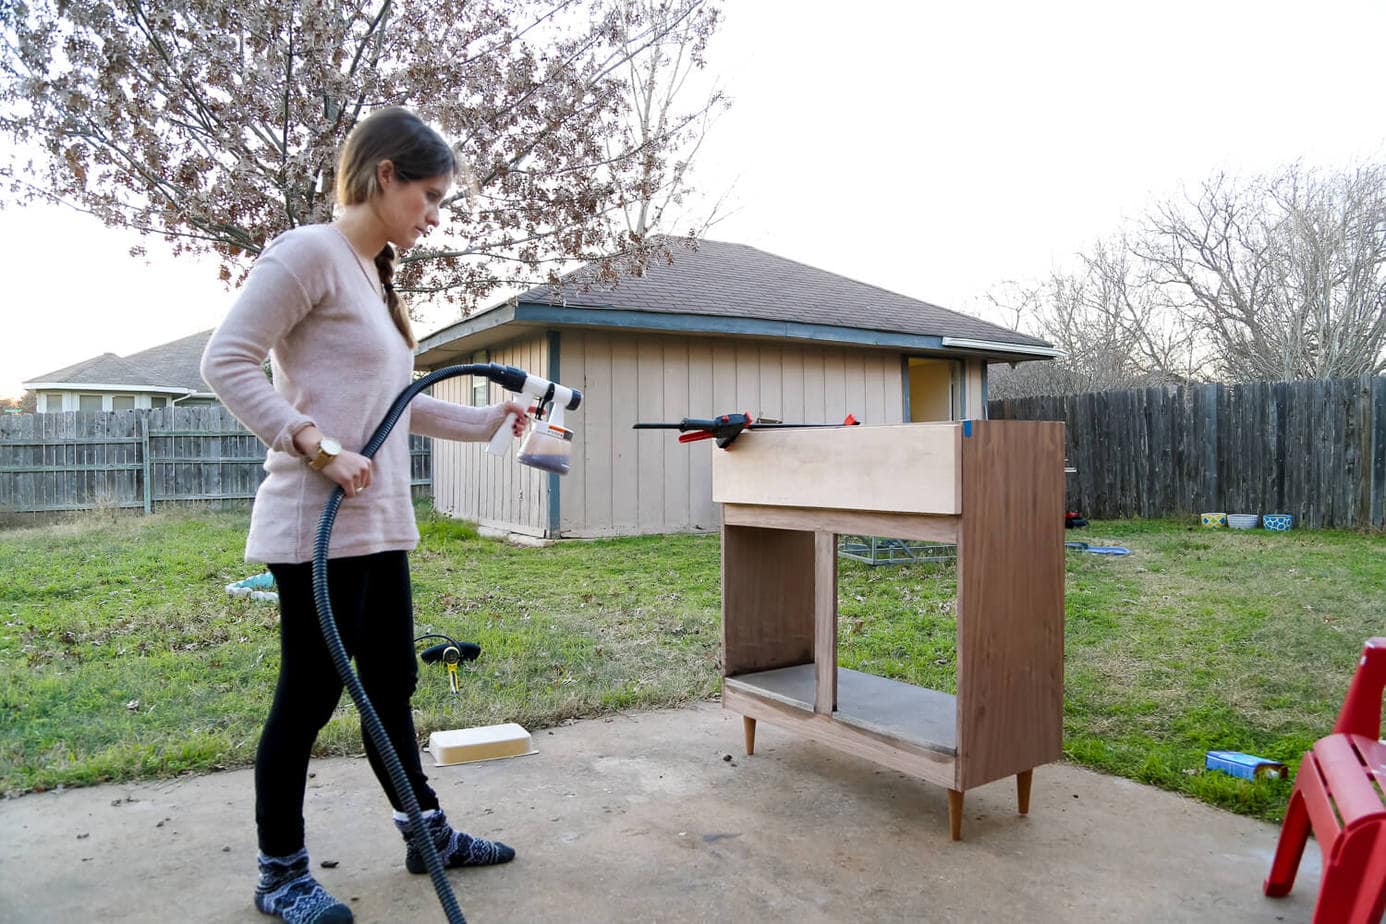
I cannot even begin to tell you how quickly this process goes with a sprayer. I’ve always gotten pretty cranky when I’m painting furniture because of all the angles and corners and moving around – it’s just a giant pain! Now, though? The hardest part is motivating myself to get off the couch and go paint.
Let’s be real, though…that part is hard.
We used this sprayer on our gorgeous coral vanity in our master bathroom, so this was my second time getting to try it out. The difference here was that instead of paint we were using shellac (we used this one and it’s so gorgeous!) – it’s basically just a sealer that brings out some of the natural tones in the wood and makes it shiny and gorgeous. The sprayer worked just as well with the shellac as it did with regular paint, and I was really impressed!
There’s definitely a level of trial and error when you’re using a new paint sprayer – the first few times I used it there were some unfortunate “covering myself in paint,” incidents but it was all due to me thinking I know how to do things without reading the directions (I don’t). Once I got the hang of it, it was a breeze. So, I’d suggest using a test piece of wood the first few times you’re using this, just to get a feel for how much paint comes out at once and how quickly you need to move with it.
I’ve already got plans to use this thing this weekend on Jackson’s new big boy bed (yay!) and I have a couple of other painting (and staining) projects in the works that I intend to break this out for. It makes life so much easier, and painting jobs are a million times faster with a sprayer.
I’m not exaggerating when I say it’s my new favorite DIY tool.
At least, until Wagner invents a sprayer that’s self-cleaning.
That will be my new favorite DIY tool.
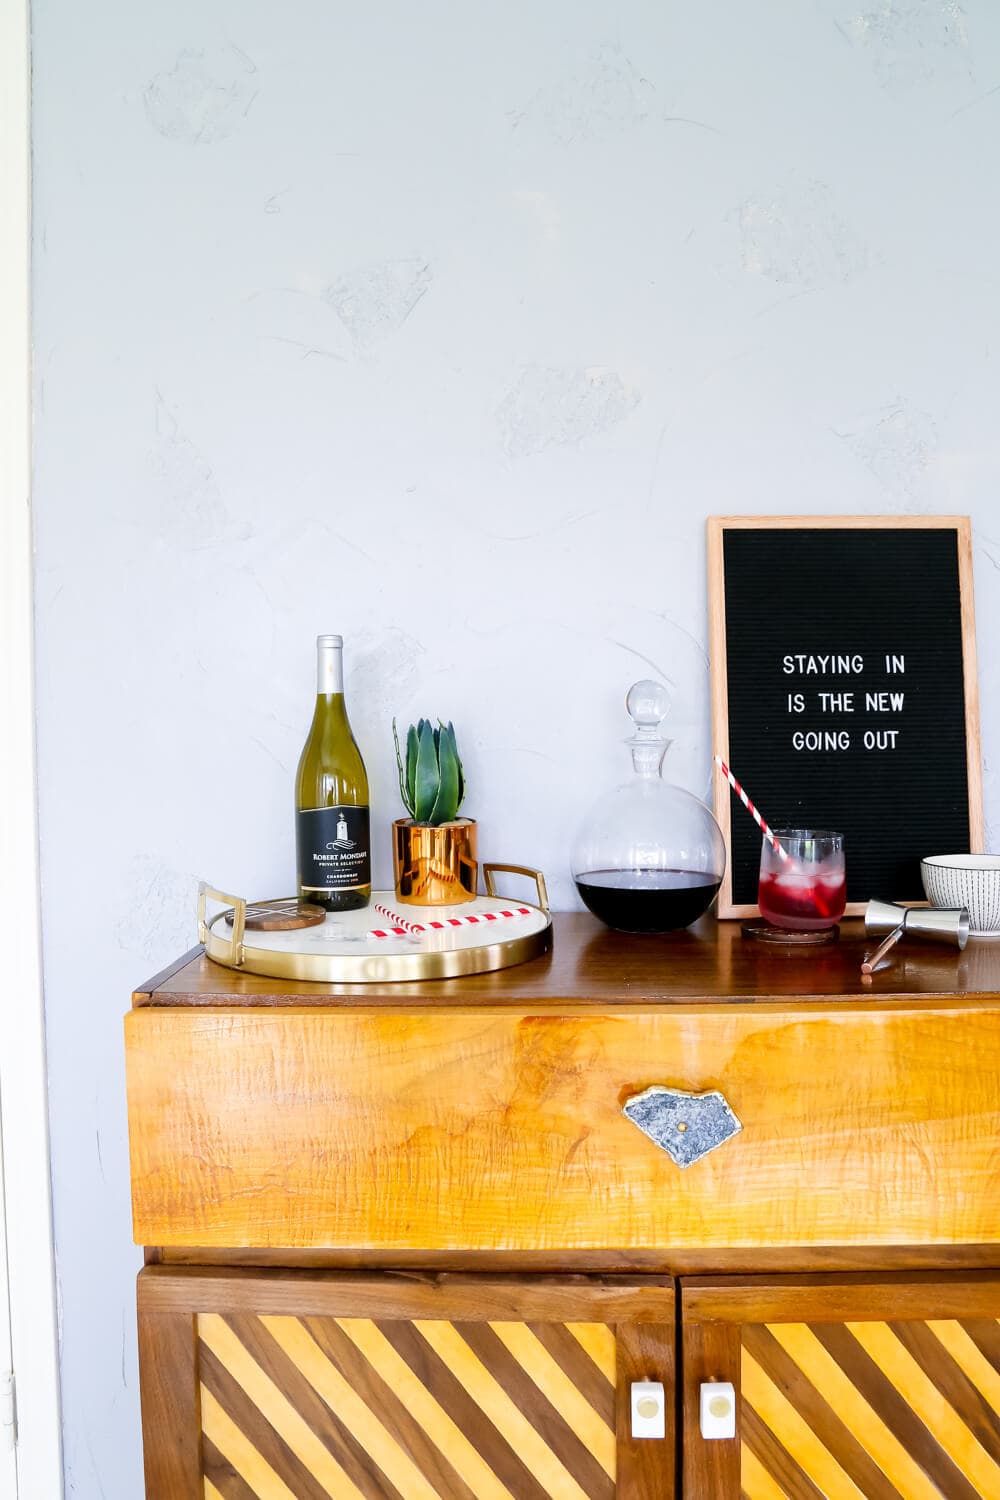
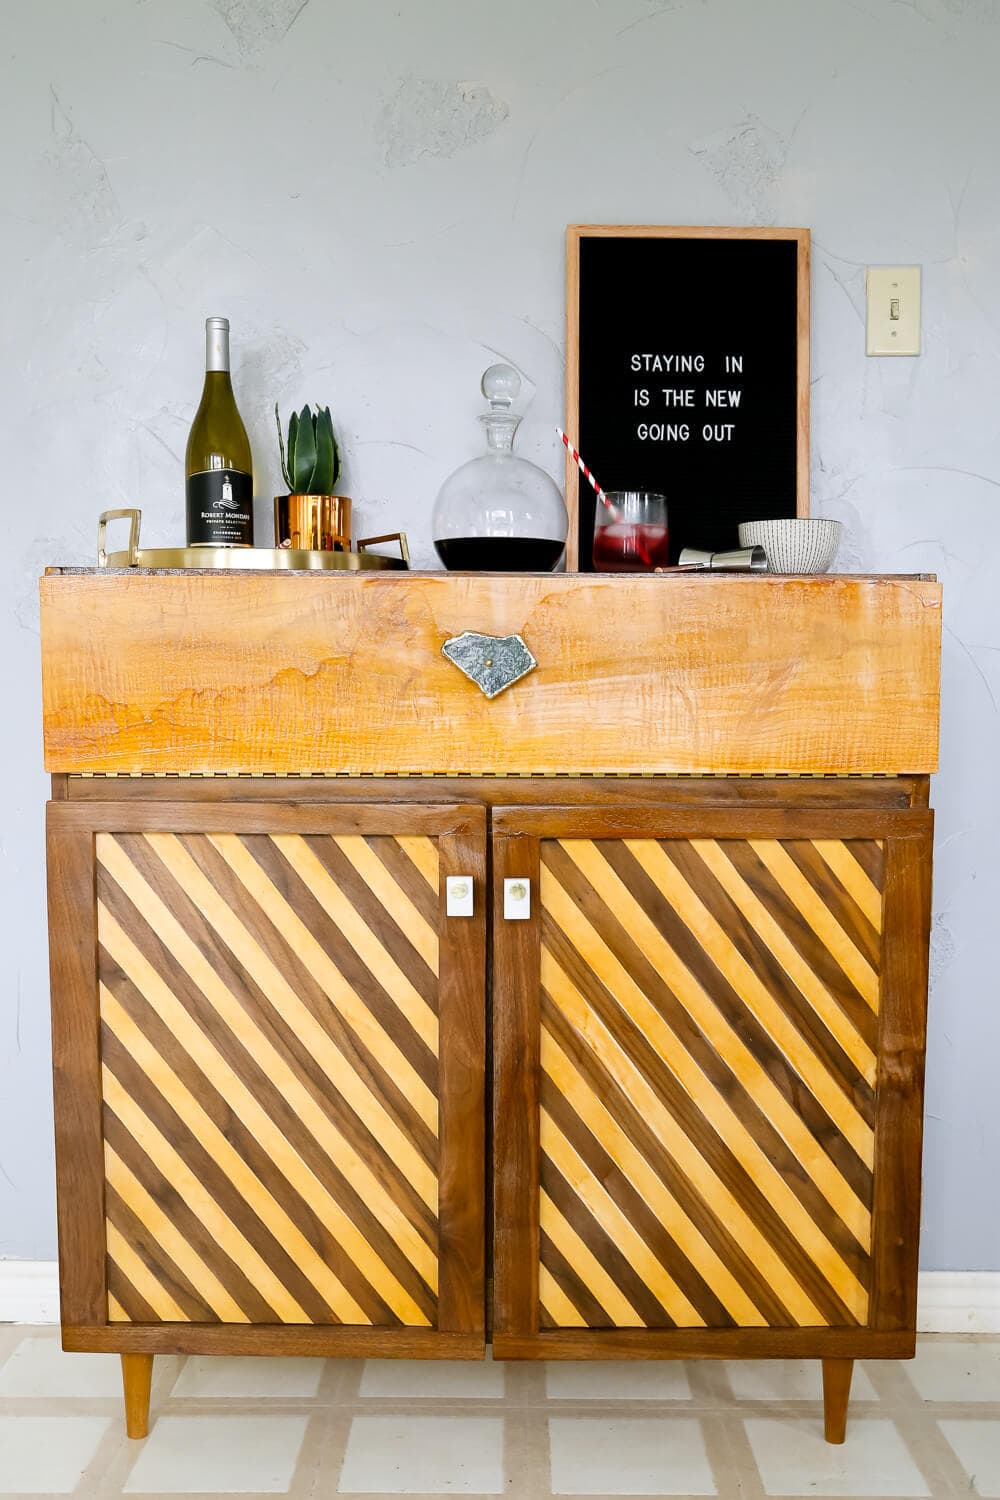
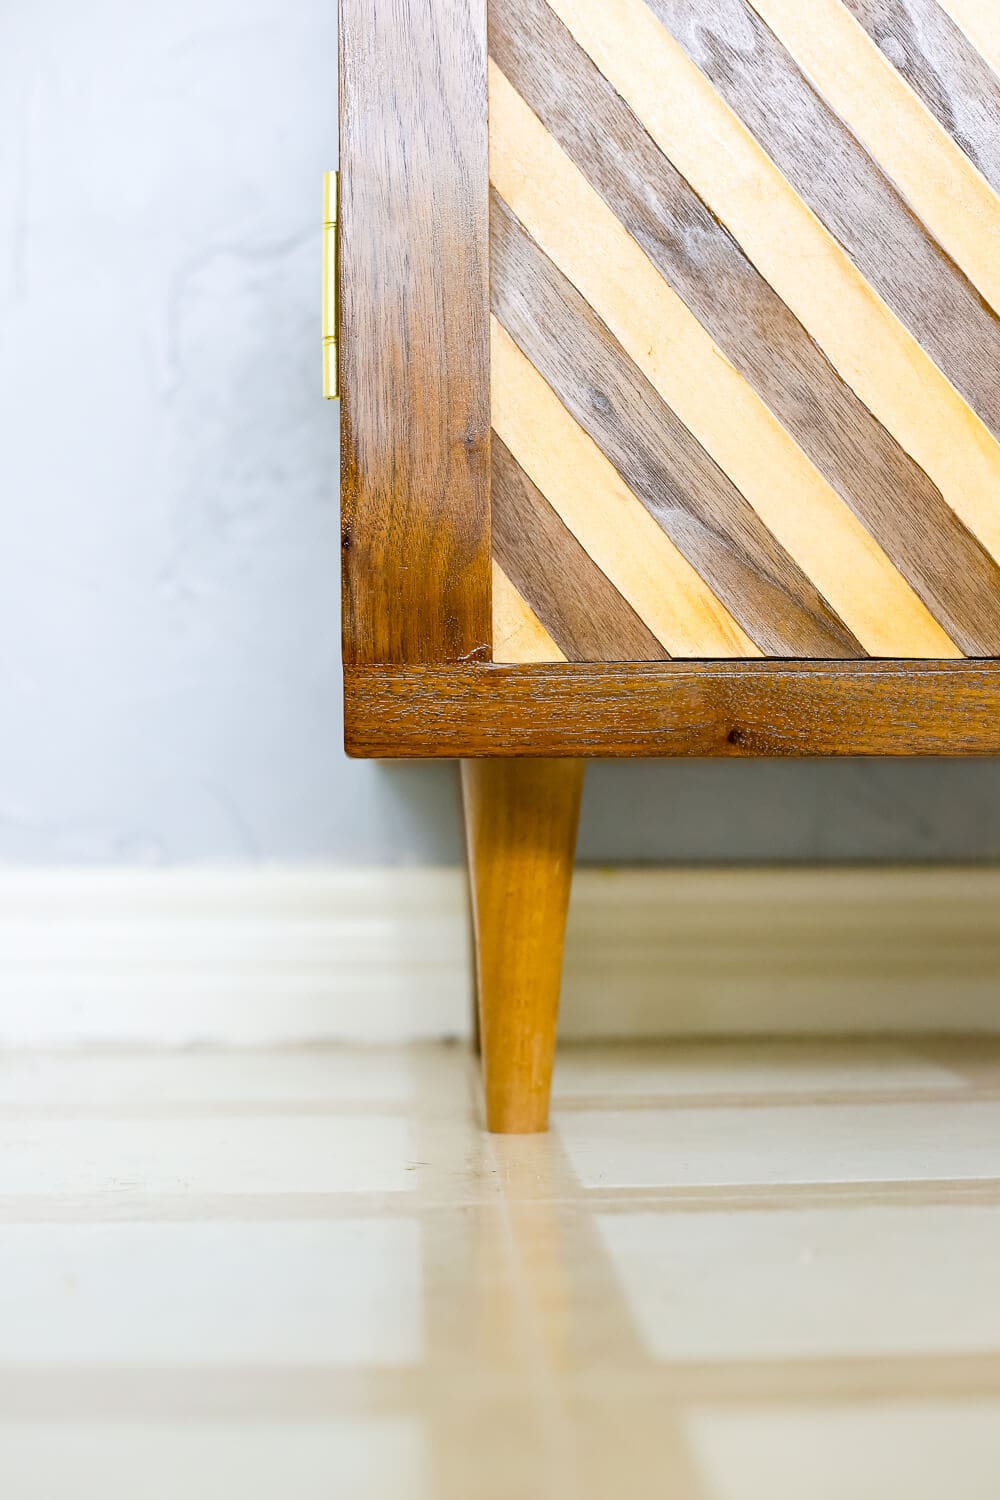
Remember when I chatted about these gorgeous furniture legs? Corey made those too, so we can really say this entire thing is hand-made.
Seriously, I swoon a little every time I look at it.
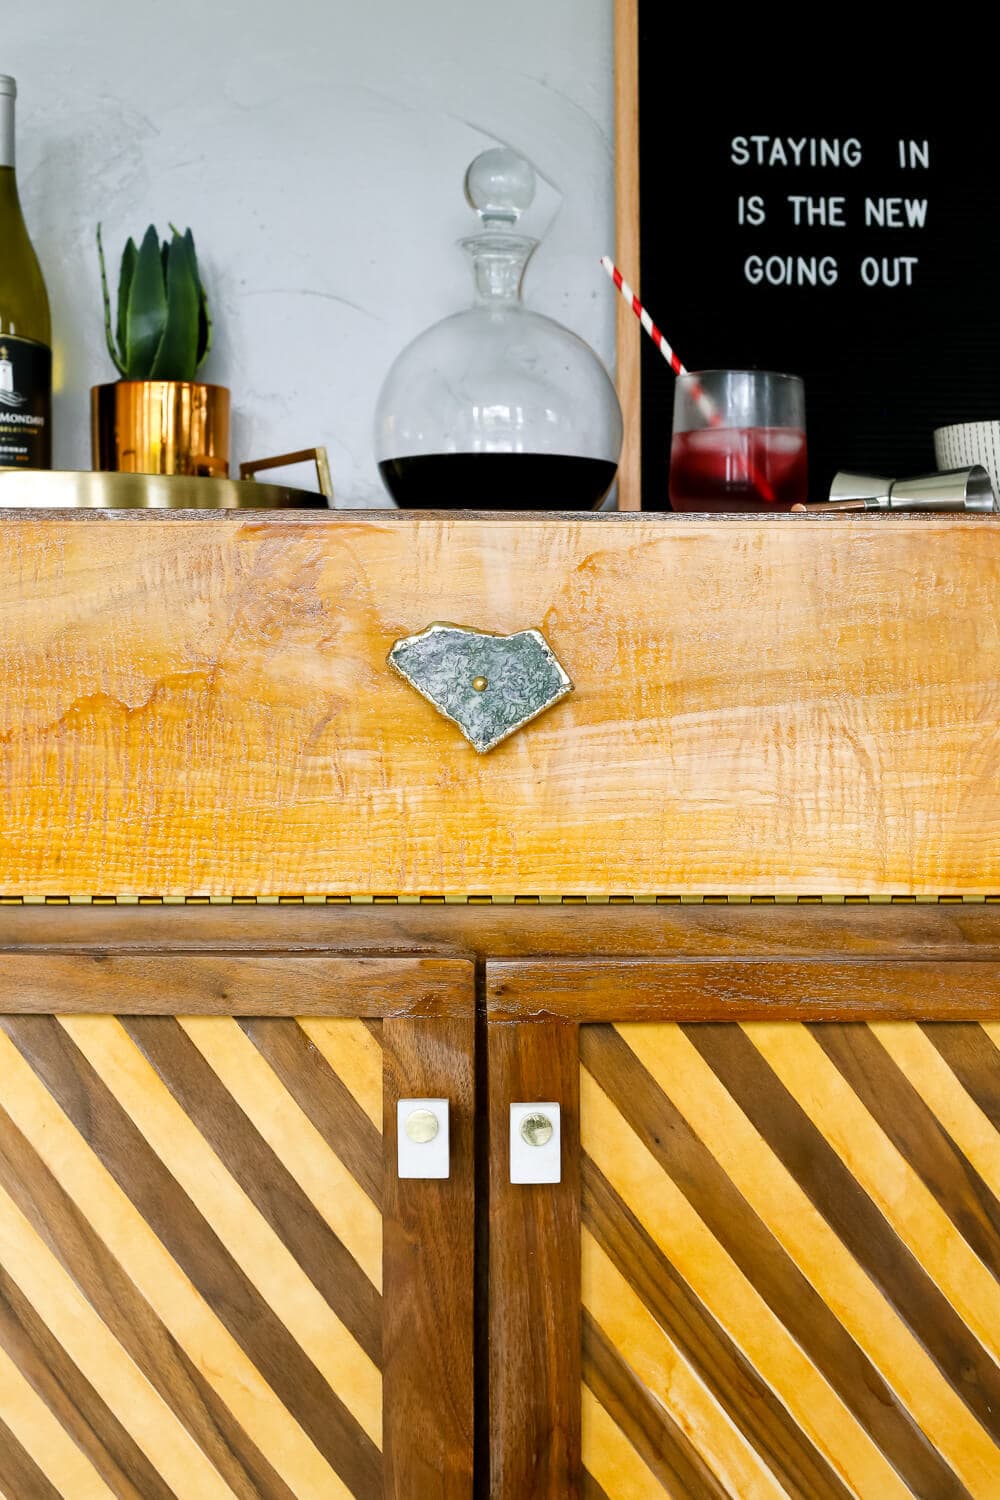
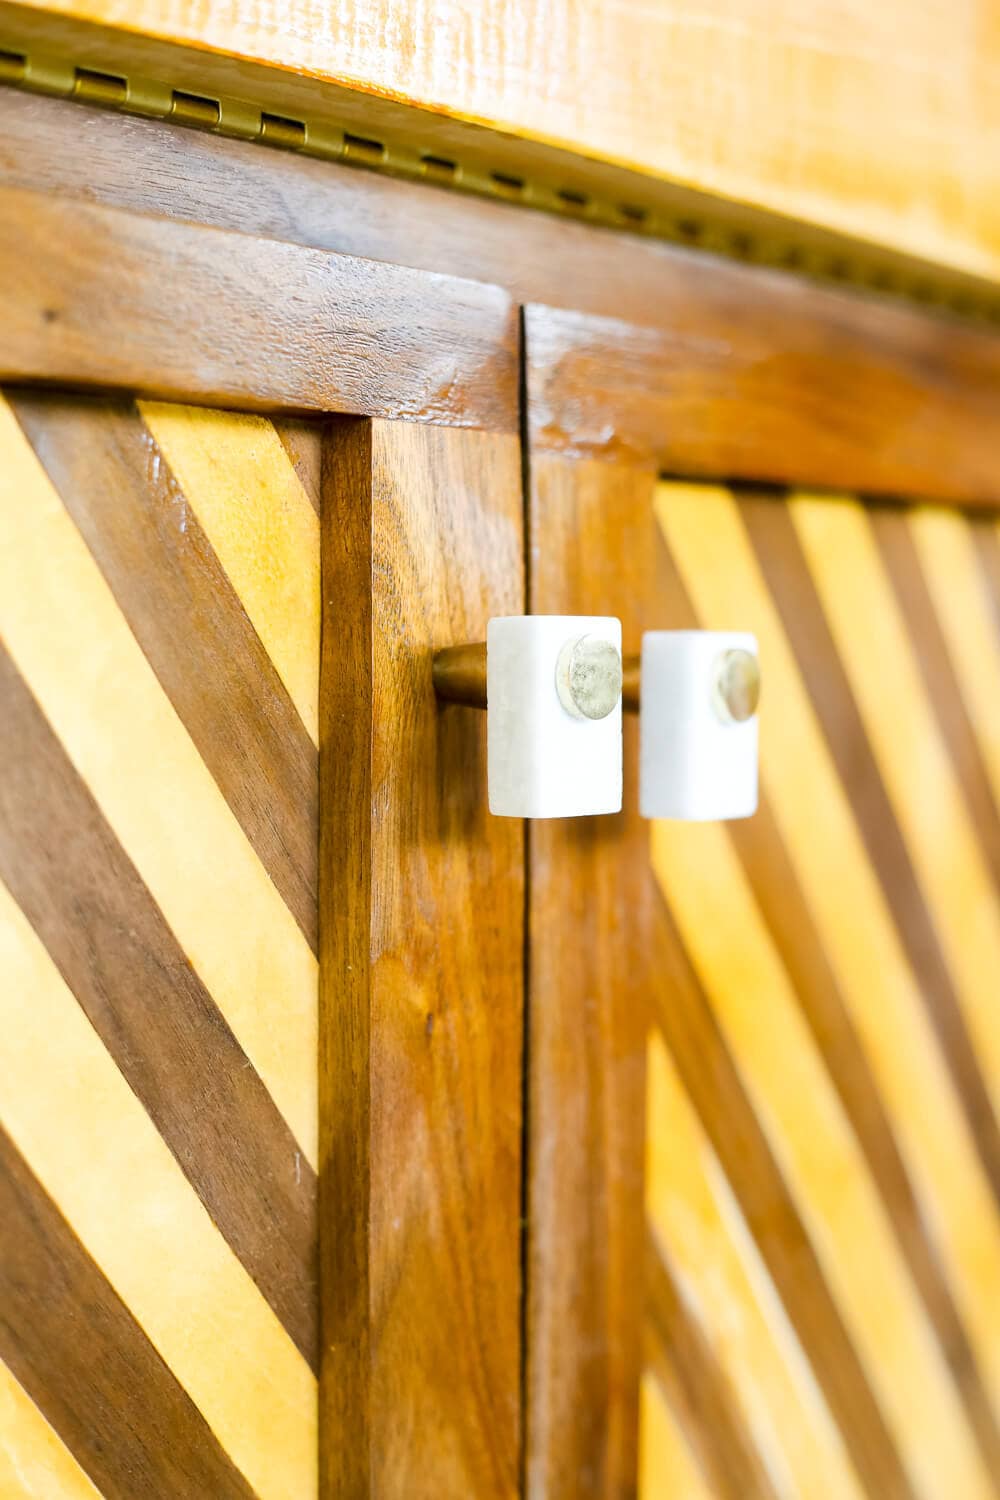
Oh, and I’ve gotten a ton of questions about the amazing knobs on this thing – we snagged them from the clearance section of Anthropologie a while back, but you can find (really) similar ones here and here!
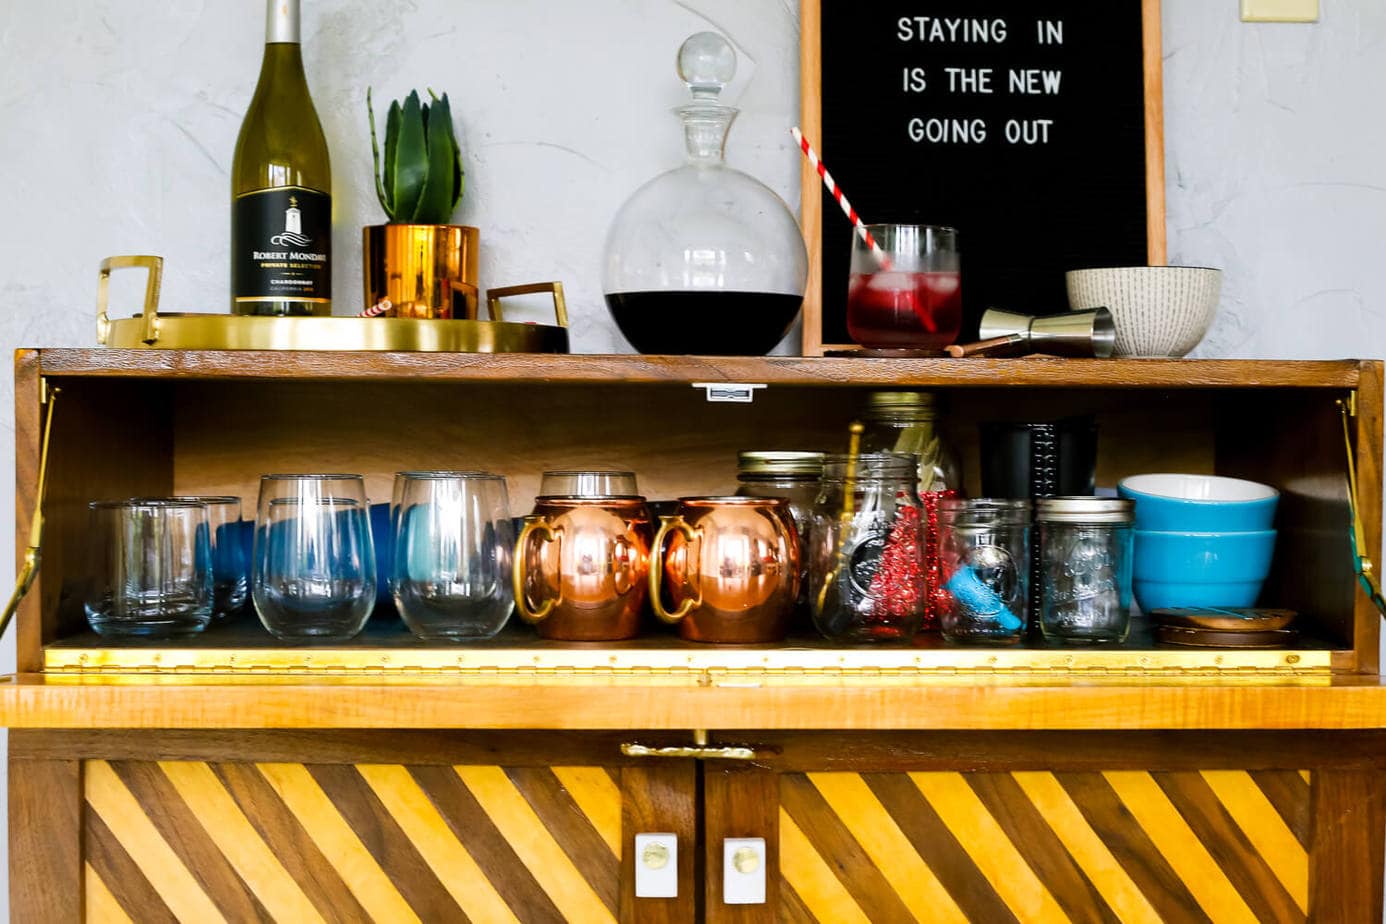
It’s definitely an adjustment for us in the storage department – this is significantly smaller than the china cabinet we used to have, so we had to do some re-shuffling of things. But, it really does pack a pretty big punch when it comes to organizing.
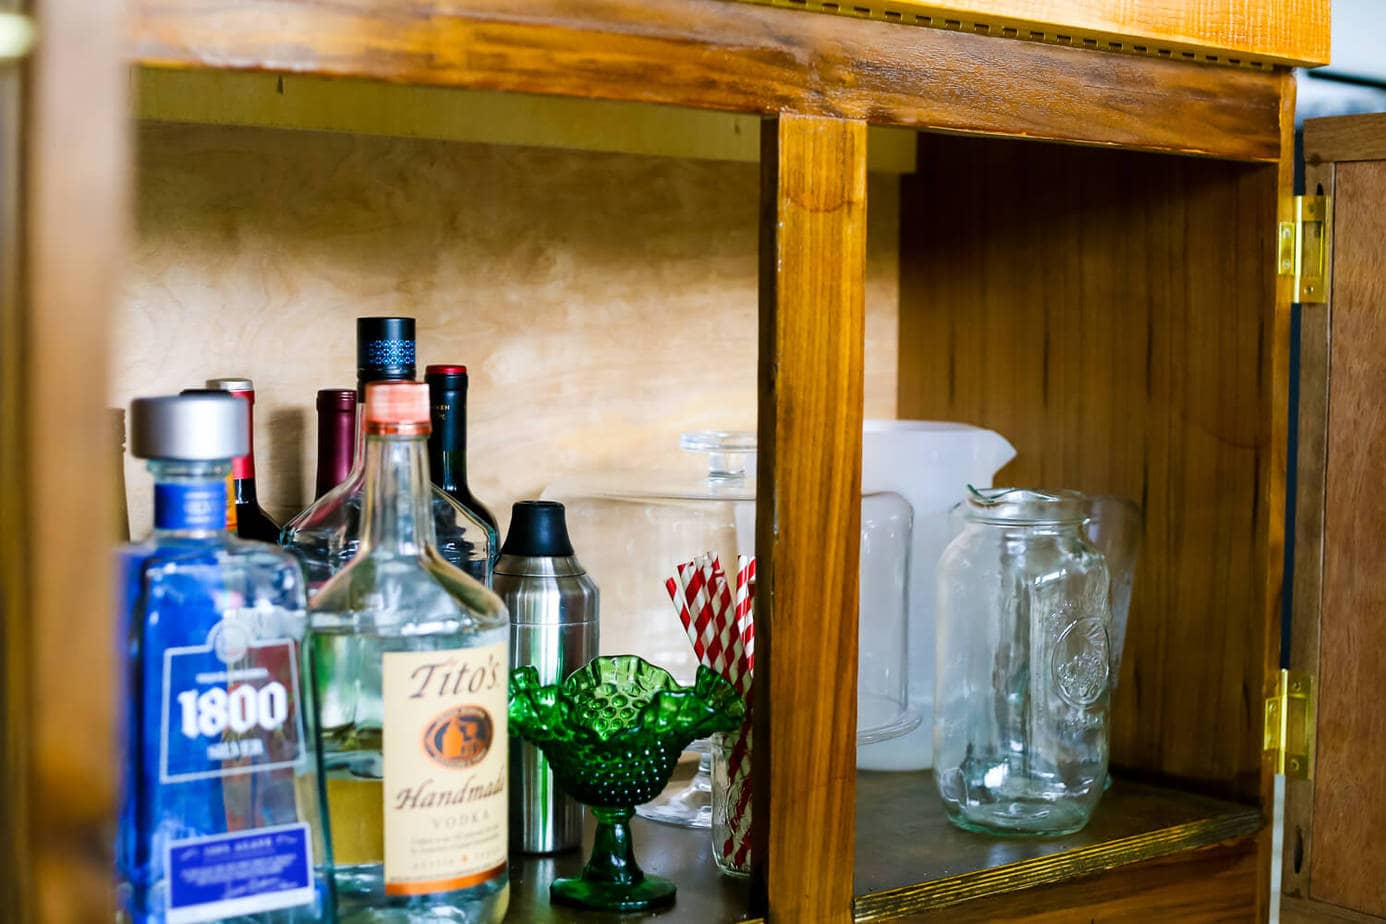
I love the little drop-down door on the top. It’s super thick and sturdy, so when it’s open it actually acts as an additional space to mix a drink. It’s exactly the right height to store all of our bar glasses, and the bottom ended up fitting all of our alcohol and pitchers, and some of our less-frequently-used entertaining tools (like our cake stand that I adore but rarely use).
I feel like we need to host a party now. I mean, who doesn’t want to come have a drink made out of this awesome little bar?
Mmm, those stripes make my soul happy.
I love that we’ve got this little area now – it’s so much more functional than the china cabinet (which was really just good for storage and was never styled well because there was so much junk in it), it fits in better with our style, and it’s the perfect spot for my letter board. It will look even more amazing once we get around to upgrading the floors and actually finishing up our kitchen.
We still want to hang something above the bar cart – I was too eager to share these photos with you to take care of it for this post, but I’m sure within the next few weeks I’ll go back in and hang a few things (including the letter board) on the wall above it. We had originally planned to do two large scale prints that we’ve had sitting around waiting to be hung forever, but now that it’s in the room I think a few smaller pieces would look better. I don’t know – maybe I’ll do an Instagram story about it soon and you guys can help me decide.
Be sure to go check out Wagner’s sprayers and get yourself one as soon as you can! I promise you this sprayer is worth every last cent, and it will change your DIY life as you know it. I don’t know how I ever functioned without one before. Need some inspiration on how to style your brand new bar cart? I’ve got you covered below!
Have a great weekend, friends! I’ll see you back here bright and early Monday morning!





Amanda, those stripes make MY heart happy! Just gorgeous!
This piece is so beautiful! I love the stripes. Awesome job.
Amanda,
This is so freaking incredible. I love it like crazy. Amazing work.
Much Love,
Erica
Aw, thanks!!
An absolutely beautiful piece! I especially love the stain and the super unique handle on the upper drawer.
Thank you!
Wow! Well done! I love that you really made the whole piece – and those legs are awesome.
Thanks, Sarah! I LOVE the legs. 🙂
This turned out so pretty! I love the finish on it as well as the pattern on the doors. So unique and gorgeous!
Thank you, Emily!
It’s gorgeous! I love how it turned out. I know you’ll get lots of use out of it!
Thanks, Amy!
Your bar cart looks amazing! I love how much storage you get with a piece like this versus a traditional bar cart. And I also love the knobs & pulls you picked for this!
Thanks, Emily! The knobs might be my favorite detail!
This is beautiful! At the risk of sounding like a stalker, what happened to the tv-turned-bar-cart? It was also cute! But this one seems bigger and more functional! (Also the top knob reminds me of the shape of South Carolina 😂)
Hahaha, not stalker-y at all! It wasn’t very baby-friendly (glass top, open shelving with easy-to-access glass/alcohol) so when Jack started crawling we sold it on Craigslist. Now that he’s bigger and we don’t have to stress as much about him getting into stuff, this one is perfect – plus, we can add child locks to the doors if we need to, so it’s much more kid-friendly.
I love how this turned out, I need one of those paint sprayers asap!
Thanks, Roxanne! I really love mine! 🙂
This is just the Rock Star Bar! You have done such a perfect job! I am in Love with this BAR and I had no idea you can use shellac for the Wagner sprayer. I will share this with my readers on FB.
Thanks
Maria
Thank you so much!