The Most Beautiful DIY Epoxy Countertops
Do you have countertops in your house that we hate? I feel like at this point, most of us do! What if I told you that you can completely transform your ugly countertops and create gorgeous faux marble DIY epoxy countertops for about $200?!
I’m so incredibly passionate about this project. I’ve done it twice in this house, and I’d do it again one hundred times over! I absolutely loathed the countertops in both our primary bathroom and the kids’ bathroom when we moved in. The color was far too dark and felt cold with the other finishes in the space. Plus, they showed every single spot of dirt or water that got on them. They looked dirty 100% of the time!
Someday I plan to replace the countertops, but I needed an interim solution. I discovered Giani’s Marble Epoxy Countertop Kit and the results really speak for themselves!
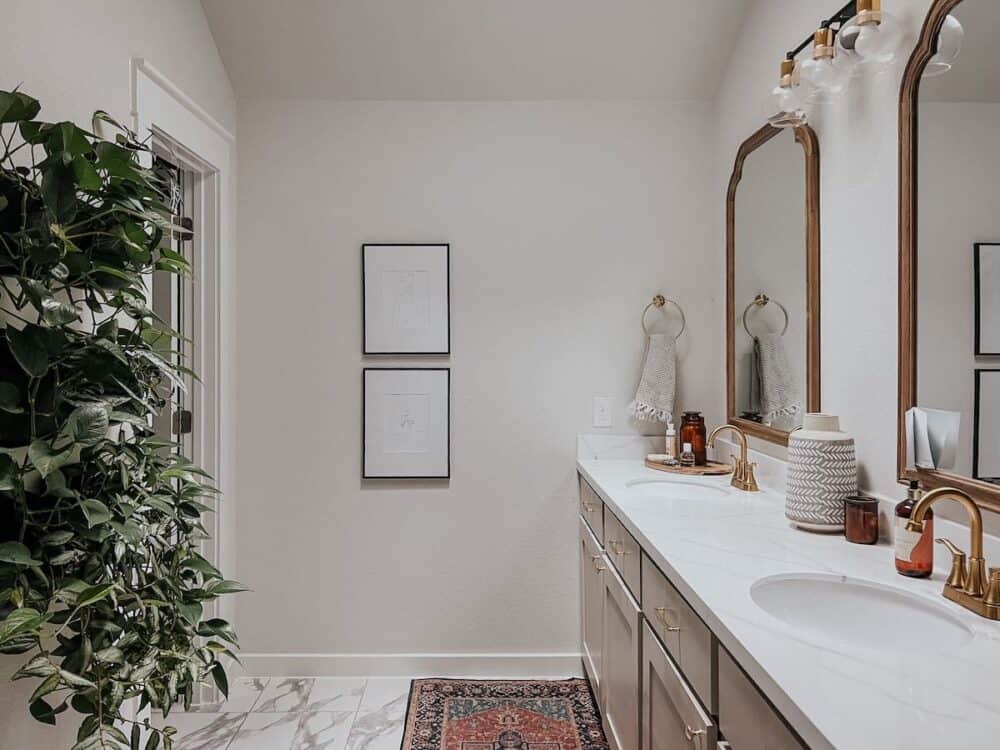
Today, I’m going to answer all of your questions about how to paint countertops to look like marble with an epoxy countertop kit. It was a two-day project that felt really intimidating at first. But, I quickly realized that anyone can do this. I promise. It’s so simple, and if you can hold a paintbrush, you can have DIY epoxy countertops! I’ve done it twice now, and both times the results were incredible. The durability of these counters is also really great, so they’ll last for years to come.
Don’t let the idea of resin countertops freak you out – this kit doesn’t use any fancy powders or challenging materials. It’s just like painting a piece of furniture!
DIY Epoxy Countertop Video Tutorial
Want to watch it play out via video? Here’s a compilation of videos that’ll walk you through the entire process, from start to finish.
Supplies You’ll Need
- Utility knife (I used this for removing the caulk, but I did leave some residue. If I was doing it again, I’d grab a caulk removal tool for this step!)
- Giani Marble Countertop Paint Kit (Note: This kit comes with almost everything you need – right down to the paintbrushes and stir sticks!)
- DAP Alex Plus Acrylic Caulk
The countertop painting kit covers 35 square foot of countertops. I was able to do both my bathroom and the kids’ bathroom with one kit, and I had some left over!
How to Paint Countertops with an Epoxy Kit
Step One: Clean Counters + Remove Caulk
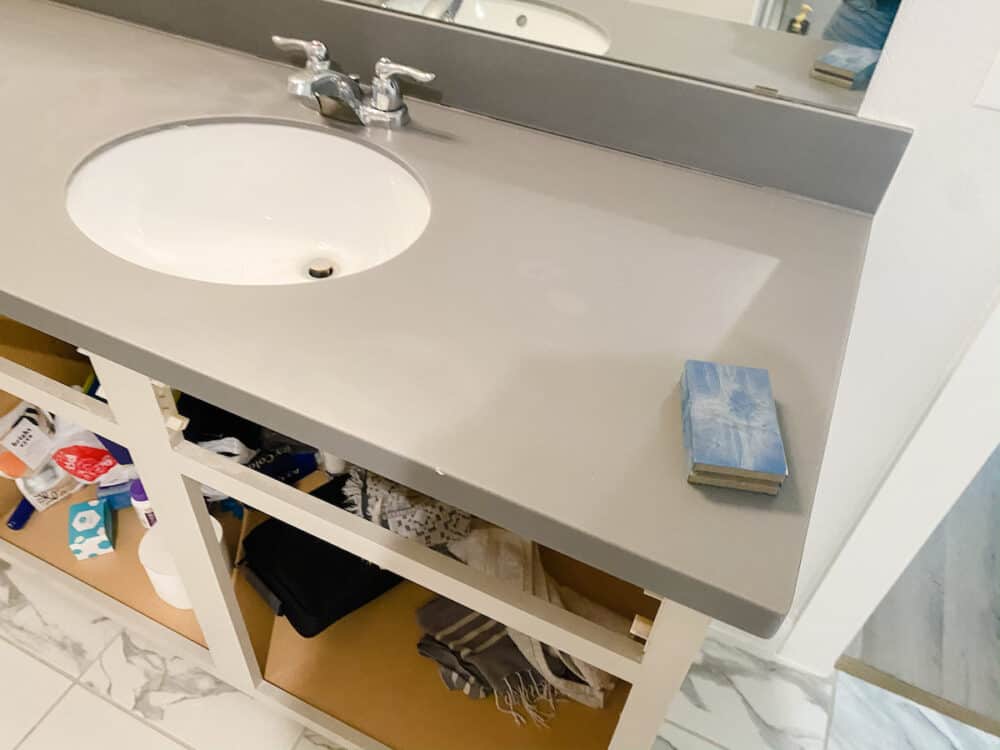
You’ll start by really thoroughly cleaning your countertops and removing any existing caulk.
To remove the caulk, I simply ran my utility knife down either side of the caulk line, then peeled the caulk up. If you have a caulk removal tool, this job is even easier. Be sure to get any remnants of caulk off the counters – the paint will not adhere to it, so if you leave any behind, the finish could look splotchy.
After you’ve removed the caulk, lightly sand the countertops with 400-grit sandpaper to gently scuff up the surface a bit and prepare it for paint.
Be sure to also really throughly rinse the countertops off with water. If there is any cleaning residue left on the counters, it will affect the final finish of the paint, so it’s important to wipe them down with water and then let them dry.
Step Two: Apply Painter’s Tape and Protect the Cabinets
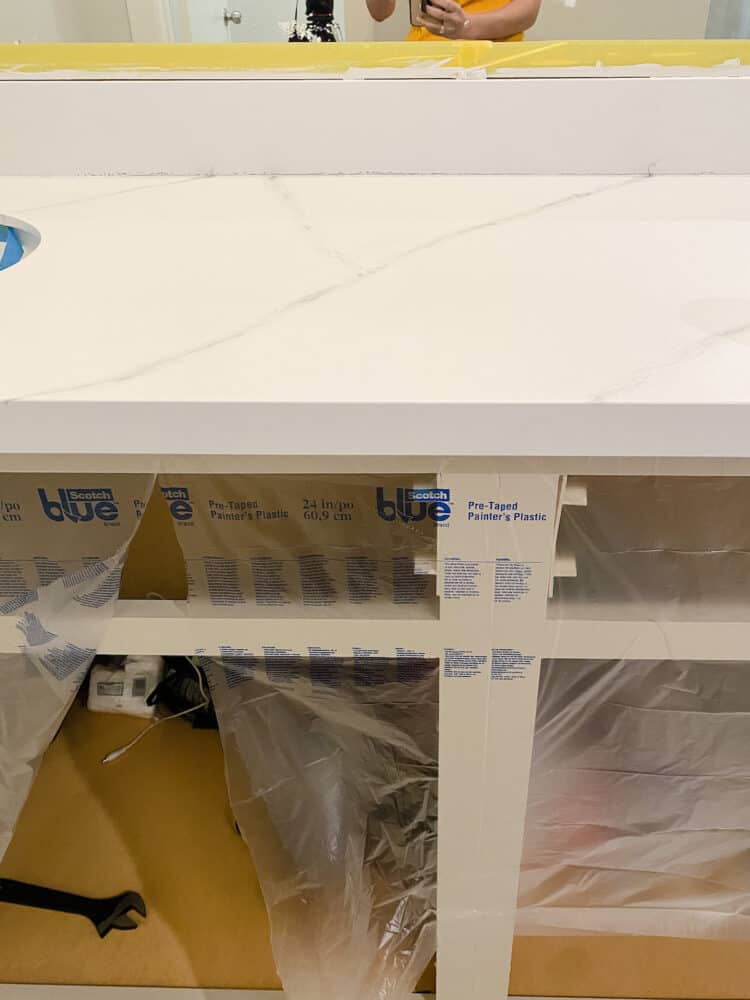
Once the counters are clean and the caulk has been removed, it’s time to prep for paint! Tape off all along the edges of the counters. I’d recommend two rows of tape on the walls to fully protect from the epoxy. Then, tape the provided tarp to your cabinets to cover the cabinets and floors.
Even if you’re a neat painter, you’re not going to want to skip this step! When you pour the epoxy, it will drip all over the place so you want to keep it protected.
Step Three: Prime the Countertops
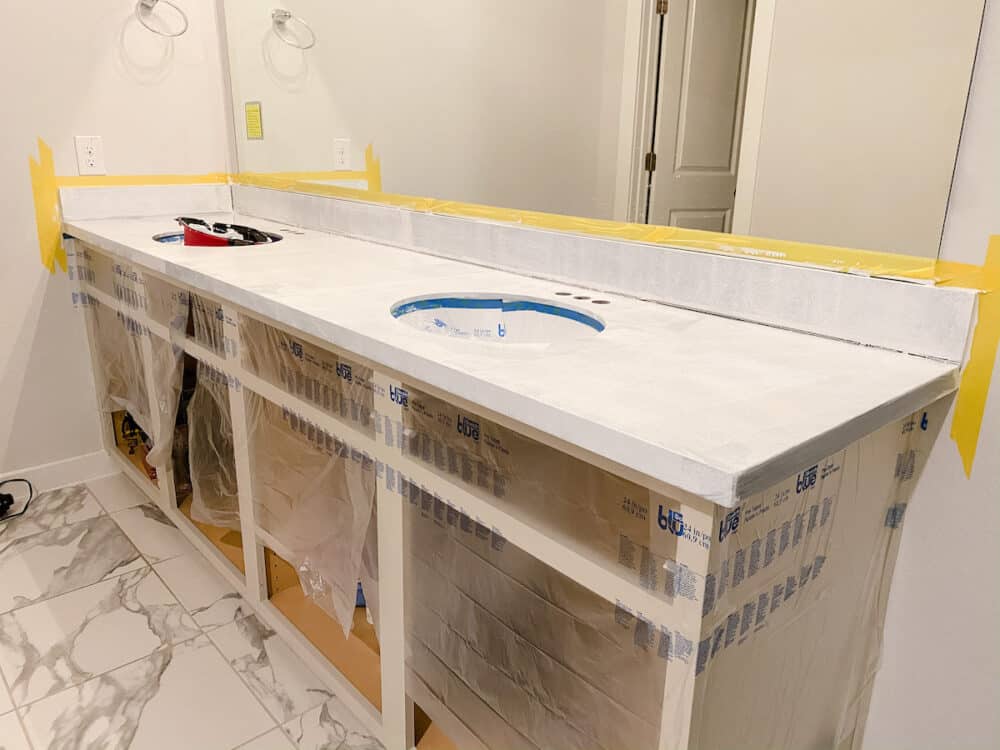
Now the fun part starts, and it really begins to come together!
It’s time to prime the countertops. The roller and paintbrush are already included with your kit. So, you just need to grab a paint tray (I used this large HANDy Paint Pail) and go to town! I’d recommend you gently back-roll over each section as you paint to help avoid roller lines. And then, just generally take your time. The directions recommend you work in about 3-foot sections, and be sure to overlap a bit as you work.
The kit recommends two coats of primer. Since my counters were so dark, I found that I needed three full coats to really get a good base coat.
You need to allow four full hours after your final coat before you move on to your next step. If you’re anything like me, the waiting is the most painful part because you just want to get to it already. But, if you want your painted counters to last, it’s worth the wait!
Step Four: Paint the Veins
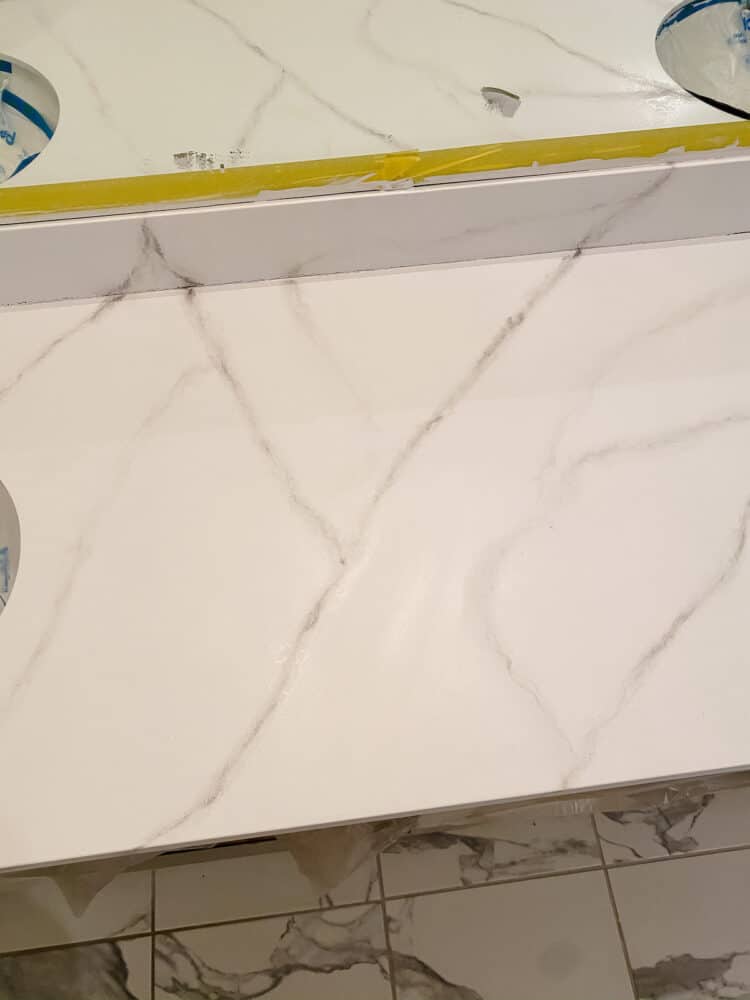
This is the part everyone finds intimidating, and that holds a lot of people back from even trying this project.
But, please hear me: painting the veins on your faux marble counters is easy and it’s not something to be scared of.
I promise. Promise!
If you want to have some confidence going into it, I highly recommend you start by researching images of marble countertops (or even marble tiles) to study how the lines flow. You’ll notice that the veins often run diagonally across the counters, and usually in one direction. You’ll also notice a variety of thicker and thinner lines, and lots of veiny shadows even in the white part of the counter.
All of these observations are so helpful. If you keep these images of real marble slabs in mind as you work, the finished product will be more realistic.
I also recommend watching Giani’s tutorial video for painting the countertops and veins. It makes the whole process feel much less intimidating, and shows you how simple it really is.
Before you begin painting, grab a piece of paper and sketch out a few different designs for your main veins. Get a feel for what the whole picture will look like on your counters, and use that as a template!
The countertop kit also comes with a sample board that you can use to practice your veins on, so you’re really set up for success here!
How to Paint the Veins
I made a quick video of the process to show you exactly what it looks like. This should show you how simple it is!
The basic process of painting the veins is as follows:
- Using a gentle, open grip, paint your line. Work in about 1-foot sections, and just connect the segments as you go.
- Use the spray bottle to spray water on the vein until it begins to bleed a bit.
- Grab the paintbrush and dab at the line to blend it and make it look cloudy. You don’t want it to look like an actual line when you’re done, it should look like a line of smoke on the counter!
- Rinse and repeat!
You’ll start by painting the main, larger veins, then you’ll add in ghost veins, which are the shadowy lines that you see in the background of the marble. For the ghost veins, you’ll water them down much more so that you can barely see them. It adds a ton of depth and dimension and makes things look so much more realistic!
If at any point you realize you don’t love a vein you’ve drawn, simply spray it with water and wipe it right off! I don’t know exactly how long you have before you can’t remove them anymore, but I wiped one off that had been drying for at least 15 minutes, so it’s not a process you should feel like you have to rush!
After your veining is done and has dried for the required four hours, use the sandpaper in your kit to (gently!) sand down the finish prior to applying the epoxy.
Step Five: Pour the Epoxy
This is where the counters really go from pretty to gorgeous. There’s just something about that super glossy finish that makes me weak in the knees! The epoxy acts as hardener that covers the layers of paint you’ve worked so hard on and adds a high-gloss finish. It’s self-levelling, so don’t stress! It’s really easy to use.
Before you begin, double check that your cabinets, sinks, walls, and flooring are all protected from drips. This is literally meant to drip off the edge of the counters as it dries, so you’ll deeply regret it if you don’t take the time to prepare.
Be sure that when you mix the epoxy, you follow the directions and mix it for three minutes and fifteen seconds. If you don’t mix long enough, it won’t work – this step is vital!
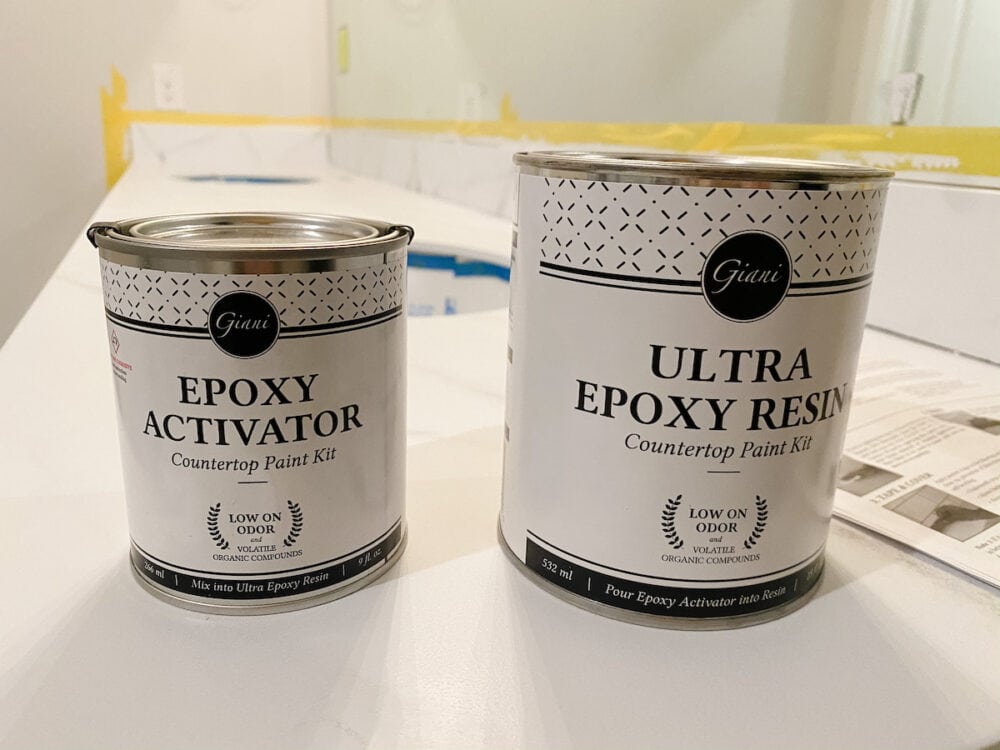
Once you’ve stirred it for the required time, pour the epoxy in three lines down your counter, working in about a 3-6 foot section at a time. Once it’s been poured on the counter you have about 30 minutes of working time before it’s no longer spreadable, so be sure to keep the sections you work on a manageable size!
Start by using your paintbrush to pick the epoxy up off the counter and spread it onto the backsplash. You’ll feel like it’s messy and clunky, and it is. And that’s fine. Go back and watch Giani’s tutorial video linked above if you want to feel better about your process – even they make it look messy!
Once the backsplash area is done (if you even have it), you’re ready to switch to the roller and spread the epoxy on the countertop. Allow it to be nice and thick, and focus on an even application. Be sure to bend to view it at different angles to be sure that you cover every inch of the counter.
When you get towards the edges, you’ll use the roller to gently push the epoxy off the edge and let it drip onto the sides of your counter. Be generous here – this is the one mistake I made in my bathroom! If it’s not thick enough, your finish might chip over time. Let it be nice and thick for the best results!
You can use your brush to help spread it on the edges. This is where things get nerve-wracking because the epoxy will start dripping right off the counter and onto the tarp. This is all fine and exactly what’s supposed to be happening.
After Pouring…
After you’ve finished spreading the epoxy over your entire countertop, leave it alone. It’s self leveling, so you don’t need to stress at all about brush lines. You’ll want to keep a close eye on it for the first couple of hours to make sure bits of dust or hair don’t fly into it. In my case, I had to remove three or four little gnats that were attracted to the smell of the epoxy. If I hadn’t been watching closely, they would have been cemented into my counters for all of eternity!
The epoxy will continue to self-level and drip for 1-2 hours. This is all part of the process and shouldn’t freak you out. Air bubbles will take care of themselves, so you don’t need to worry about that either. If you need to pull something off the counters, use tweezers to gently pull it up. As long as it’s within the first hour or so, it will automatically fill back in and you’ll never know there was an issue.
After two hours, you should go ahead and remove all of the tape around the edges of your counter. If you wait too long, the tape will become cemented to your counters and then it’ll be a pain to remove.
Step Six: Leave it Alone!
Now, it’s time to cure.
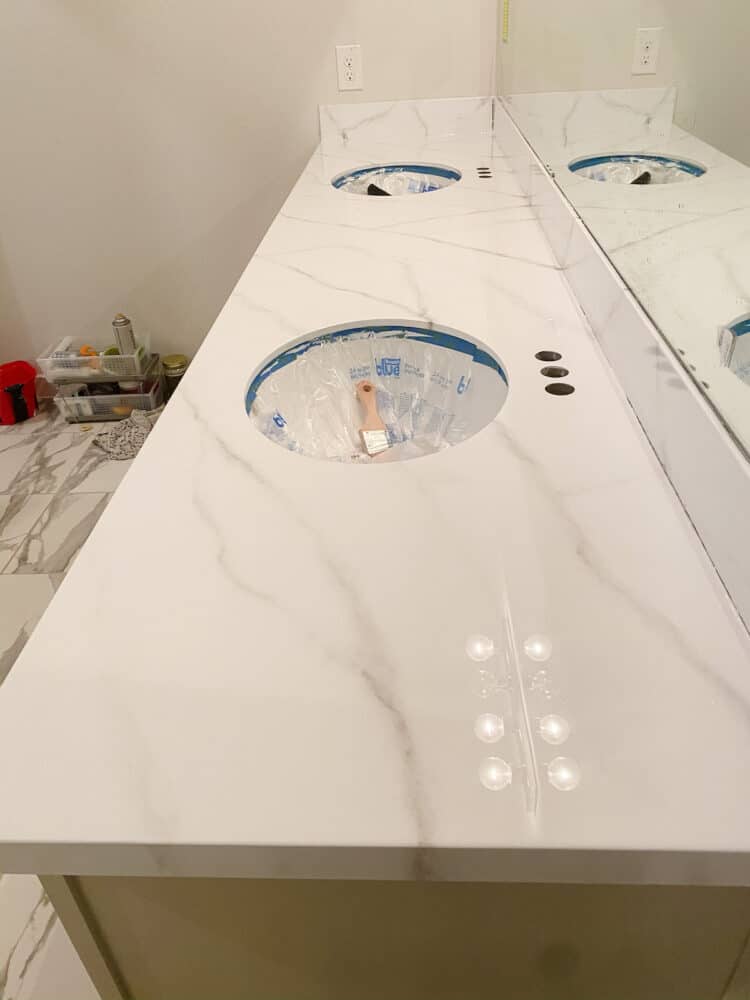
Don’t even think about using your new epoxy countertops in any way for a solid two days after you pour the epoxy. If you’re doing this in your kitchen, you can use the dishwasher after 24 hours, but that’s it.
After the first 48 hours are up, you can begin gently using your countertops. But, they won’t be fully cured until 7 days after the epoxy pour. So, take care not to put anything too heavy on them in that time. Ours don’t see a lot of heavy things since they’re in the bathroom. So, we began using them as normal after two days. However, if you’re working in a kitchen you’ll need to keep things like your stand mixer or microwave off the counters for the first week to avoid any issues.
Step Seven: Caulk
After your counters have dried for at least 24 hours, you can re-caulk all of the seams. This makes a huge difference in the look of the finished product. Especially if you have any caulk residue left over like I did!
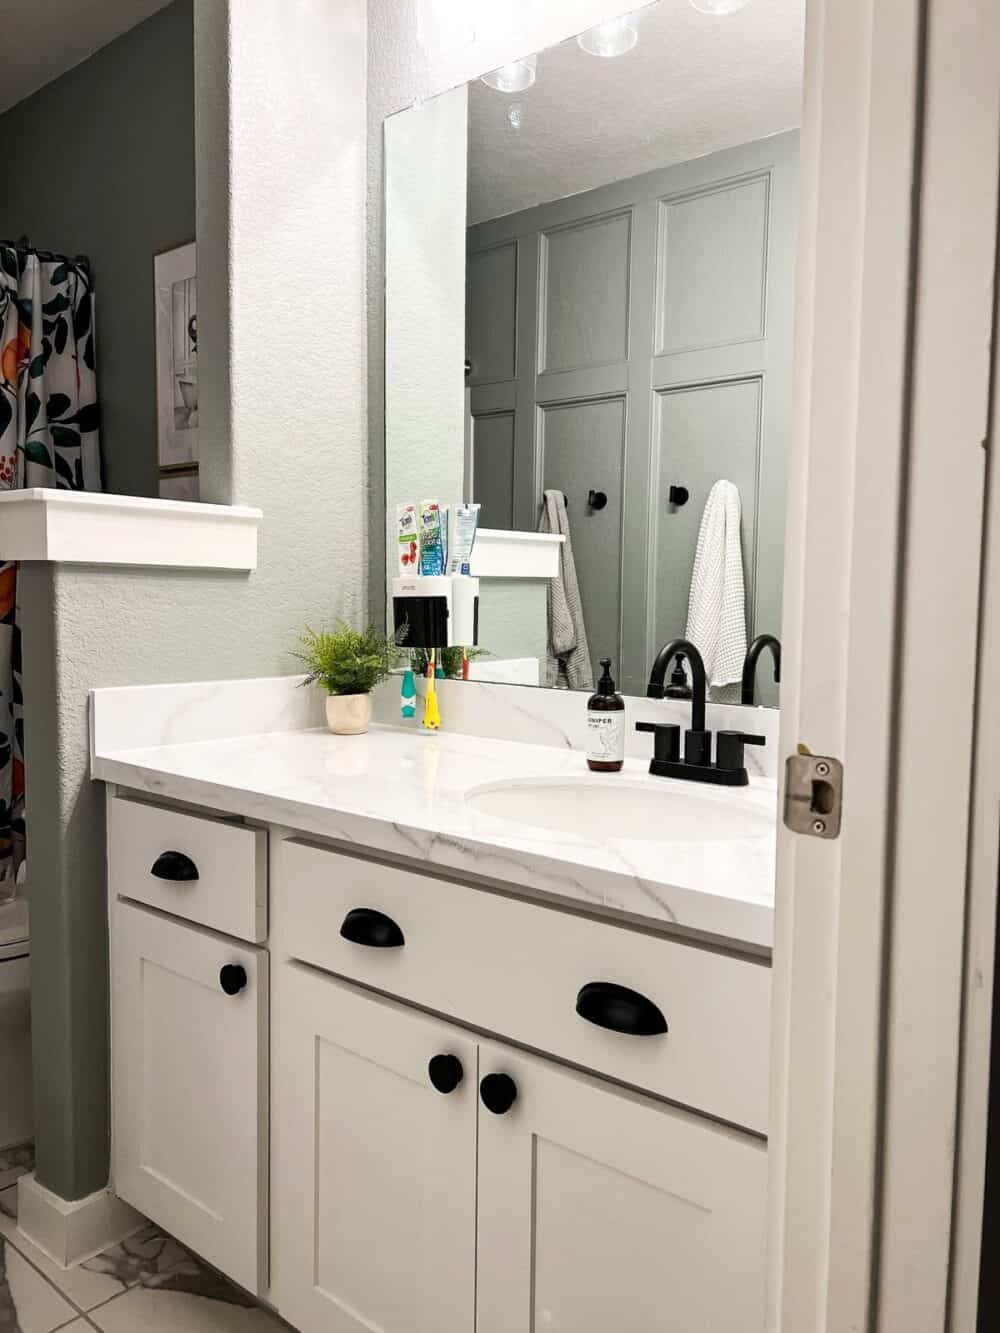
Frequently Asked Questions About Epoxy Countertops
Let’s dive into some of the most common questions I got on Instagram about DIY epoxy countertops. If you have anything that I miss below, drop your questions in the comments below. I’ll do my best to help you out!
Are there a lot of fumes from the epoxy?
Epoxy is always a relatively smelly product. However, I’ve worked with a few different epoxy products before and I’d definitely say this is on the less-smelly end of things. It’s a zero VOC (volatile organic compounds – AKA: what causes the odor) product, so it’s not bad at all.
Corey is very sensitive to paint and epoxy fumes, and he didn’t complain about this once. We simply left the door closed and the smell didn’t permeate to the rest of the house.
You should always use a mask when you’re working with epoxy. And it’s great to open a window if you can. However, a breeze in the room can also blow dust or hair onto the counters, so be very careful with this as the epoxy is drying!
I noticed a smell in the room (and only in the bathroom) for the first few hours after the initial pour. But by the next day, it wasn’t noticeable at all.
How do I deal with seams on my counters?
Seams are no big deal with this epoxy countertop kit! As long as it’s a thin line, you can paint right over it and it will cover just fine. The seams won’t cause any cracking or issues – no need to worry!
Can you paint laminate counters?
Yes! This kit will absolutely work on laminate and formica counters.
What surface did you start with? What surfaces can I use this on?
I started with a manufactured stone product. I don’t know exactly what it was, but it wasn’t true stone and it wasn’t laminate.
This epoxy countertop painting kit can be used on almost any counter surface that you have – including granite and quartz. If you have a tile counter, you technically could use it but it won’t cover up the texture of the tile, so you’d still see things like the grout lines once you’re done.
It’s also food-safe, so doing it in the kitchen would be a great option!
Can I paint my sink, too?
Technically, no. But that doesn’t mean you can’t use this kit if you have an all-in-one sink and countertop combo.
Giani recommends taping a line around 1″ down from the top of your sink and painting only above the tape line to create a faux countertop edge. If you want to also change the color of the sink, Rust-Oleum has a great tub and tile epoxy kit that would be a perfect solution!
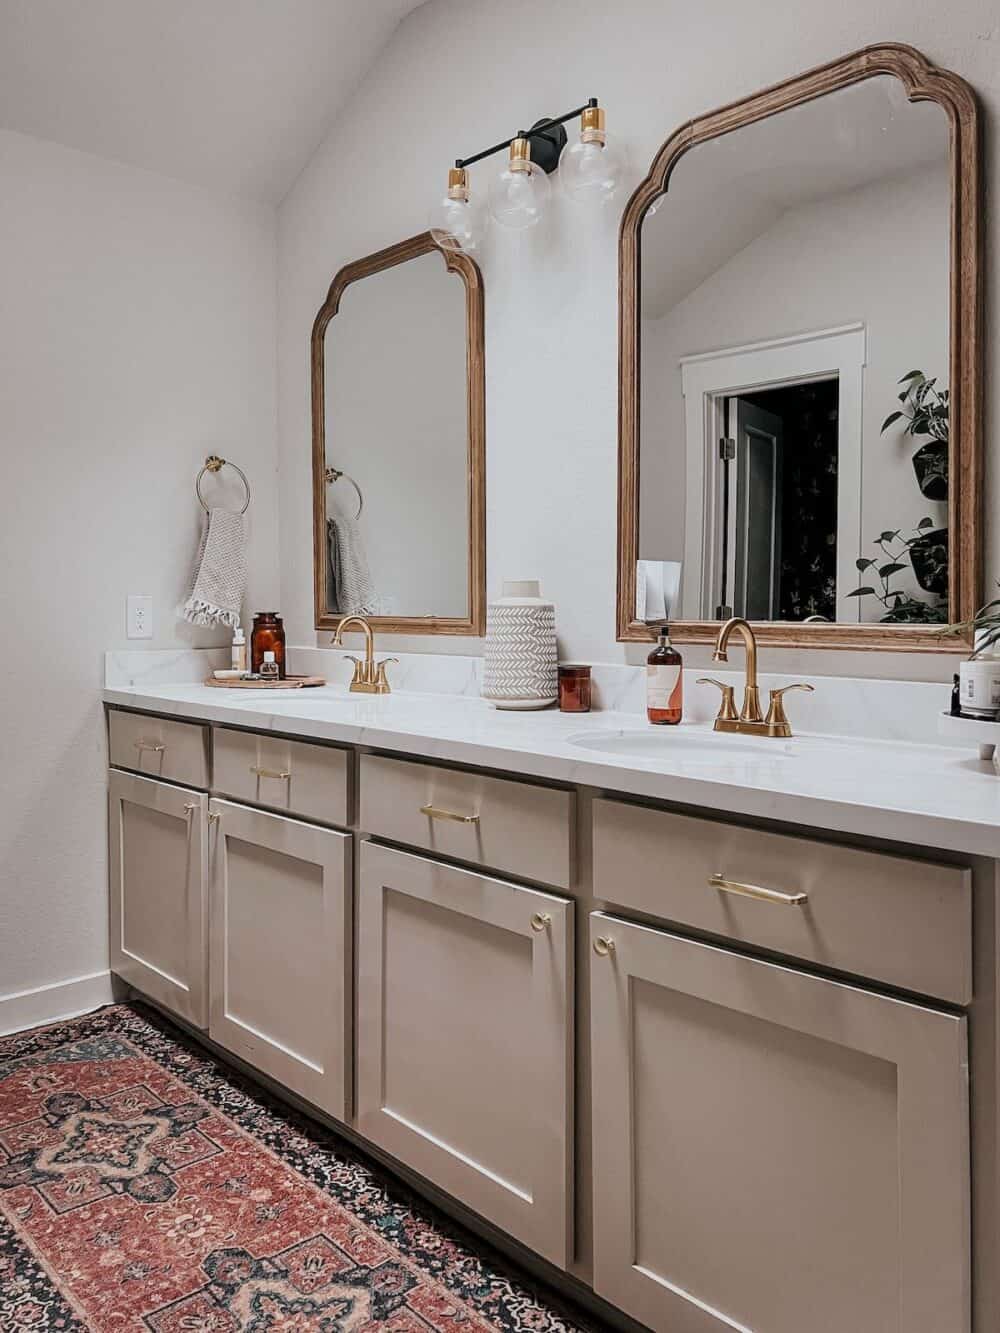
How did you deal with the drips on the edges?
After two hours of dry time had elapsed and the epoxy countertops were no longer dripping, I grabbed a piece of stiff cardboard and ran it all along the underside of my countertops to remove the lingering drips.
Be real: How hard is this? I’m not artistic!
Honestly and truly: it’s not hard.
I consider myself a very handy person but I do not consider myself a crafty or artistic person. I’m not a good artist, I don’t draw, and this felt very intimidating to me. But, I promise, it’s incredibly low-pressure and easy to do. Anyone can do this!
Is the epoxy prone to stains and scratches?
We’ve had these countertops for over a year with very minimal stains. Be conscious of what you leave sitting on them and clean up spills relatively quickly, and you should be totally fine! It’s also heat resistant, so you’re okay to set hot things on it for short periods of time. Stubborn stains can be removed with acetone or paint thinner, but don’t make a habit of using that as a day-to-day cleaner!
As far as scratches, I haven’t noticed any whatsoever. Like I said – you generally want to be conscious of the fact that epoxy countertops are technically painted countertops, but you definitely don’t need to baby them.
Click here to purchase an epoxy resin countertop kit so you can try it yourself!



I’m thinking about painting my bathroom vanity countertops but my sink is part of the actual vanity. Do you think that this can be used in the sink as well?
Hi! I’m interested in painting my old laminate countertops to look like marble. I’ve read https://www.caesarstoneus.com/blog/epoxy-countertops-read-this-before-you-buy/ that mentioned that epoxy countertops are made with expertise because you only have one shot to make it. Did you practice before actually doing it on the material? Or, did you directly go for it?
I just went for it. It’s a pretty straightforward process!
I am going to do a bathroom vanity counter that has 2 sinks in it (they are set in on top of Formica not from underneath).
After the total prep work and epoxy is completed when and how do I remove the tape around the lip of the sink without disturbing the epoxy and pattern in it.Do I pull the tape around the sink right after the pour or do I wait like I would do for the edges?
FYI-LOOKING TO DO A DIRTY POUR
I would keep it similar to how you do the edges – I’d wait about 45 minutes and then pull up!
Hi ! I absolutely love your cabinet and wanted to know what color they are because it looks fabulous with the countertop.
Please let me know when you have the chance. Thank you !
Hi! It’s Sculptor’s Clay by Behr
I love this! I do have a question about the small backsplash that is attached to the back of the counter top. How do you apply the epoxy there and deal with the drips pooling onto the counter top? I notice on your instagram that you also did this to a big piece of backsplash in your kitchen. Please share tips because I’m ready to take the plunge of painting my kitchen counters. Thanks!
I think that each kit comes with instructions. Do you think that it will be alright if I use a different epoxy countertop guide from the one on the kit? Or it’s necessary to follow the one with the kit?
Great job. keep up the great work! Thanks for sharing
I read your blog post about painting your kitchen counters, but also saw you do this recently over Instagram and would love to do this. Do you think it would be okay to use on a kitchen counter? It’s just a temporary fix to make it look better until we can afford something better. Thanks for any help you can give:)
Yes, this is meant for kitchen counters as well as bathrooms!