
How to Use Caulk {The Complete Guide!}
Last updated on March 15th, 2024 at 11:16 am
Ever wonder how exactly to choose the right type of caulk and how to complete a caulking project? Read on for the complete guide for how to use caulk.
This post is sponsored by DAP.
Are you ready for our next DIY Guide?! Because today is one that I’ve been asked about for a while now – the COMPLETE GUIDE to CAULK!
Caulk is one of those materials that’s so necessary for so many projects and household maintenance tasks, but it can be really intimidating. Some people don’t know which type to use, some people don’t know how to use it without making a huge mess, and some people aren’t really even sure what it is!
So today, I’ve got over 2,500 words on everything you need to know. If you don’t feel confident about your next caulking project after reading this post, it’s because you weren’t paying attention!
Let’s do this!
What Exactly is Caulk?
Caulk is a material that’s used to help seal joints or seams in various types of materials. It can be used to prevent leaking, keep out air or other elements from the outdoors, or just to make a project look more finished.
Most caulk is made from latex or silicone (or special chemistries, such as hybrics, polyurethanes, or synthetic rubbers). There are many different types for different types of projects. I’ll break it all down for you here in this post today!
Many people use the words caulk and sealant interchangeably, but they’re actually two different products – let’s start there, shall we?
Caulk vs. Sealant
The key difference between caulk and sealant is flexibility. Caulk is generally a more rigid substance. It can crack when used on things that will expand and contract a lot, or in spaces that will see really large temperature swings. Sealant, on the other hand, is extremely flexible and can handle more extreme temperature swings.
Caulk is usually paintable and can help seal joints in places like windows or door casings. It is also often used along joints in trim work on interior projects!
There Are So Many Types – Where Do I Start?
You’re right – the caulk aisle at your local hardware store can be overwhelming, to say the least.
I often get asked what my favorite brand is – and that one’s easy: I’ve always been a big fan of DAP’s line of caulks and sealants. They’re easy to work with and they’re by far my most trusted brand of caulk and sealant!
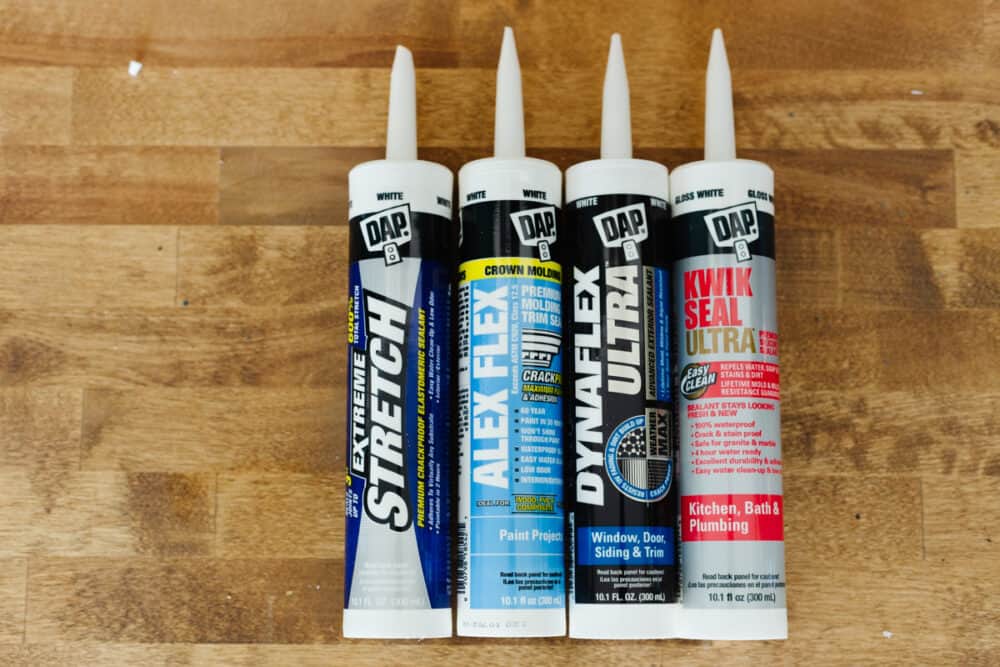
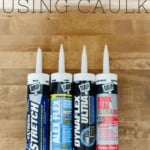
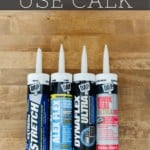
DAP is a longtime partner for me, and they were so kind to help as I planned out and researched for this post. They sent me a few different products to show off for you. It’ll give you a really intro to the basic types of caulk and sealant the average homeowner might need to use. Between these four types of sealants, you should be covered for any type of project that may come your way!
DAP ALEX FLEX ACRYLIC LATEX SILICONIZED SEALANT
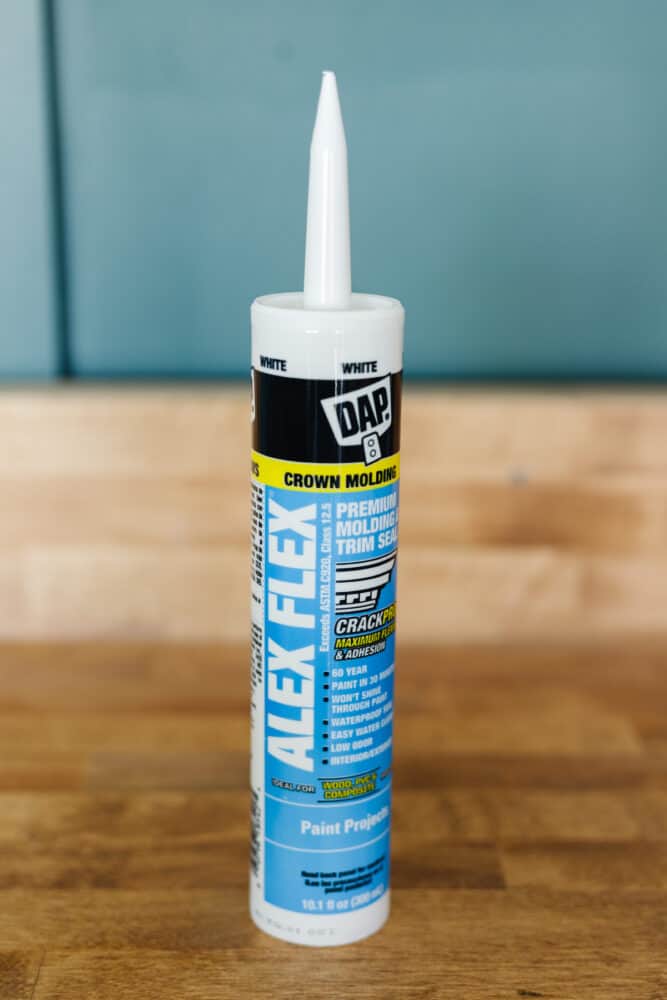
We’ll start with this one because this is my go-to for the vast majority of the projects I do. DAP’s Alex Flex is specifically meant for use on trim and molding. It’s very flexible, won’t crack, and is paintable. It’s also very easy to clean up with just water and is low-odor!
You’ve seen me use this stuff on a ton of projects, but here are just a few to give you an idea:
- I caulked all of the trim in my master bedroom with Alex Flex.
- I also used it on the seams (and along the top and bottom) of the beadboard in our entryway.
- It gave me a gorgeous finish at the top of the shiplap in the game room.
KWIK SEAL ULTRA ADVANCED KITCHEN & BATH SEALANT
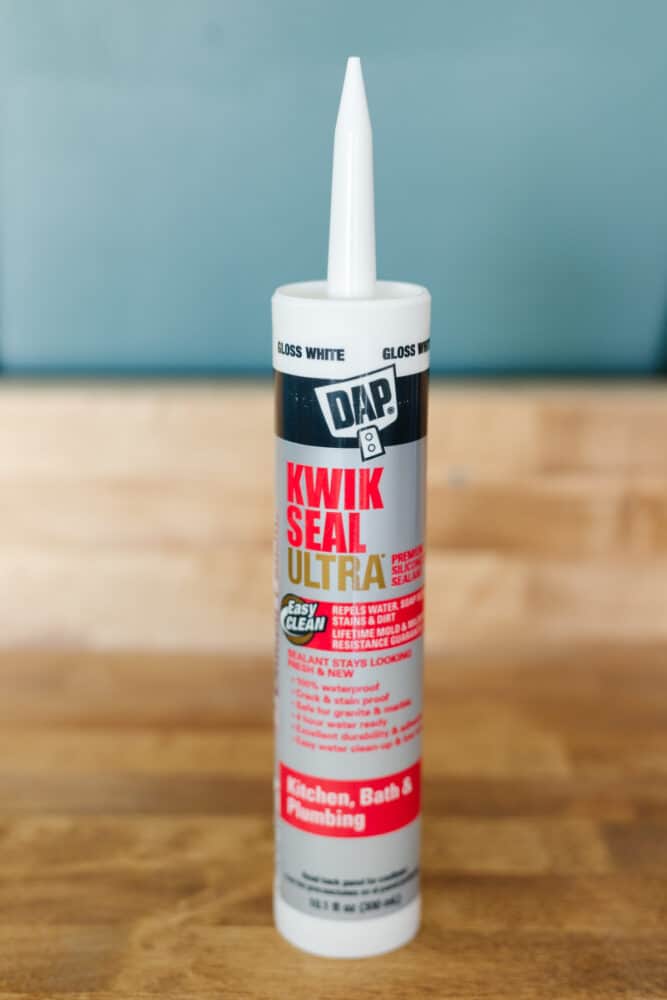
This sealant is used in kitchens and baths. It is the perfect solution for sealing around a toilet, tub, sink, or tile backsplash. It resists mold and mildew, stays looking clean and crisp for years, and is waterproof, crack proof, and stain proof.
Note that this sealant is not paintable. It should be purchased in the color you want it to be. It comes in clear, white, or biscuit, and it’s safe for use on granite and marble!
This is the type of sealant that I used when I was re-sealing all around the toilet and bathtub after painting our tile floor in our last master bathroom. It’s my go-to for any kitchen or bathroom sealing project!
EXTREME STRETCH ACRYLIC URETHANE ELASTOMERIC SEALANT
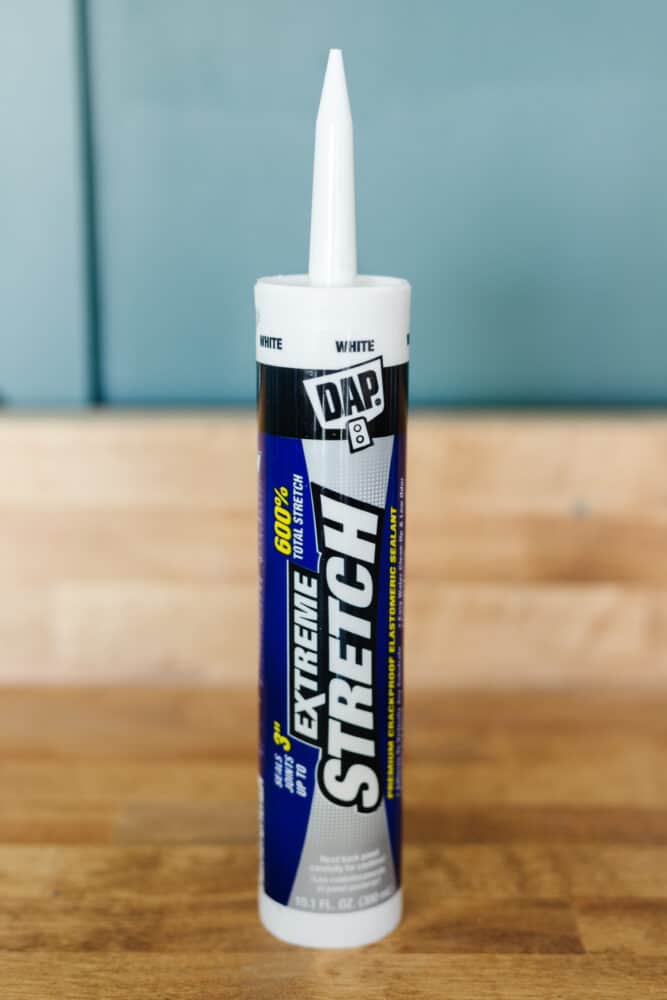
This Extreme Stretch sealant is an acrylic urethane sealant that can stretch up to 600%! It’s great for most sealant projects, but it’s the perfect sealant for use around doors and windows.
It’s 100% waterproof and weatherproof, and is paintable in as little as two hours. Oh, and did I mention its extreme flexibility allows it to seal joints up to 3″ wide?! This sealant can be used on both interior and exterior projects, so it’s also a great option for siding or gutters.
DYNAFLEX ULTRA ADVANCED EXTERIOR SEALANT
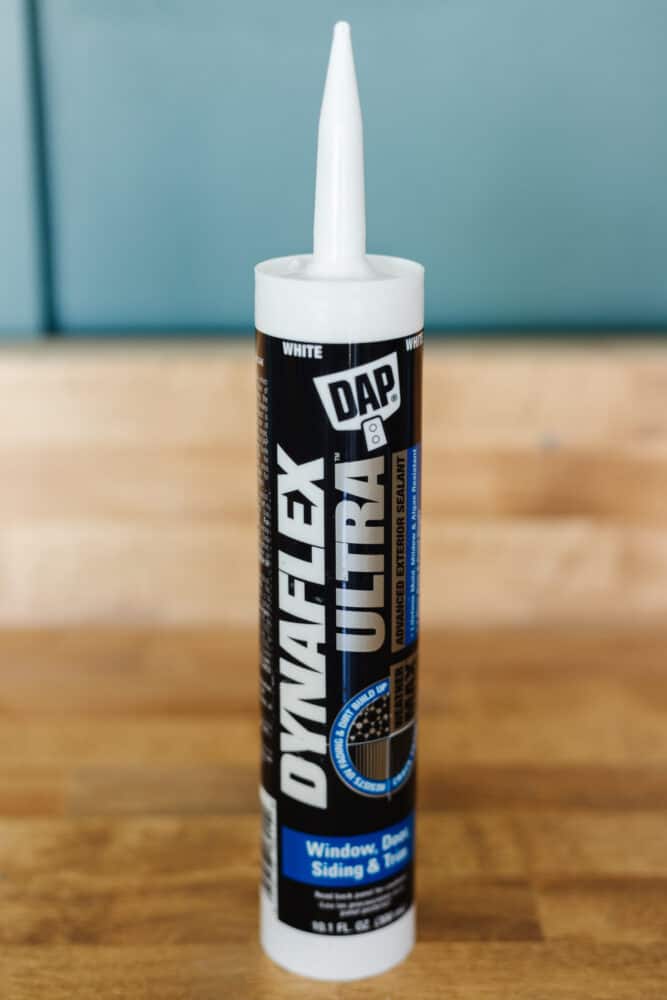
And finally, the last sealant we’re going to talk about is the Dynaflex Ultra Exterior sealant. it’s specifically formulated for exterior use. That means it can handle all the weather extremes that your climate could possibly want to throw at it!
It has really great UV, mold, mildew, and algae resistance, and provides a waterproof seal. It’s paintable (though it comes in a huge variety of colors), and can be painted (or even rained on) in as little as an hour after applying.
How to Use Caulk
Now that we have a more solid understanding of the different types of caulk (or sealant) and what they’re used for, let’s dive a little deeper into how you actually use it!
Many people find caulk to be very intimidating (and messy). But, I promise, once you know what you’re doing it’s actually very simple to use.
Before you begin, take a few moments to review the label for usage and safety guidance. This information can vary widely based on the formula you have selected.
Let’s start with the basics: first, you’ll need a caulk gun.
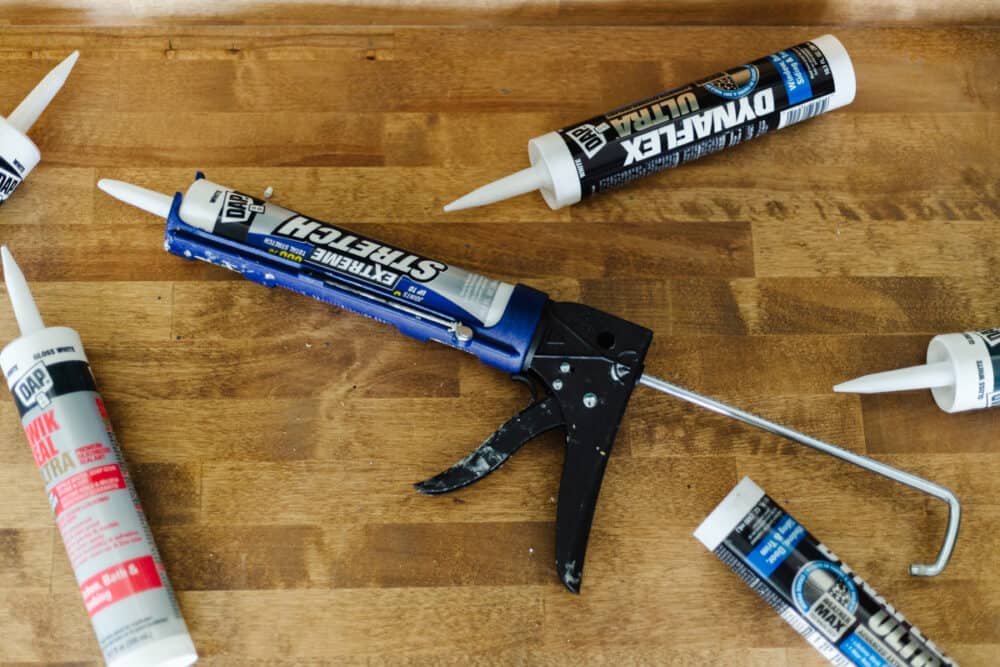
The right caulk gun can be the difference between a really frustrating project and a really easy one. Some types continue to leak after you’re done pulling the trigger, and it makes a really big mess. But the right gun will stop the flow as soon as you let go of the trigger.
When purchasing a caulk gun, you want to avoid a “ratchet-rod” gun – they’re almost guaranteed to leak on you. Instead, look for a caulk gun labeled as “drip free” or “smooth-rod”. You don’t have to spend a ton of money for a quality caulk gun, either – most are under $20!
I also recommend choosing one that has a built-in cutting tool to help make opening your caulk tube easier. Many people don’t realize that this little hole in the side of your caulk gun is meant for cutting open the caulk!
How to Open Caulk
There are a couple of different methods here. Your first step is to choose how wide you want your line of caulk to be (this depends on your project, but I generally recommend 1/8″). Then, find the marked line on the tip of your caulk tube. If you have a caulk gun with a high-quality spout cutter (pictured below), you can slide the tip into the opening on the caulk gun up to your chosen line and pull the trigger for a perfect opening in your caulk!
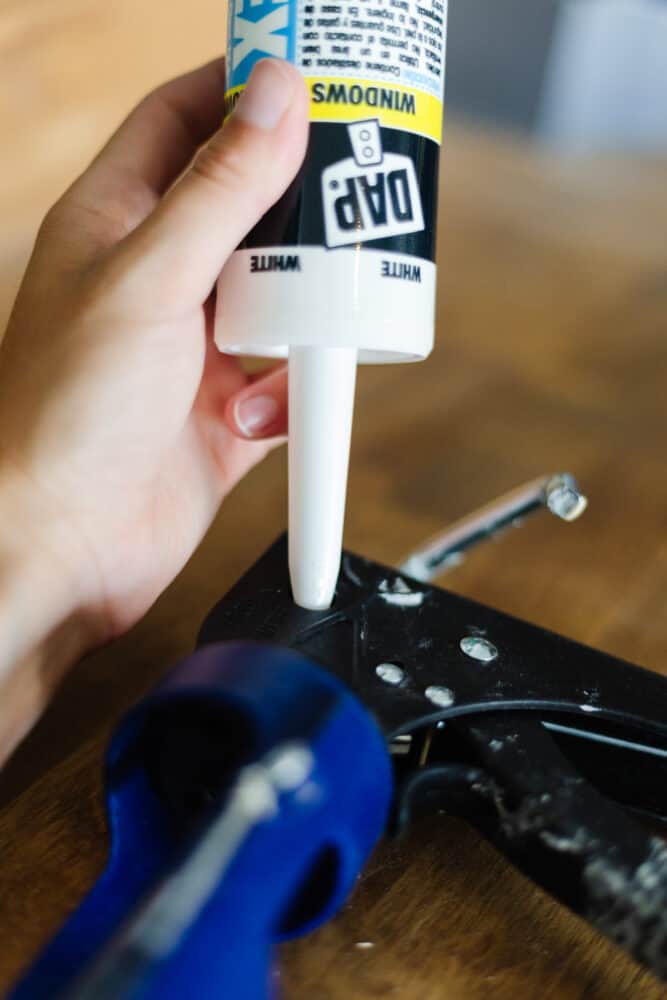
However, some of these spout cutters can tend to just crush the tip rather than cut it. So, if you aren’t sure if you can trust it, I’d recommend grabbing a utility knife and simply cutting along the same angle marked on the tip of your tube of caulk.
You’ll also notice that your caulk gun has a long, skinny metal skewer that can swing out from the main part of the gun. This is used to puncture the inner foil seal that is present in some types of caulk – check the directions on your tube of caulk to check if it’s a step you’ll need to take.
How to Use a Caulk Gun
Once your caulk tube is open, you’re ready to load it into the gun. Slide the bottom part of the caulk tube over the flat, round part at the back of the caulk gun. Then, press the tip into the opening at the front of the caulk gun. Press the lever on the back until the caulk is firmly in place.
Now, you’re ready to go!
Here’s what I recommend having on hand while you’re working on a caulk project:
- Paper towels or clean, lint-free cloths that you don’t mind possibly ruining
- A bowl of warm water mixed with about a teaspoon of dish soap
- A pack of baby wipes
- Painter’s tape (optional, see below)
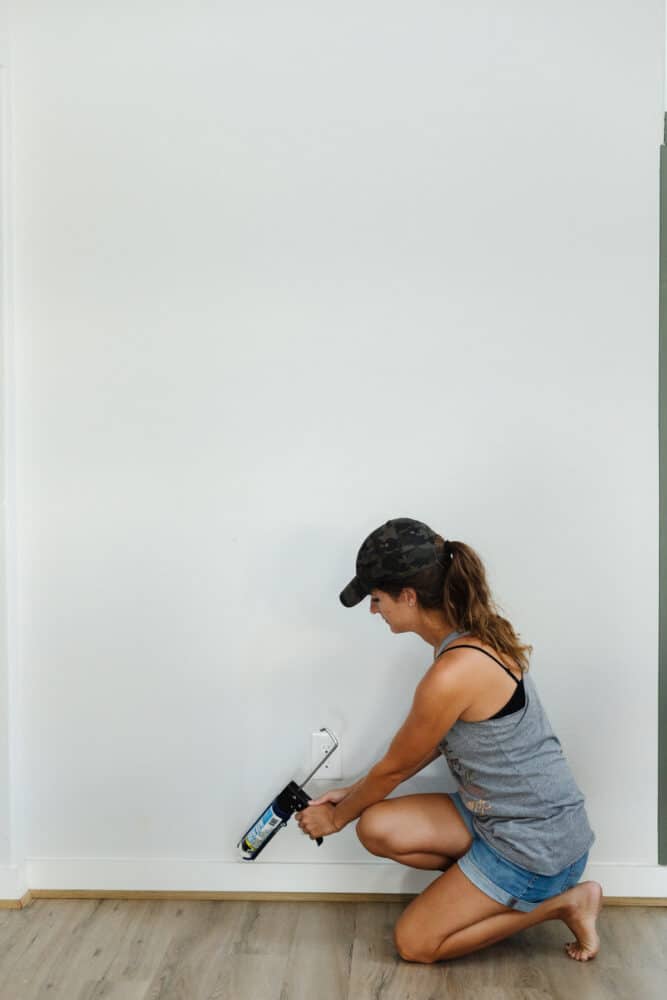
To apply caulk, simply press the caulk gun up to the area you’d like to apply caulk, holding the gun at a 45-degree angle. Then pull the trigger and slowly move in a straight line as the caulk is released from the gun. You want to apply even, steady pressure to the trigger and move at a consistent pace. It may take a bit of time to find the right balance of pressure on the trigger and speed at which to move the gun!
I generally pull the trigger back about halfway and I move my arm pretty slowly along the wall. If you move too fast, the line of caulk can skip and leave gaps. But, if you move too slowly you’ll end up with an excess of caulk and a mess to clean up! If you’re completely unfamiliar with using a caulk gun, you may find it helpful to try it out on a scrap piece of wood before you do it in your actual space!
After Applying
Once you’ve applied a line of caulk, you’re ready to smooth it out. Dip your finger in the water, then lightly run your finger along the bead of caulk to smooth it. The water helps keep your finger from getting too terribly messy. It also helps it spread more evenly and gives you a better finish! Alternatively, you can also try out a tool for smoothing caulk – I’ve always liked the control that using my finger gives me, but many people swear by these!
Be sure to wipe any excess caulk off of your finger before starting the next line. I like to use baby wipes for this! I also recommend wiping off the tip of the gun if there is any dripping or excess caulk on it.
If you’re caulking along something like a wall or a bathtub, you can generally apply caulk along the entire length of your project before smoothing it.
What About Painter’s Tape?
If you struggle to get a smooth line, you can always apply painter’s tape to either side of the joint. This makes a huge difference, but does take a little more work on the front end!
When you do this, be careful not to apply the tape too close to the seam. If you do this, you’ll be left with a lip in your bead of caulk. Instead, give the caulk 1/8″ or so to spread past the seam. The tape should be removed immediately after tooling/smoothing the caulk/sealant. This avoids the possibility of disturbing your freshly applied product.
Here’s a close-up look at what I mean – this line had tape applied very close together:
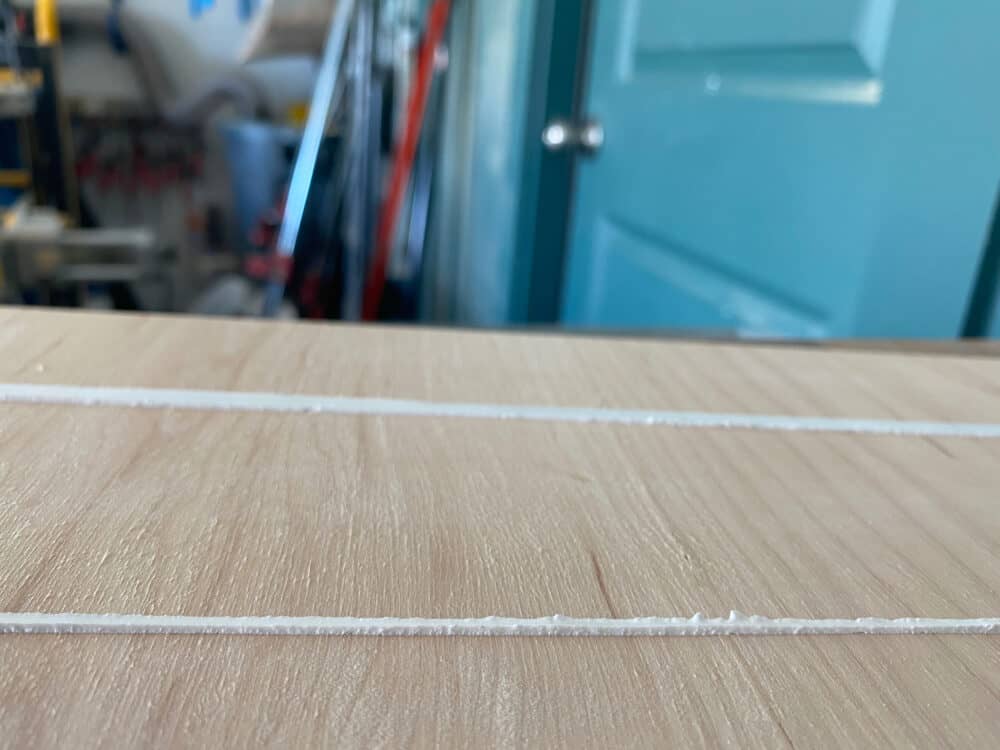
While this line had a little more room to spread out:
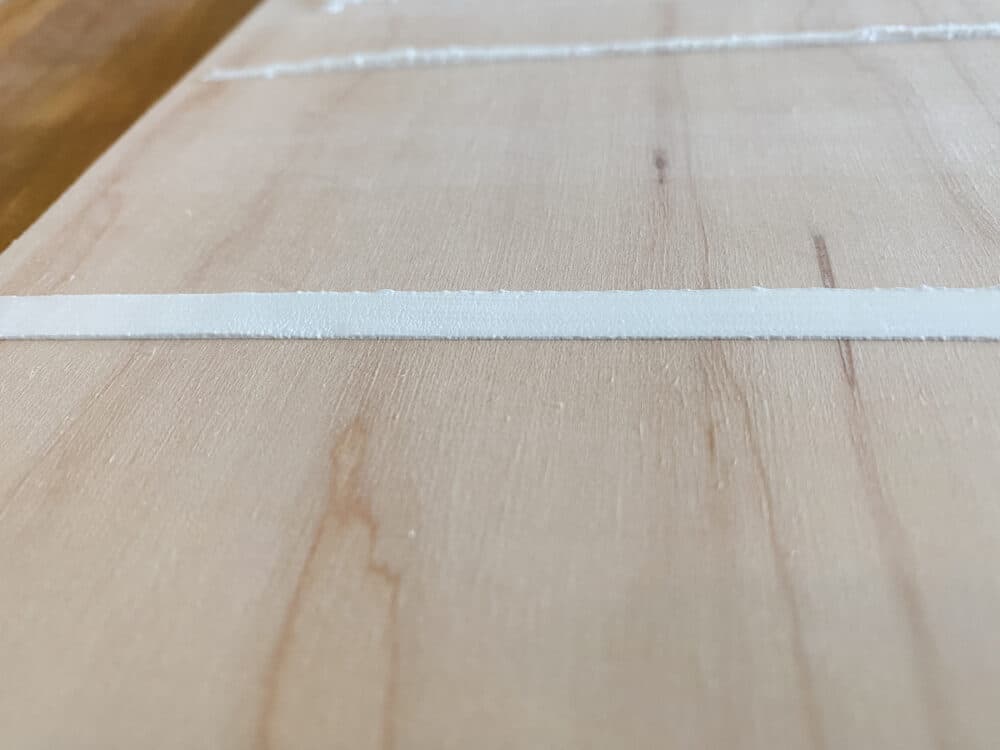
Can you see the difference?
Obviously you’re rarely just caulking along a straight line like this. It’s usually in at a seam that creates more of a corner, like where two walls meet. But, hopefully this illustrates the basic idea!
Using painter’s tape is a great way to ensure a less-messy finish if you tend to struggle with caulk, but it does significantly increase your prep time. It’s all about your comfort level. For example, I generally don’t tape off when I’m working with white, paintable caulk. But when I was working with black caulk around our laundry room tile, you’d better believe I busted out the painter’s tape to give me a hand!
Frequently Asked Questions
I always love opening it up to y’all for questions when I write these kind of guides, so here are a few of the questions I got that we haven’t already covered.
How Do I Remove Old Caulk?
If you have old, stained, or cracked caulk anywhere in your house, it’s a good idea to replace it. I always recommend doing a yearly check of the caulk around your doors and windows, in your bathroom, and in your kitchen to see what needs replacing.
Removing old caulk is tedious, but simple. Just grab a utility knife and run it along the either side of the bead of caulk. Then, use the tip of the knife to pry up a corner – usually, once you get it started you can simply pull it right up! The left over film or residue can be removed with soft plastic scouring pad.
What Type of Caulk Should I Use Around Concrete?
It depends on where your concrete is and what you’re sealing. If it’s an outdoor project that will be exposed to a lot of weather, I’d recommend you use Dynaflex Ultra Exterior Sealant. If it’s less exposed to the elements, I’d go with the Extreme Stretch Sealant. However, it should be noted that neither of these is recommended for use on horizontal surfaces – for that, or applications that will receive traffic, Concrete and Mortar Sealant or 3.0 Concrete would be recommended.
My Caulk Always Shrinks and Cracks – What Am I Doing Wrong?
First of all, you should always make sure to choose one that fits the type of project you’re working on (the guide above should help!).
If you know you’re using the right type and you’re still dealing with cracking or splitting, then it’s likely because your line of caulk is too small. Some amount of shrinkage is normal and totally expected. So, a too-thin line is where you’ll run into problems! This can happen if you remove too much when smoothing it out with your finger. Try a thicker line next time!
And that’s it! If you have questions, be sure to drop them in the comments and I’ll update the post as needed.

Thank you I do not know enough about the things necessary to do in a home and I really appreciate this information.
This complete guide to using caulk is magnificent, and I will use this guide wisely. I have a project on this caulking technique, and I will follow your guide to complete the project.
Great article. However, if you have ants or bugs coming in under your baseboard, you probably have structural problems. If ants are in your walls you need to cut some holes in your drywall and have a look. Also see where they are coming in from the outside. Just Stopping them from getting from your wall to your living room is bad. Must stop from the outside.
Good point, thank you. I’ve been renovating my home and am always looking for more tips from seasoned DIYers. I also saw hipickle.com on instagram followed their steps to using caulk.. would love to get someone’s input as to whether or not they know their stuff, as I like to use multiple sources.
My husband is trying to seal between drywall and a stone fireplace (very curvy because it is rounded stone) so there are large gaps that need to be addressed. Would you recommend the extreme stretch product? And in terms of filling larger gaps (like the 3” ones it advertises) does he just need to pump additional caulk in and let it fill the space? Or does this seem like a job for another product?
Also, thank you for this article because I had mentioned it prior to my husband and he actually came to me asking for advice! 😁😁😁
Hi! You can find pre-caulking filler on Amazon (or at Home Depot/Lowe’s) for filling in large gaps prior to caulking!
Thanks for the comprehensive post. This will be great to refer back to. Love the baby wipe tip!
Hi
Thank you so much for this post! I just finished sealing holes in the house my daughter just moved into. I used the Flex Gel since it didn’t require a gun. However, DAP was my backup since bugs can’t get through the silicone sealant.
For the caulk tube after you use it on a gun, can you tell us what to do with the tube when we are finished and it is still full? I don’t know how many cans I’ve eventually thrown away because the tube had caulk in it and dried up. I keep trying to remove it but nothing works. Then I end up throwing the tube away.
I usually add painter’s tape around the top, and then use the skewer on the caulk gun to remove any dried caulk from the top before using it again. You can purchase caps for them, though, if it continues to be an issue!