
DIY Miniature Christmas Vignette
Last updated on March 3rd, 2023 at 10:35 pm
This post is sponsored by Miniatures.com, but all opinions (and obsession with tiny things) are all mine. Click here to see my full disclosure policy. Thanks for supporting the brands that support Love & Renovations!
I’ve always had a bit of a thing for miniatures. My grandmother had a small collection of miniatures on a shelf in her home when I was growing up, and I always loved to analyze them and wonder how in the world they made all of those tiny little pieces. I also remember that as a child, my cousin had the most epic dollhouse ever – her father had put it together and it had working ceiling lights, wallpaper, and so many custom and beautiful details that I could barely stand it.
I never did get one of those gorgeous dollhouses (mine was just an ugly pink plastic thing), but I’ve always dreamed of one day putting together a custom dollhouse for one of my children. When I met some of the people behind Miniatures.com at Haven a few months back, I immediately knew I would have to find a way to work with them. Because who can resist a tiny little room all decked out for Christmas?
I know I can’t.
I got this small room to decorate and my brain immediately started swimming with about a zillion ideas for how to make it beautiful. Jackson saw it and declared it was for his “guys” to play in, and the entire time I was working on it he asked every few minutes if it was ready yet.
Maybe it’s time for that dollhouse?
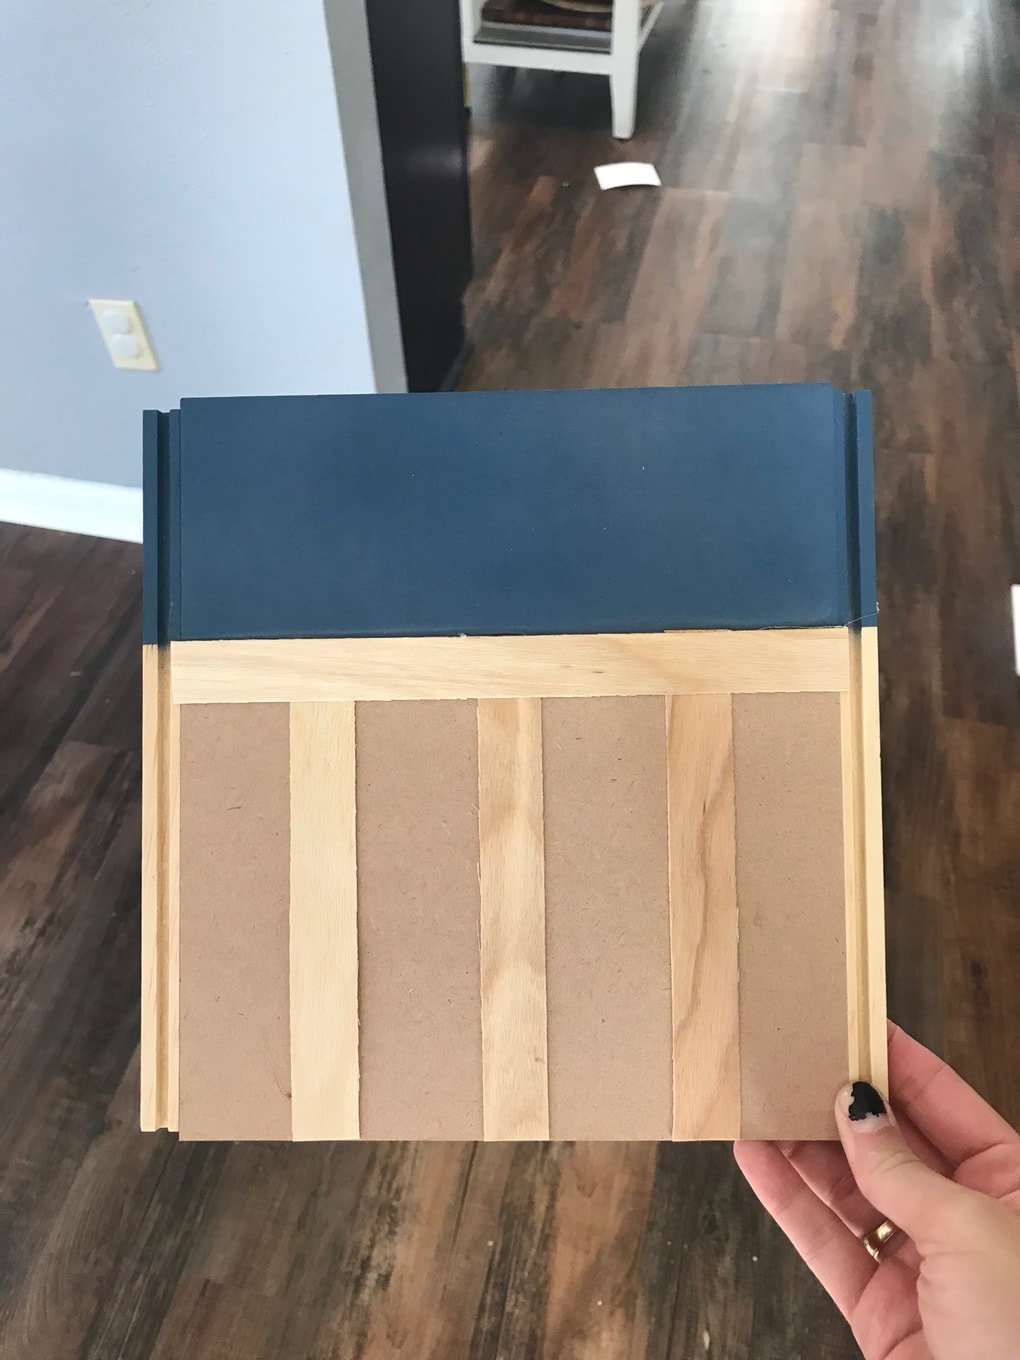
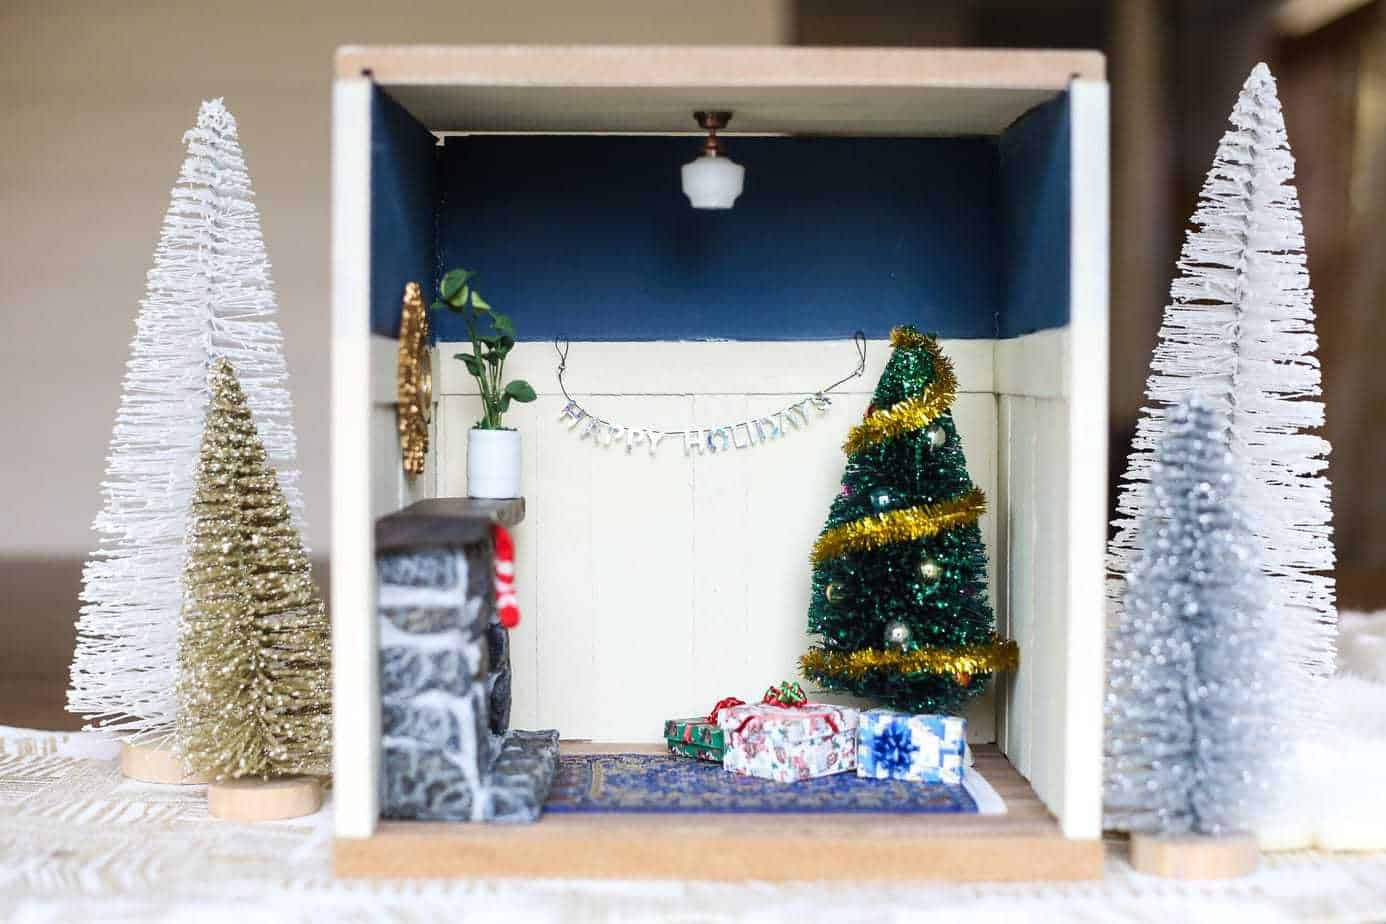
For now, though, let’s see how I took this little box from bland to a room I’d put in my own house. I started by taking all of the walls, taping them off about a quarter of the way down, and painting the top part of the walls a deep blue (I used this room box, if you’re curious). I had planned to work with a paint sample I had leftover from a few other projects, but I couldn’t find it (moving creates chaos, y’all), so I just went with some spray paint instead.
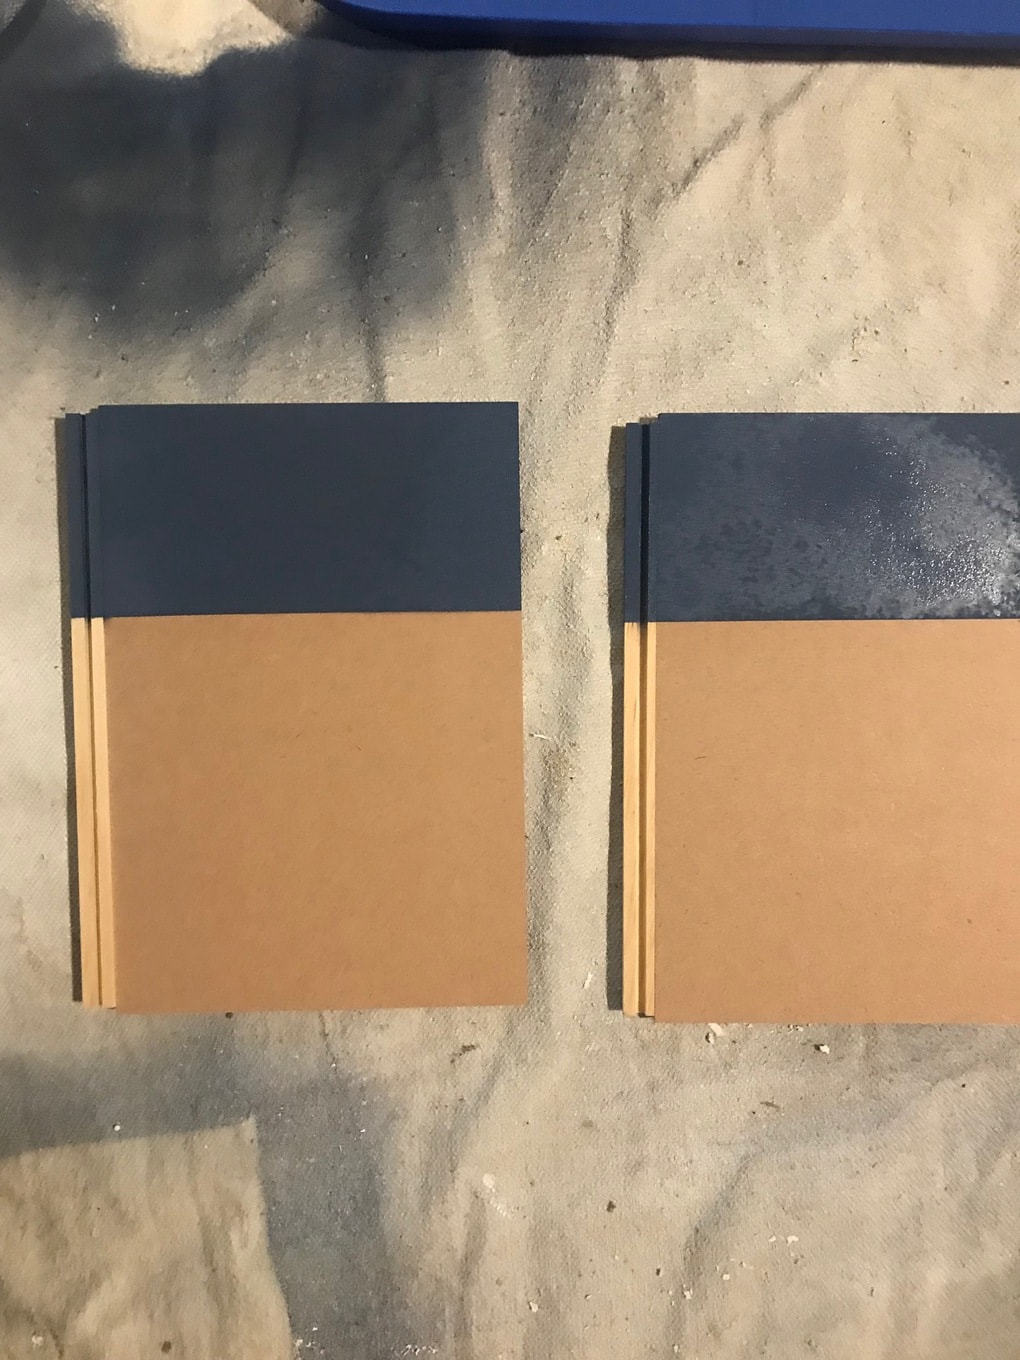
Once the top portion was painted, I used these little wood strips to create a board and batten treatment on the bottom. They’re super thin and can be cut with scissors, then I just glued them on top of the wall.

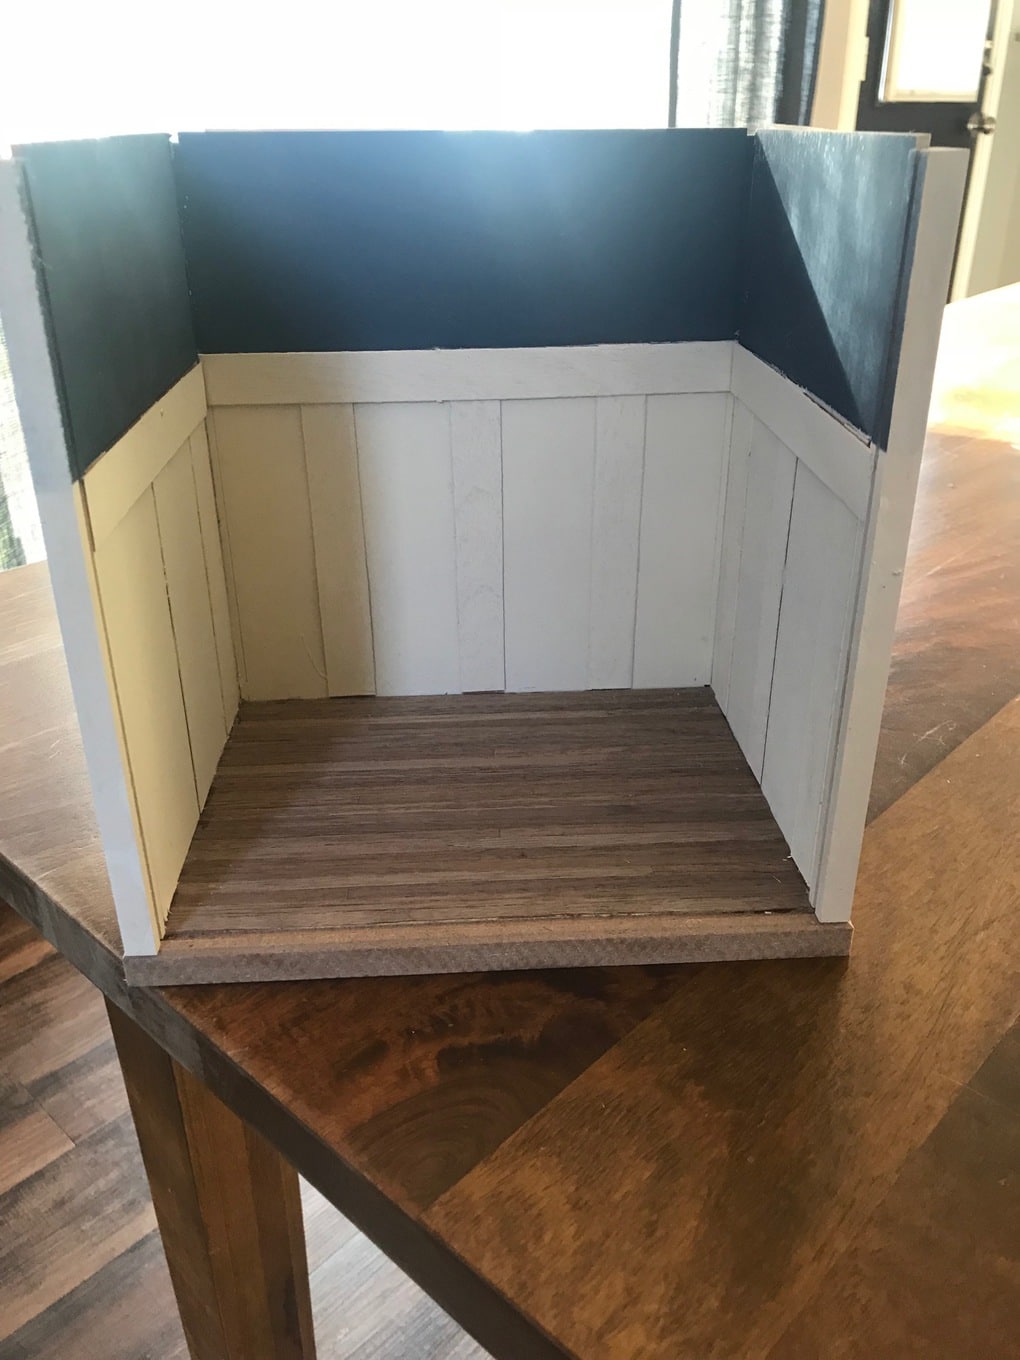
Once it was all done, I painted the bottom portion of the walls white, then I added some “wood flooring” on the floor (can you even handle how cute it is?!), some wood planking to the ceiling, and put it all together.
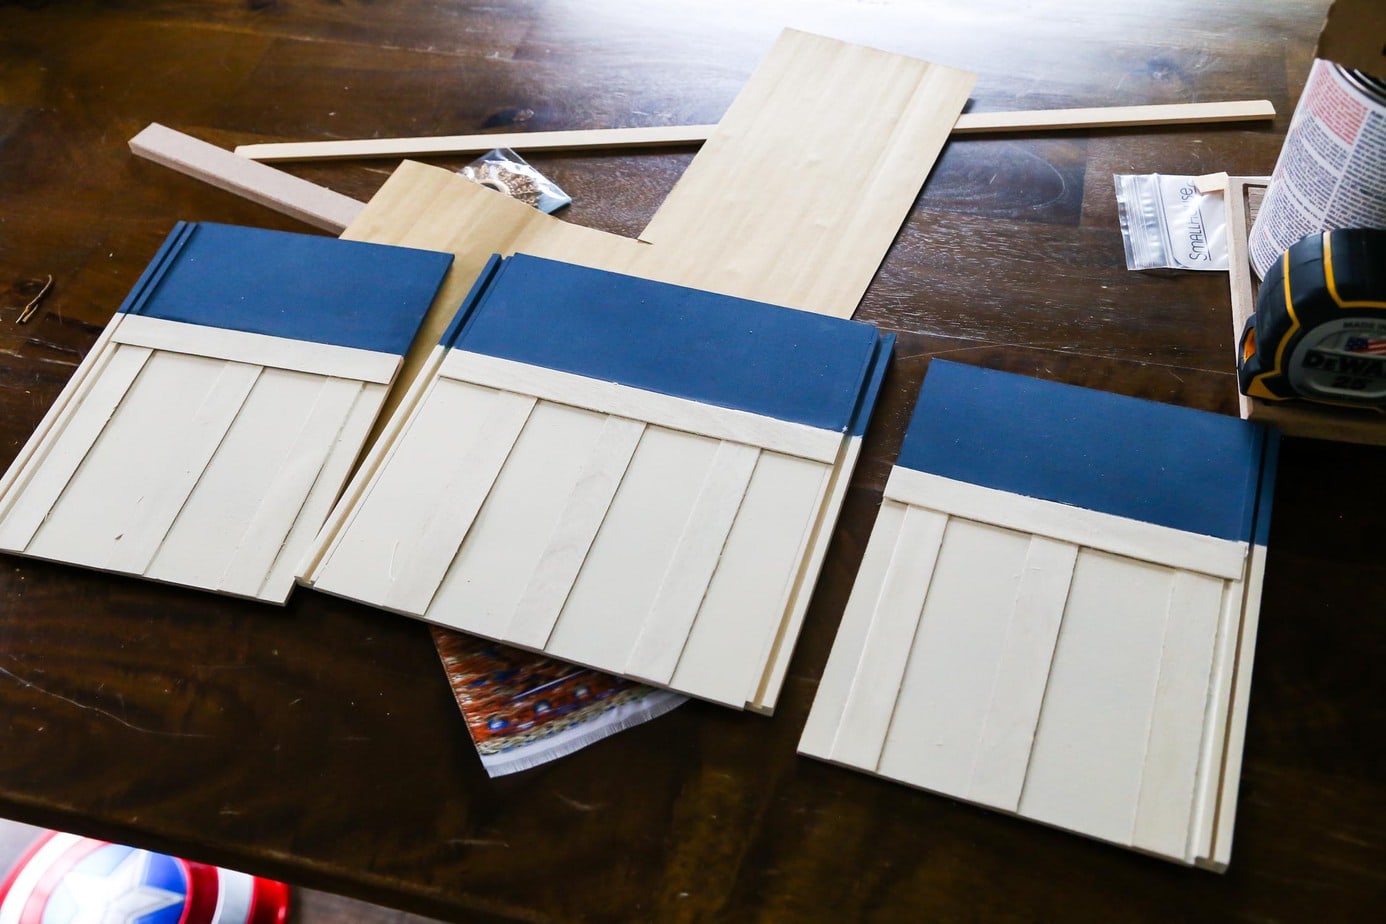
I also went ahead and used the rest of the wood strips to create some siding for the outside of the room. I figured all of the exterior walls are visible, so I should do what I can to make them look a little cuter.
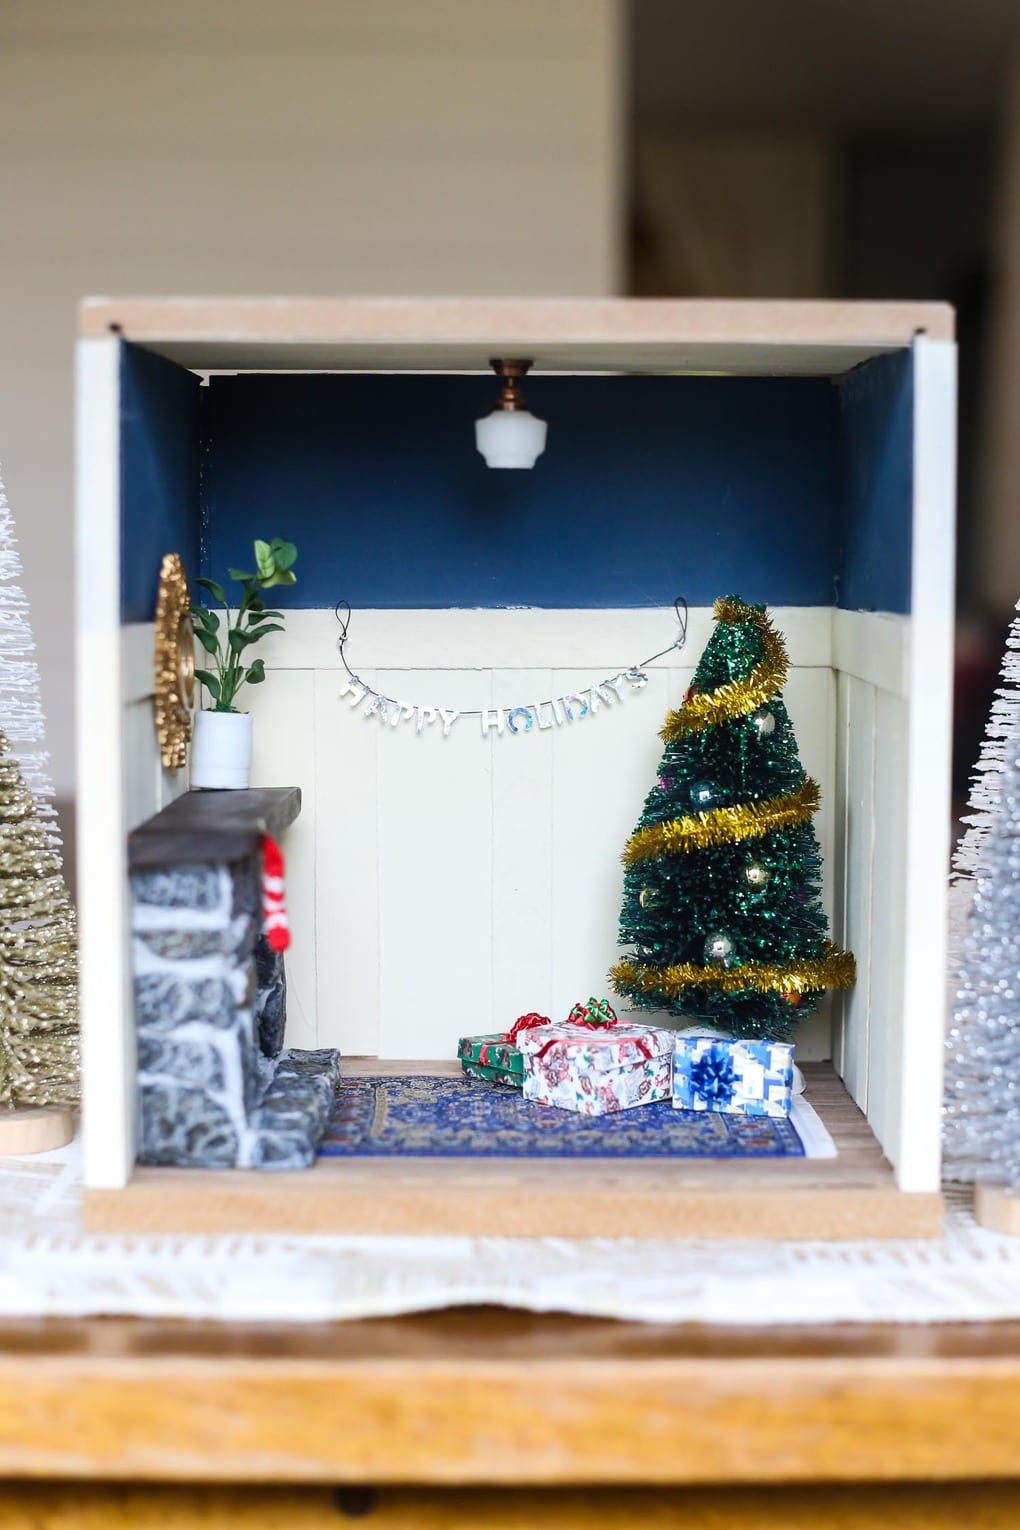
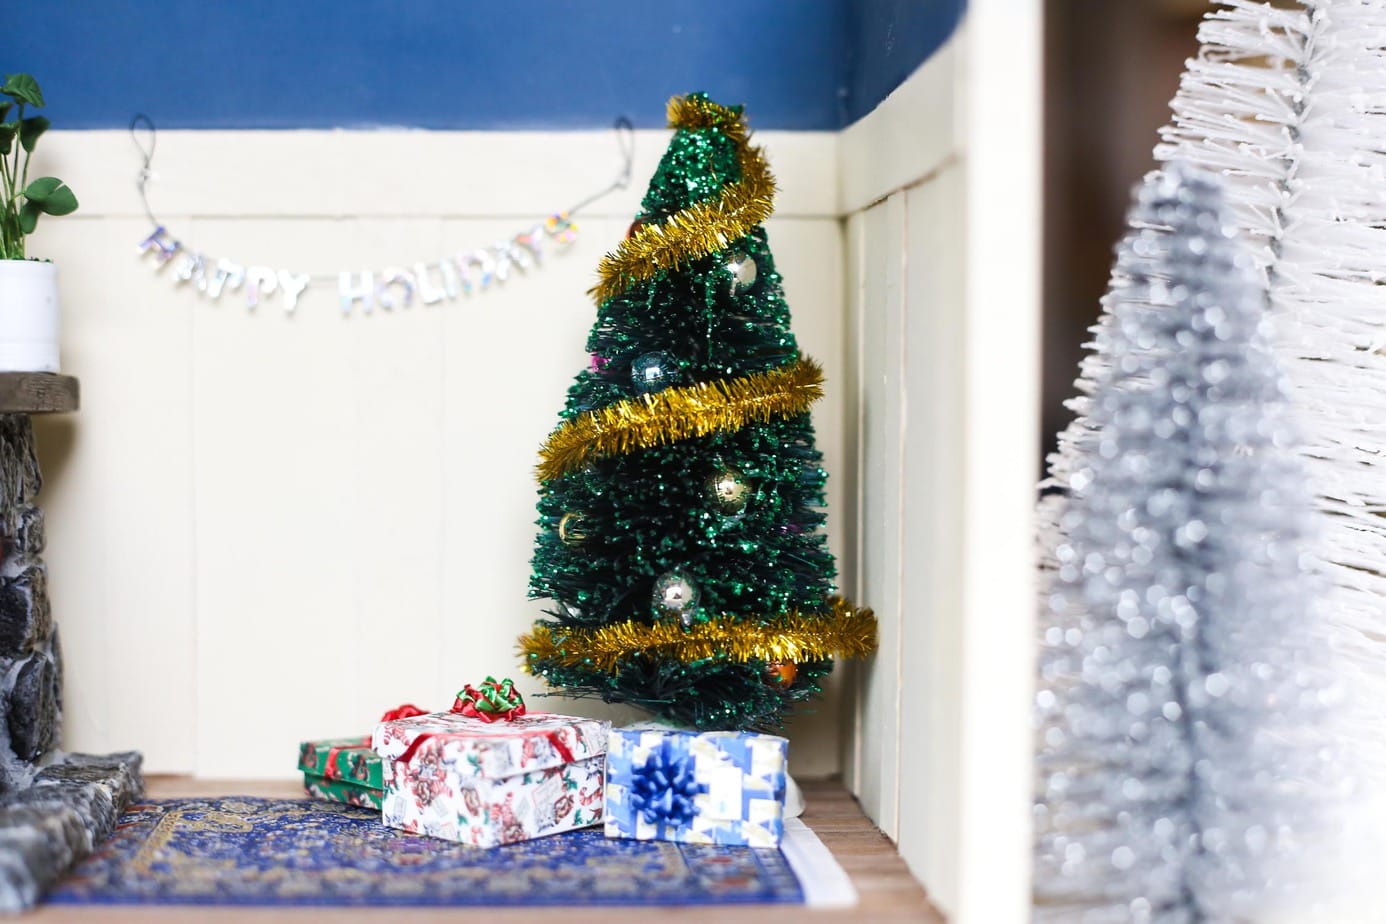
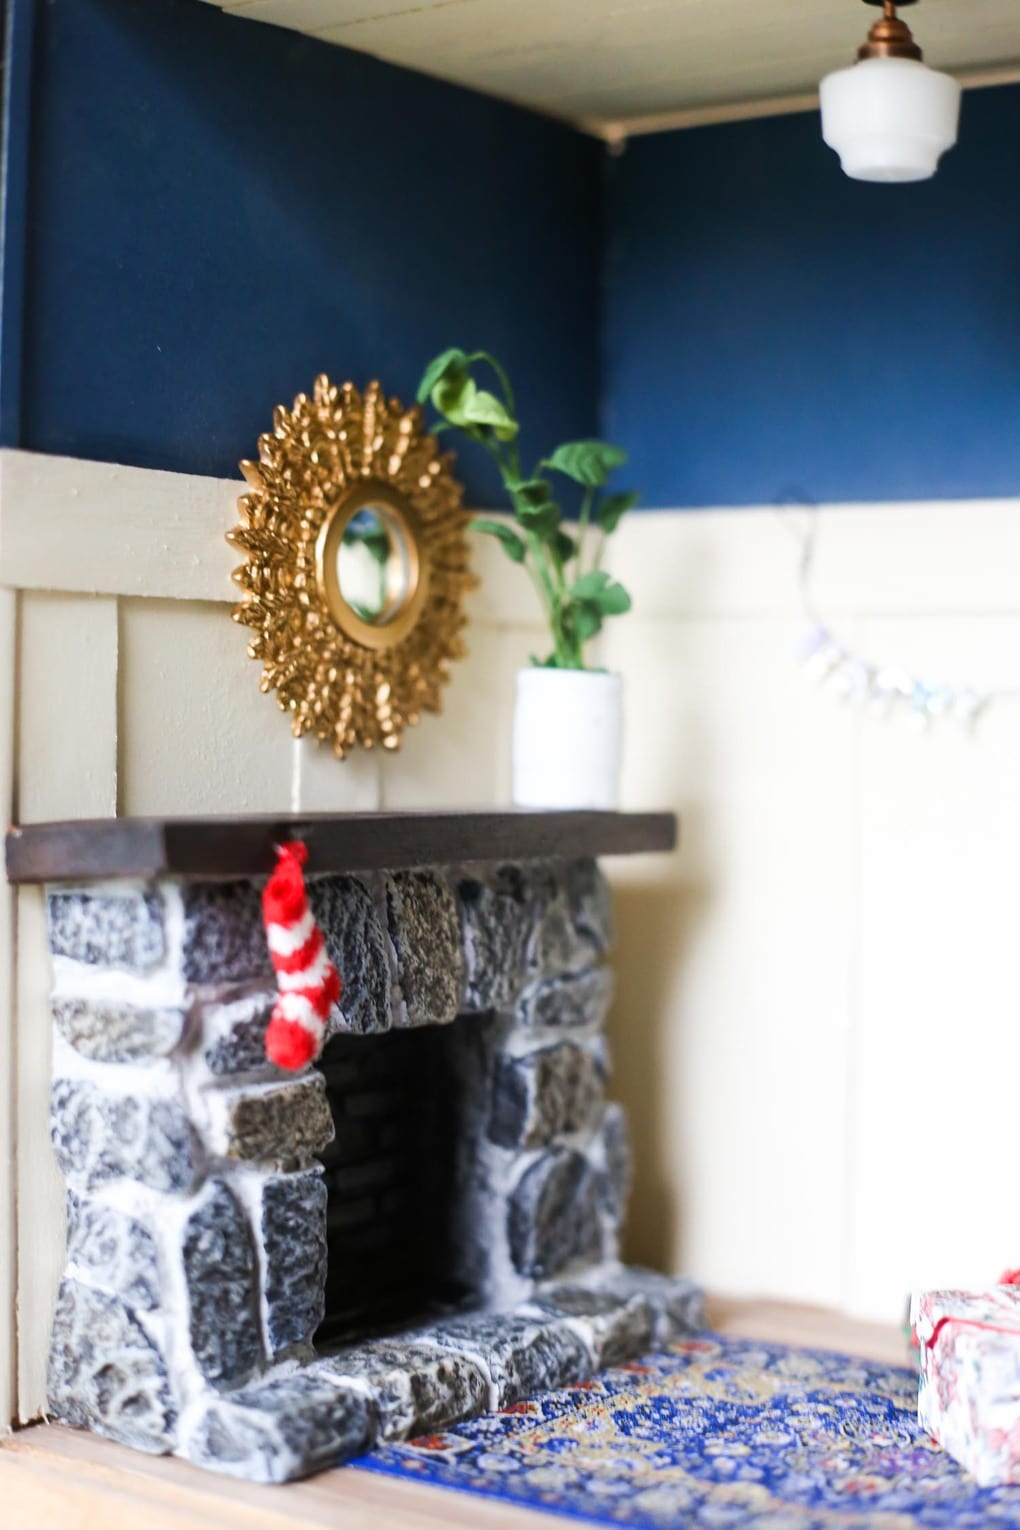
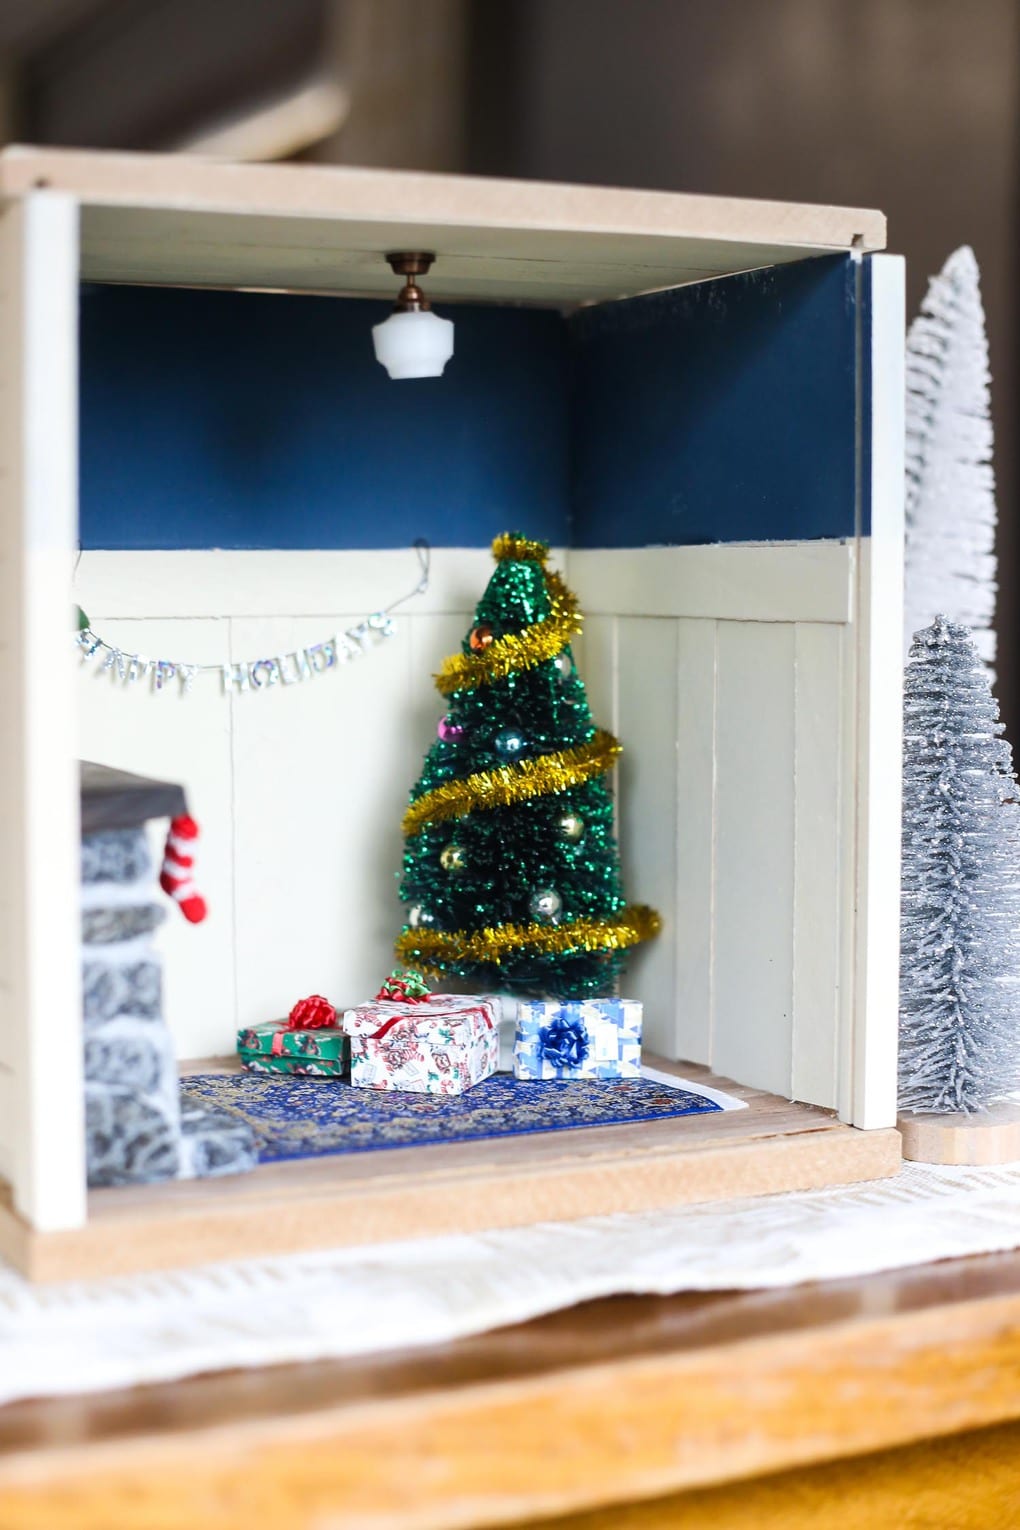
Once all of the walls were decorated, I put the room together and glued all of the walls into place – then it was time to accessorize. I’ll admit, I overestimated how large this room would be when I was ordering things for it, and I quickly realized that there was no way I could fit everything I had purchased in the room. Instead, I decided to keep it really simple with a stone fireplace, a small Christmas tree, and some pretty decor.
I mean, seriously. I want that rug for my living room.
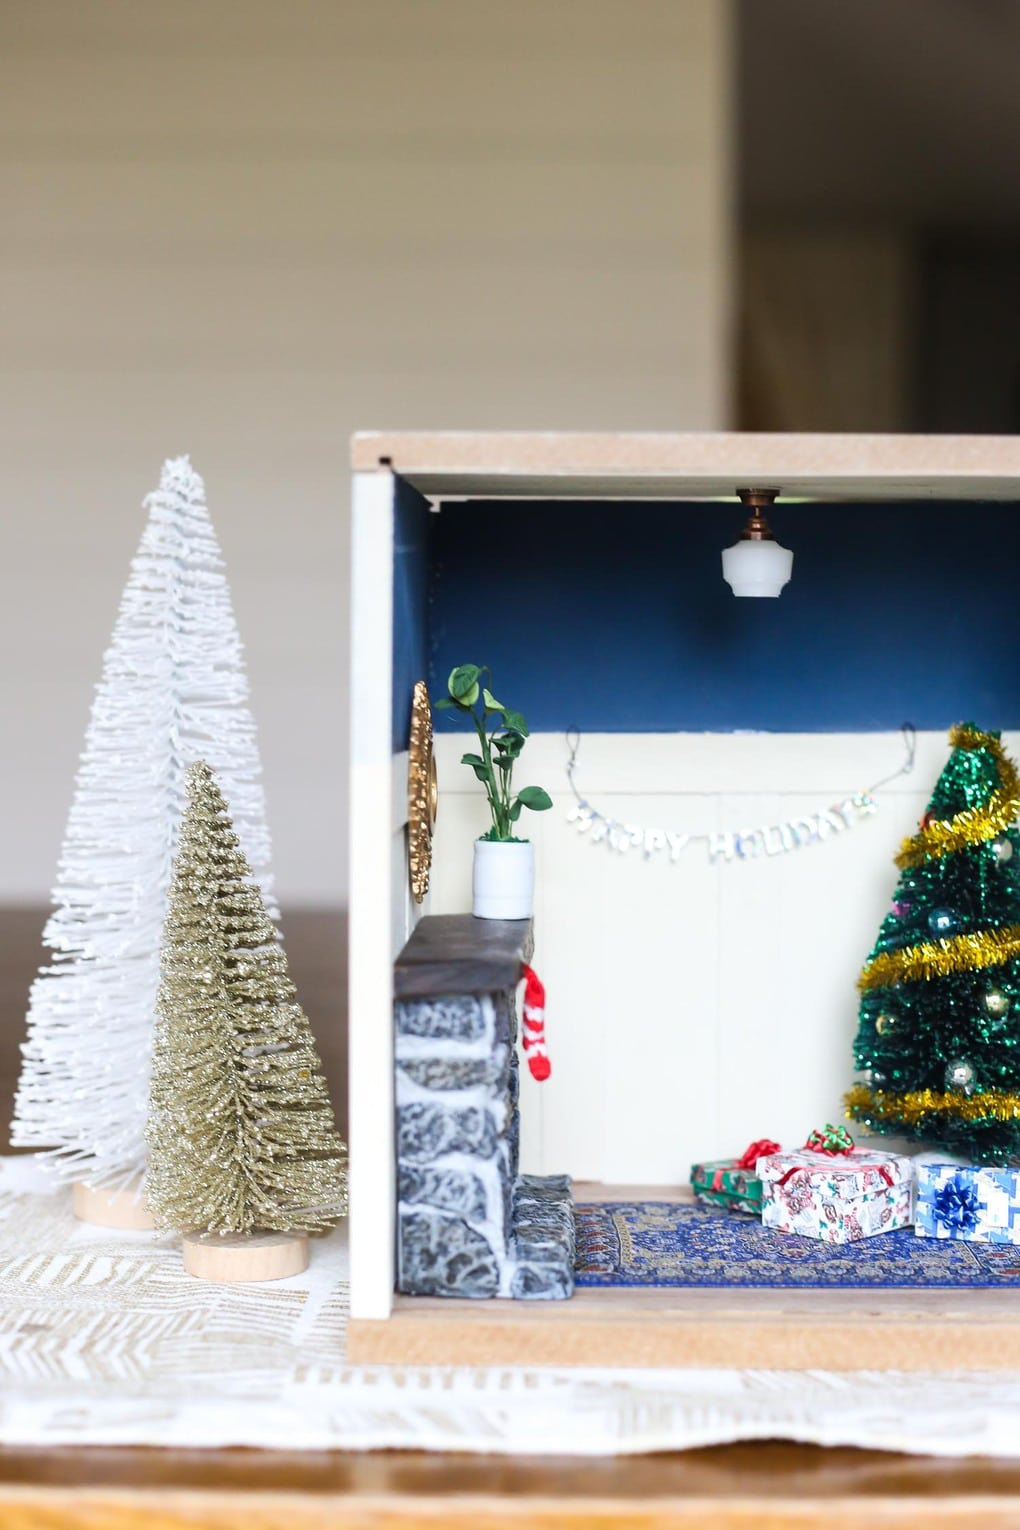
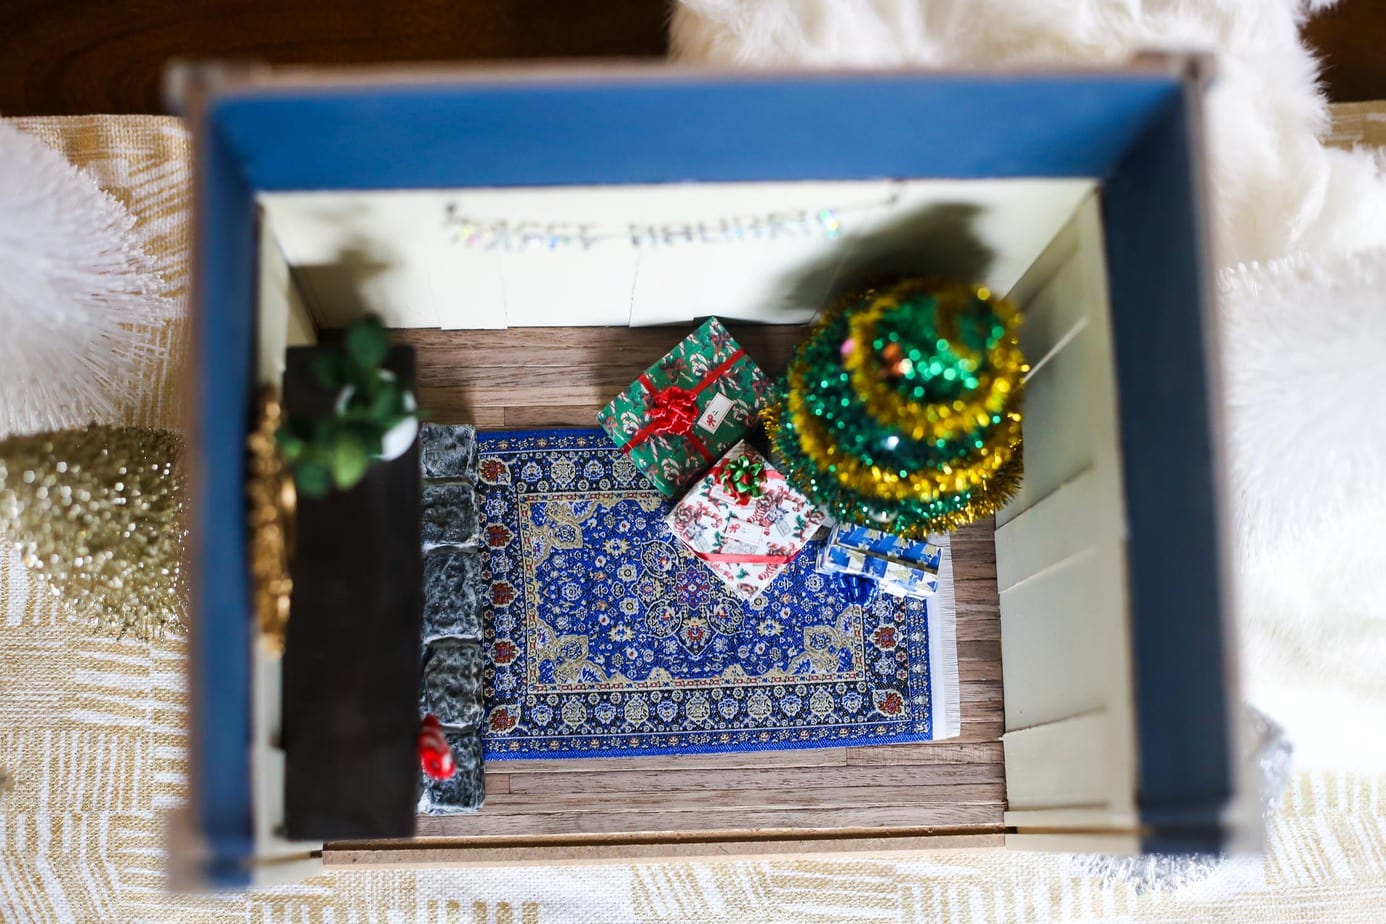
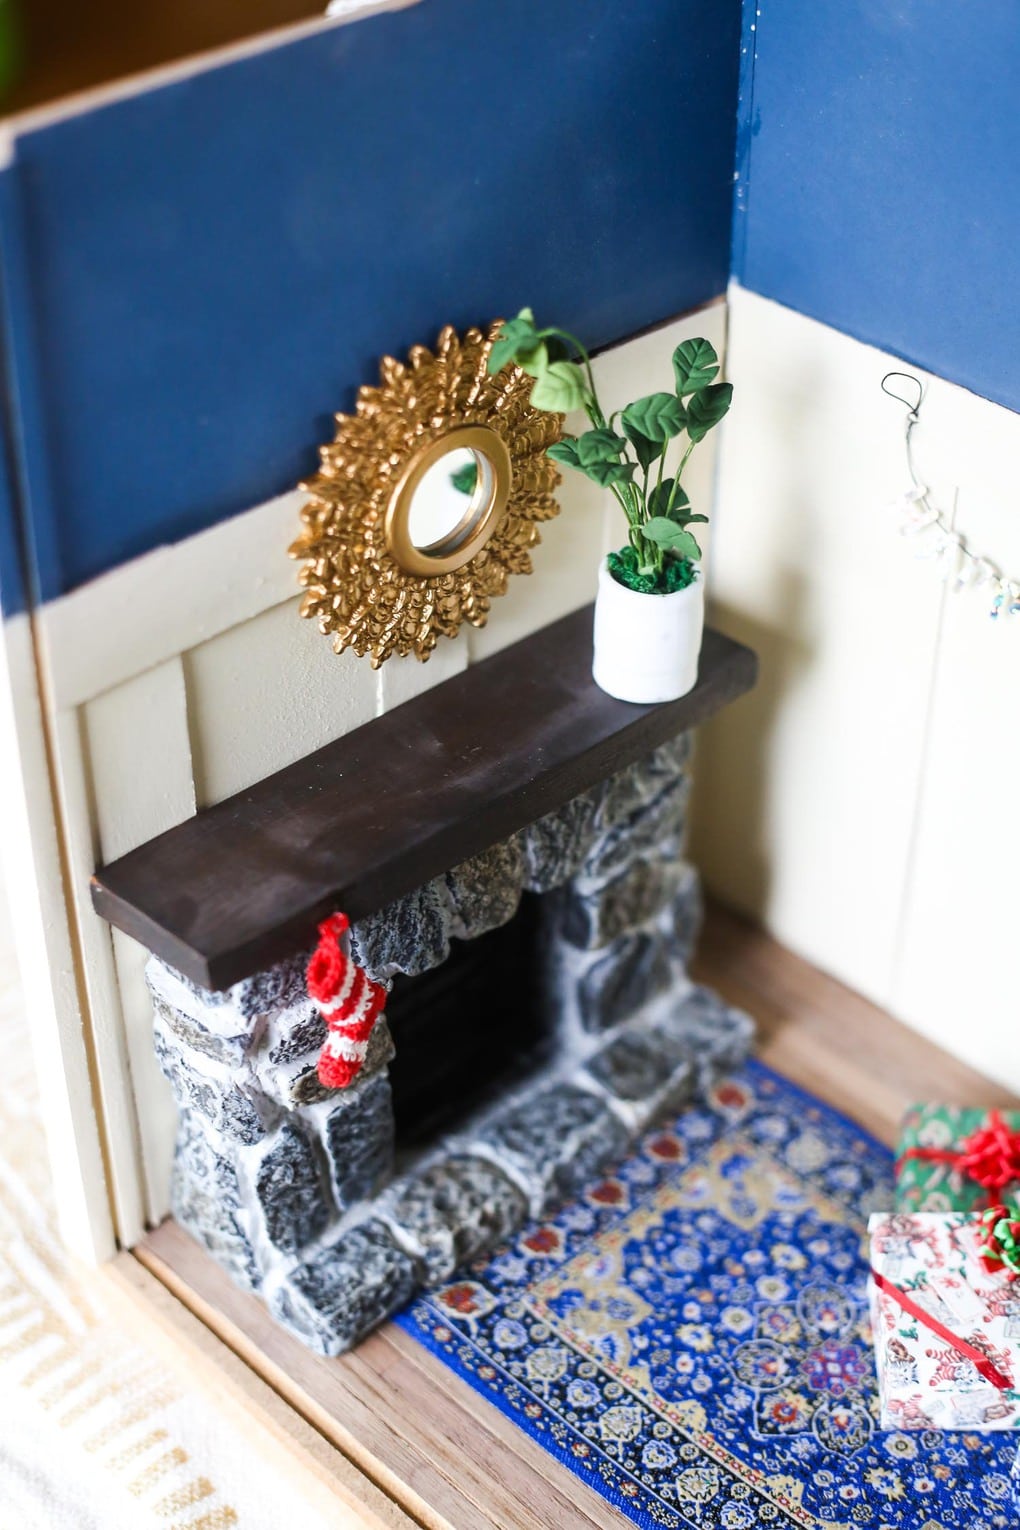
And that mirror? So pretty.
Jackson claimed the room for himself as soon as it was finished. I figure it’s a perfect little piece of Christmas decor for his bedroom, and once Christmas is over we can swap out the tree for a sofa I bought for the room (it didn’t fit with everything else!), and it’ll be a cute little room for him to play with.
This was such a fun little project to put together, and I seriously could see this whole miniatures thing turning into a hobby for me. An expensive and time-consuming hobby, but a really fun hobby nonetheless! I’m really excited that Jack was so pumped about this little room because it gives me hope that if I do get the urge to renovate an entire dollhouse someday, he’ll be totally into it.
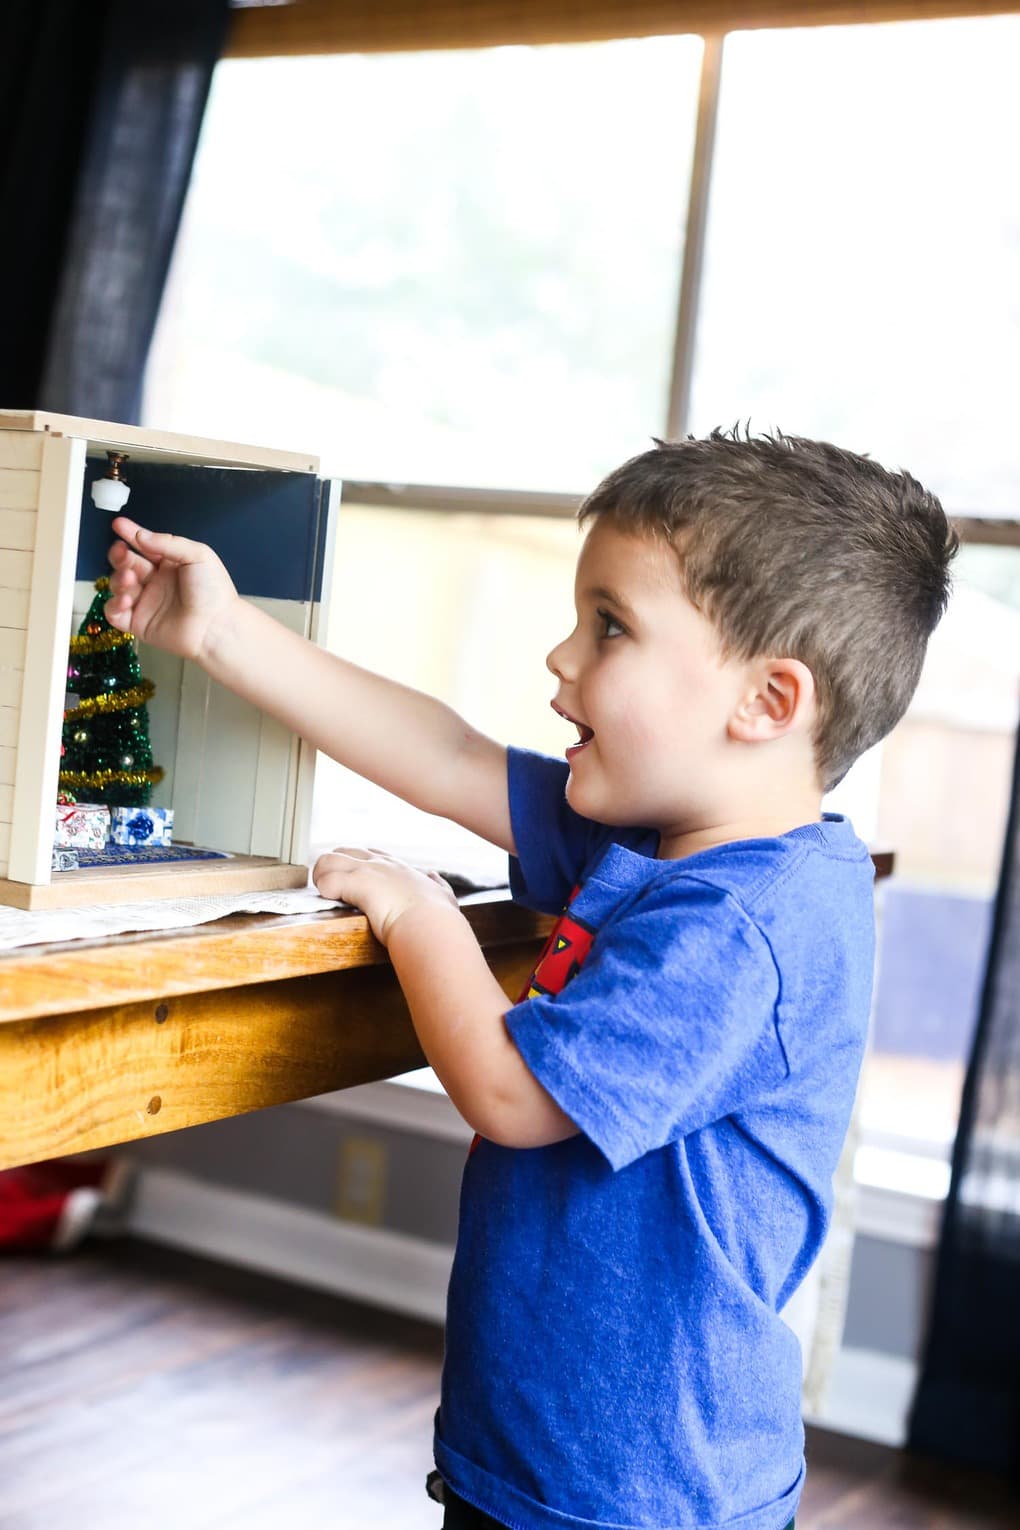
The room comes with a nice little plexiglass wall that slides right into the front of it, which is perfect for keeping anything safe from little hands if you don’t want your kids playing with it (the plexiglass didn’t play well with my camera, so I removed it for the photos). For us, however, this has quickly become Jackson’s favorite thing to play with – his little superhero guys spend a lot of time opening and re-wrapping the Christmas presents, and I’ve been pleased with how careful he’s been with it all so far.
If you’ve ever considered getting into the whole miniatures thing (I totally recommend it!), one of these cute little rooms is a fantastic way to start. It gives you a feel for what it’s like (so delicate!) but won’t cost you an arm and a leg, or take up a ton of your time. Now that I’ve got my feet wet with this, I can definitely see myself doing more in the future – I can’t believe how many options there are out there for adorable miniature rooms, and I had a blast putting this together!
Have you ever renovated a dollhouse or played around with miniatures?
Love this. Have a room like this will make a Christmas e or each season! So many possibilities!
Yes! So much fun!
This little Christmas house is absolutely adorable. When my granson was about Jack’s age he went into my craft room and literally fell in love with Miniatures. He even build a 1/144th scale house that turned out awesome. It’s never too soon to get these kiddo’s into the minis.
Thank you! And that’s SO sweet! 🙂
That little room turned out adorable Amanda! I just started a dollhouse renovation this week of one I found at Goodwill. So far it’s gotten some much-needed repairs, a new exterior paint job, and a new roof made from sandpaper! I’ll be sharing it after the first of the year.
Tania
How fun! Can’t wait to see it!
It can turn into an expensive hobby, but thanks to pinterest and some really great blogger tutorials it doesn’t have to be. You’d be amazed at what you can make from odds and ends around your house. Or pieces of scrap wood.
And Hobby Lobby’s 40% off coupons are great if you’re in the market for one of the dollhouses they carry.
There are so many things you can make yourself – it’s so fun to see how creative people get with it!
What a sweet idea, when I was little I had a dolls house and used to love making them a little paper Christmas tree. This is such an upgrade on that!
This is just so sweet. What a beautiful idea. Pinning.