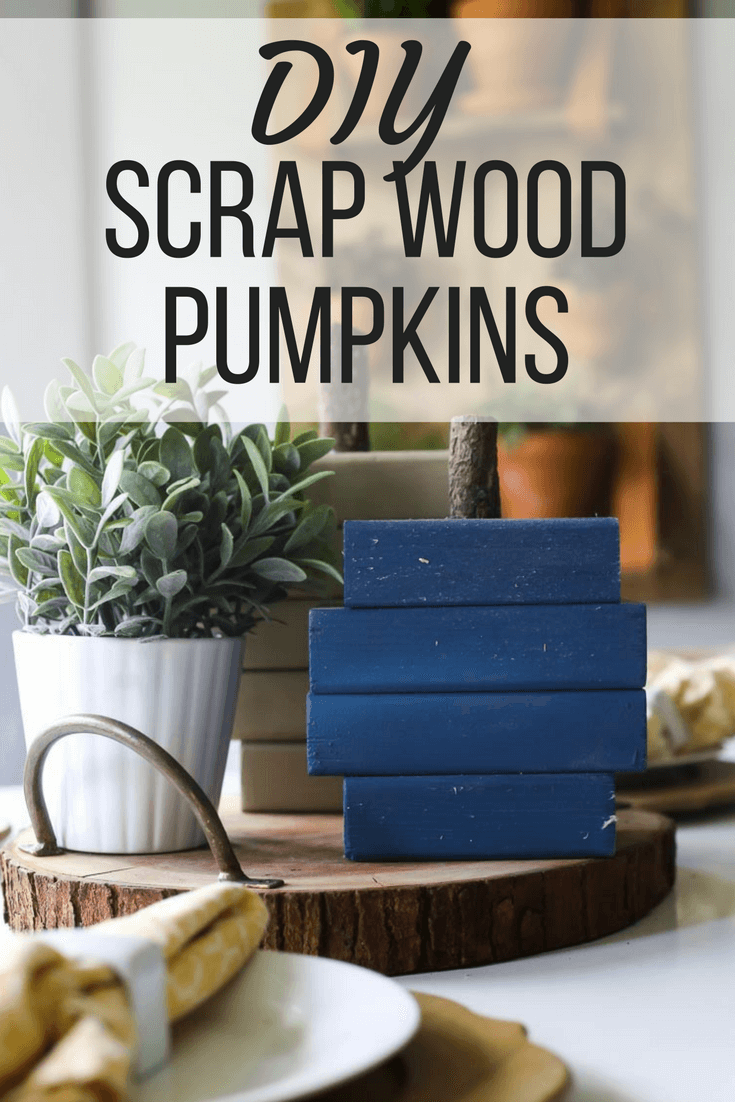
DIY Scrap Wood Pumpkins
Do you ever get the urge to just…make something?
Every once in a while it hits me. I feel like I just have to make something right away before I go crazy. It doesn’t happen terribly often, but when it hits, it hits hard.
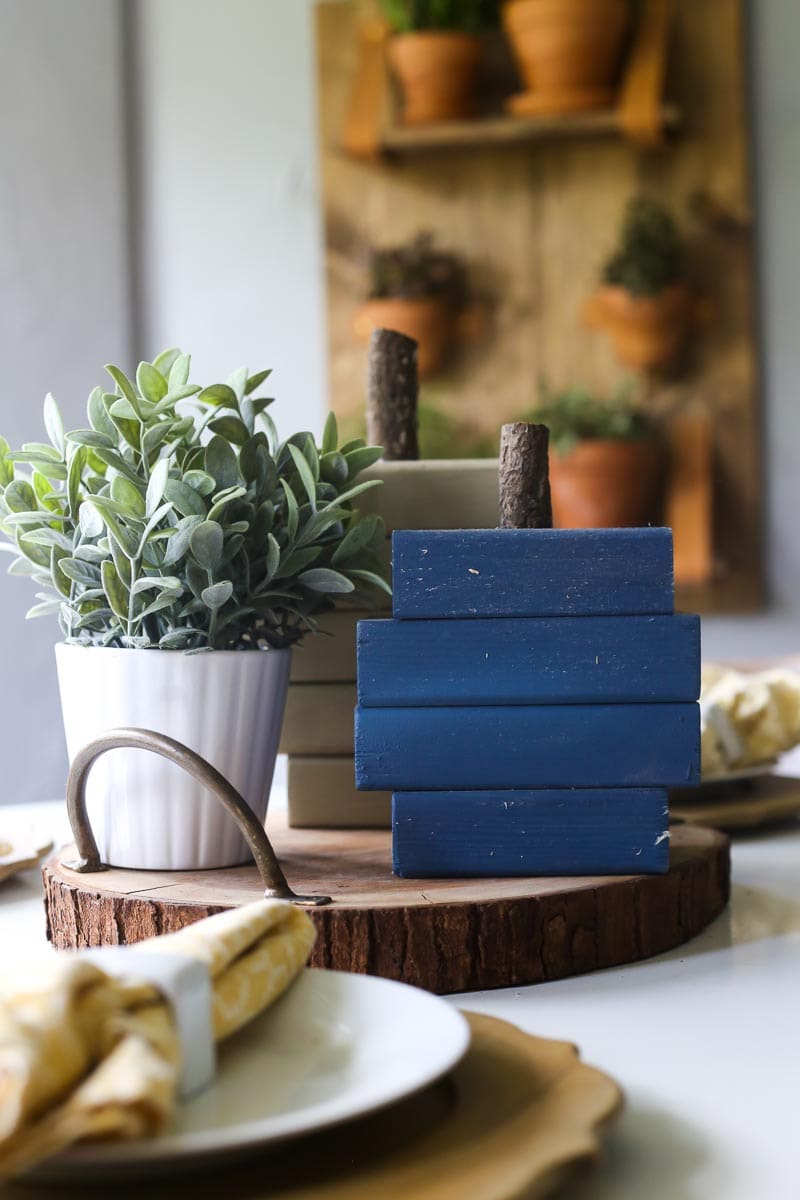
Recently, I wanted something I wouldn’t need to spend any money on. I wanted it to be fast and simple. So, I decided to make some cute scrap wood pumpkins. And, y’all, I’ve gotta say they definitely filled a bit of the fall decor void in my home.
This post contains affiliate links. Click here to read my full disclosure policy.
These things are so simple to put together! I’d say they took maybe 10 minutes each. And, I think they’re pretty darn adorable.
They’re a little bit farmhouse, a little bit modern, and a lot of fall. Just the way I like it.
Here’s how I made ’em.
Easy DIY Scrap Wood Pumpkins
Materials:
Scrap 2×4 wood
Drill + screws
Spray paint
A few thick sticks from your backyard
Hot glue gun (this one is my favorite)
Step One: Cut Down Scrap Wood
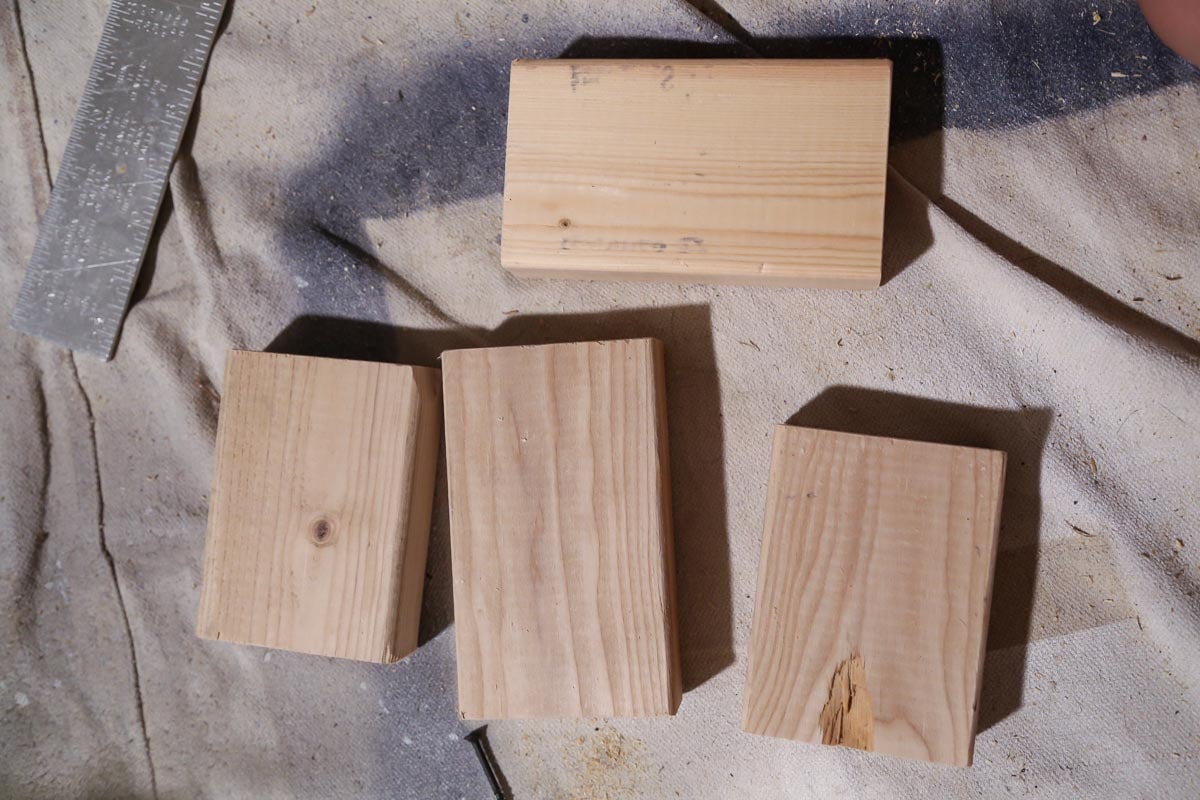
I started by cutting my scrap wood down into a few different sizes per pumpkin. I didn’t measure at all! I just made two shorter pieces that were approximately the same size and two pieces that were about an inch or two larger than the first two. It’s not an exact science at all. I just played around with a few different lengths until I landed on something I liked.
Step Two: Attach Pieces Together
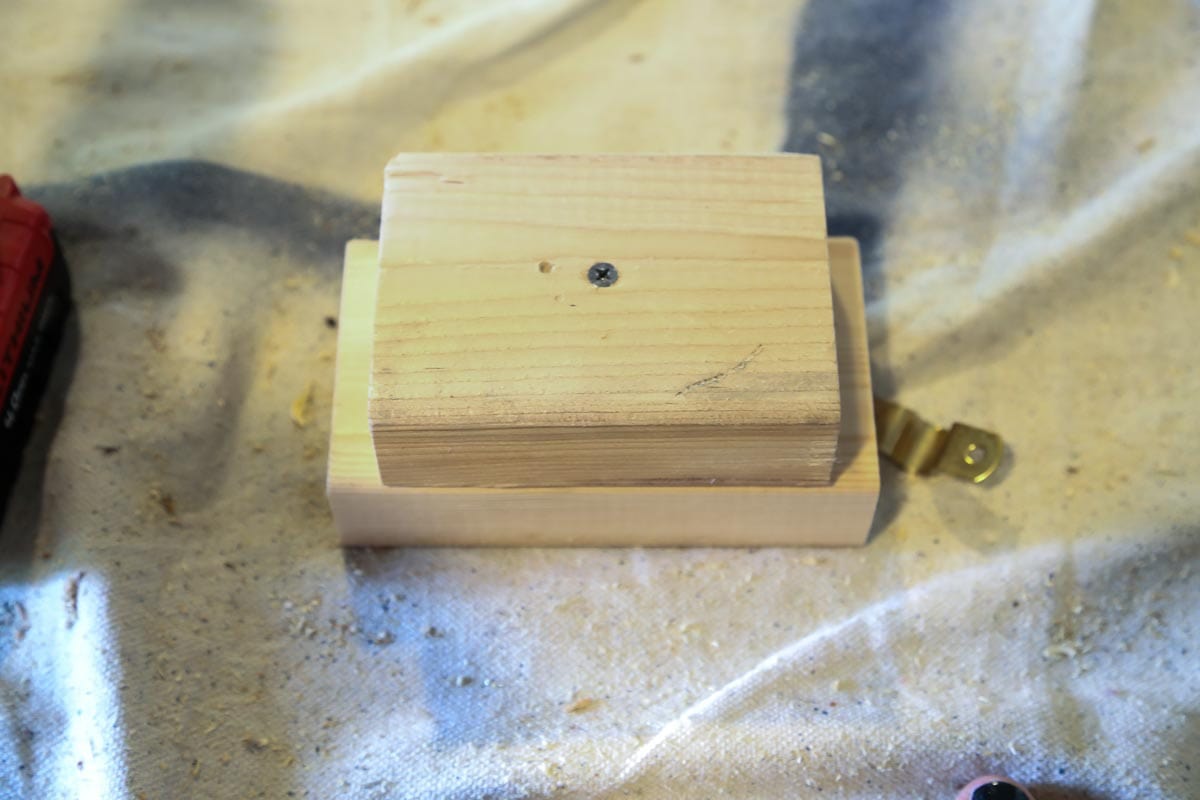
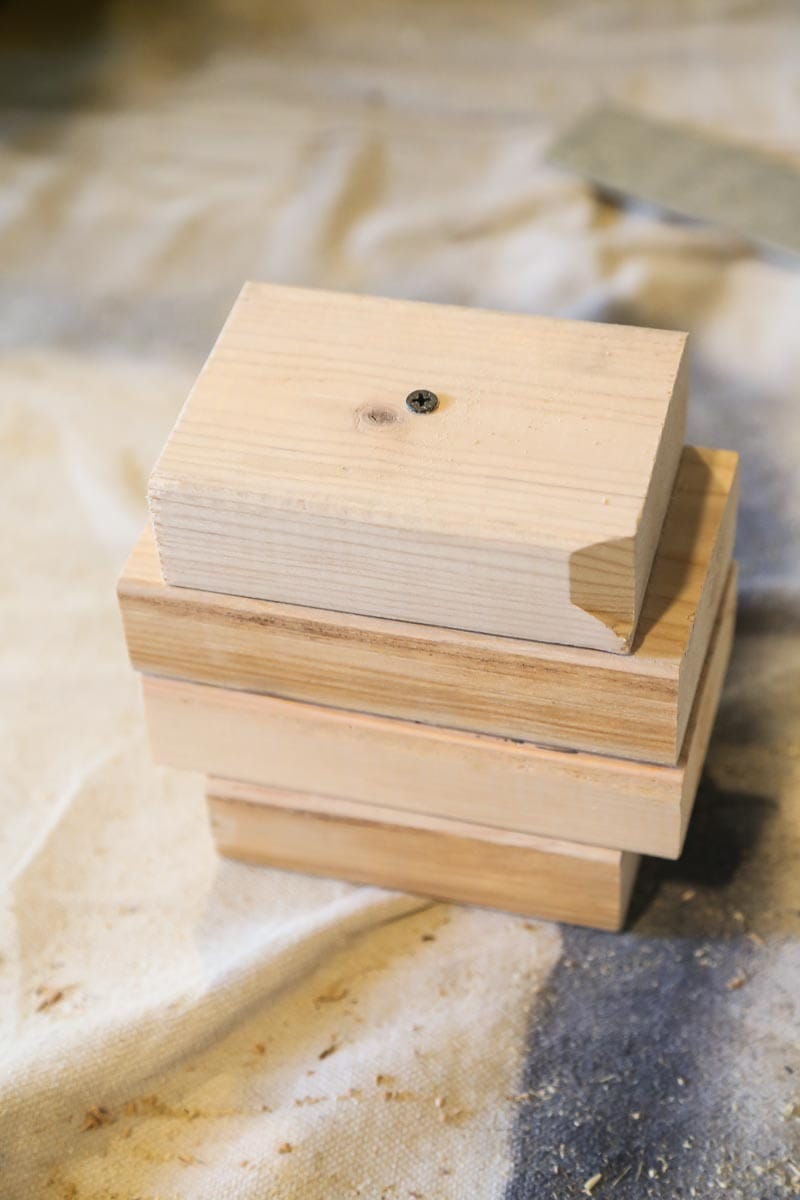
Then, I took my drill and attached the pieces to each other. I started by drilling one screw from the bottom piece into the piece on top of it. Then, I did two screws in each of the next two boards (making sure they don’t overlap at all). And I did one screw in the final shorter board. Again – not an exact science, my main goal was just to get them attached to one another.
Step Three: Paint!
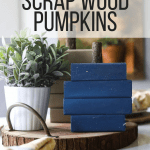
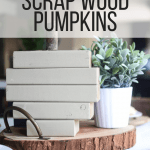
Once I had something vaguely resembling a pumpkin, I grabbed my spray paint and painted them in a few good fall colors. I also grabbed a few sticks from the yard and used my miter saw to cut them down into a good size for the stem. I just hot glued them into place, and then I was done!
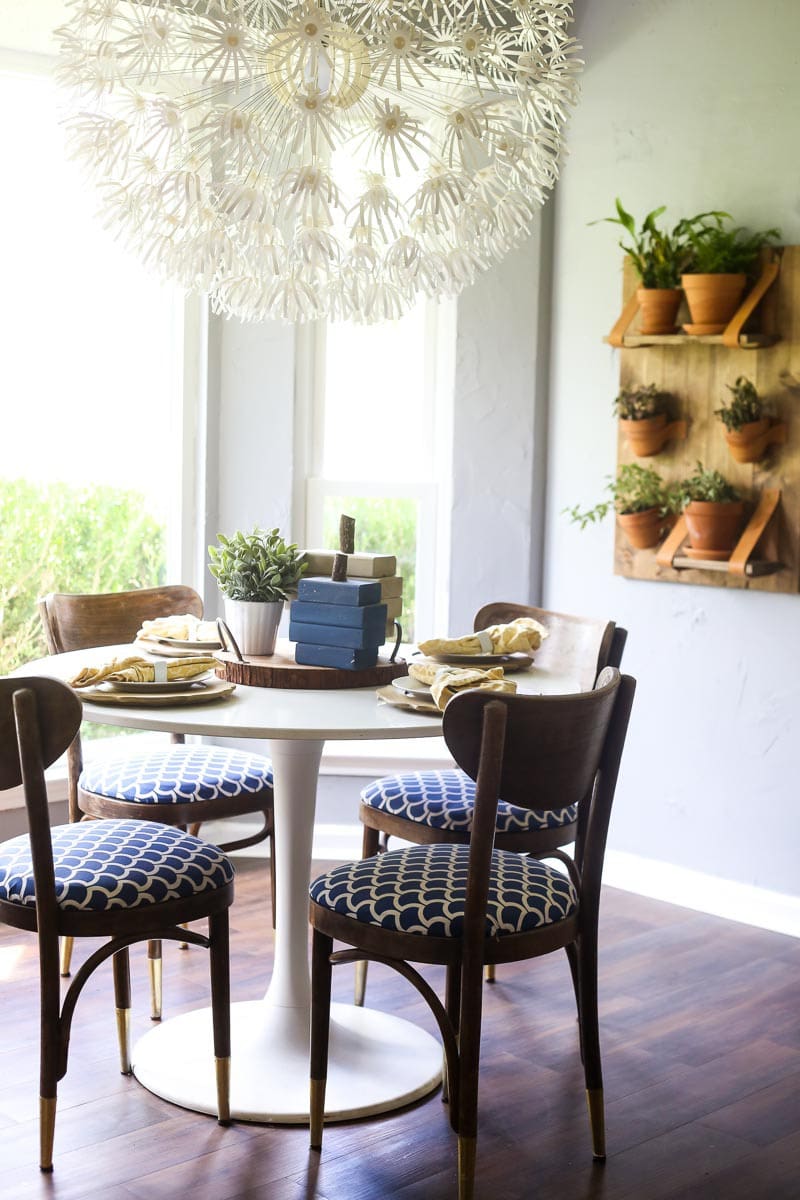
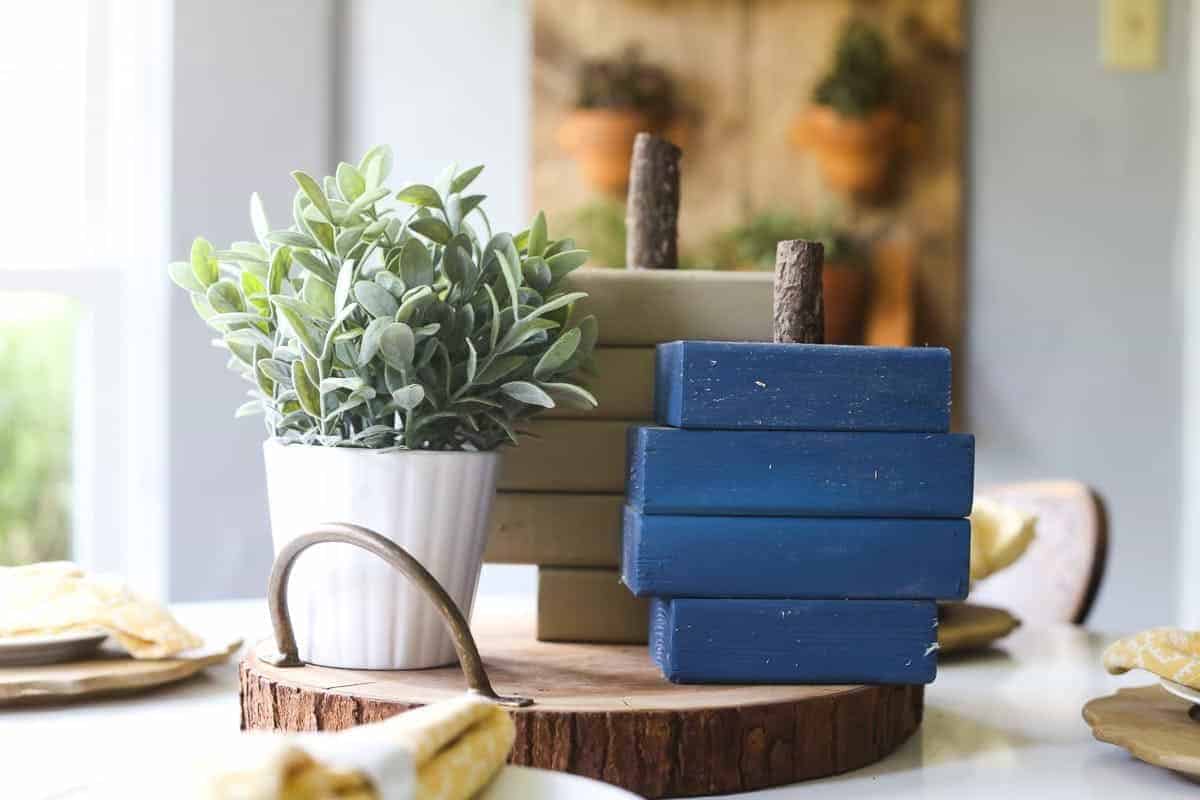
And, um, that’s it.
Seriously. This is one of those stupidly easy projects that is really relaxing to put together, the perfect way to scratch the crafting itch, and looks absolutely adorable in your home.
I can picture some bigger versions of these (made with more than 4 pieces of wood, obviously) outside on a front porch – wouldn’t that be adorable?! I may have to make a collection next fall for the entry at our new house. And a group of them on a mantel would be fun too! Of course, you can also always just have a lone pumpkin next to your letterboard and it’ll look adorable all on its own.
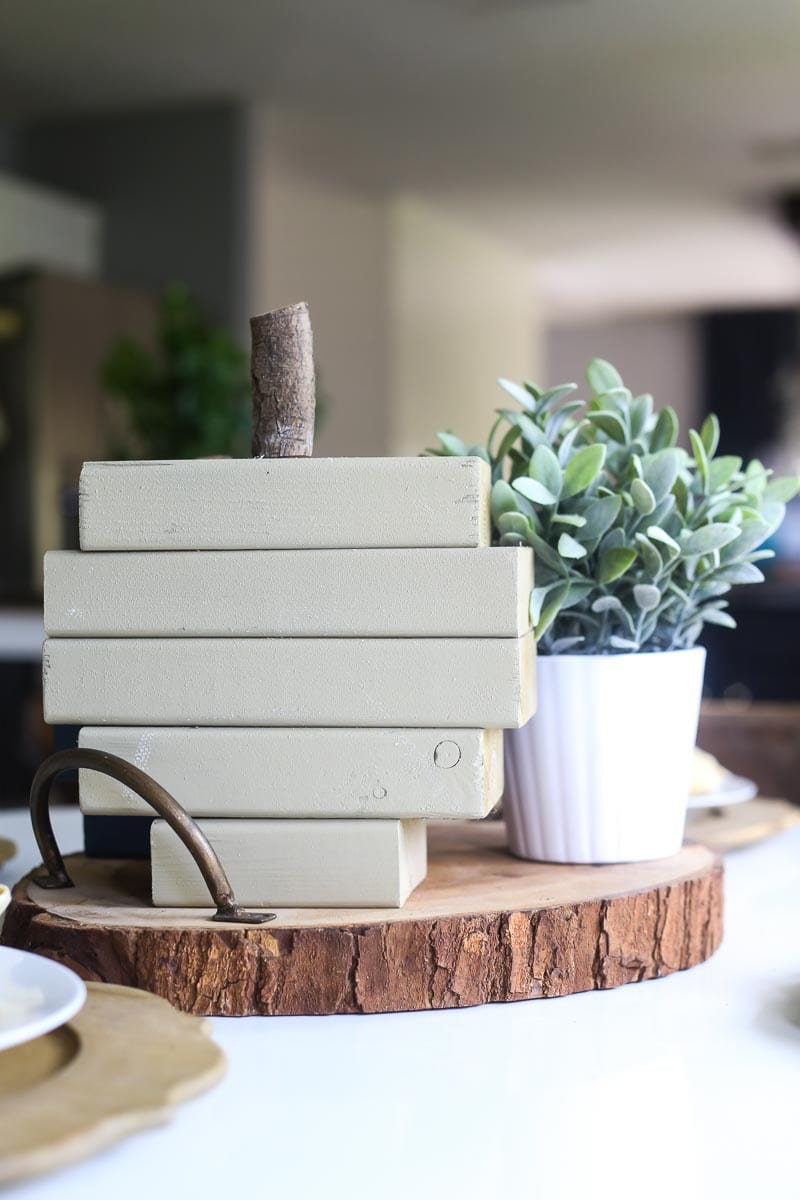
It’s been a bit of a disappointment this year to have to cut back on my fall decor thanks to moving, but these definitely help! Fall is by far my favorite season, and I really enjoy getting the house all gussied up for this time of year. But, alas, moving is a little more important and prospective buyers don’t necessarily want to see a fall explosion when they come in my house.
But, you know me…I’m already brainstorming what next fall will look like in the new house!

I absolutely love these! I love that they aren’t even in the traditional fall colors, just pretty and rustic. Pinning! #MM
Cute! I am totally with you on occasionally getting an idea and feeling like I have to make it exactly that instant!