DIY Stocking Gift Card Holder
This post is sponsored by The Home Depot, but all opinions (and awesome DIY projects) are all me. Thanks so much for supporting the brands that support Love & Renovations!
I love (LOVE) shopping for Christmas gifts. It’s so much fun to pick out things I know my family would enjoy, and I always put a pretty significant amount of time each year into planning and thinking about gift ideas. I’ve shared a few different gift guides already this season (one for him, one for her, and one for stockings) but today I’m back with an idea for that one person that’s impossible to shop for.
We all know that person, right?
Gift cards aren’t always my favorite gift to give – they can feel impersonal sometimes – but if they’re packaged right they’re the absolute perfect gift for that person on your list that has everything and seems just about impossible to please. I love giving gift cards for Secret Santa exchanges, and they’re also really wonderful to give as a last-minute gift for that person you forgot you needed to buy something for.
Plus, let’s be real – I would do a really enthusiastic happy dance if anyone got me a Home Depot gift card for Christmas – wouldn’t you?!
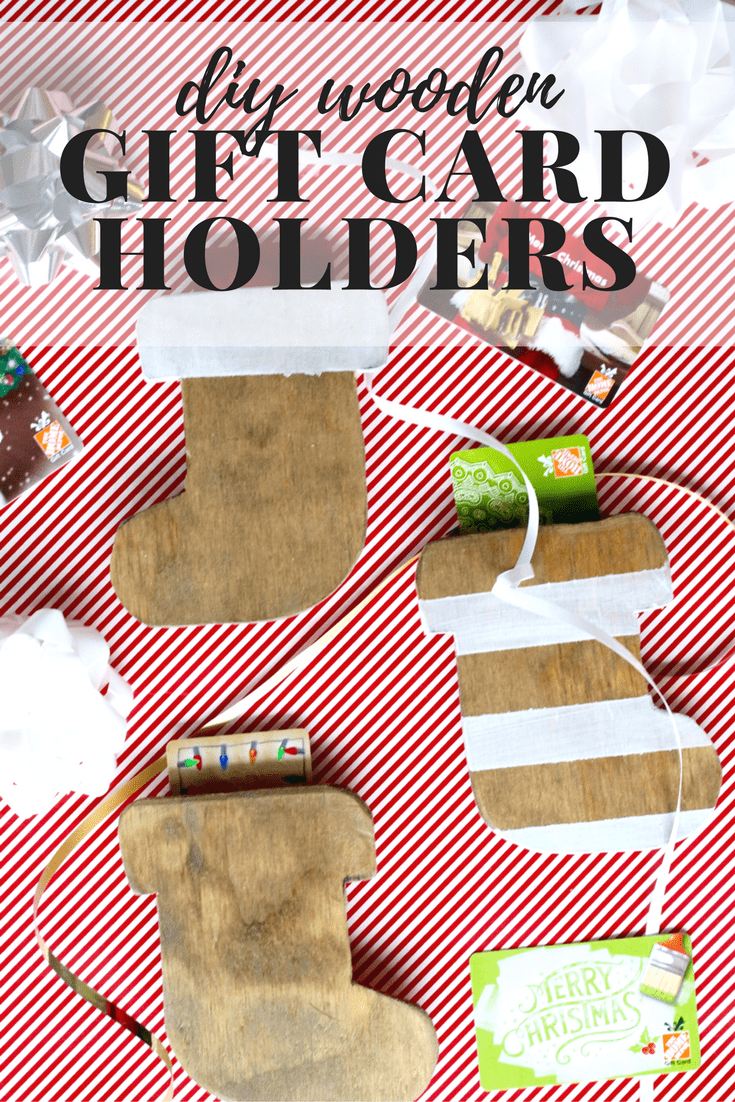
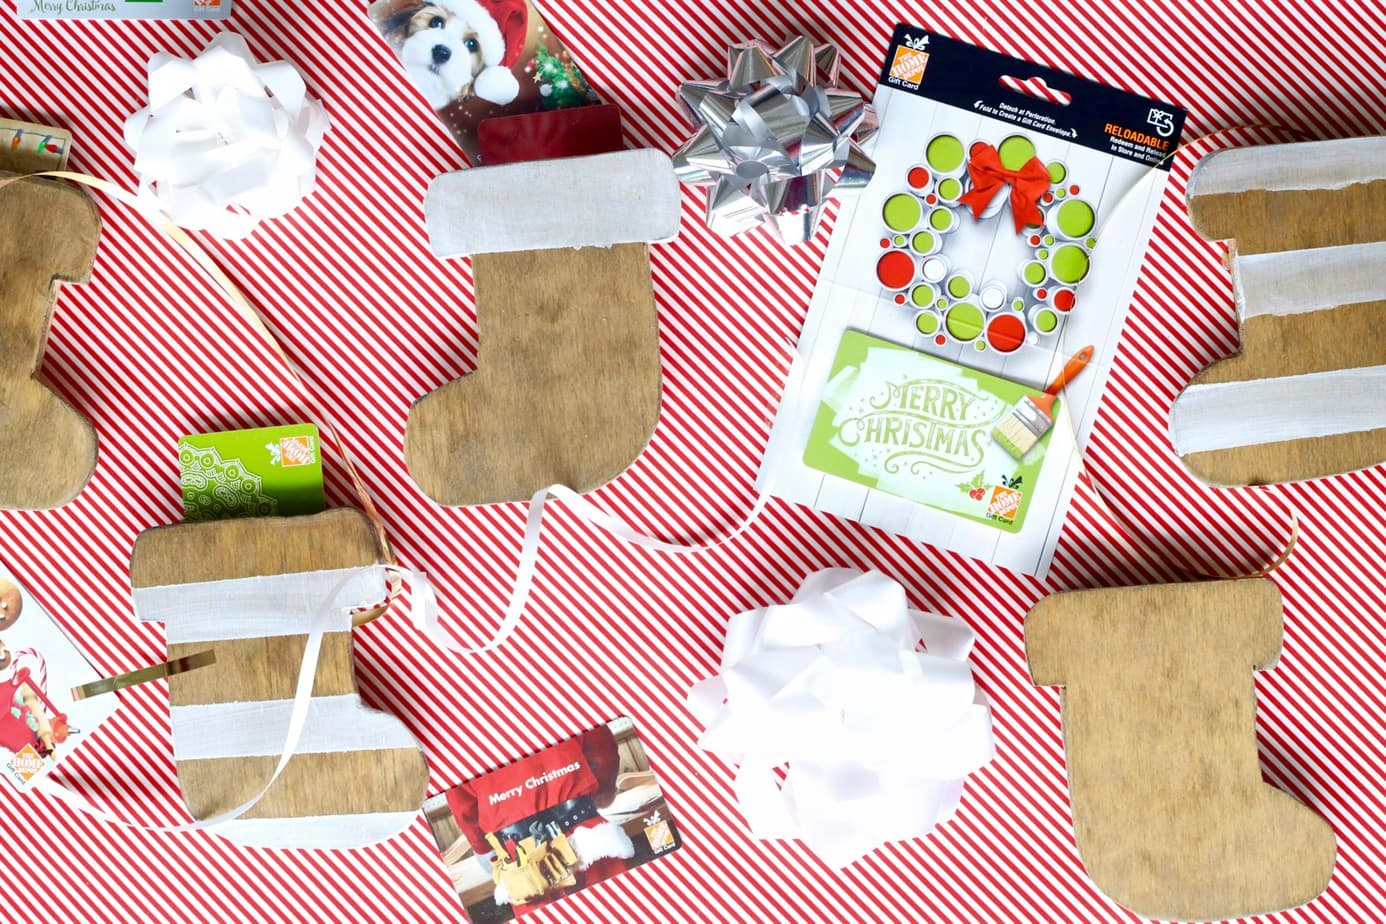
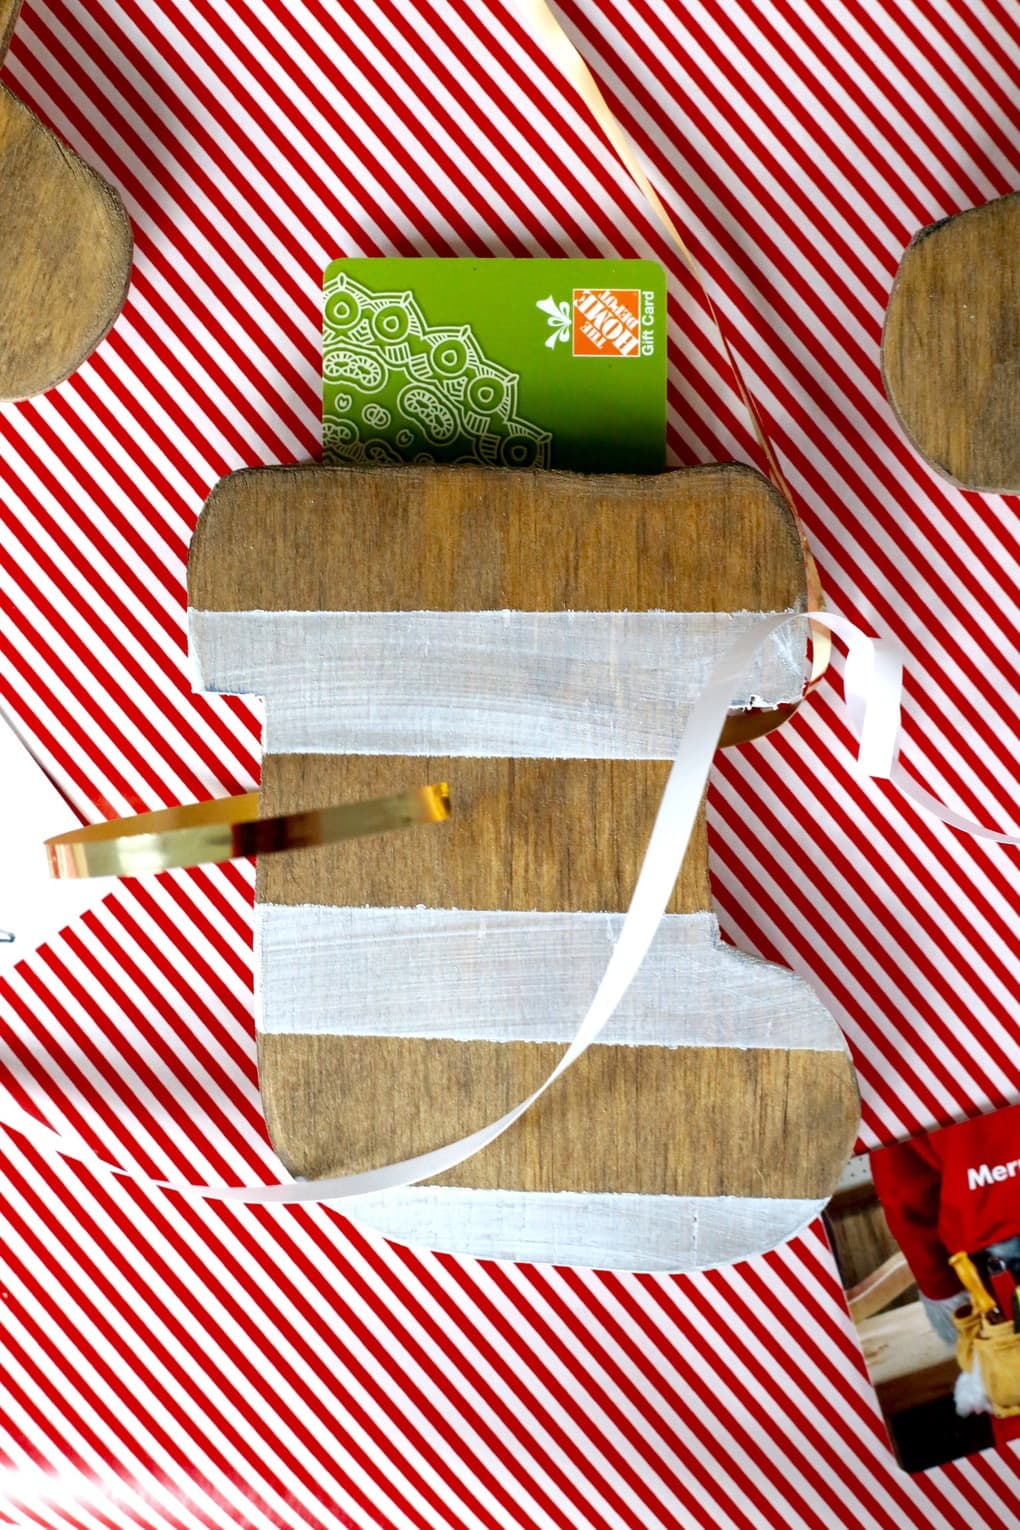
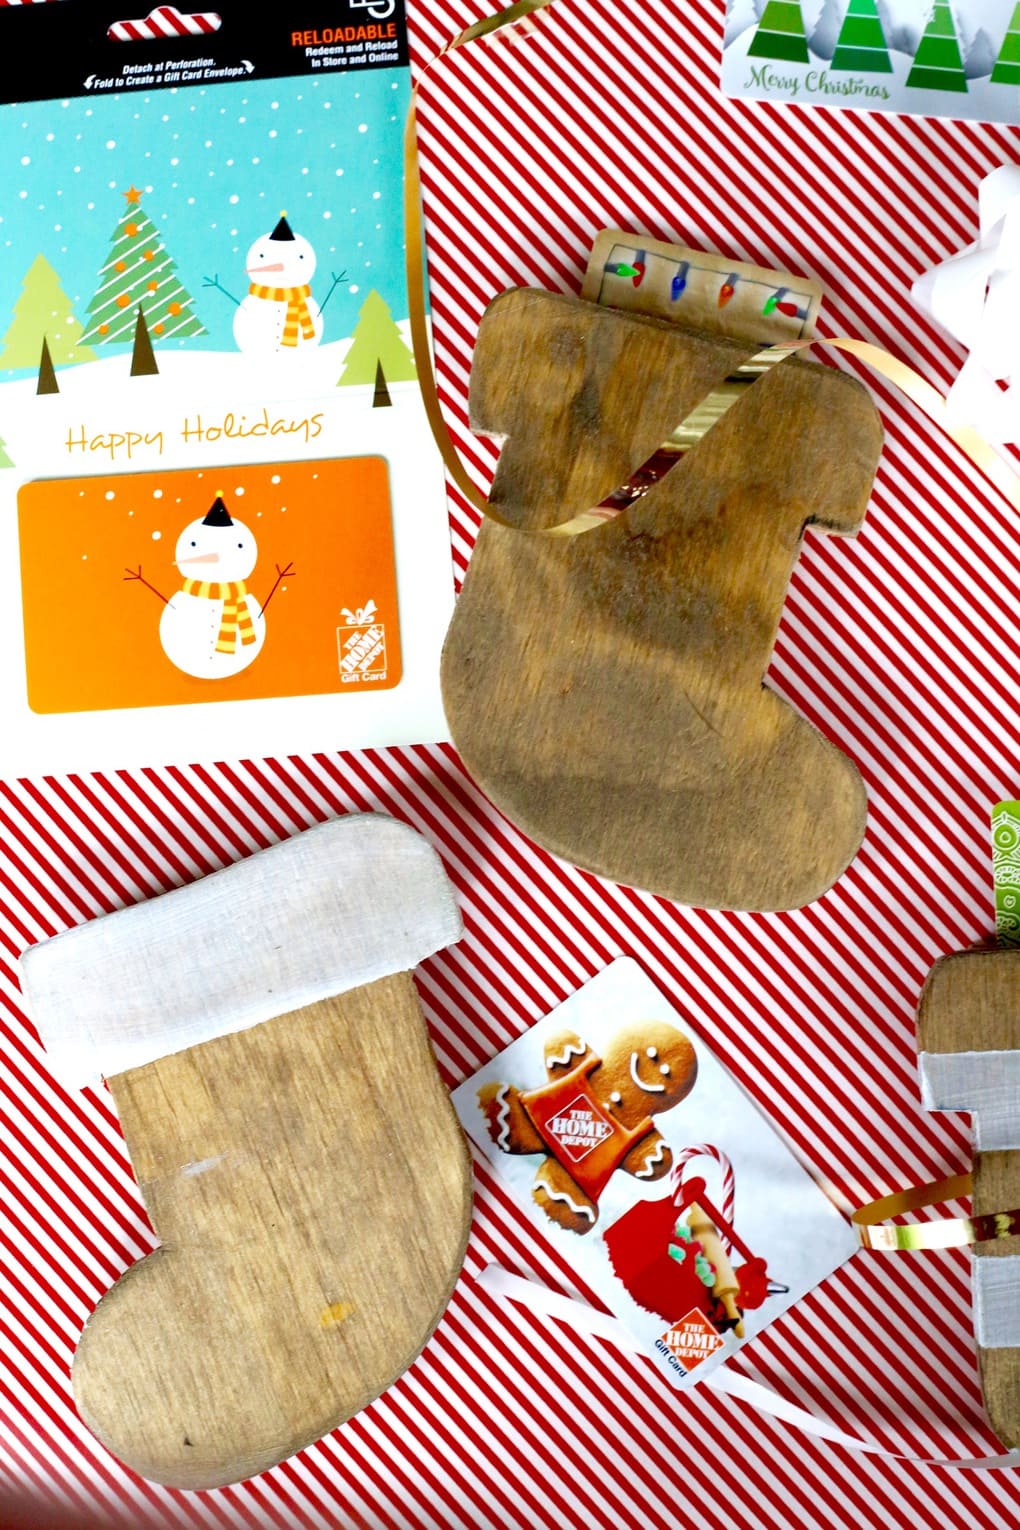
Home Depot challenged me and 14 other bloggers to come up with a creative way to wrap up their gift cards for the holidays, so Corey and I whipped up this super adorable little stocking-shaped gift card holder. It was so easy to make and it’s so dang cute – plus, it makes the whole giving a gift card thing so much more fun! It also helps that the designs Home Depot has this year are adorable (that’s always incredibly important to me). Be sure to check out all of the other bloggers’ links at the bottom of this post!
And now I’m a bit disappointed that I hadn’t planned on getting everyone on my list a gift card. Because, I mean – how fun are these?!
I promise they’re incredibly easy to make, even if you’re not familiar with woodworking. Ready to see how it’s done?
DIY Wood Gift Card Holders
Materials:
- 1 small sheet of plywood (they’re called project boards, and they’re usually in the same aisle as the big sheets)
- A piece of paper + scissors
- Wood glue
- A jigsaw (or similar saw)
- Stain in your favorite color
- Paint + paintbrush (optional!)
How it’s done:
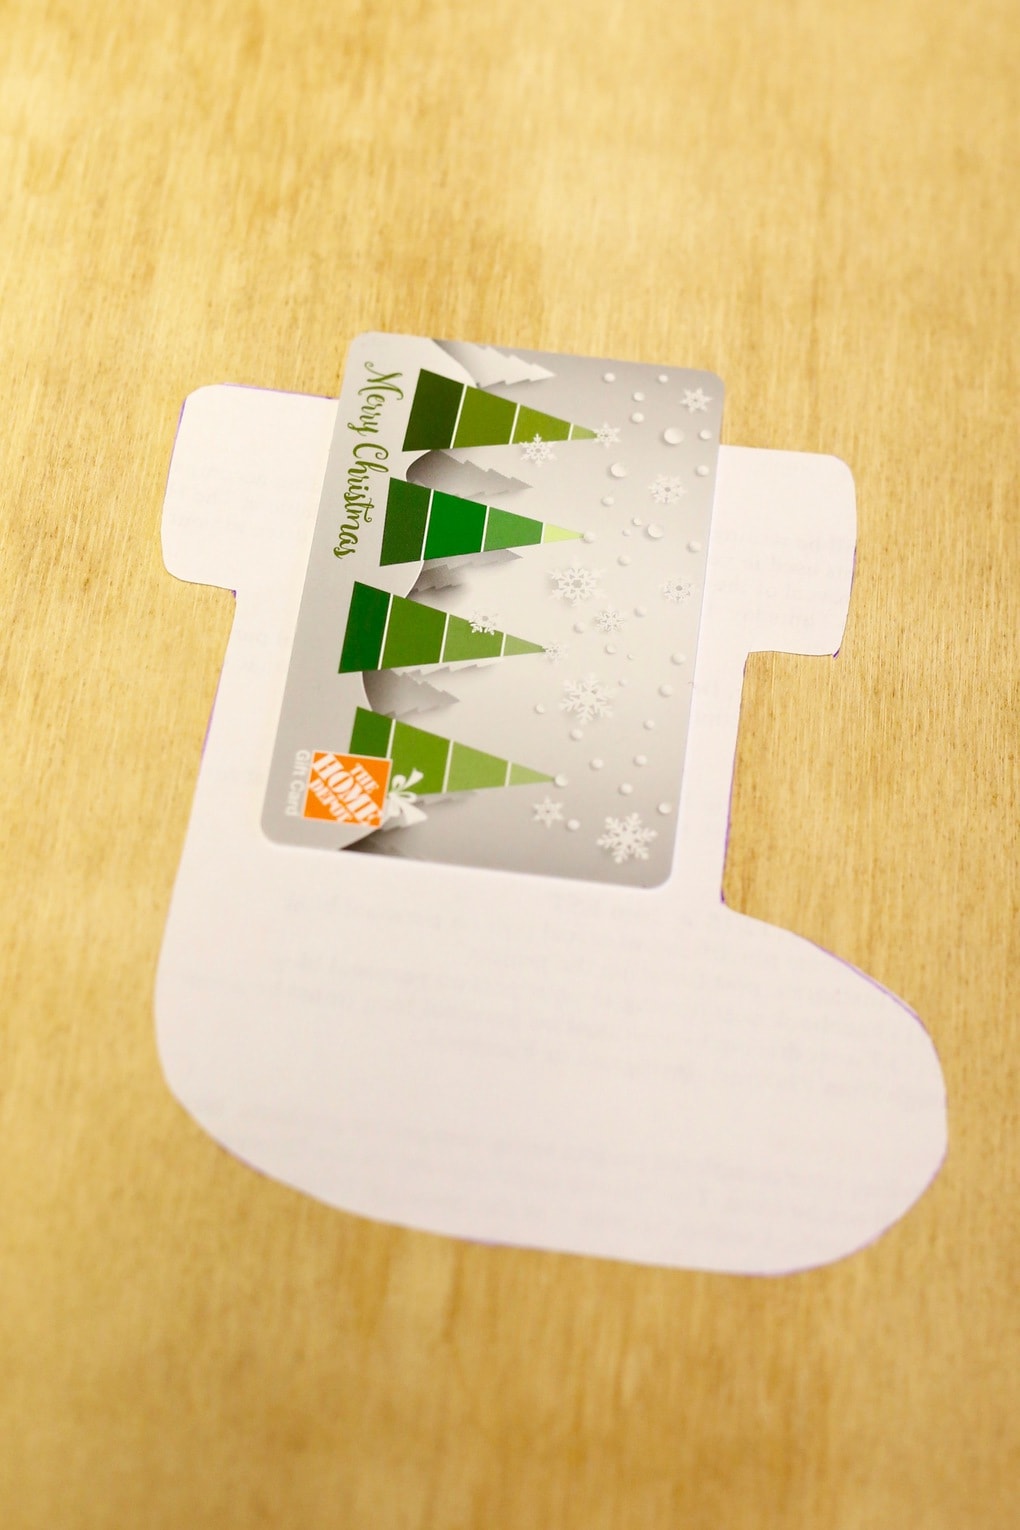
I started by drawing and cutting out a quick template on a piece of paper – I just freehanded mine because I wanted them to look handmade, but you could probably find a template pretty easily online, too. I used the gift card as a guide for how wide the template needed to be – I just made it about 1/2 an inch bigger on either side, and I even used the edge of the gift card as a guide to help me draw the lines straight.
(Hi, I’m Amanda and I can’t draw a straight line to save my life. #shakyhands)
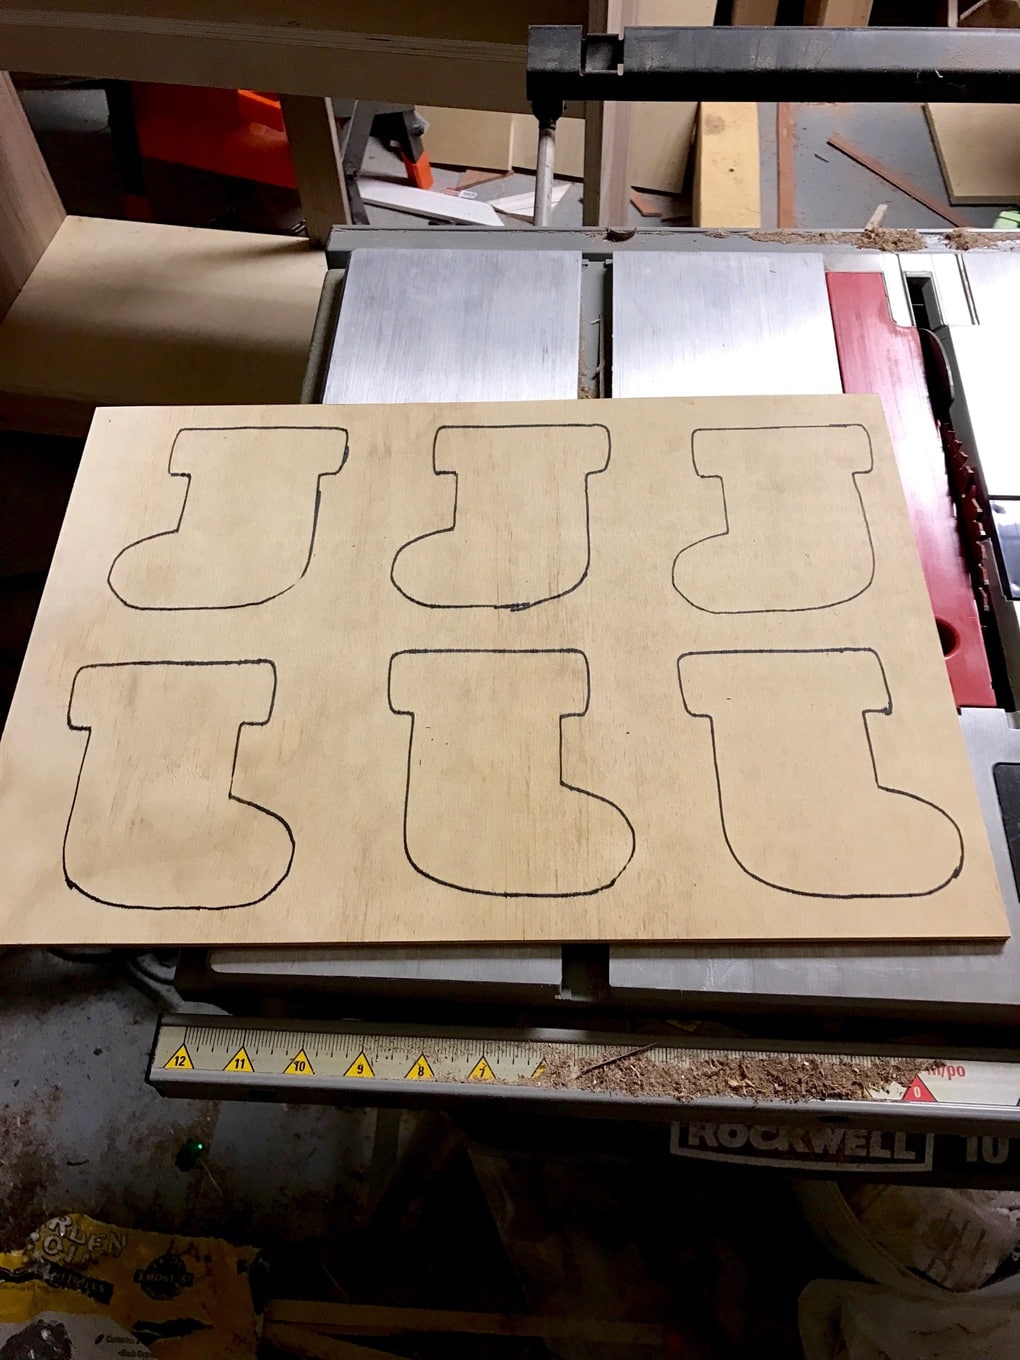
Then, I traced my template onto the plywood…
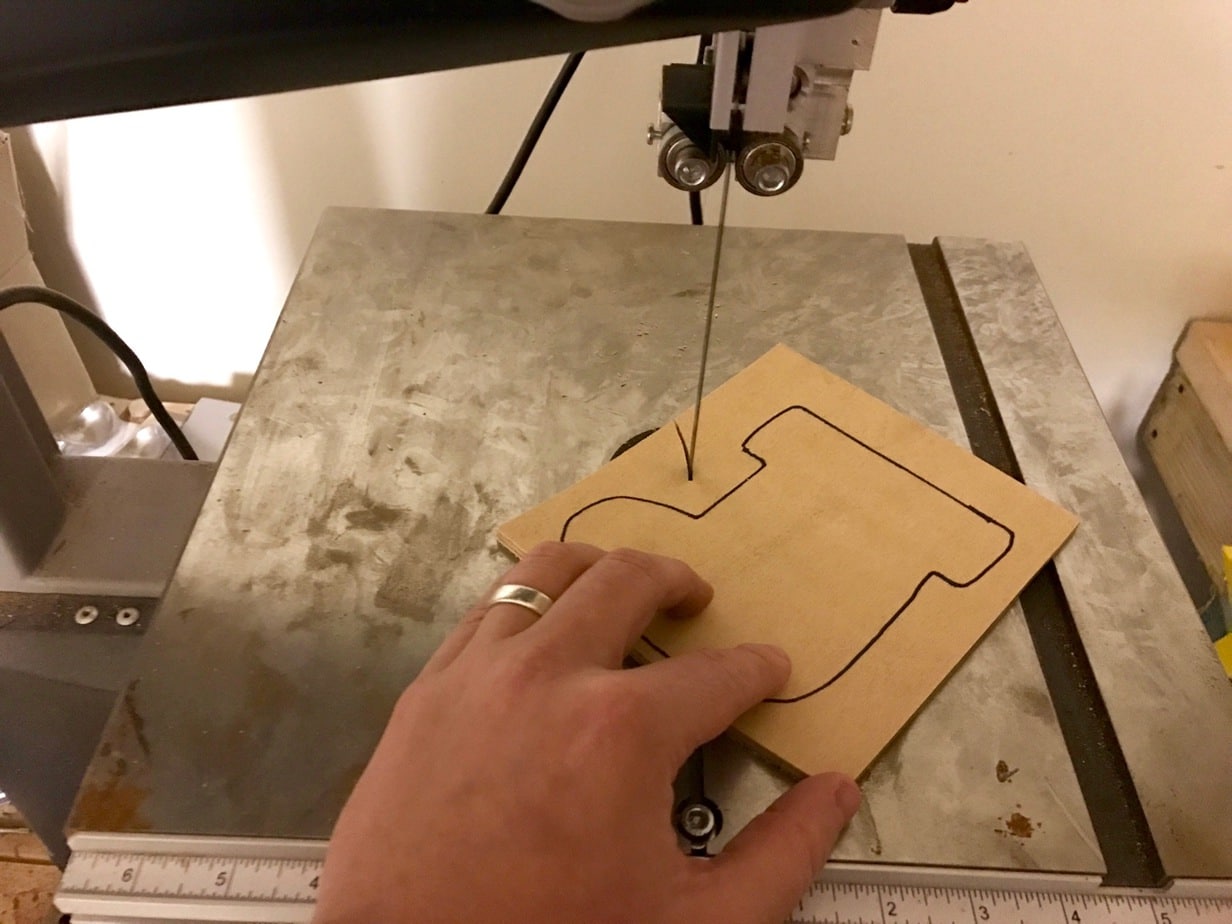
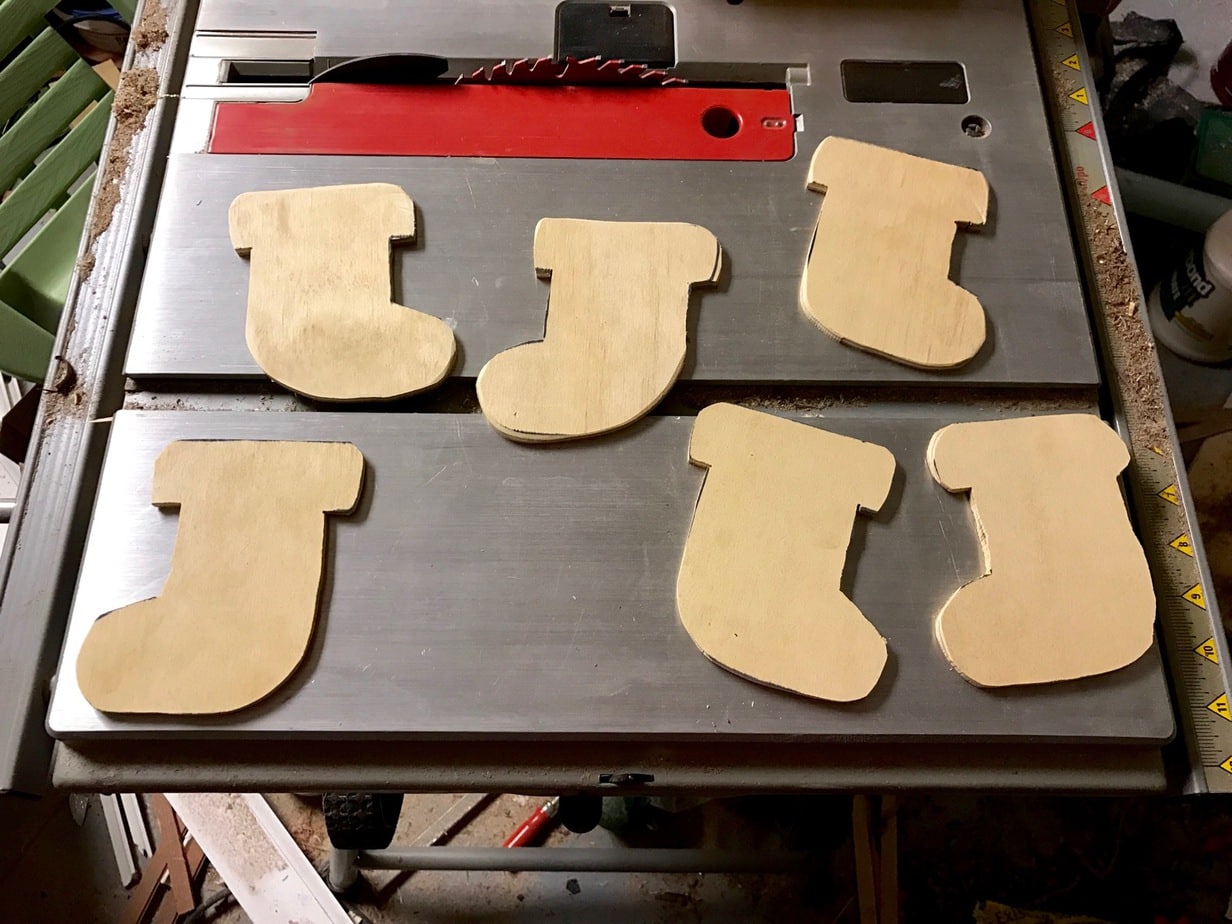
And we used the bandsaw to cut ’em out. If you don’t have one, a jigsaw or scroll saw would work just as well.
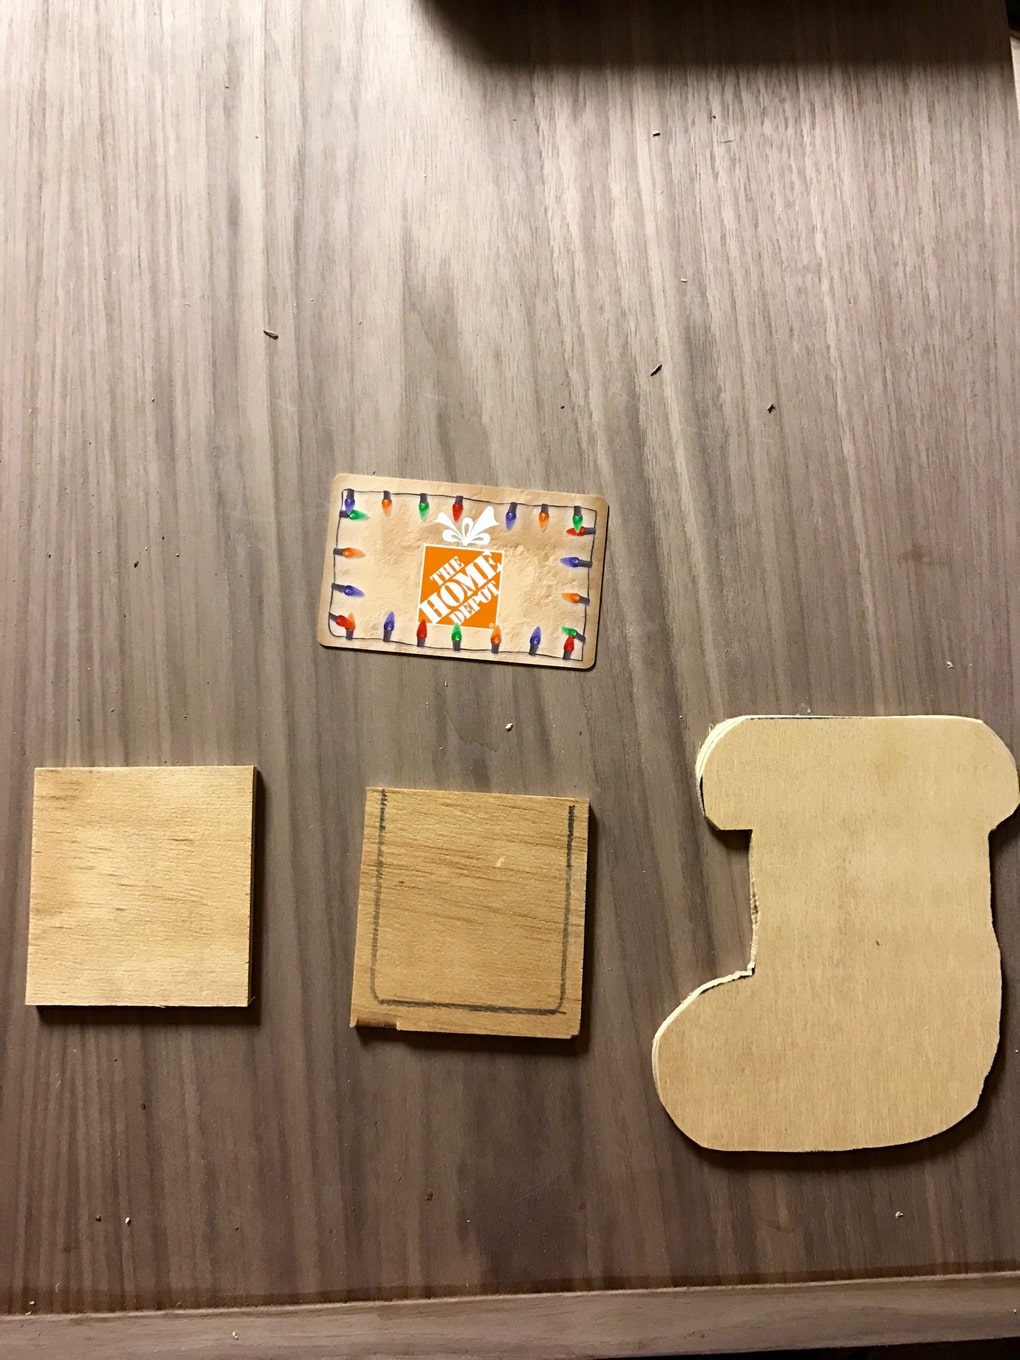
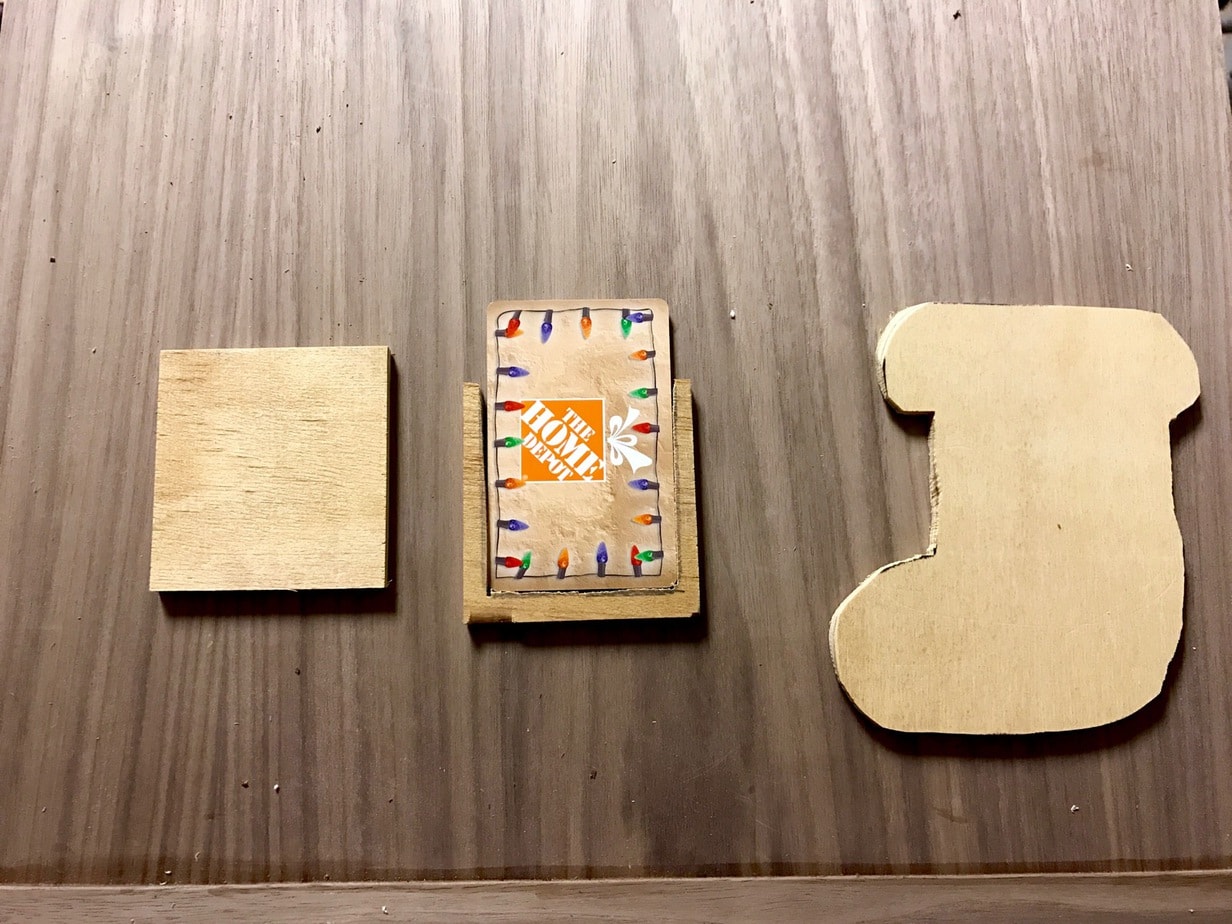
To make the back, Corey just cut out two small pieces of plywood that were slightly larger than the gift card and traced an outline of the bottom three-quarters of the card onto one of the pieces. He cut it out so that it was a “U” shape, and glued it on top of the other piece. Then, he glued both of them to the back of the stocking, so that the U-shaped piece created a little pocket for the card. Clear as mud? Here, this should help:
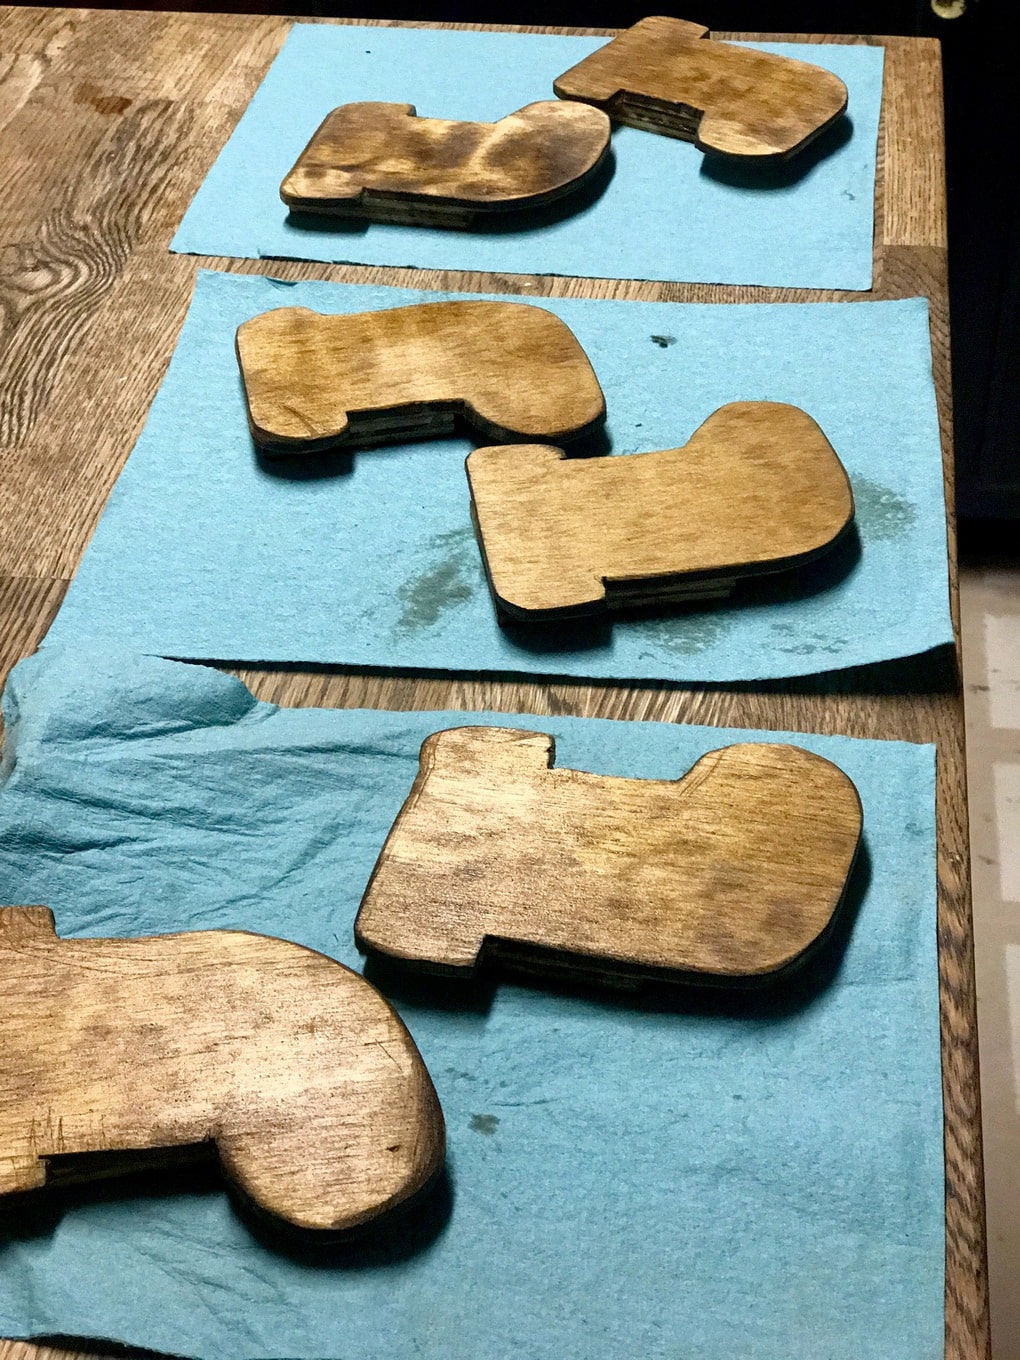
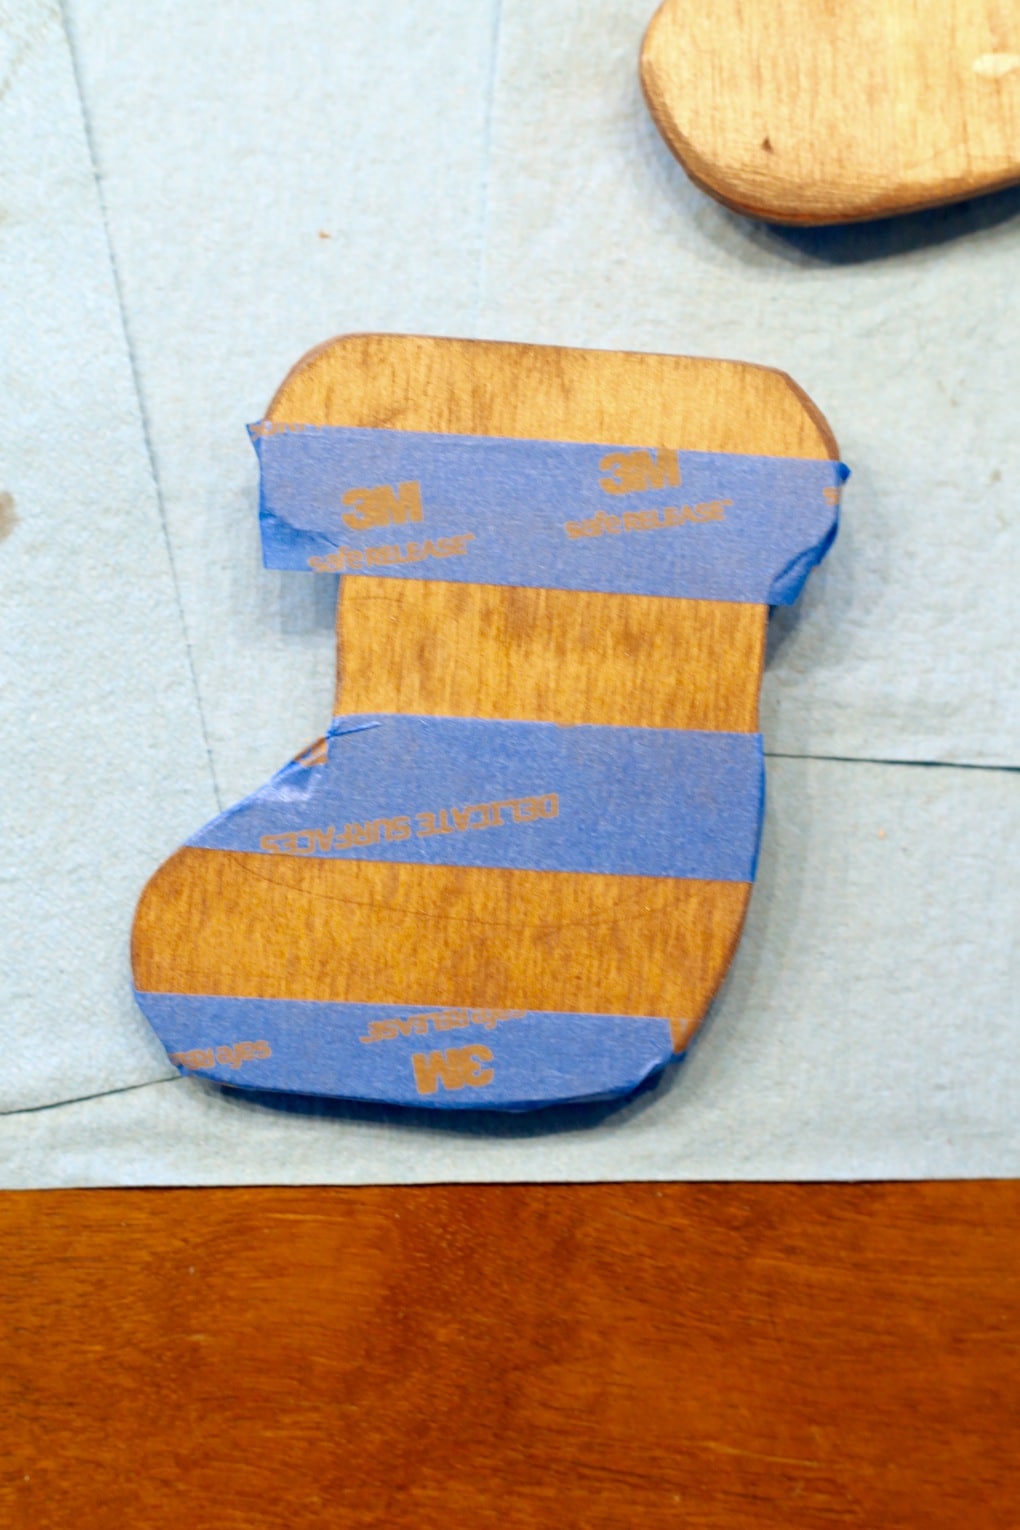
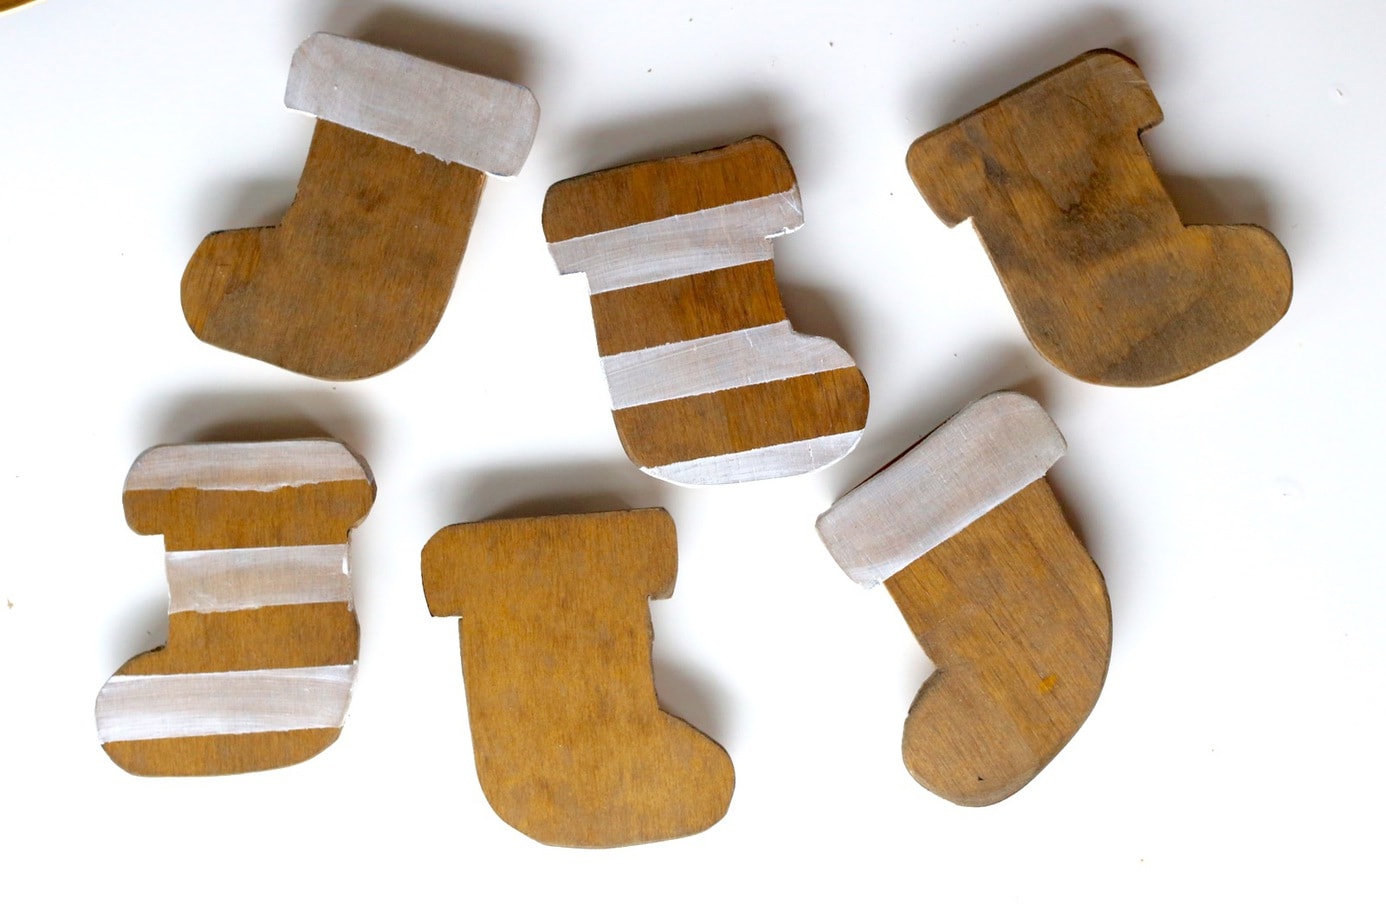
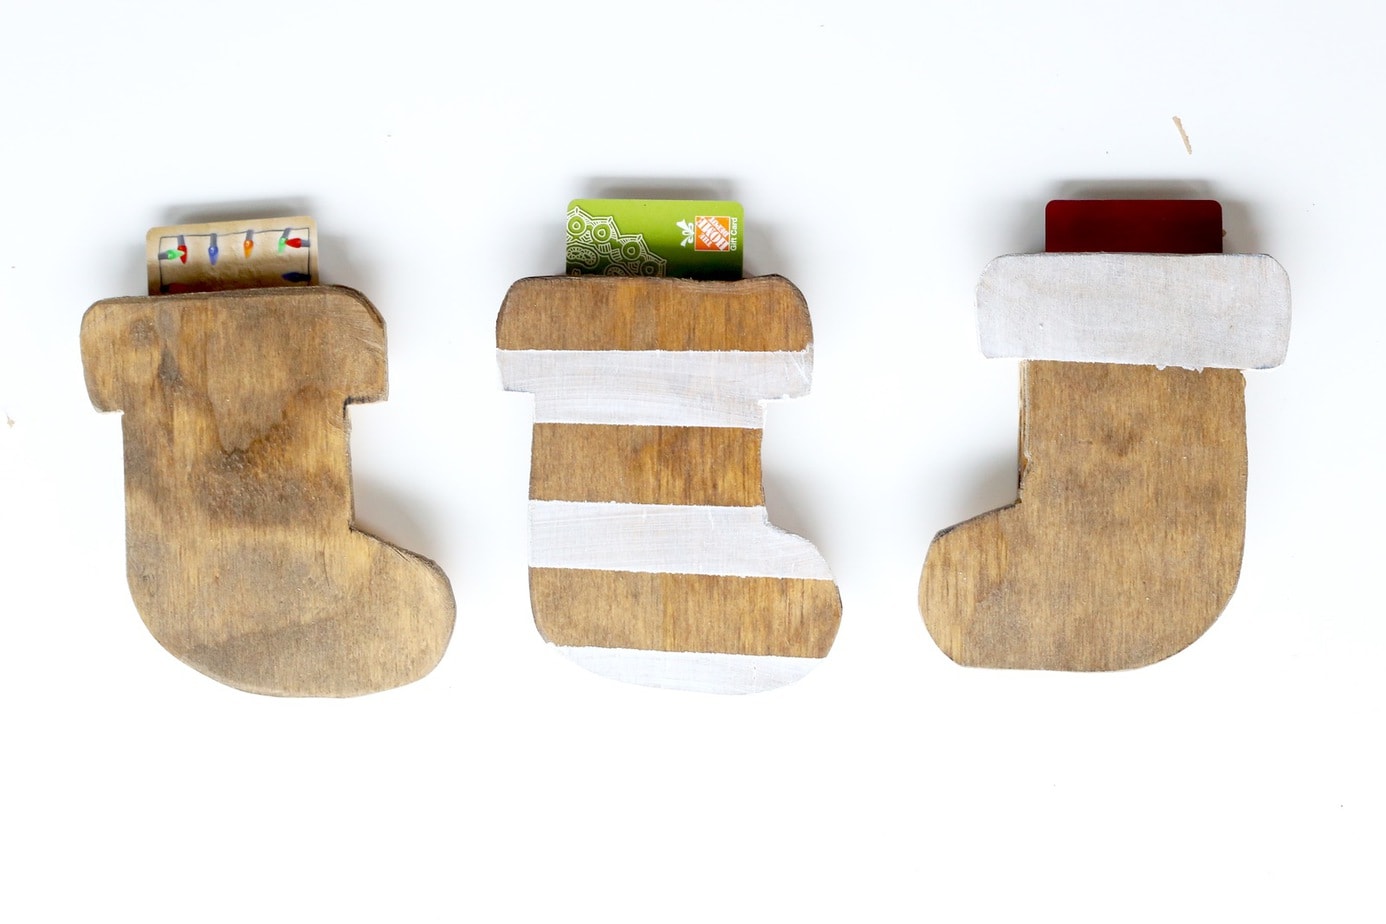
Let them dry, and that’s it! I decided to spruce mine up a bit by staining them, then I taped off some designs and added some white paint. I did more of a whitewash (where you mix your paint with a bit of water to dilute it) so that the color looked a little more faded and less perfect, but you could do whatever you want here!
Once you’ve got them decorated how you want them, just pop in your gift card and you’re good to go! I’m planning on gifting one of these to the person I drew for Secret Santa at work tomorrow – it’s seriously the perfect way to make gift cards a little more fun to give.
Basically, if you’re expecting a Christmas gift from me anytime soon you can go ahead and just assume it’s gonna be a Home Depot gift card in one of these adorable little holders. And they’re the gift that keeps on giving since they’re all reloadable – once you’ve spent it you can just reload it and pass it on. Win-win! Oh, and if you aren’t comfortable in the workshop at all, you can always send an eGift card too – it’s super simple and quick!
Be sure to check out all of your options for gift cards this year over on Home Depot’s website – they’ve even got an option where you can mail the card straight to the recipient. It doesn’t get any easier than that! And, of course, don’t forget to check out all of the amazing ideas from the other bloggers – there are some super talented people in this group, and I’m pretty honored to be included among them!
- The House of Wood
- Ciburbanity
- DIY Huntress
- That’s My Letter
- Just Destiny Mag
- Sawdust 2 Stitches
- My Sweet Savannah
- Look Linger Love
- Finding Silver Pennies
- Petite Party Studio
- Classy Clutter
- Mr. Build It
- Proper Blog
- All Things Thrifty
Do you gift a lot of gift cards during the holidays? If you want a ton of other awesome ideas for gift card holders, be sure to check out all of the other bloggers’ projects – there’s some serious inspiration here, y’all.

These are the cutest way to give a gift card! I agree sometimes i hate giving gift cards, but I always love getting Home Depot gift cards 😉 I spend way too much time there (or not cause I love it).
Wow, there are sure a lot of cute ideas, I looked at everyone’s! I have to say though, I think your’s is one of the best!
Tania
What a fun idea! (And yes, I agree, a Home Depot gift card would be the perfect gift for me!!)
This is such a cute idea! I always feel like giving a gift card is great for the person but not as fun to open. So this handles both aspects of it.
These are so neat! I love finding special ways to give gift cards… I need to dig through our scrap wood pile 😉
Such a cute little gift card holder! Adorable and a Home Depot gift card is a GREAT present!
Thanks, Amy!
Really cute gift card holders. Looks like a fun project.
Thanks so much!
Thank you! They were so fun to make!
This is SO adorable!!
Thank you, Roxanne!