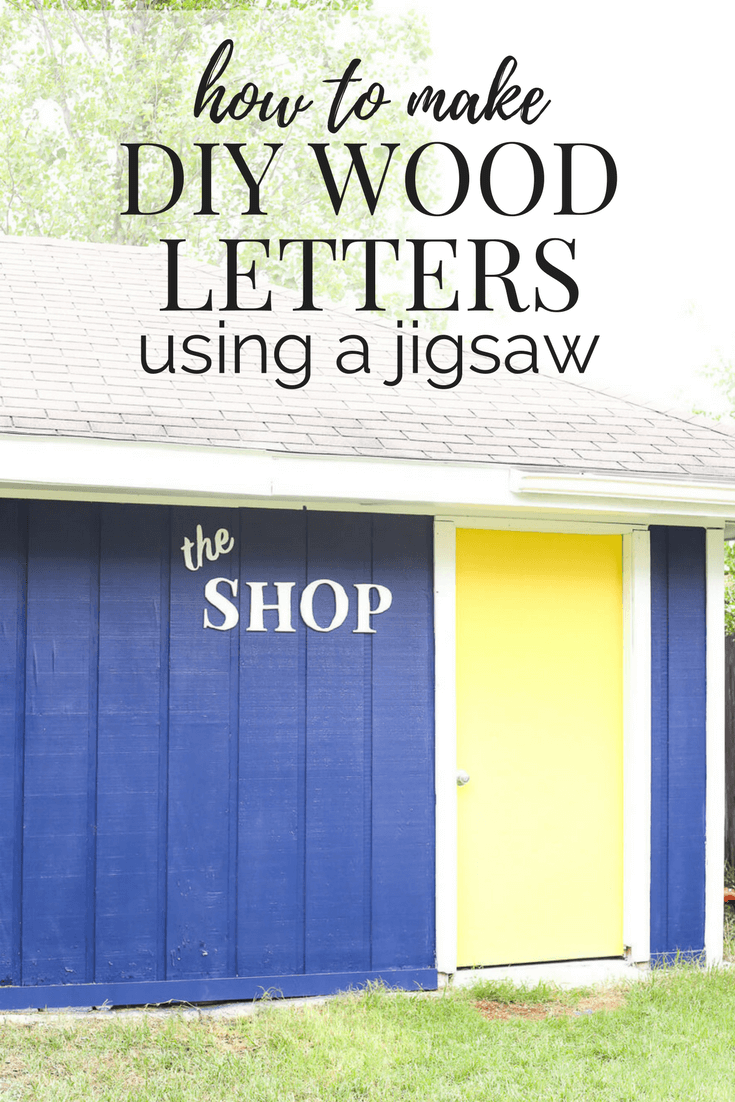
How to Cut Letters Out of Wood Using a Jigsaw
Last updated on July 23rd, 2024 at 11:19 am
Looking to learn how to cut letters out of wood using a jigsaw? This is a quick and easy project nad I’ll show you how to do it!
Now that our workshop is all pretty and painted I’ve been looking for little ways to add some more visual interest to it. It’s such a huge part of our backyard, and it greatly affects how the entire space looks and feels.

This was the first project I ever tackled with my jigsaw. You already saw a sneak peek of this project if you watched my tutorial last week for how to use a jigsaw. This is the project that we used to give me some practice using this tool for the first time. And, well, I’m kind of hooked now. I want to jigsaw all of the things! It gives you all of the relaxing feelings that cutting something out with scissors does, but without the pain and frustration of always having to use right-handed scissors when you’re left-handed and never feeling like you can cut things quite right because the scissors weren’t made for people like you.
(If you’re not a lefty, you can’t possibly understand, but trust me. It’s not fun. And good left-handed scissors aren’t easy to come by, so we suffer in silence. It’s okay, we’ll survive.)
Anyways. The jigsaw. It’s fun!
This project is very simple, and there is really no limit to what you can create once you know the basic technique. Let’s get to it!
How to Cut Letters Out of Wood Using a Jigsaw
Materials Needed:
- Plywood project board
- Jigsaw (I used this one)
- Drill
- Sharpie

Planning + Setup
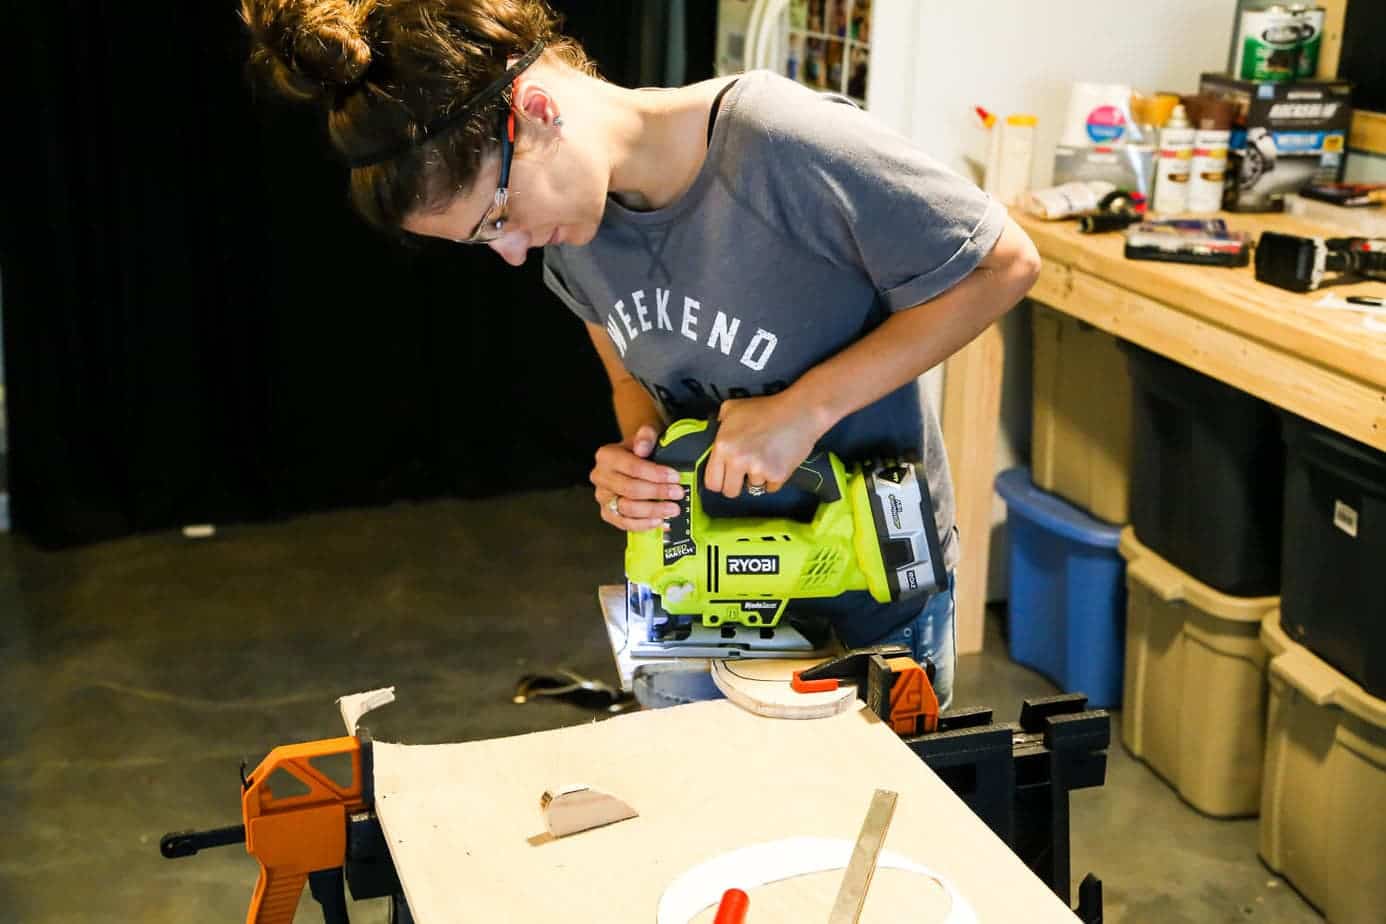
Start off with your project board clamped onto some sawhorses, or anything else where it can be up off the ground and held nicely in place.
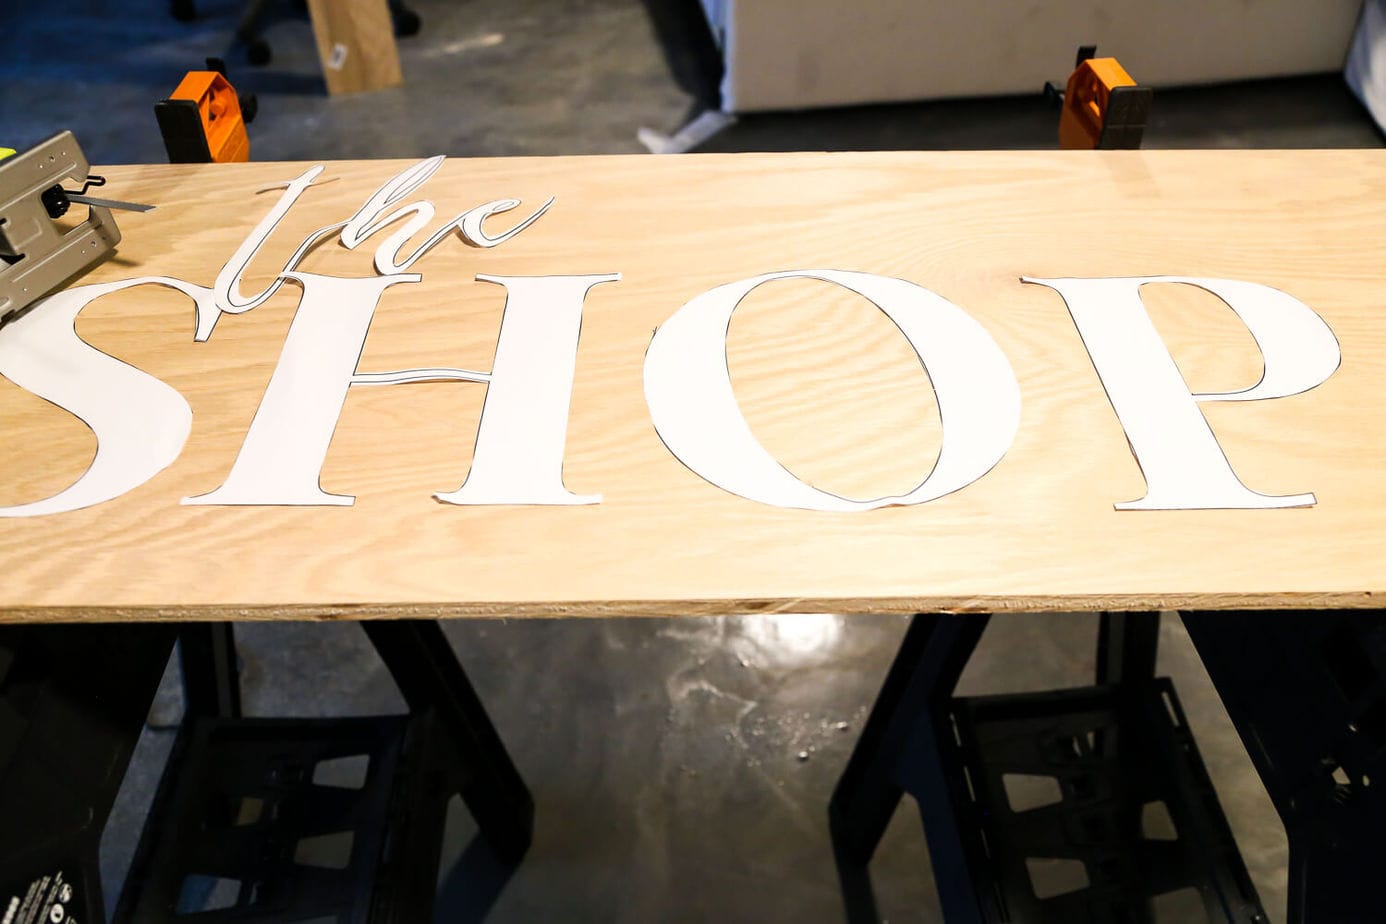
Decide on your design, and transfer it to the plywood. This will give you have a guide when you’re cutting. There are a ton of different ways to do this. I chose to print my letters out (one letter per page). Then, I cut them out with scissors, and used my Sharpie to trace them onto the wood. You could also use a pencil transfer technique, or just free-hand it. Up to you!
Cutting Out the Letters
Once you’ve got your letters or image traced, bust out the jigsaw and get to work! You can see the full tutorial and video for how to use a jigsaw here. But, for this particular project my biggest tips are to make sure the blade is moving at full speed before you begin cutting and to move slowly and steadily to avoid jagged edges. It will also ensure precision when you’re going around curves.
You may have to move the clamps and wood around a bit to make sure you’re able to get where you need to go without cutting your sawhorse in half. There were a few times where it took some creative clamping techniques for us to make sure that we had the wood fully secured. But, it’s not too complicated!
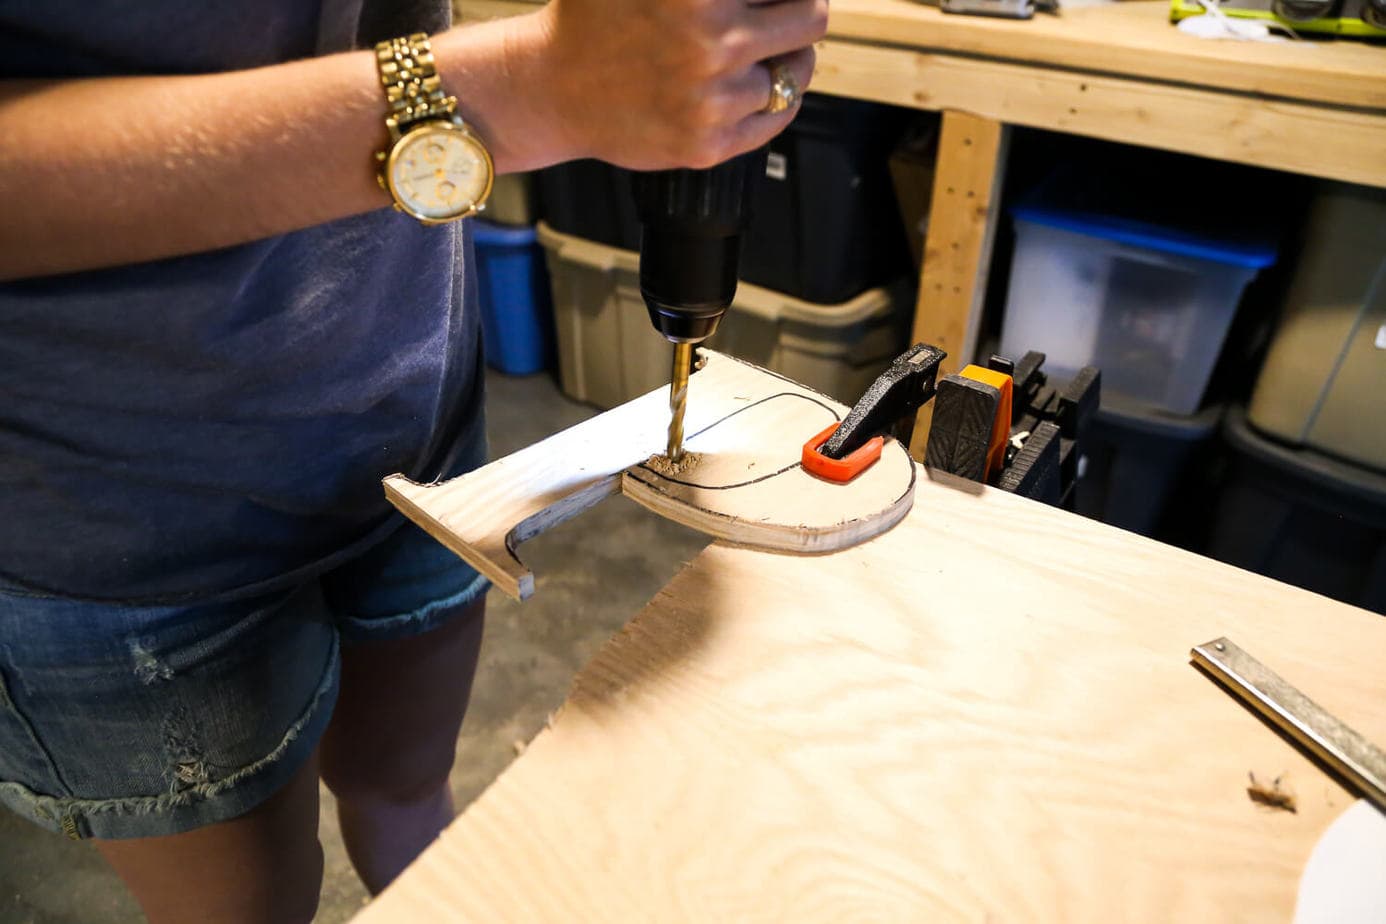
Cutting Letters with Holes
If you have letters that have holes in the middle of them (a’s, e’s, p’s, etc.), you’ll need to use a drill to get it started. Just drill a hole along the edges of the hole in the letter, then stick your jigsaw blade in there and get to cutting!
Once the letters are all cut out, give the edges a good sanding, and they’re ready for finishing!
For ours, I just went with plain white paint so they’d stand out against the deep blue of the workshop. We kept it really simple and just hung our letters with nails, but if you’re hanging it inside I’d probably recommend using Command strips to hang them to your walls – that way you don’t have anything going through the front of the letters and you can easily take them down and move them without damaging them at all.
And that’s all there is to it! Like I said, once you’ve got the technique down for how to do this, you can create so many different things!
I’m almost done prettying up the workshop – my next project is to create a wooden doormat to sit on the outside, and then the only thing left will be to get the inside organized. It’s fallen into disarray once again after we organized last year because we never quite finished the project – have you ever noticed that if you only go 80% of the way with an organizing project, that last 20% slowly takes back over until it’s 100% unorganized once again?
Yeah, it’s like that.