
A Closer Look At My Easy Painted Concrete Patio
Earlier this week I shared our weekend patio makeover. The project I got asked about the most was painting the concrete patio! It is such a simple but classic pattern, so I wanted to give you a closer look at how I made it happen!
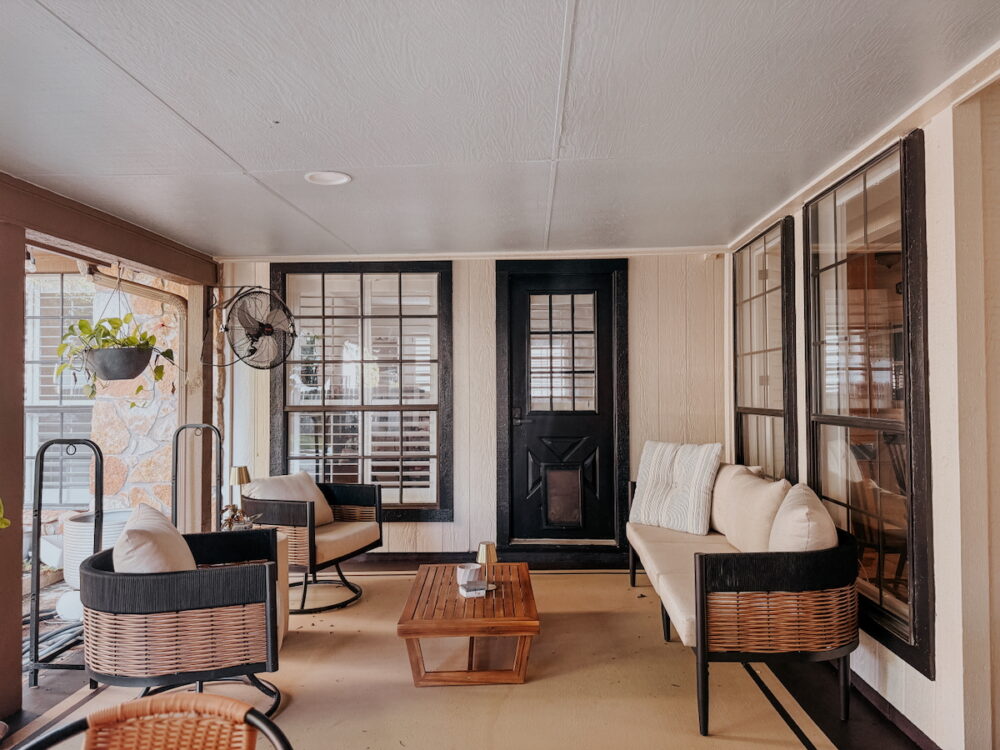
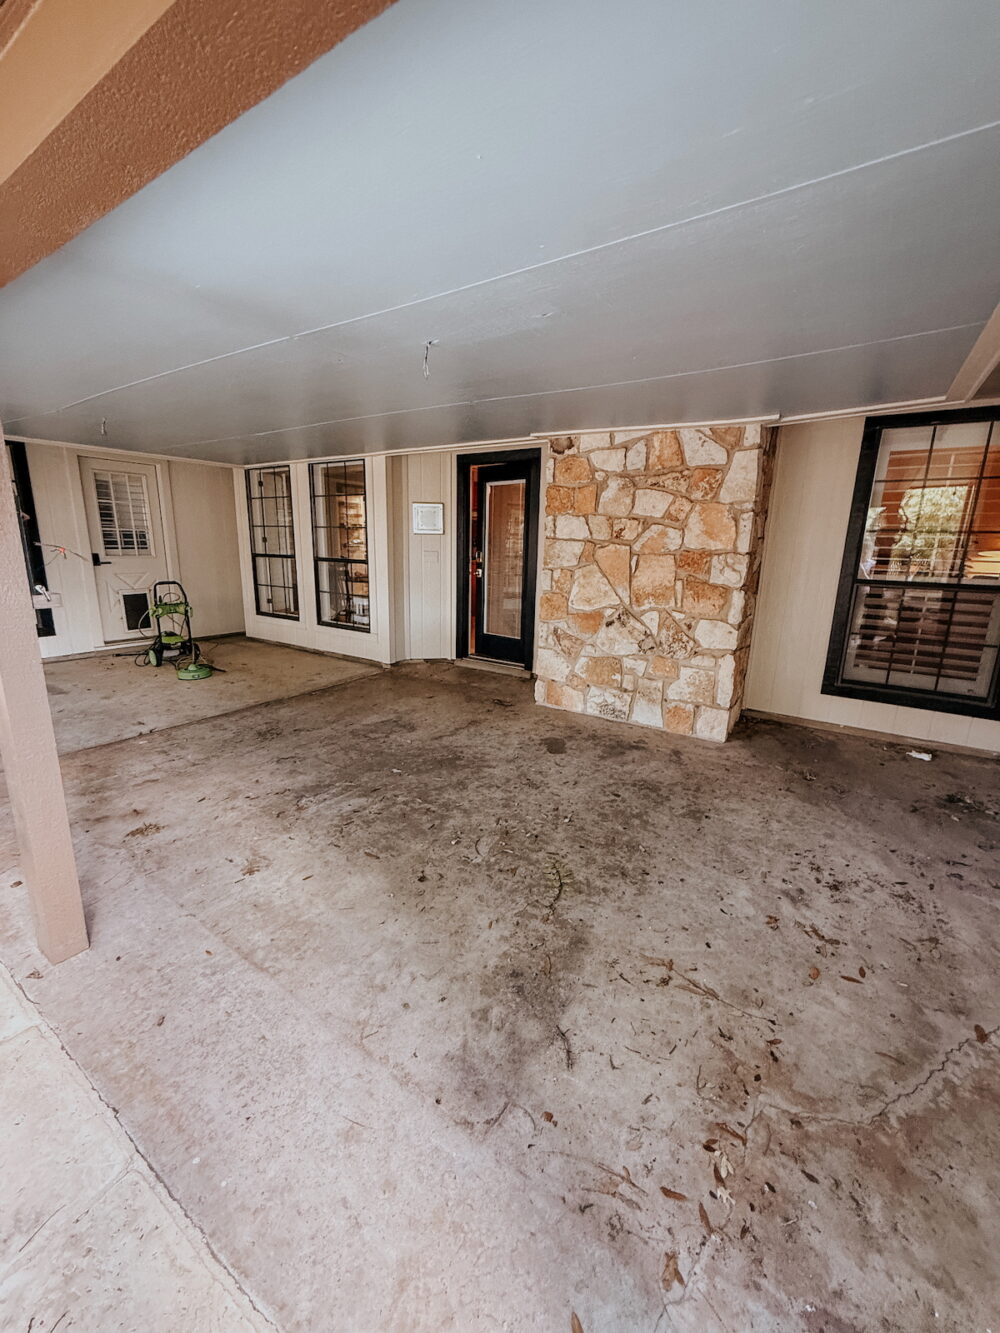
Do you have an ugly concrete patio? And, do you feel like you’re stuck with it because you don’t have the budget to rip it up and start fresh? Because, GIRL, SAME! We moved into this cute fixer upper last year, and I’ve been side-eying the grungy concrete patio since the day we closed on the house. I desperately want to tile it or add a brick floor. But, it’s just simply not in the budget anytime soon.
I thought I’d just have to deal, but I finally realized there was absolutely no reason I couldn’t just paint it. It covers up all the stains, makes it look fresh and clean, and it’s easy enough to just tile over the paint someday if I decide to go that route. So, on a day when I felt ready for a big project (because it is a relatively time-consuming project!), I jumped right in. Because I just couldn’t live with THIS anymore.
How to Paint a Concrete Patio
I’ve already covered how to paint a concrete patio in detail on this blog post. In fact, I re-read it as I was prepping for this project to remind myself how to do it! So, if you’re looking for some help, that post is a great resource. But, here’s a quick shopping list and overview to get you started.
Tools + Materials
- Pressure Washer
- Concrete etching solution
- Floor Scrub Brush
- Concrete + Masonry Bonding Primer
- Porch & Patio Paint
- Concrete Sealer
- Paint Rollers + Extension Pole
Clean + Prep
Start by cleaning the patio with your pressure washer, then scrubbing with the etching solution and rinsing thoroughly. The cleaning is the most important part of this project. That is what preps the concrete for paint and ensures you get a good bond. Once it is clean, allow it to fully dry for 24-48 hours before moving onto the next step.
Prime
Next, you’ll use a bonding primer on the dry concrete. This helps seal it and will help prevent chips in the paint over time. It’s really easy to just roll it on, and it only requires about an hour to dry before it’s ready for paint. Most primers need to be top coated within about 4 hours. So, make sure you have time to do that as well!
Paint the Base Coat
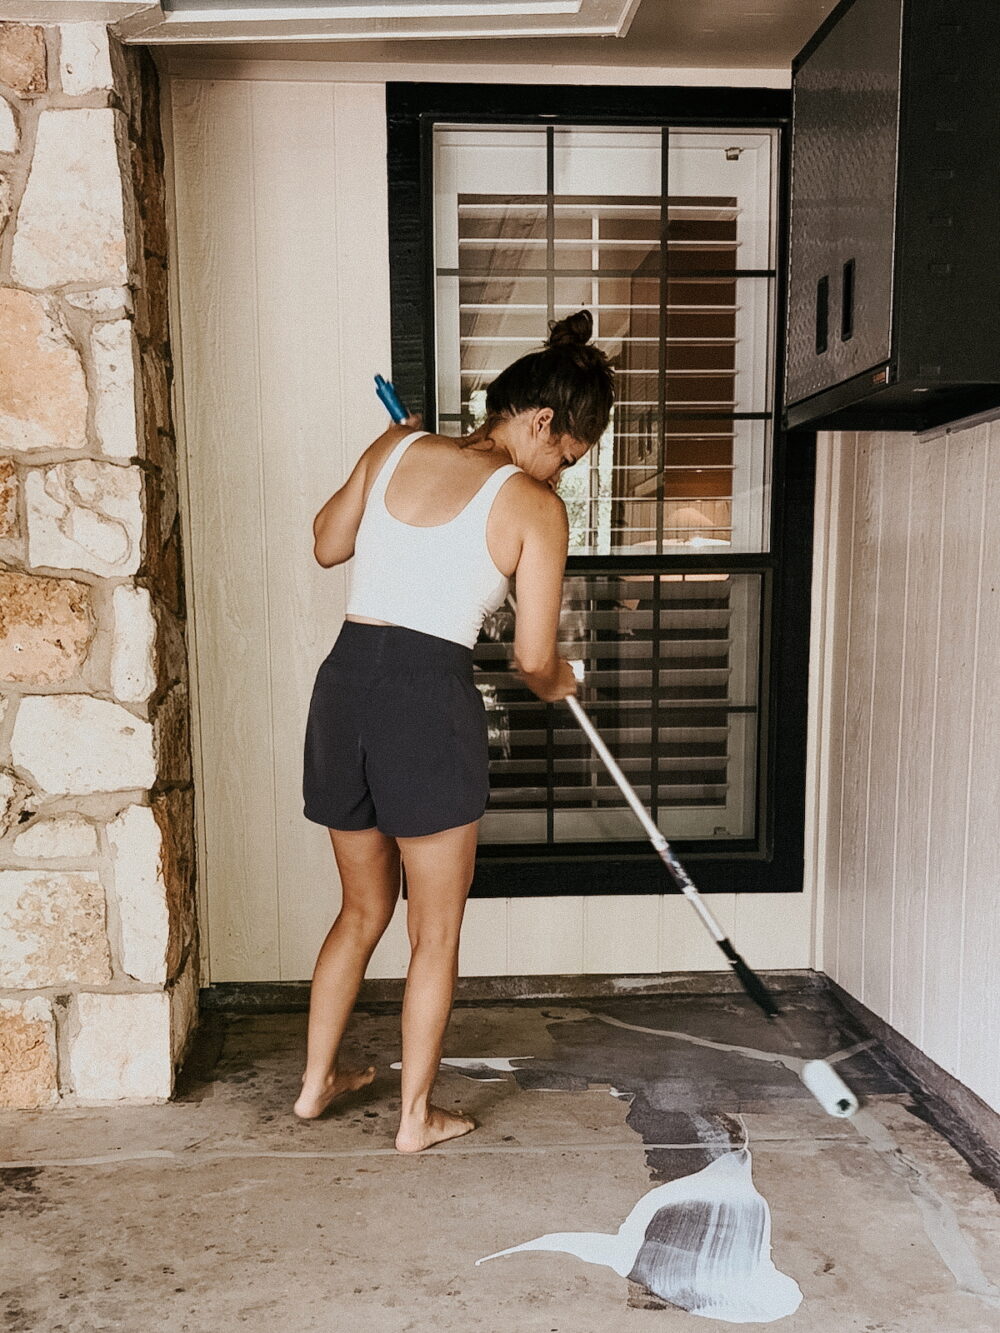
‘And now the fun part – paint! I started by painting the entire patio Latte by Sherwin Williams. Don’t forget to use Porch & Floor paint. This color was perfect for covering up the stains and discoloration on the patio without actually changing the color too much. I wanted something that felt light and bright but not light enough that it would constantly look dirty.
It felt a little like looking for a unicorn, but this color worked out great. It was exactly what I wanted. I did two coats of this color on the entire patio as a base coat. Then, I gave it a few days to dry before taping off for the border.
Tape off Border
With the base coat cured, it was time to turn to the border. I didn’t just want the entire thing to be one color. So, after much debate I landed on doing a border of a darker color around the edges. It adds a bit of dimension and visual interest but keeps things simple enough that I can add a rug without it feeling busy.
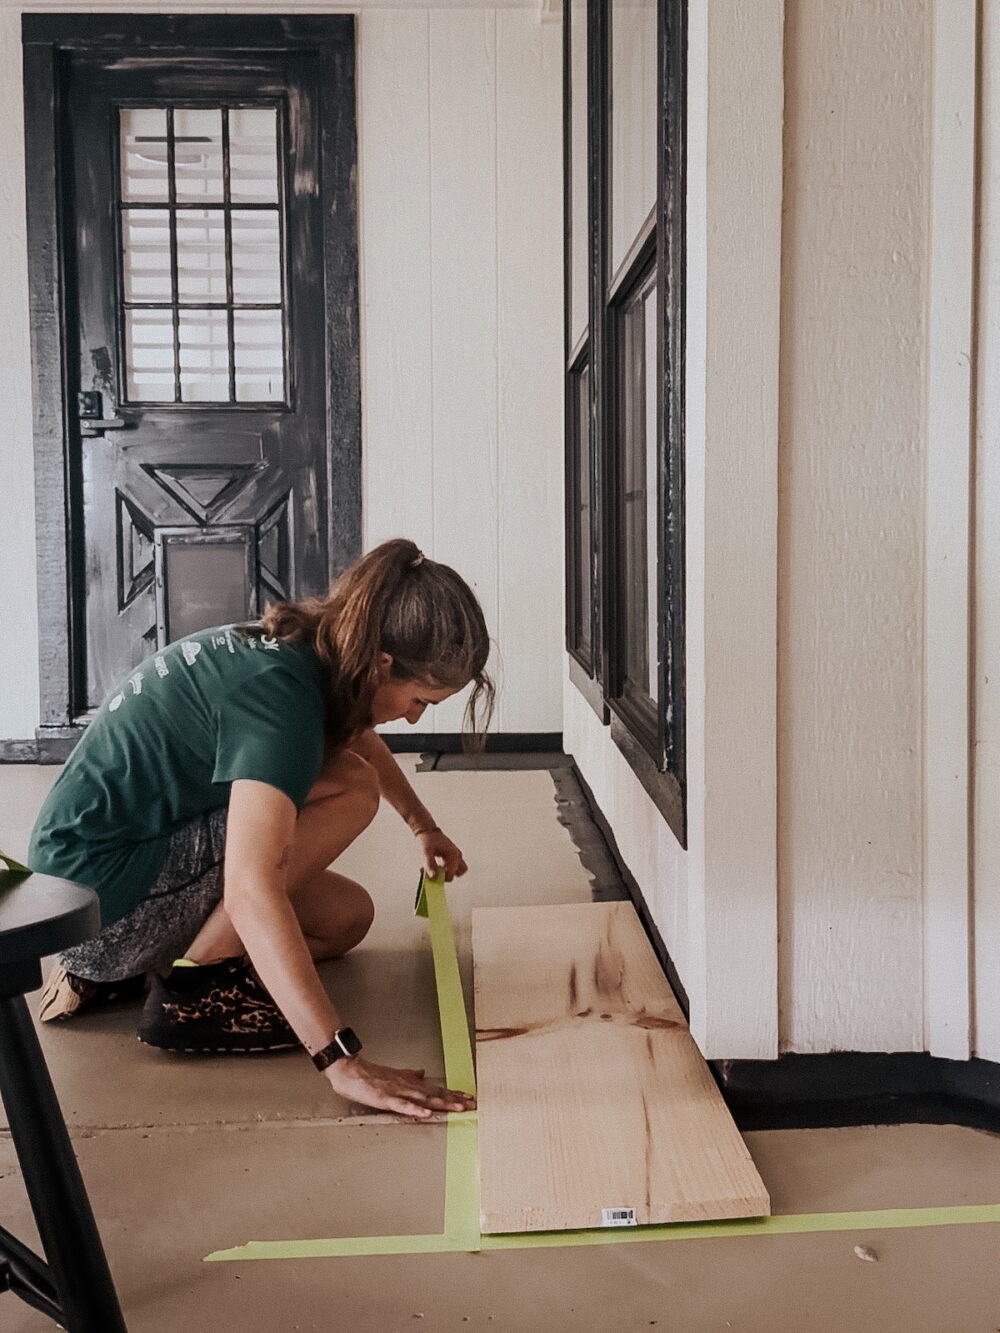
I originally planned on black for the border to match the trim. But, I made a last-second switch to dark brown (Sable by Sherwin Williams) and I’m so glad I did. Black might have felt too matchy with the trim, but this layers in next to it really nicely! I landed on an 11″ border – I wanted something in the range of one foot, and I ended up using a scrap piece of 1×12 wood to help me keep the border consistent. If you have a laser level, that would the the easiest way to do this. But, since I don’t, grabbing something long and consistent (like scrap wood) that you can press up against the house and follow as a guide is definitely the way to go!
Tape off Border Detail
I decided to also add in a little extra detail around the border, so once I had the initial part taped I went back in and added a couple more rows of tape right next to the one I just laid. I placed on row of tape directly next to the first one, then I used some scrap pieces as a spacer before laying one more row of tape. Then, I pulled the spacers out and I had a perfect little detail that I think really takes it over the top!
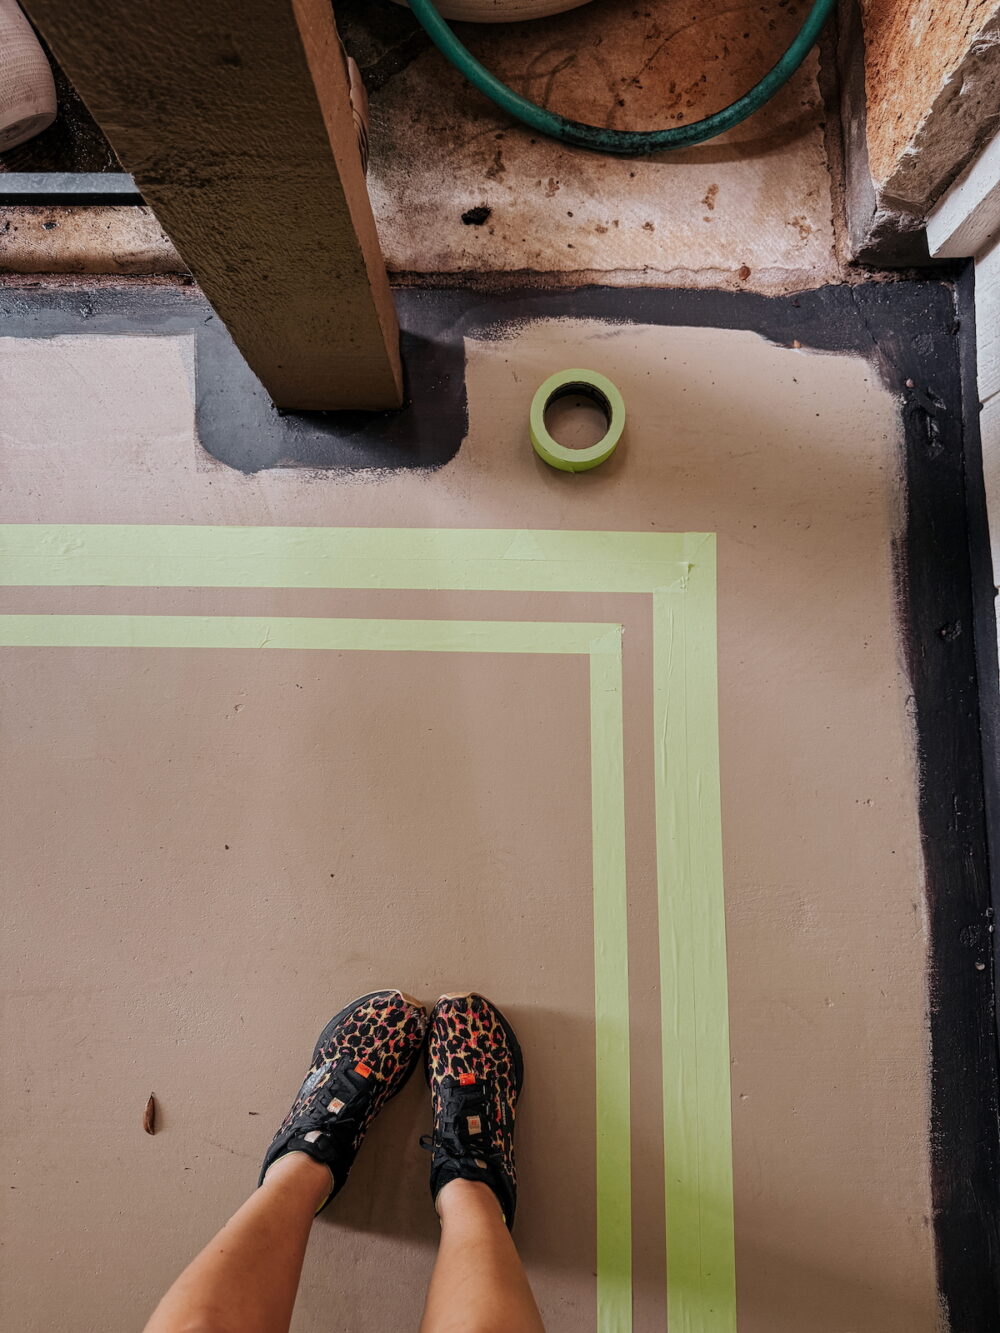
This was a really easy pattern that adds some visual interest without being complicated or taking too long. I love that it leaves room for me to add in a patterned rug without making things feel too busy! I also love that the dark brown border helps ground things and layers in nicely with the black trim.
Paint the Border & Remove Tape
Once the tape was laid, I painted the border – Sable by Sherwin Williams. I just used a paintbrush to keep things simple, but if you have a foam roller on hand that would work great as well! Be sure to remove the tape as soon as you finish painting (before it dries).
A word of warning – depending on how long your paint cured, you might have a bit of paint peeling up when you remove the tape. Because we had a ton of rain while I was working, I think my paint hadn’t cured as well as it normally would have. So, I had a few areas I had to go touch up once the tape was pulled. This wasn’t something I dealt with nearly as much on my last patio when it wasn’t rainy, so just keep that in mind!
If you do have some paint pull up, don’t stress! Simply grab some sandpaper and lightly sand the edges (so it’s no longer peeling), then use a paintbrush to paint the chipped area. I had a few spots that pulled up quite a bit of paint but once my touch-ups dried you can’t tell at all!
Seal the Paint!
And finally, it’s a good idea to seal the paint when you’re done. I have to confess that I haven’t done this yet because I was working on a deadline and needed to put the patio back together. I’m going to keep a really close eye on it and if I notice any chipping, I’ll pull the furniture back off and seal it. I think it’s well worth the extra step, and will help make sure your paint lasts for as long as possible!
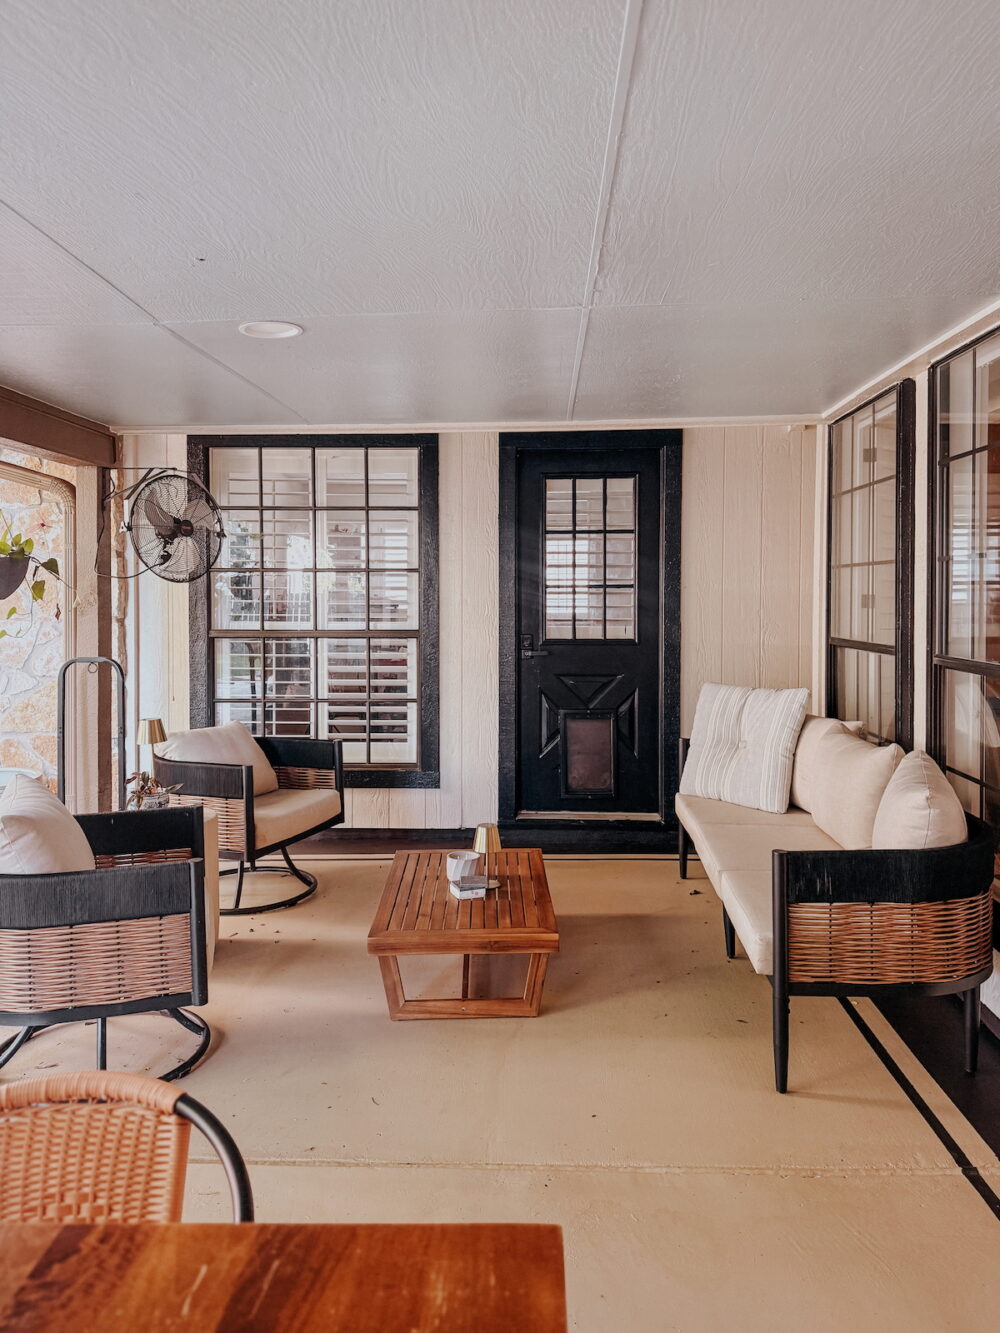
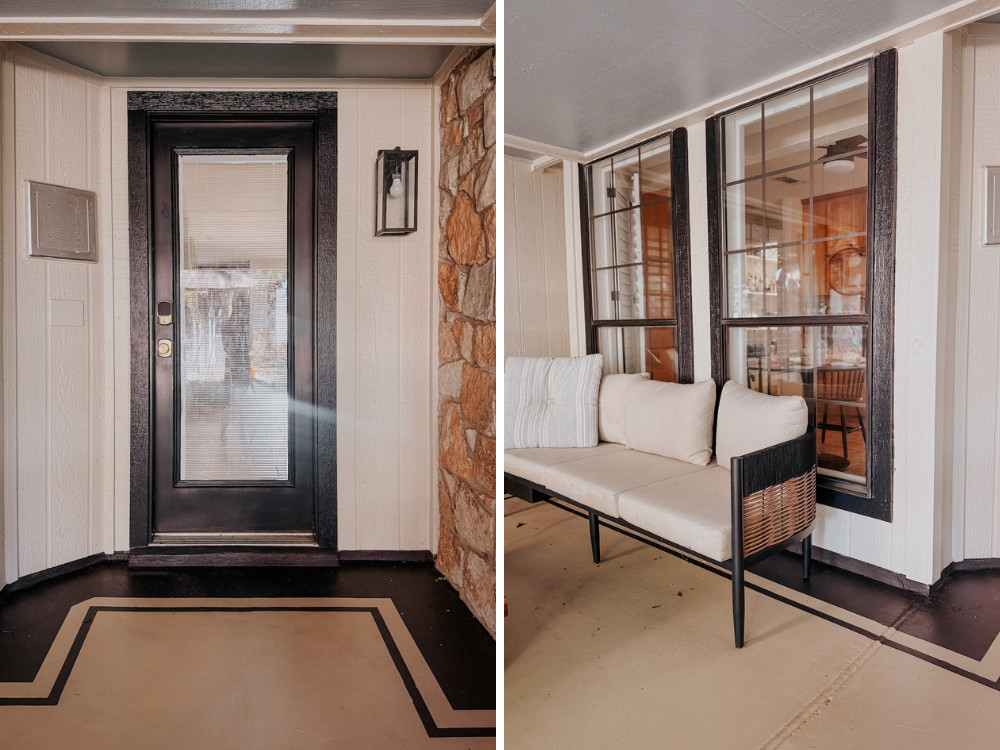
I’m really thrilled with how things turned out back here! Painting the concrete patio was a huge undertaking, but it’s so worth it. I already find myself gravitating out here more often now that the concrete doesn’t look so grungy, and it’s got me excited to bring some plants out and make it a really cozy-feeling space.