How to Fill a Raised Garden Bed WITHOUT Breaking the Bank
Soil is expensive, y’all! Here’s the trick to how to fill a raised garden bed if you’ve got a lot of space to fill but don’t want to spend a ton of money on dirt.
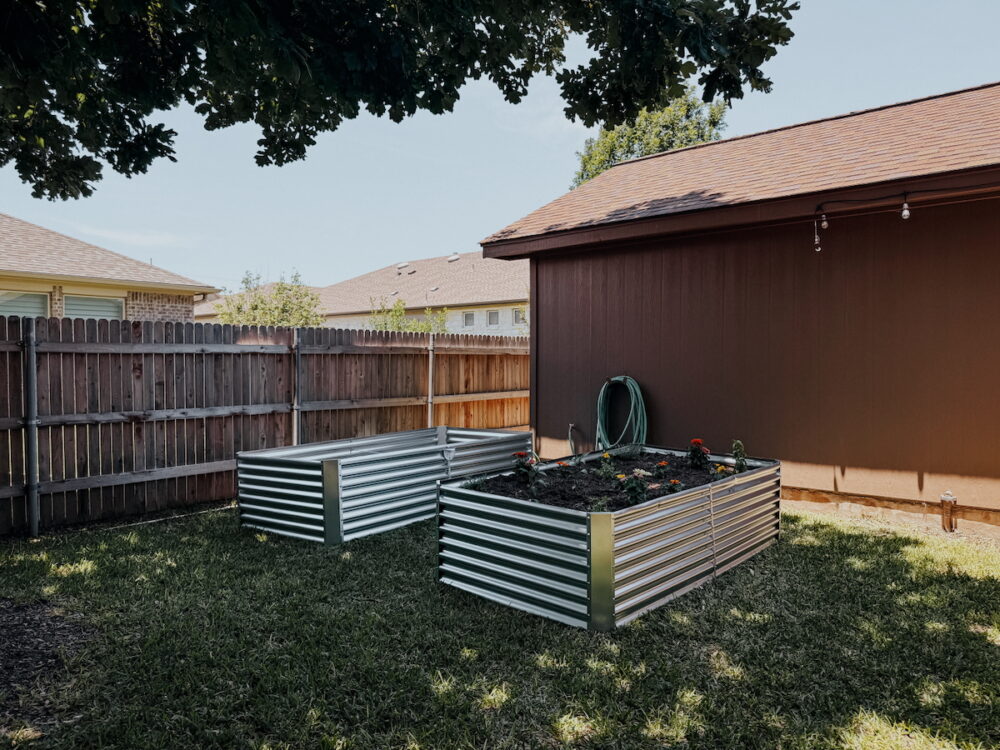
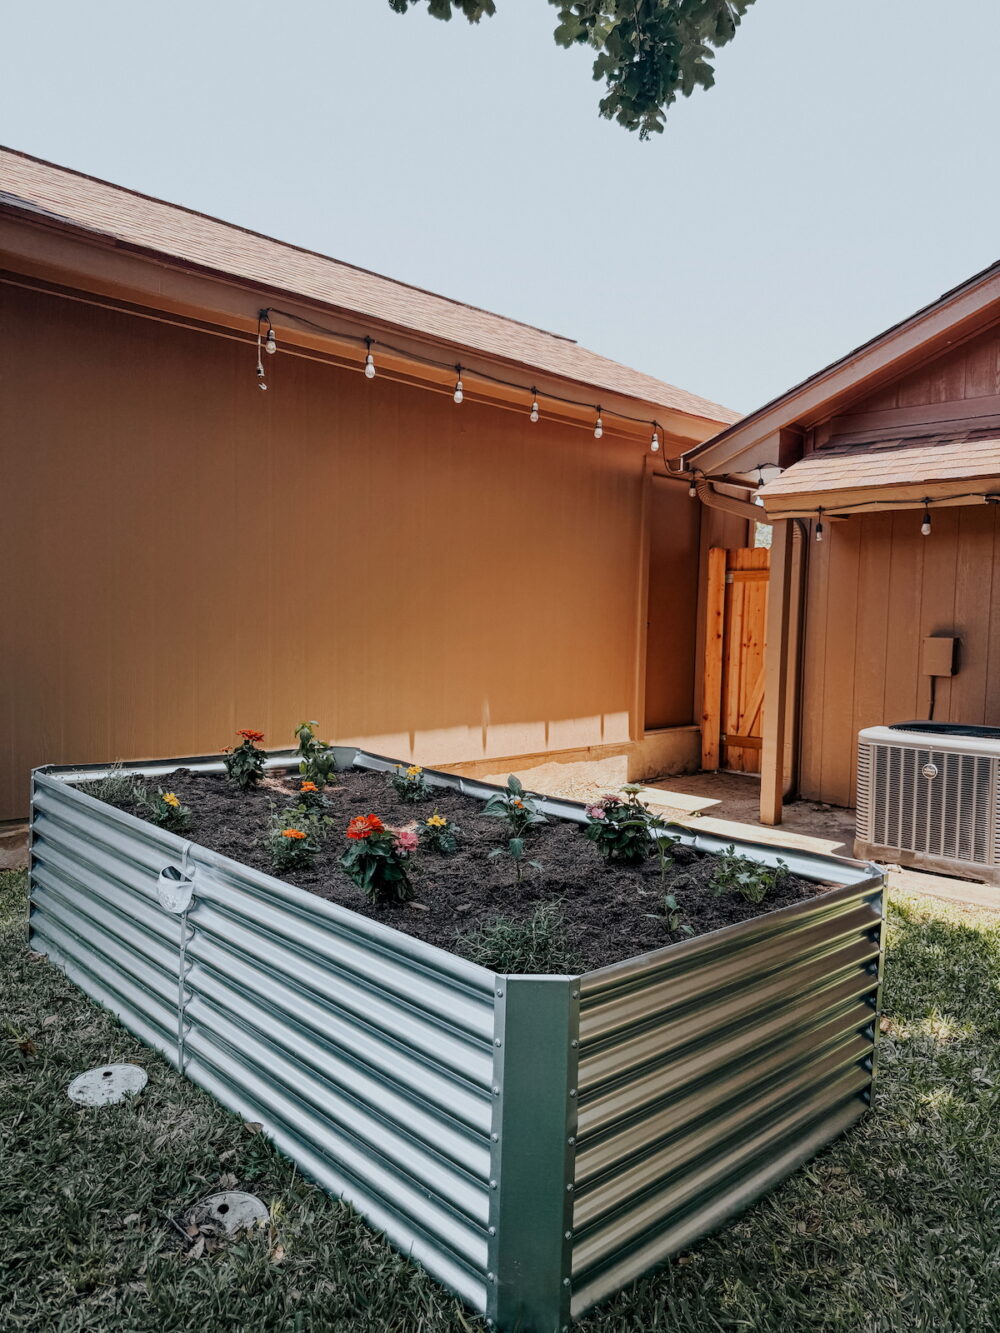
I’m in the process of wrapping up installing some new raised garden beds in our backyard. I’m really excited to have something sturdy and permanent back here, and it’s going to be so fun to see what we can grow as we settle in and start playing around with it.
But, when I committed to this whole thing and started putting the raised garden beds together, I have to admit that I did not consider how expensive it is to purchase soil! And these beds are huge, so when I started pricing it out I quickly realize it was going to be incredibly cost-prohibitive to fill the beds fully with soil.
So, I did a bit of research and discovered that you absolutely do not have to just fill your garden beds with soil! Turns out, you can layer in quite a few things underneath that soil to fill your raised garden beds on the cheap. Today, I’m going to break down the options and show you want I decided to do for mine.
Layering Your Raised Garden Bed Materials
The cheapest way to fill up a tall raised garden bed like this is with layers. If you start with some free organic materials that will break down over time, you can get some bulk in your bed without spending a dime. Then, you can add in the soil! You want the top 6 inches or so of your garden to be your best soil – so the rest of it can be mostly filler!
One thing to keep in mind: the organic layers (sticks, cardboard, leaves, etc) will break down and decompose over time. That means the levels in your bed will go down! This is natural and normal, and you can fill it back up as that happens!
I’ll also note – if you’re a super serious gardener who is monitoring the pH levels of your soil, trying to maximize your yield, etc. – this method may not be for you! You’ll probably have the best results by filing your garden bed entirely with soil. But if, like me, you’re a beginner gardener just trying to figure things out and you don’t want to spend a ton of money, this is definitely for you!
What NOT to Put In Your Garden Bed
Before we dive into the layering method for filling a raised garden bed, let’s talk about what you shouldn’t put in there. Make sure to avoid:
- A layer of gravel or rocks (it can actually make drainage worse!)
- Landscape fabric (it can get in the way of root growth)
- Synthetic materials like foam or plastic
- Treated wood
If you stick to organic materials that you know will break down over time, you’re good to go!

Adding Cardboard To Your Raised Garden Bed
Cardboard is a great material to add to any garden bed for a few reasons.
- It breaks down over time and will turn into soil. Worms supposedly love it!
- It can act as a weed barrier when placed on the bottom of your garden bed
- It takes up a fair amount of room and you can use quite a bit of it in the bottom layers to help fill that bed up!
There are a lot of different methods and opinions about how to fill a raised garden bed with cardboard. I recommend trying a few out over time and figuring out what works best for you. For example, when I was researching I saw that some people do a bulky layer of sticks, then cardboard, then the rest of their organic materials. Other people say cardboard in the middle is a terrible idea and it belongs only on the bottom.
So, I did one of each! I have two beds and one has cardboard first, the other has sticks first. I’ll test throughout the season and see which does better. I think cardboard on the bottom makes the most logical sense to me, so if I was giving out recommendations, I think I’d start there!
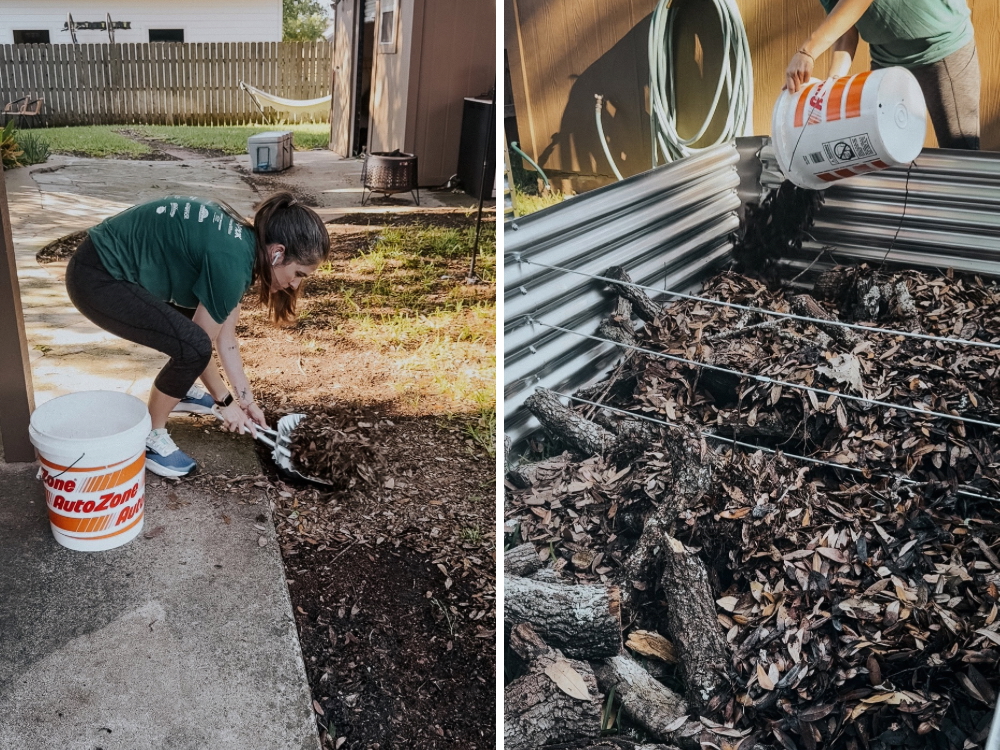
The Bottom Layer: Bulky Organic Materials
After your cardboard, you want the bottom layer of your garden bed to be filled with organic materials that take up a lot of space. Think:
- Sticks and twigs
- Untreated wood scraps
- Dry leaves
- Old straw or hay
I’m lucky that my dad has a ton of fallen branches and logs from his property that he’s always looking to offload. We had some for firewood already, and I had him bring me a whole truck bed full of to help me fill my bed!
The Middle Layer: Smaller + Partially Decomposed Organic Materials
Next up, you can add in some smaller materials that you know will break down, but aren’t quite so bulky. For me, this was a LOT of leaves, lawn clippings, or old potting soil from planters I’m not using!
You could also use:
- Grass clippings
- Half-finished compost
- Cheap topsoil
- Dirt from high points around your yard (I definitely did this!)
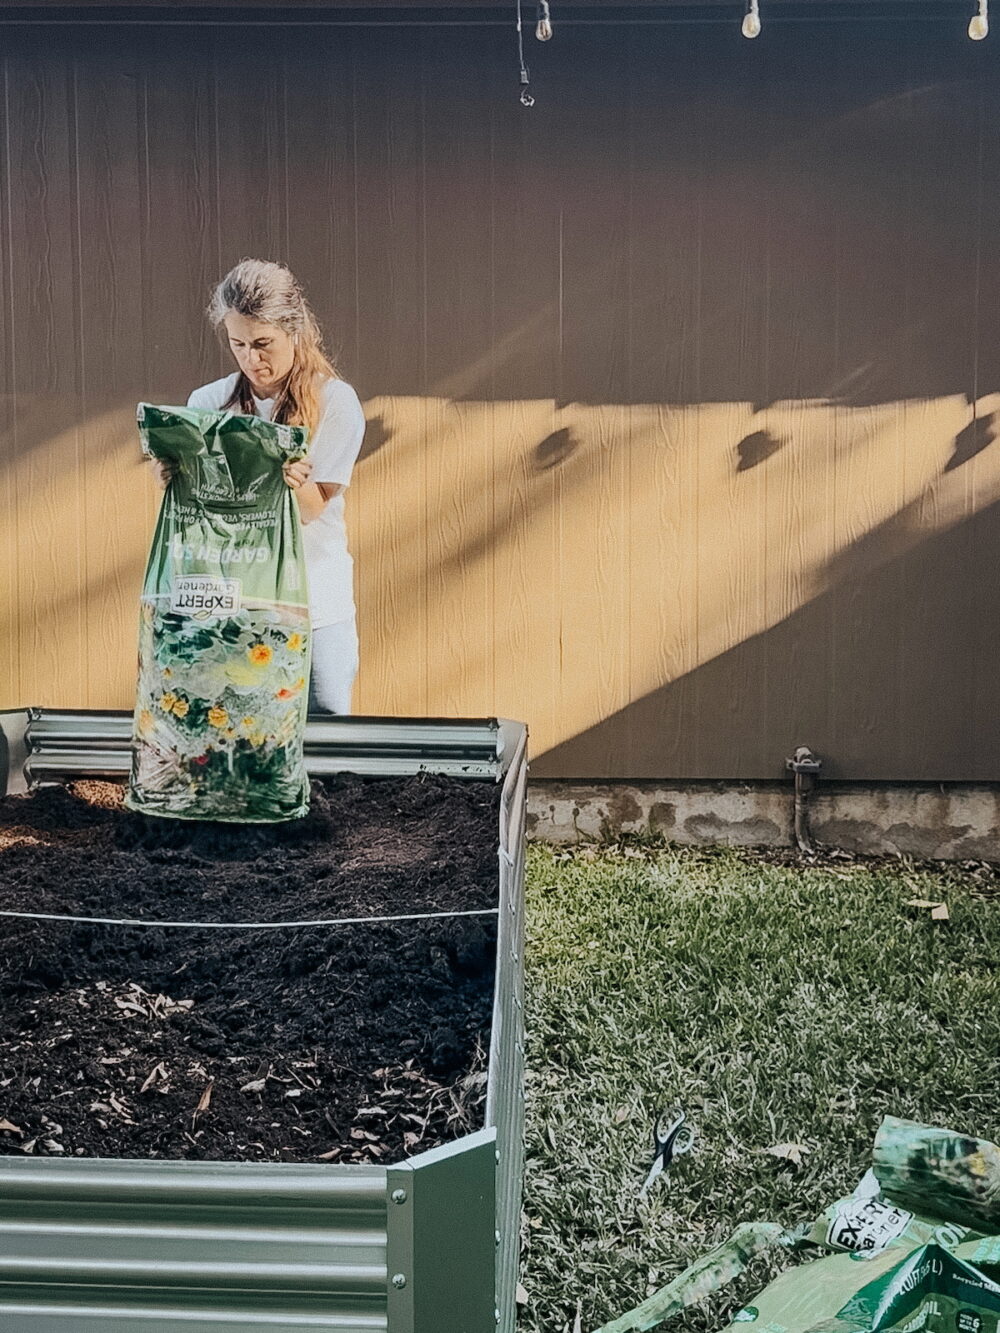
The Top Layer: The Good Stuff
Once you reach the top six inches or so, that’s where you want to focus on good, nutrient-rich soil mix. Most of the roots of your plants will live in these upper layers, so it’s important that you choose quality soil here!
Underneath that soil, it’s also a great plan to use some compost. If you have homemade compost, that’s obviously the best route! But, any high-quality compost will do and can definitely contribute to the nutrients in your raised bed over time!
Frequently Asked Questions
Will the organic matter settle over time?
Yes! Over time, the decomposition process will cause the soil depth to go down, as all those bulky materials break down. When that happens, you can just fill in with fresh compost and soil, a little bit at a time!
Because of this, with this method it’s probably easiest to avoid perennial plants and stick to vegetables and flowers that are annuals for the first few seasons. This will make it easier to fill it in over time, and eventually once the layers on the bottom of the bed are fully broken down, you can swap to perennials!
How can I avoid weeds in my raised garden bed?
Starting your garden bed with a layer of cardboard is a really great way to prevent weeds from breaking through!
You can also use landscape fabric only on the bottom layer, if you really want to take an extra step, but cardboard alone should make a big difference.
Where are your garden beds from?
I have these metal garden beds. They’re 8′ x 4′ x 2′, so they can fit a LOT! If you want to try building your own raised garden bed, I have plans for you right here!