DIY File Cabinet Makeover
Looking for a prettier way to store your papers? This DIY file cabinet makeover is a simple solution that looks gorgeous!
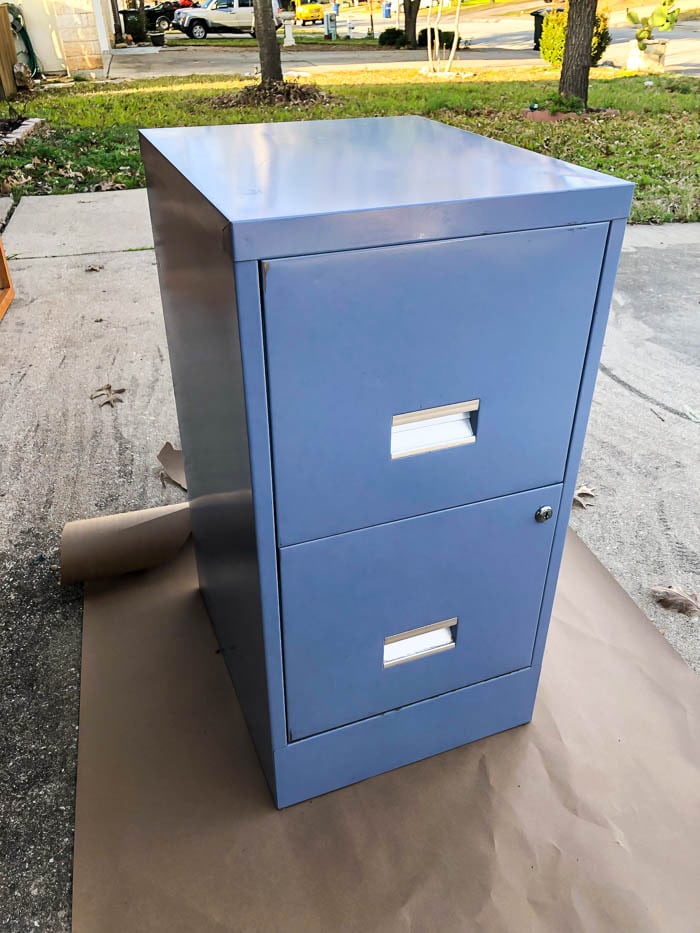
I recently scored a cute little metal filing cabinet at our local thrift store. I’d been looking for a good solution for keeping some of my paperwork organized, and it was the perfect size to tuck in my laundry room. I found this guy for just a few dollars, and I knew I could turn it into something adorable. So today, I’m going to show you how I took it from boring to adorable with just a little bit of spray paint and a few stickers. Seriously, this project is so easy!
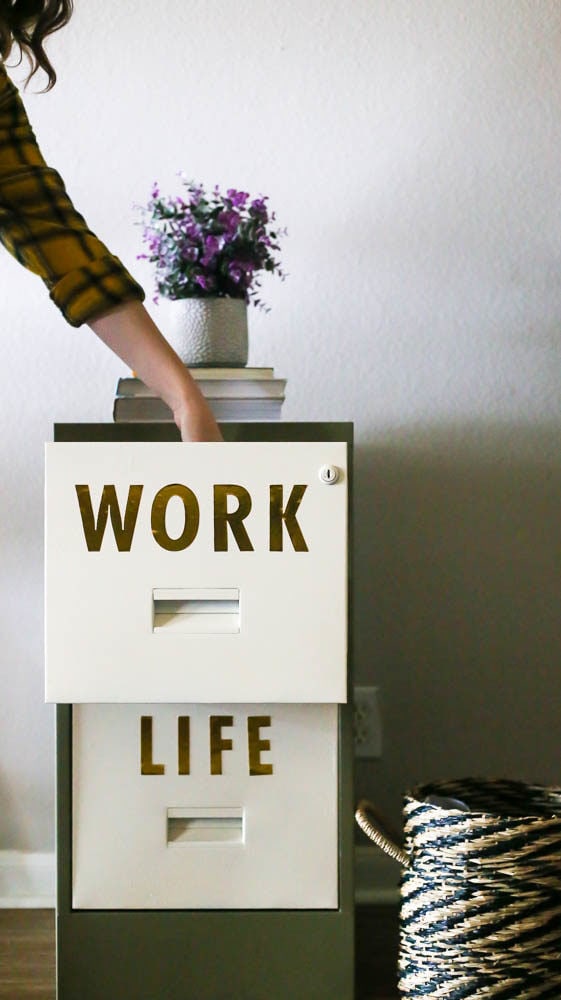
Why a filing cabinet? Well, I don’t know about you, but every January I start to get the itch or organize. It’s really kind of silly. I can organize just as easily any other time of year! But, it happens every year like clockwork, so I’m rolling with it.
Even if it doesn’t make sense, I’ve got the urge to purge (hah!) around the house. And, this filing cabinet is going to be the perfect piece to jump start my efforts!
Easy DIY File Cabinet Makeover {Video Tutorial}
I decided to kick things off by doing a quick video tutorial. I’ll share a few more details below for those of you who prefer to read (I’m raising my hand, here!). But, if you’re a video fan, then I hope you enjoy it!
You can also click here to watch the video on YouTube. Don’t forget to click “subscribe” while you’re there!
Step One: Prep + Paint
My first step was simply to clean the filing cabinet. Thankfully, mine was in really good shape with very little dirt and no rust. So, it was a quick process. If you’re working with a filing cabinet that is rusty, though, it’s no problem! You’ll want to start by cleaning it thoroughly and removing as much rust as you can. Find more on that process in this post! Then, once you’ve got it clean, you can use this rust-blocking primer. I’ve used it a couple of different times on super rusty pieces and it holds up incredibly well!
After everything is cleaned and primed (if necessary), you’re ready to paint. For pieces like this, I like to use spray paint. It’s quick and it’s not terribly messy. Plus, metal pieces tend to take to spray paint particularly well. I have an absurd collection of spray paint in my house already. So, I decided to just work with something that was already in my collection.
Here are the colors I chose:

I painted the base of the cabinet green, and I painted the drawers white. My goal was to tape off the handles of the drawers and paint them a different color. But, I couldn’t get my painter’s tape to stick to them at all. So, I decided that white was just fine!
Spray Painting Tips
Here’s a quick tip on spray painting: You don’t want to get full coverage in one (or even two) coats. Spray paint works best when it’s applied in very thin coats just a couple of minutes apart. Always keep your arm moving as you spray. And just accept that your first few coats will look very, very splotchy!
Also, if you need to come back and touch up later, be sure to wait the recommended time adding any more paint. Some brands may be different, but most I’ve worked with recommend that you add any additional coats within one hour or after 48 hours. I had to go back and do some touch-ups to the base and drawers, and I allowed them to cure in the garage for two full days before I did so!
I also went ahead and spray-painted the interior parts of the drawers gold. It’s not something anyone but me will see, but it makes me smile and that’s what counts, no?!
Step Two: Add Some Labels to Your File Cabinet
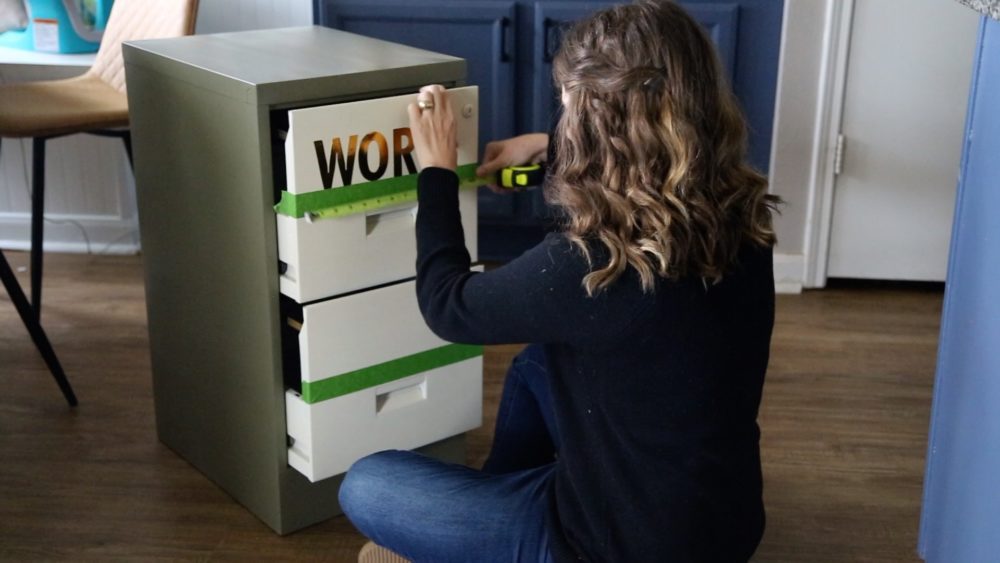
Once the filing cabinet was painted and dried, I added a little bit of detail to it with some gold letter stickers.
So far, the stickers are holding up just fine by themselves. If I start to notice that they’re peeling up or not sticking, I’ll add a clear coat (using this spray paint).
I chose to label mine “work” and “life”. We often have papers for both my blog stuff and regular life stuff that needs to be organized! But, of course, you could label them whatever works best for you! My favorite thing about using a large metal filing cabinet like this is that the drawers are so deep they can actually be used to store a lot more than papers! I plan to store my iPhone tripod in the work drawer, and the life drawer is a great place to stash our passports!
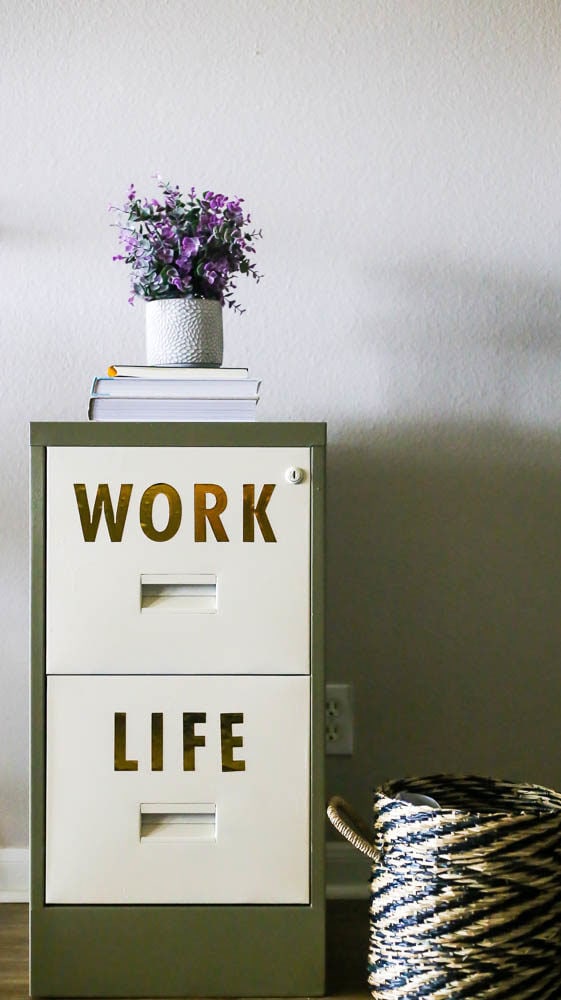
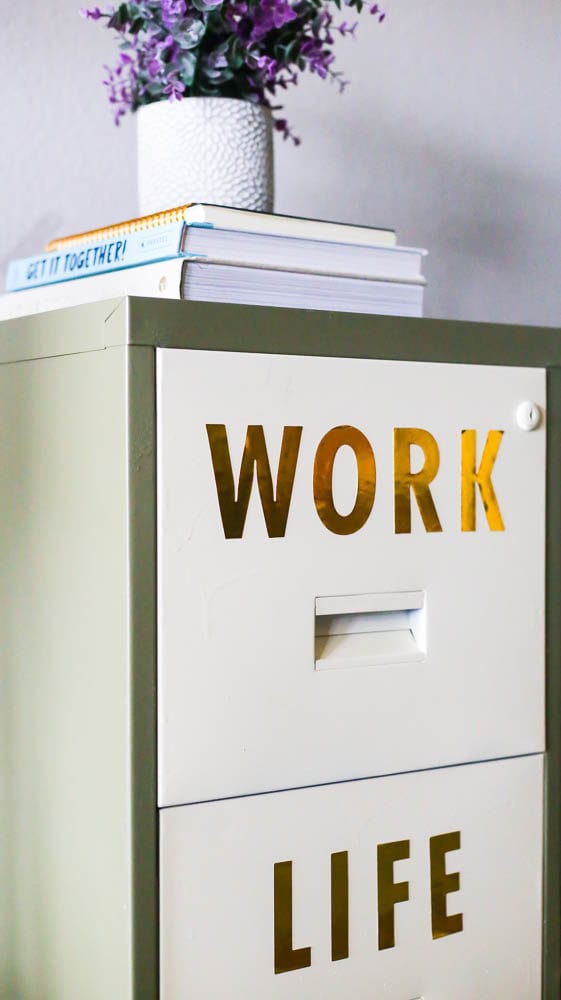
This little DIY file cabinet makeover was so fun, and I’m so glad I tried it! If you want to check out all of the other Thrift Shop Challenge posts (I highly recommend it!), click on the links below! My friends have all come up with some pretty fun projects too – you’ll love them!
Also, don’t forget that if you have any thrift store projects that you’re tackling around your home, you can tag me (or any of my blogging friends) and use the hashtag #thriftshopchallenge on Instagram to share your projects with us. We love to see what you’re working on!
Thrift Shop Challenge Projects
Painting Furniture with Chalk Paint from Small Stuff Counts
DIY Sled Makeover – Green With Decor
White Farmhouse Pitcher – Making Manzanita
DIY Lampshade from an Upcycled Sweater – Amber Oliver
Stoneware Jug Makeover – A Crafted Passion
DIY Lumbar Pillow – Love Create Celebrate

Cool 😎 idea.
❤️ I’m inspired! I think I’ll try this with an old brown filing cabinet we have that desperately needs a makeover! Thanks!