DIY Bathroom Shelves
Need some extra storage solutions for your bathroom? I added some simple open shelving to our bathroom. These simple DIY shelves are gorgeous, affordable, and should only take a couple of hours to hang!
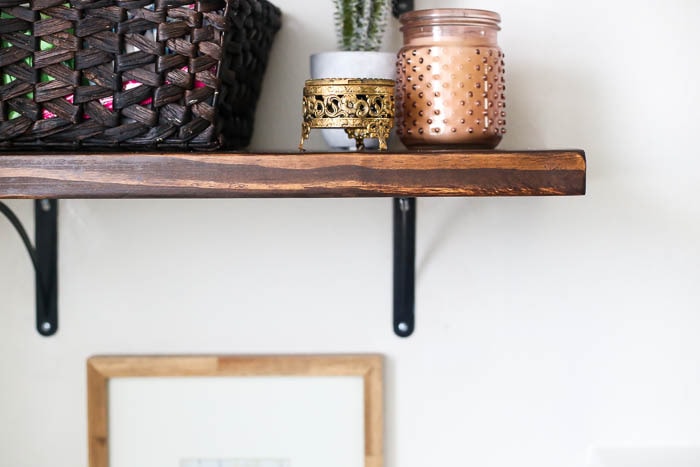
When we finished our dining room makeover last year, I didn’t anticipate that one of the most-asked-about projects would be the open shelves that we hung in place of the upper cabinet. The project was incredibly simple, so we didn’t even document it or write a blog post at all. But every single time I share images of that space I get at least one or two questions about where the shelves are from and how we hung them.
I love a DIY project that fools people into thinking it’s store-bought, don’t you?
Well, we recently did the exact same project again in our bathroom. So, this time around I decided I should go ahead and do a tutorial! It’s so easy that anyone can knock this project out in an afternoon. Promise!
This post is sponsored by Rust-Oleum.
If you haven’t been following along on our bathroom makeover so far, let me catch you up.
our bathroom renovation
Where’s What You May Have Missed
Alright, now that you’re all caught up, let’s talk about the shelves.
First up, why did we decide to remove the cabinet to install shelves? Well, the main reason is that the cabinet wasn’t really ever the right size to hold towels. And that’s what we use it for. It was too narrow, so we almost never closed the door. Not only is an always-open cabinet door not all that pretty to look at, it’s also a serious head-hitting hazard. I can’t even tell you how many times I forgot it was open and whacked my head on the corner of it after using the bathroom.
In addition to not being functional, it didn’t look great. And if I can replace an ugly storage solution with a pretty one, I’ll do it every time.
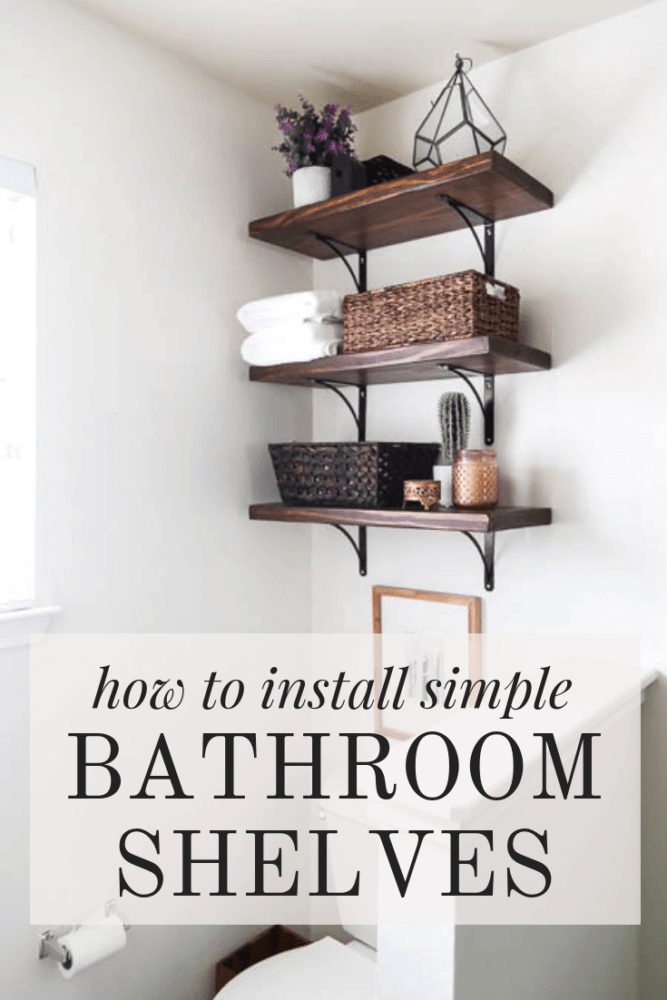
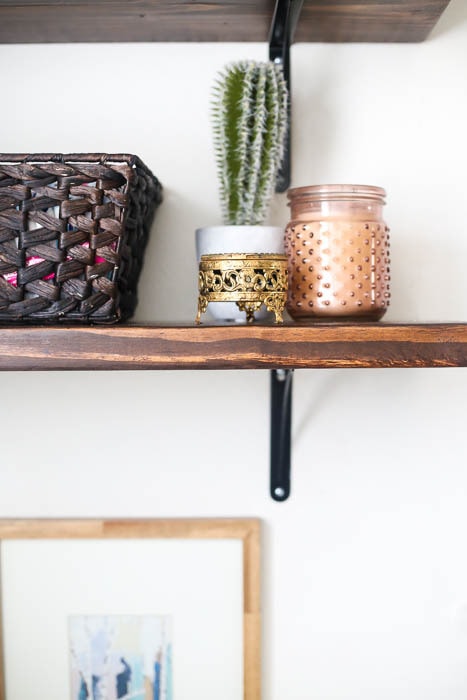
These shelves were easy to hang, and they look significantly better. Plus, no door to open means I don’t hit my head anymore, thank goodness.
You may notice that we don’t have all of our towels up there anymore. When we organized and re-arranged our vanity, we managed to find some room in there for our bath-sized towels. It’s a much more logical place for them (it’s deeper and way closer to the shower).
How to Hang DIY Open Bathroom Shelves
Materials Needed:
- 2X12 Pine Board (We bought a 12′ board and had them cut it in half in the store for easier transportation)
- 6 Brackets
- Wall anchors + Screws
- Power drill/driver set
- Sander + various sandpaper grits
- Varathane Stain
- Varathane Triple Thick Poly
Step One: Install Your Brackets
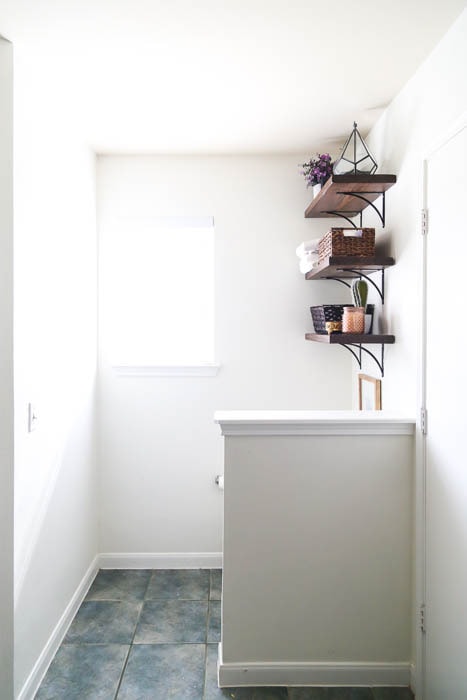
The first step is to determine the sizing and spacing for your shelves. A quick search told me that it’s typical for the bottom shelf to sit no lower than 24″ from the tank of the toilet. And, I already knew that I wanted 12″ between each shelf.
I determined the length of the shelf based purely on what I thought would look best in the space. The shelves are 27″ long, and each bracket sits about 4″ in from the end.
Once you’ve determined the spacing for your shelves and decided where on the wall you want them to sit, mark where you’ll need to drill your first hole. I did this by just holding the bracket up at the mark I had made for it. Then, I used a pen to make a quick mark on the wall in each of the holes.
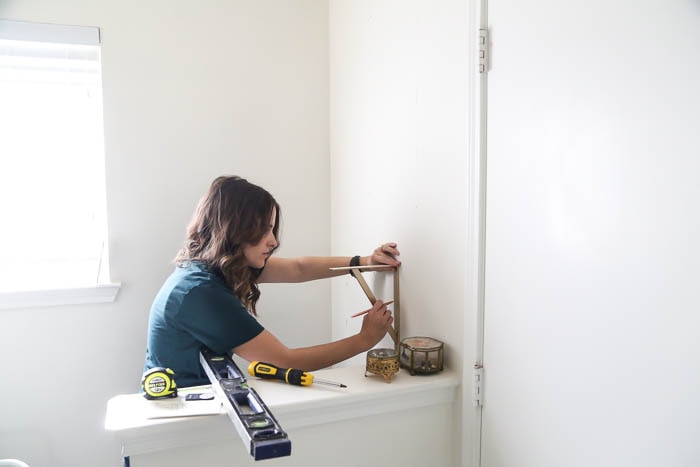
If your brackets don’t happen to be on top of wall studs, you’ll need to install anchors. All you need to do is drill a hole in the wall that is slightly smaller than the anchor, insert the anchor into the wall, and then you’re ready to attach the bracket.
Be sure to use a level when you’re installing the second bracket for the shelf. You’ll want to make sure that they’re lined up properly so your shelf isn’t crooked! After installing both brackets, you’re ready for the shelf.
Step Two: Prep Your Shelves
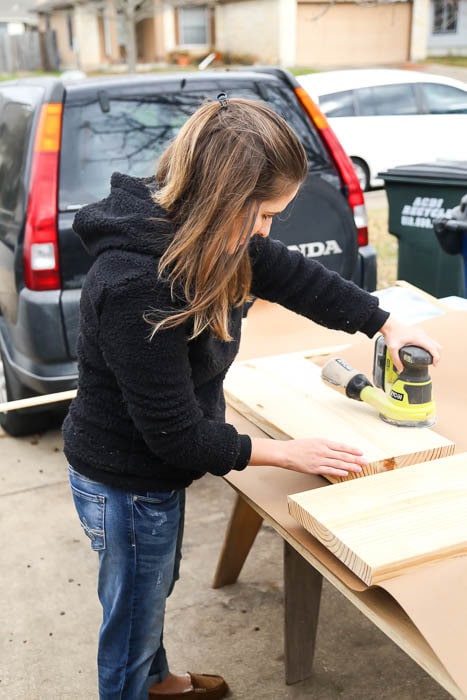
For the shelves, you’ll want to start by cutting your board to the right size using your miter saw (click here to learn how to use one!) and then thoroughly sanding it. I started with a low grit (I used 80) and slowly worked my way up to a really high grit (400) to ensure a really smooth finish. Once it was completely sanded, I was ready to stain.
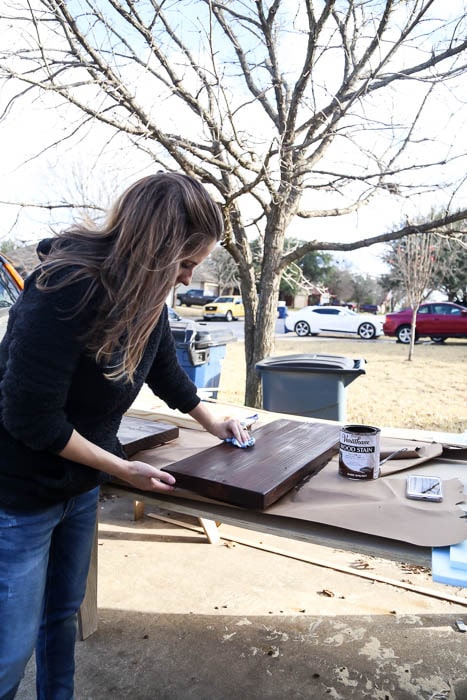
I used Varathane’s Dark Walnut to stain the shelves. I’m always a big fan of how their stains go on, and the colors are pretty perfect. The staining process is very simple. Just wipe on the stain using a lint-free cloth, allow it to set for a few minutes, then wipe off the excess!
Once the stain was fully dry, I sealed the shelves using Varathane’s Triple Thick Poly. It’s my favorite sealer to use on stained or raw wood pieces because it’s so durable and only requires one coat.
I let everything dry for the required time, and then? They were ready to be attached to the brackets!
Step Three: Attach the Shelves to the Brackets
All you have to do to hang the shelves is screw them directly into the brackets. Aside from staining the shelves (which takes a while due to dry time), the entire process can be knocked out in just a few hours.
The Budget Breakdown
Alright, I know you’re asking yourself how much this whole thing cost. Shelves are pretty pricey to buy pre-made, so it might seem intimidating. But, I promise, this is a totally budget-friendly project.
Here’s how it all breaks down.
- 12′ 2×12 Pine board: $15.93
- Brackets: $6.58 each at Lowe’s (these on Amazon are cheaper!)
- Stain: $8.98
- Triple-Thick Poly: $13.97
TOTAL: $78.36 (It’ll be closer to $55 if you already have some stain and finish!)
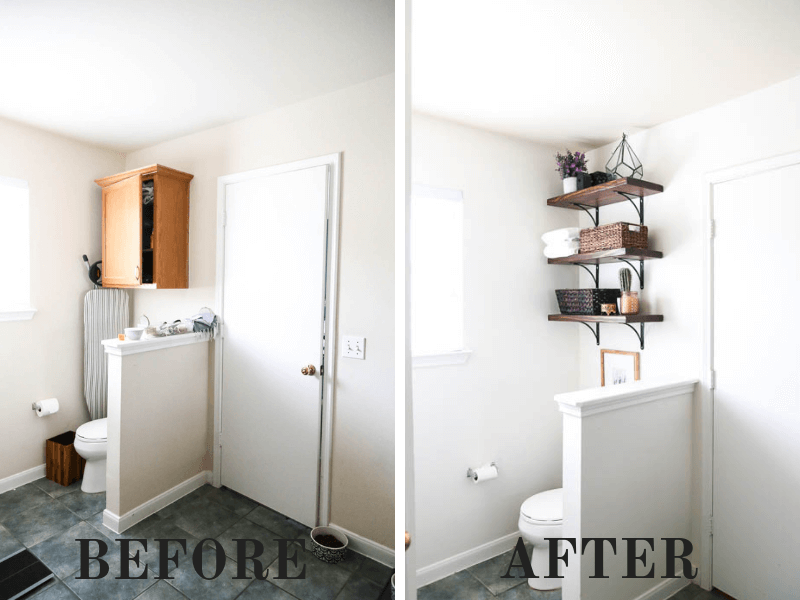
I’m really thrilled with how these little DIY bathroom shelves turned out – and you may also notice in the photos that we painted the walls! They were a really dirty-feeling off-white before and the fresh white looks so much cleaner.
This bathroom is coming along really well so far, and I’m so excited to keep going and see how the rest comes together!
