Our New Christmas Tree (And How I Decorate It)
We got a new Christmas tree this year! I loved the Christmas tree we’ve had since we moved into this house in 2019, but last year the lights started dying on it. We tried really hard to fix them, but none of our efforts worked – the entire middle section of the tree was totally dark. We debated just adding some strings of lights to it, but we found a great deal on a gorgeous tree at Home Depot and went for it.
It took me a minute to adjust to the new tree (it’s way more flocked than our old one!), but I’m having fun with the new look.
I realized I’ve never done a full post on how I decorate our flocked Christmas tree, so today I thought I’d break down the steps and my general thoughts on Christmas tree decorating. Because I have a lot.
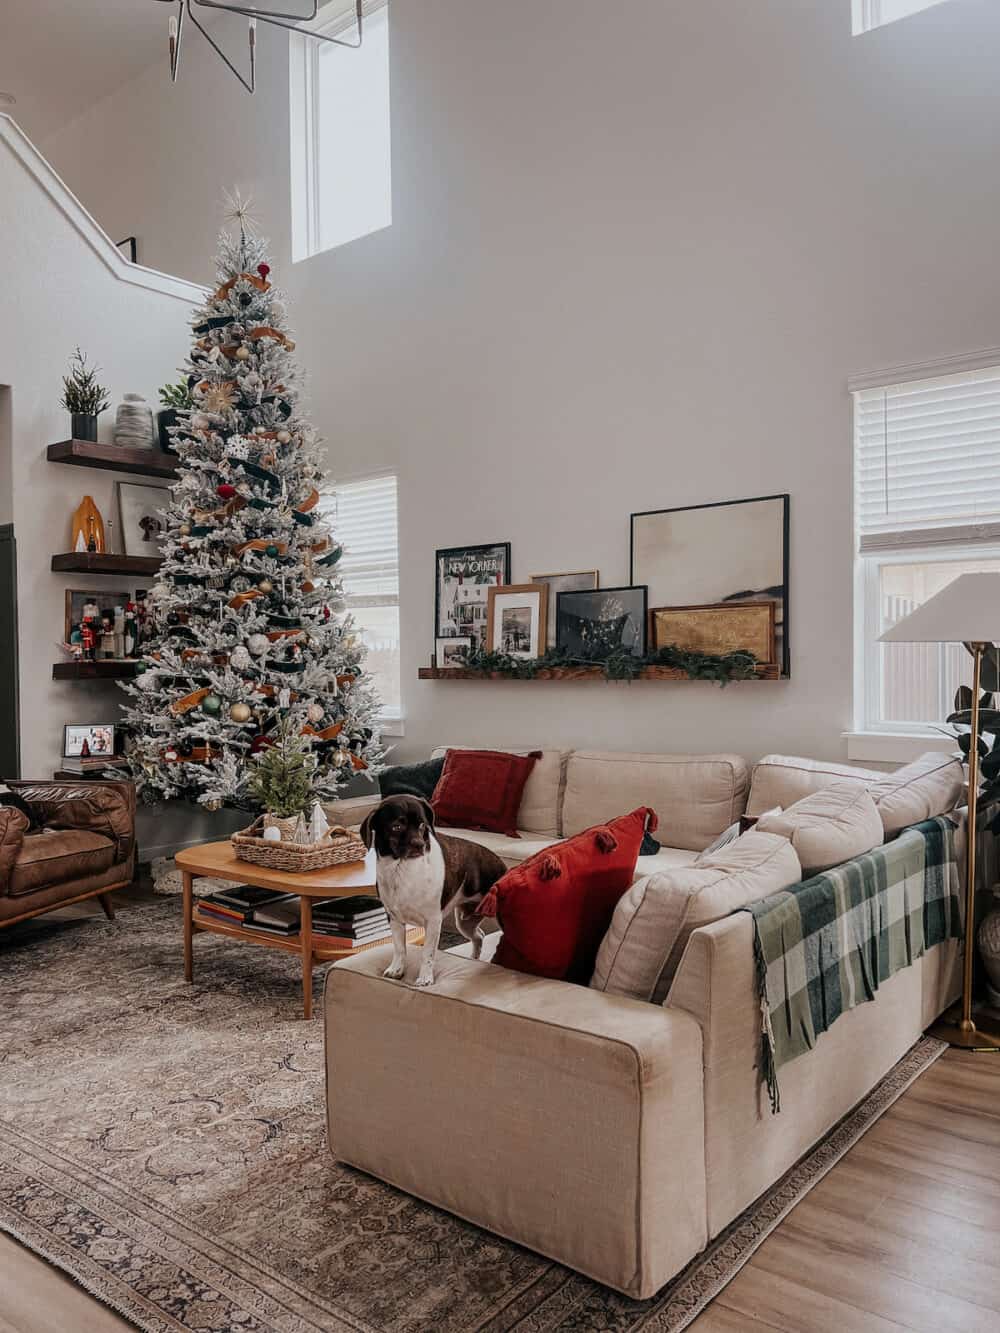
Decorating a Flocked Christmas Tree: Tips & Tricks
Step One: Set Up & Fluff
Let’s start with the most obvious and fundamental part – set your tree up! I think we all know that how you fluff a Christmas tree is vital to how the whole tree looks, but it’s worth repeating. How you fluff a Christmas tree is vital!
I won’t get into detail too much here because I think it’s a relatively self-explanatory process. Just know that the more time and energy you put into making sure your tree is fully fluffed and doesn’t have any big, gaping holes, the better it’ll look.
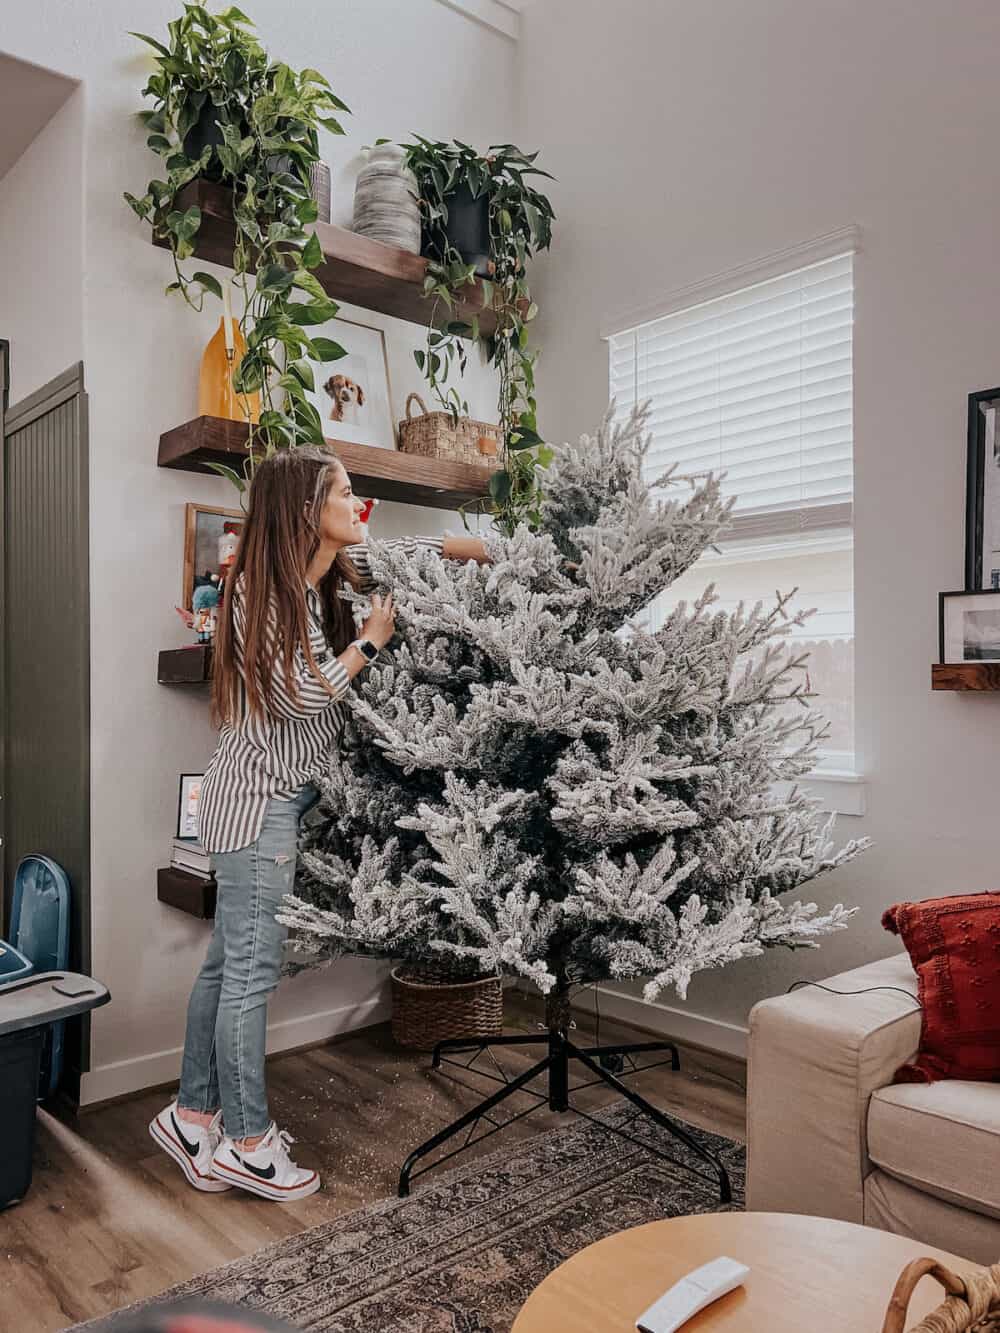
Once the tree is fluffed and ready to go, I move on to ribbon!
Step Two: Add Ribbon
Next, I like to add ribbon to my tree! I’ve been doing this for as long as I can remember and I think it adds some really beautiful dimension and texture. This year, I upped the ante and added two types of ribbon. I don’t know if I’ll do that every year, but I really do love the look!
There are two basic methods for adding ribbon to a Christmas tree. I’m going to run through both and then share my pros and cons for each.
How to Add Ribbon to a Christmas Tree: Method One
The first method is the obvious one. Grab your roll of ribbon, start at the top and wrap it around. You want to use a wired ribbon (it’s much easier to work with) and create waves, tucking it in behind the branches and pulling it out in front.
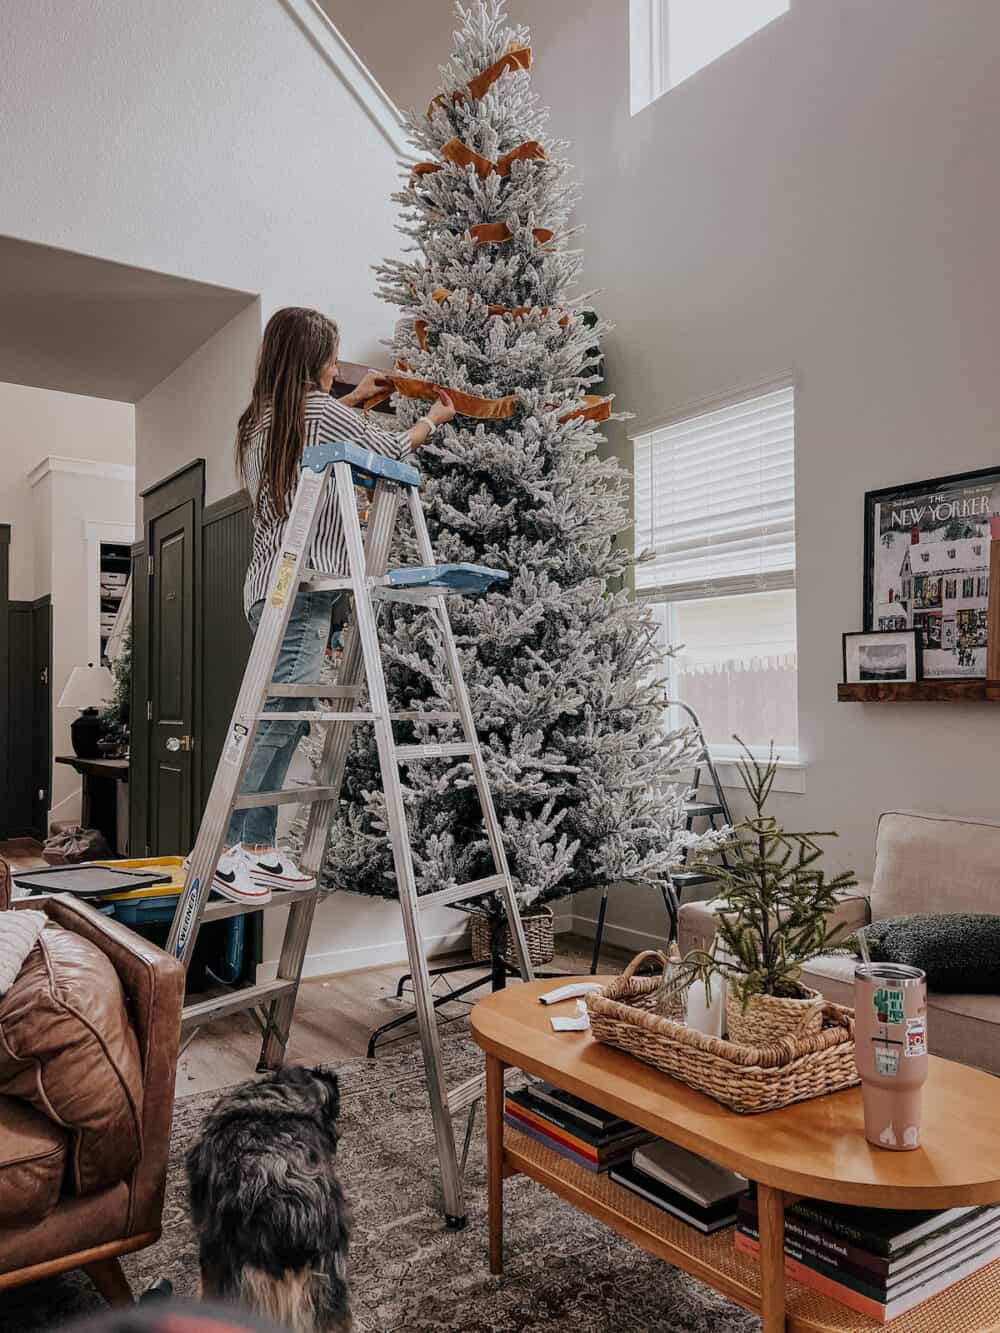
The pros of this method are:
- It looks continuous around the tree and doesn’t leave gaps at all
- If you have a really large tree, it can feel less intimidating than the alternate
- Once you get it down, it’s really quick
But here are the cons:
- It uses more ribbon than the alternate method overall, since you have to wrap around the entire tree
- If you don’t do it well, it can look like the ribbon is just sitting on the tree – it takes a certain level of skill
This is the method I’ve used for years and, until this year, I wasn’t a big fan of the second method I’m going to share. But, I used method two on my secondary ribbon this year and I really appreciate how easy it was. So, let’s get into that!
How to Add Ribbon to a Christmas Tree: Method Two
The second method is one many people don’t think of, but it’s actually perfect for beginners and is really simple. Here’s what you do:
- Cut your ribbon into strips of about 2′-3′ (I cut some longer than that, too)
- Tuck the ribbon into the tree, hiding the ends as best you can. Create a little indent in the middle so it looks like the ribbon is weaving in and out of the tree
- Repeat until it looks done!
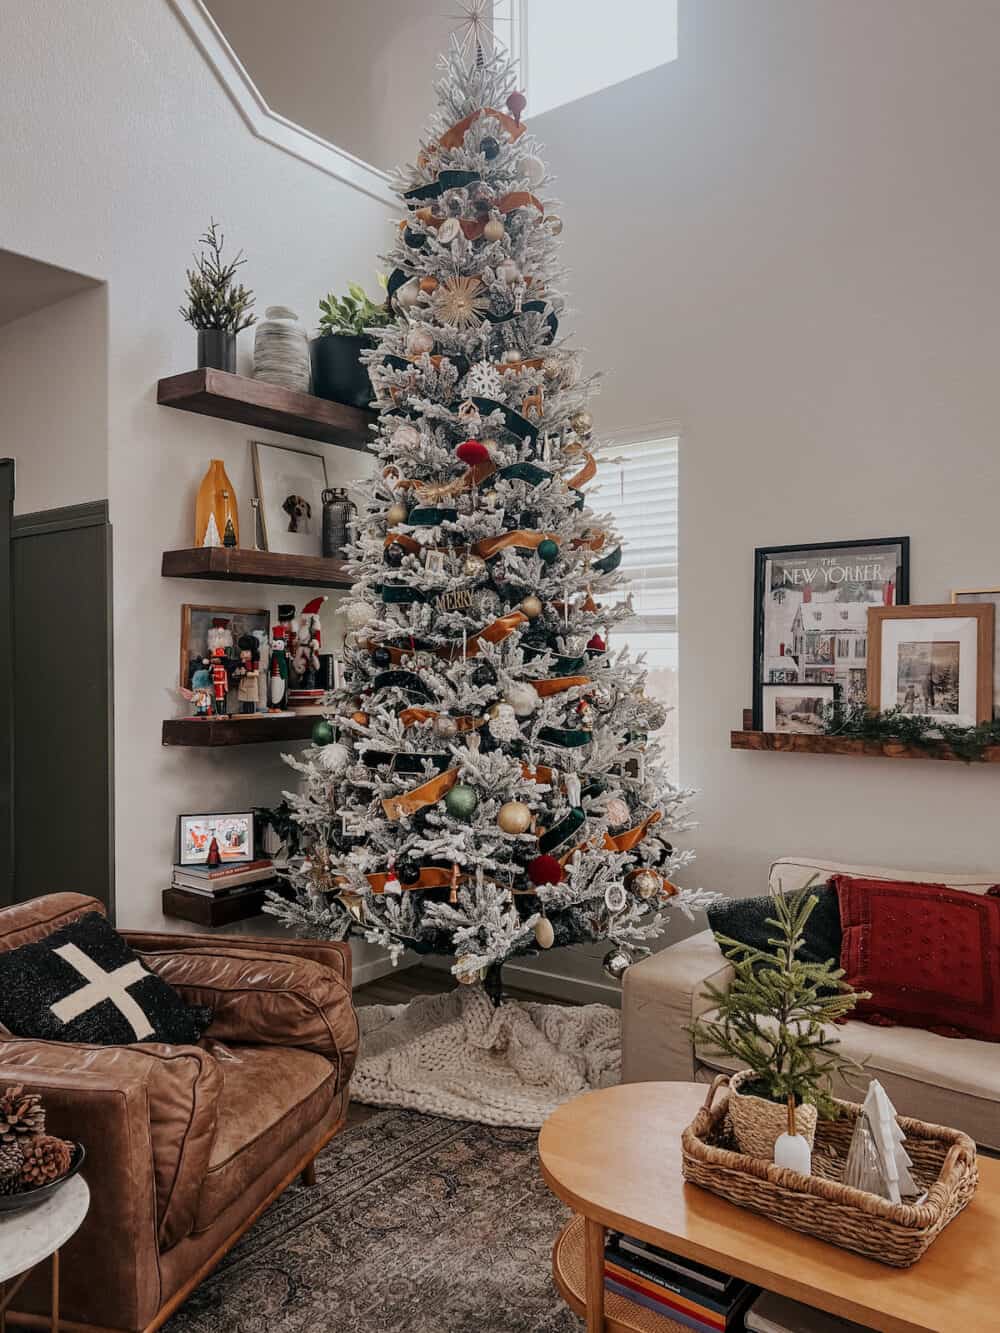
The pros?
- This method is super fast, and can look just as good as the other if done right.
- It’s easy to avoid the mummy-wrapped look on your tree
- It uses less ribbon, since you don’t have to even put ribbon on the back of the tree if it faces a wall
The cons?
- I personally think it can be harder to pull this one off. If you don’t line the ribbon up properly it’s obvious they’re strips, and looks kind of funny.
- You need to take the time to step back and evaluate how it looks regularly, or else it’ll end up looking off. It’s harder to make it look like one continuous piece or avoid leaving gaps.
So, where do I land? I think that next year I might try doing the method two only. I’ve been staunchly method one for years and years, but now that I’ve gotten the hang of this method I think I might prefer it overall.
There’s no right or wrong way to do it, of course. Both methods are totally valid, and it’s just a matter of what you prefer. The key is knowing that both methods require some practice, so don’t give up on either one too soon!
Whew. Okay. That was a lot of talk about ribbon. Now let’s talk ornaments.
Step Three: Add Your Ornaments
Once your ribbon is done, it’s time to add the ornaments in. I know this isn’t anything revolutionary – just put them on the tree in a way that makes you happy. But, I do want to touch on a few thoughts I personally have about Christmas ornaments. A mini soapbox, if you will.
I think sometimes we can feel pressure to create the most gorgeous, Pinterest-worthy Christmas tree out there. We see them all over the internet and our social feeds are flooded with them. But, hear me out: a sentimental tree filled with all the ornaments that make you smile is also so, so gorgeous. We have ornaments with pictures, ornaments to commemorate trips, and a few homemade ornaments on the tree.
Of course, I like to make sure the ornaments are cohesive and look good together, but the older I get the more I love a tree that just feels cozy and nostalgic and represents our family.

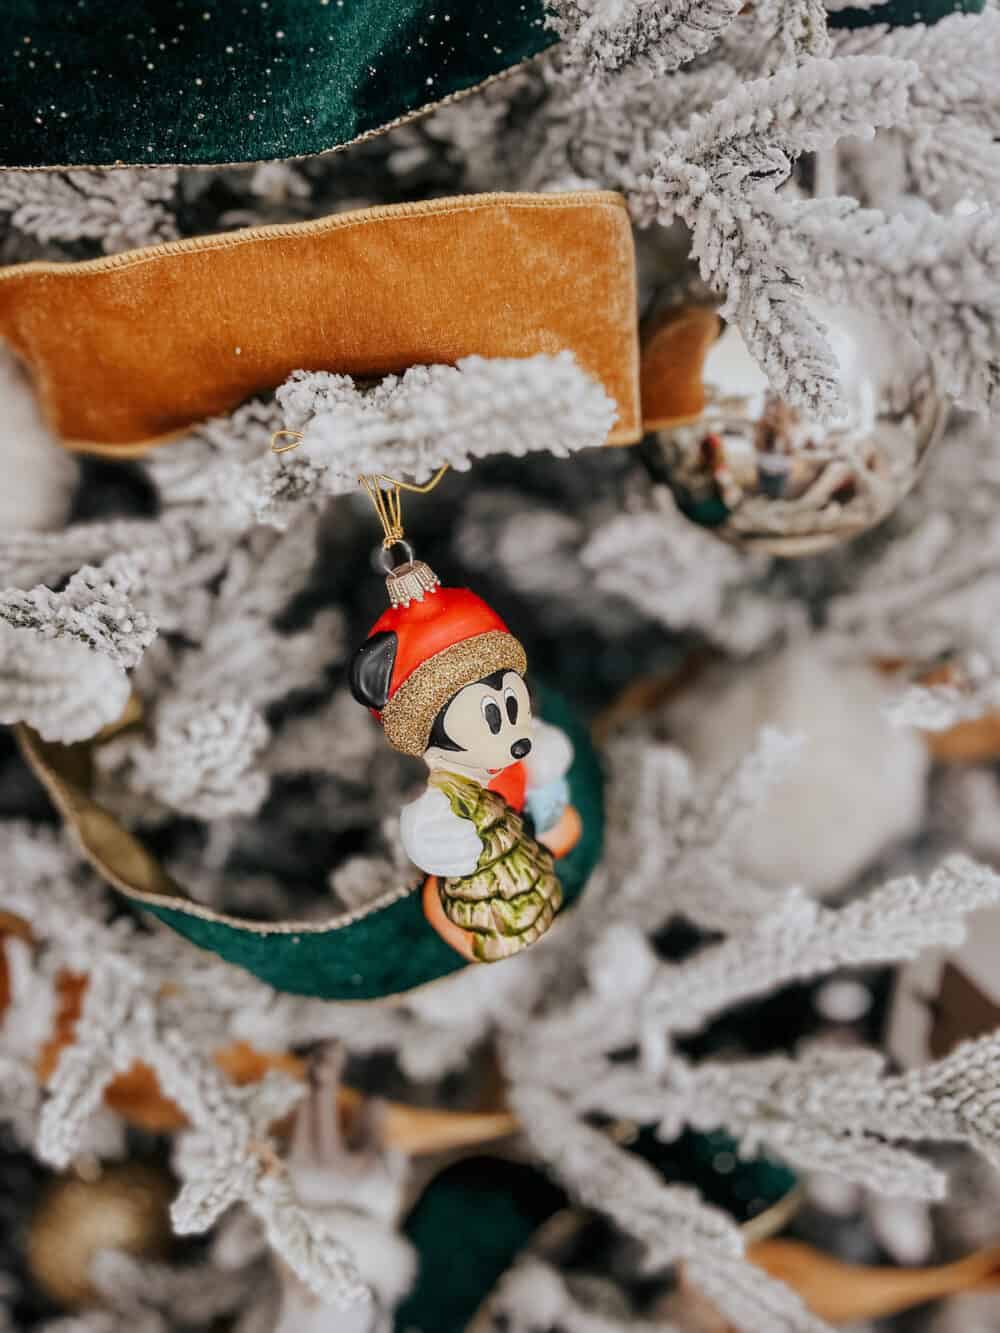

I always let the kids get started adding ornaments to the tree, and then I go back in and adjust a tad. I don’t overthink it, I don’t put a ton of pressure on myself, I just put up the ornaments that bring our family joy year after year.
And also? I’ve learned that more is more when it comes to ornaments. Seriously, you can’t have too many on your tree. The more you add, the more full of interest and dimension your tree is!
And that’s that. My mini soapbox on Christmas tree ornaments. The bottom line? You don’t need a tree that looks like it could be in a magazine if that stresses you out. Just add what makes you and your family smile and don’t worry about the rest.
And that’s how I decorate our flocked Christmas tree. I’ll link a few sources for things on our tree below, and I’ll be back later this week to share aaaall the rest of our interior Christmas decorations this year!
