My Minimal DIY Christmas Village
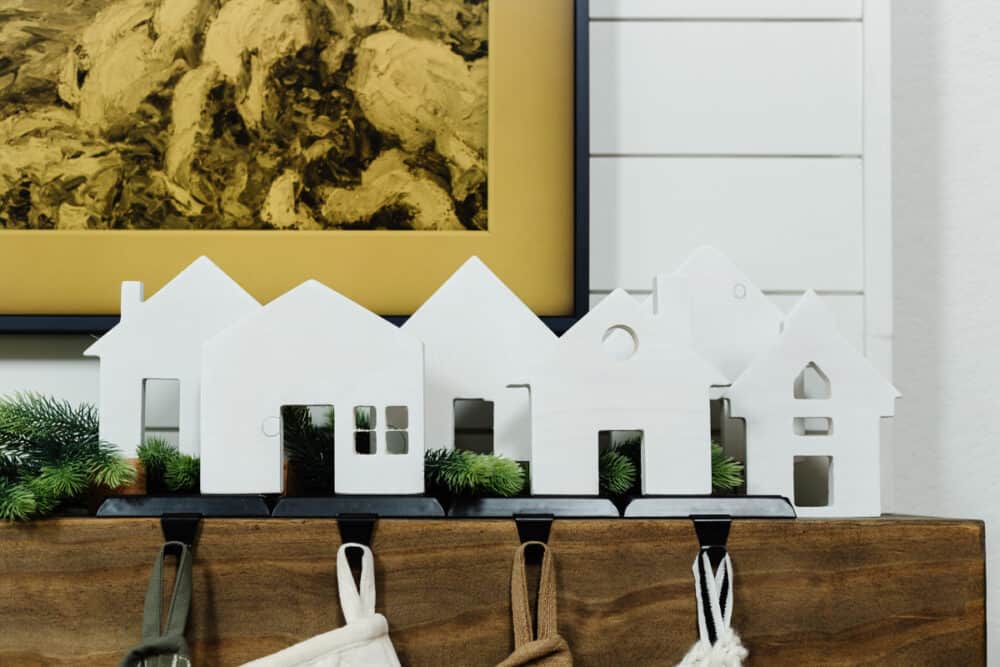
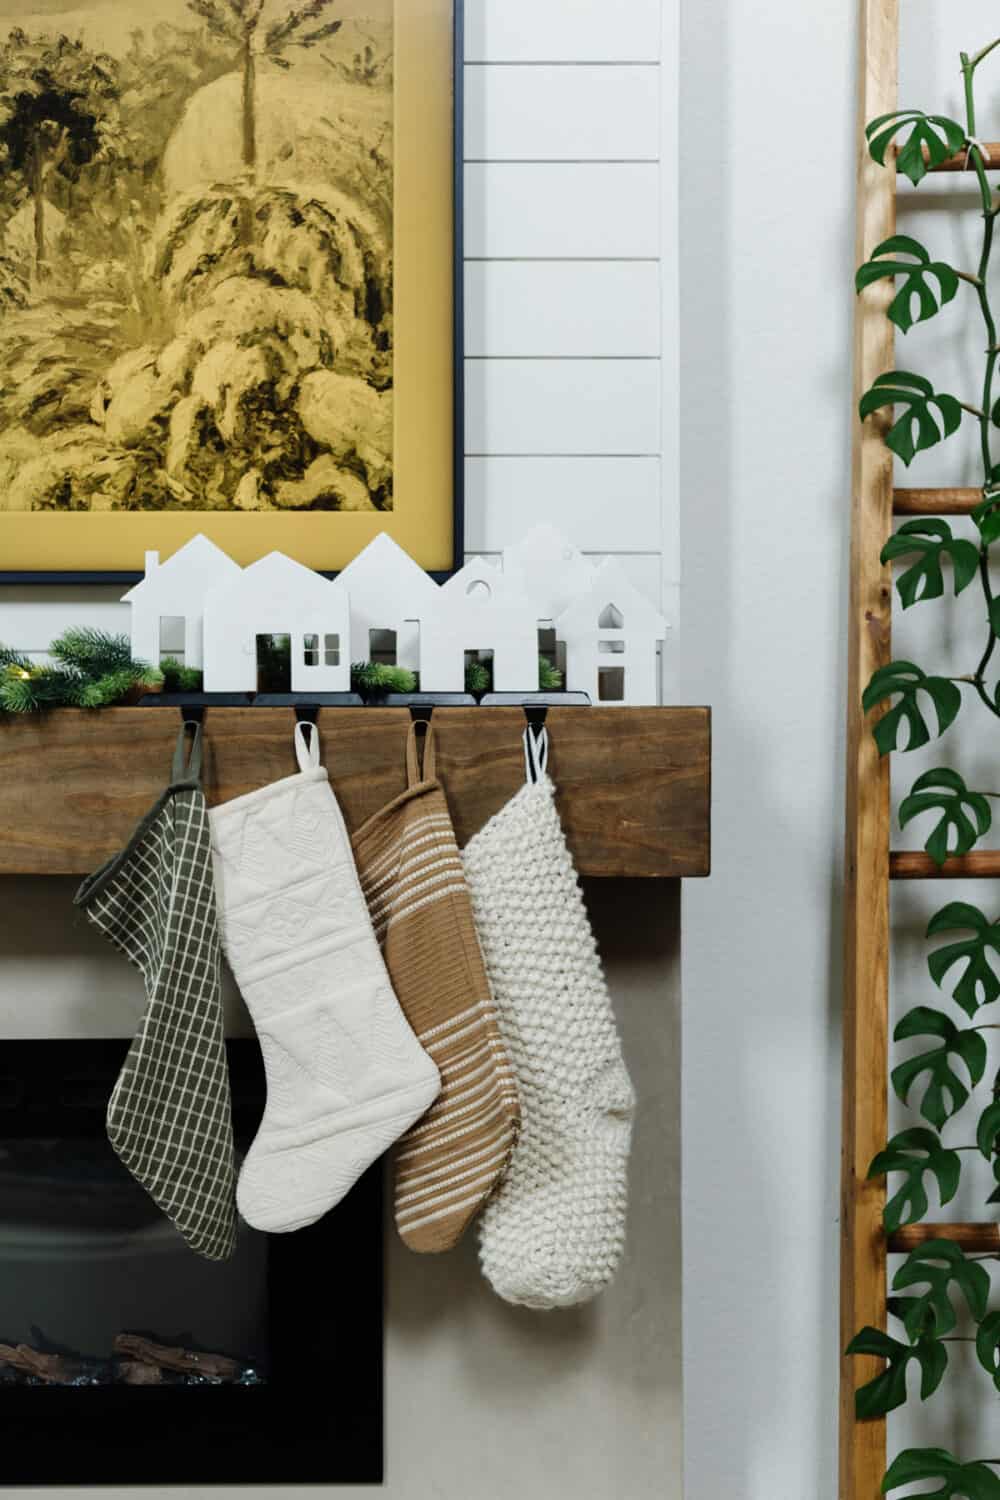
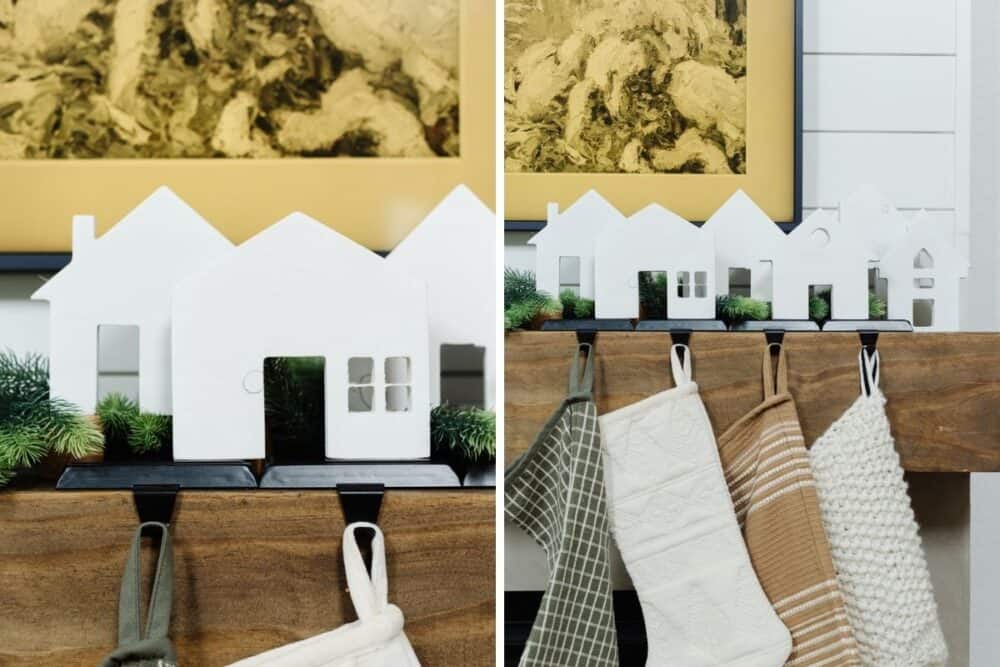
I love a good Christmas village. Growing up, my grandparents always had a really elaborate one in their living room. I could sit and stare at all the details for hours at a time! My parents have carried on the tradition in their own home, as well. Despite my best efforts, I haven’t quite managed to find a good spot for a Christmas village in our house. So, this year, I decided to pay homage to the idea with a simple, minimal DIY Christmas village on our mantel!
This post is sponsored by Inventables.
I was nervous to try this project out, if I’m being honest. I had a very specific image in my head of how I wanted it to look, and I was worried I wouldn’t nail it. But, I think I did!
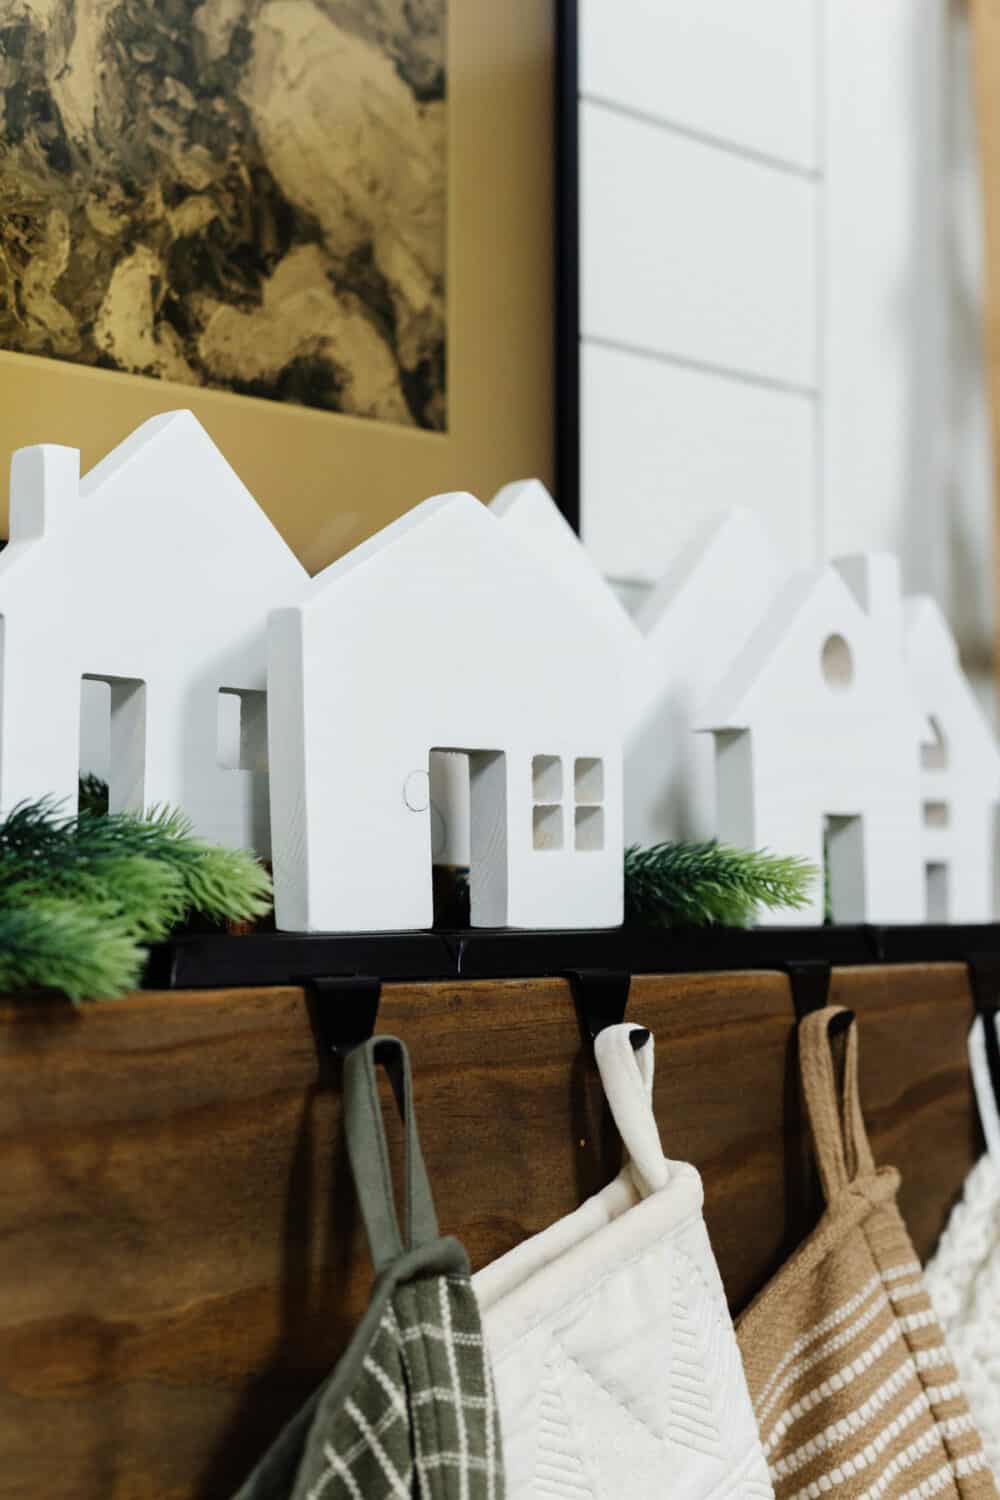
This simple little village of houses was really easy to make using my X-Carve, and I can’t stop smiling at the cute little houses all lined up in a row. Someday I’d still love to set aside a spot in our home for a really elaborate, traditional village. But for now? This is a great alternative.
And the bonus? These little houses are neutral enough that I could really leave them up year-round if I wanted to! I love a good Christmas-y decoration that can also double as day-to-day decor.
How to make a dIY christmas village
Tools & Materials Needed:
- Inventables X-Carve 3D Carver
- 1/8″ Straight End X-Carve Bit
- Village SVG file for Easel
- Wood (I used some scrap 1×8 pine, but anything you have on hand will work!)
- Sander + sandpaper
- White spray paint (I used this one)
the process
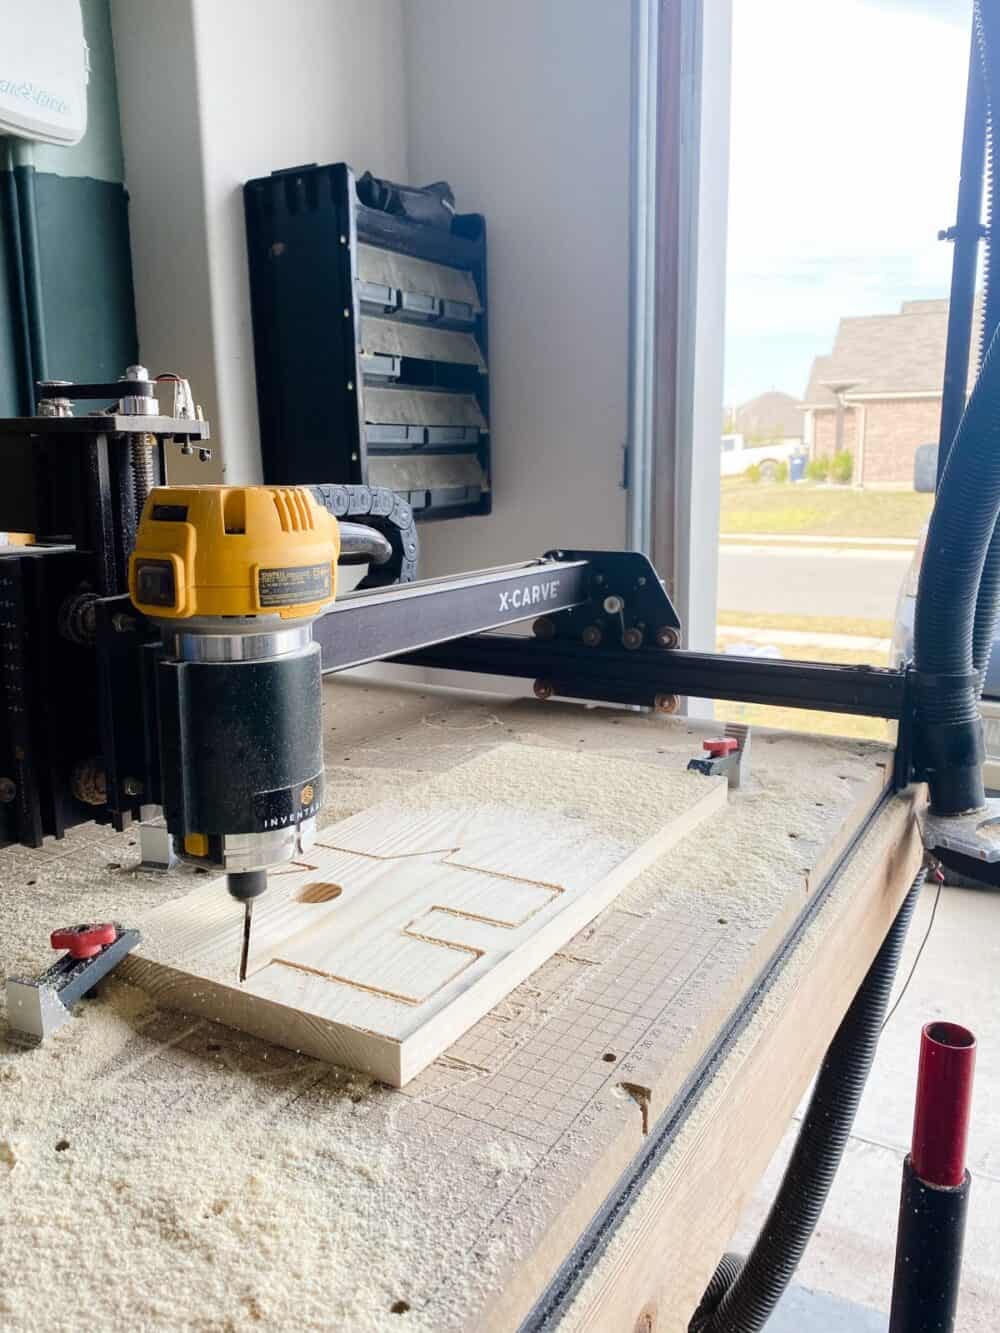
You’ll start by cutting out your houses with your X-Carve. I’ve had this guy for a few years now and it’s the best tool for this kind of project. I can literally set it up, press a button, and work elsewhere in the garage while the machine does all the work for me.
And let’s be honest, while I could probably cut out these houses with a jigsaw or a scroll saw, it would never look this good. Plus, it would take at least three times as long.
X-Carve for the win!
I’ll note that my X-Carve is due for a few upgrades. Inventables recently sent us a few supplies to refresh it, like new belts and stepper motors along with a few other upgraded pieces, all of which come with the new X-Carves. I haven’t had the time to set it all up yet, but I’m really excited to get that done and see the difference it makes!
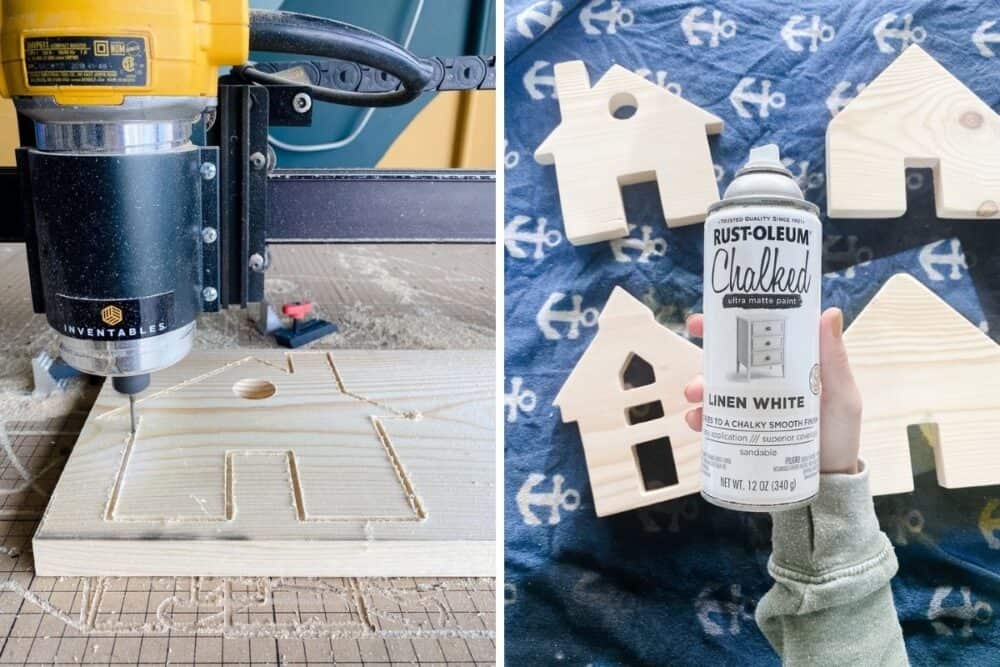
Once you’ve finished cutting out all of your little houses, all that’s left to do is sand and paint them.
Have I mentioned yet that I love a project where my X-Carve does literally almost all of the work while I just sit back and watch?
If you have a little more space, you could cut out multiples of a few of the houses. Or, you could even cut out some cute accessories for the village like trees, street lights, or even little people!
I wanted to keep mine super minimal this year, but we’ll see what happens next year when I break the village out again!
X-Carve Details
If you haven’t ever seen one of our X-Carve projects, you may be wondering, what is this magical machine?! It’s been a while since I did a bit of a deep dive on it, so let me get you up to speed.
The X-Carve is a CNC machine. That means it’s a machine that can cut and carve designs from your computer and onto materials like wood, aluminum, plastic, and more. It’s a really great tool for any woodworker to have in their shop (because, who wouldn’t want one?!) but it’s especially meant for creators who have an interest in opening up a shop and selling something.
The X-Carve makes it so fast and easy to create and sell beautiful products like signs, personalized cutting boards, and more. Selling my creations isn’t an avenue I’ve explored yet, but it’s something I get asked about often and may dive into someday! I’ve heard from people who tried out an X-Carve based on my recommendation and now have successful businesses creating and selling their products, which makes me so happy to hear!
X-Carve Projects
If you need a better idea of what you can do with an X-Carve, here’s a peek at some of the projects I’ve made with mine. Just click on the title at the bottom of each image to go to the post!
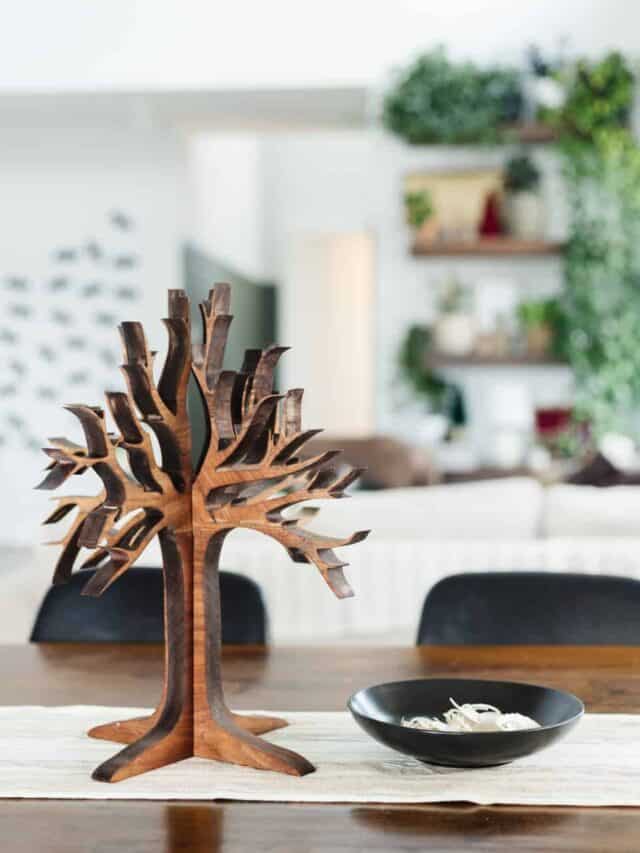
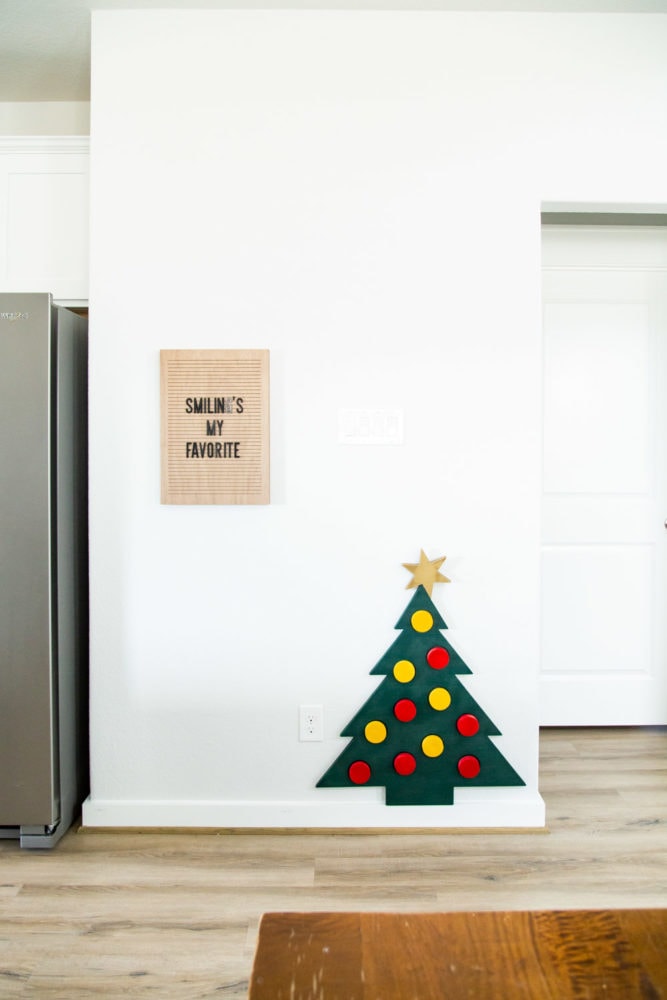
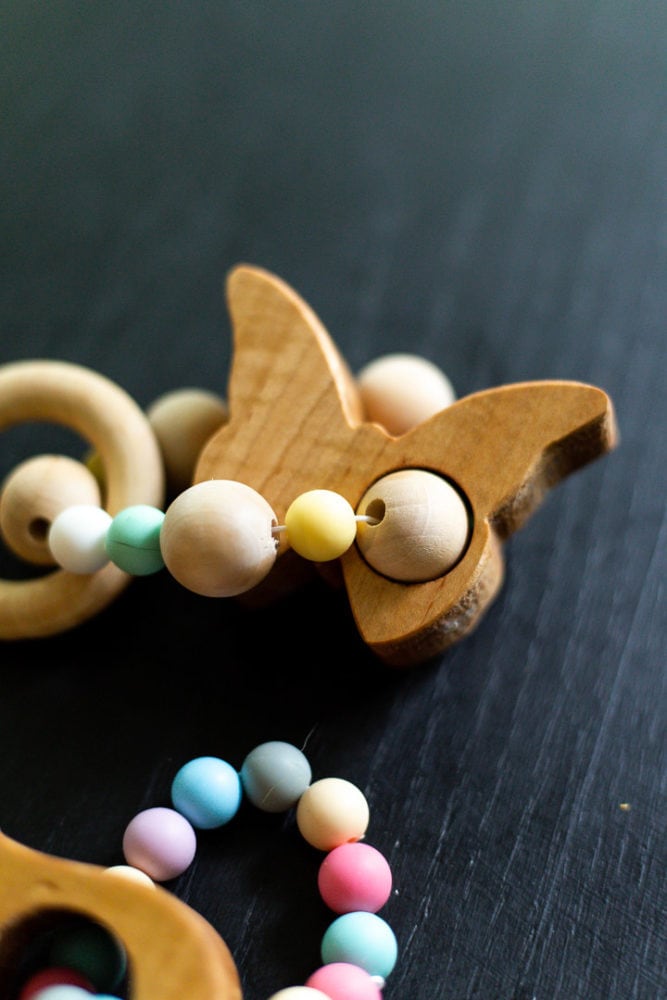
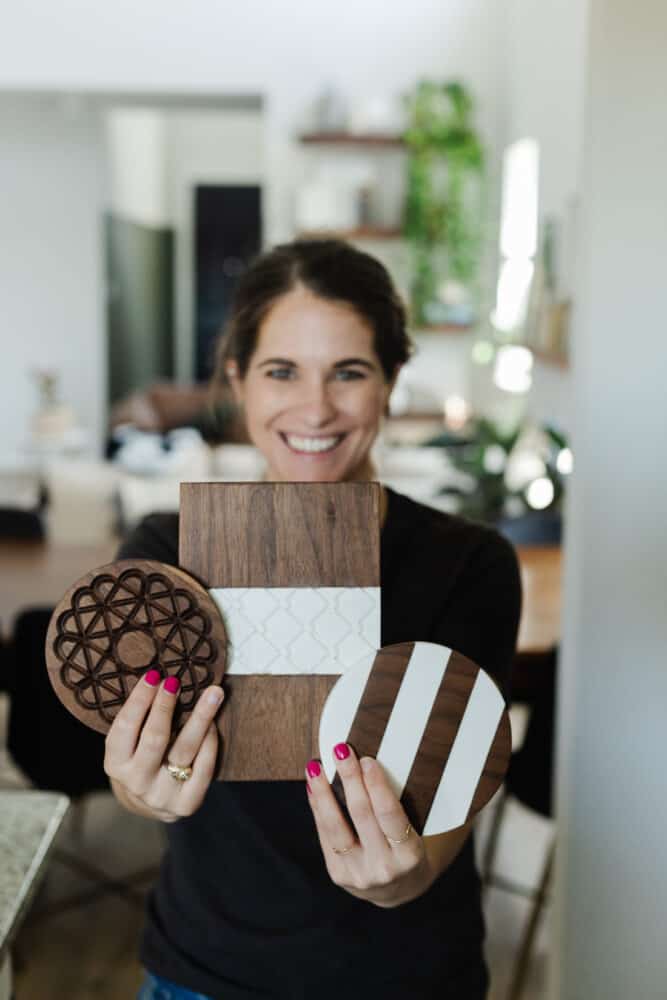

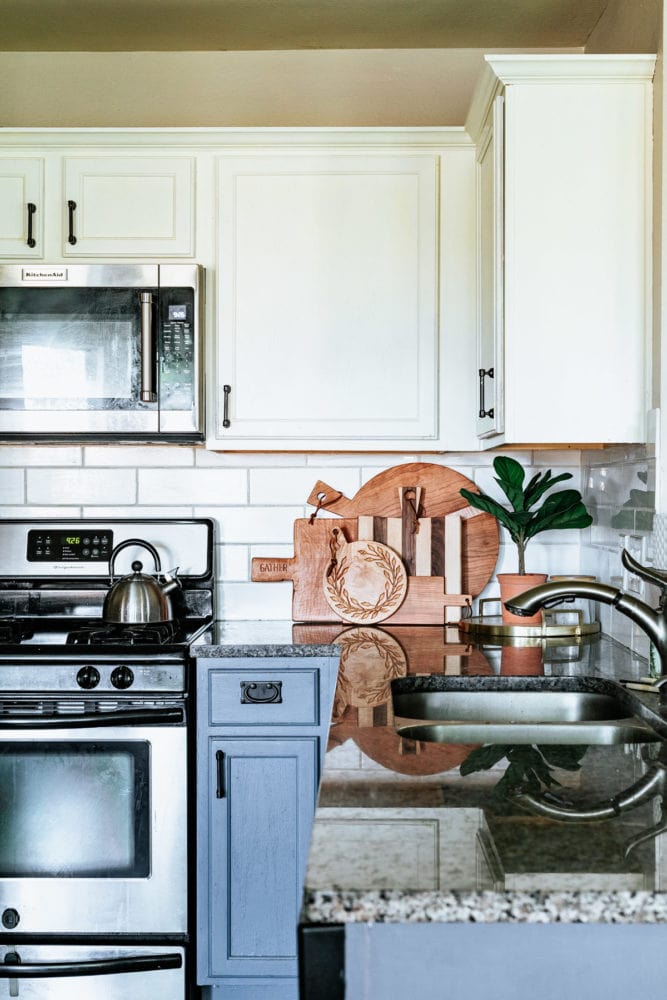

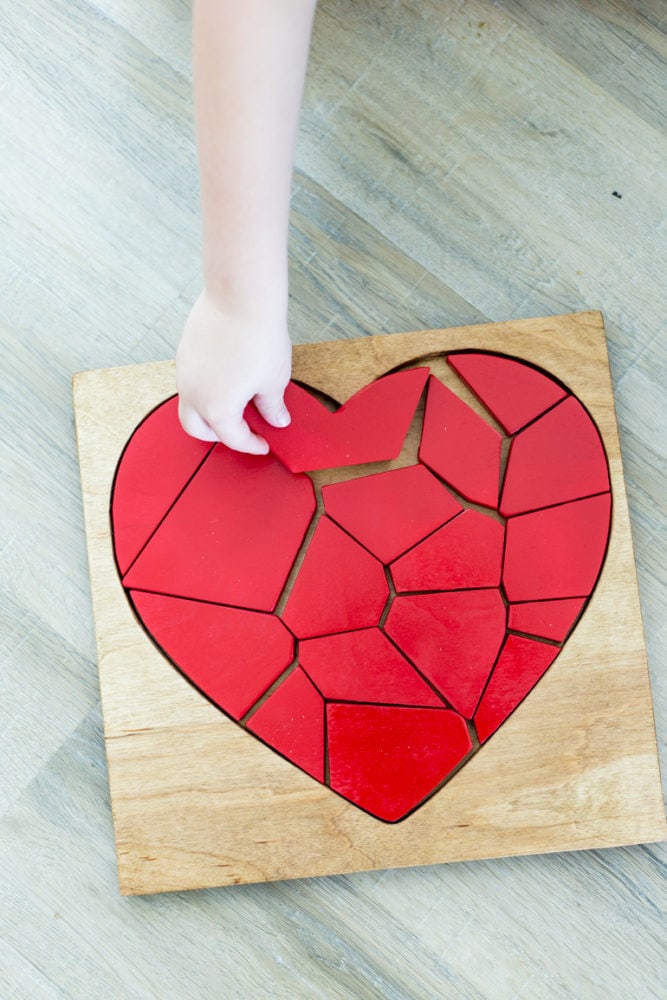
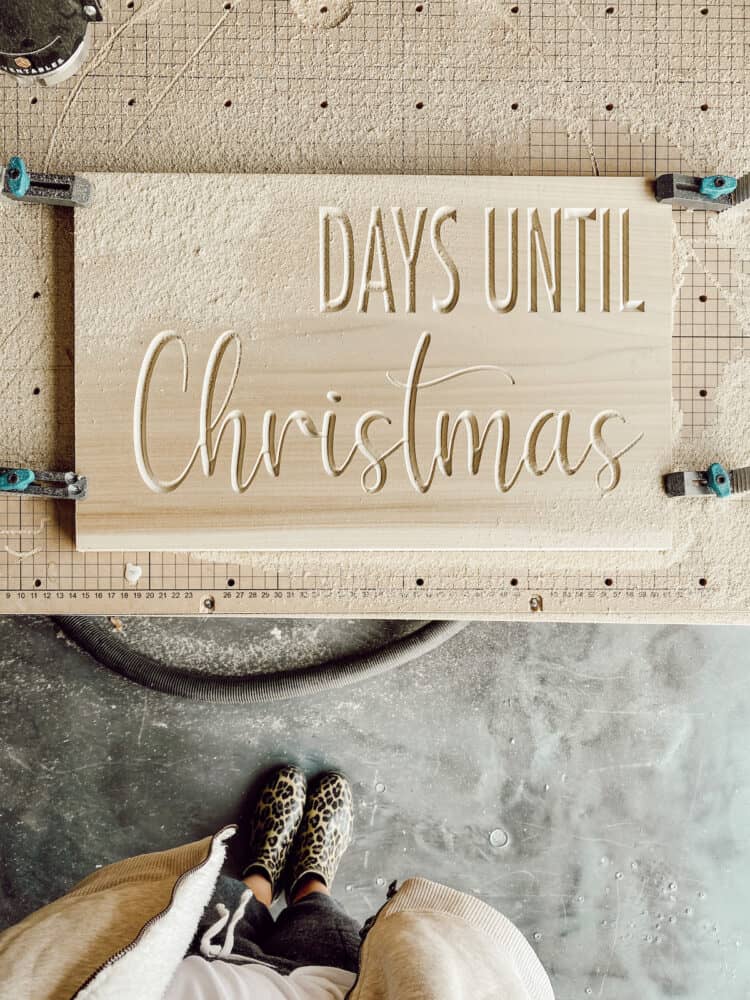

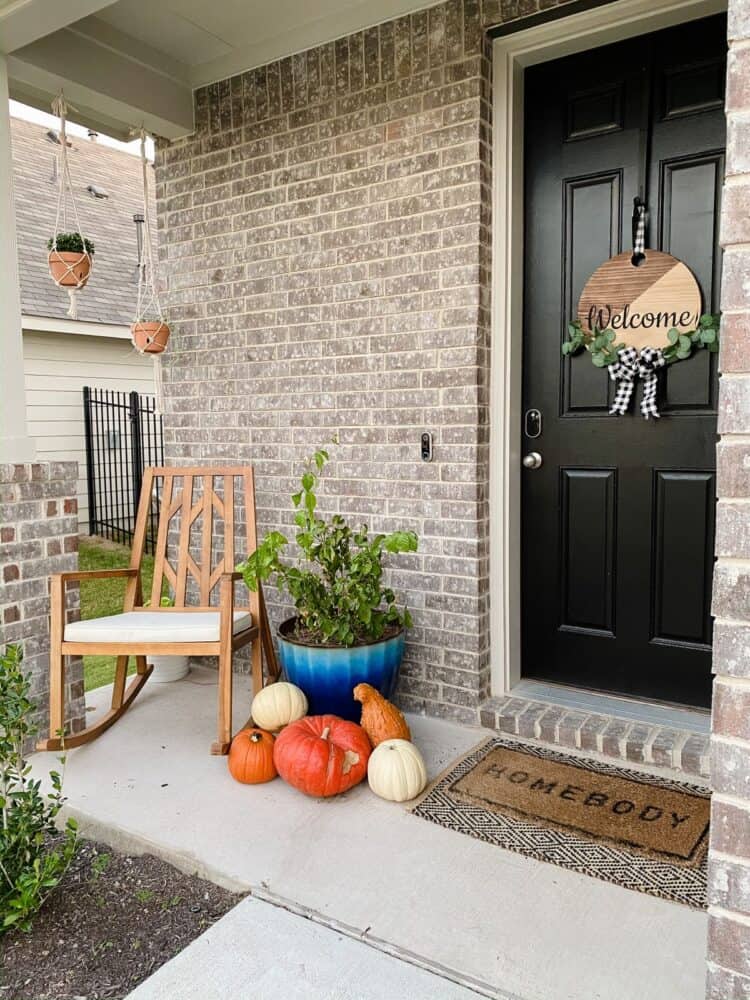
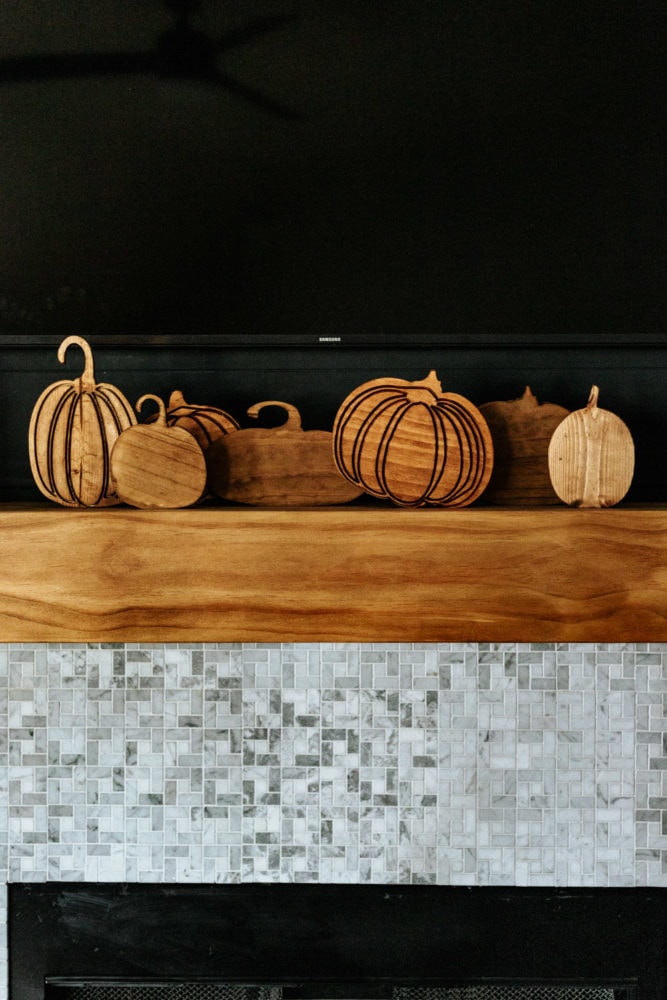
Whew! That’s a lot of really fun projects.
Not gonna lie, I might have gotten a tad emotional looking back at these. The carved wood pumpkins were the first project I ever did on the X-Carve all by myself…and since then I’ve come so far!
Big, complex tools like this can feel really intimidating and scary – especially if you’re new to using them. But, if I’ve learned anything at all from my X-Carve it’s that the only way you’ll ever learn and grow is to dive in and just try. I was so nervous the first time I used my X-Carve without Corey there to babysit me, but now I can design and create just about anything I can dream up!
The bottom line is, sometimes you have to be willing to fall on your face a bit, make mistakes, and throw away a few ruined projects in order to truly learn how to do something. This machine truly has taught me how to slow down and give myself grace and just learn – and man, that’s such a gift.
Who knew power tools could be so philosophical?!
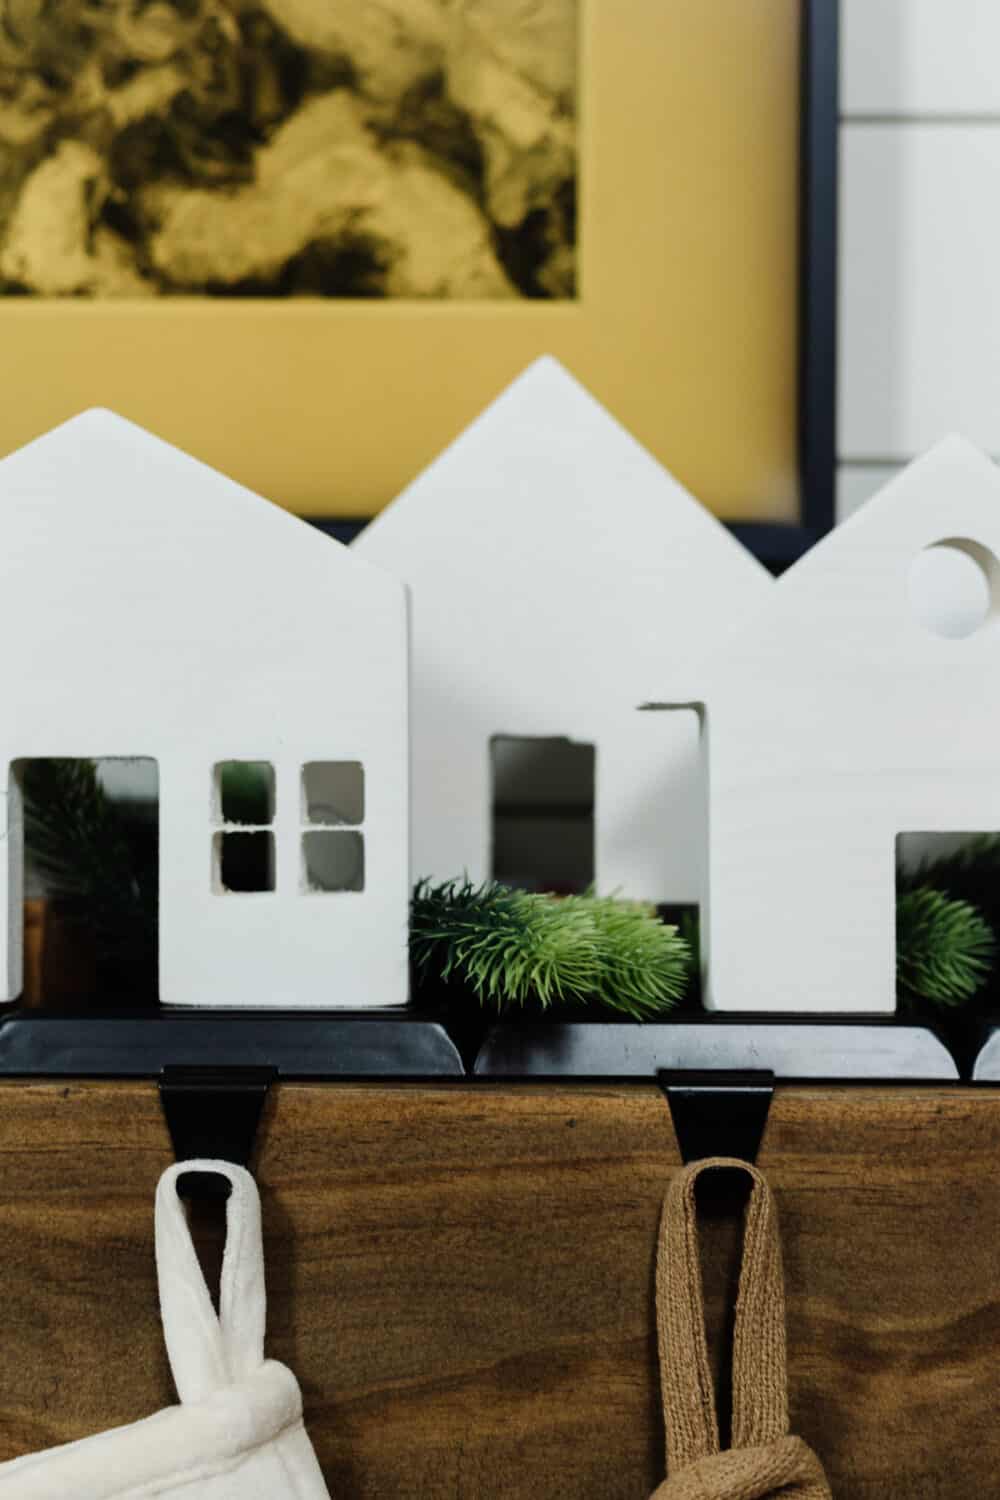
Click here to learn more about the X-Carve! And, if you’ve been considering getting one and starting your own business (or just getting one for yourself), consider this your gentle nudge to dive in and DO IT!
