Framing Our Bathroom Mirror
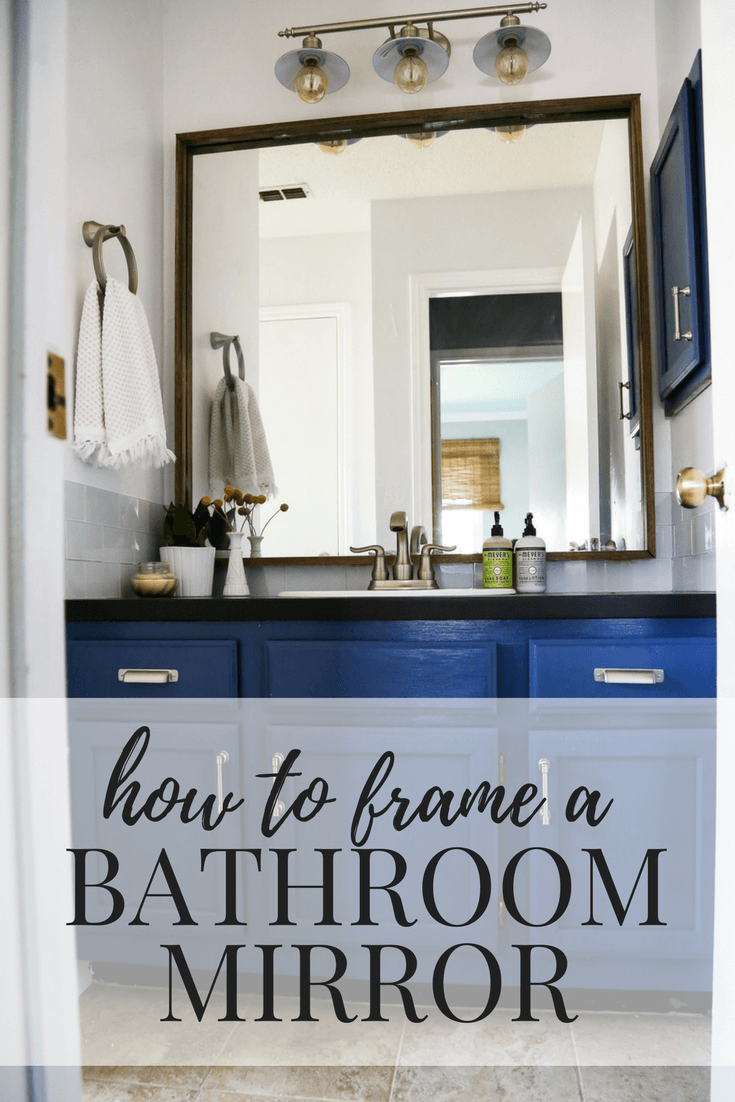
One of my very favorite projects in our recent weekend bathroom makeover was framing out the old, builder-grade mirror in there. I always love the idea of a nice, big mirror in a bathroom, but let’s be real – those plain ol’ mirrors are not that fun to look at.
Thankfully, it’s super easy to build a frame and instantly upgrade the mirror for just around $20 worth of wood.
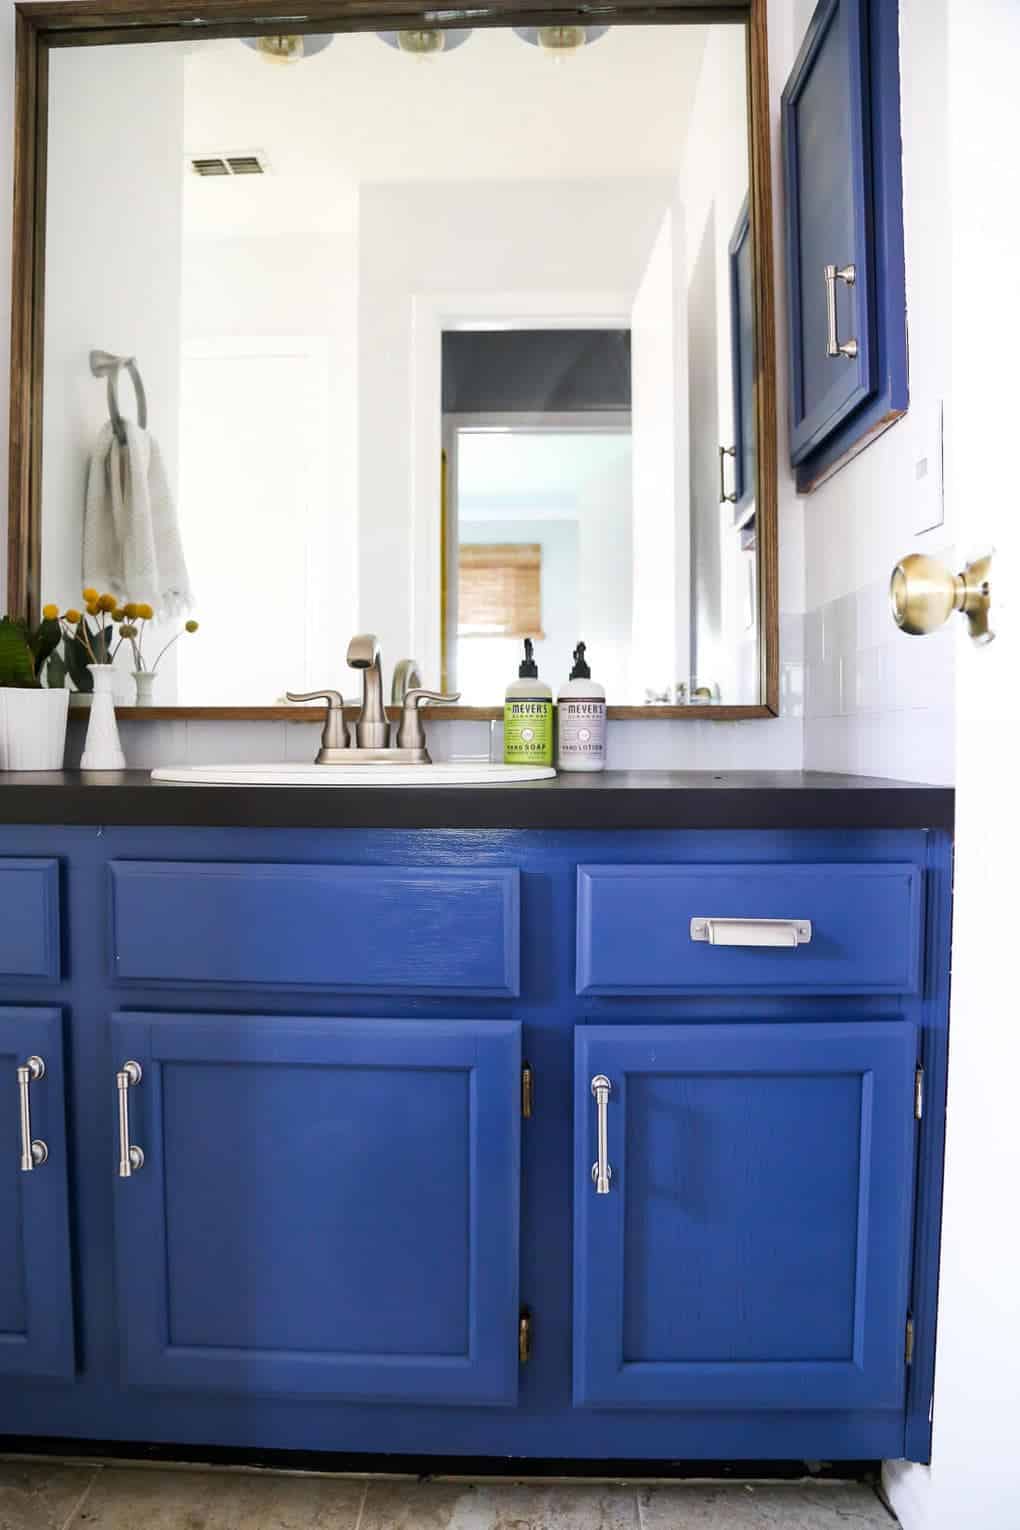
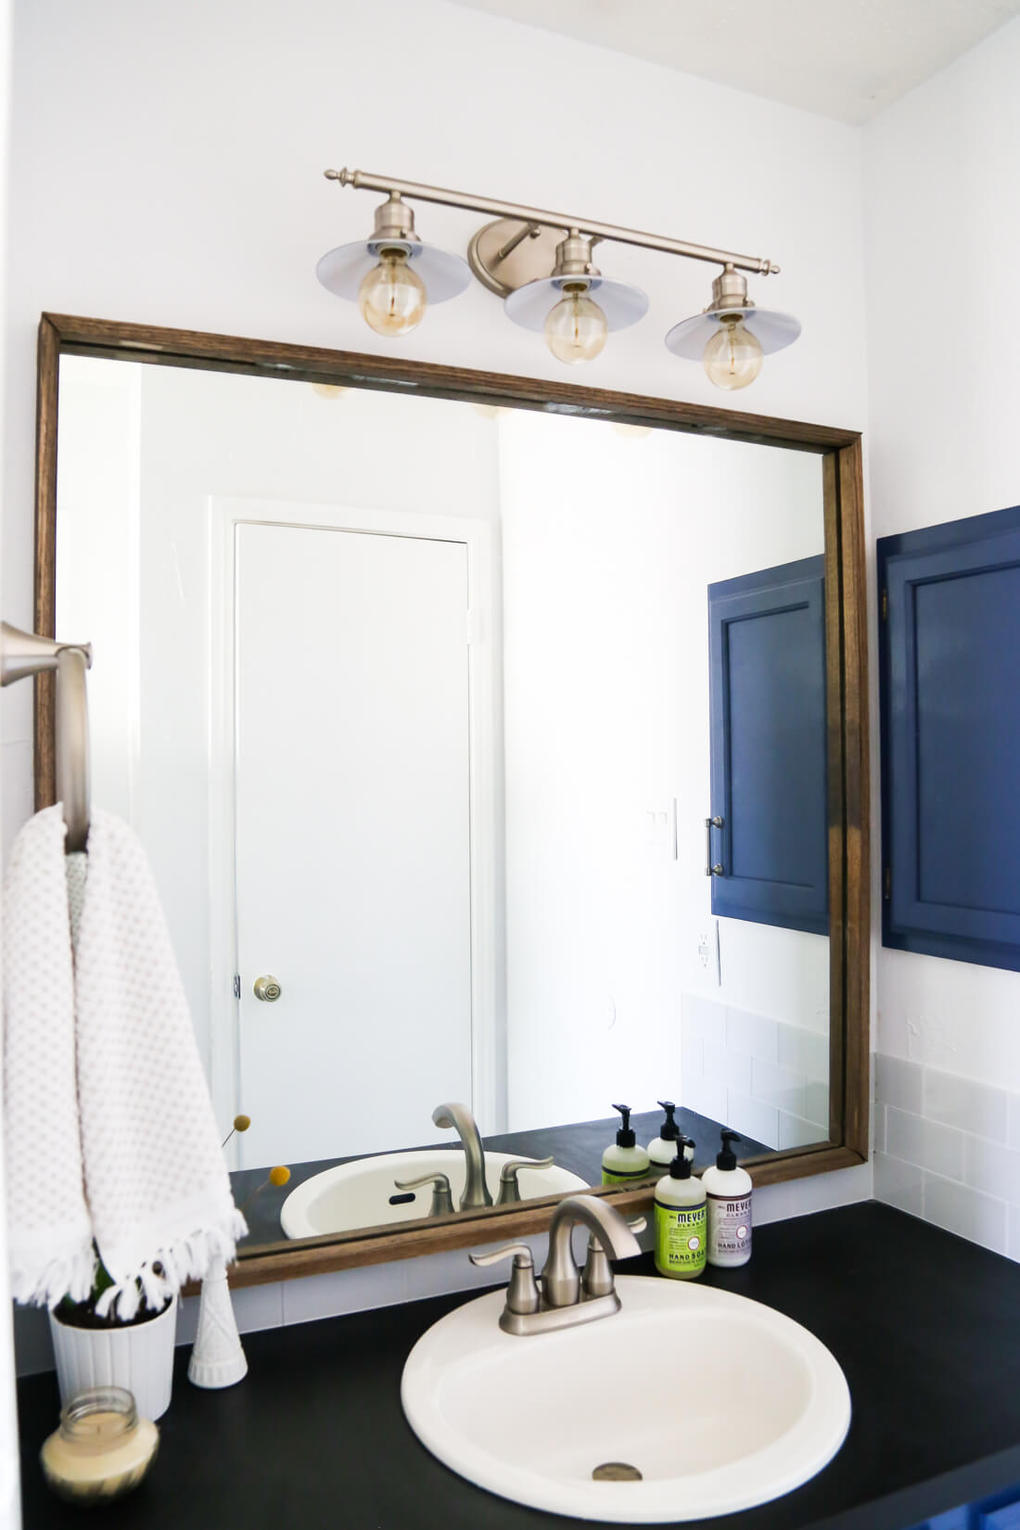
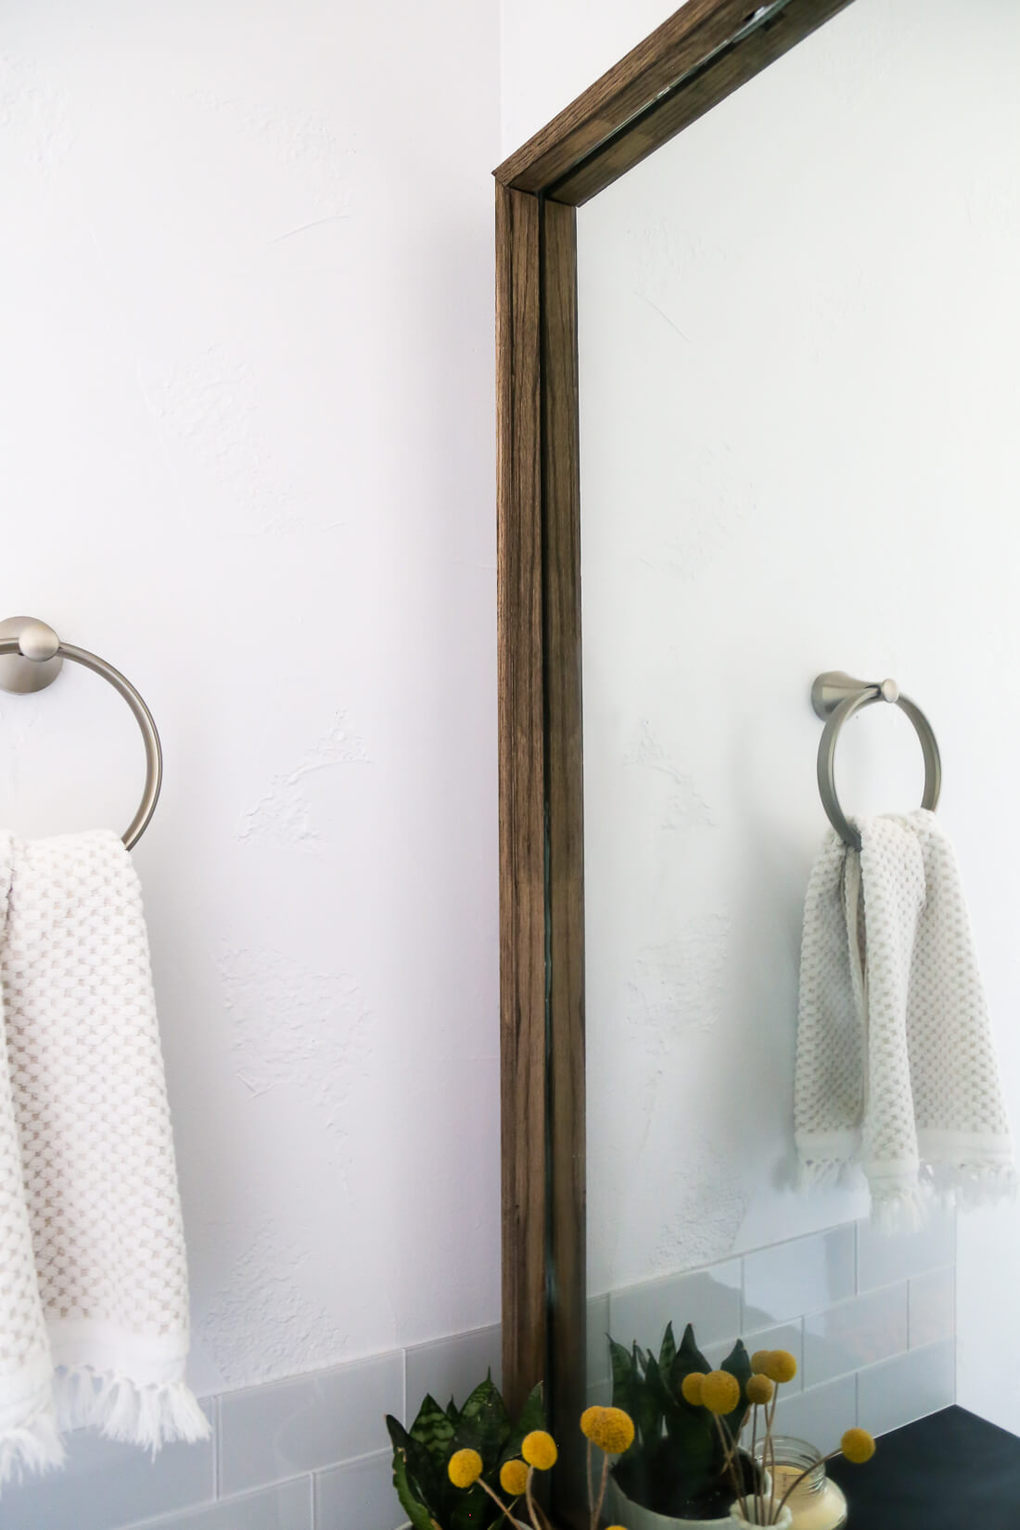
And if you ask me, $20 is nothing when it means you get results like this.
There are basically limitless options when it comes to framing out your mirror, because the sky’s the limit when it comes to what kind of wood you choose. You could use curvy baseboard trim for a fun and unique look, plain ol’ 1X4’s for a classic look, or you could do what I did and use 1X2’s set on the short side for a more modern look.
I’ll admit, this project was a tiny bit more complicated than I anticipated because of the wood I chose (the thinner suff is a little harder to work with and less forgiving than the thicker pieces of wood), but it was still really easy and only took a couple of hours.
Ready to learn how it’s done?
This post contains affiliate links. Click here to read my full disclosure policy.
HOW TO FRAME A BATHROOM MIRROR
M A T E R I A L S :
- 1×2 oak boards (how many you’ll need depends on how big your mirror is – I only needed two)
- Table saw
- Miter saw (or you could use a miter box if you don’t have a saw)
- Chisel
- Hammer
- Wood stain (I like this one)
- Liquid Nails + caulk gun
- Drywall anchors + screws
- Washers to fit screws
I N S T R U C T I O N S :
First, you’ll need to measure your mirror. Obviously, the amount of wood you need will vary depending on the size of your mirror, but mine was 44″ by 42″, so I was able to get away with two 8-foot boards. I chose to use 1×2’s and place them on their side (so they stick out from the wall a bit), but you could do this with any size wood you’d like.
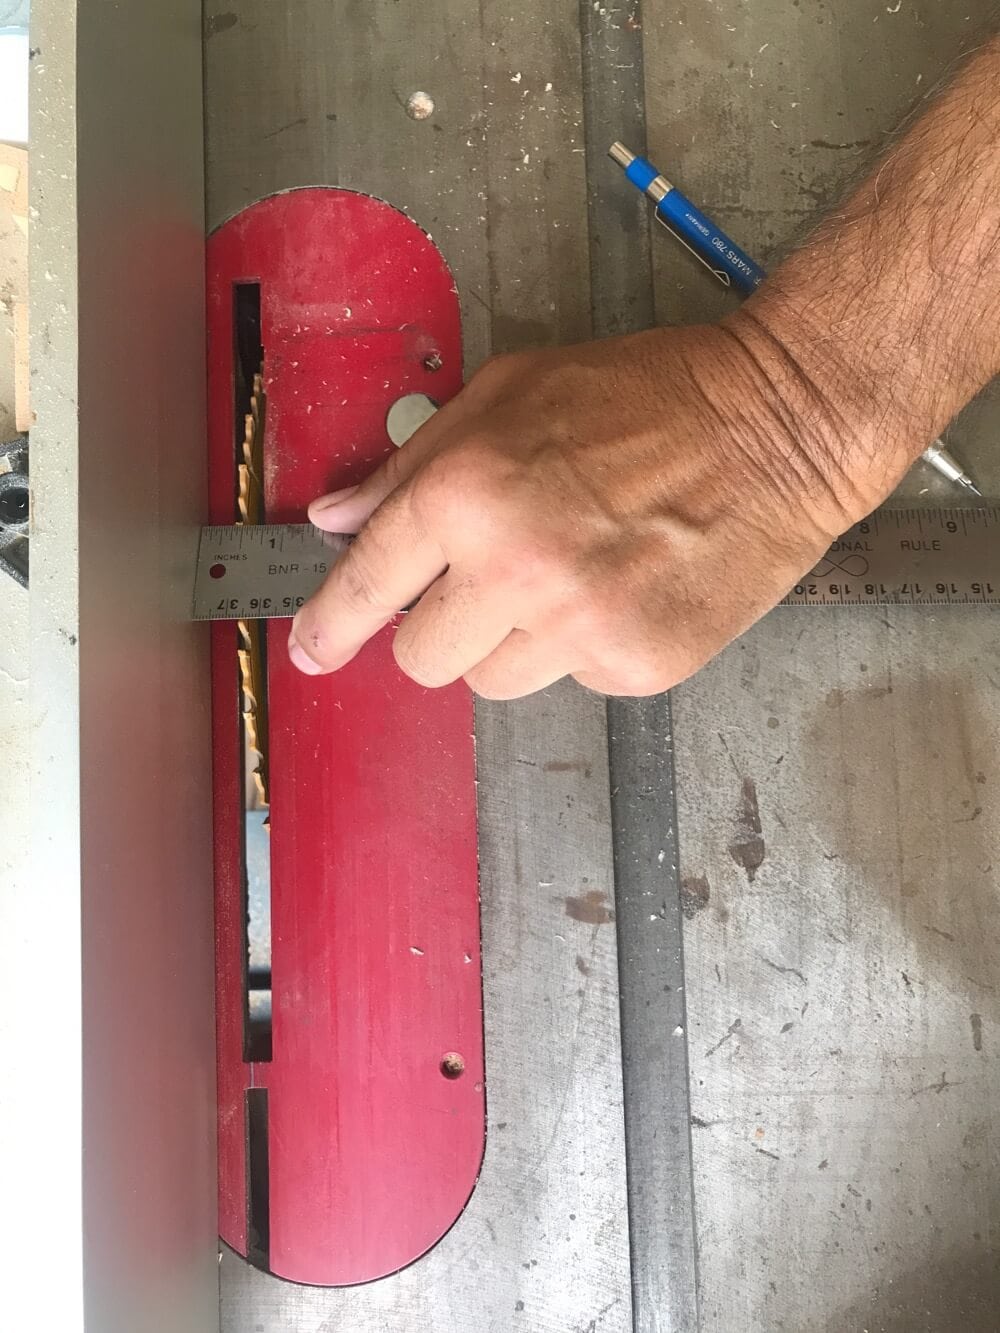
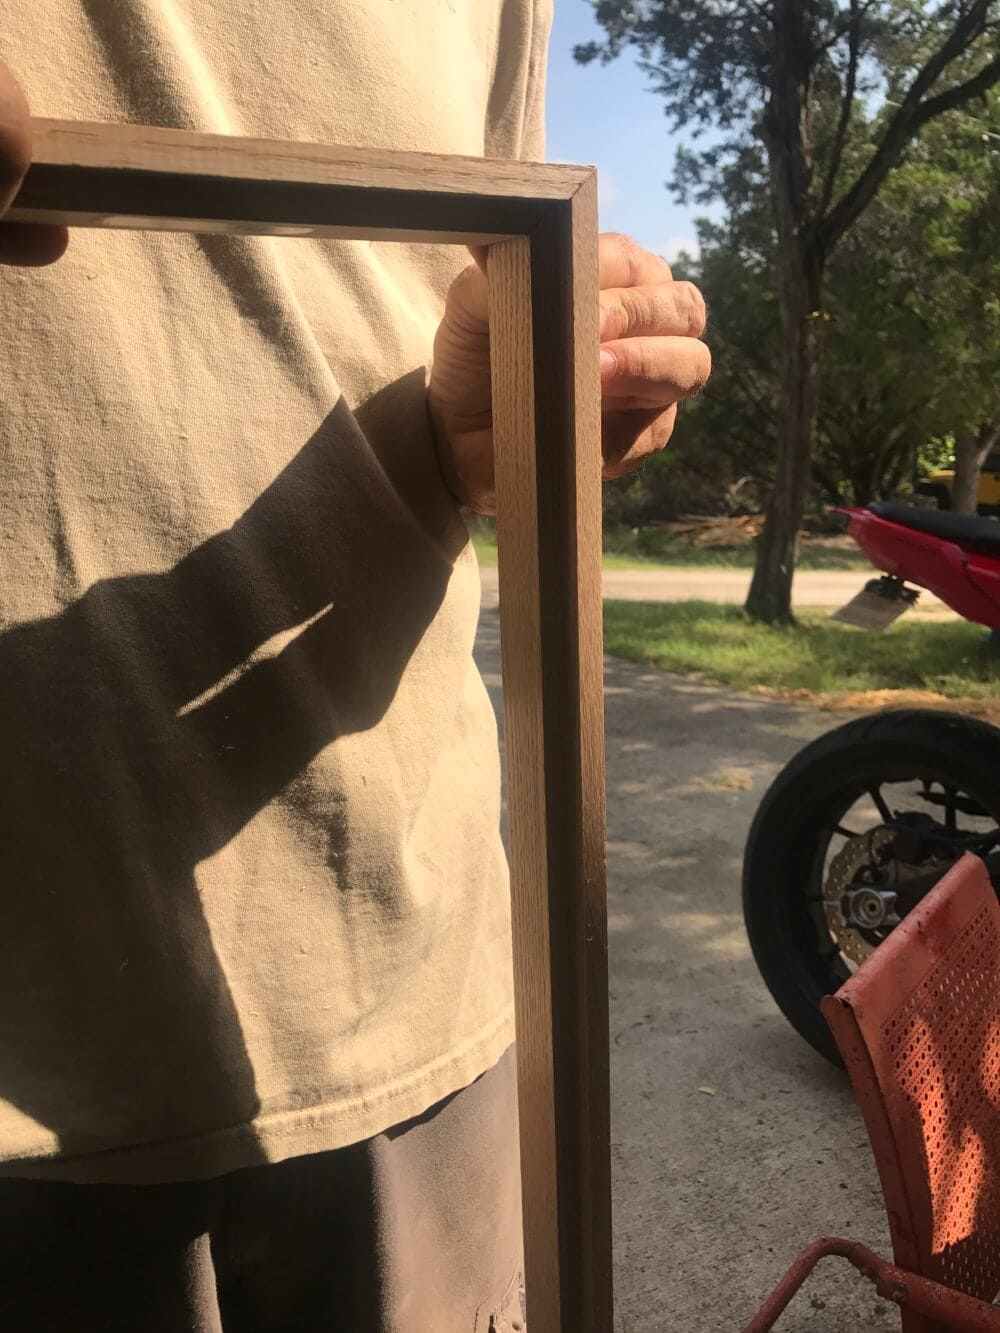
We started by cutting our boards in half to make them easier to work with, then we cut a mitered corner on one side of the board (see this post and video if you don’t know how to do this!). Then, it’s time to create a rabbet. Basically, all that means is that you’re going to create a notch in the back of the wood so that it will sit flush against the mirror. You don’t have to be too terribly precise about this, but it helps if the depth of your notch is really close to the depth of the mirror. I measured how far my mirror stuck out from the wall, and it was 5/16 of an inch, so we made our rabbet about that deep.
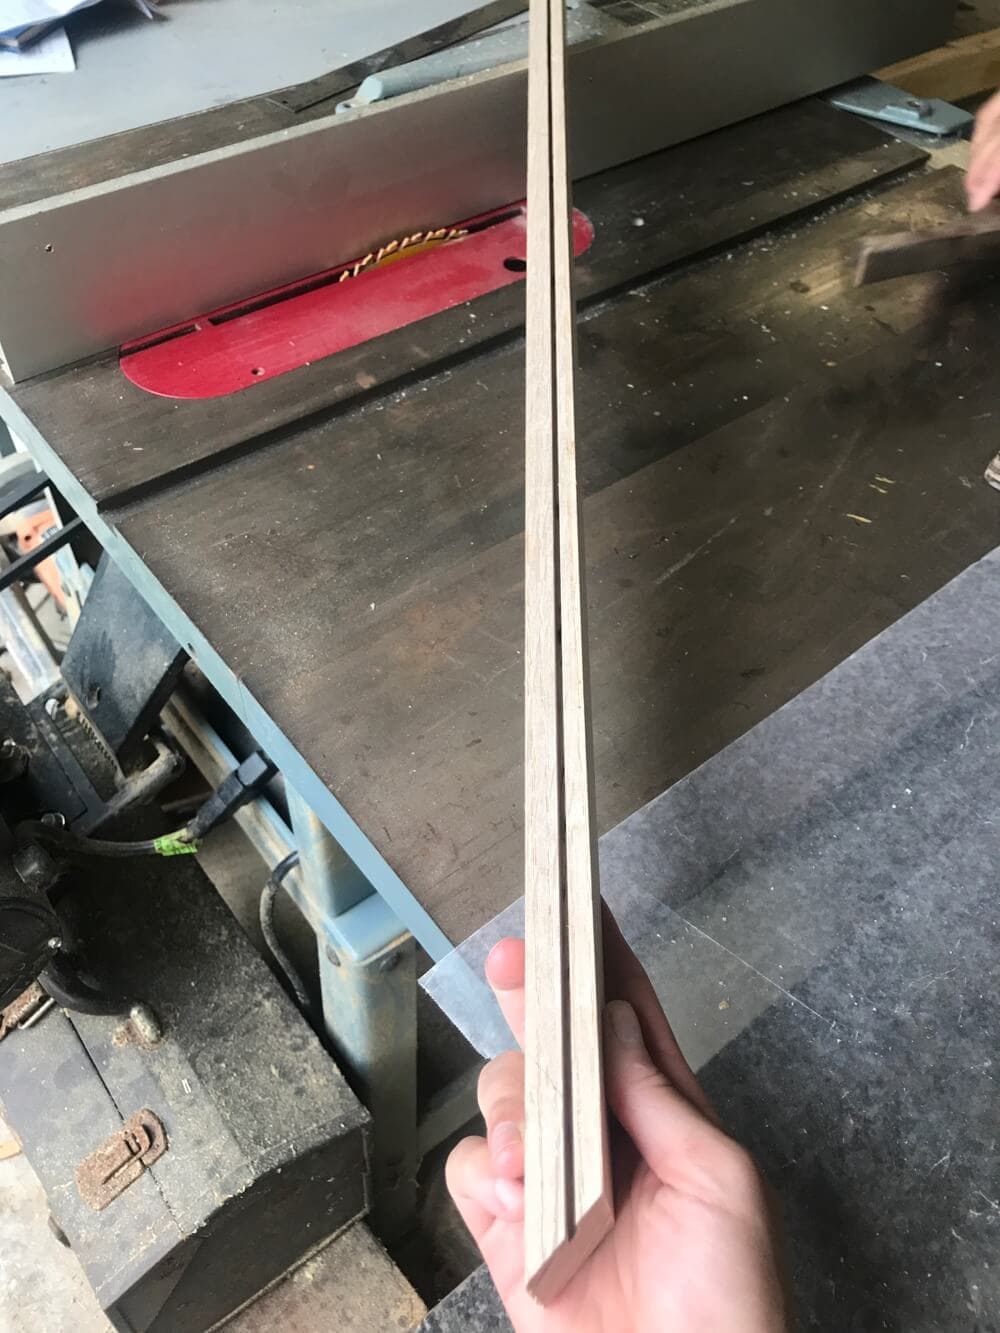
To make the rabbet, you’ll just adjust the table saw so it’s cutting at the depth you want it (adjust the guard so that it sits the appropriate distance from the blade), and then run it through the board lengthwise…
Then turn the board to the side and cut again (at the same depth), to finish off your rabbet.
Now, you’ll want to go back and cut the other end of the board. Measure from the flat part of the rabbet on the side that you’ve already mitered – this will ensure the board will be the exact right length to cover the mirror.
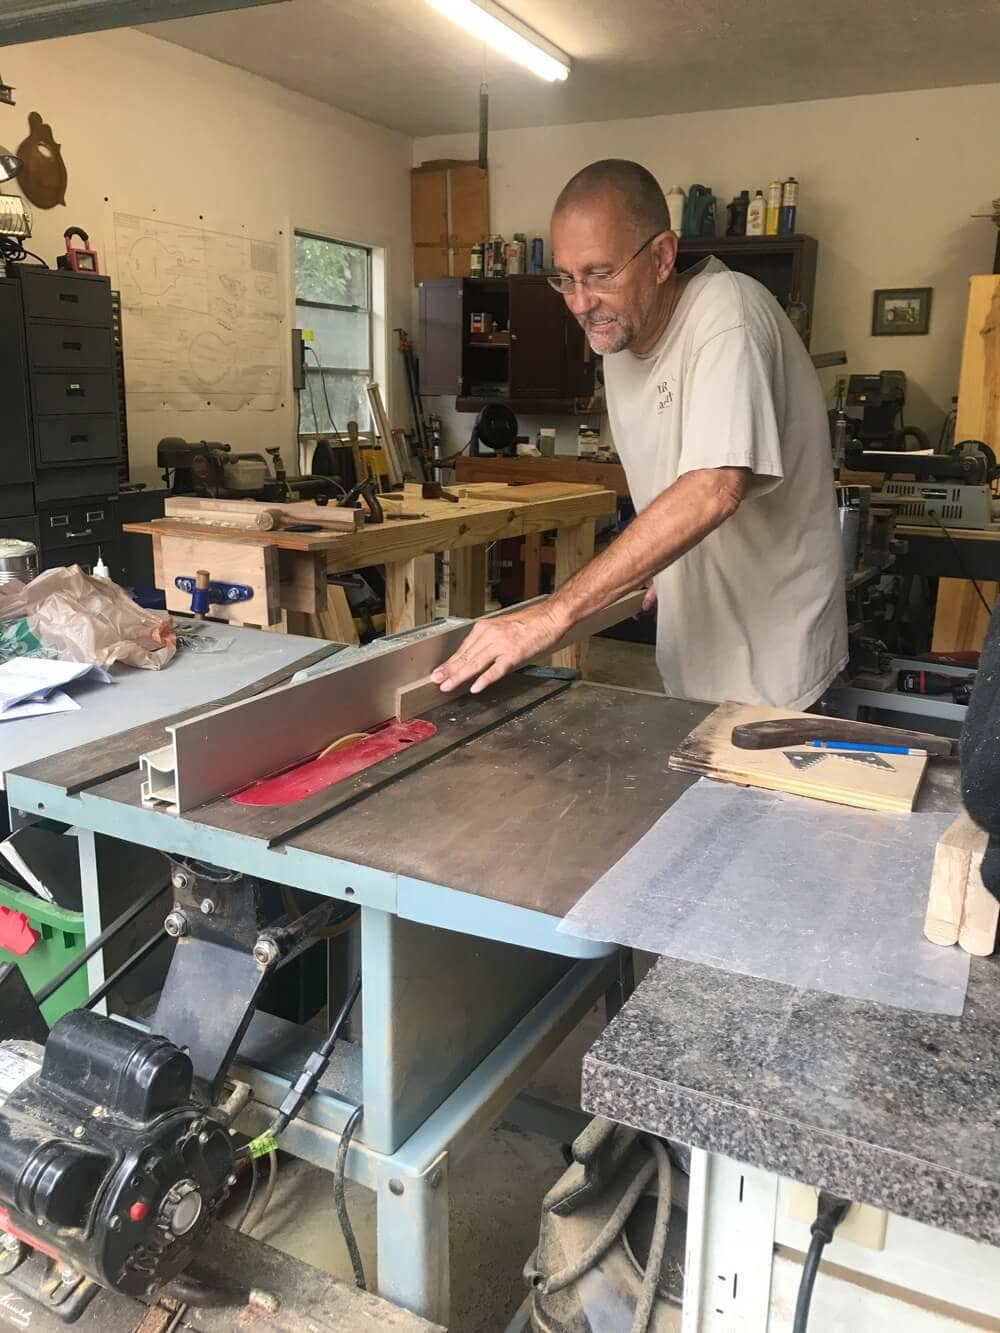
Repeat the process for all of your other boards. Take a photo of your kid while he covers his ears because the saw is too loud.
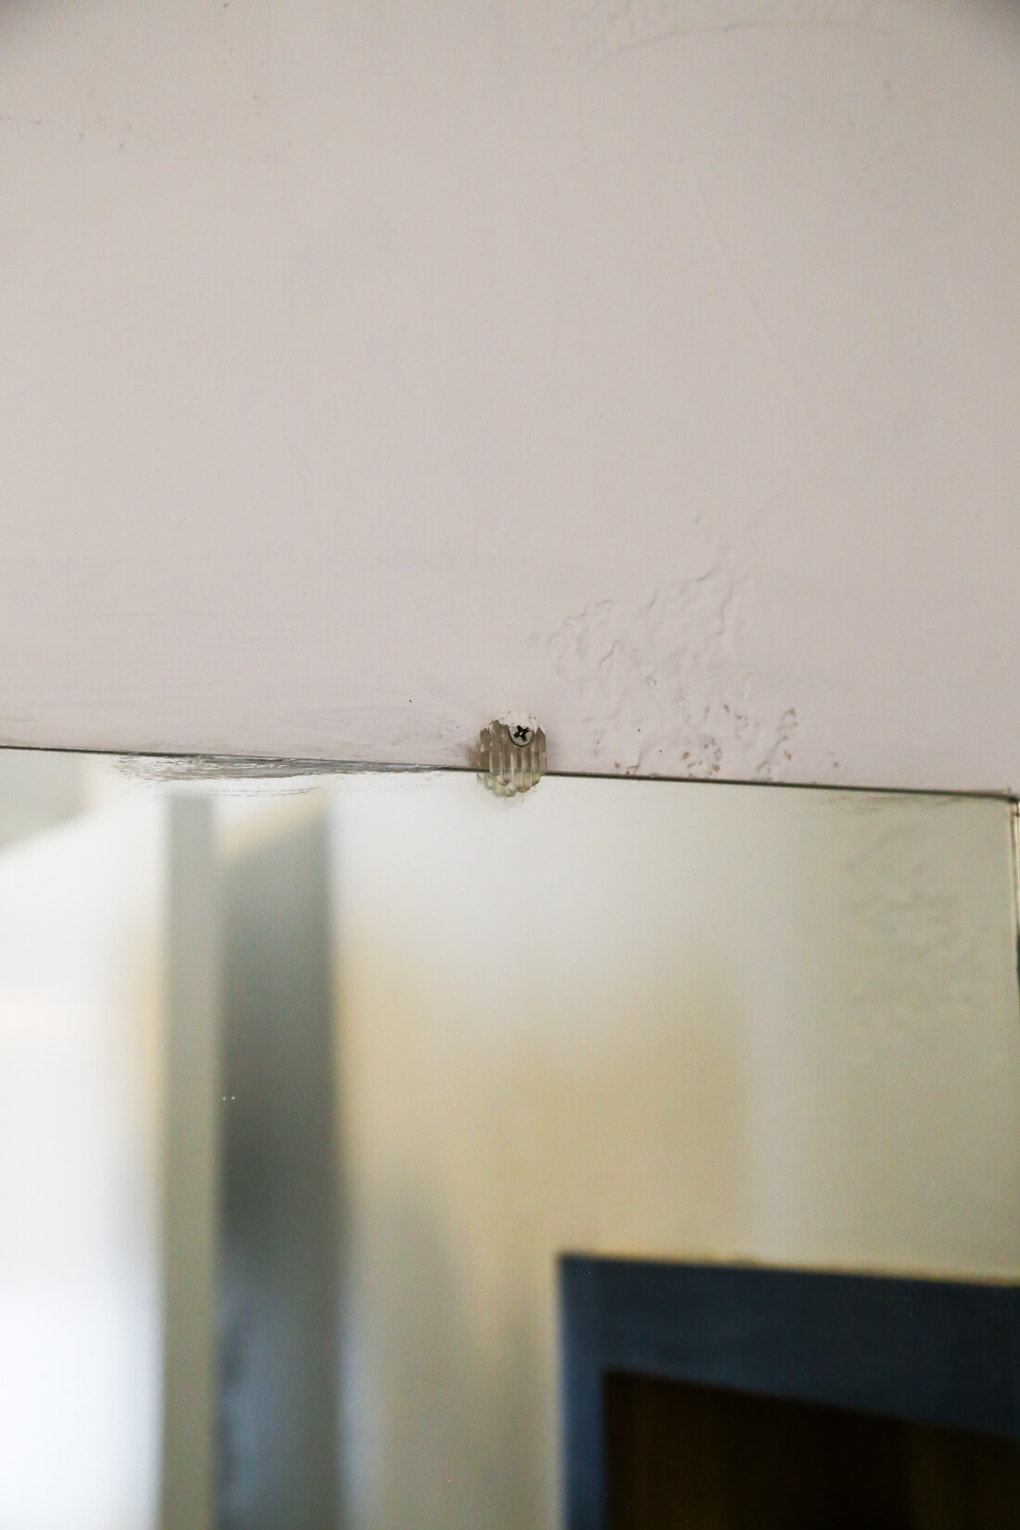
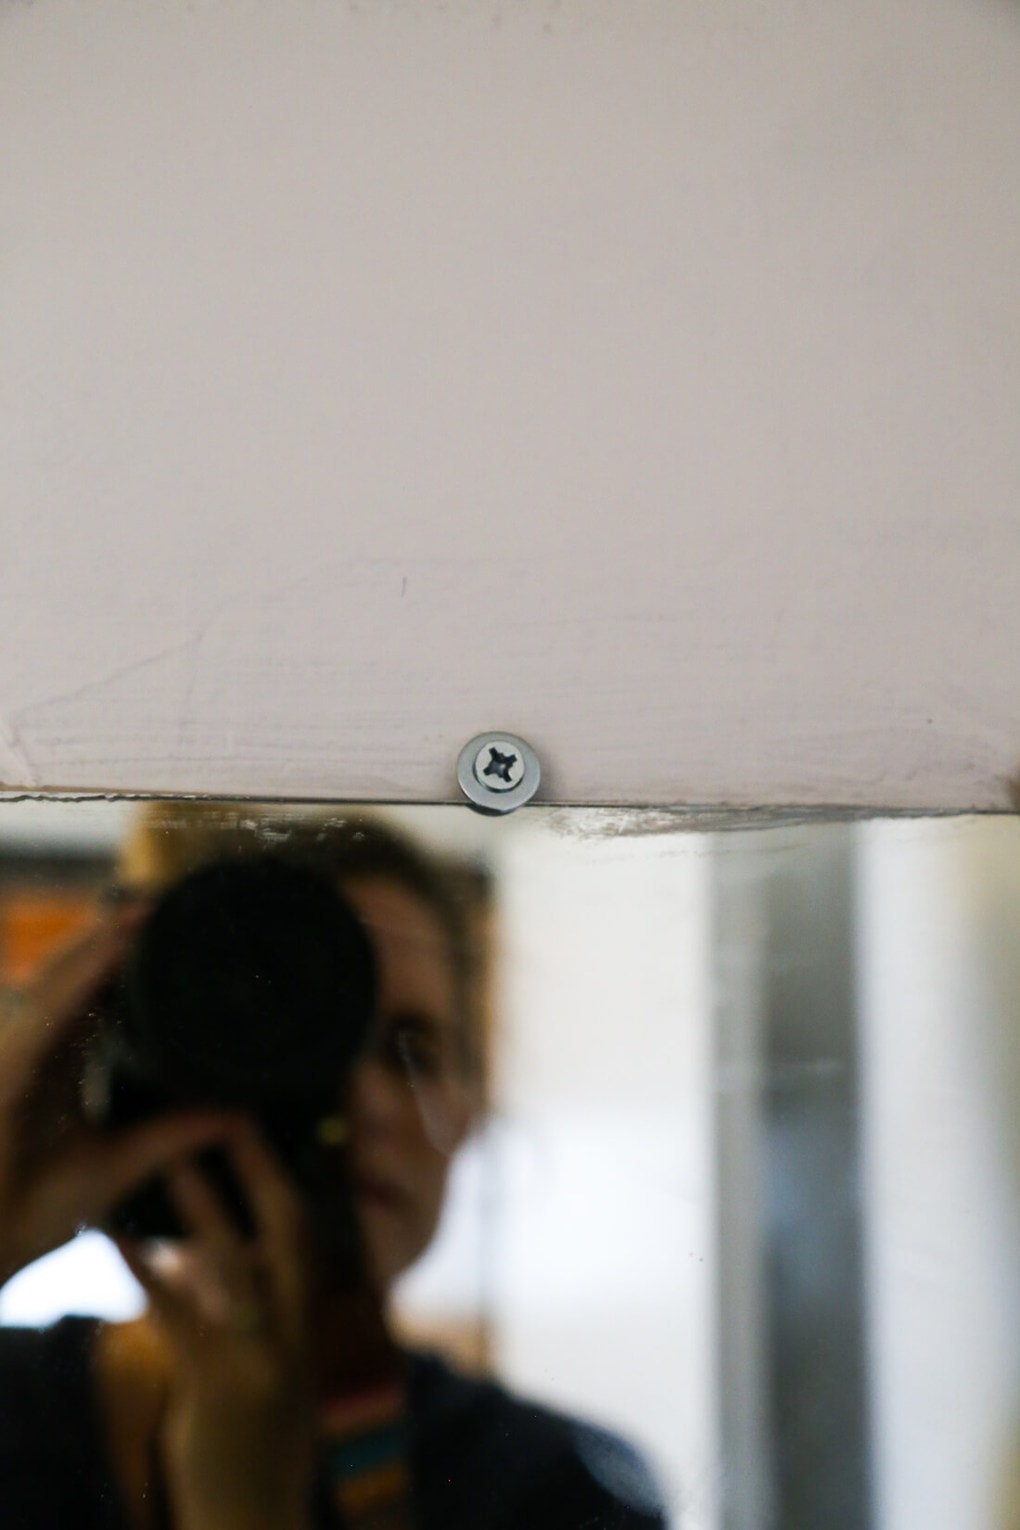
Now you’re almost ready to install! If you have a builder-grade mirror (AKA: the one your house came with), you’ll probably have these little guys up at the top of your mirror holding it into place:
Those will get in the way of your frame, so you’ll want to replace them before you install it. Just use your drywall anchors and install a washer + screw where the old plastic things sat, and that will hold your mirror in place without taking up as much room.
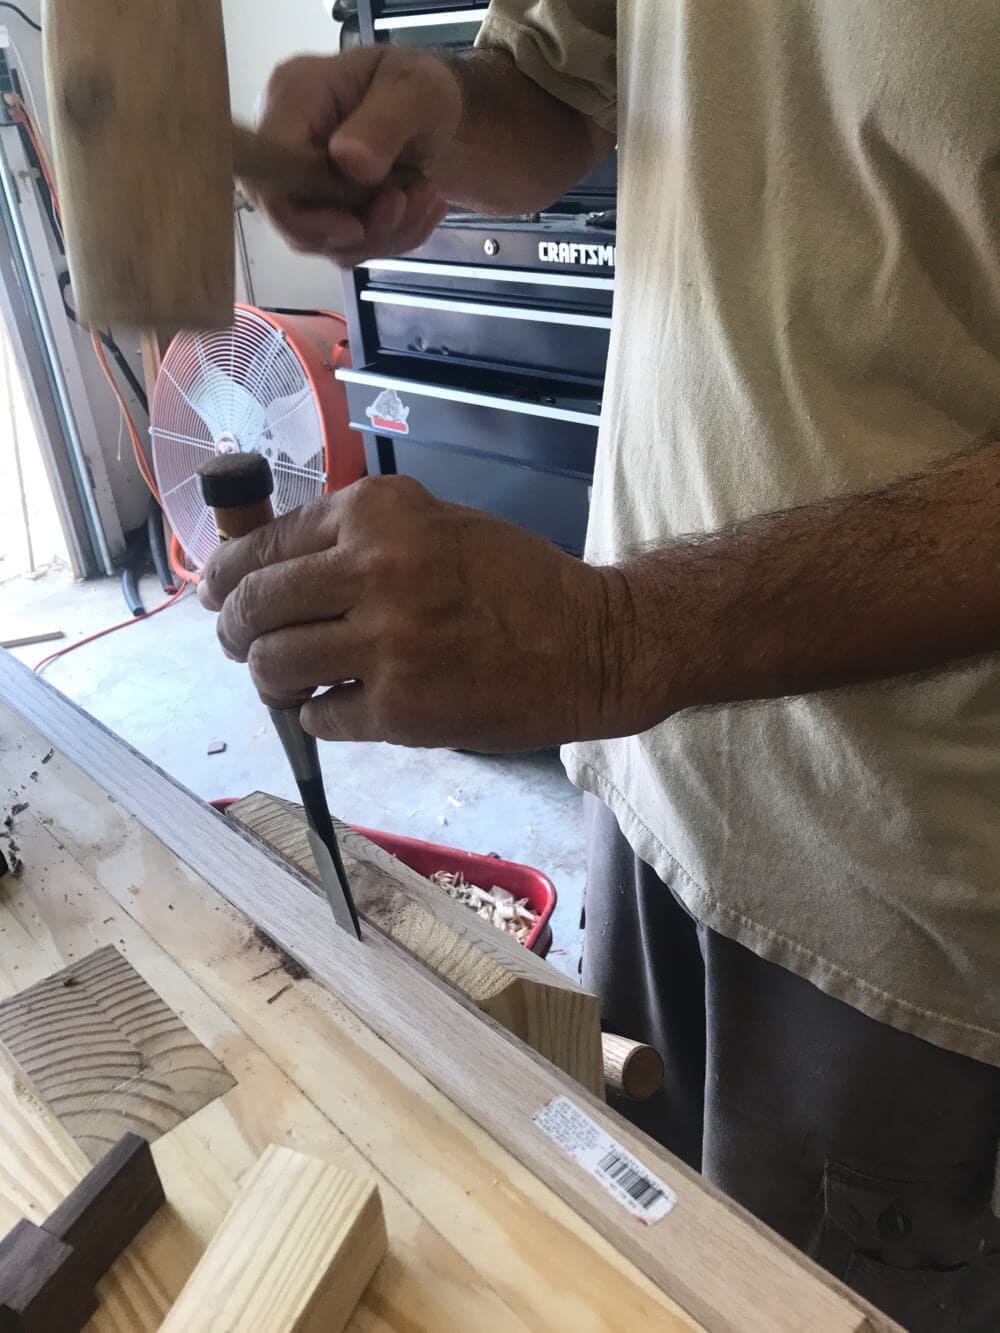
Now, you technically could just lay your frame on top of these (they don’t stick out very far, so it’s not terribly intrusive) if you’re doing a typical flat frame, but with the 1x2s it doesn’t lay very well so you’ll want to create a notch in the back of your board for the screws. This is where your hammer and chisel come in.
Measure where they’ll need to be, take your aggressions out on the board, and make a couple of notches so the wood can lay flat.
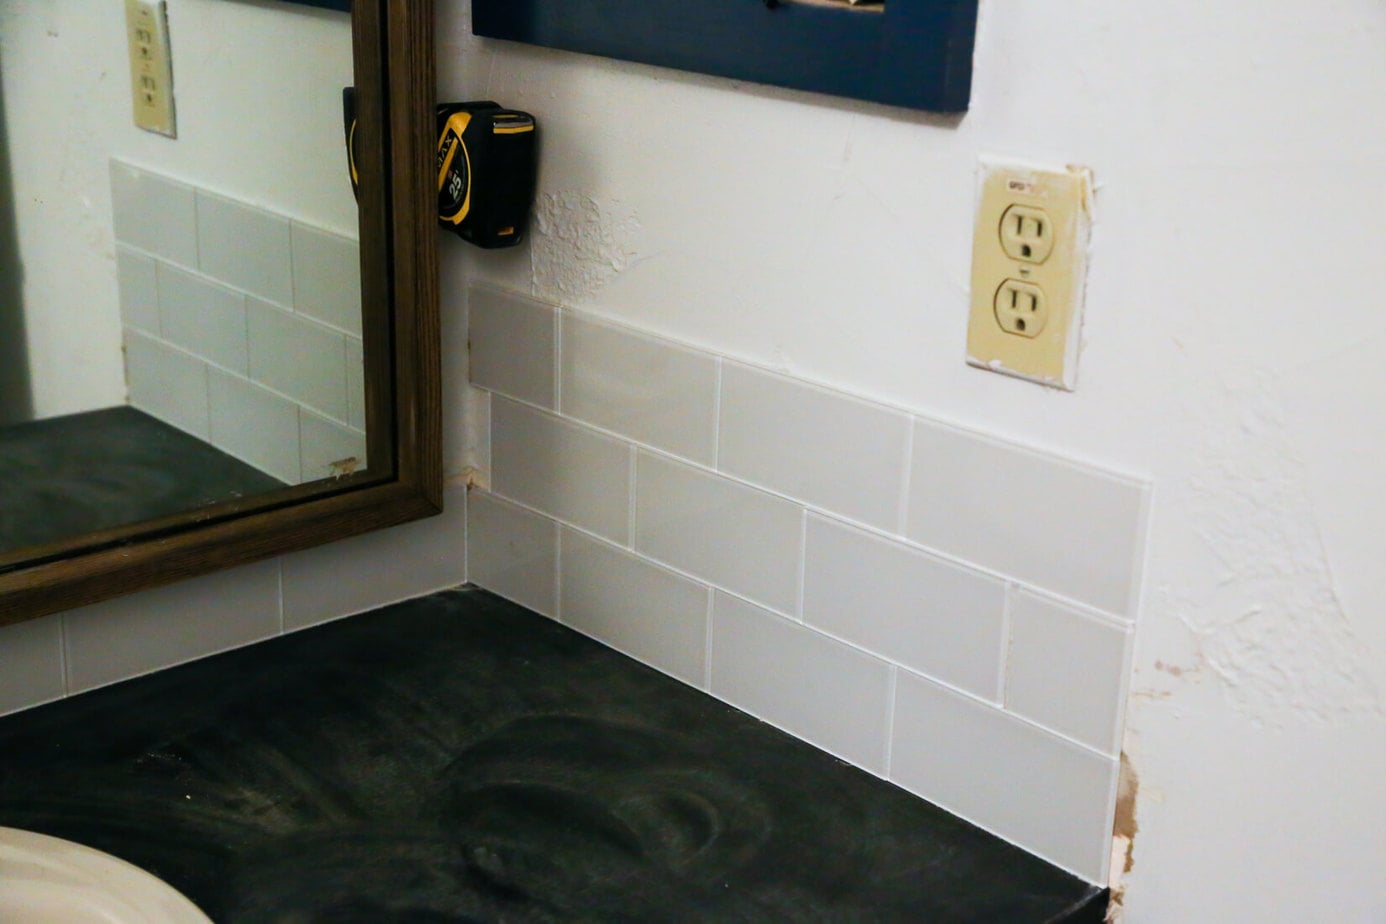
If you’re going to stain your boards, now’s the time. Of course, the possibilities are endless here – you can paint, stain, distress, whatever your little heart desires. I chose to just do a plain ol’ stain. Finally, you’re ready to apply some liquid nails to the back of your boards, pop ’em into place, and get creative with keeping them there until the glue dries (how convenient is it that my tape measure was the exact right size to wedge in there?!).
And just like that, your ugly old mirror suddenly looks a lot fancier.
I’m in love with how this turned out, and I’m a total believer in these big ol’ ugly mirrors now. I mean, I could never afford to purchase a pretty mirror large enough to really fill this space, but with a quick and easy frame, I’ve got a custom-looking mirror that is exactly what I wanted.
I had kind of hoped this project would be as simple as cutting down some wood and popping it into place (and really, I’ve seen some tutorials like that, so I assume if you’re using wider pieces of wood that would work), but the extra effort was so worth it for me.
Between the mirror and the tile backsplash (which, by the way, is made with peel and stick tiles, YES I SAID PEEL AND STICK!) this boring little vanity area suddenly feels super modern, fresh, and fun.
Who knew all it took to make the mirror look like a million bucks was $20 in wood and a little elbow grease?!
Have you ever framed out a bathroom mirror in your home?



I love that mirror! Usually, when I want something, I just go and buy it. I can’t do something myself. but this time you inspired me! I will do that mirror for my bathroom. I will place it next to my window so it can show its beauty more. Thanks for the detailed guide!
I’m getting ready to use peel and stick tiles. Do you have a recommendation? Thanks
Hi Ginny – we used Aspect brand, I don’t have any experience with other brands. We were really happy with it!
Hey dear, you have mad my job s simple! I like the way you did this. Wonderful that! Hats off to your efforts!
Thank you for the post. I think it will be valuable if you mention how to install frameless mirrors also. These days, it is not uncommon for people to choose mirrors and shower doors with minimum design and those are frameless and even curved.
I’d love to know about those peel and stick tiles! Are you planning a post about them? I’m intrigued and would love to know how they work…they may be a fit for a mini-makeover I’m planning for our bathroom! Thanks 🙂
Hey Jen! I’m actually getting ready to use them again in our powder room and I’m planning on doing a blog post about them! It should be up in just a couple of weeks!