How To Clean a Front-Load Washer
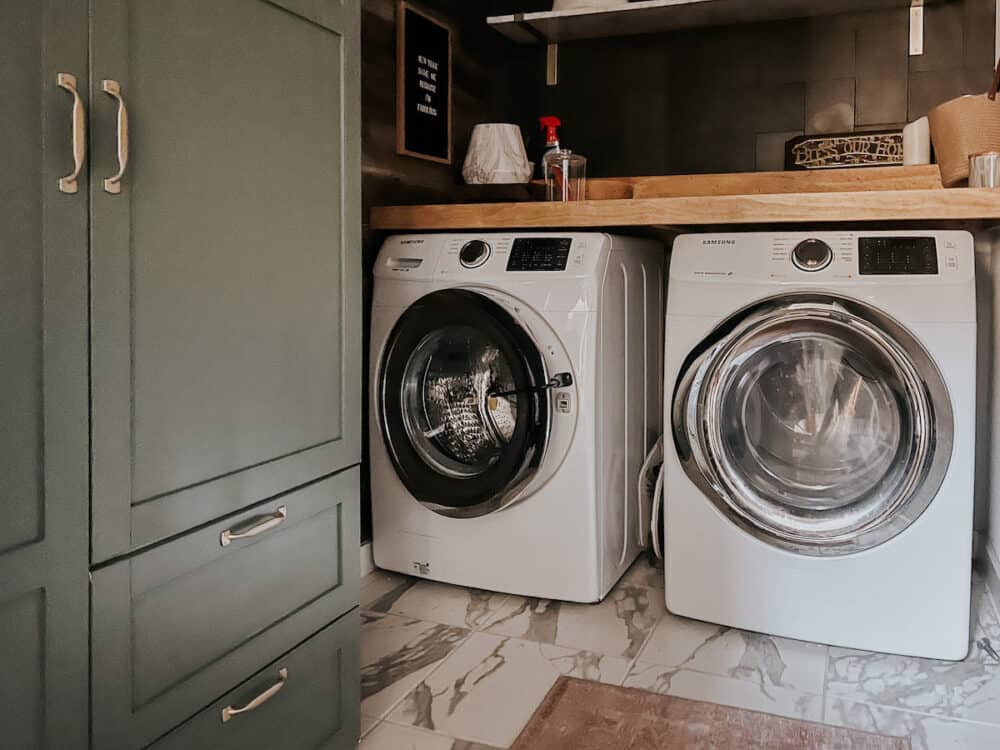
Did you know you have to clean your front-load washer? Every time I mention on Instagram that I’m giving my front-load washer a deep clean and share some of the process, I get incredulous messages from people. A lot of people don’t realize it needs to be cleaned. Or know how to do it.
But, if you have a front load washer and you’ve never cleaned it, you’ve likely noticed the negative effects. Things like fabric softeners can leave residue that builds up over time. Front load washers can also smell mildew-y and develop mold if they aren’t properly cleaned. Cleaning them is vital…and thankfully, it’s also really easy!

I often get asked about this, so I thought I’d share the process I use to deep clean my front-load washer every month. It only takes me a few minutes and it leaves things smelling and looking fresh all month long.
How to Clean a Front Load Washing Machine
We’ll kick things off with a short video tutorial – watch this for a general overview of the process, then keep reading for all the details!
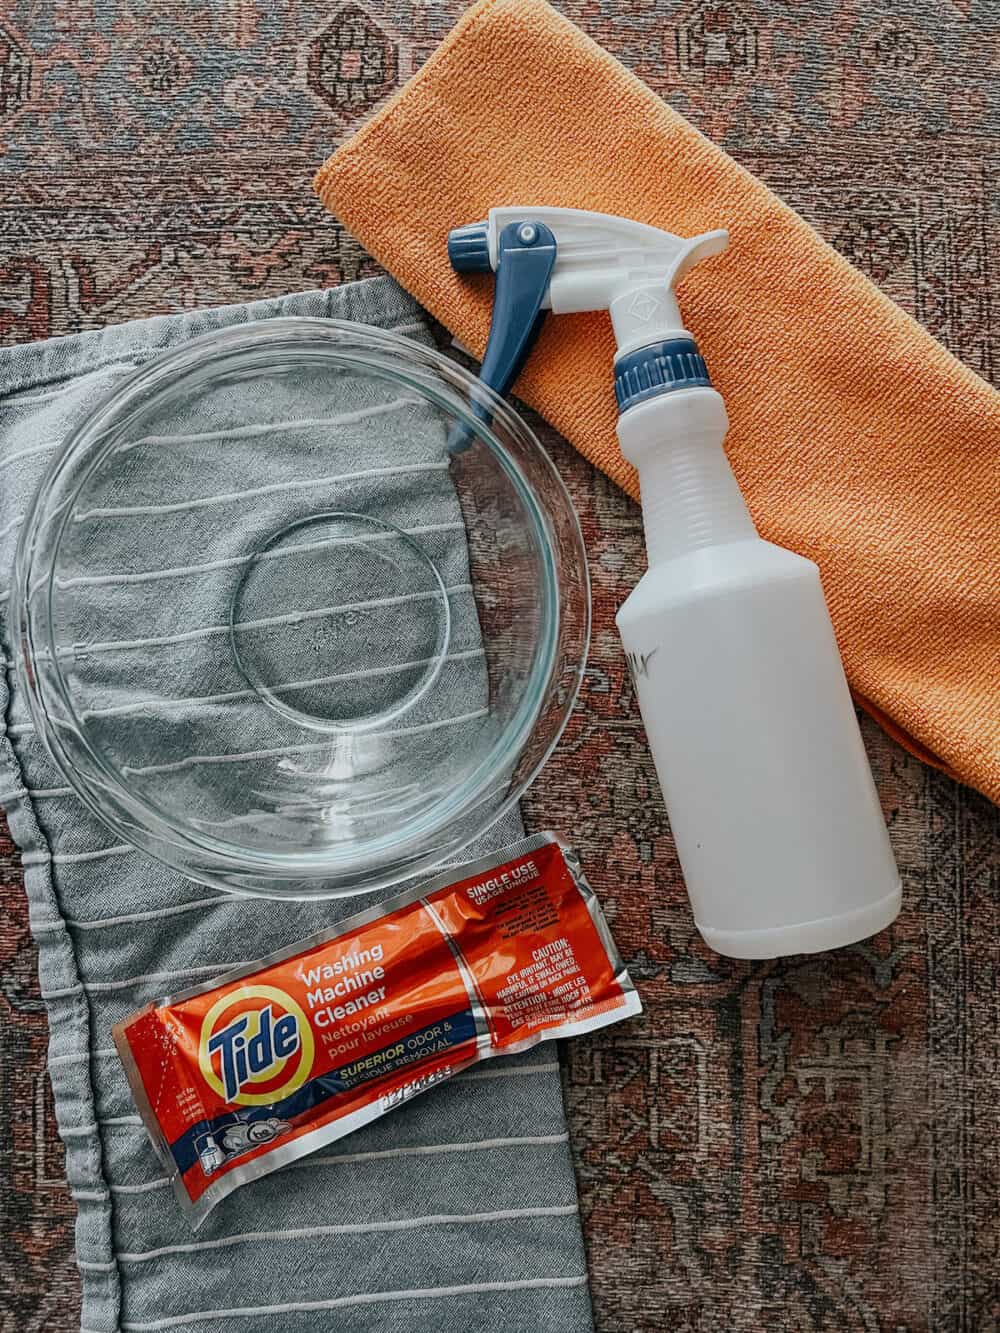
First, you’ll need to gather a few things. Here’s what I use:
- A medium-sized bowl or tupperware container
- An old towel
- Tide washing machine cleaner (alternatively, you can make your own solution, which I’ll discuss separately!)
- A microfiber cloth
- Vinegar and water mixed in a spray bottle

Step One: Clean the Filter
This is the most important step of the process and the one most people don’t really realize is a thing. Did you know most (all?) front-load washing machines have a filter that needs to be emptied and cleaned regularly?
I can’t speak to top-loaders, but I know this applies to just about every front-loading washing machine on the market. You need to clean your washing machine filter!
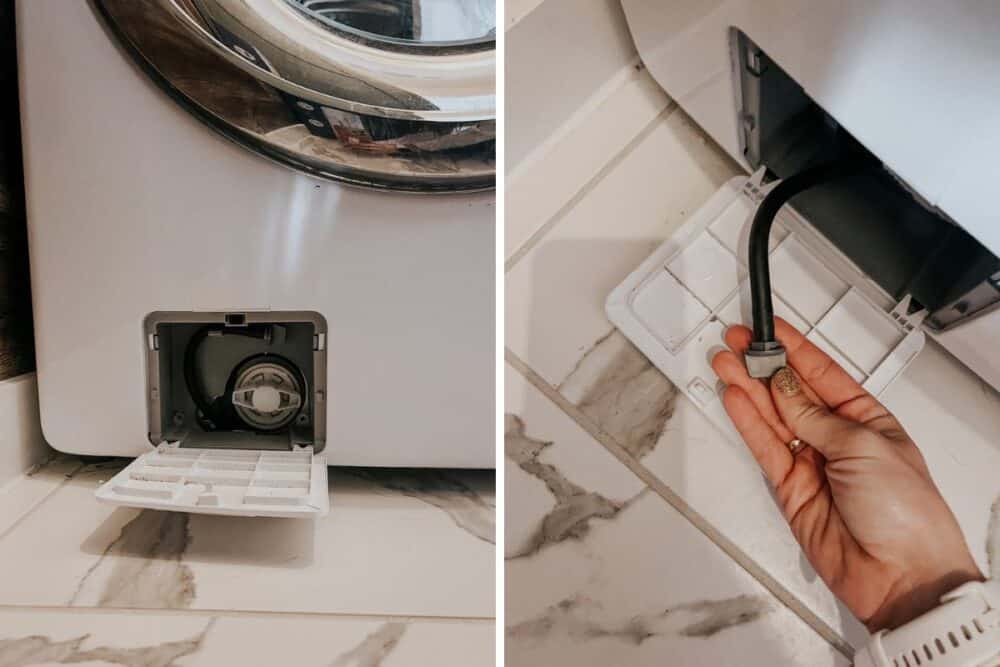
I have a Samsung, and mine is located on the bottom left corner of the washer. If you aren’t sure where yours is, do a quick Google search of your brand to see where it’s located.
Start by laying a towel down on the ground (this can get messy if you aren’t practiced at it), and then open the cover for the filter.
Here’s what you see when you open mine:

The most important thing to remember: do NOT just open the filter right up! You’ll make a huge mess and (stinky) water will go everywhere. Instead, grab the small hose and pull it out a bit. Line the bowl up underneath the hose and pull the cap off. Water will slowly start coming out. It will probably smell pretty gross. This is what makes your washing machine stink over time!
Keep your bowl under the hose until all the water has fully drained. Then, open up the filter and take it to the sink to clean it off. You might be surprised at how gross it looks if you haven’t ever cleaned it!
After cleaning your filter, put it back in place and close up the door. Now, it’s time to clean the rest of the washer!
Step Two: Clean the gasket & Door
Next up, you want to clean the gasket, or the rubber seal around the door of the washer. While I’m doing this, I also like to clean the door. It tends to build up some soap scum and needs special attention.
I start by pulling back the gasket a bit to remove any hair, lint, or small objects from the seal area. There’s always hair there, and it always grosses me out.
Then, spray the gasket and door down with vinegar, let it soak in for a minute, and wipe it down with your microfiber cloth. Be sure to specifically target any spots that look a bit moldy or mildew-y.

While you’re at it here, go ahead and give the exterior surfaces of the washer a quick wipe-down too!
Step Three: Clean the detergent dispenser
This step doesn’t necessarily need to be done monthly, but it should be checked every few months. If you’re like me and you use laundry tablets, the laundry detergent tray doesn’t ever get used. So, it might not be that dirty!
But, it’s worth checking. Because if you use it a lot, you’ll be surprised at how much it needs a good clean.
Pull the dispenser all the way out – there will likely be some tabs on the side or bottom for your to press to allow it to be removed. Clean it with soap and water, then wipe down the area inside where it goes. Let it dry, then replace it.
Step Four: Run a Cleaning Cycle
And now, you’re ready for the last step! There are a lot of different ways to do this. I like to take the simplest route, but I’ll share a few other options with you as well.
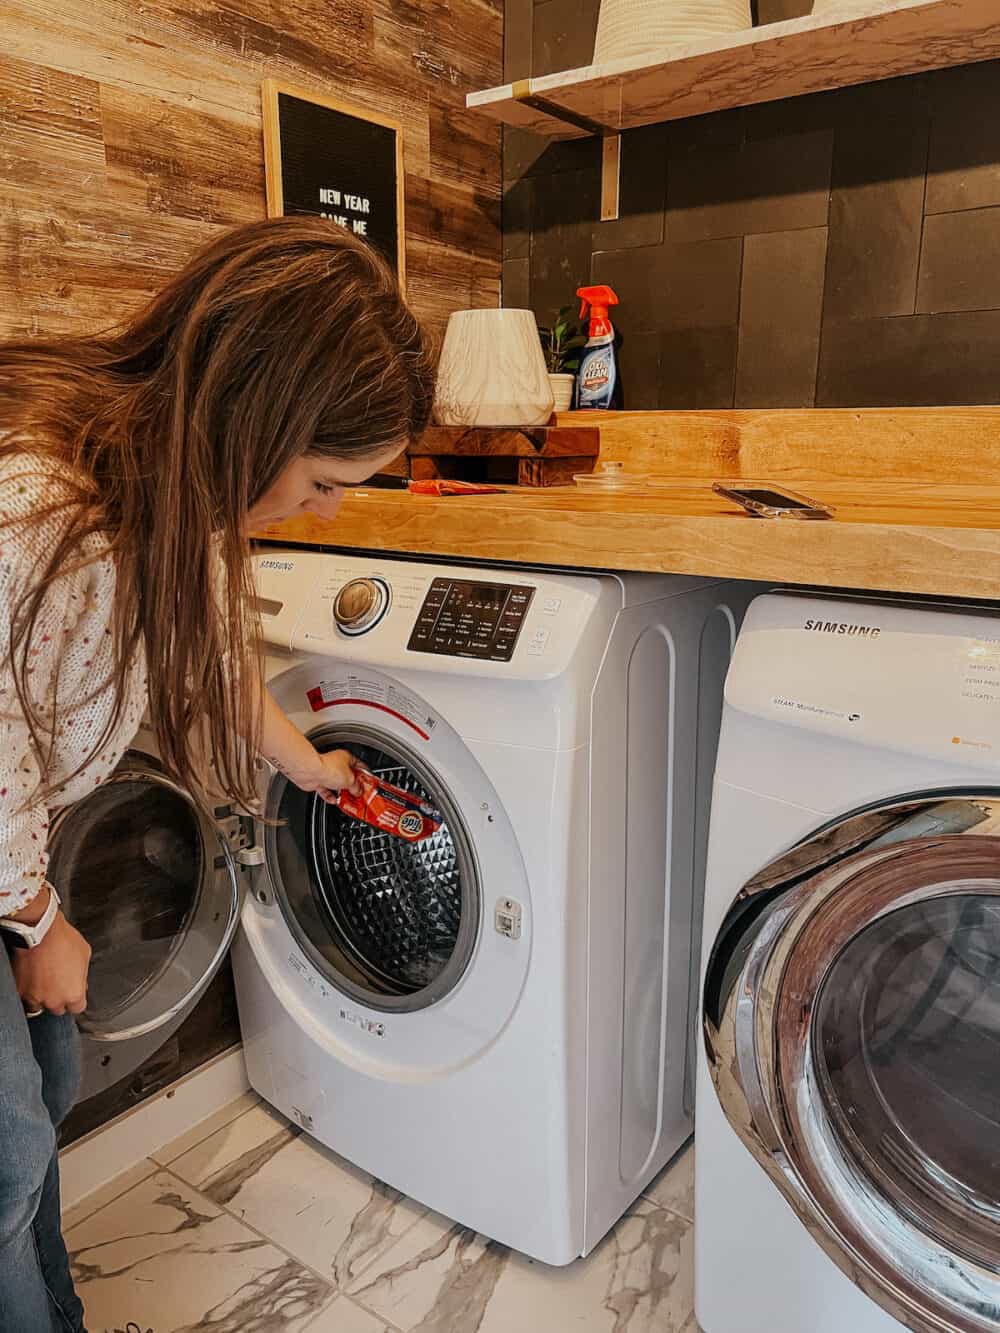
When I’m deep cleaning my washer, I use Tide Washing Machine Cleaner. Affresh also makes one that I’ve heard good things about. I find that it does a really great job of removing residue and dirt buildup and eliminating odors. It smells great, too! I find that after I’ve used it, the good smell lingers for weeks, so it really makes things feel extra clean.
To use it, just open up the package and pour it into the tub of the washer, then run a normal cycle with hot water. The cleaner will do the rest!

Other ways to clean the inside of your front loader:
- There’s likely a self-cleaning cycle. Check the owner’s manual for instructions on this, as the process will vary between models.
- You can also pour a half-cup of baking soda into the drum, followed by a cup of vinegar. Then, run it on a hot cycle.
- You can also pour a cup of bleach into the bleach dispenser and run an empty load on hot water to eliminate really tough odors.
Step five: keep it clean!
Now that you’re done, there are a couple of simple habits that will make a big difference in keeping your washing machine clean from monthly cleaning to monthly cleaning.
The first is hard. I’m terrible at it. Most of us are, actually. I’m sure you can guess what it is.
Don’t leave clothes sitting in the washer after the cycle is over. The longer the clean clothes are allowed to sit in the washer, the greater the likelihood of mildew building up and odors forming. Try to get in a habit of switching your clothes to the dryer as soon as possible after the wash cycle ends.
An easier habit to remember? Once you remove the clothes, keep the washer door open until all of the moisture is gone! This is KEY to keeping smells at bay, and even if you’re as bad as I am about leaving clothes in the washer, this simple habit will basically ensure you don’t have smells in-between cleanings.
If you really struggle to remember to leave it open, or if you have family members (ahem, small children) who come behind you and close it, I have a solution! This little washer door prop might seem like a silly purchase, but it keeps that washer door open and serves as a visual reminder to your family not to close it. I try to remember to put it in the door every time I move clothes over, and it makes a huge difference.

And that’s it! The 20-ish minute details on how to clean a front-load washer that will keep things smelling great all the time. My favorite part of this process? There’s no need to scrub or work too terribly hard. It’s quick, it’s easy, and it’s effective!
I’m thinking we might need to start a whole series on deep cleaning things around the house. What should we tackle next?!
