
The FrogTape Paintover Challenge: Jackson’s Bedroom Makeover
Last updated on March 3rd, 2023 at 05:41 pm
I’ve been working on a super secret project for the last few weeks and it’s finally time for the big reveal! Jackson’s room got a totally new look with bold stripes on the walls for the FrogTape Paintover Challenge and I’m so excited to share it with you.
Surprise!
If you follow me on Instagram then you’ll know that over the last month or so, I’ve been talking about a top secret project that I’ve been working on. I couldn’t reveal anything, but I promised it was gonna be fun. Well, today’s the big day – I can finally tell you that I was selected to participate in FrogTape’s 2020 Paintover Challenge!
What does that mean? It means that I’ve been challenged to make over a room in my house using FrogTape products and a budget of no more than $500. There are a total of fourteen other bloggers participating over the course of the summer in a few different rounds (each round has 5 bloggers). We’ve all been assigned one of 5 different design trends and once all of the spaces has been revealed, the one and only Taniya Nayak will be choosing a winner from each design trend. Then, it’ll be YOUR turn to vote on a final winner towards the end of August! It’s going to be so fun, and I’m honored to be participating!
You can read all of the details about the contest here (and meet all of the other incredibly talented bloggers), but the spaces for my round have officially been revealed and I’m so thrilled to be able to finally show you the room we made over.
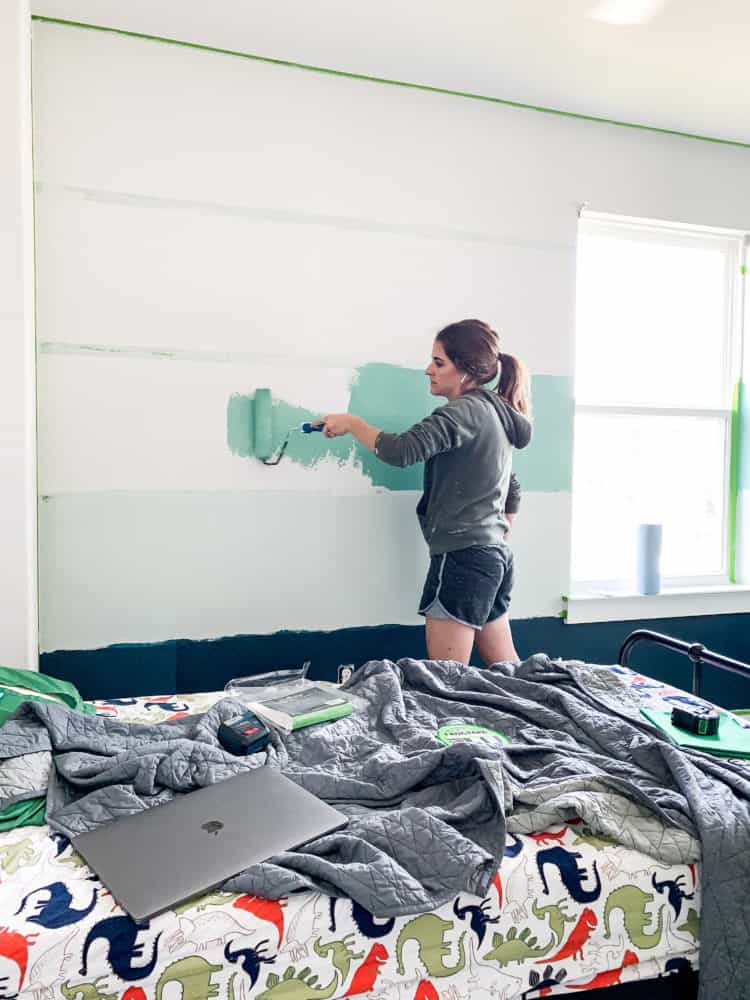
Let’s start with the before, shall we?
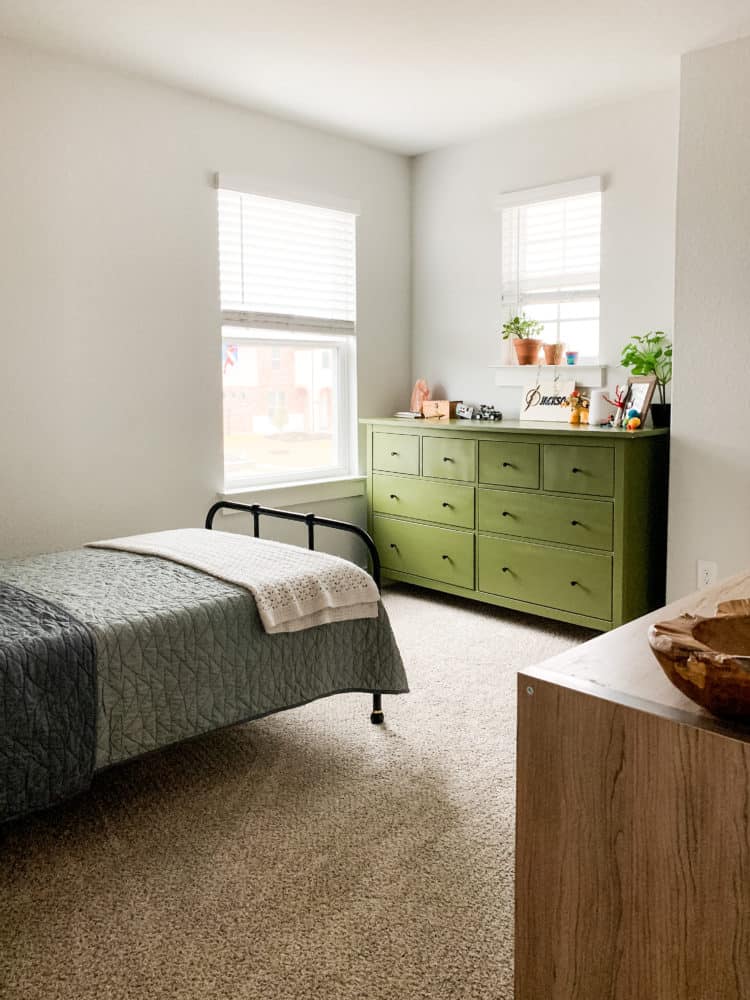
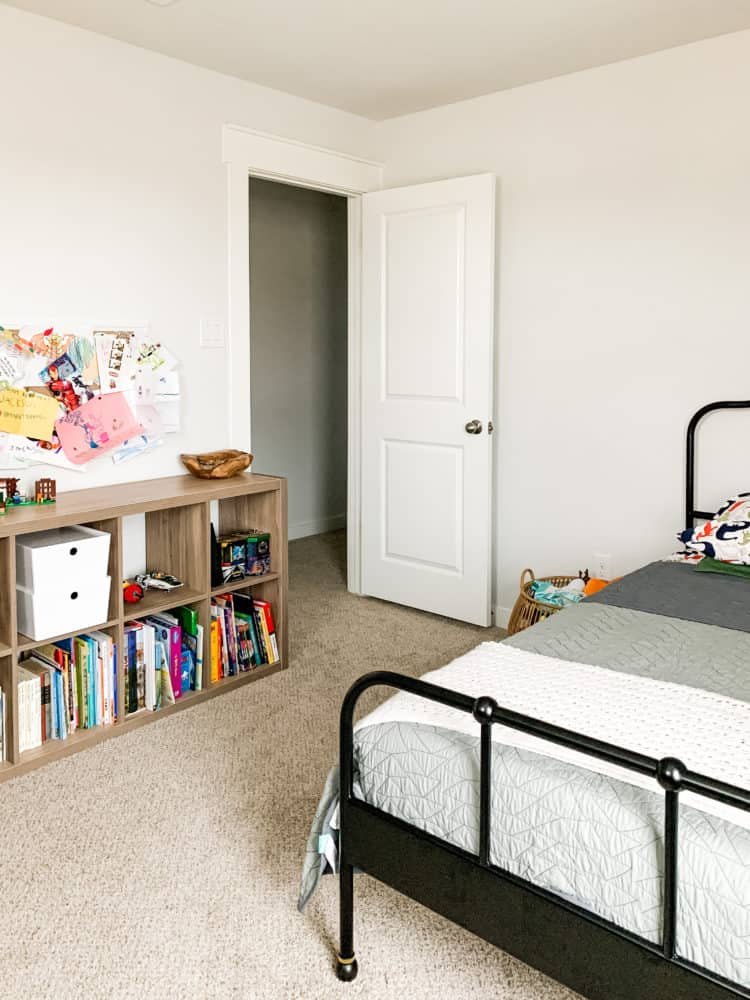
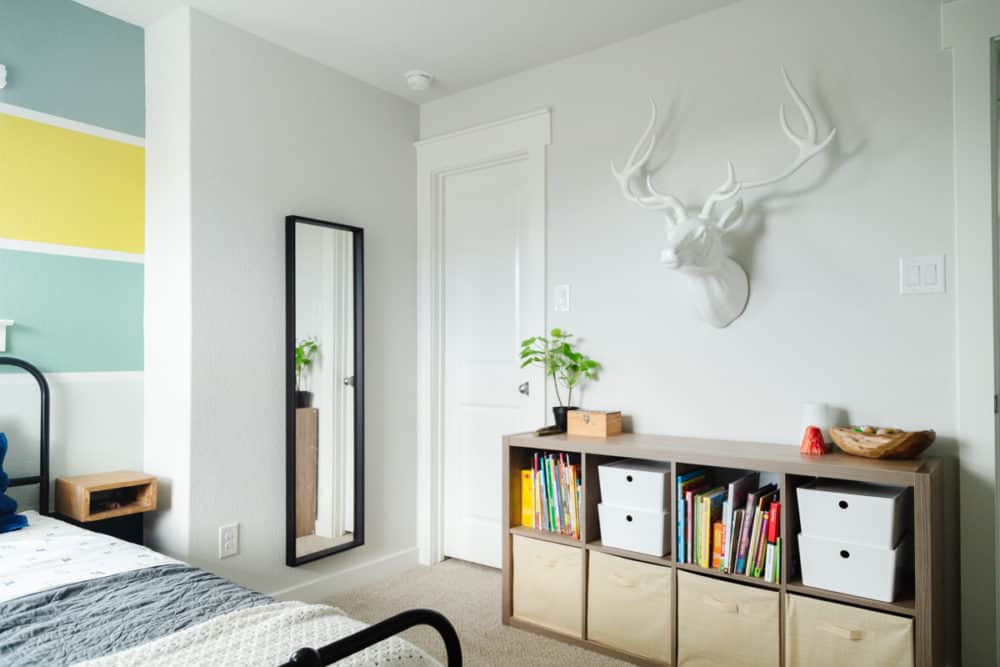
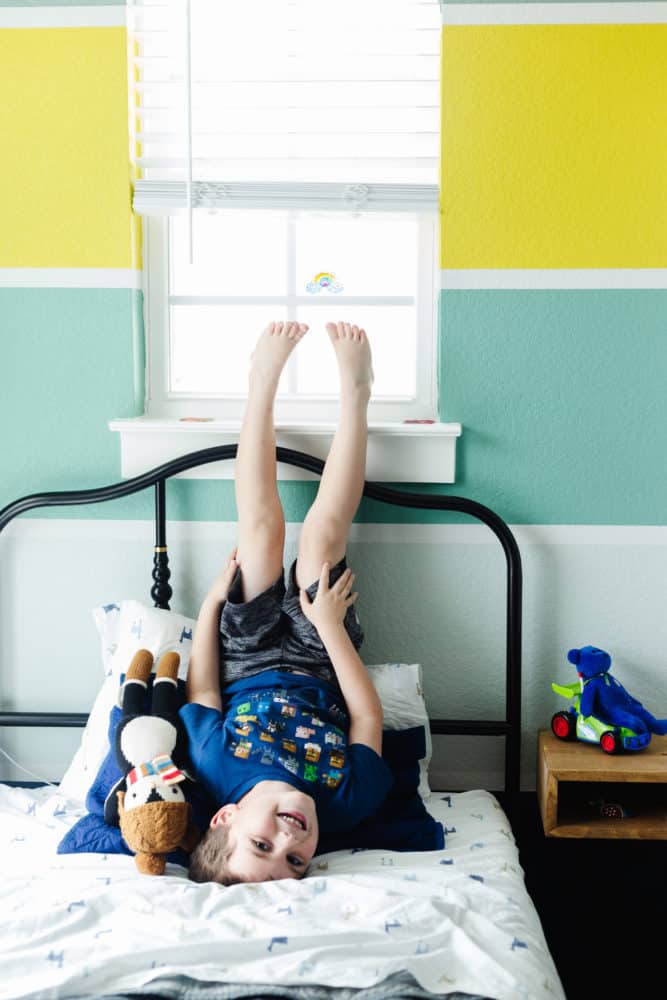
Meet Jackson’s room. It, like many of the other spaces in our house, was just a plain, white, boring room when I started. We had some furniture in there that he liked, but he had been asking for a while for a change – he wanted more color, more fun, and he wanted a desk for playing with LEGOs and drawing.
When I learned that I was being assigned the “fun and fearless” design trend, I knew immediately that Jackson’s room would be the perfect fit, and I had a pretty good idea of what I wanted to do – big, bold (colorful!) stripes across the back wall and the window nook.
We’ve been playing with the idea of doing some colorful stripes in Jackson’s room for a while now, and this was the perfect excuse to just go for it. I love playing with creative paint ideas in a kids’ room because it’s so easy to change when they get bored of it (and they will!).
This room was totally transformed with very little changes aside from the paint. I’ll detail the things we did add, but those stripes really make the space and it wouldn’t be half as good without them.
I used a few different FrogTape brand products for this makeover – here’s a quick list of the stuff that was super helpful to me:
- FrogTape MultiSurface tape (the 3″ thick one)
- FrogTape Drop Cloth Pads
- FrogTape Touch Up Cup
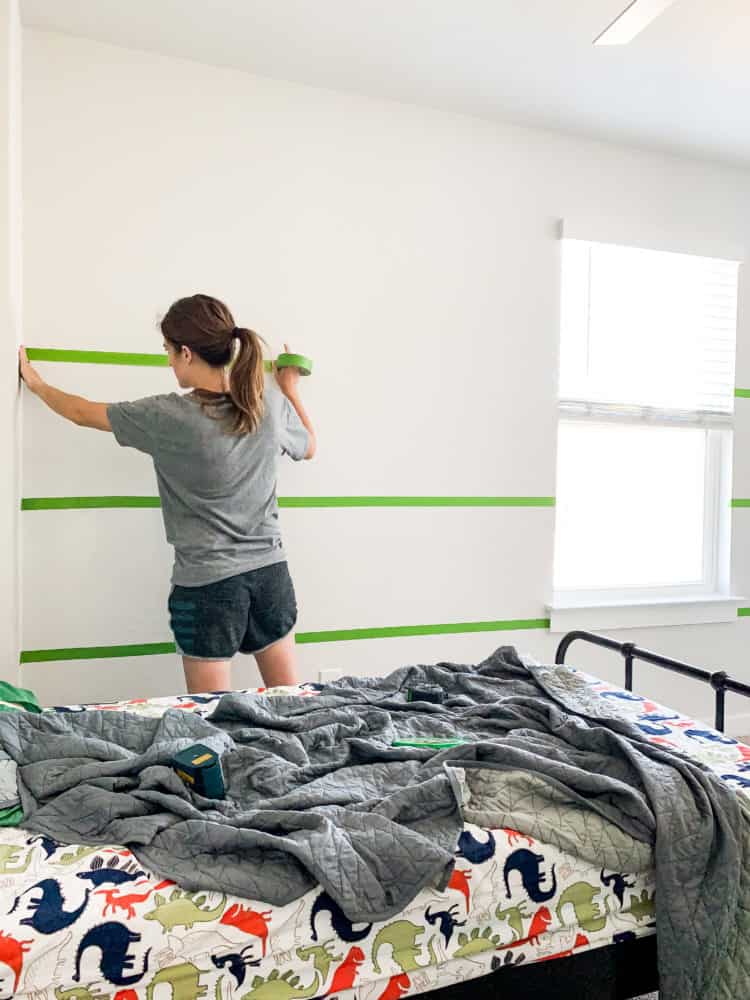
I used the MultiSurface tape for all of the lines – I wanted a line of white between each stripe, so I just used the width of the tape as the spacer for them – you can click here to see a brief (but detailed) tutorial for how I did it!
One of my best tricks for getting a super clean paint line is to go over the paint with the base color (in my case, white) before painting the new color. It helps “seal” the paint and anything that seeps through will be the base color!
This was my first time getting to try out the FrogTape Drop Cloth Pads, and they were a total game-changer for me. They have a slip-resistant bottom, which helps them stay in place, and they’re totally leak proof – the plastic backing won’t allow any dripped paint to soak through to the floor beneath, which is so helpful. The small size is also perfect for a project like this, since I was moving so much – it was really easy to just pull the drop cloth pad along with me as I worked!
And finally, the Touch Up Cup is probably one of my new favorite products – I don’t know about you, but I always struggle to figure out how to handle leftover paint for touch-ups. I’ve left it in the can (it always gets gross!) and I’ve put it in mason jars (it’s hard to use when it’s in there!) but nothing has worked great for me. The FrogTape Touch Up Cups can hold 12oz of paint and they have a stainless steel mixing ball so it’s easy to stir the paint back up without needing to grab a stir stick. Add in a plastic design that prevents rust and a label already attached to the front and it’s basically the most genius product ever!
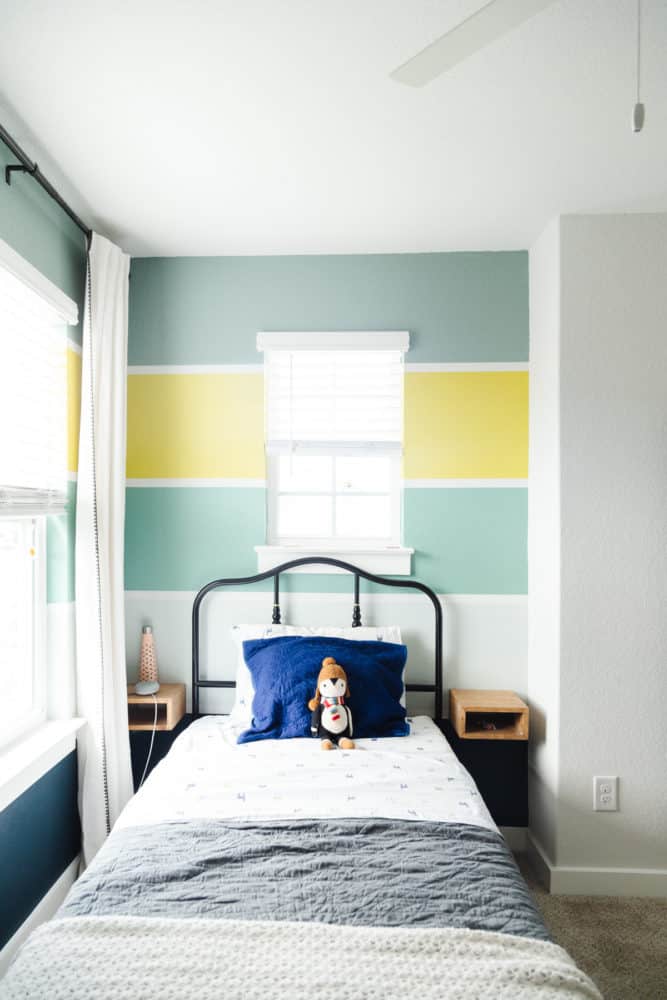

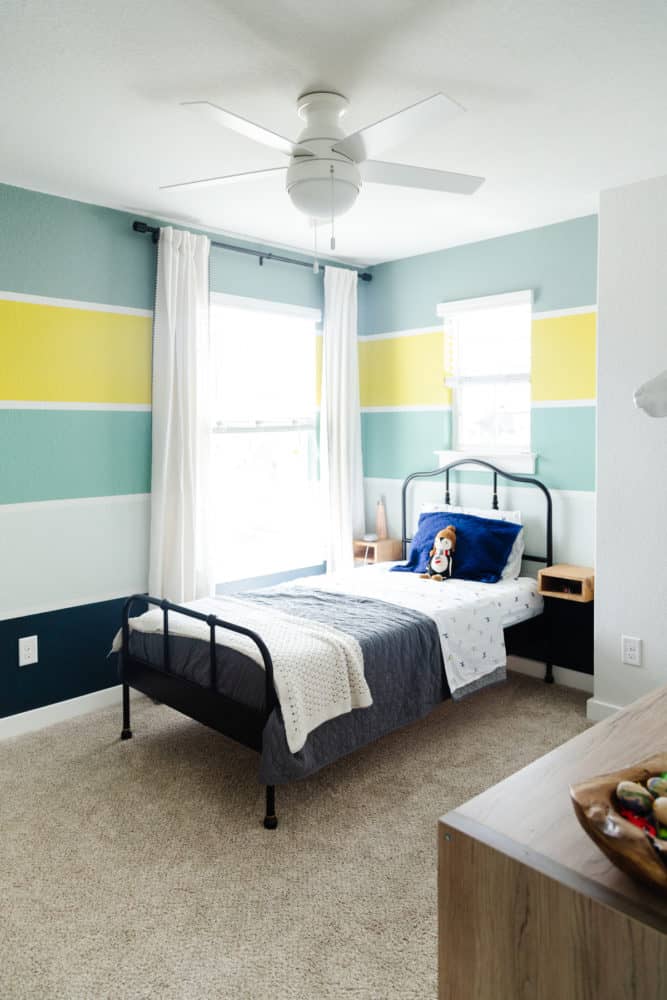
Once the stripes were done, our next step was to re-arrange things. We decided to try Jackson’s bed under the window so it feels like more of a feature in the room (and so we can get it away from the awkward bump-out that houses some pipes for the house) and we all love the change.
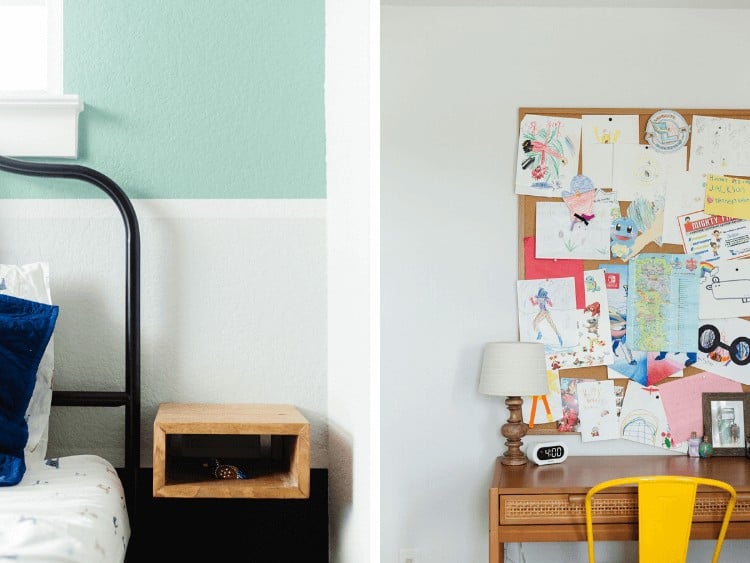
The only things we added to the room other than the paint job were a desk and chair, some curtains, and a bigger bulletin board. That’s it! It’s hard to believe we made this big of a difference with just some re-arranging and painted stripes, but it’s true.
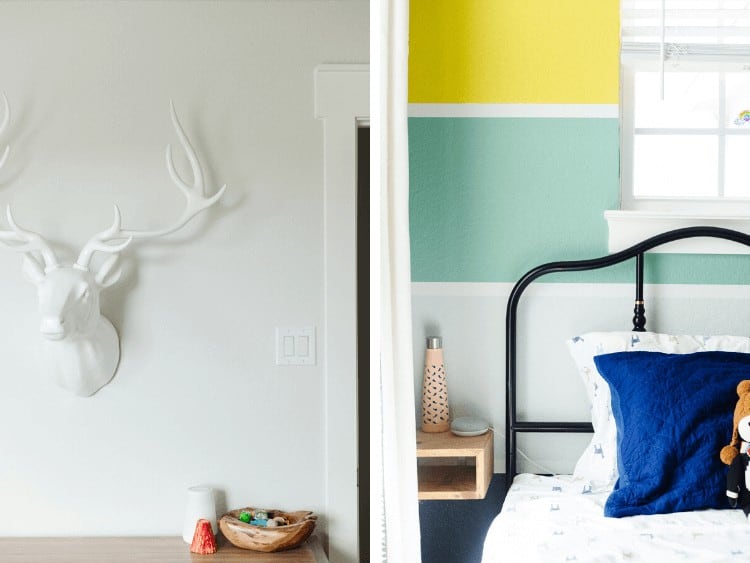
Jackson is absolutely head over heels in love with his room, and it makes me so happy to see those little stripes peeking through the doorway every time I go upstairs!
Click here to see all of the other designers being featured in this round of the FrogTape Paintover Challenge – there is some serious talent represented here and I’m so honored to be a part of it!
Sources
- Paint colors (from top to bottom): Jasper Stone, Eye Catching, Verdigreen, Sea Salt, Dark Night, all from Sherwin Williams
- White paint color: First Star by Sherwin Williams
- Bed
- Gray blanket
- Llama sheets
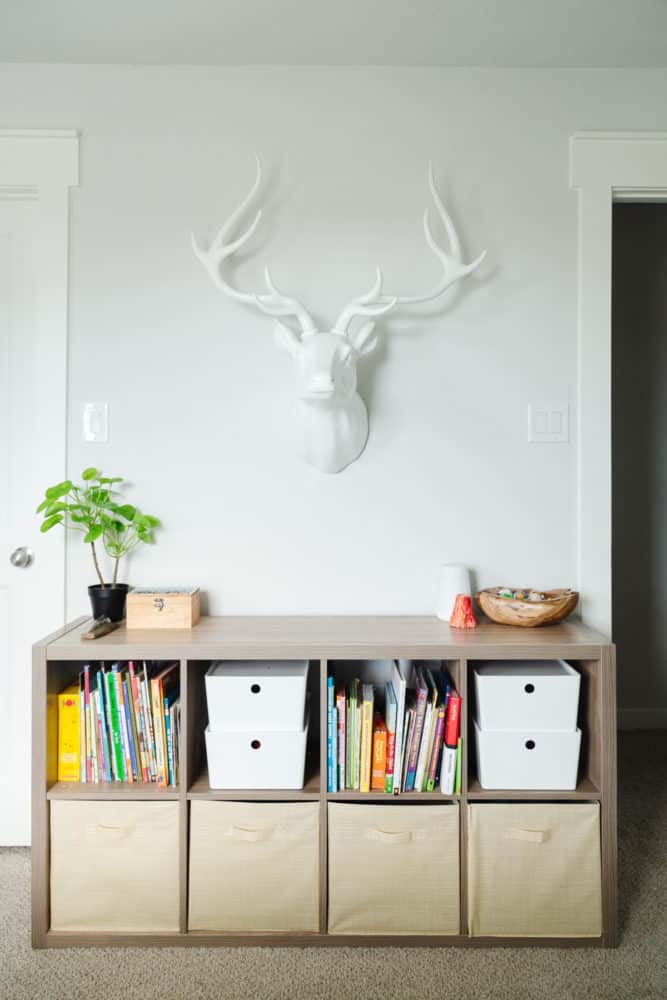
- Cube bookcase
- Square baskets
- Curtain Rod
- Curtains
- Deer head (similar)
- Desk (similar)
- Desk chair
- Bulletin board (similar)
- Stuffed animal basket (similar)
Hi, I am going to try this in my son’s room, I love the giant stripes! How much paint of each color did you use?
Hi, Beth! I used a quart of each color – and had some left over.
Hi! Loving this room so much! Where is the curtain rod from? I love the look of it!
Thanks! It’s from Amazon – I’ll add a link to the post.