Our First Renovation: The Reveal
This next part of our chair renovation was the part that I was very nervous about. The seat part of our new chair was pretty messed up, and Corey and I had decided to replace the whole thing. The original chair had a spring contraption in the seat, but neither of us are fans of springs so we chose to go with a thick pad instead.
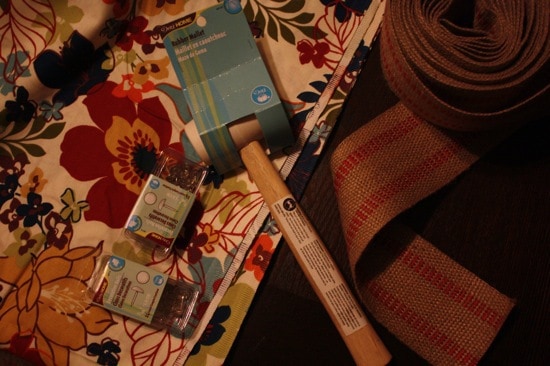
Now, before I continue let me give a slight disclaimer and say that Corey and I had no idea what we were doing when we were working on this project. Sure, we’d watched a few videos and read up a bit on how to reupholster chairs, but that was the extent of our knowledge. We were totally winging it when we went to Joann’s to get supplies, but somehow or another we made it home with a nice little collection of supplies.
Sneak peek of our fabric! 🙂
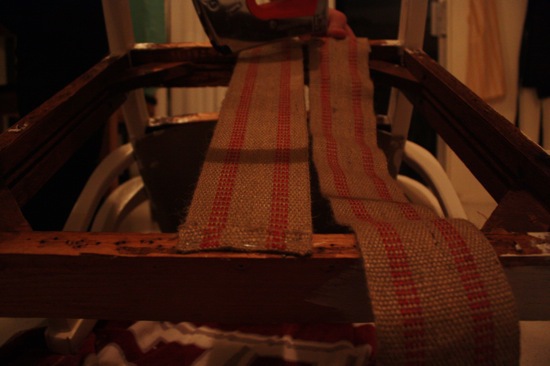
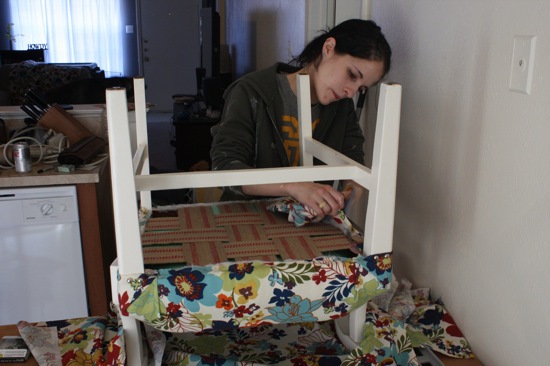
Not pictured there is the giant (and WAY more expensive than we expected) seat cushion. We really didn’t even know where to begin, as we had really only tackled all of the easy parts of the project so far. Luckily my hubby’s a researcher and knew that we needed to replace the webbing (the bottom supports of the chair). So, we pulled up a YouTube video on how to do it, watched about 30 seconds and decided we had the gist of it.
And then we got to work!
Basically, all we knew is that it needed to be in a basket-weave pattern and it needed to be pulled as tight as possible for the most support. It took us longer than we probably should have, but, soon enough, it started to look like a real chair!
We thought it looked pretty good, but we were a bit wary as to how it would actually hold up once we, you know, SAT on it. I volunteered to be the guinea pig since I weigh less, we plopped the cushion onto the chair and I slowly eased myself into it.
And it was comfy!
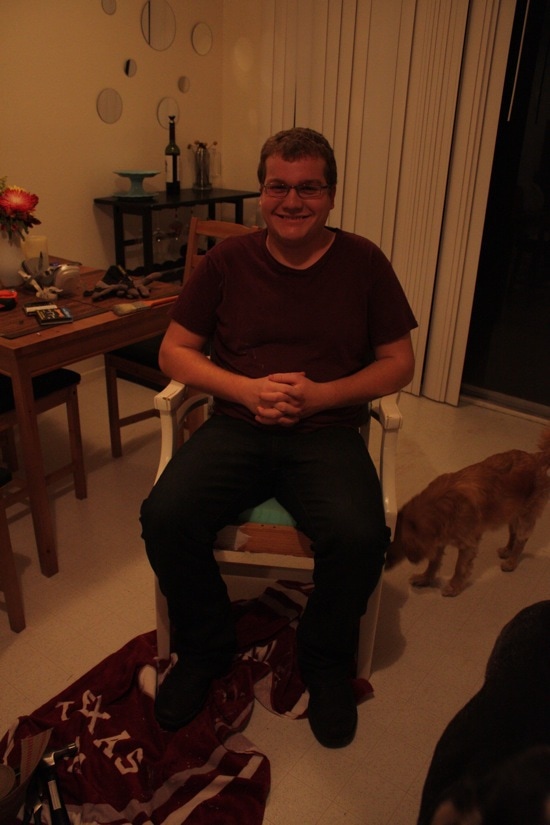
Of course, Corey was still a bit wary of our handiwork (since we’ve, um, never done this before) and he was a bit scared when he went to sit in the chair…but luckily, it held him up too!
And with that, we decided that we might have pushed our newbie DIY luck as far as it would go for one day, and we went to bed.
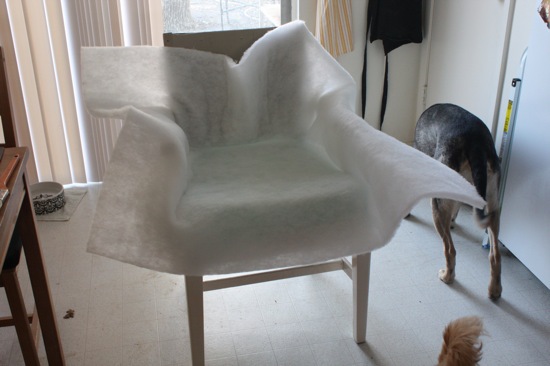
BUT – we got up bright and early the next morning to finish up! We had bought some extra padding to use over the main cushion (and for the back of the chair) so it was like a practice run for putting on the actual fabric. We were SUPER nervous to get started, but we figured we’d never get anything done if we just sat there staring at the chair, so we jumped right in.
Our first strategy of throwing the padding on and hoping it would mold itself perfectly in position didn’t work very well (what? It was worth a shot!) so we had to get serious about figuring this out.
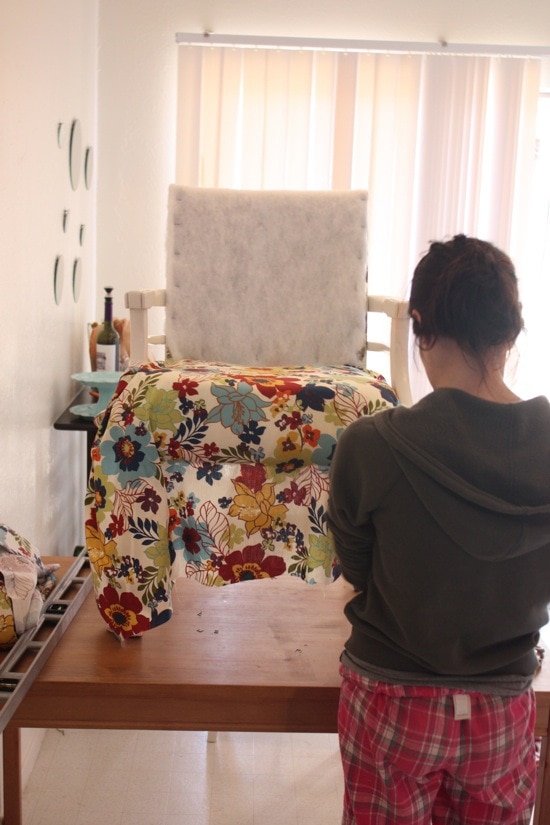
We played around with it for a while, and finally just decided to go for it. Luckily, this part wasn’t going to be visible in the end product so it didn’t have to be perfect. About 45 minutes and a ridiculous amount of staples later…
…our chair was ready for fabric!
In the interest of complete honesty, I will say that we almost froze here. We were at the point where our mistakes would really start to matter, and we were pretty scared to move forward. But, we refused to allow ourselves to give in to the fear and forced ourselves to just move right forward. Corey started measuring and cutting, and then, we got to work!
I wish I had some sort of detailed tutorial for you on how exactly to do this, but I don’t. Mainly because we really kind of just made it up as we went along. I will say that reupholstering a chair is a lot like wrapping a present…a really awkwardly shaped one, at that.
I don’t have many pictures of this part of the process, partially because it definitely requires two people, and partially because I was busy dealing with a husband who had a pretty much constant stream of profanities coming out of his mouth as we were doing this.
Okay, I exaggerate, but there was a lot of, ahem, frustration over this part of the project.
And just like that the seat of our chair is upholstered! We made that look pretty damn easy, huh? 😉
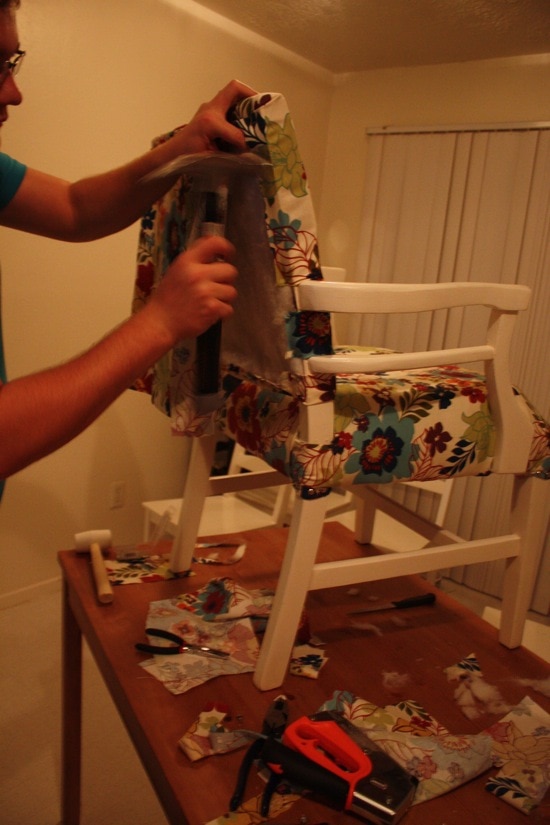
Cutting off the excess fabric. Notice that I’m completely covered in paint (yes, that is paint in my hair)? Yeah, that’s because of another project that I’ll be sharing soon!
Putting on the back panel!
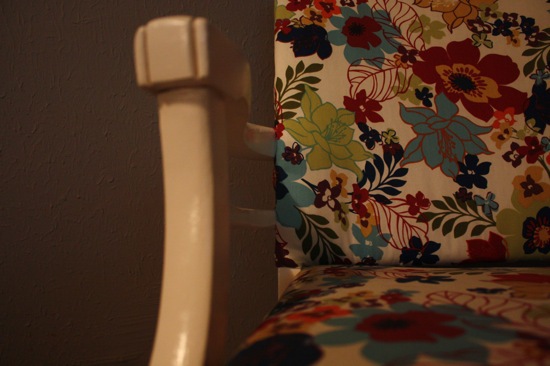
And just like that…a new chair was born.
My biggest piece of advice when it comes to this is to TAKE YOUR TIME and don’t make any cuts in the fabric until you’re absolutely sure it’s the right place to cut. It’s really hard to tell where you need to cut if you don’t take a lot of time to think about it, and it’s really easy to make a mistake. Not that we did that or anything…
Okay, so we totally did. I’ll be honest and say that there’s a spot on the back of the chair where you can see the stuffing because we made a cut too big. Oops! But, you know, it’s not that noticeable, and we’re still insanely proud of it, and that’s what matters.
This project wasn’t exactly cheap, but it was a giant savings over what we would have spent to buy a new chair that we loved as much as this one. When all was said and done, we spent about $150ish on the chair, and that includes buying an orbital sander (which was about $60) which I don’t really count into the chair cost because we’ll use it for lots and lots of other projects too! So, a little under $100 for a brand new chair that was exactly what we wanted. I’d say that’s a pretty good deal!
Now, when it came to actually putting this chair where it would be going, I was a bit concerned. We bought this fabric more for the potential it has to look awesome in a future house and less for it’s ability to actually go well in our current house. The bedspread in the guest room is super busy and colorful (and I’m in love with it) but with the brightness of this chair, I was worried our guests might have a seizure every time they entered the room. Luckily, the bedspread is reversible, even though the other side is not nearly as cute. So, I flipped the bedspread over and pulled the chair into its new home!
I’m not in love with the way the room looks now, mainly because I’m not a fan of this side of the bedspread. But I do LOVE the way the chair looks with the desk, and I love how the chair looks in the room!
Side note: No, the walls in that room aren’t yellow, even though they look like it. Also, I know the shade on the window is terribly ugly. We both hate it, but it does the job of blocking the light and was very cheap. We’ll live with it until we move.
And that, my friends, is the conclusion of the first big DIY project that Corey and I took on as a couple. I won’t say it was easy and I won’t there wasn’t any yelling. Because it wasn’t and there was. But we’re so glad we did it, and now that we know we’re capable, we can’t wait to tackle another reupholstering project!
Have you ever taken on a major project with your spouse/SO? How did it go?



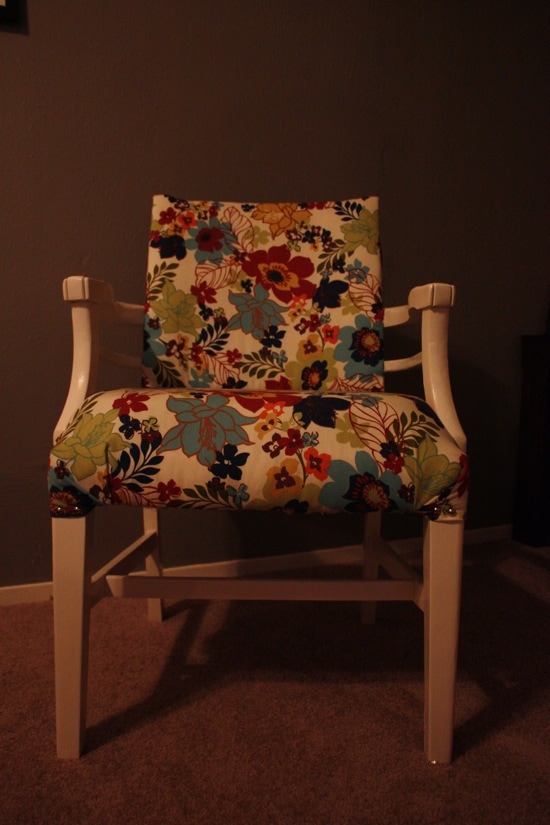
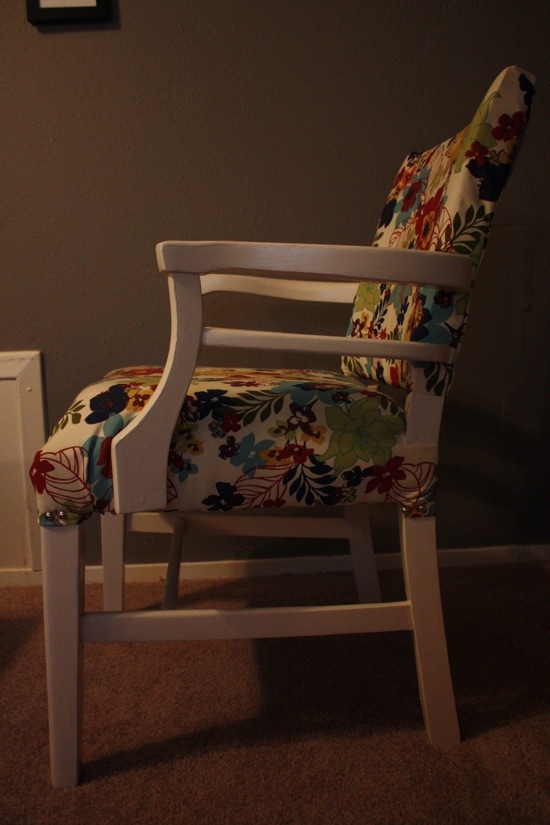

That fabric is amazing! Great choice. Love how well your first project turned out
What a fantastic project! I LOVE the outcome!
I. Freaking. Love. The. Fabric.
You guys did great!
Wow! You picked a chair with great bones and I love your fabric choice!
That’s why we decided to take on this project. We fell in love with the bones of the chair and knew that once we were done, it would be exactly what we wanted.
Thanks Corey! I’ll have to see if my Joann’s has it!
ps. I’m an Aggie too! but I am a Master’s distance student from WA state (not DC!)
Ohhhh my gosh – it looks FANTASTIC!!! The fabric is super cute, and it seriously pops in your room! Adoreeee
I just found your blog and I love this chair! Do you mind me asking if you know the name or maker of the fabric? Thanks!
Well we got the fabric and everything else at Joann’s fabric. I know that it is home decor fabric, not “upholstery” fabric. I think the brand might have been home essentials, but that is just a guess. It was only $10/yd. on sale for $5.
Abby- Our thoughts exactly. We looked everywhere for a chair that wasn’t ugly, but the sub $200 market is just ugly.
Jenn- Sure, I am down for it. Gives us more to blog about 😉
It looks great! I’m definitely impressed.. love the fabric you chose. So summery 🙂
So if I buy all the supplies, you guys can come over and whip one of those up for your sister, right? Gah! That is so ridiculously adorable!
Holy mackerel — it looks so good! 🙂 This definitely makes me want to try it in our own house to replace our computer chair — what is it about computer chairs that makes them hideously ugly?
Holy crap that’s awesome!! The fabric is so amazing, I’m totally jealous!
After you put the webbing in, did you just put the cushion on top before you started with the padding? How did that work?
We just put it on there. I think technically we were probably supposed to glue it down or something, but it’s a pretty snug fit, so I don’t think it’s going anywhere.
Wow! It looks fantastic!! Great job, guys. Also, it’s totally your fault I was trawling Craigslist earlier for a chair to reupholster… the beautiful finished product has just upped my desire to try my hand at this 😀
Hahaha I take that as a very good thing! You should do it! It’s fun!
It turned out SO well! I love the fabric you chose!
Holy crap, you guys did an amazing job! I bought three old chairs to re-do and was so intimidated, I never actually did it. :/ You’re making me wish I had stuck with it, but I doubt it would have looked as good as yours. That looks like it was professionally done!