How to Replace A Bathroom Countertop
Raise your hand if the counter in your bathroom has a built-in sink.
Keep it raised if it’s really ugly.
Keep it raised if it’s shaped like a SHELL and is so awful it makes your head spin.
Please tell me I’m not the only one with my hand still up.
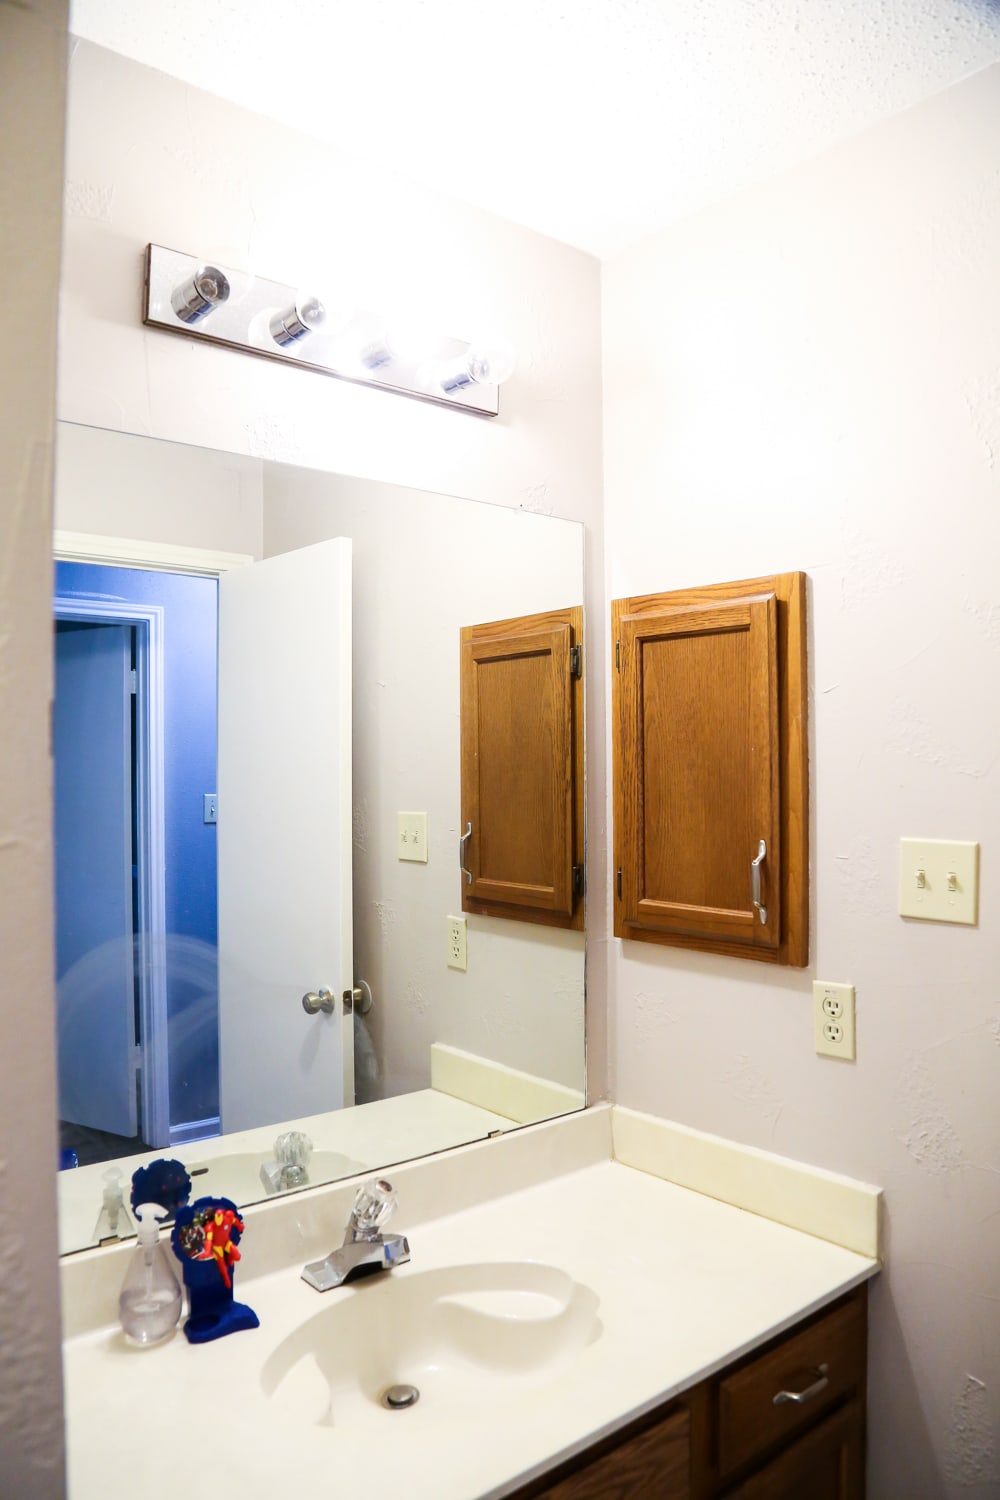
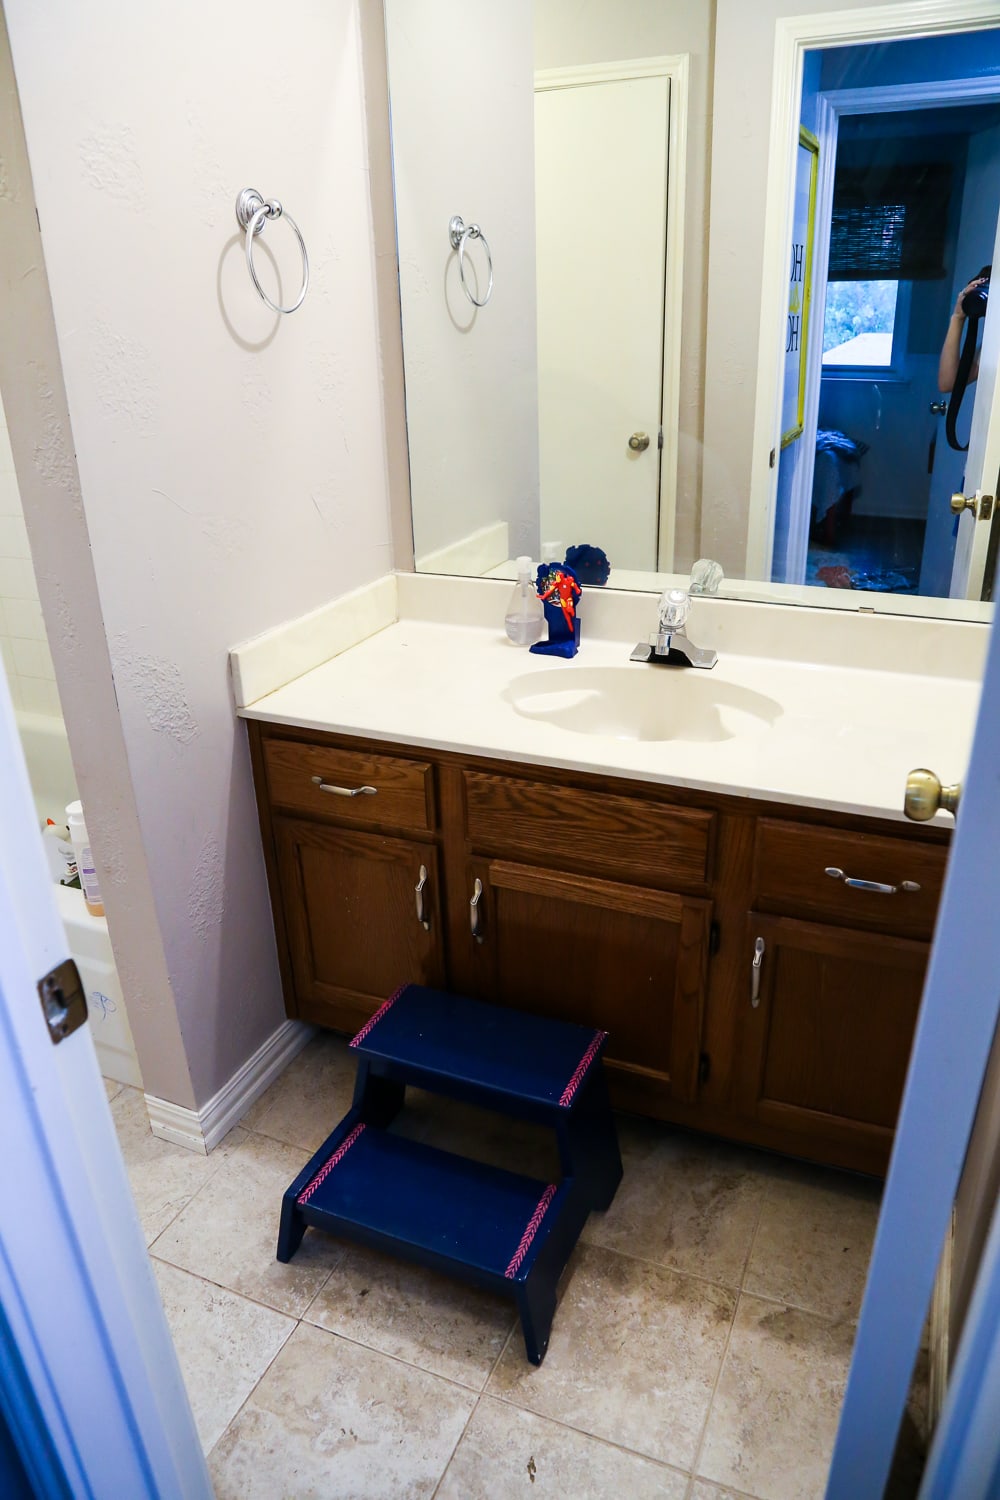
When we moved into this house, the countertops in all three bathrooms were this ugly faux-marble with shell-shaped sinks. Why? When was this in fashion? Who made this decision?!
Oh, goodness.
Thankfully, when it came time to tackle this bathroom (see the full makeover here if you haven’t already) we learned that it’s actually really simple to replace the countertop. And, if you’re lucky, it can be incredibly cheap too.
We actually purchased the countertop that we used in this bathroom with the intention of using it in our master bathroom renovation, but we had a really great sponsor come through at the last minute and ended up using quartz in there instead. We held onto it knowing that we could eventually use it elsewhere, and its day to shine has finally arrived. Because, seriously, who knew this humble little counter we snagged from the discount section of IKEA for $20 (yes, twenty bucks) could look this amazing?!
I was worried this project might be a little more difficult than I originally anticipated – we had someone else install the counter in our master bathroom, so I had no prior experience doing it. I kept telling myself that it couldn’t be that hard, and thankfully my instincts were right because this project is seriously simple.
So, if you have an ugly old counter in your bathroom (perhaps with a shell-shaped sink like ours was?), I’m here to tell you that you can replace it without spending a ton of money or putting a lot of effort in.
Ready to learn how?
Please note: This tutorial applies specifically to wood or laminate countertops. Don’t try to cut a solid stone counter with your jigsaw, please and thank you.
This post contains affiliate links. Click here to read my full disclosure policy.
HOW TO REPLACE A BATHROOM COUNTERTOP
M A T E R I A L S :
- New countertop (ours is from IKEA, the exact one is discontinued but this is similar)
- Circular saw
- Jigsaw
- Measuring tape
- Replacement sink and faucet, if necessary
- Caulk
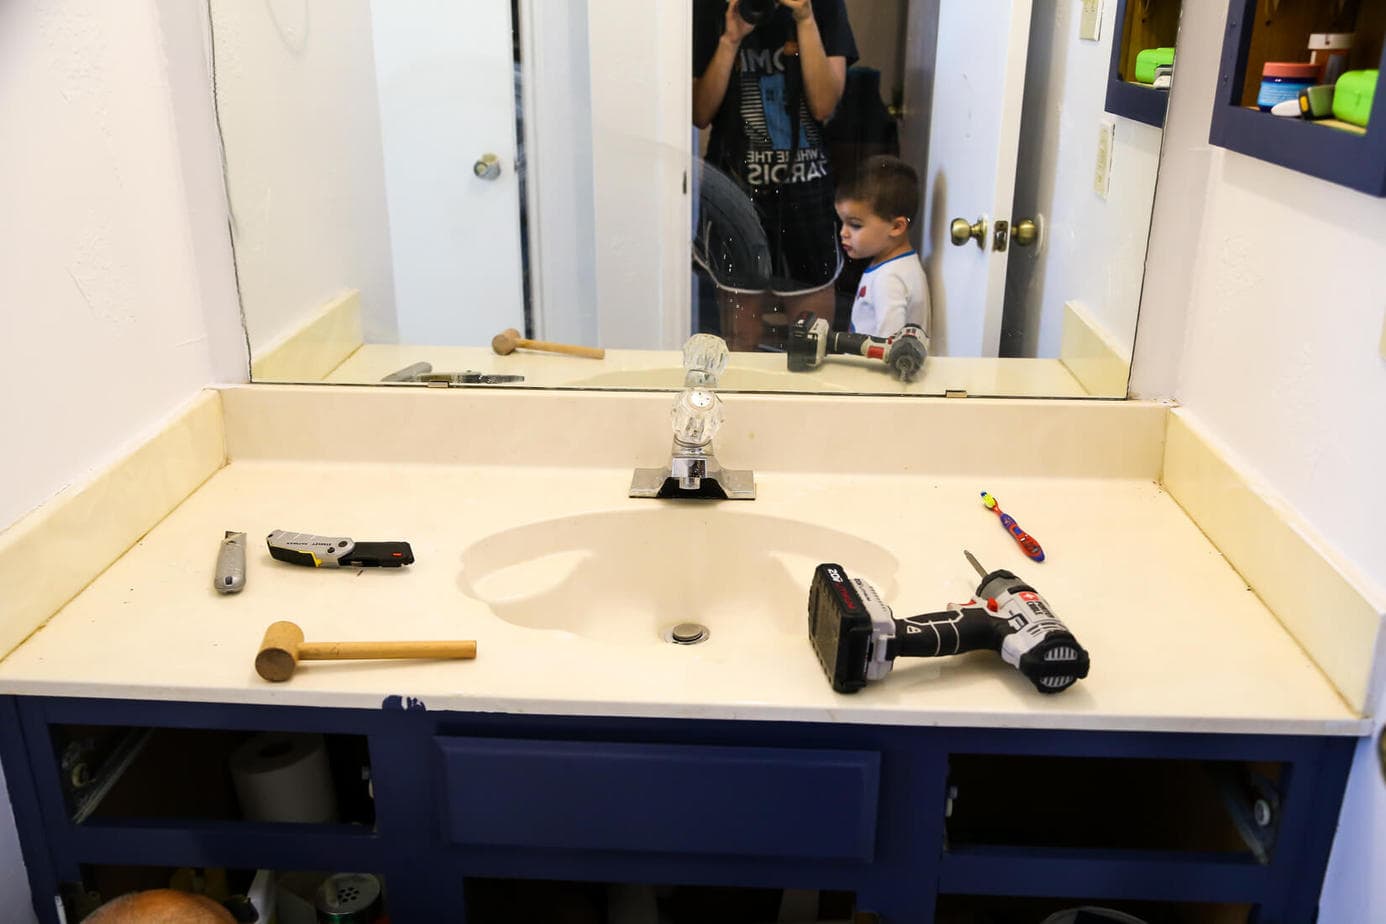
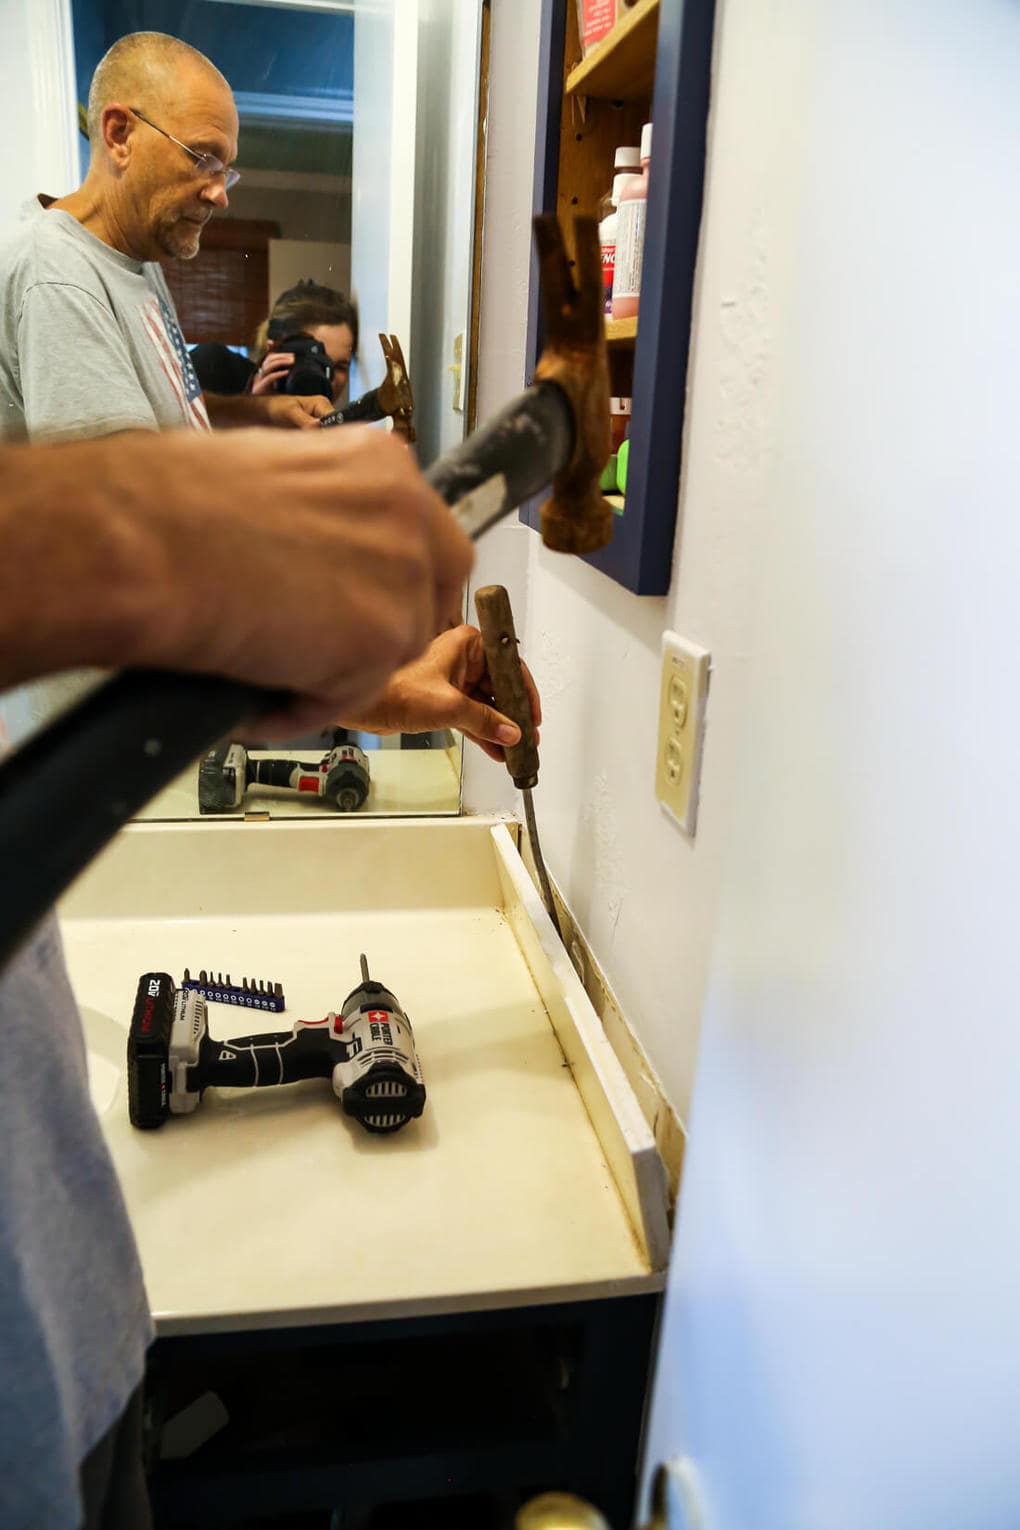
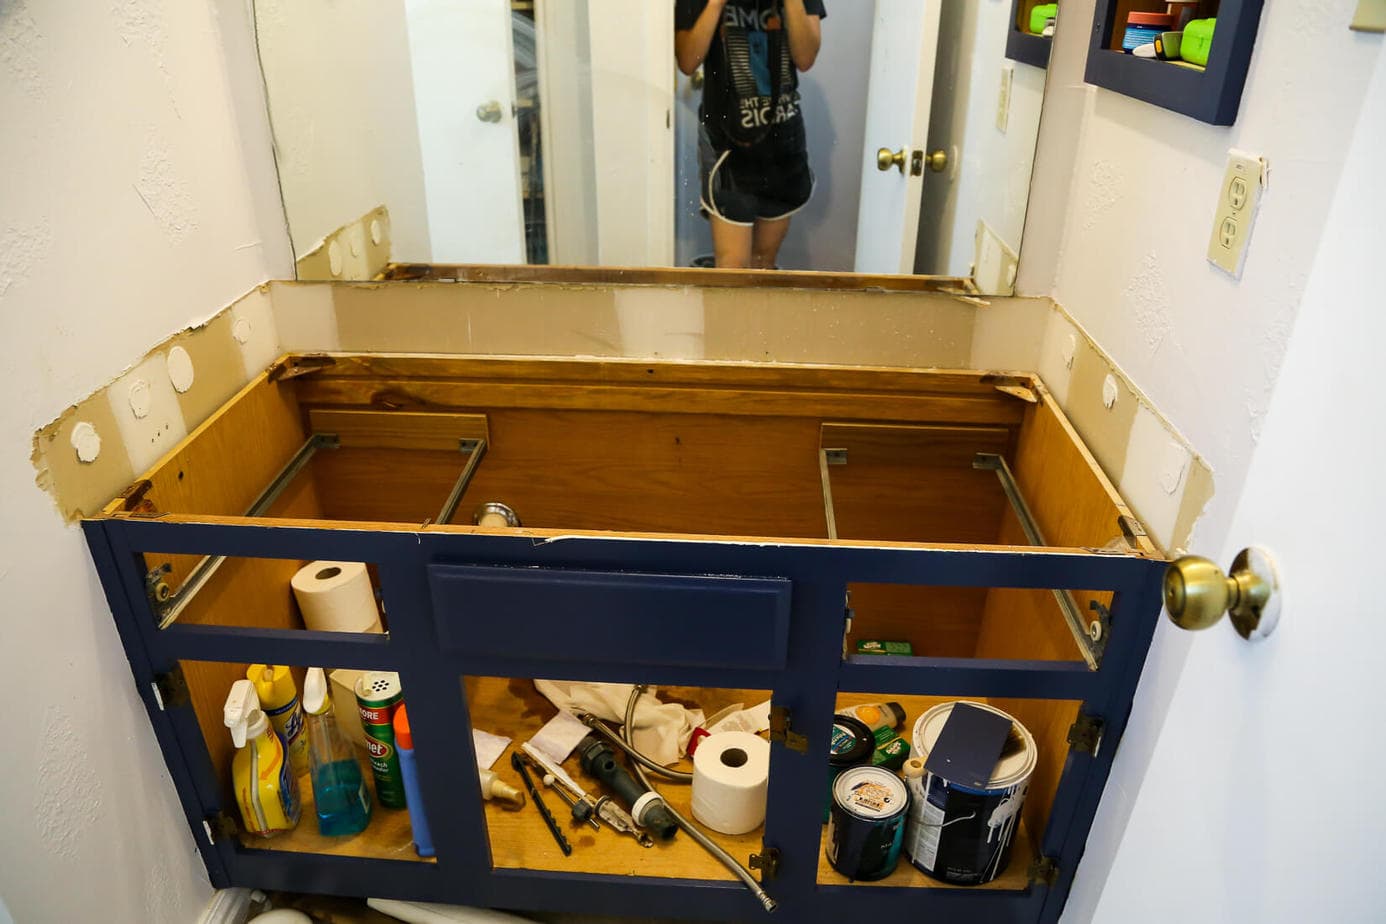
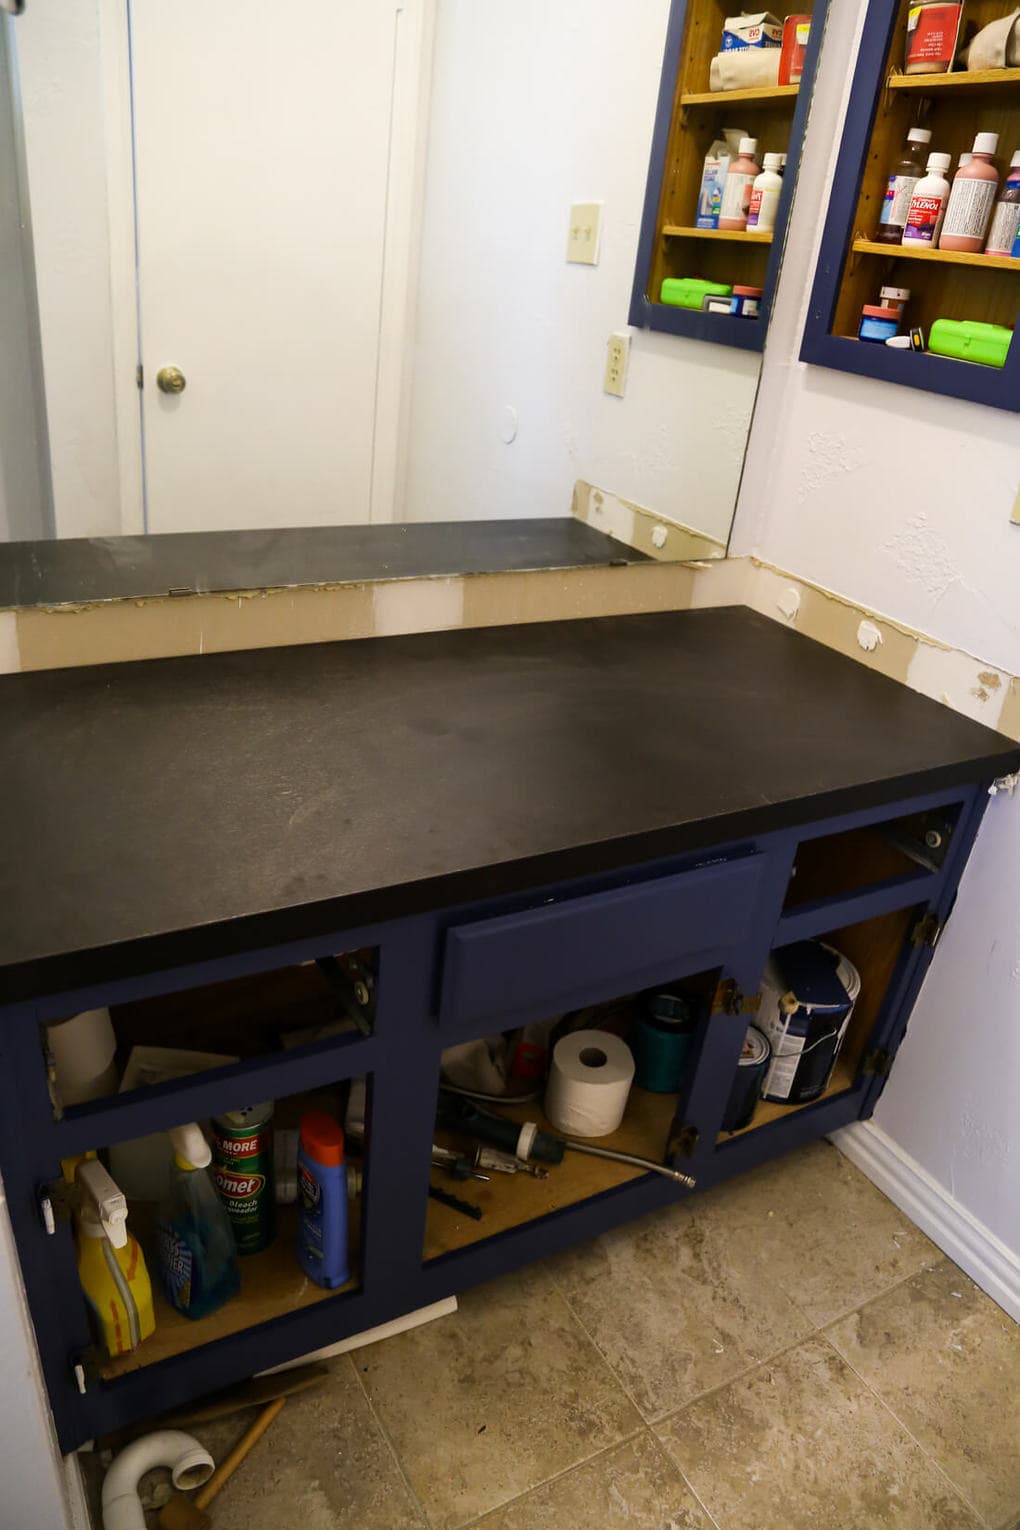
The first step is (obviously) to remove the old counter. In our experience, this is really simple. Both times we have removed counters from bathrooms, all we’ve had to do is use a knife to cut through the caulk all around the counter and pull up on it to detach it from the counter. Our bathroom counter was very heavy so it was a little more challenging, but this one was a piece of cake to remove. We started with the side backsplash pieces (just use something to pry it away from the wall and it pops right off), then removed the full counter.
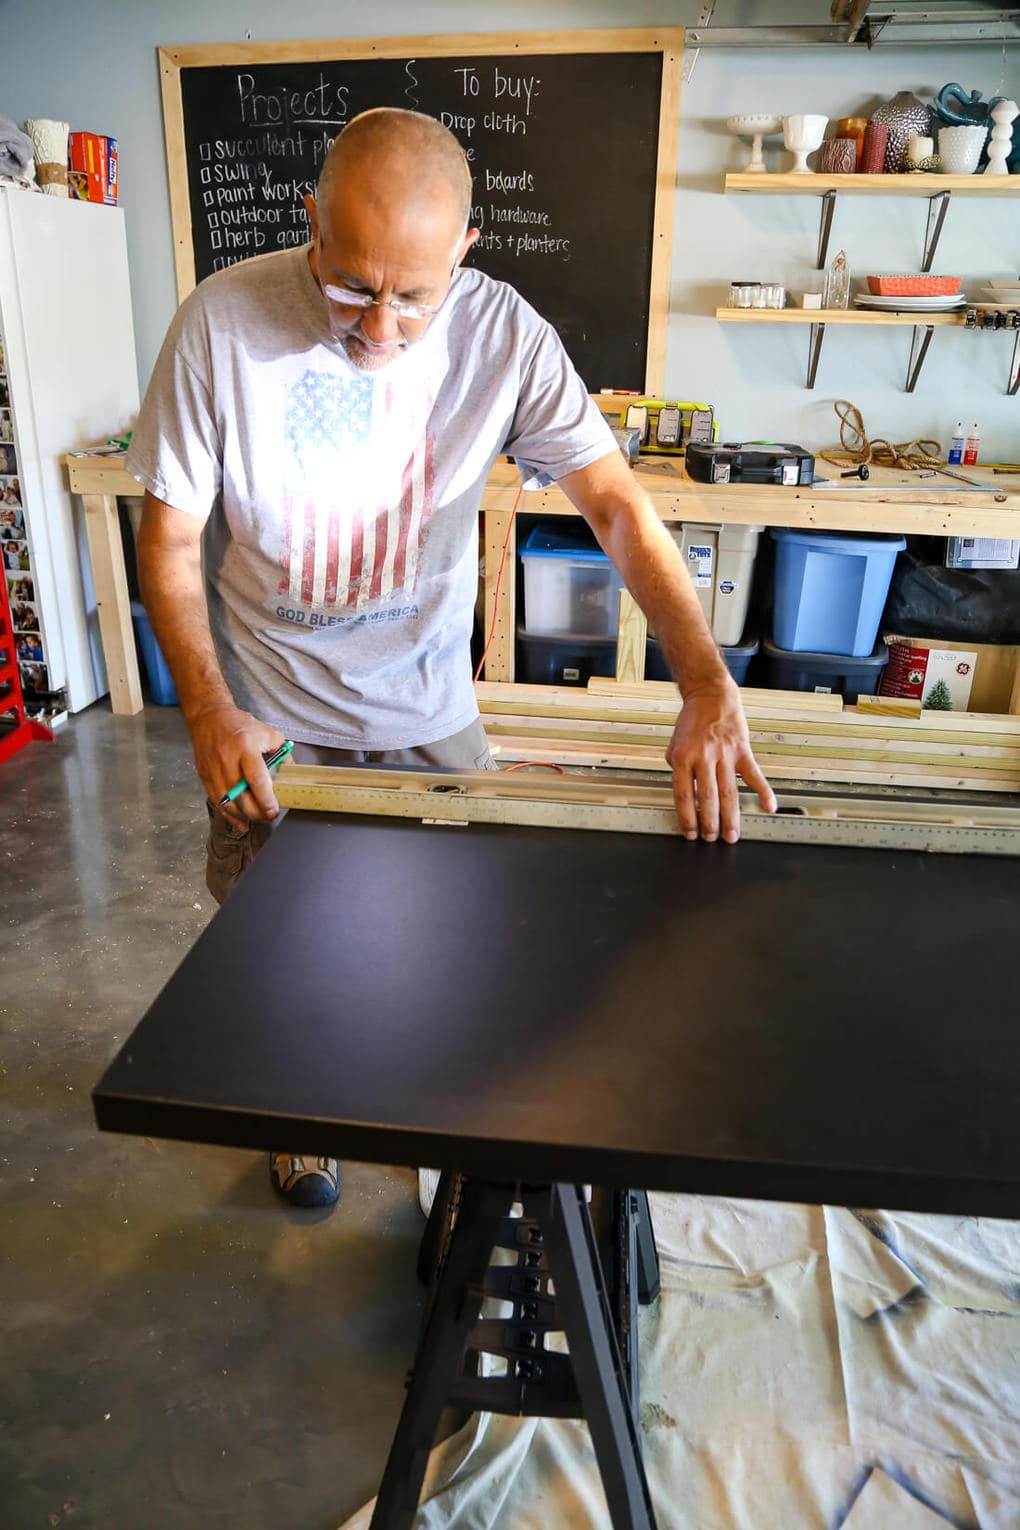
Once your old counter is removed, it’s time to prep the new one. Measure how long you’ll need your counter to be. Make sure you measure at both the front and the back – the back of our counter was about 1/4 inch narrower than the front, so if we would have cut in a straight line, it wouldn’t have fit!
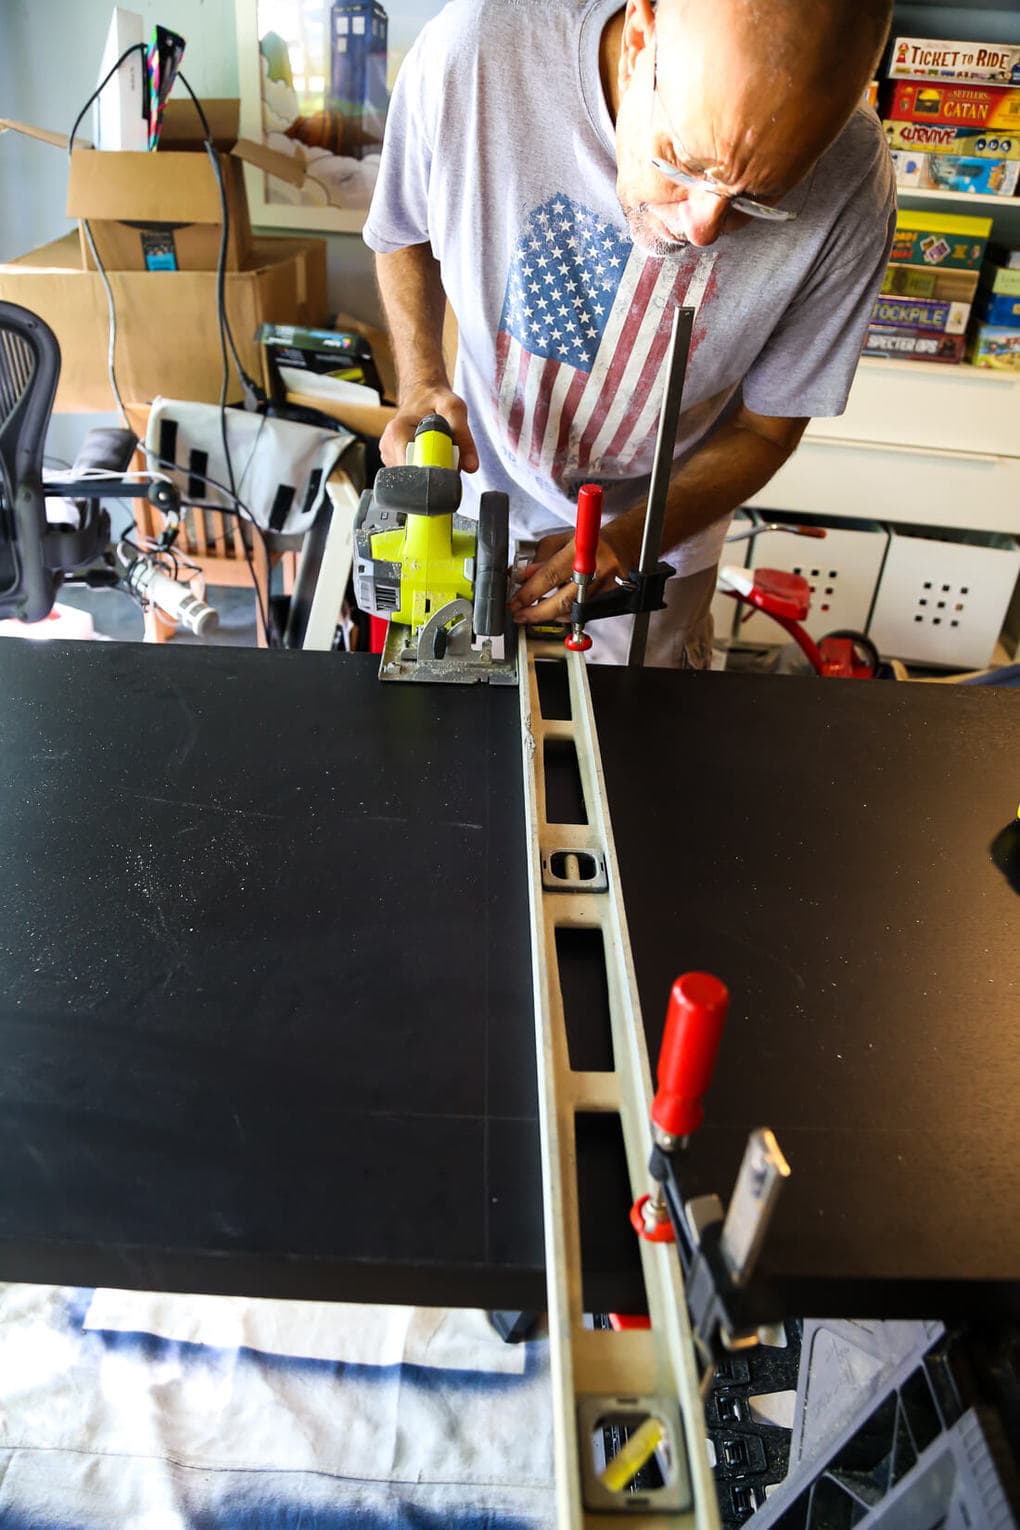
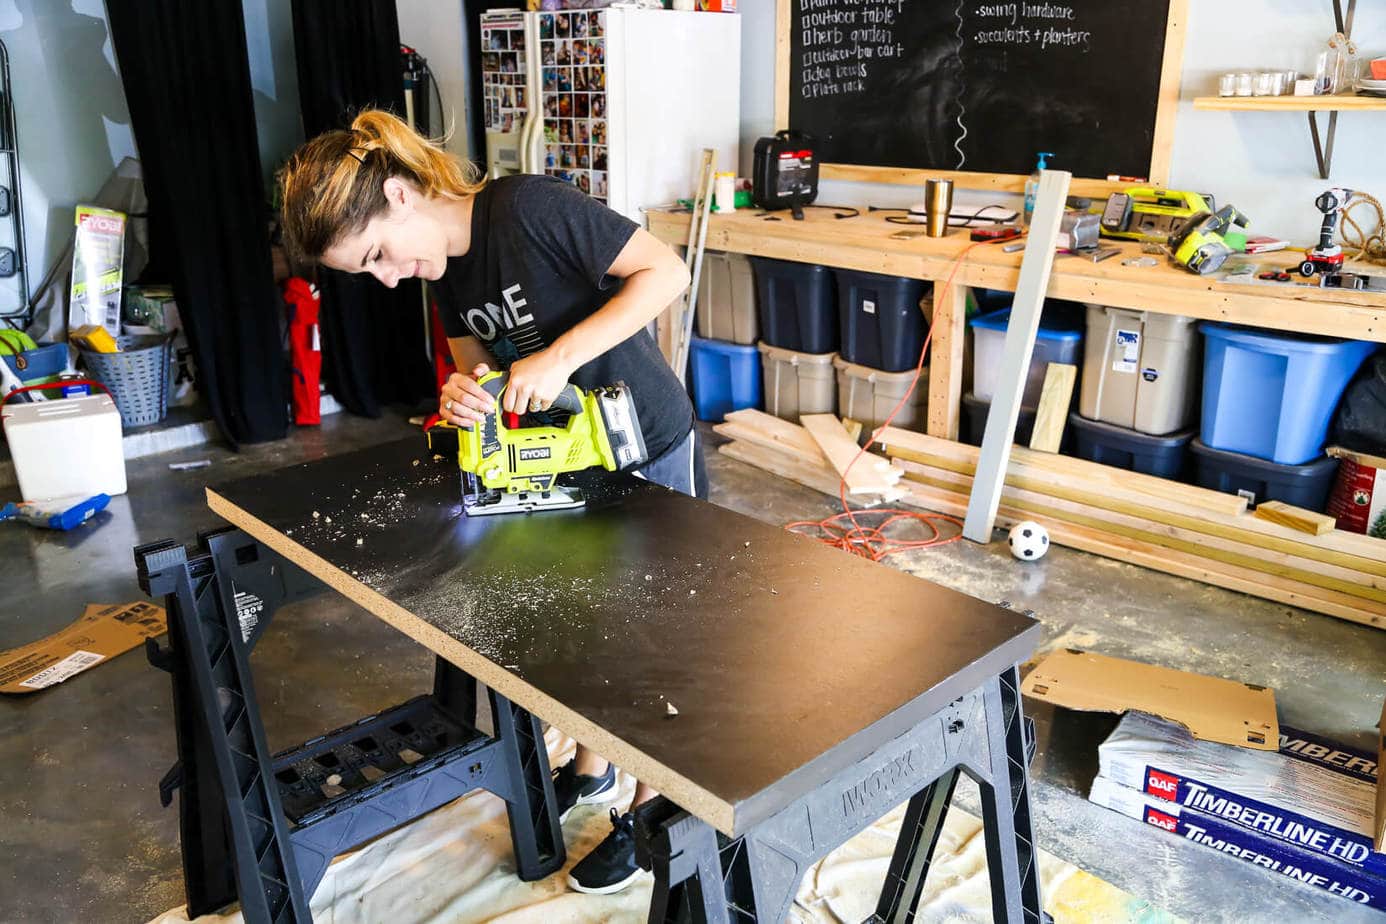
Now it’s time to cut your countertop down. We used a circular saw, and my dad showed me this cool trick to make sure you cut a straight line – we marked our line for cutting, then we clamped a long level onto the counter at just the right distance from the line so that we could press the guard of the saw up to the level and be cutting exactly on the line. It required some measuring and finagling, but it made the cutting process a breeze and we knew we’d have a perfectly straight line.
Sidenote: For those of you who are always swooning over our super-organized garage when I post photos on Instagram, allow me to show you the reality of what it currently looks like below. We’re in the middle of getting rid of some stuff and re-organizing, so it’s chaos. Absolute chaos.
We had to cut our counter down both lengthwise and widthwise – it was a little deeper than I wanted it to be for our cabinets, so there was a little extra cutting. Once it was all cut, we took it upstairs to do a dry fit to make sure everything was good before we cut the hole for the sink. It fit like a glove, thanks to my dad’s obsessive measuring (I could clearly learn a thing or two from him).
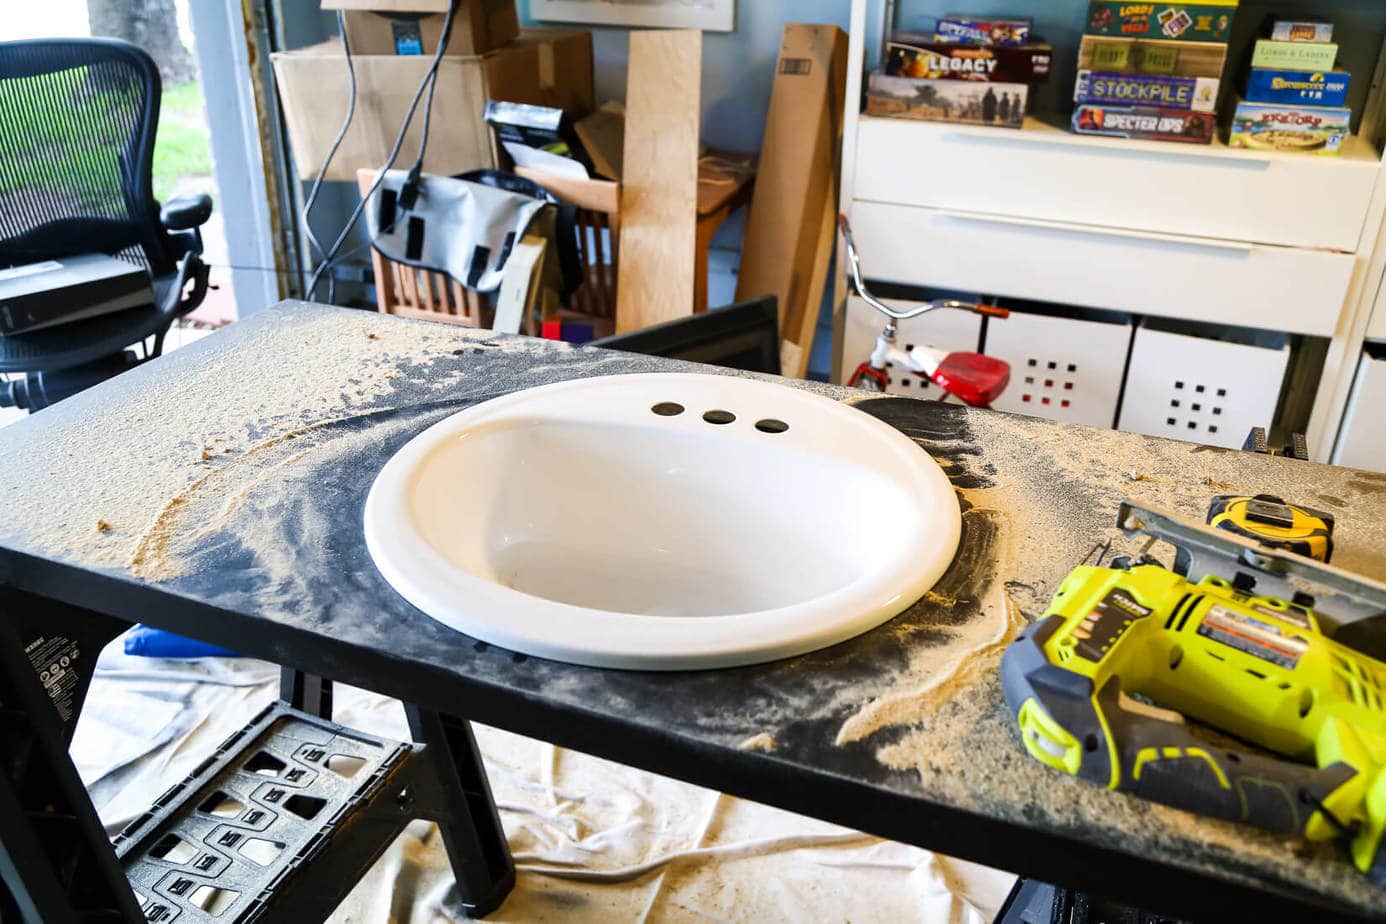
Next up, you’ll need to cut a hole for the sink. Our sink came with a template on the box, which made this super easy – we just cut it out, traced it onto the center of the counter, and we were good to go. I used my jigsaw to cut the hole – if you don’t know how, you can check out this post + video for a full tutorial on how to use a jigsaw. I was surprised at how simple it is to install the sink in the counter – it came with some nuts and bolts that you used to attach it to the bottom of the counter, and then you can just run a bead of caulk around the edges to keep it in place (ours has a lip that makes this unnecessary on the top, but you can do one on the bottom for extra security if you want).
Once you’ve got your sink installed, all that’s left to do is put the counter in place. This is the easiest part of the process – just put it back on top of the cabinets, add some caulk around the edges and call it a day. If you want to be extra careful you could apply construction adhesive to the top of the cabinets before you put it into place, but let’s be real – that countertop isn’t going anywhere.
And that, my friends, is how we took our bathroom vanity from this:
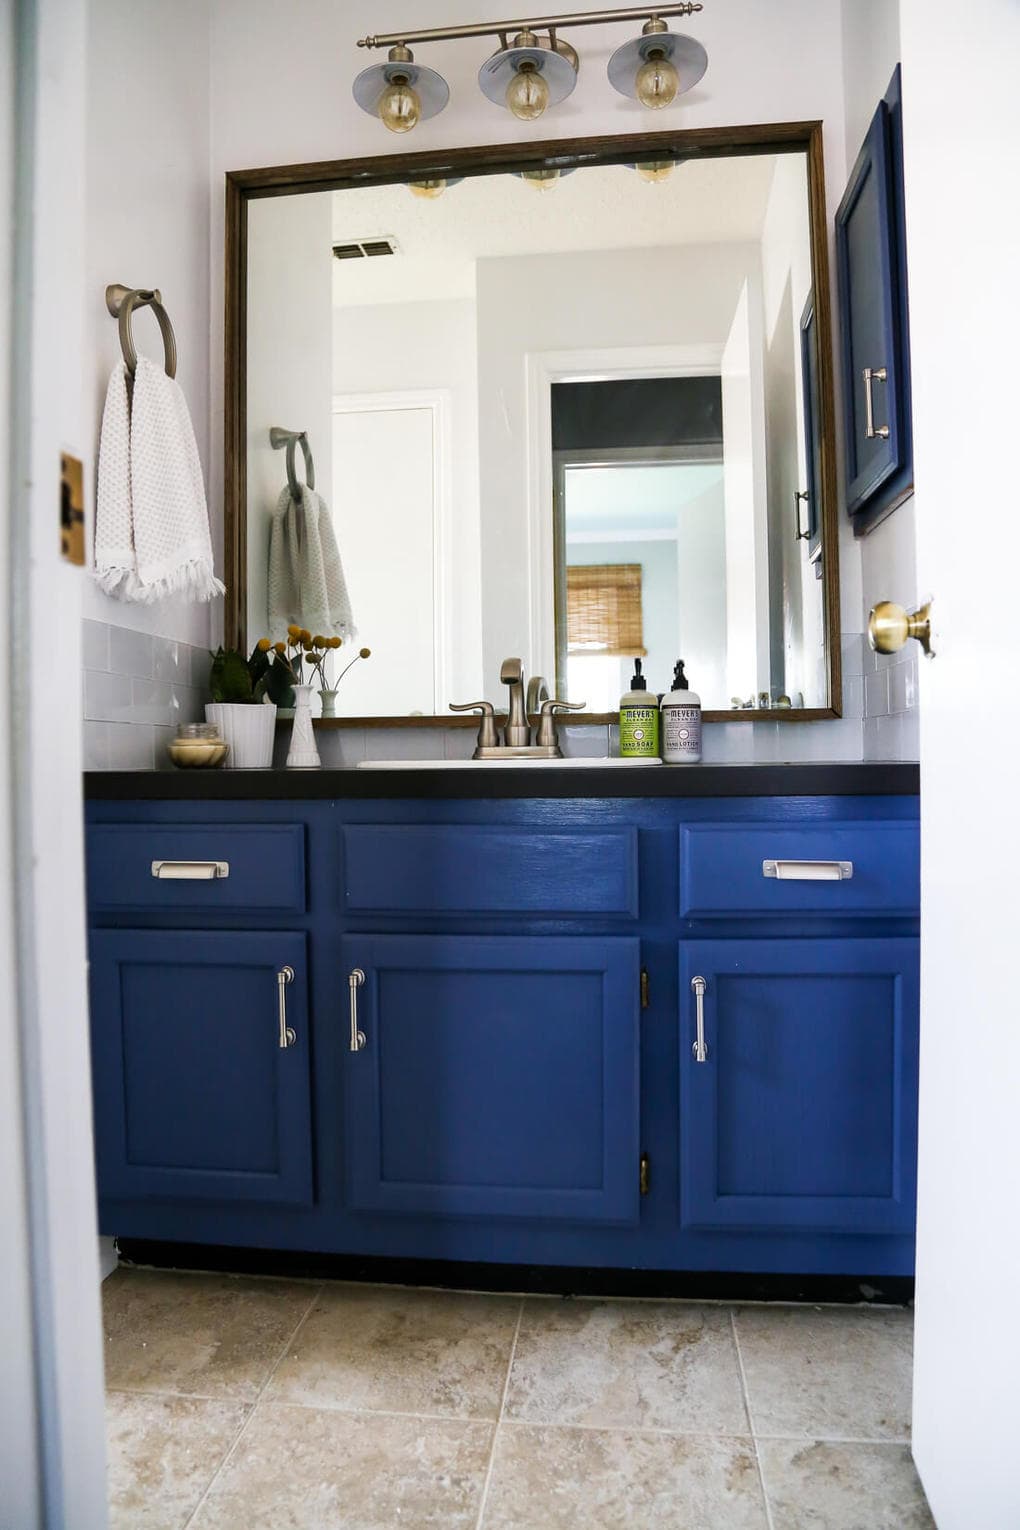
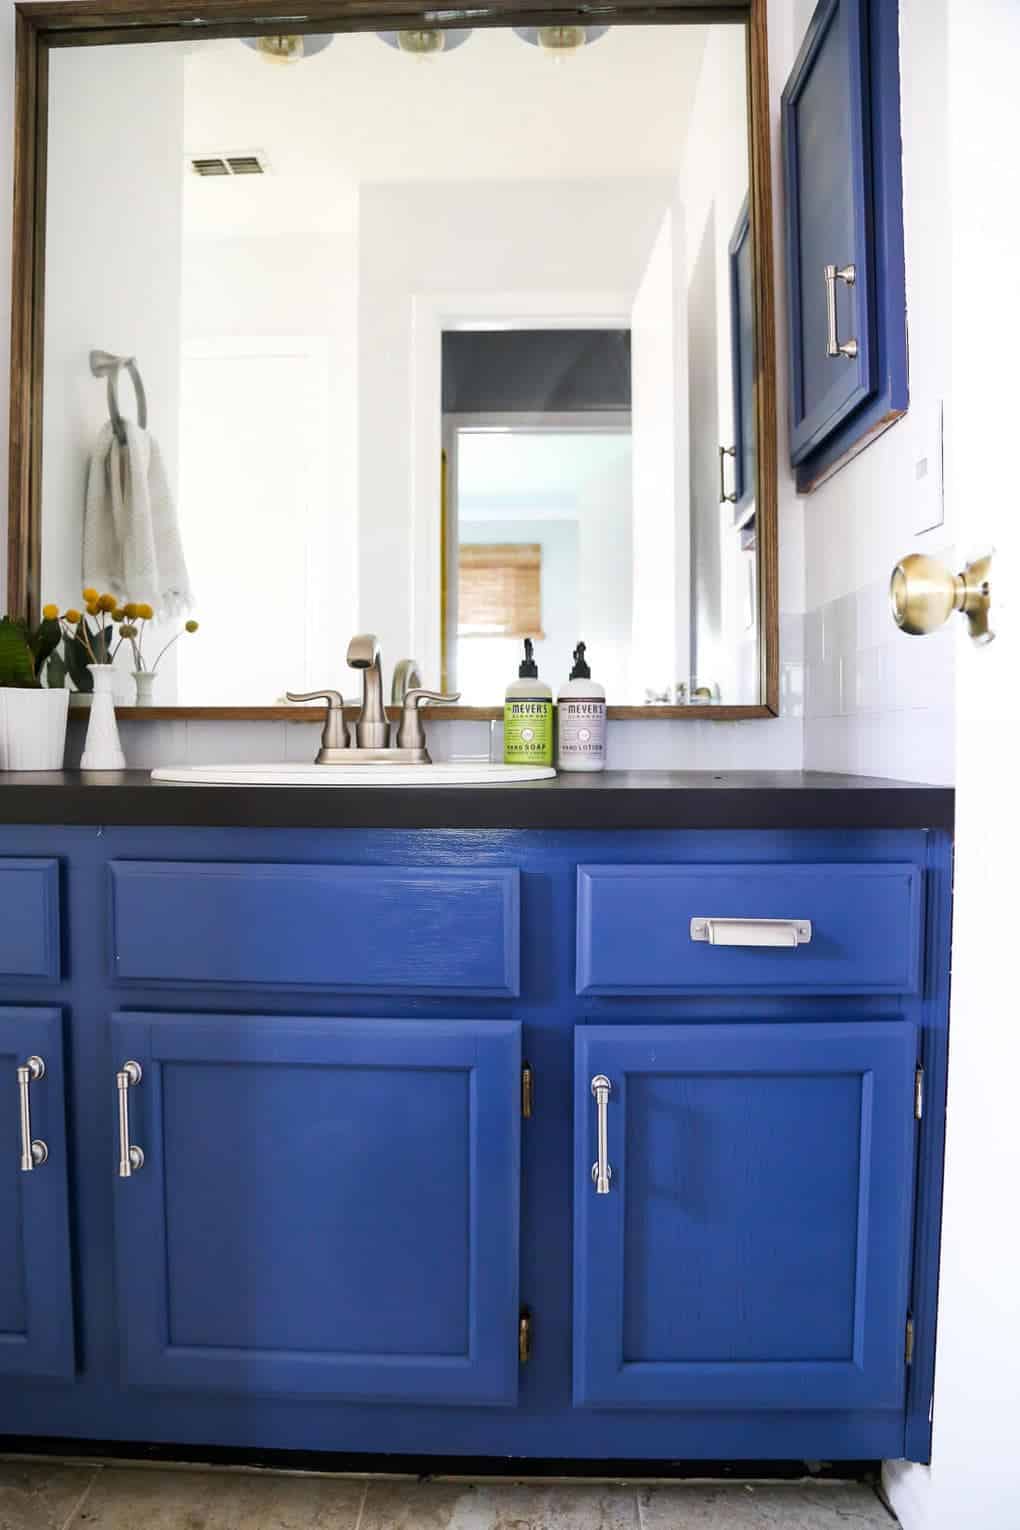
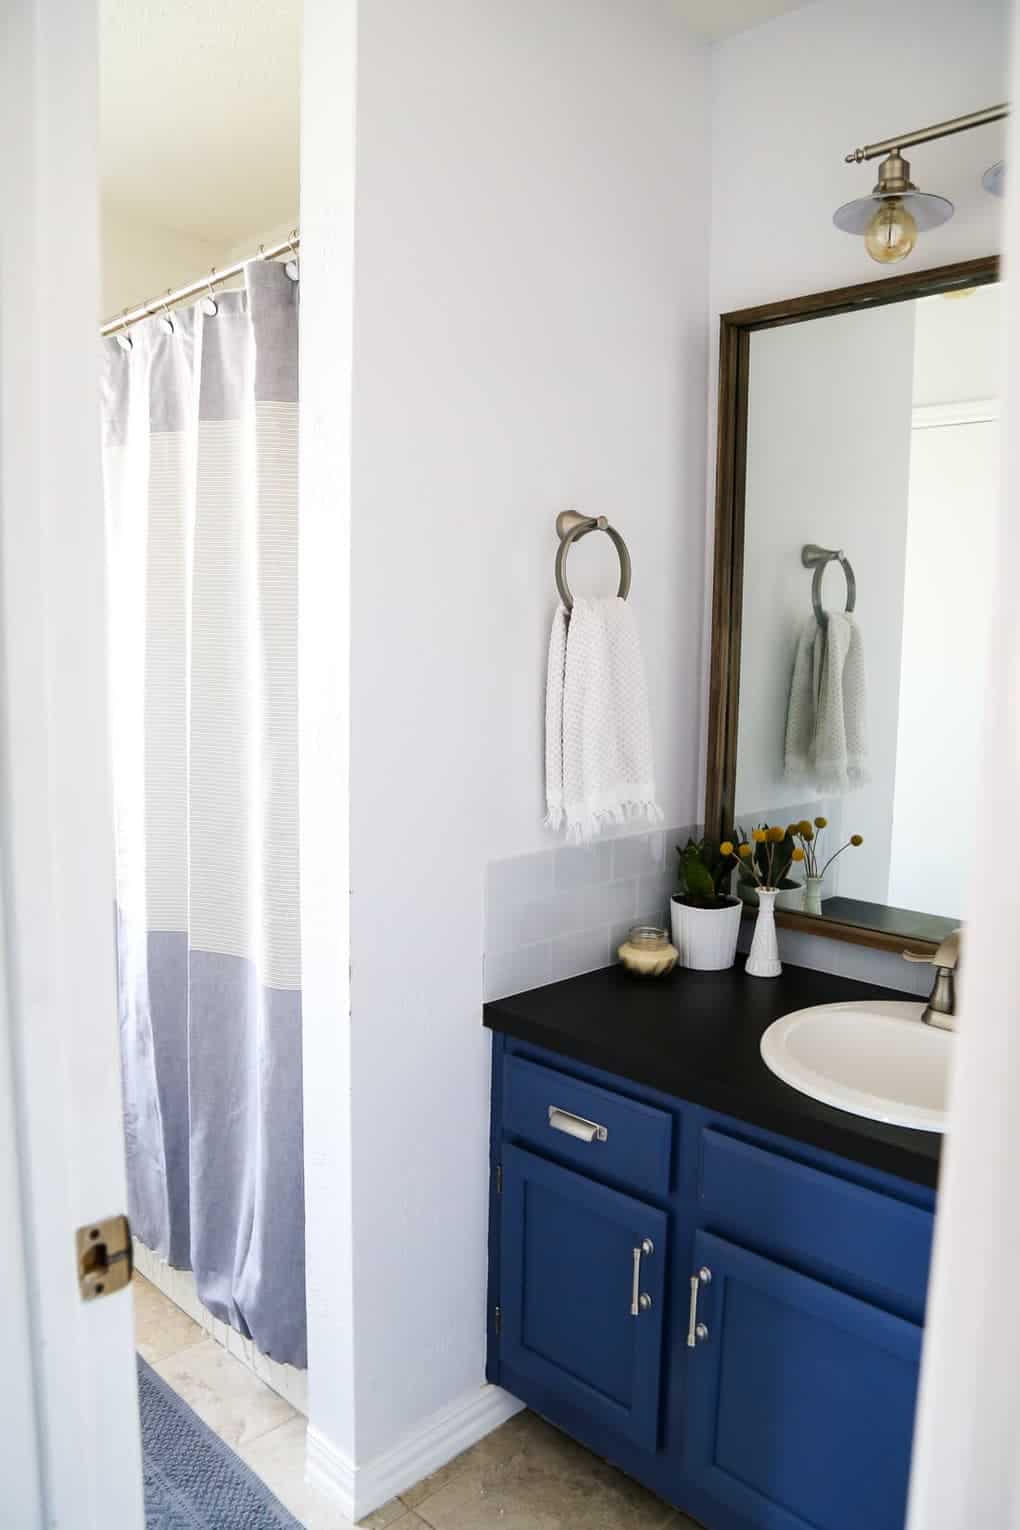
To this:
Pretty satisfying, no? I’m so thrilled with how it turned out, and I seriously pause and gaze lovingly at the bathroom every time I walk past it now. I really didn’t think this little ol’ room had the potential to look so great without a complete overhaul!
I love it when I prove myself wrong.
Oh, and best part about this whole thing? The scrap piece from the counter we used in here is juuuuuust big enough to use in our powder room downstairs, and now that I’ve seen how incredibly easy this project is, you’d better believe I’ll be giving that vanity a little refresh too.
And you know how it goes, once you give a powder room a new countertop, it’s going to need a fresh coat of paint.
And so on. And so forth.
P.S. If you didn’t see it all over my social media yesterday, our bathroom was featured on Design Sponge yesterday! I’m still pinching myself!! You can see the feature here!

hi we have like the same sink here in this apartment
Is that ceramic tile as a back splash?
It’s a glass peel and stick tile from Aspect!
It looks grea!! I love how it turned out. I’d like to know how well the peel & stick tiles by aspec held up for you.
Hi Judy! They held up great – we don’t live in that home anymore, but we had no issues with them at all while we lived there.
This came out so awesome!! I love the blue cabinets. I may need to paint mine now! Sharing on FB Thank you for sharing on Merry Monday! Hope to see ya next week!
Kim
This is great! Our countertop is builder grade which isn’t terrible but it is like a light butter yellow color . Why they didn’t install white is beyond us. This is a great tutorial! Thanks.
Haha I hate when they choose off-white colors!!