Staining Shenanigans
Alright, let’s finish talking about this coffee table.
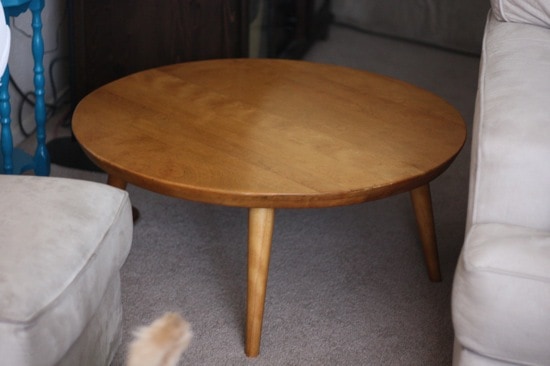
If you’ll remember, when we last left off the table looked like this:
Luckily, all we needed to accomplish the look we wanted was some stain and a nice, shiny top coat! So, the day after we got it, Corey sanded the table down and I got to work staining.
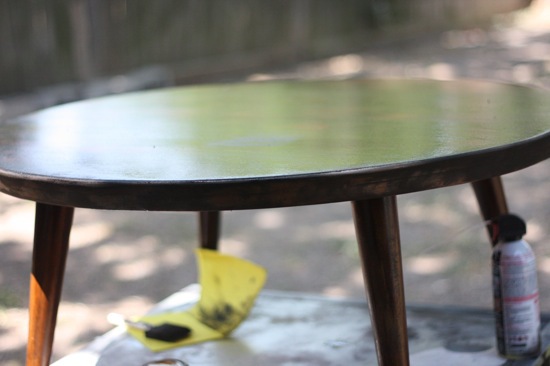
I did the stain outside, following this tutorial from Young House Love. Their tutorial is very detailed and helpful, so I won’t add much to it.
I will, however, say that I used a foam brush and I think it was probably the best method. I tried to use a rag at one point, and I didn’t really like how streaky it seemed to leave things, so I stuck with the brush. As for removing the excess stain, I used a non-textured washcloth – to be exact, I used a ShamWow! I got suckered into buying some a few years back, and I haven’t ever really used them – but it was absolutely perfect for this job!
The weather around here has been incredibly windy lately, so after the stain was on we decided to bring the table inside to apply the top coat. We were worried that some dirt and debris would get blown onto the table while it was drying and mess up the finish. Luckily, we had chosen a polyacrylic finish instead of a polyurethane, which is much less toxic and doesn’t emit any nasty smells or anything – so all we had to do was run a fan in the kitchen where I was working, and we couldn’t even notice the smell!
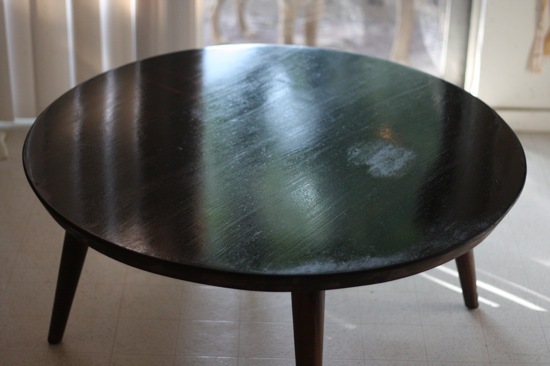
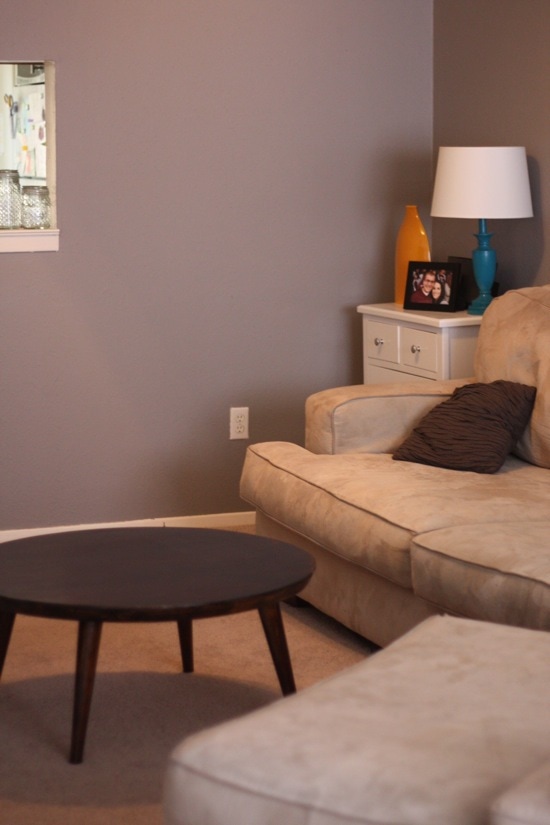
See how shiny it is?!
You can see in the photo above that there was one strange spot that we couldn’t quite get to look like the rest of the table. We aren’t sure if it’s due to the finish that was on there before, the sanding job, or something totally unrelated, but it became a lot less noticeable once I finished the polyacrylic coat. Now that it’s in the room, I hardly ever notice it’s there, so I’m not complaining!
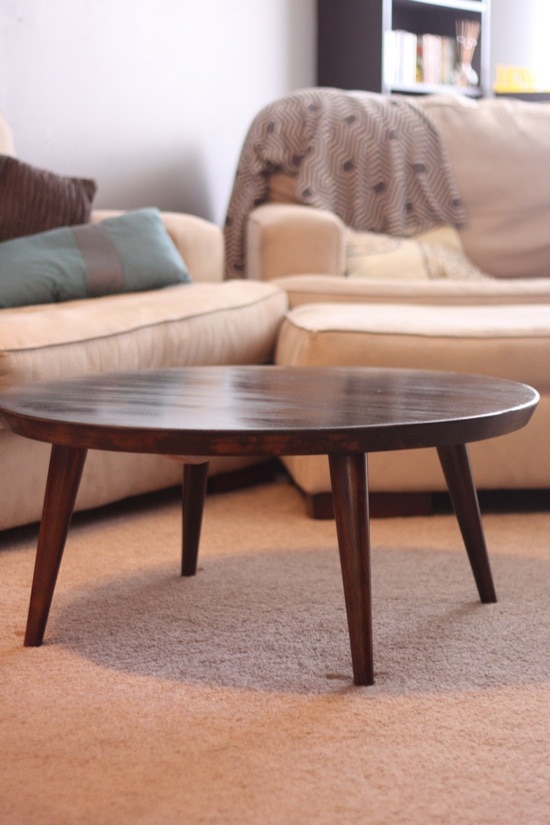
We let the table dry for a little over 24 hours before we brought it into the room (and then we were very careful with it for the next 24 hours after that, so we could be absolutely sure the finish was set!) and as soon as we put it into place we knew that it was the perfect table for us.
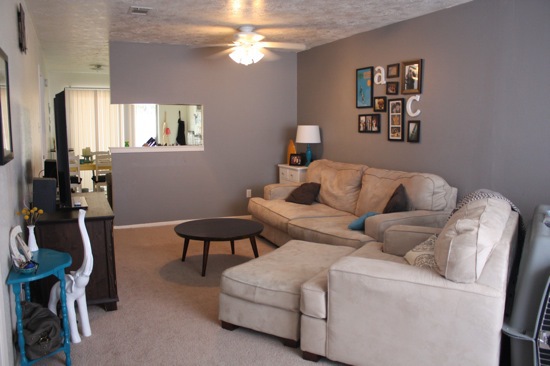
Now that the room’s makeover is complete, I can’t help but smile every time I come home and see it. The changes have made such a huge impact, and I’m so happy with how the room turned out!
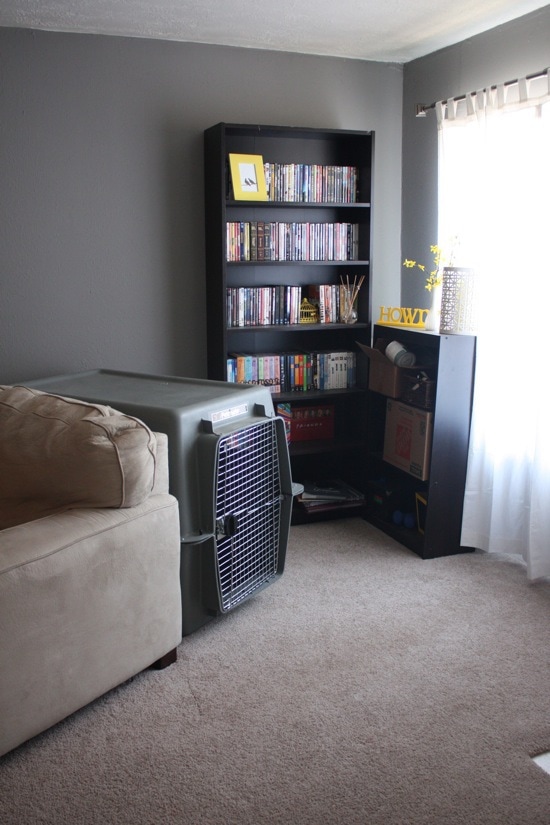
And, just because I haven’t shown an updated view of the entryway (and I’m in LOVE with how much better it looks), here it is with the new furniture arrangement.
Please ignore how messy the small bookcase is! There’s a bunch of stuff in there that I’m way too lazy to find a home for, so I’ve just given up on it for now.
I love that the kennel isn’t quite as front and center anymore – angling it slightly and pushing it against the wall made a huge difference. Our entire living room feels much more open and airy now, and I can’t get over how much I like it.
Of course, this whole project made Corey and I even more eager for the day when we can finally replace our couches and get a nice, big, modern sectional. Soon, I hope!
Have you ever stained a piece of furniture? I’m totally obsessed with how much of an impact it can have!

I love that you have Gilmore Girls DVDs on your bookcase! I love that show and could spot the cases a mile away!!
It looks great! I love watching your living room evolve.
Love the stain, it looks great!
ooh. i love dark wood furniture, it looks great! one day I’ll have to try and stain something, definitely gave your table some oomph!
You guys did such a great job refinishing it! I love the darker look!
Yay!! It looks so great!!
It’s crazy what a difference a little bit of stain will make! It looks great. 😀
I love dark color stains on furniture/cabinets!