
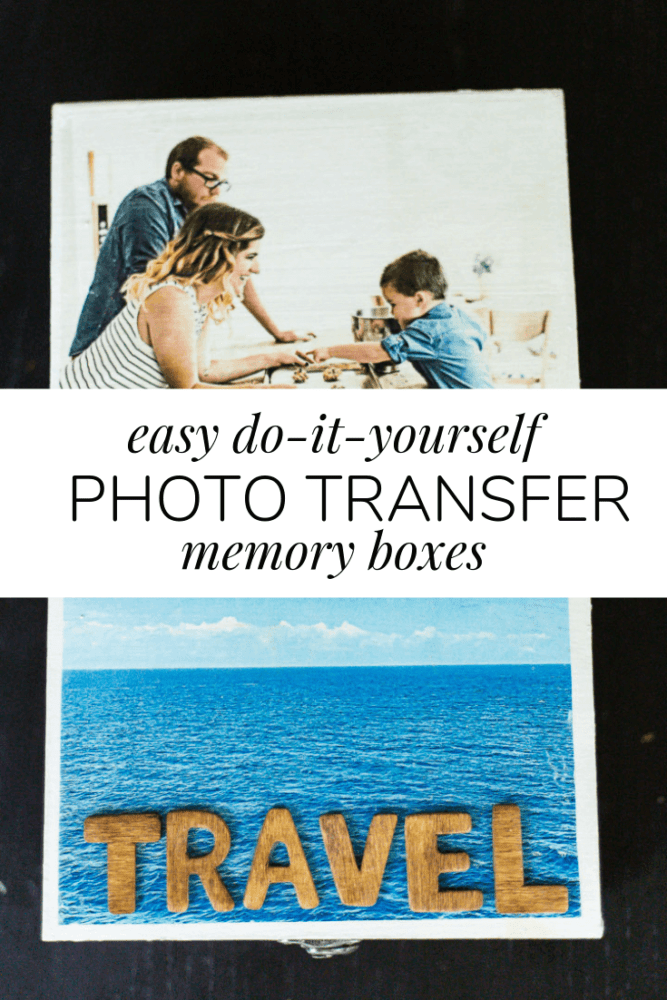
How to Transfer an Image to Wood
Last updated on July 9th, 2024 at 06:57 am
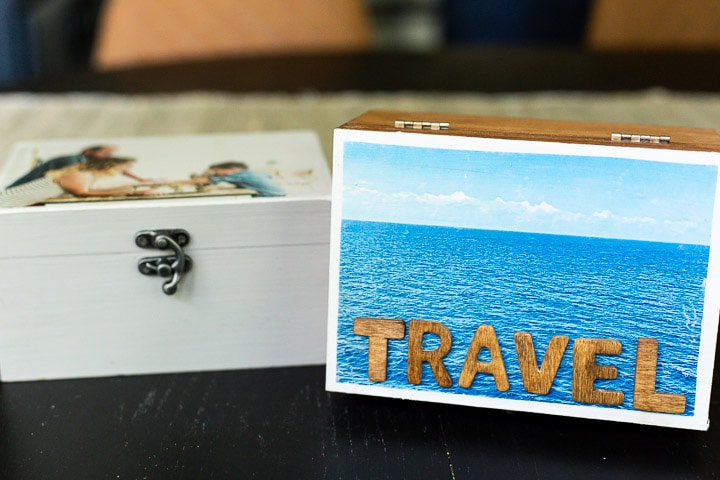
Today I’m sharing a really simple – but really fun – craft. We’re going to learn how to transfer an image to wood! I’m using this technique to make some super cute memory boxes. But, it would work for a ton of different crafts! Read on for details!
This post is sponsored by Rust-Oleum and contains affiliate links.
It’s been quite some time since we tackled a simple, small craft, hasn’t it?! Too long if you ask me! I love working on our home. But, sometimes my brain needs a little break from all of the renovation chaos! I find it so calming to just tackle something simple.
That’s why when my friends at Rust-Oleum challenged me to come up with two ways to decorate a simple DIY memory box using their new Photo Transfer product I was super excited to say yes! I haven’t ever played around with transferring photos to wood. But, it always sounded like such a fun project. And, I’m pleased to report that it truly is really fun and so satisfying to watch it come together!
Let’s just jump right in, shall we?
How to Transfer an Image to Wood
Materials Needed:
- Unfinished wood box
- Rust-Oleum Chalked Paint {I used Aged Gray}
- A favorite photo
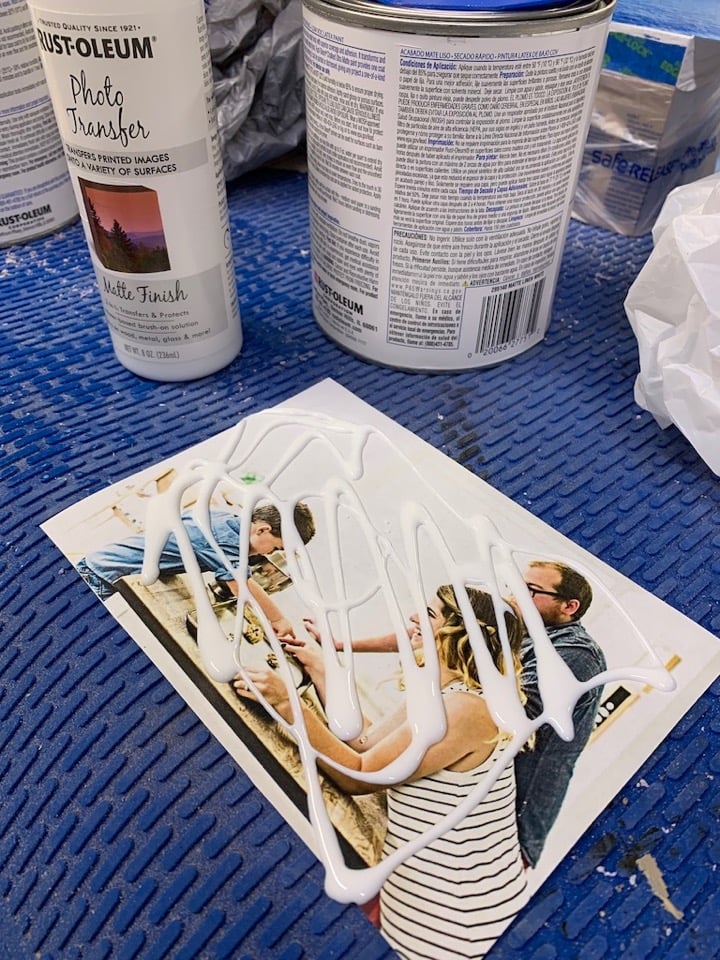
- Rust-Oleum Photo Transfer
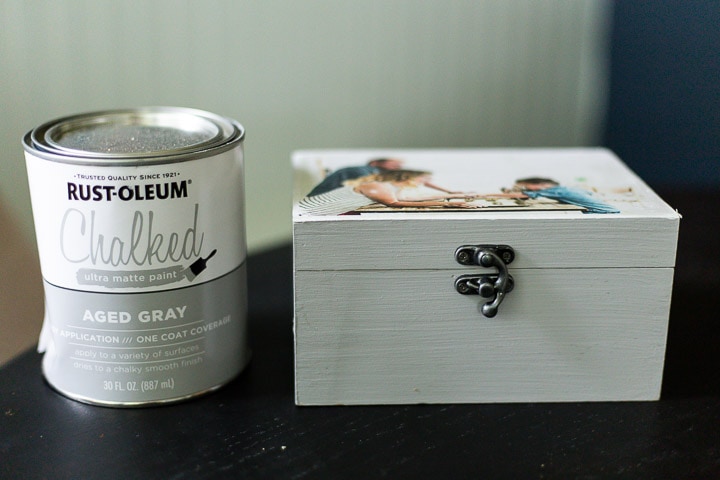
Step One: Paint Box & Prep Image
Your first step is to paint your box. You can paint or stain it, but I found that I had the very best results when I used Rust-Oleum’s Chalked paint. The velvety finish works so well with the photo transfer! It definitely gives the crispest results. I also used this paint on our dining room table and on my favorite thrift store makeover, so it’s safe to say it’s one of my favorite paint products.
After my paint had dried fully, I was ready to add the photo. My favorite thing about Rust-Oleum’s Photo Transfer is that you don’t have to head out to the store to print out your photo on photo paper or anything fancy like that. It actually only works with photos printed with plain paper from a laser printer. How easy is that?!
NOTE: Make sure you’re using a laser printer and not inkjet. It will make a difference in the finished product!
I sized my photo so that it would cover most of the top of the box, and printed it out as-is. When you’re printing the photo, remember that it’s going to be a mirror image! So, if it has elements that can only be seen one way (like words), flip the image before printing it.
Step Two: Transfer Image!
Once your image is printed and cut down to the size of the transfer, brush a generous amount of the Photo Transfer Medium onto the image. Then, flip it over and position it on your box. Gently press down to make sure there aren’t any bubbles or wrinkles. Be sure that some of the product is touching every part of the photo. If you don’t brush it on thoroughly, the parts without the Photo Transfer Medium touching them won’t transfer! Once your photo is in place and has been smoothed out, walk away for 12 hours to let it dry fully!
After it has dried, grab a wet washcloth and gently rub the top of the image in a circular motion to remove the paper backing. It will start to flake off pretty quickly. Be patient with it and don’t try to rush the process! After a few passes, all of the white space will be gone, and your image will be transferred over to the wood!
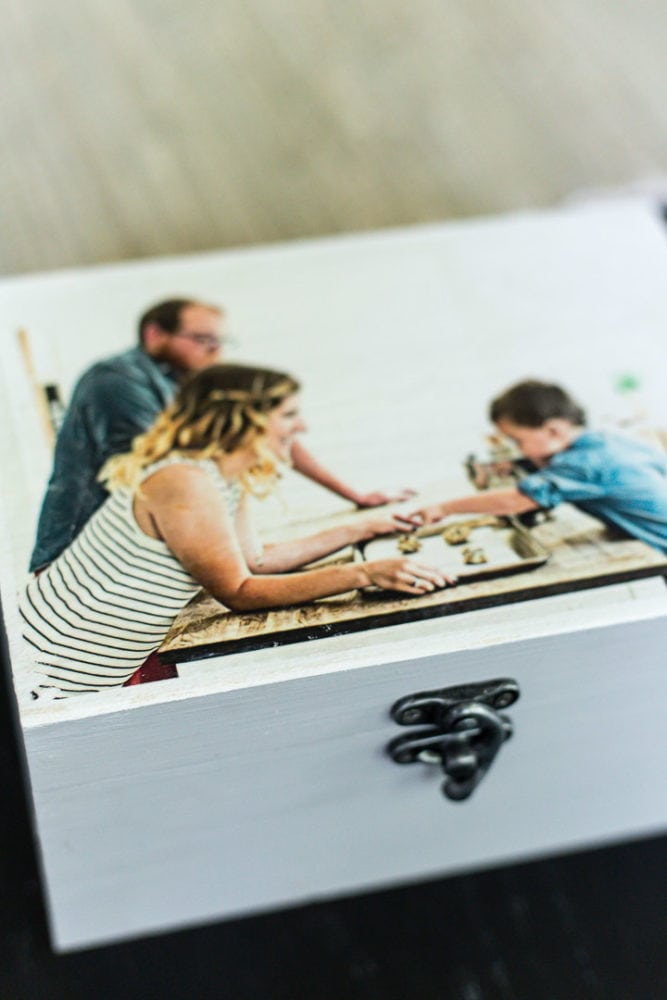
Finally, seal the image with another layer of the Photo Transfer Medium. This will help ensure that it lasts and doesn’t fade over time. The image should be crisp and clean and so clear that you’ll barely be able to believe it’s real. It’s seriously kind of mind-blowing.
Video Demonstration
Here’s a quick little video that shows how the image looks as the backing comes off.
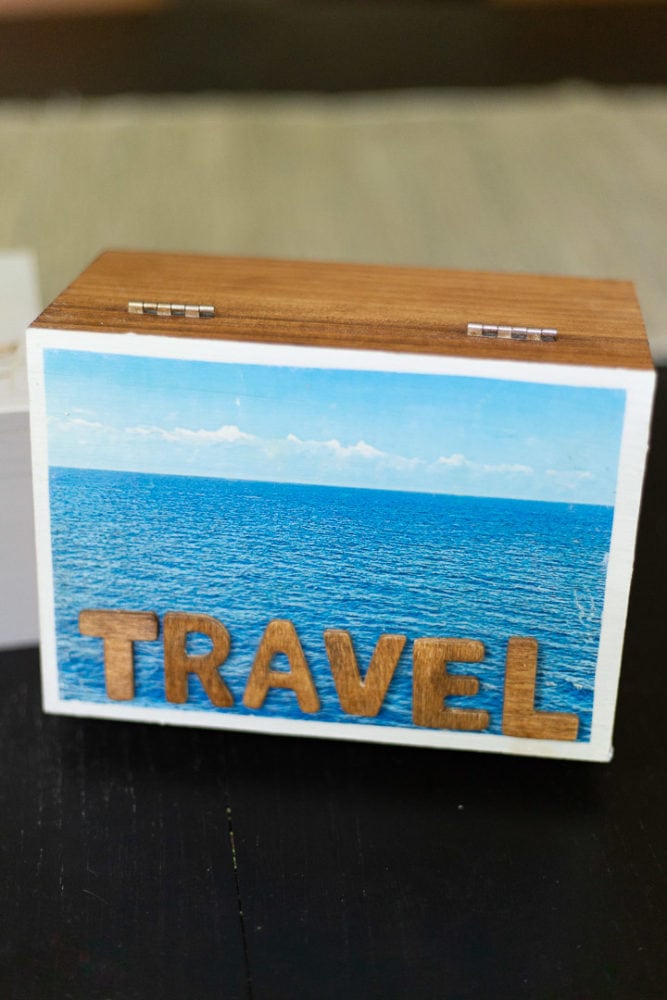
Other Memory Box Ideas
Of course, there aren’t any limitations on what you could use this basic method to make! Here are a few other fun memory box ideas:
- A baby box with mementos from the hospital
- A box for your kid’s rock collection (or coin collection, or keychain collection, or whatever they collect!)
- A jewelry box
- A box for movie ticket stubs
- A love letter box
- A photo box
- A wedding memory box (what a great wedding gift idea!)
- A memory box of a specific loved one – like your grandfather or a dear friend
I’d love to see how creative y’all can get with this new Photo Transfer Medium. It can transfer photos onto wood, fabric, metal, glass, and more. So, there are unlimited possibilities! Let me know if you try something fun with this cool new product. I’d love to hear what you’d use it for!