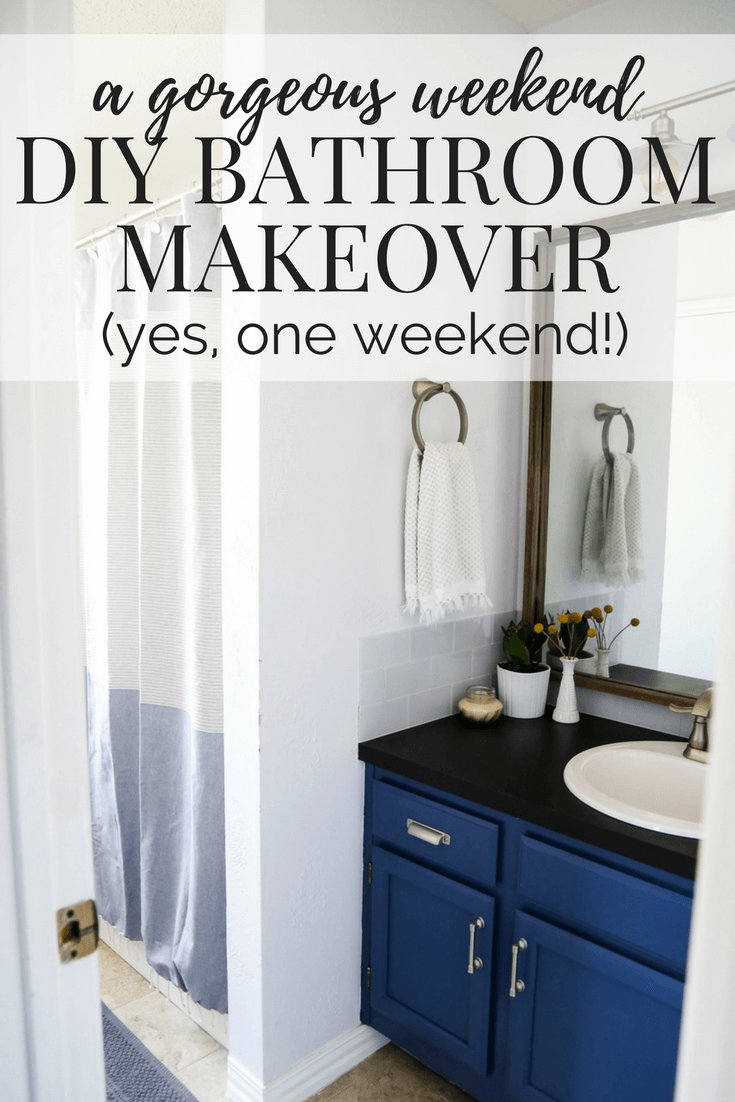
Weekend Bathroom Makeover Reveal
This post is sponsored by Moen, but all gushing and love for them is 100% me. Click here to read my full disclosure policy. Thanks for supporting the brands that support Love & Renovations!
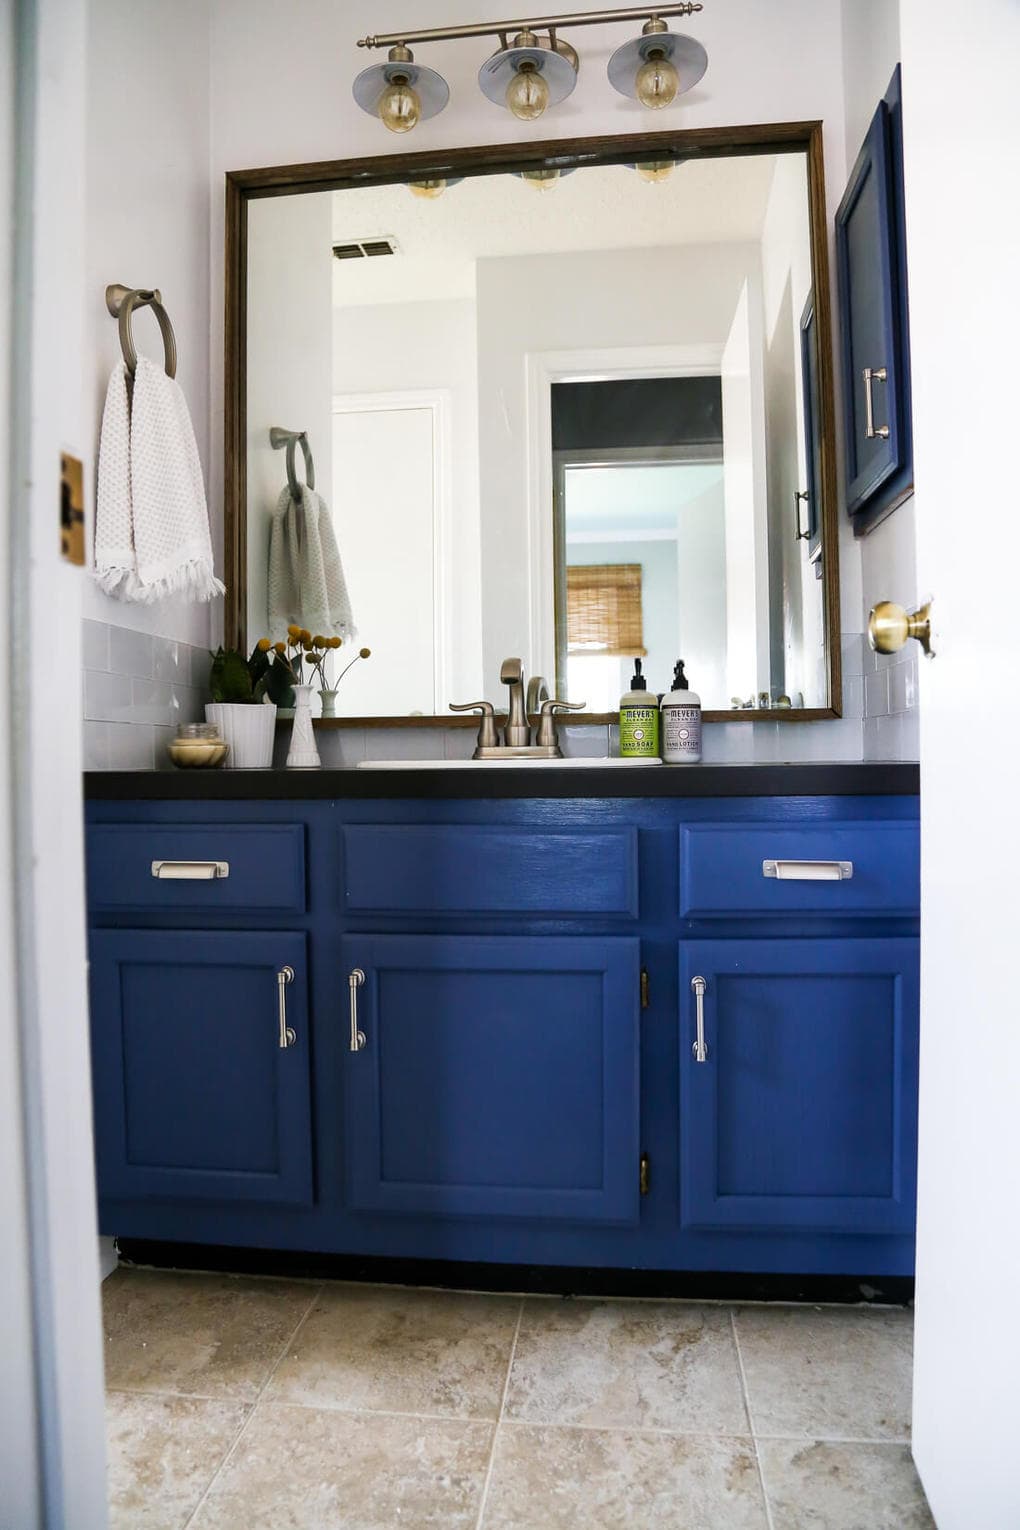
Are you ready to see an entire bathroom renovation that can feasibly be done in one weekend?
You heard me right – a weekend.
After our major master bathroom renovation, we weren’t about to take on another giant bathroom project, but this little ol’ bathroom was in serious need of an upgrade so we decided to see what we could manage in as short of a time as possible and spending as little as possible.
Because we all love a quick, budget-friendly makeover, no?
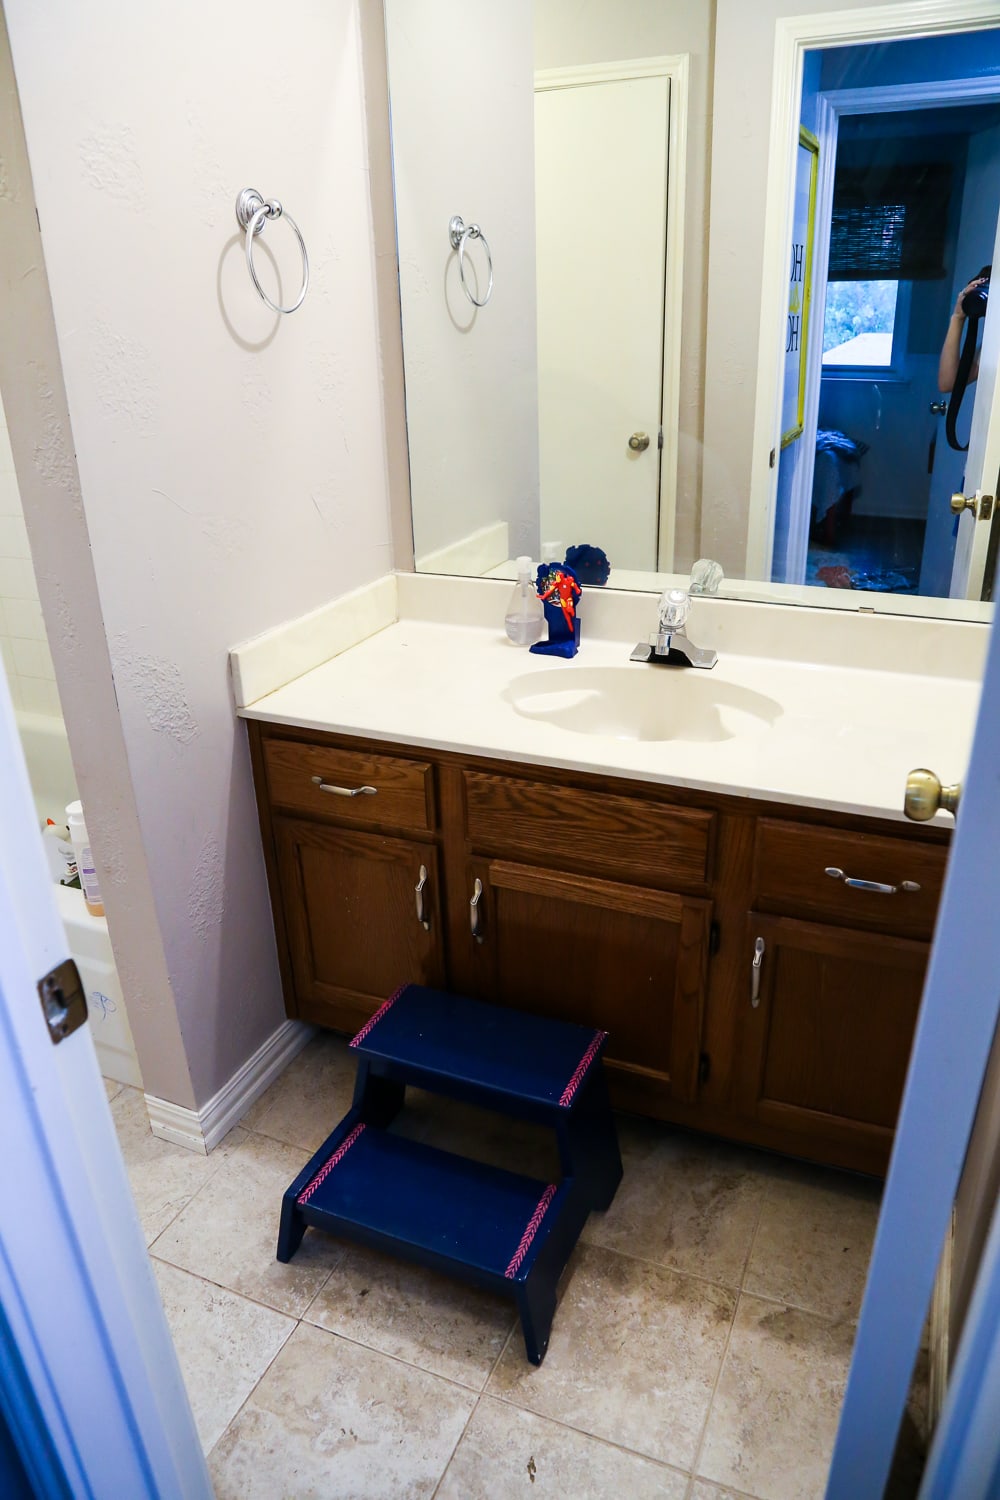
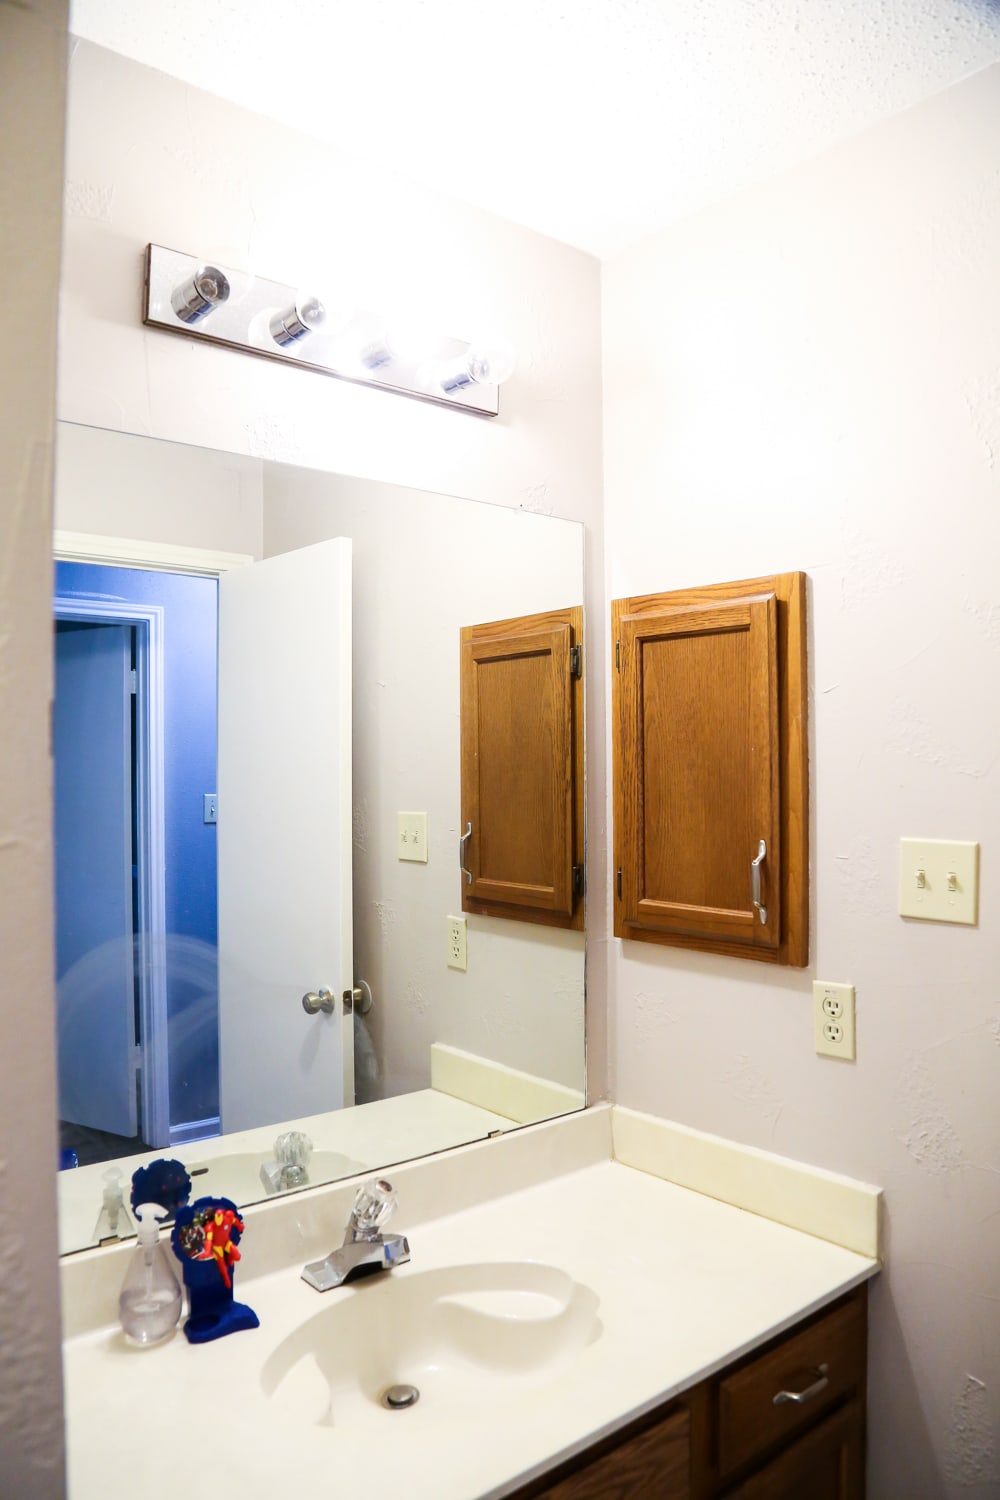
So, let’s chat about how we made it happen. If you read my post last week about the plans for the room, then you’ve already got a solid idea of where we were heading. We had a very blank slate to start, along with a few challenges – the floor is a less-than-attractive brown color, the room is awkwardly shaped, and the sink in the vanity was shaped like a shell.
Who ever thought that was a good idea?
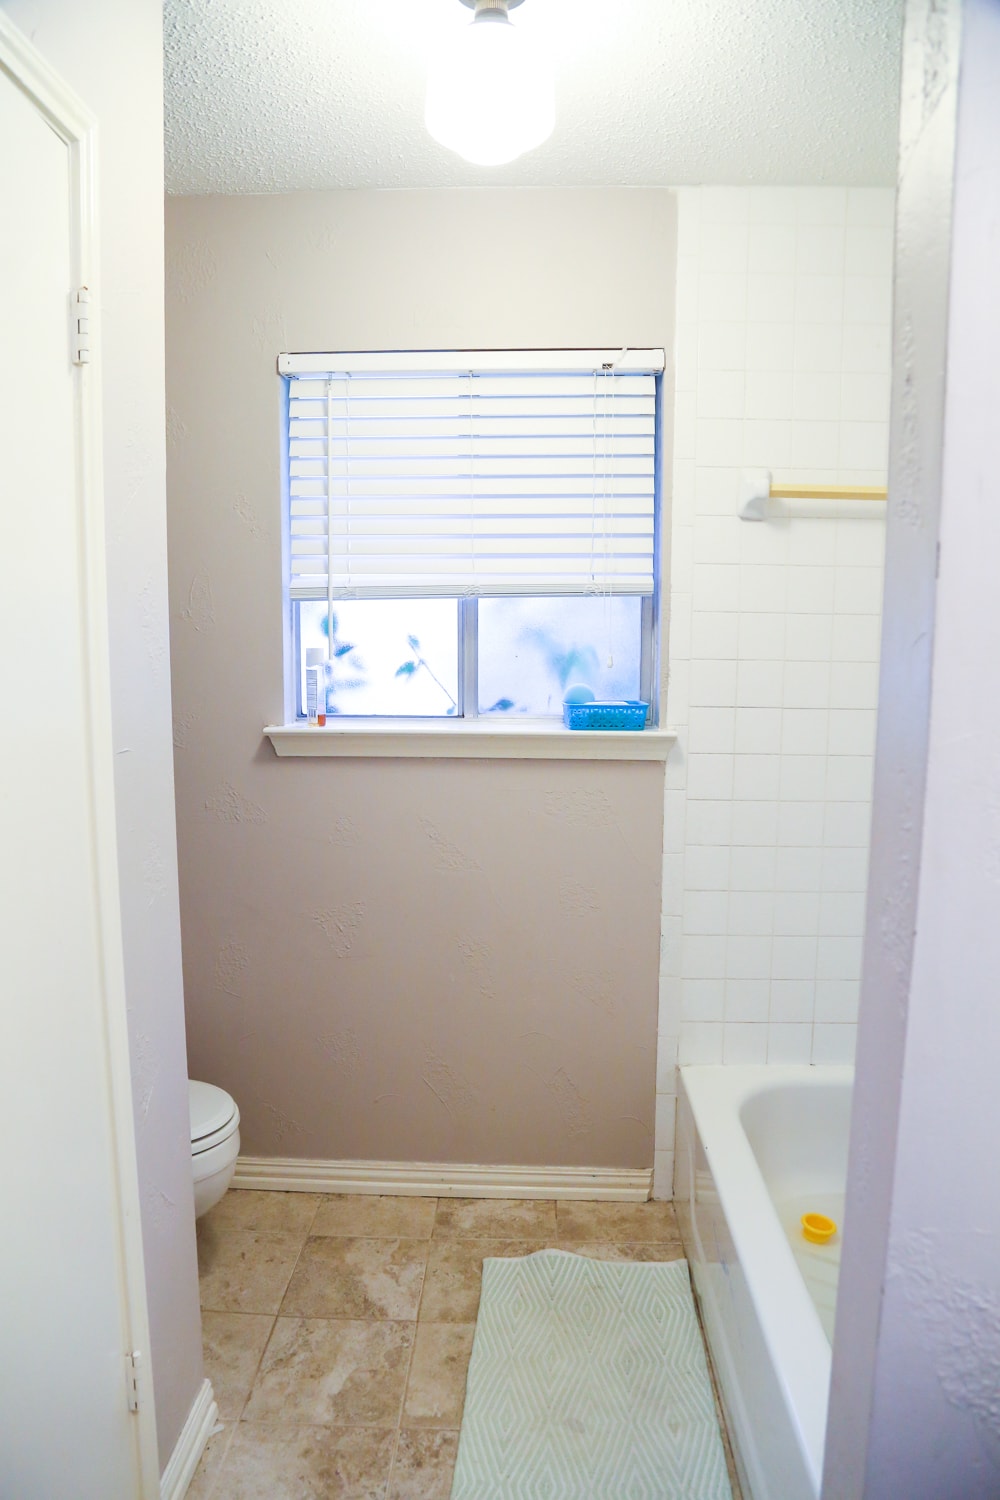
I designed my mood board around trying to upgrade the room with minimal effort and, of course, make the tile look as modern as possible and hopefully help it fit seamlessly into the rest of the room. The idea was to let it fade into the background (instead of shouting, “Hello! I am brown tile!”) and hopefully make it less offensive.
Thankfully, it worked.
This post contains affiliate links. Click here to read my full disclosure policy.
I mean, the brown tile might as well not exist anymore.
And the shell-shaped sink? Gone. Forever. Thank goodness. There’s one more in our house (in the powder room downstairs) and I will throw a big giant party on the day we get rid of it.
I’ve got full tutorials coming up over the next few weeks for some of the projects in this room – like replacing the counter, framing out the mirror, and the genius bath toy storage solution I have hiding behind that shower curtain.
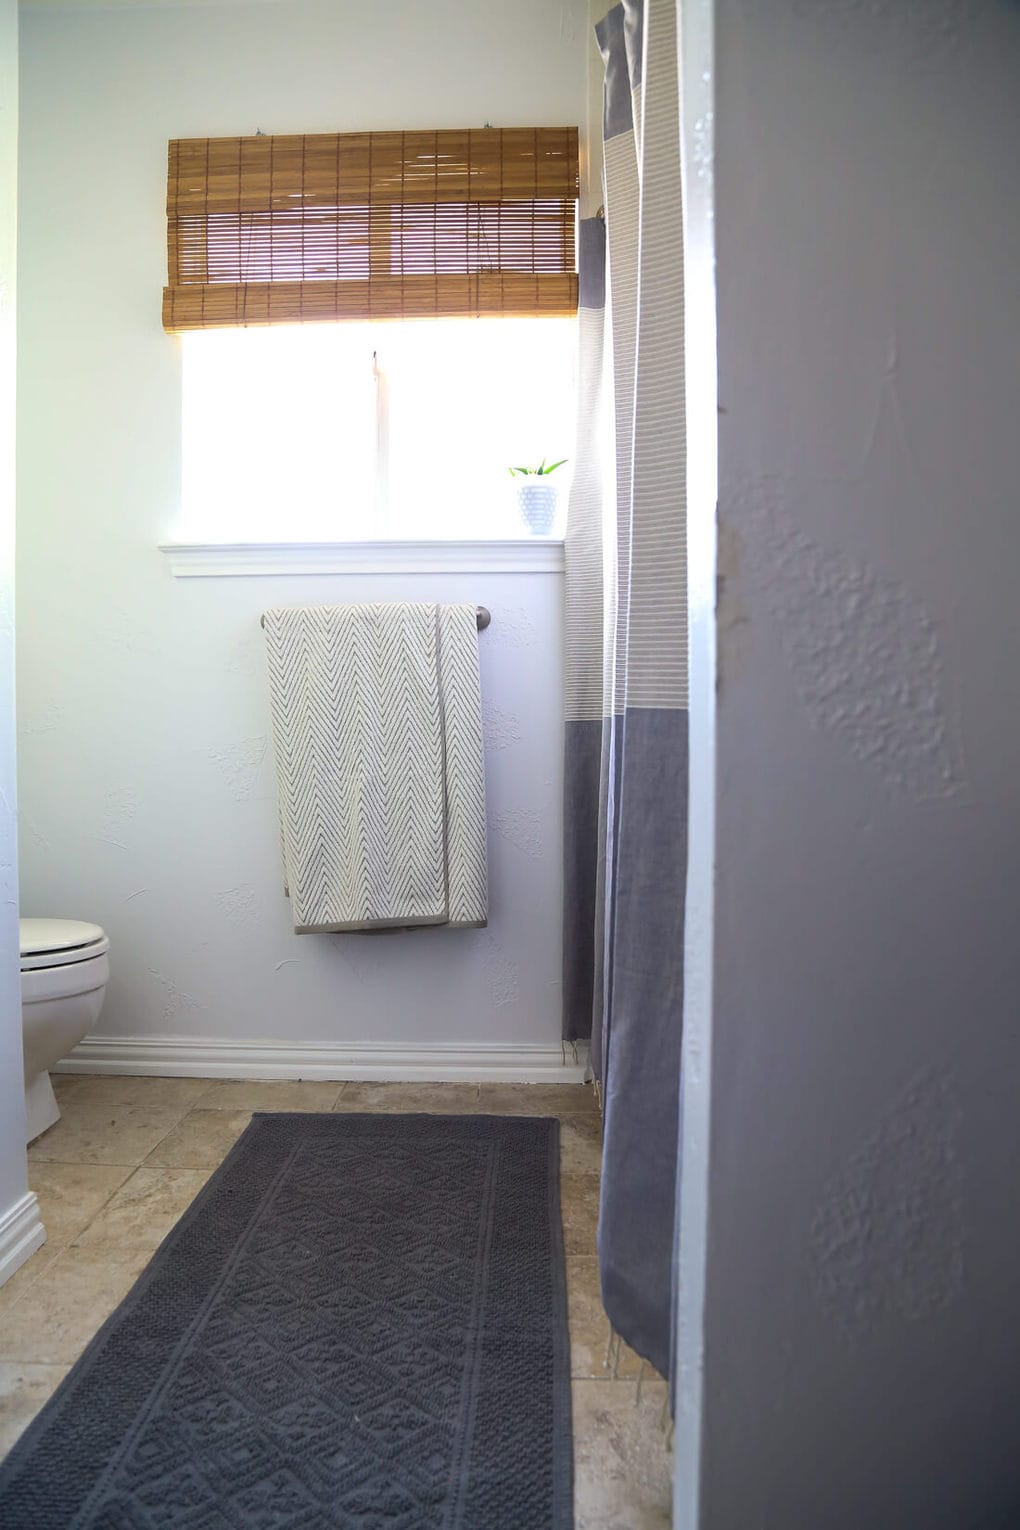
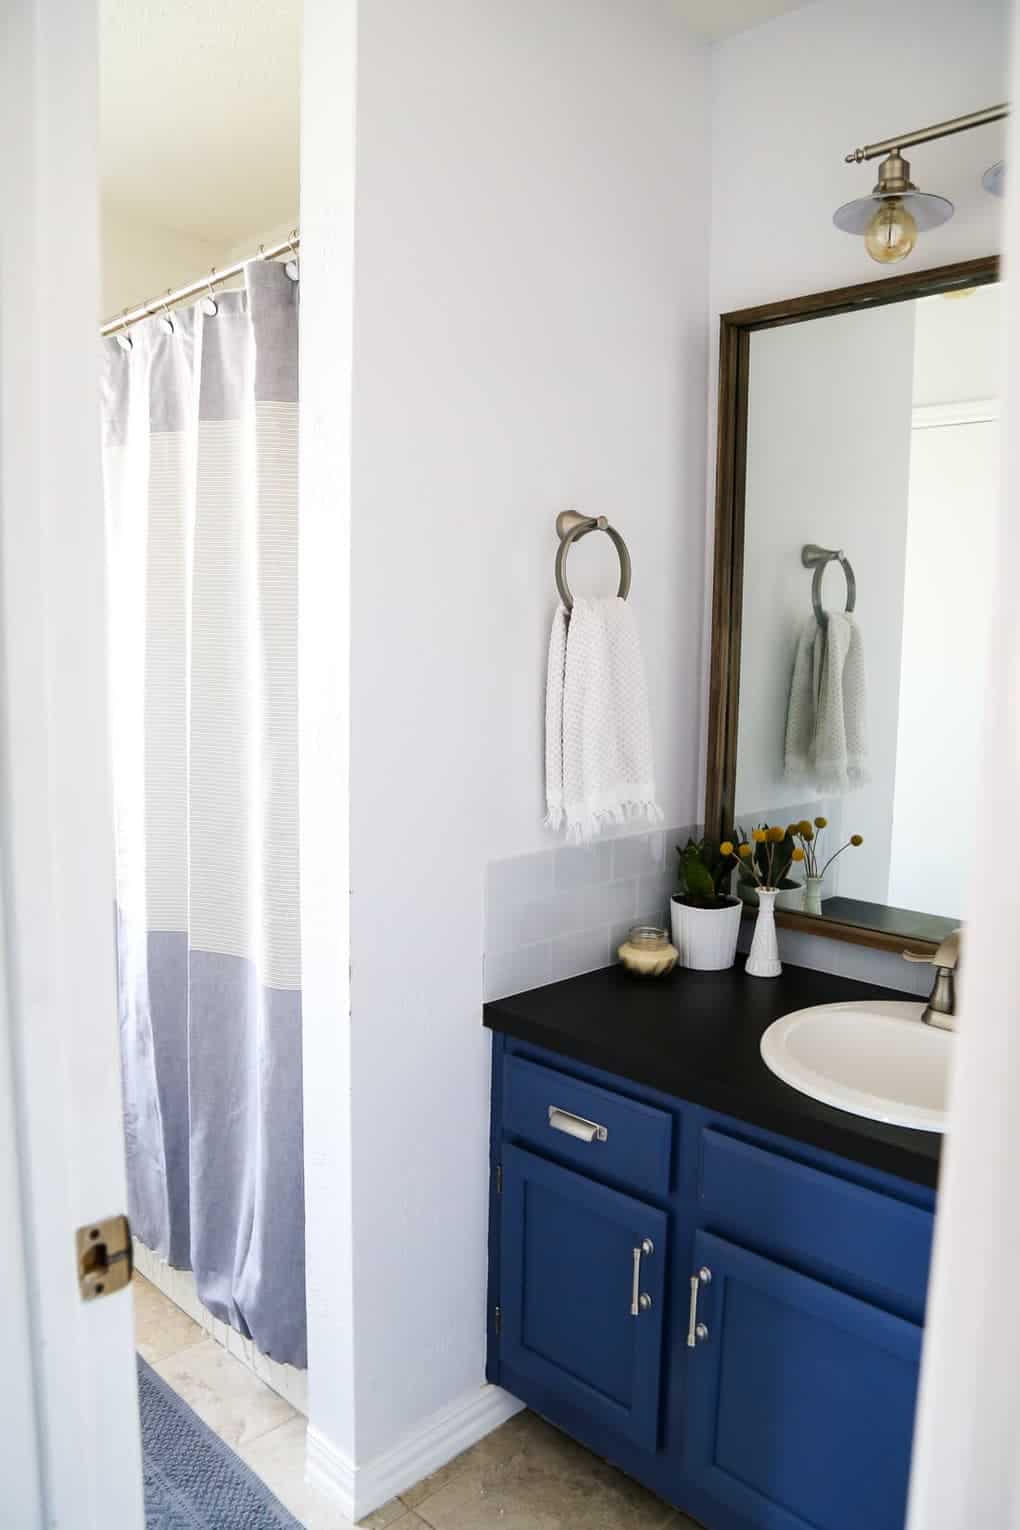
Speaking of the shower curtain, I didn’t iron it for these photos. Clearly. I like to keep it real for y’all – I mean, do you guys iron your shower curtains? I don’t. I have other things to do, like clean my kitchen, watch Netflix, and sleep.
You know, the important things in life.
Anyways…let’s go through what actually happened in this room to take it from a plain, beige box into a much more modern, dare I say gorgeous bathroom.
- I painted the walls, trim, and doors – I stuck with white to help the room feel bigger and to minimize the awkward corners and walls.
- I framed out the builder-grade mirror.
- We added a shower curtain (we didn’t have one because the old rod kept falling down and we never replaced it) and came up with a solution to store all of Jackon’s bath toys.
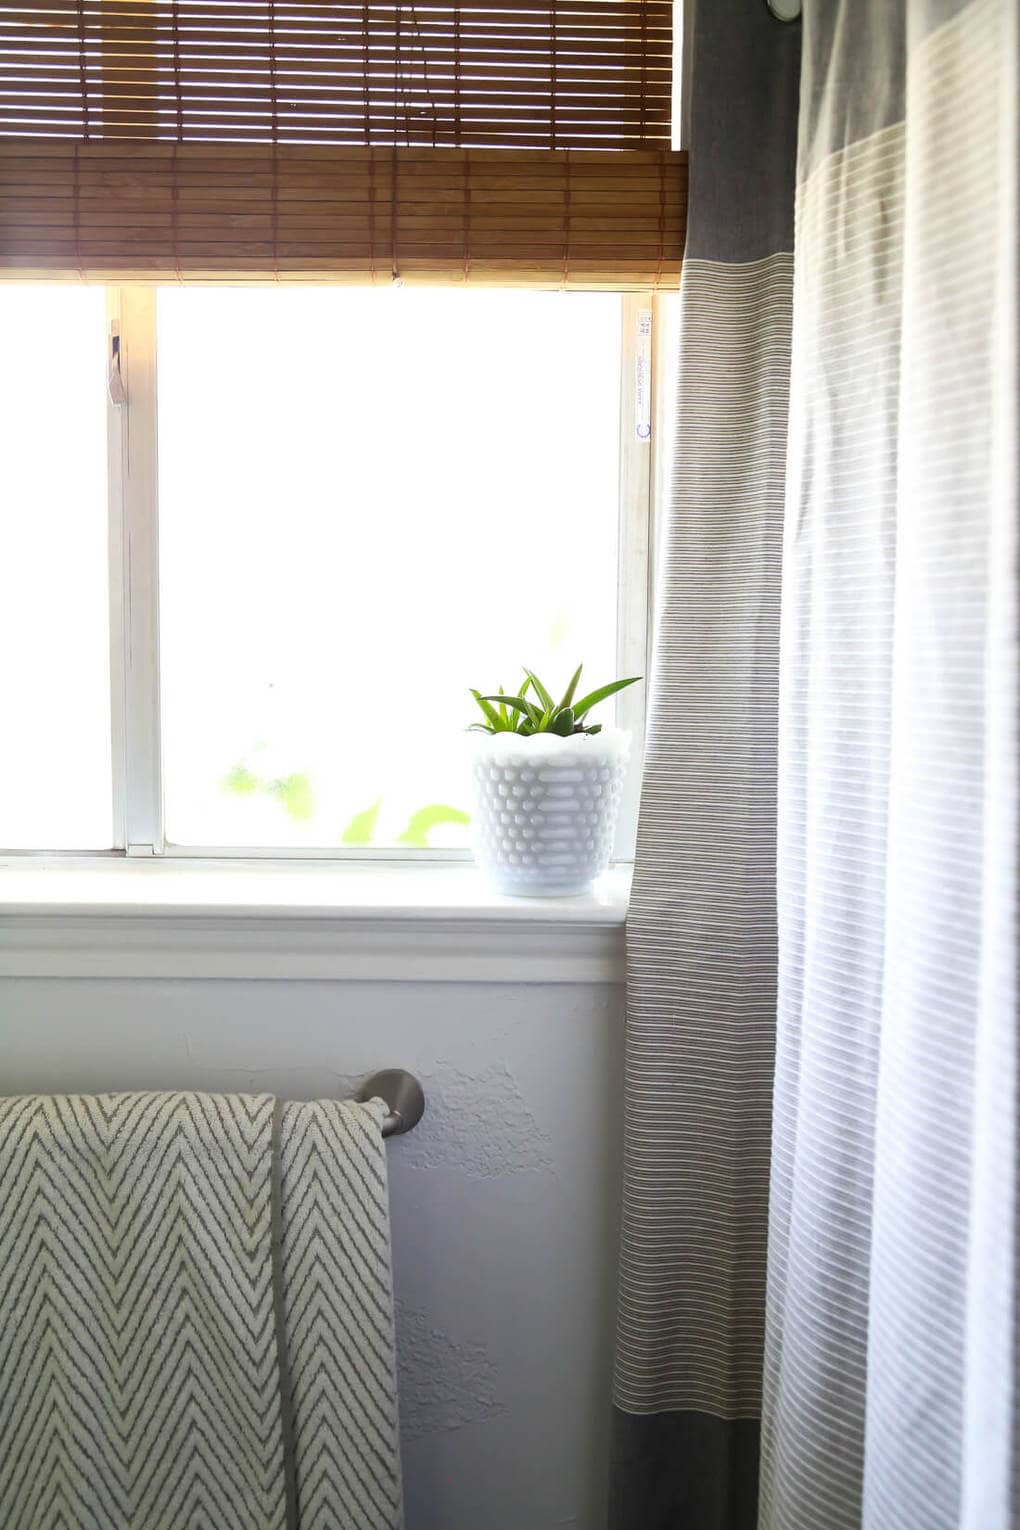
- I replaced the old white wood blinds with bamboo.
- We swapped out both the vanity light and the overhead light for more modern options.
- We added an extra-long bath mat to add some texture and help cover up some of the ugly tile.
- We swapped out the outlet cover and light switch plate for white ones.
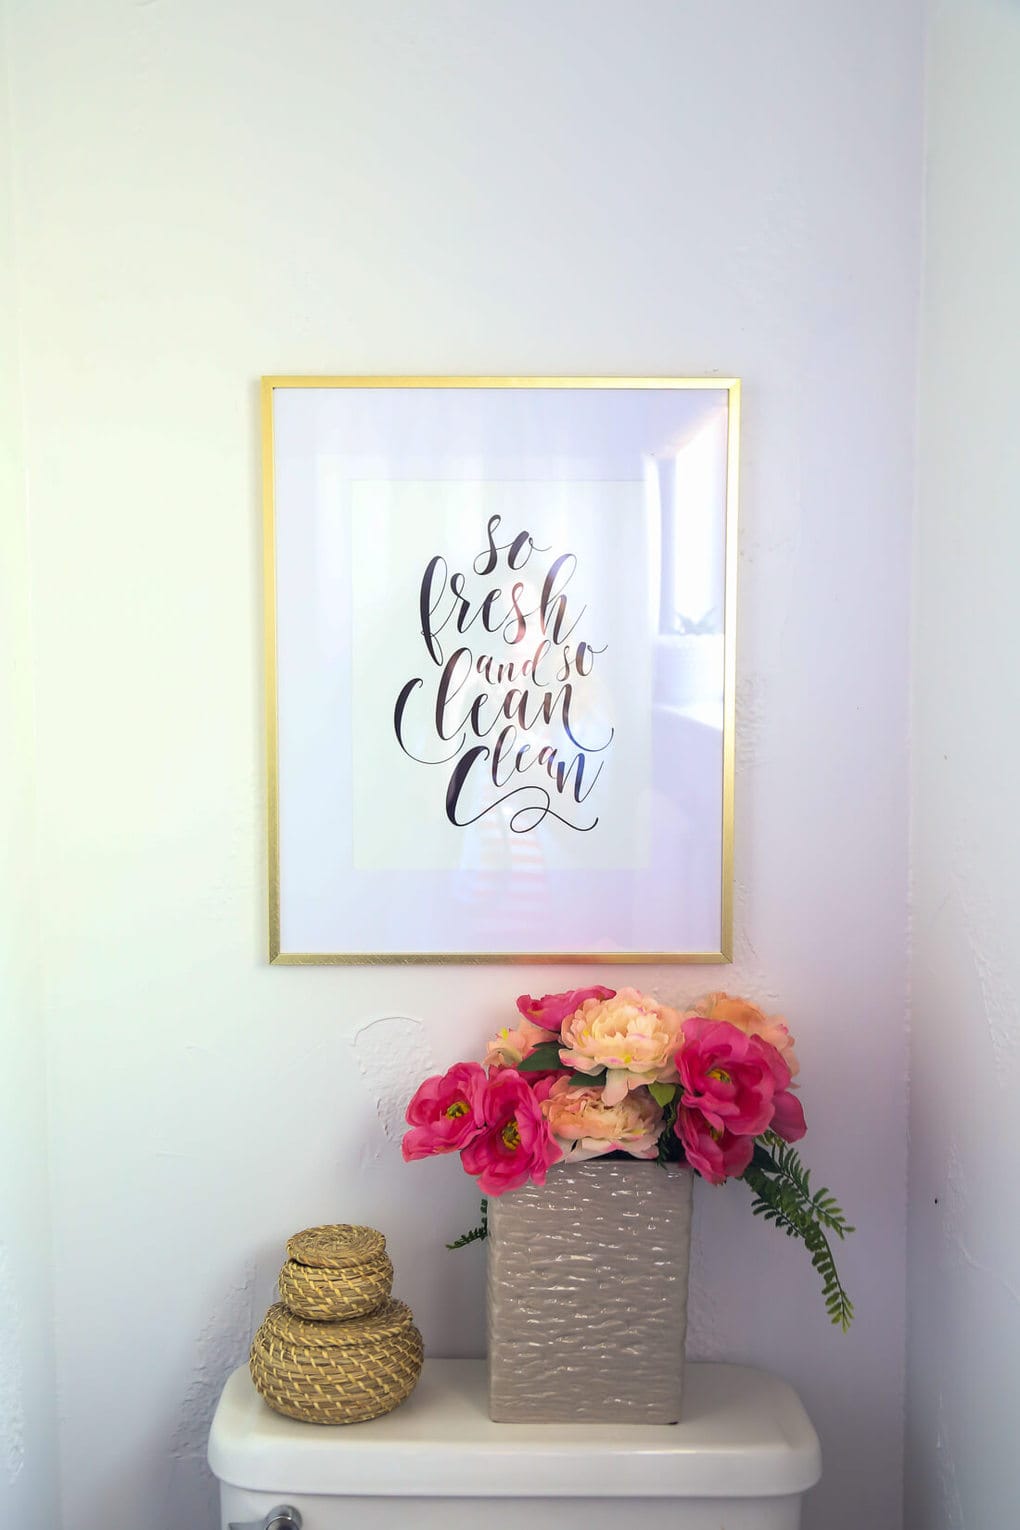
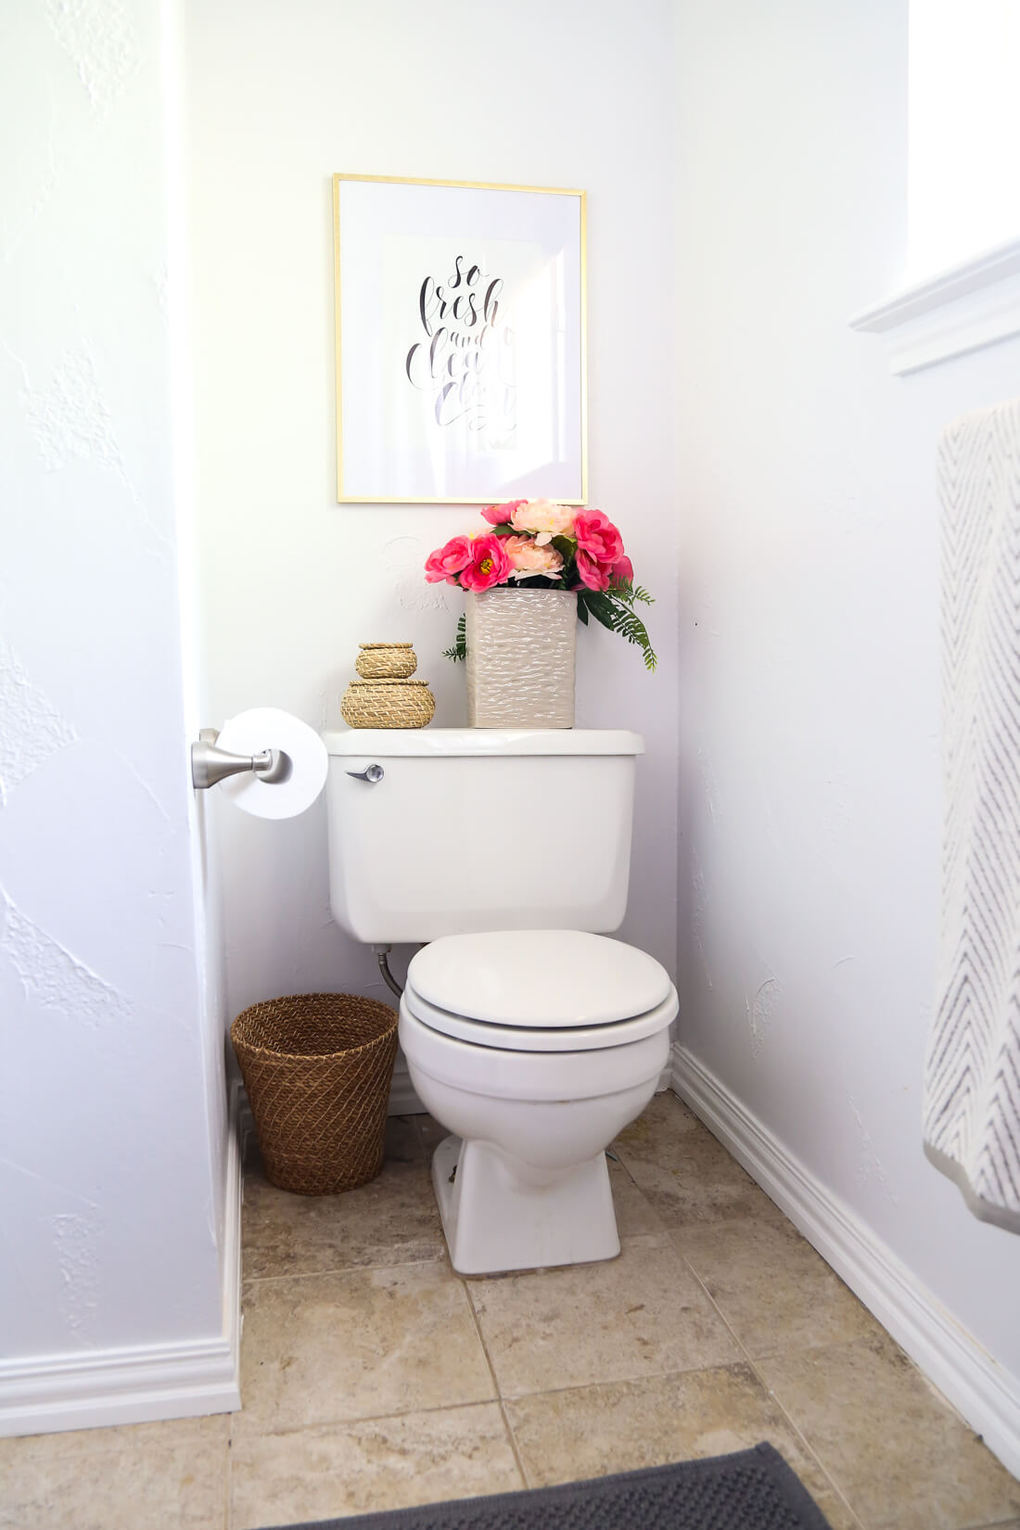
- I added some fun art and accessories to the room
- I added a quick and easy tile backsplash (those are peel and stick tiles!!)
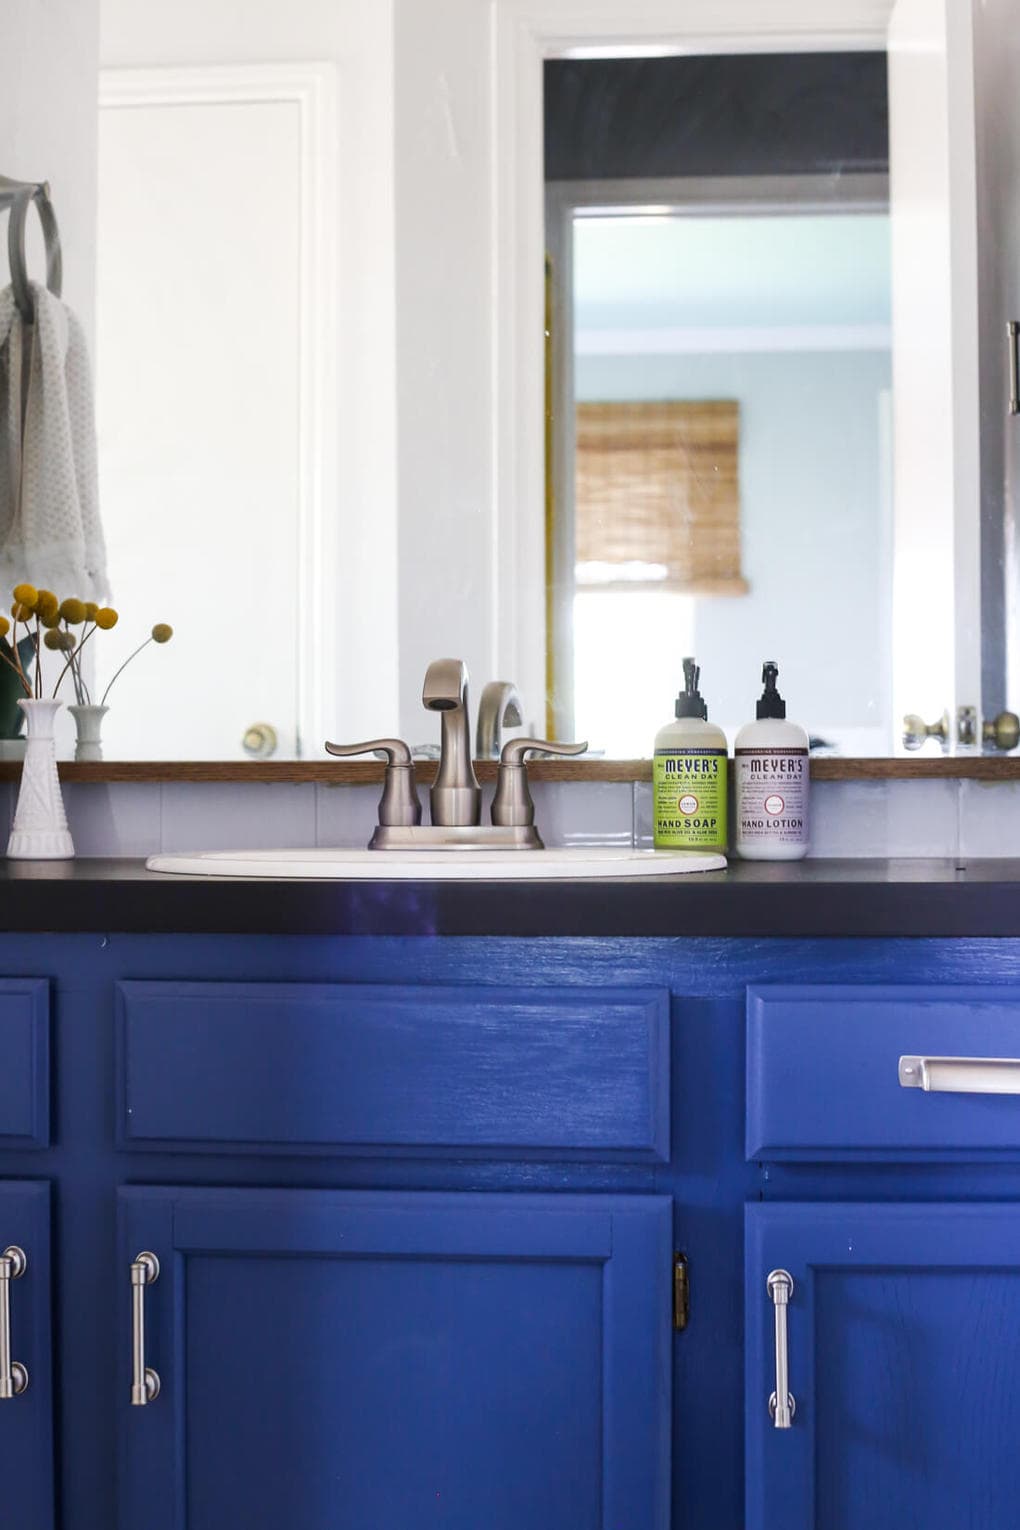
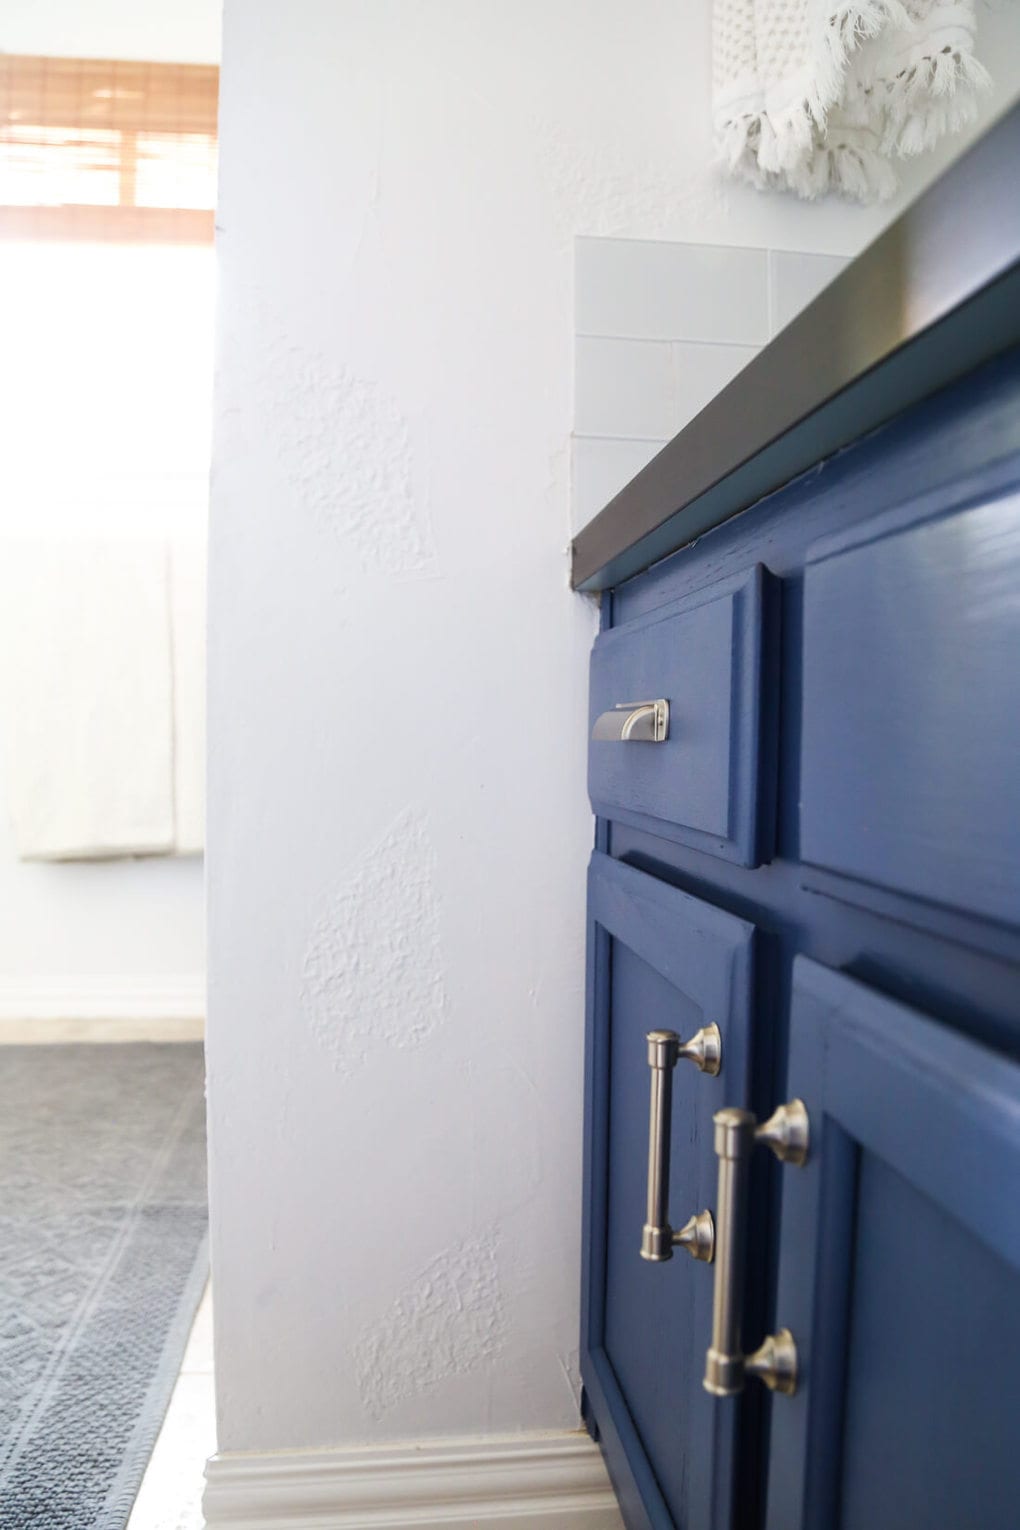
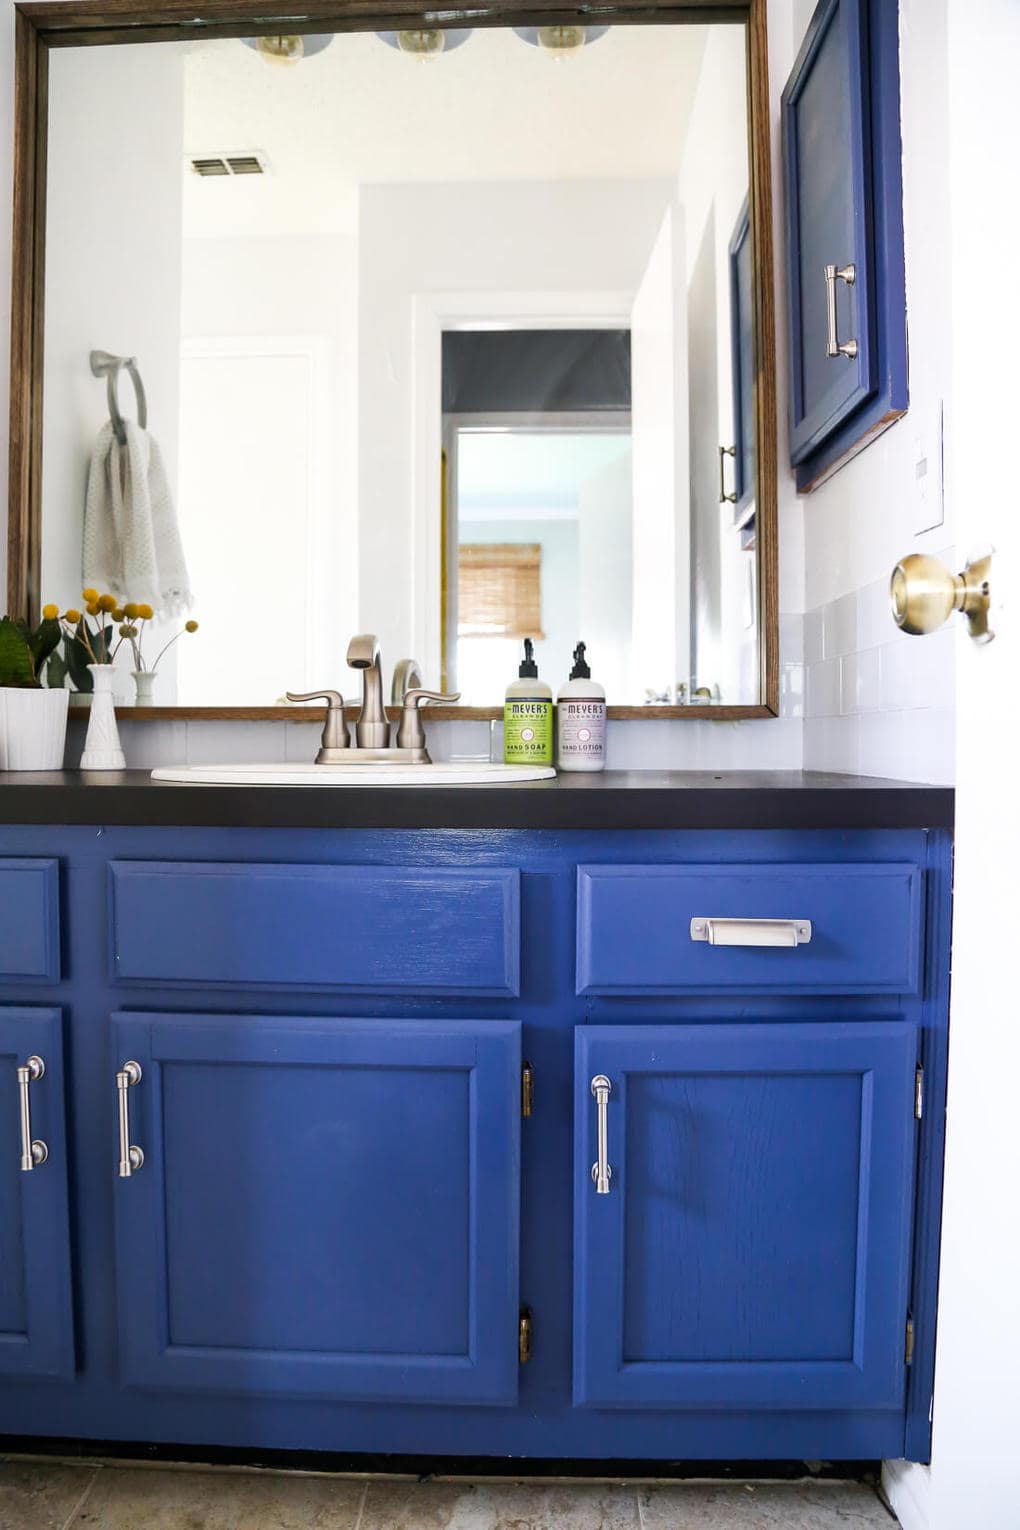
- I painted the vanity and replaced all of the drawer and cabinet pulls, along with the countertop.
- We replaced the sink and faucet.
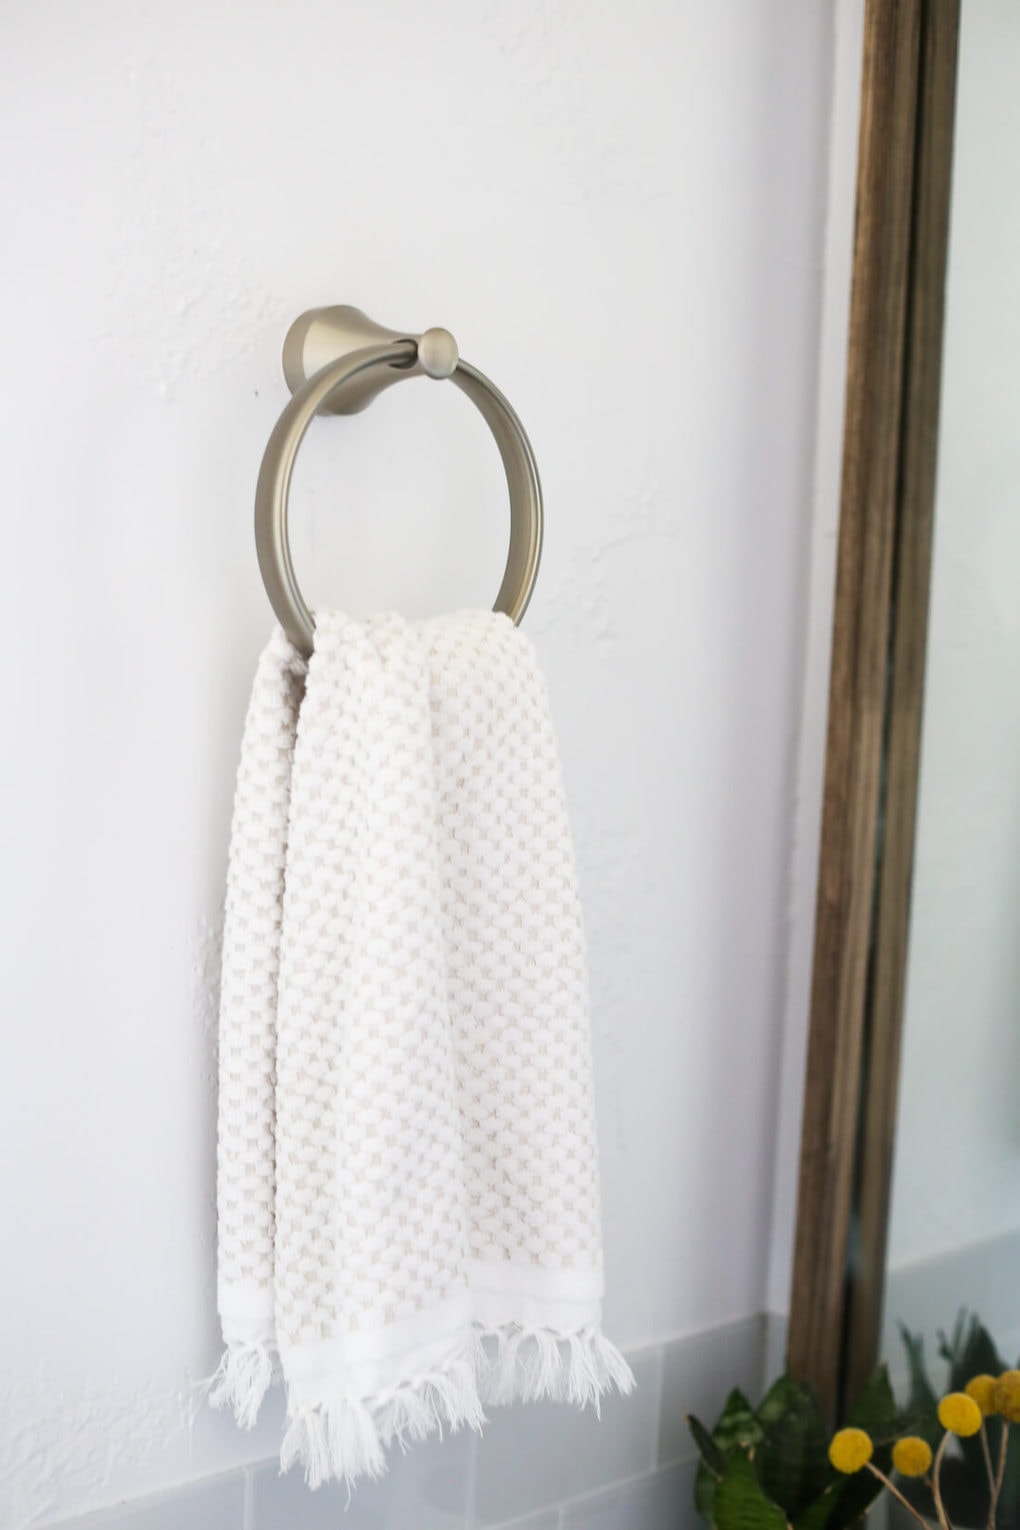
- We swapped out all of the hardware in the bathroom (like the towel racks and toilet paper holder).
Speaking of the faucet and bathroom hardware…
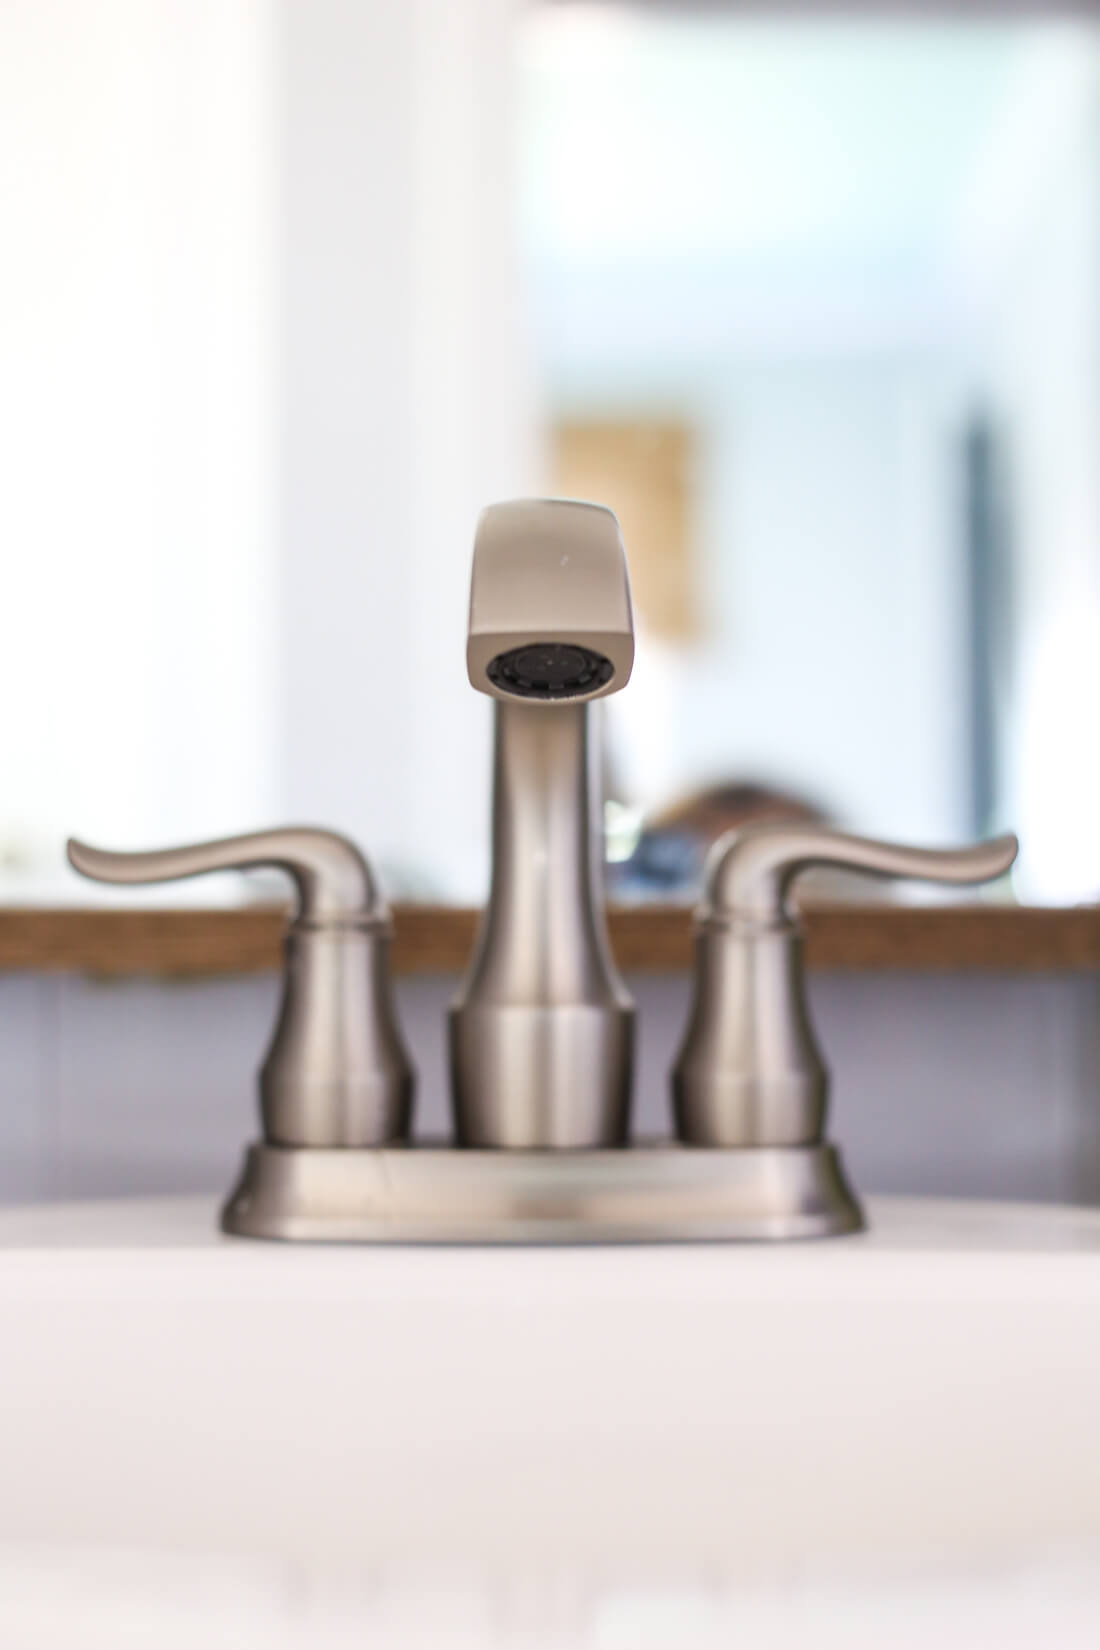
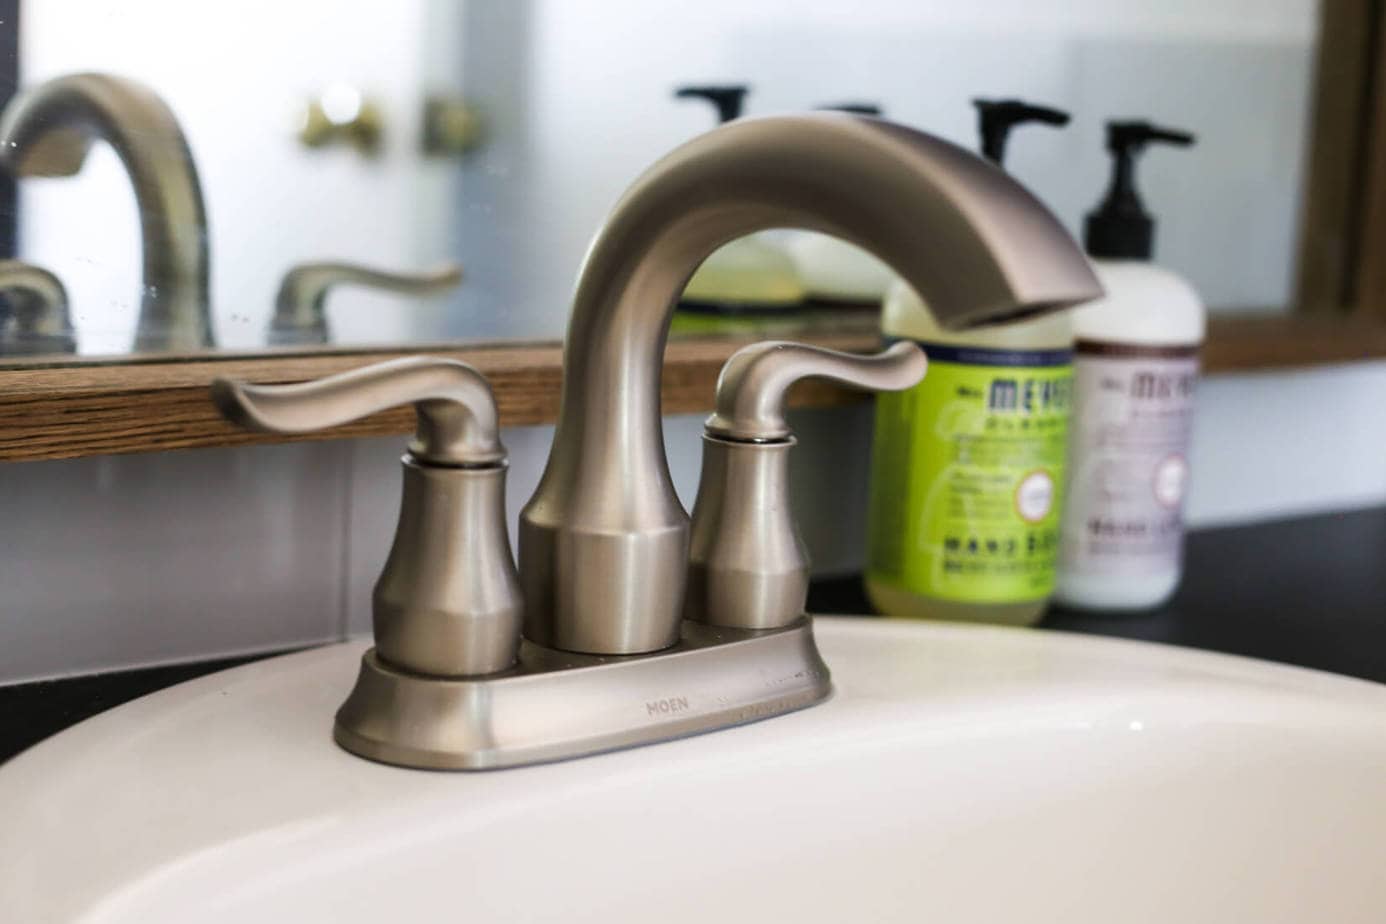
Do you love that bathroom faucet as much as I do?
It makes me a little swoon-y.
This faucet is from Moen’s new Hamden collection. It’s a totally classic and timeless design that fits right into just about any bathroom design and I love it so much it hurts a little bit. I mean, can you even handle how sleek and beautiful it is?!
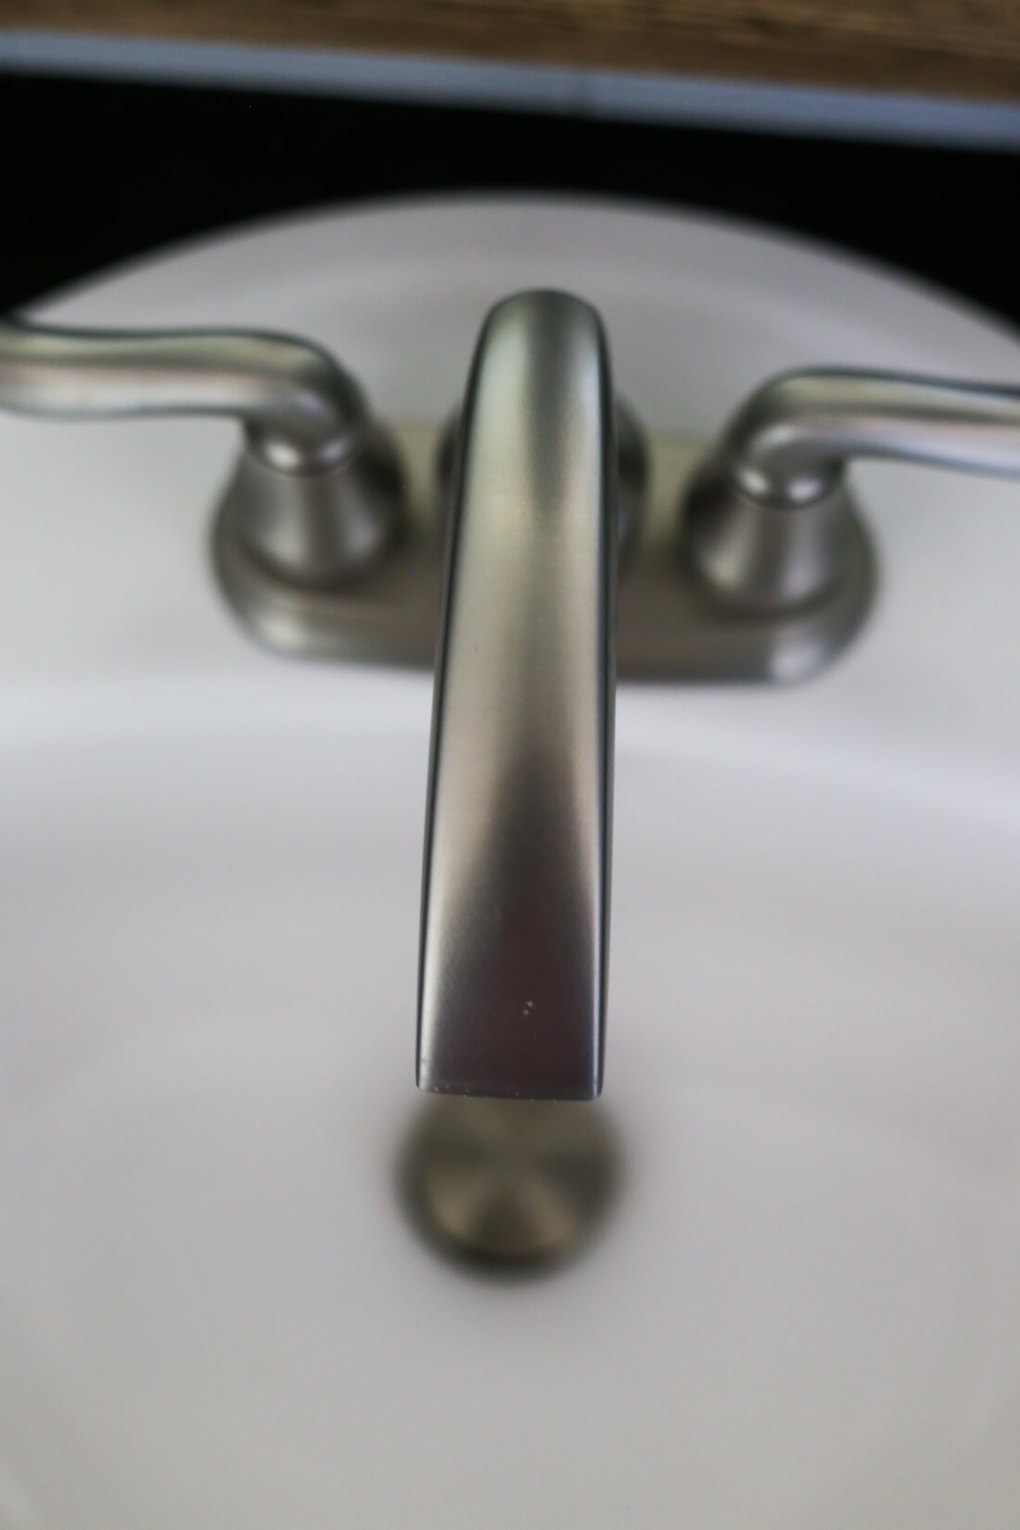
You may have already seen this on my Instagram story a while back, but my favorite part about it is that the sink drain plug clicks into place. Instead of having a handle to pull up like most sink plugs, you simply press on it and it clicks down, then when you’re ready to let the sink drain you push it again and it pops back up.
Jackson cannot stop playing with it.
(Neither can I.)
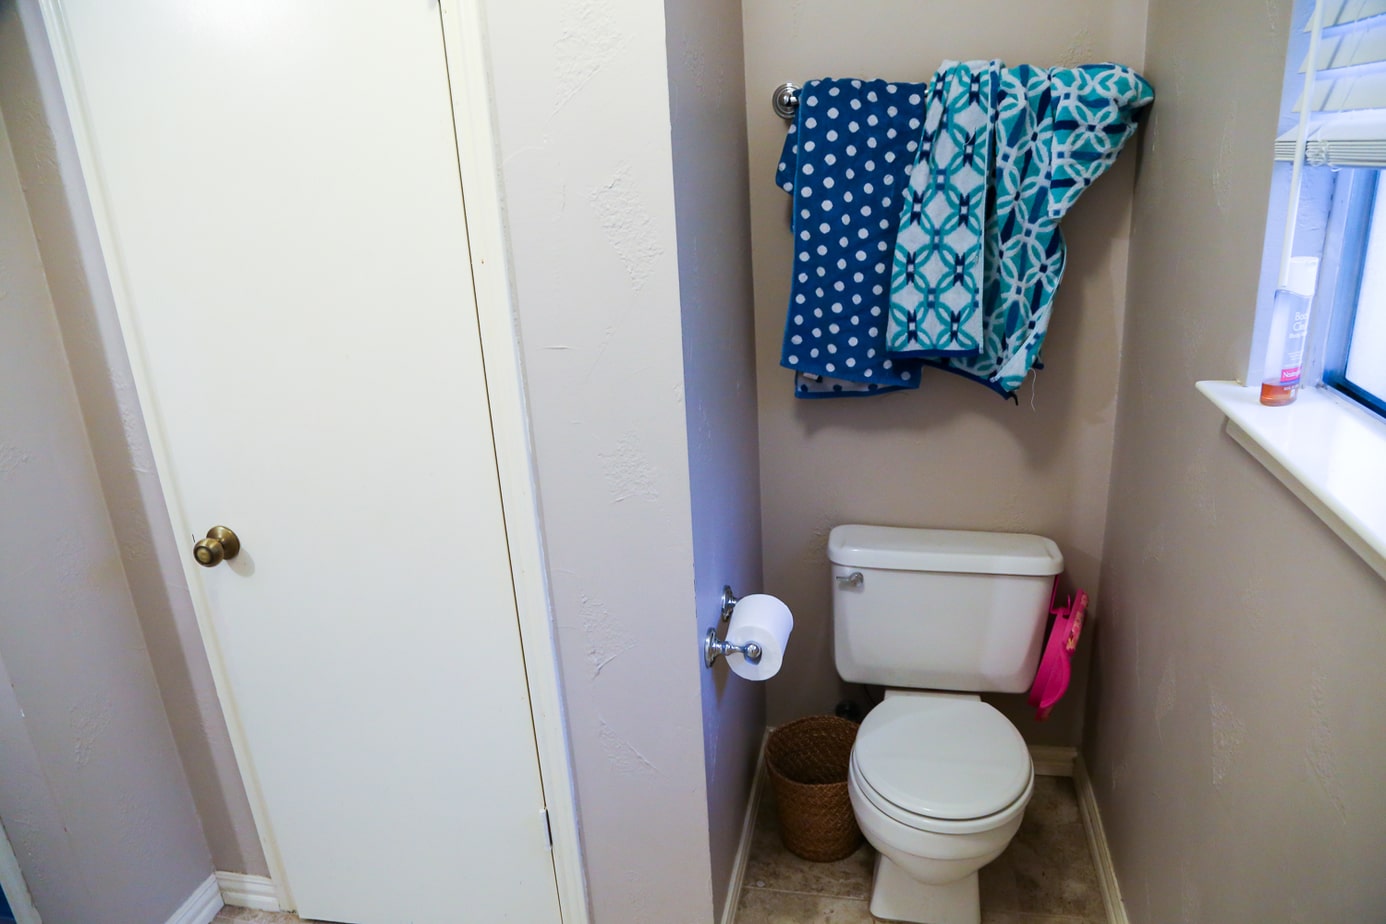
I also really adore all of the matching hardware and stuff for the bathroom. The clean lines make my soul happy, and I’m so glad I decided to move the towel rack to under the window – it’s easier for Jackson to reach himself, and it left the area above the toilet free for some cute art.
The only thing I’d still like to do in here is to replace the hinges on the vanity – I haven’t gotten around to grabbing new ones yet, but that’ll be the final touch to help the vanity feel totally complete.
Also, do you love those cabinet and drawer pulls as much as I do? D. Lawless Hardware graciously gifted them to us for this project, and a little drool may have slipped out of my mouth then I pulled those drawer pulls out of the box. I mean…
Yummy.
I am so glad we finally got this bathroom done, and I’m so grateful to Moen for partnering with us on this renovation. I’m thrilled with how it turned out, and I feel a little silly for ignoring this room for so long.
Who knew it had this much potential?!
Be sure to check out Moen’s gorgeous Hamden line – I genuinely can’t say enough good things about this company and the quality of their products. Everything is so well thought out, from the installation process (their hardware comes with ink pads on the back to help you know exactly where to drill into the wall) to the finishing touches (come on, a sink plug that clicks into place?! That’s genius.) and I can’t get enough of them.
I’ve gathered up all of the product info for everything in this bathroom below. As always, if I’ve forgotten anything, let me know and I’ll add it in!
W E E K E N D B A T H R O O M R E N O V A T I O N S O U R C E S :
- Wall color: Behr Silent White
- Vanity color: Behr
- Vanity top via IKEA (Similar)
- Faucet
- Drawer pulls
- Cabinet pulls
- White planter via IKEA (Similar)
- Hand towel
- Hand towel ring
- Vanity light
- Milk glass planter: thrifted (Similar)
- Bath towels
- Bath towel rack
- Shower curtain rod
- Shower curtain
- Overhead light
- Bath mat
- So Fresh & So Clean Clean Art
- Frame
- Bamboo blinds
- Trash can
- Vase + flowers on toilet: At Home (Similar)
- Baskets on toilet


I have the exact same bathroom as you it’s uncanny!
Omg we totally had one of those shell-shaped sinks when I was a kid! I can’t believe you made all these changes in just one weekend! Way to knock it outta the park!
This looks gorgeous! What a big change in just one weekend! Thanks for sharing at the #HomeMattersParty !
Thank you, Melissa.
Fantastic makeover! And to think you did it in one weekend — wow! I especially love the blue vanity, the new hardware, and the faucet. Everything looks great!
Carol (“Mimi”) from Home with Mimi
Thank you, Carol!!
This goes to show you don’t need to do major construction for major impact, love it!
Amen! Thanks, Roxanne!
What a Fabulous color for the cabinets! everything blends well. Love the faucet choice and hardware is prefect. Its great inspiration for my bathroom for future home.
Maria
Thanks so much, Maria!
Super duper like! I love how even a small bathroom can feel cozy yet spacious with white paint and a few accent pieces. 🙂
Thank you so much, Alma!
Wow! just loved the makeover of the bathroom. Beautiful work done in a weekend.
Thank you!
Where did the art come from? It would be such a good gift for a friend of mine (bit of an inside joke from college!)
Whoops! The link was labeled wrong in the source list! Here’s the link, and I fixed it in the list above. 🙂 http://rstyle.me/n/cph59zb5wb7
I LOVE how this turned out Amanda! You did such a great job – it looks like a totally different space.
Thank you, Morgan!
LOVE it! Great job! Can’t believe you did it in a weekend! How did you like the peel and stick tiles? I’m thinking of using them. Can you put it directly onto existing tiles? Just curious 🙂
Thannks, Lindi! The tiles are GREAT. I was shocked at how fast they were to use – it only took me about an hour or so to do the whole backsplash – part of how the makeover went so fast! 🙂 We didn’t have tile in the room so I don’t know for sure but I believe you can put them over existing tile.