
3 Super Easy DIY Plant Stand Ideas
Looking for a really simple (and affordable) way to elevate your plants – literally and visually? I’ve got you covered with these three incredibly easy DIY plant stand ideas, perfect indoors or out.
I’m always looking for ways to show my plants off. They’re my pride and joy, and they’re pretty much my favorite way to decorate in my home. So, it should come as no surprise to you that when my friends at DAP asked if I had any projects that could show off their new On-the-Go adhesives and sealants I immediately thought of something plant related. It’s who I am. I can’t help it.
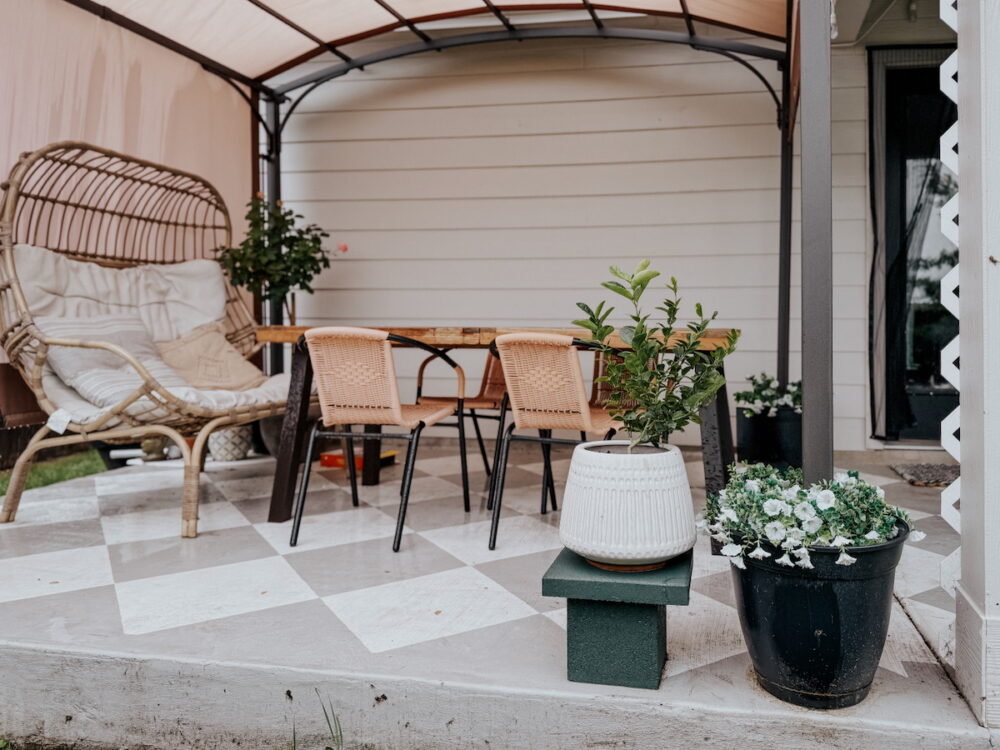
Most of my plants outside are just sitting on the counter, or even on the ground, and I’ve been looking for some simple and cute solutions to elevate them a bit. I decided it might be fun to show off three separate ideas for really simple DIY plant stands – no power tools required – if you’re also looking for a way to make things feel a tad fancier.
DIY Plant Stands for Outdoors (No Tools Needed!)
Video Overview
If you like to watch these things come together real time, here’s a quick video I put together showing exactly how easy these are to make!
DIY Plant Stand Idea #1: Terra Cotta Planter + Saucer
Materials Needed:
- Small terra cotta planter
- Small terra cotta saucer
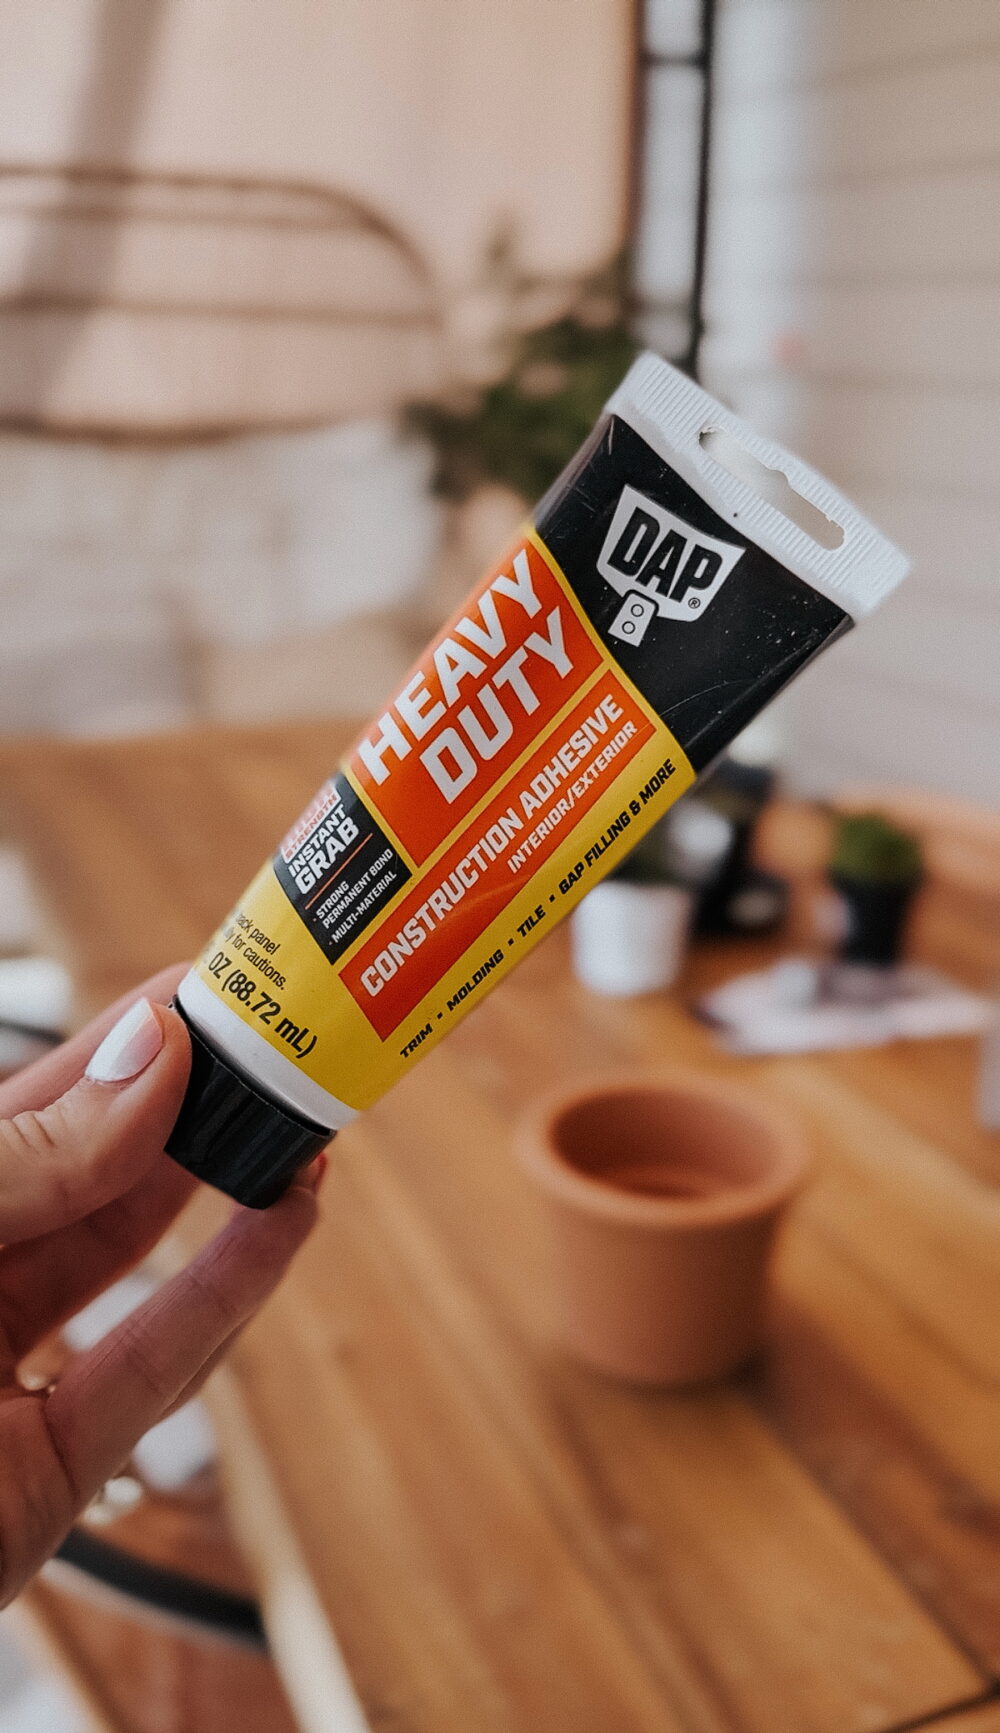
- DAP On-the-Go Instant Grab Heavy Duty Construction Adhesive
- Spray paint
I love terra cotta pots. They can be used for so many things and they’re so dang versatile. See some of my favorite ideas for painting them here.
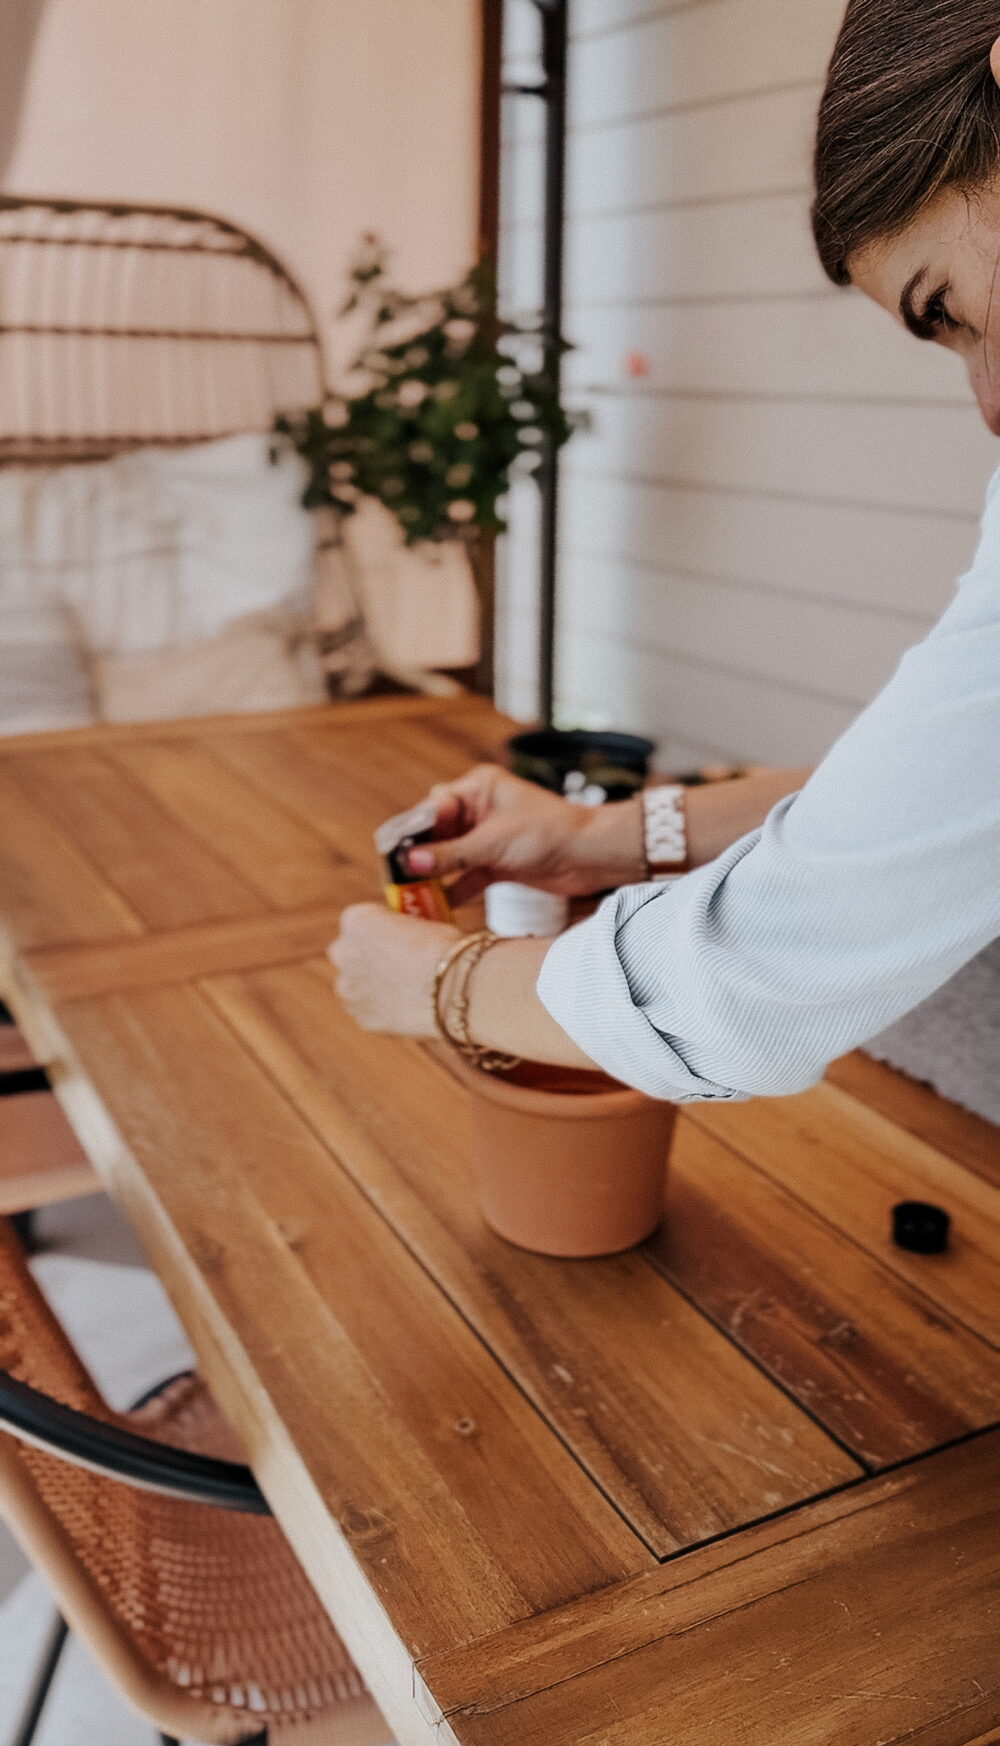
For this plant stand, I was going for a really simple and streamlined pedestal-style plant stand. I have a few small plants that can tend to disappear when I place them next to some of my larger ones, so I wanted something little that would help them stand out. To make it, I simply applied some DAP On-the-Go Instant Grab Heavy Duty Construction Adhesive all around the top of the terra cotta planter. Then, I placed the saucer on top.
Once it dried, I did go ahead and add a little bit of DAP On-the-Go Ultra Clear Flexible All-Purpose Waterproof Sealant around the seam. Some of my construction adhesive seeped out and was visible, so this smoothed out the rough seam and made it look a lot nicer.
Once everything was dry, I gave it a quick coat of black spray paint. Then, it was ready to display a plant!
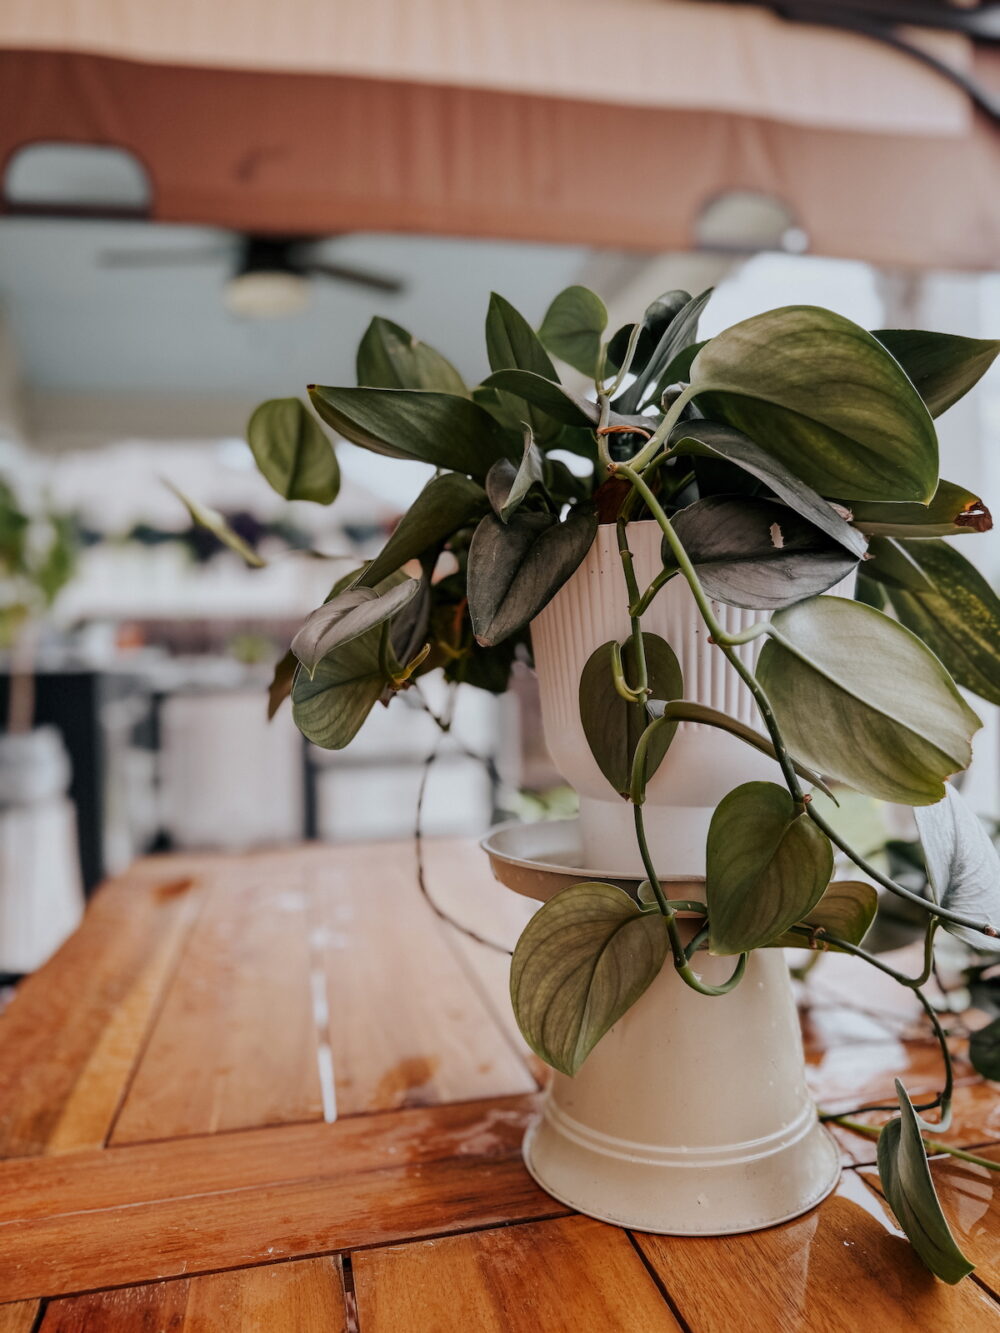
Plant Stand Idea #2: Plastic Planter
Materials Needed
- Small plastic planter (look for one with a pretty detail!)
- Small plastic saucer
- DAP On-the-Go Instant Grab Heavy Duty Construction Adhesive
- Spray paint
As you can see, this plant stand is almost exactly the same as the first one just with the planter flipped the other way! I wanted to show how different it can look with that one small adjustment. Also, this time I used a plastic planter instead – I wanted to make sure it worked just as well. And, I’m happy to report that it did.
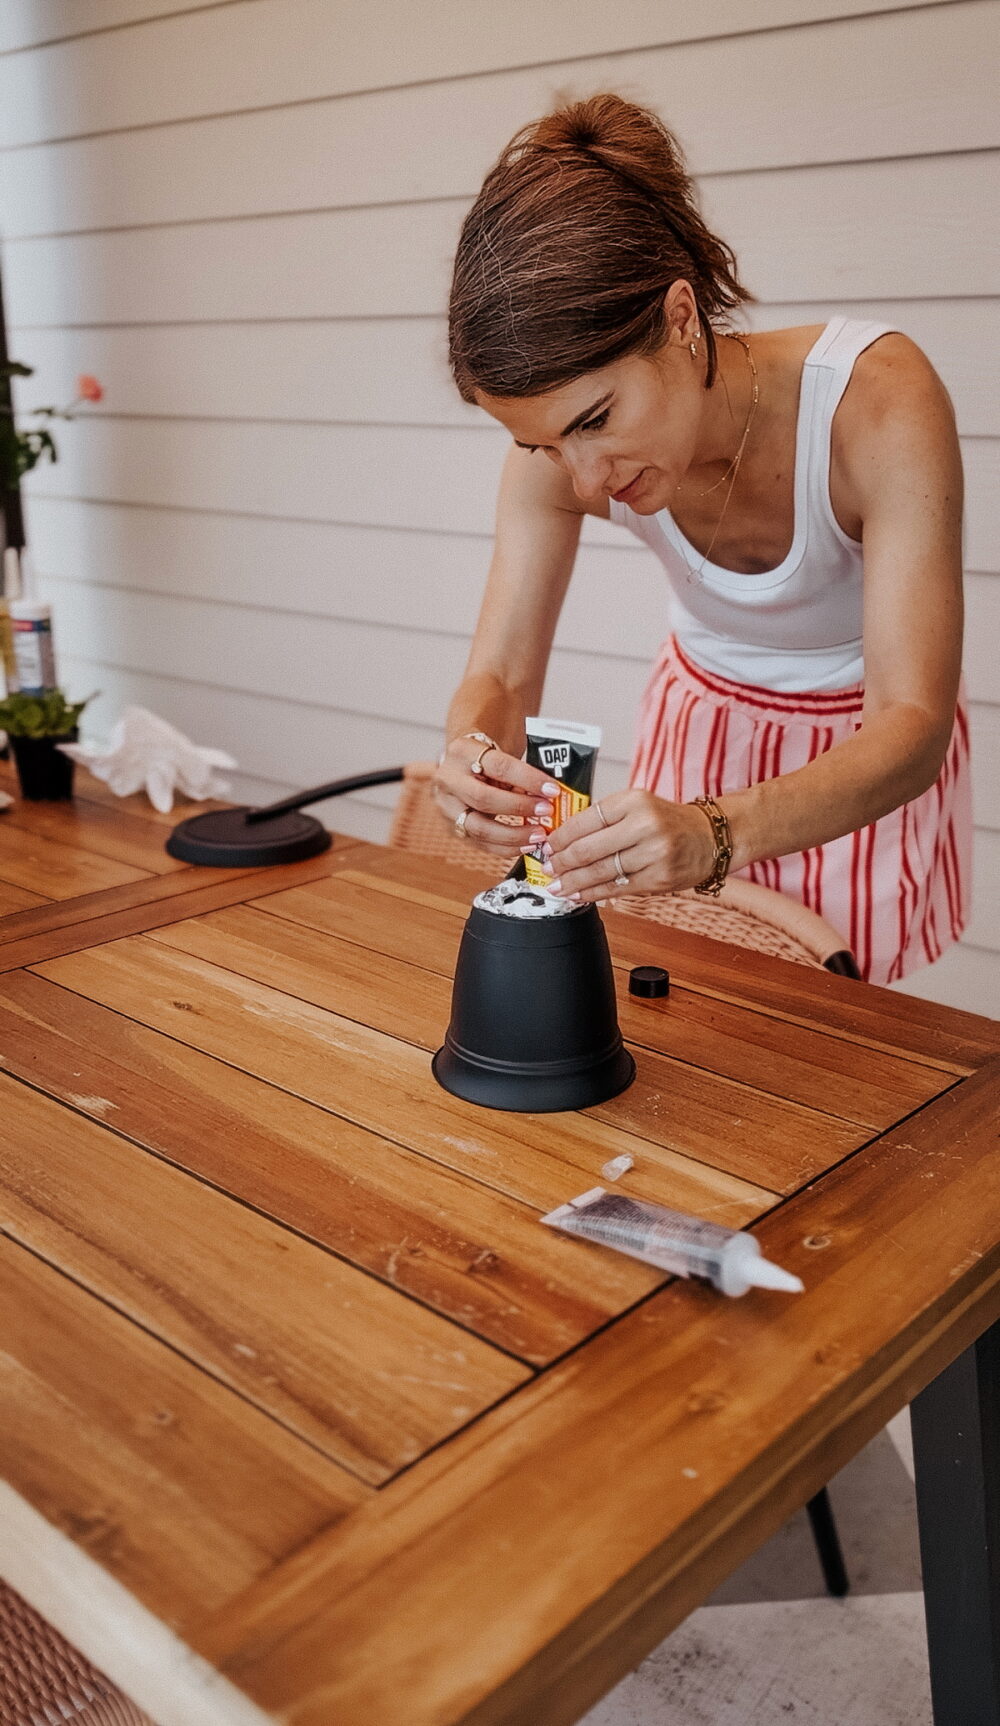
This is pretty much the same drill as the other time. Use your DAP construction adhesive to adhere the saucer to the planter (this time to the bottom of it, rather than to the top).Allow to dry fully, then paint!
For this one, I went with Fossil by Rust-Oleum. I could have left it black, of course, but I feel like the paint makes it feel a little more like one solid piece rather than two. Applying a bead of caulk all around the seam prior to painting will make it feel even more cohesive!
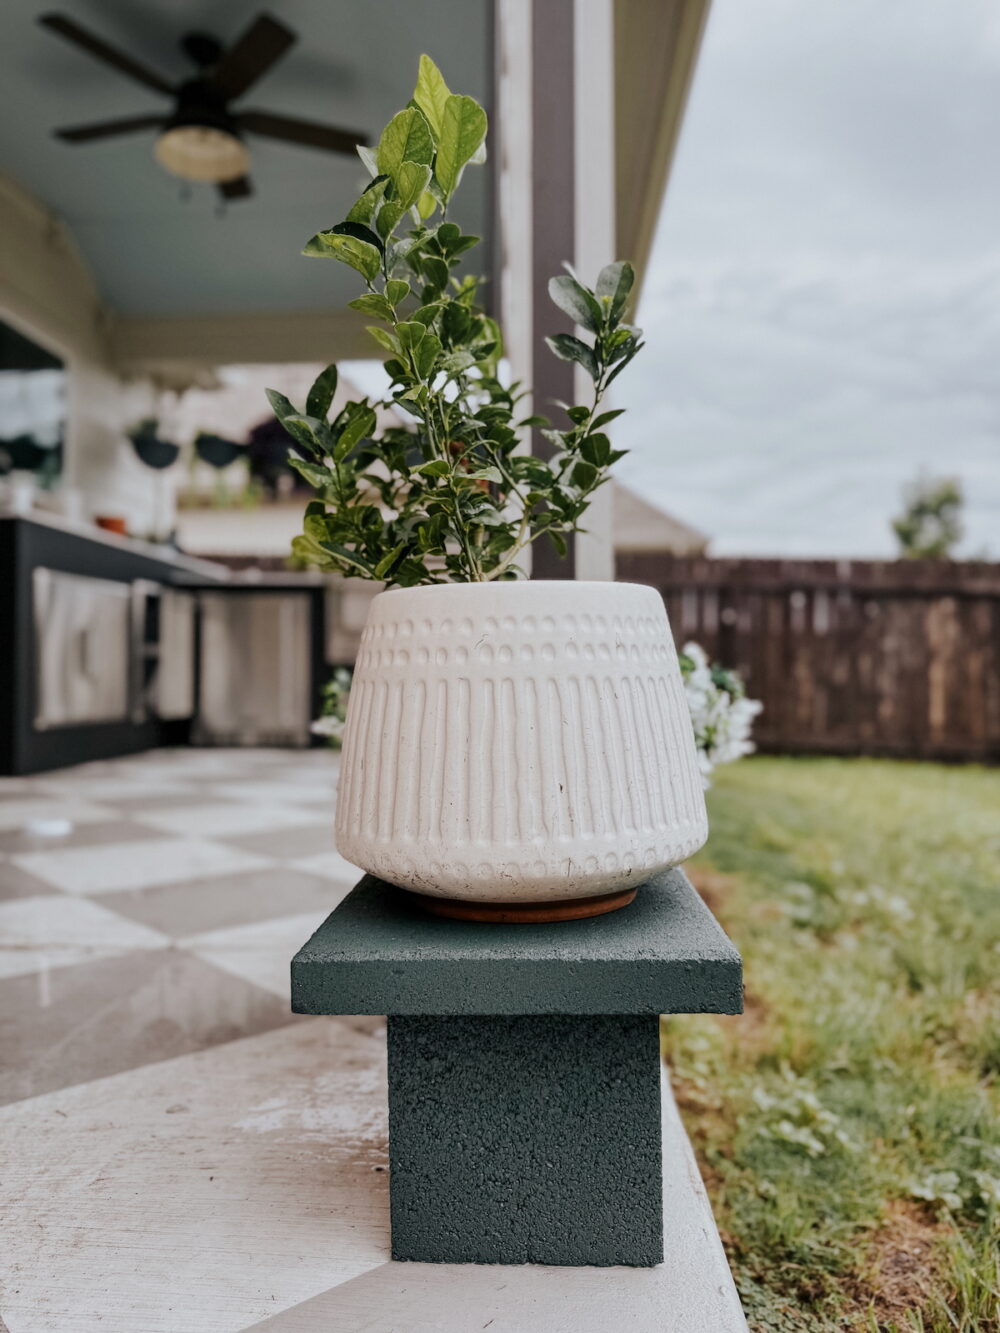
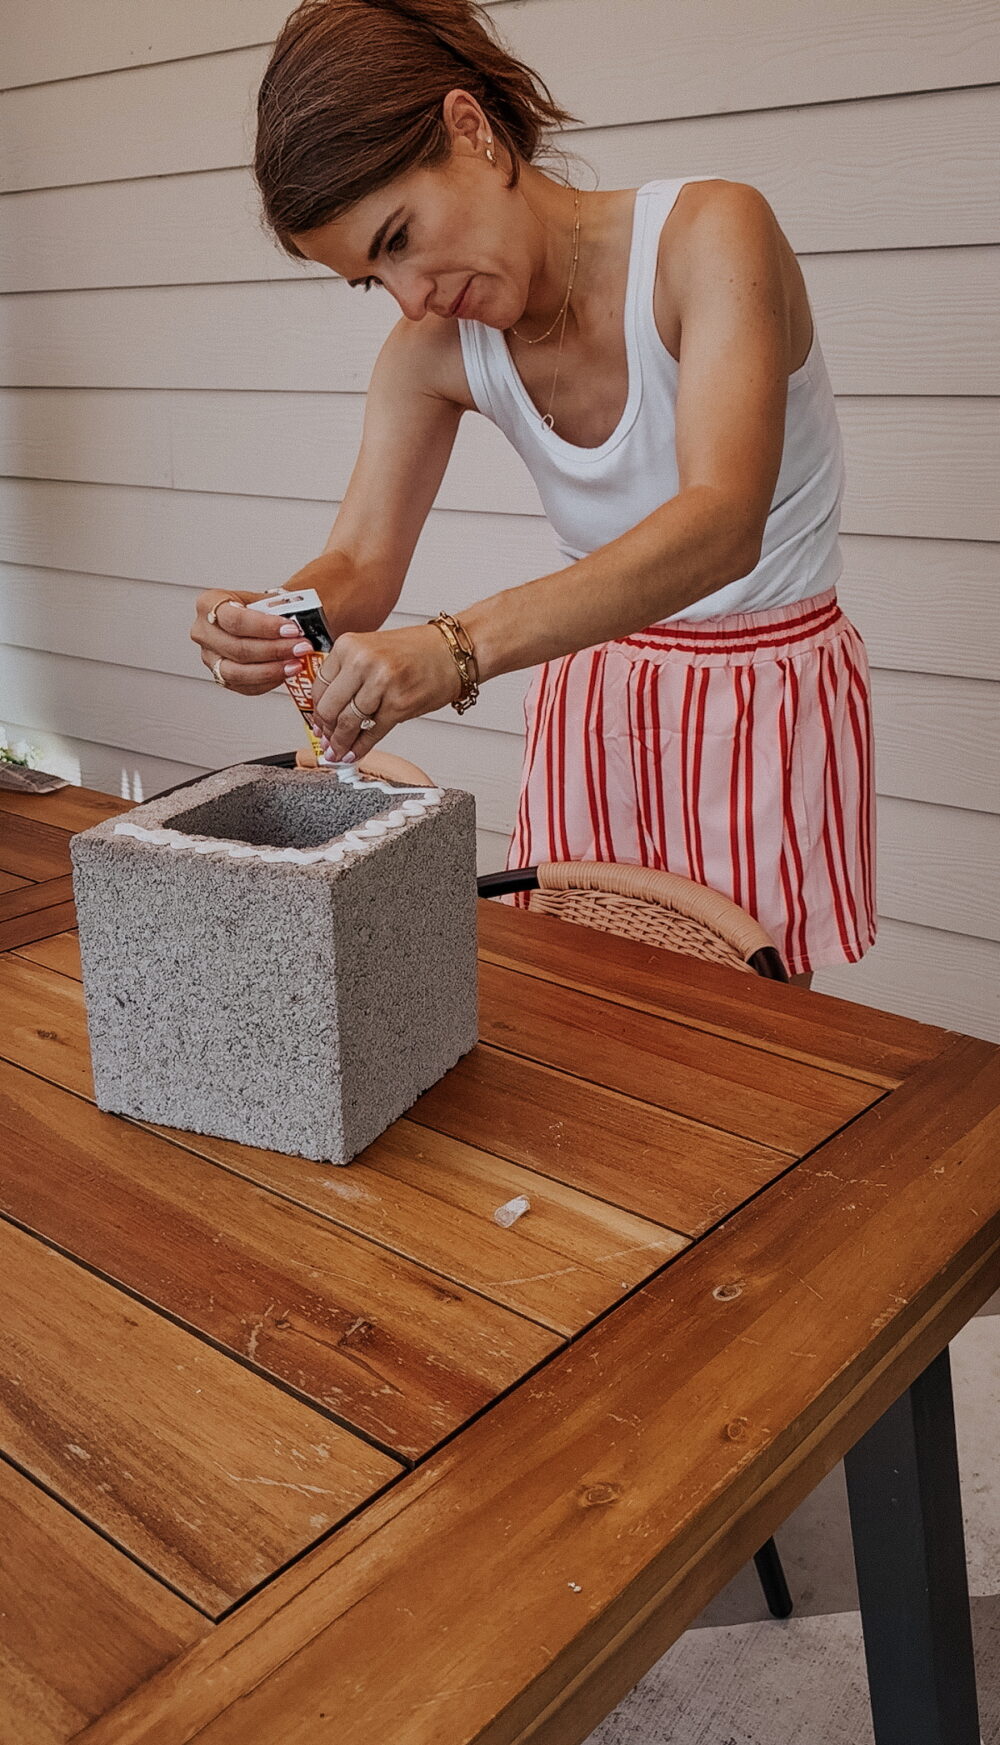
Plant Stand Idea #3: Concrete Block
Materials Needed:
- Small concrete block
- 12″ patio paver
- DAP On-the-Go Instant Grab Heavy Duty Construction Adhesive
- Spray paint
For this one, I wanted something a little larger. I have a little lime tree that sits on my patio, and I wanted it to feel a little more intentional and a little less “I didn’t have a better place to put this so I plopped it right here”. Even if the second one is true.
I think you get the idea by now with how to assemble these – it’s so easy. Just apply your DAP On-the-Go Instant Grab Heavy Duty Construction Adhesive all along the top of the concrete block, rest the paver on top (make sure it’s centered), and paint it once everything dries. Easy peasy. (I used Rust-Oleum’s Hunt Club Green).
I’ll warn you that this one is heavy. I recommend picking it up by the base if you plan to move it (rather than the top), at least until the construction adhesive has fully cured.
And just like that, we’ve got three adorable little DIY plant stands to make my outdoor plants look a little nicer. I spent about $30 at the hardware store for everything I needed for all three of these plant stands, so I think it’s safe to say it’s an incredibly affordable little project too.