DIY Tiered Ladder Garden
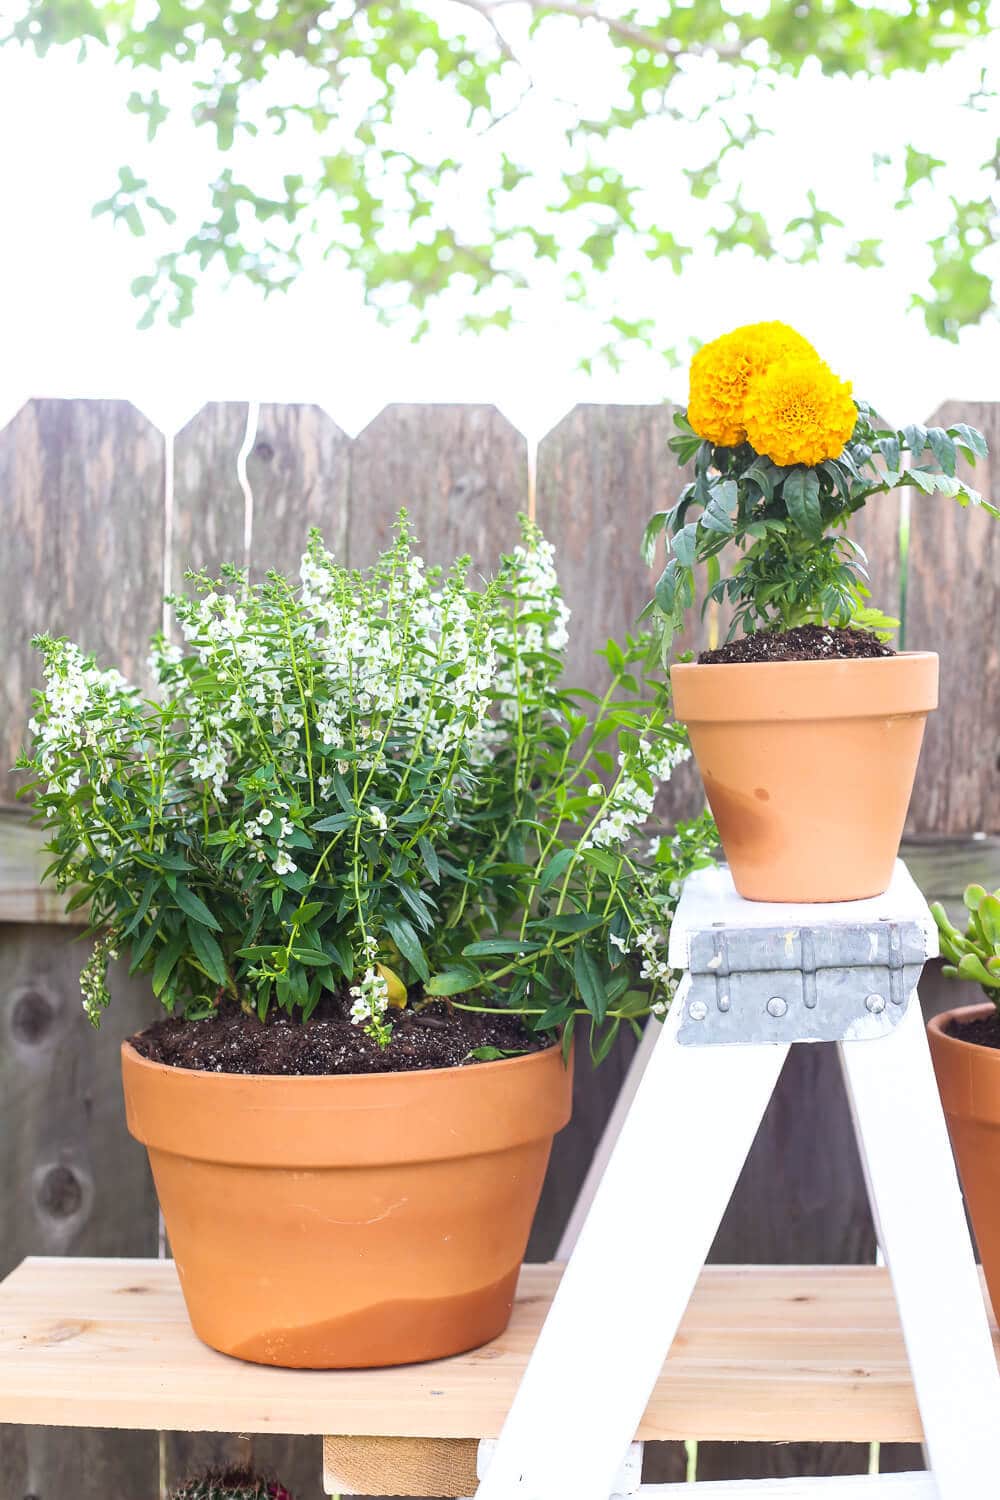
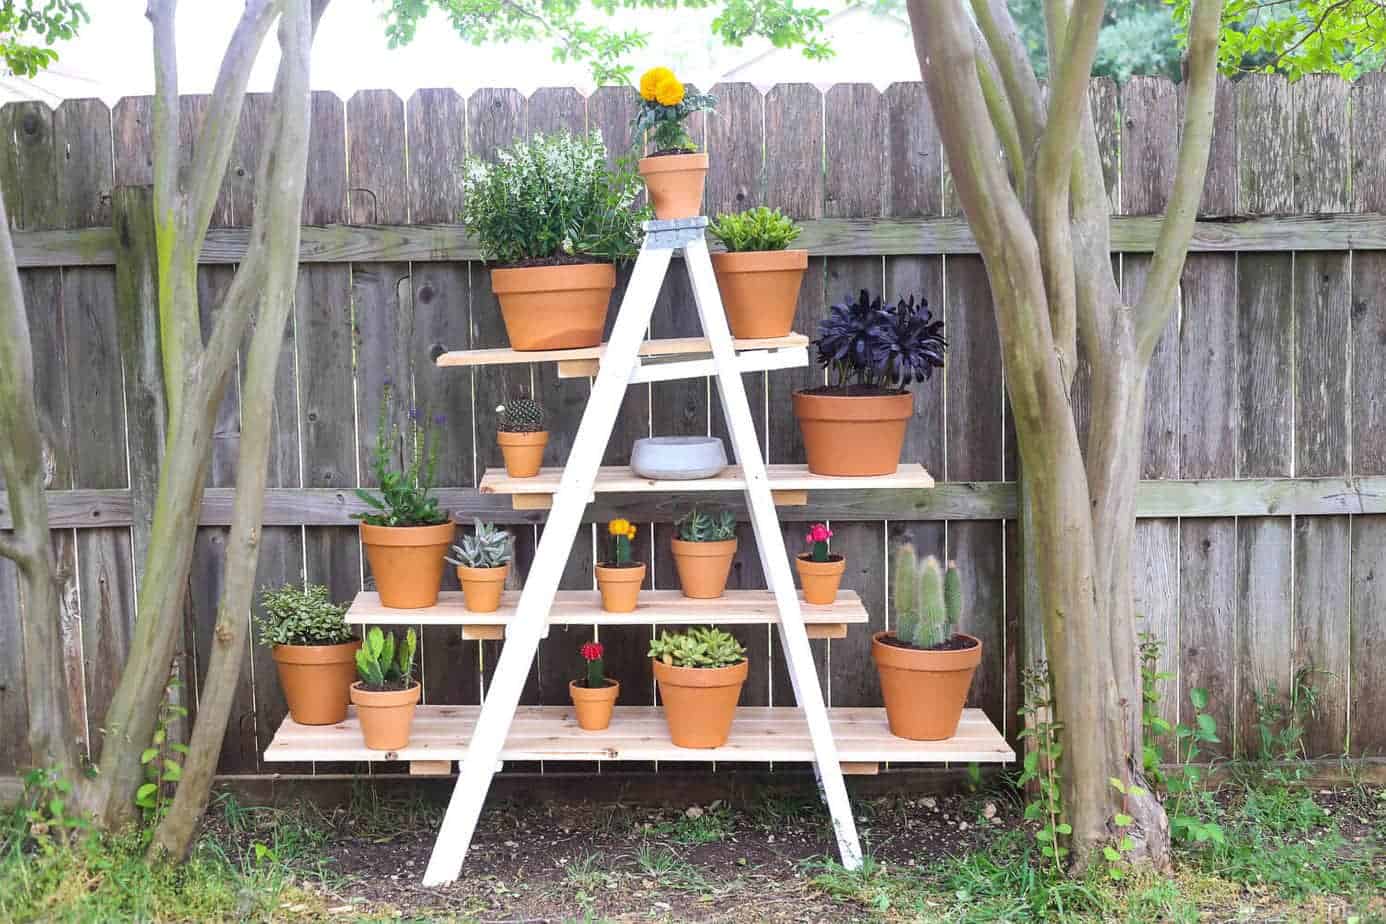
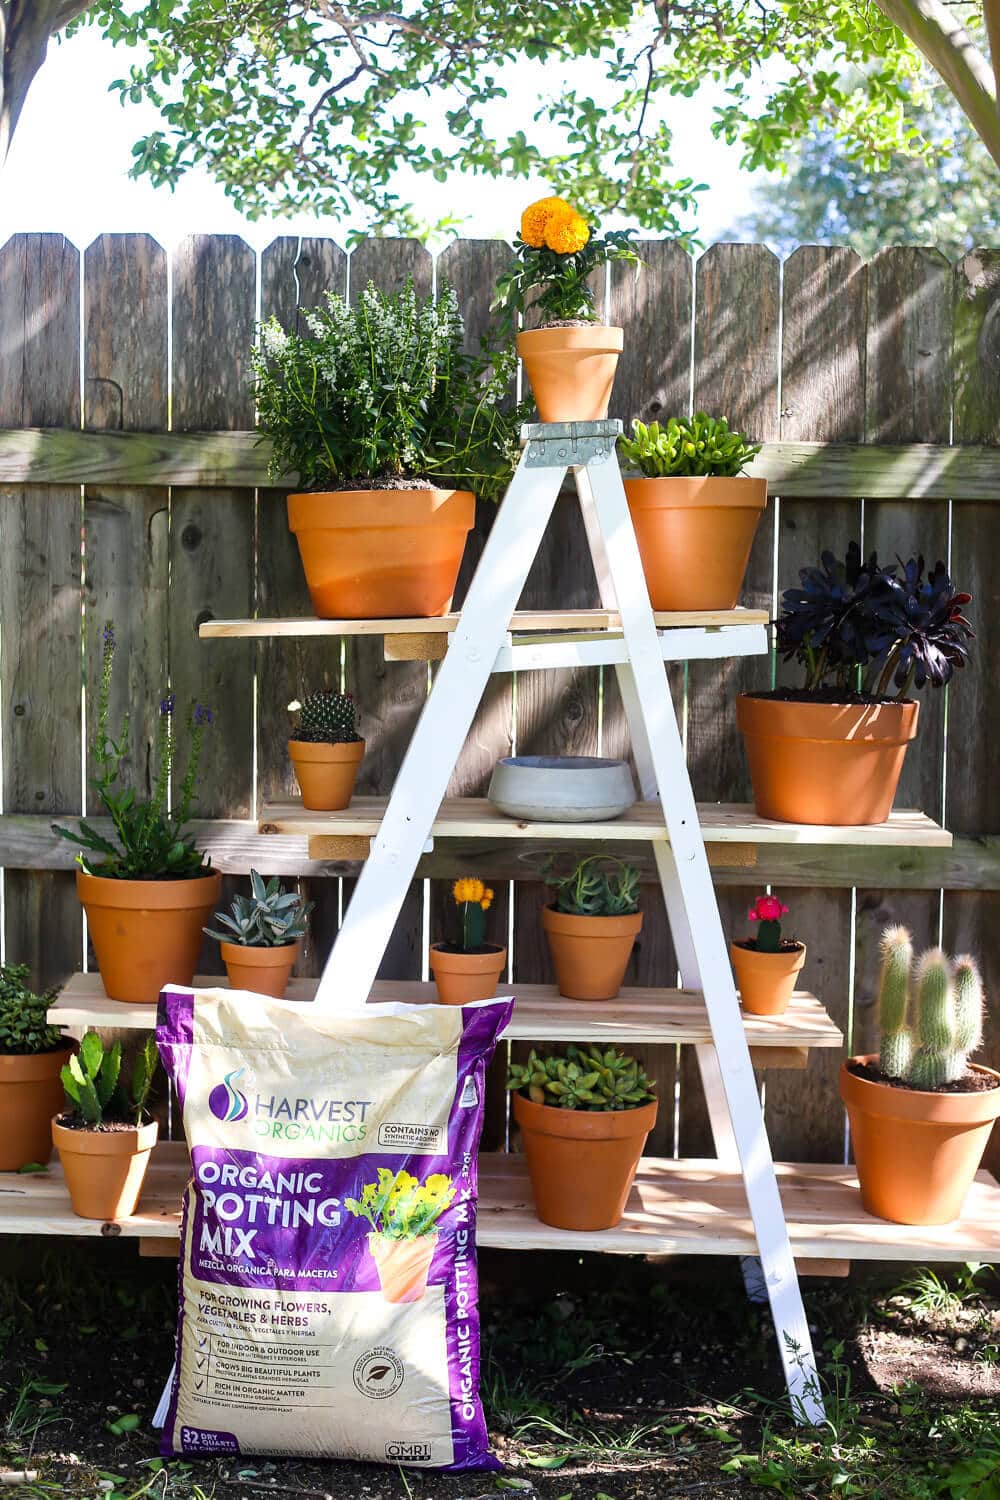
I wanted a cute way to display our plants in the backyard, so I created this simple DIY tiered plant stand from an old ladder! It was an easy project that looks adorable in the yard – I love our new ladder plant stand!
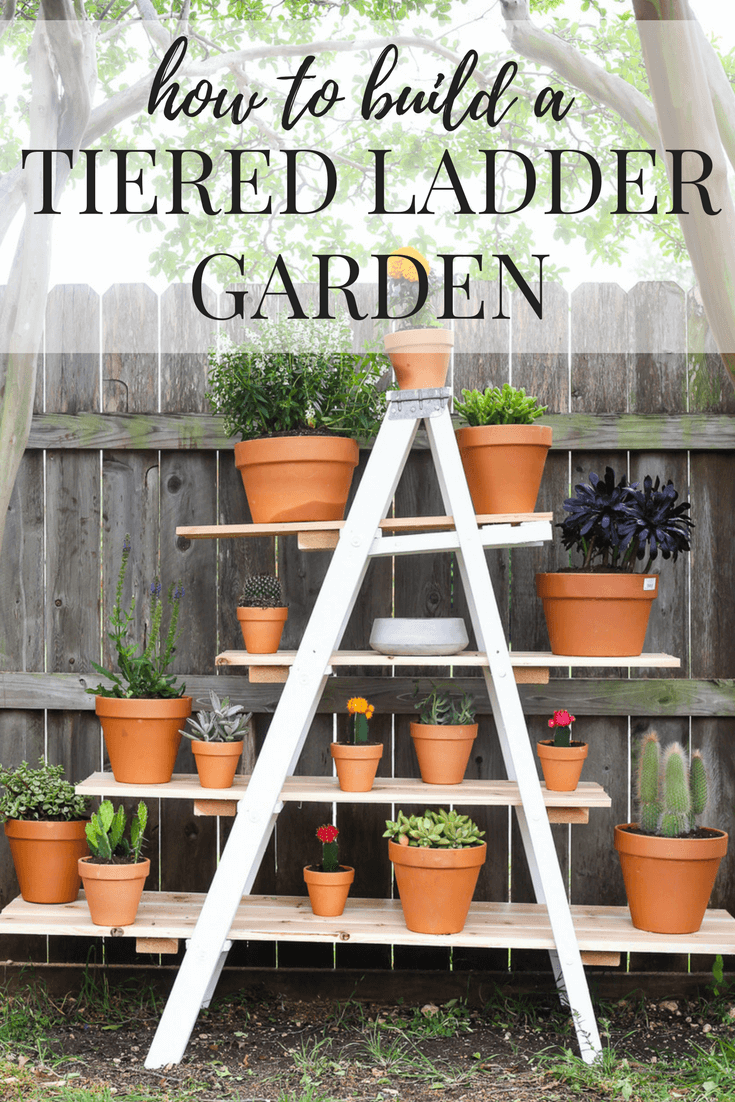
Hey, remember that time I told you I can’t keep plants alive to save my life but that I’m bound and determined to make this the year I turn my black thumb green?
Well…the journey continues today with my first outdoor plants of the season.
And I’m doing it in style.
Yup. I’m turning into a crazy plant lady. And I love it.
But, uh, let’s hope I can keep these alive. It’s a lot of plants. And plants aren’t cheap. Keep your fingers crossed for me.
This was such a simple project, I honestly am kind of shocked we didn’t do it sooner. Can I admit something to you?
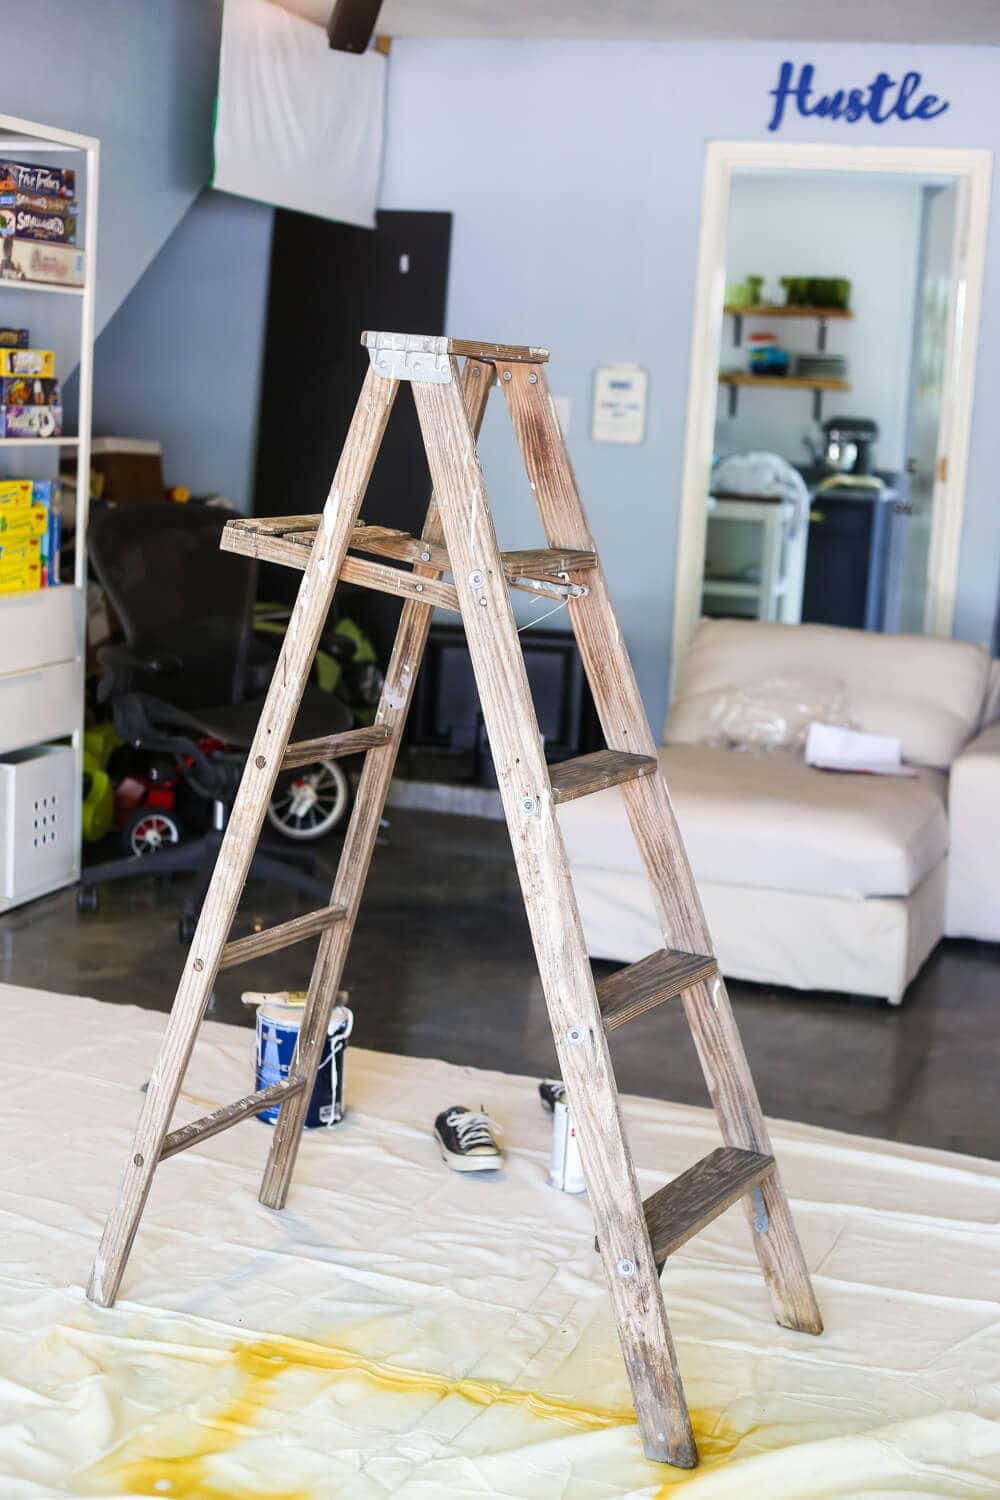
We’ve had this ladder sitting around in our workshop for somewhere in the neighborhood of four years.
FOUR YEARS, Y’ALL.
This post is sponsored by Harvest, makers of organic soil, but all opinions are 100% mine. Click here to read my full disclosure policy. Thanks for supporting the brands that support Love & Renovations!
We bought it at the flea market for, like, $5 forever and a day ago with full intentions to make this project happen (I promise, we were planning on making a ladder plant stand before ladder plant stands were a thing) but we just kept forgetting.
But now, we’ve finally made it happen and I’m so, so glad we did. Because, seriously. Who wouldn’t want one of these in their backyard?
DIY Tiered Plant Stand
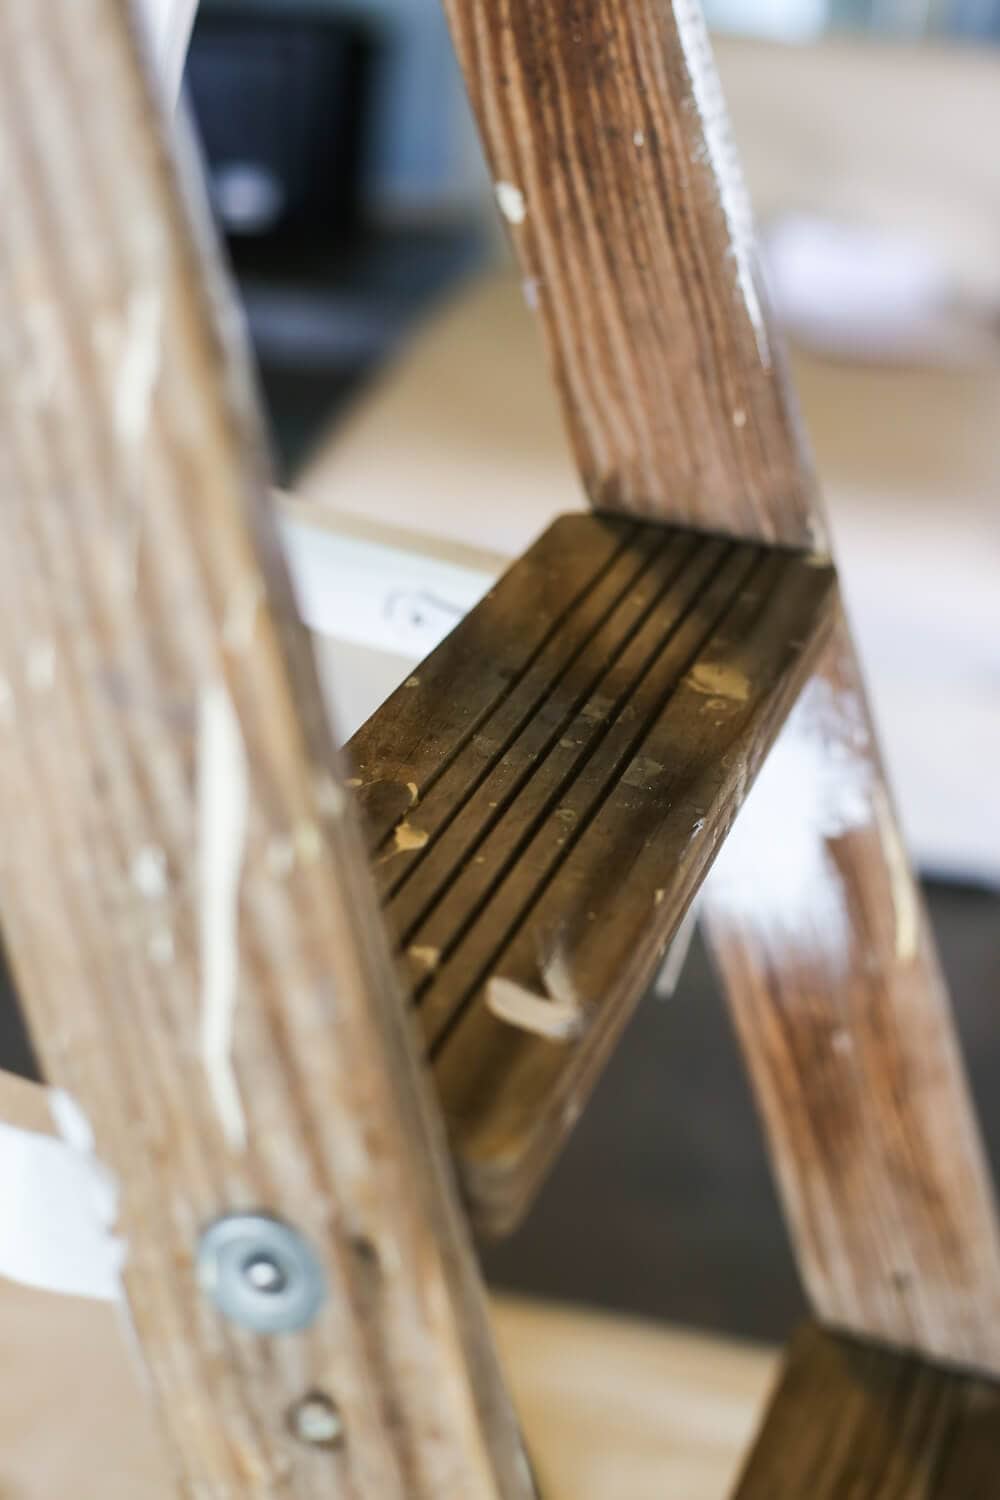
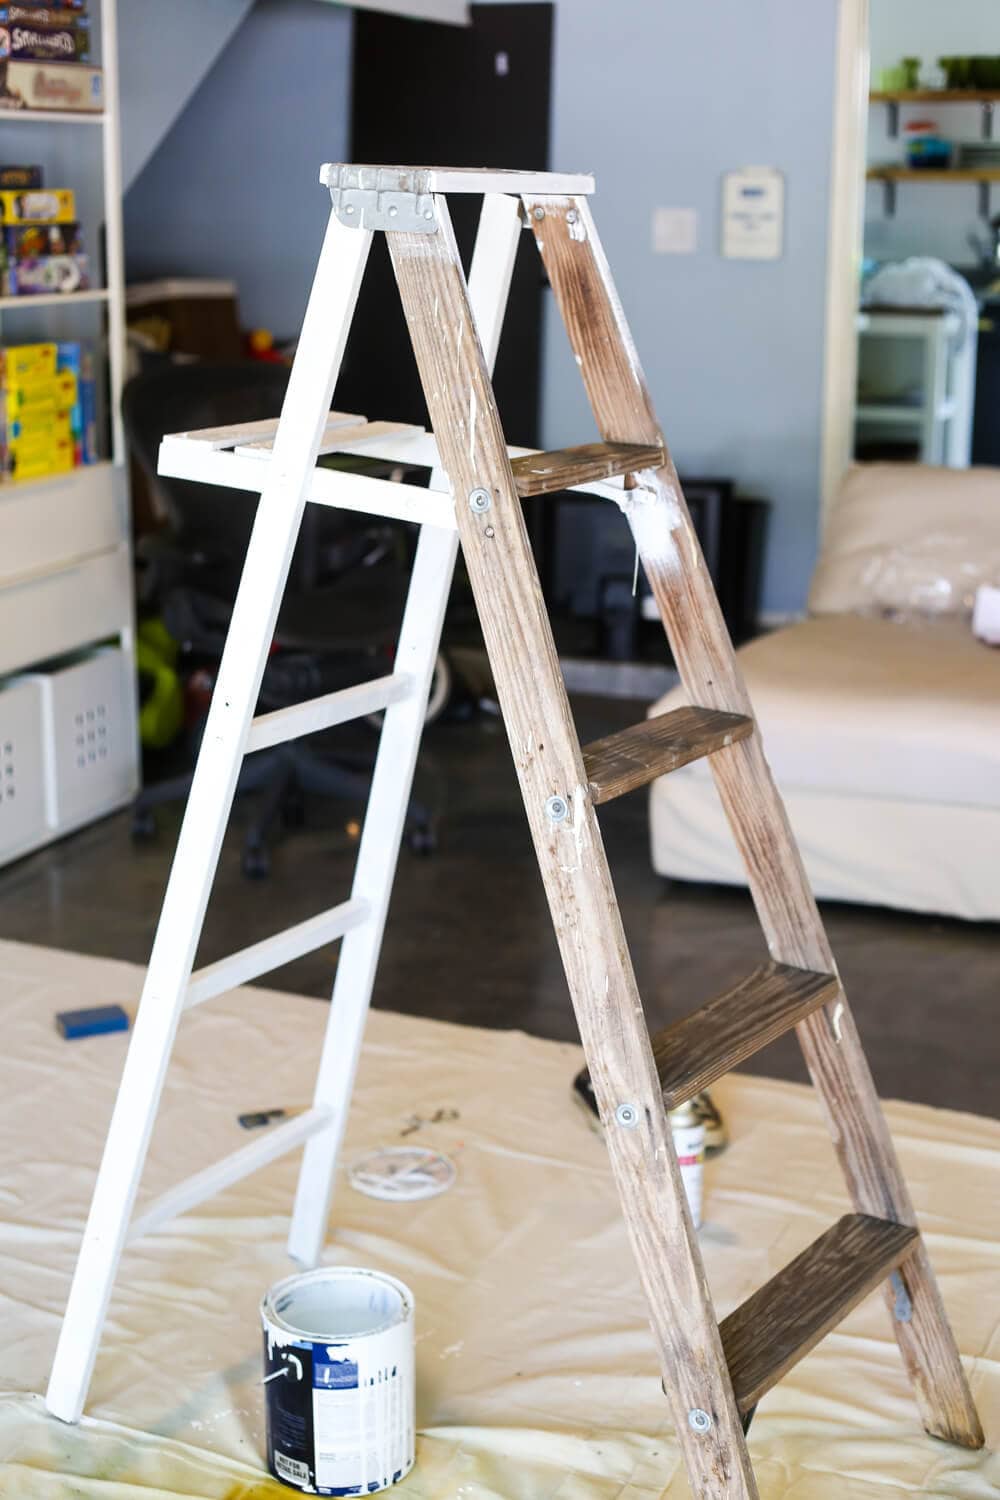
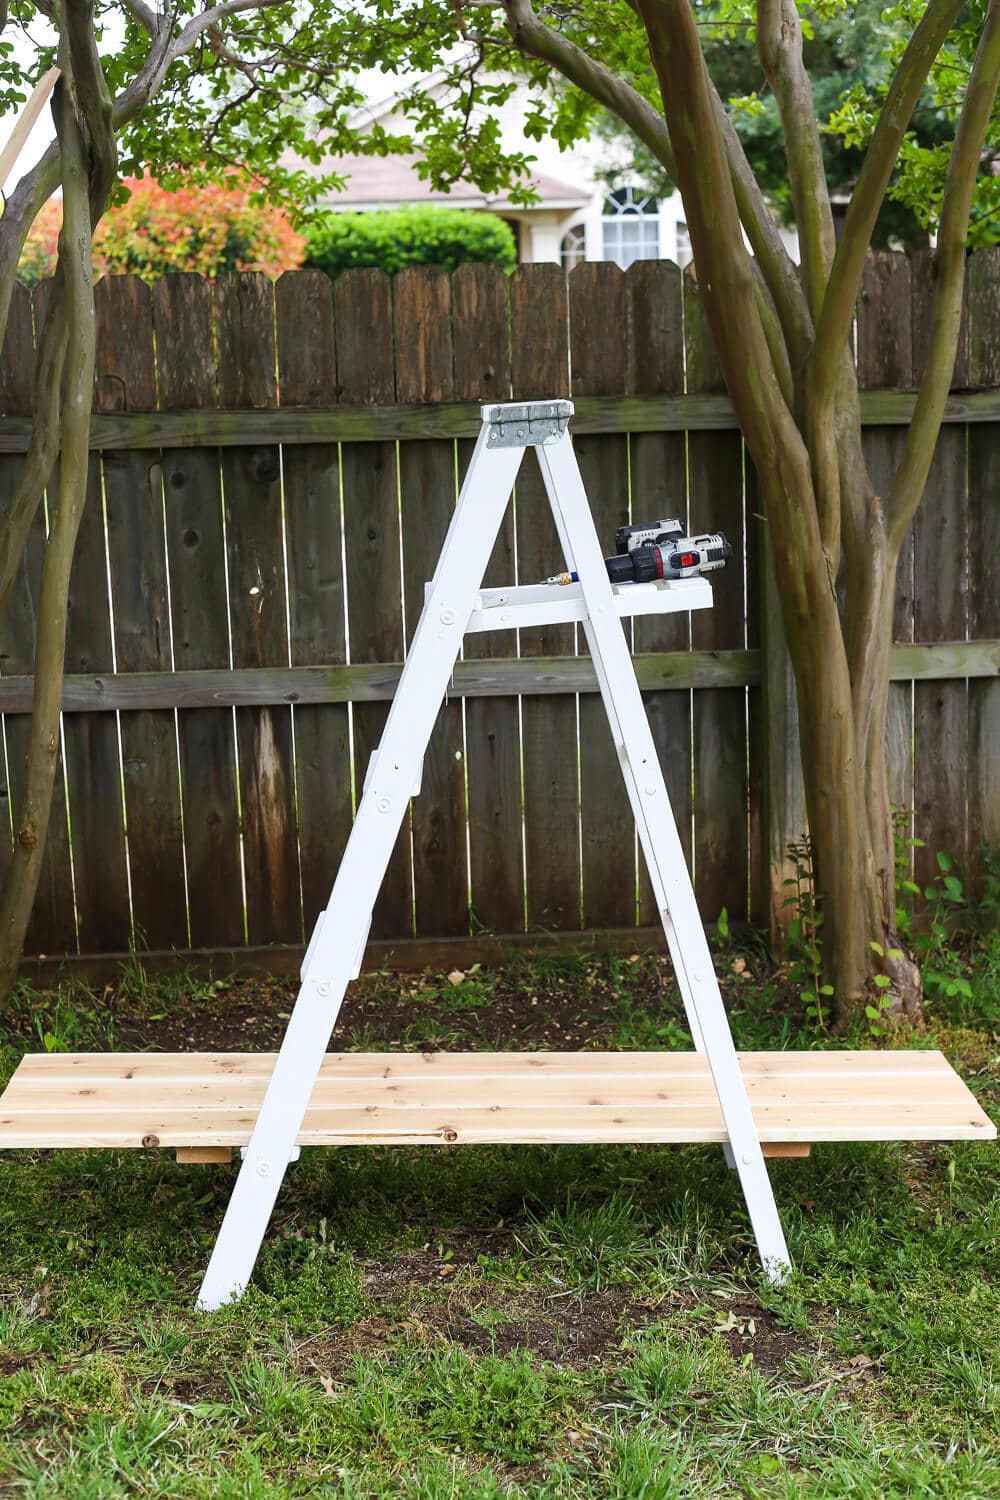
Wanna know how to do it? It’s incredibly simple. Start with an old ladder. The grungier and dirtier it is, the better. Clean it up a bit, but don’t stress about it (I gave ours a light sanding with a sanding block, but that’s about it). We aren’t going for perfection here.
Step 1: Paint Your Ladder
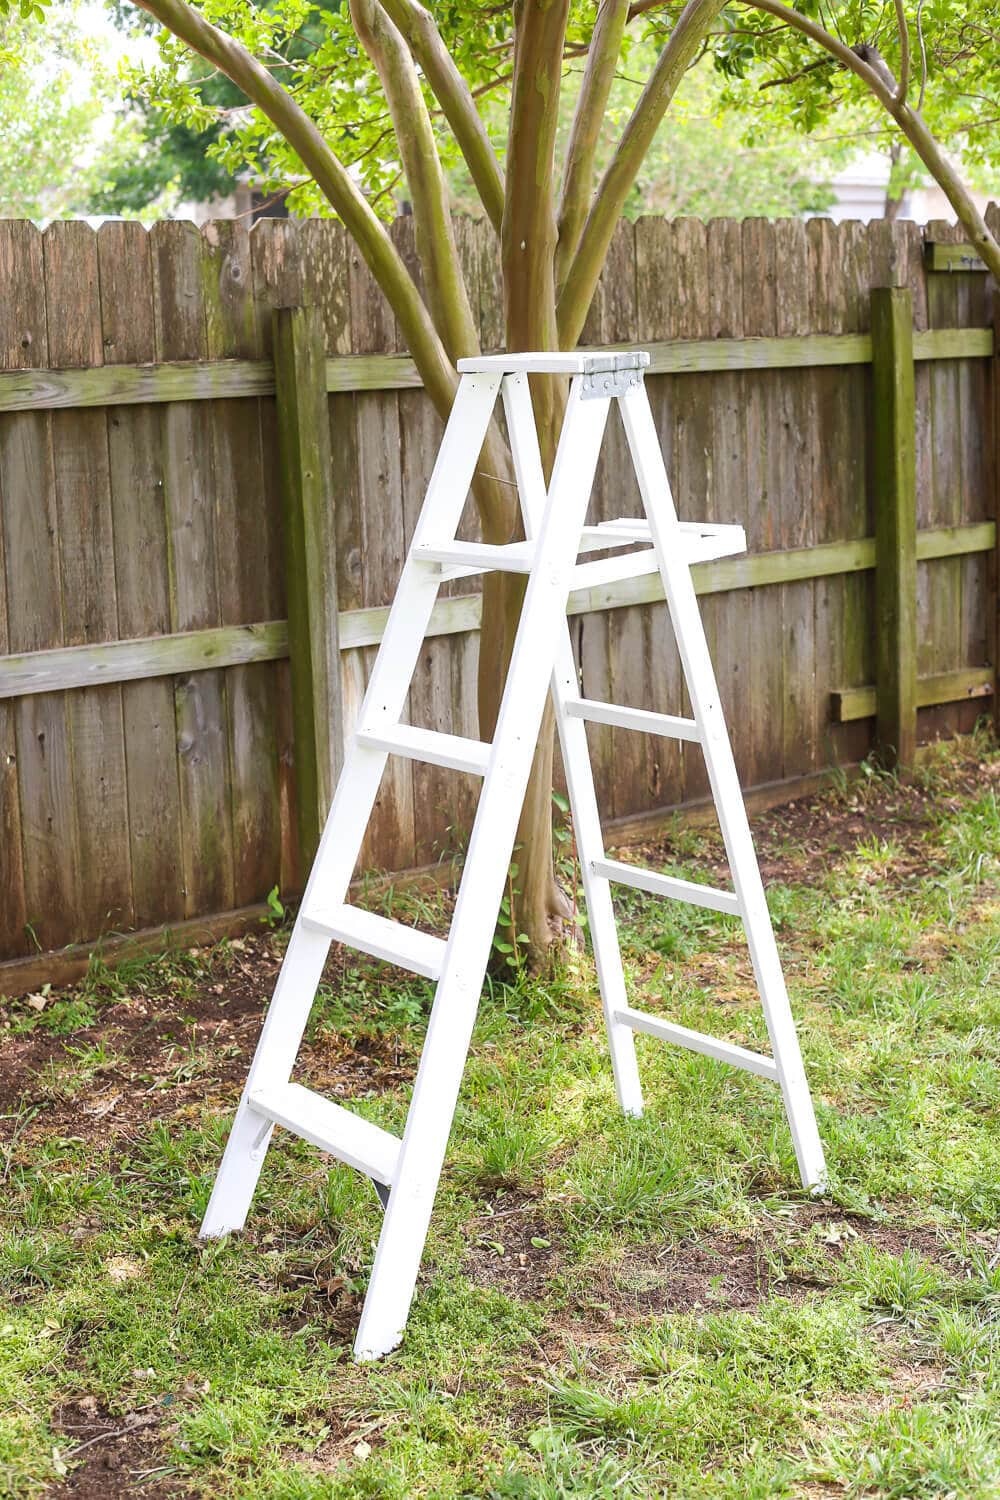
Give it a couple of coats of paint in whatever color you want. I went with white to really let the plants shine.
Step 2: Build Cedar Shelves
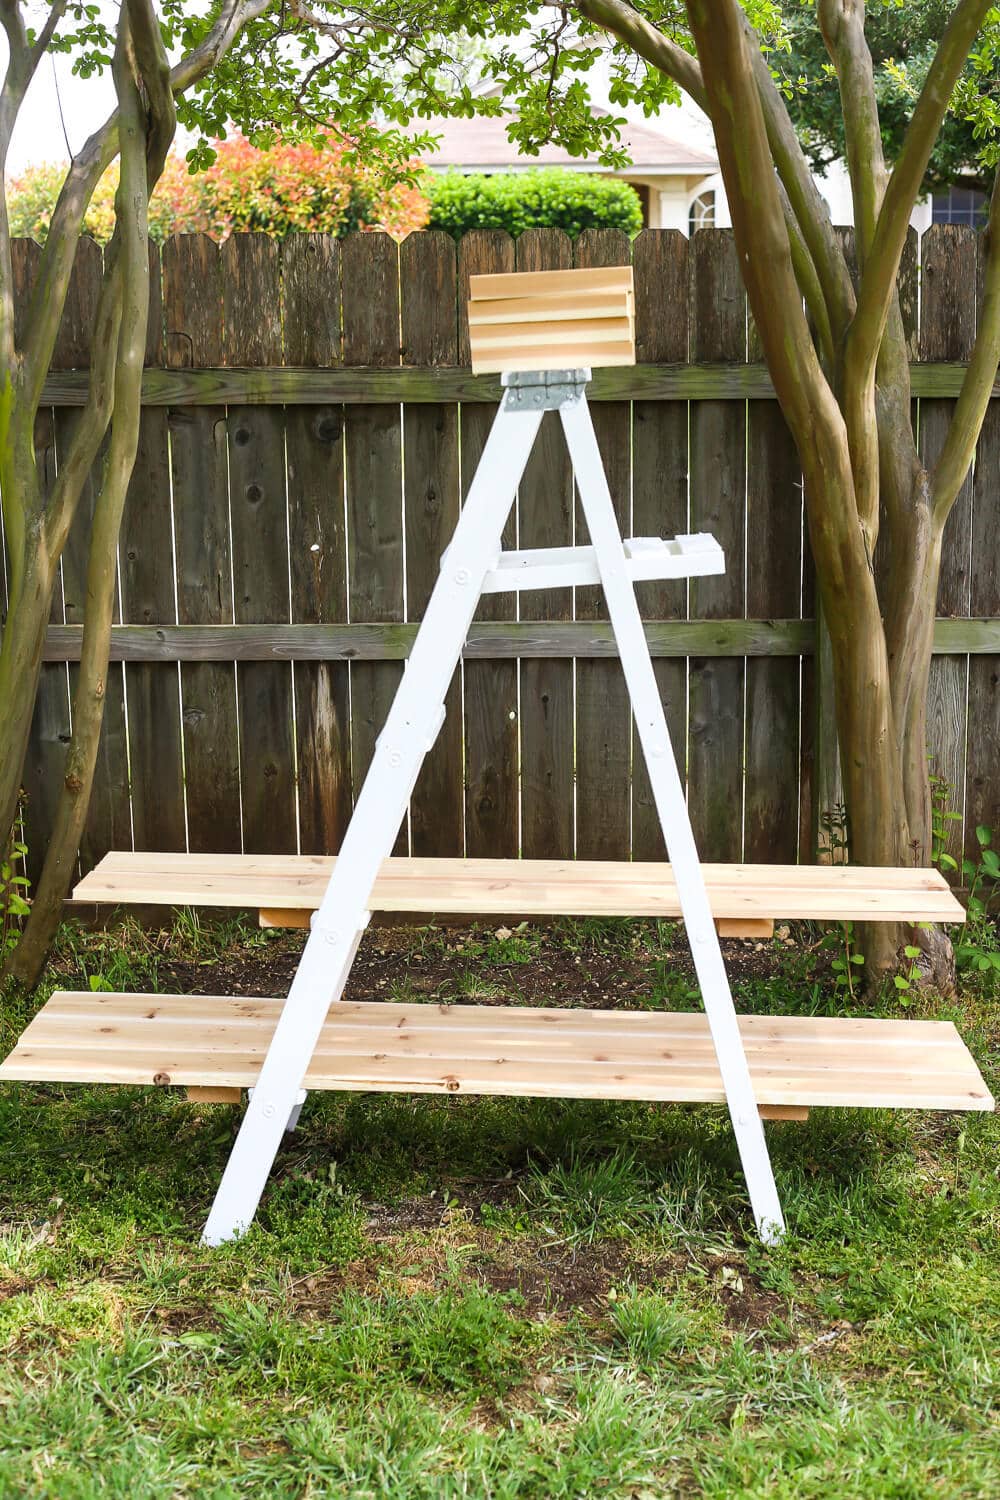
Next up, it’s time to build the shelves. We grabbed some 1×6 cedar boards and laid them on the bottom rung to test out how much we wanted the overhang to be. We went with 16″ on either side.
Now, before I keep going I’ll preface this with the fact that we ended up cutting most of our shelves down to less than 16″, because we didn’t think about the fact that some of our plants were pretty big. So, we ended up with a more random look to the shelves, which I actually like better. So, if you’re doing this at home, I’d suggest planning out your shelves based on the plants you’re putting into it to make things a little easier.
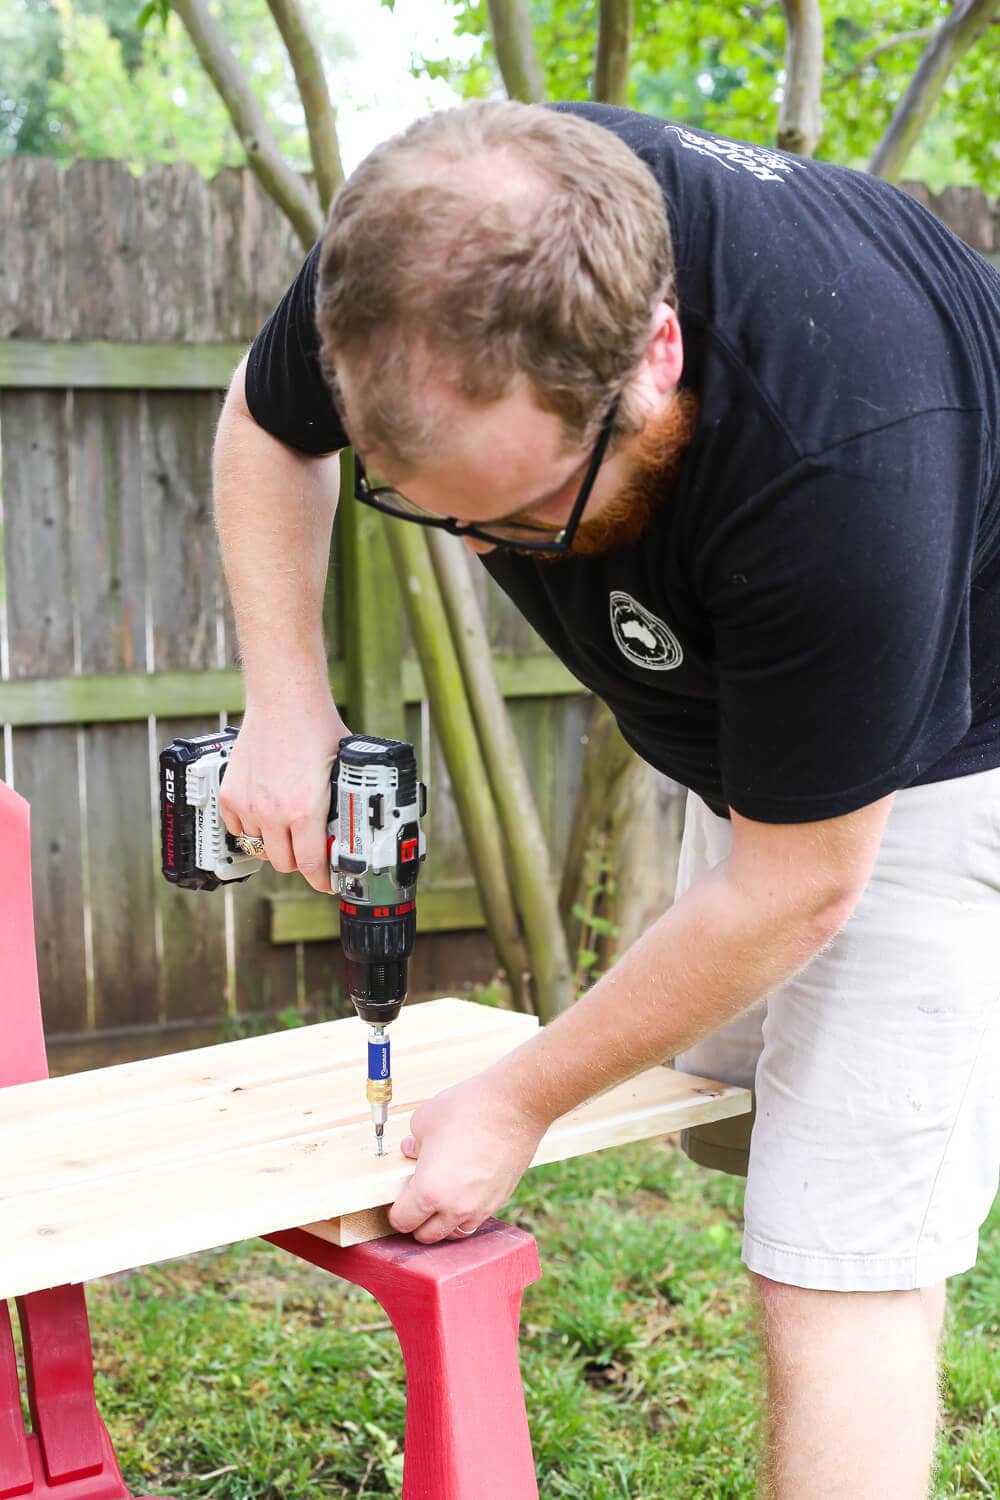
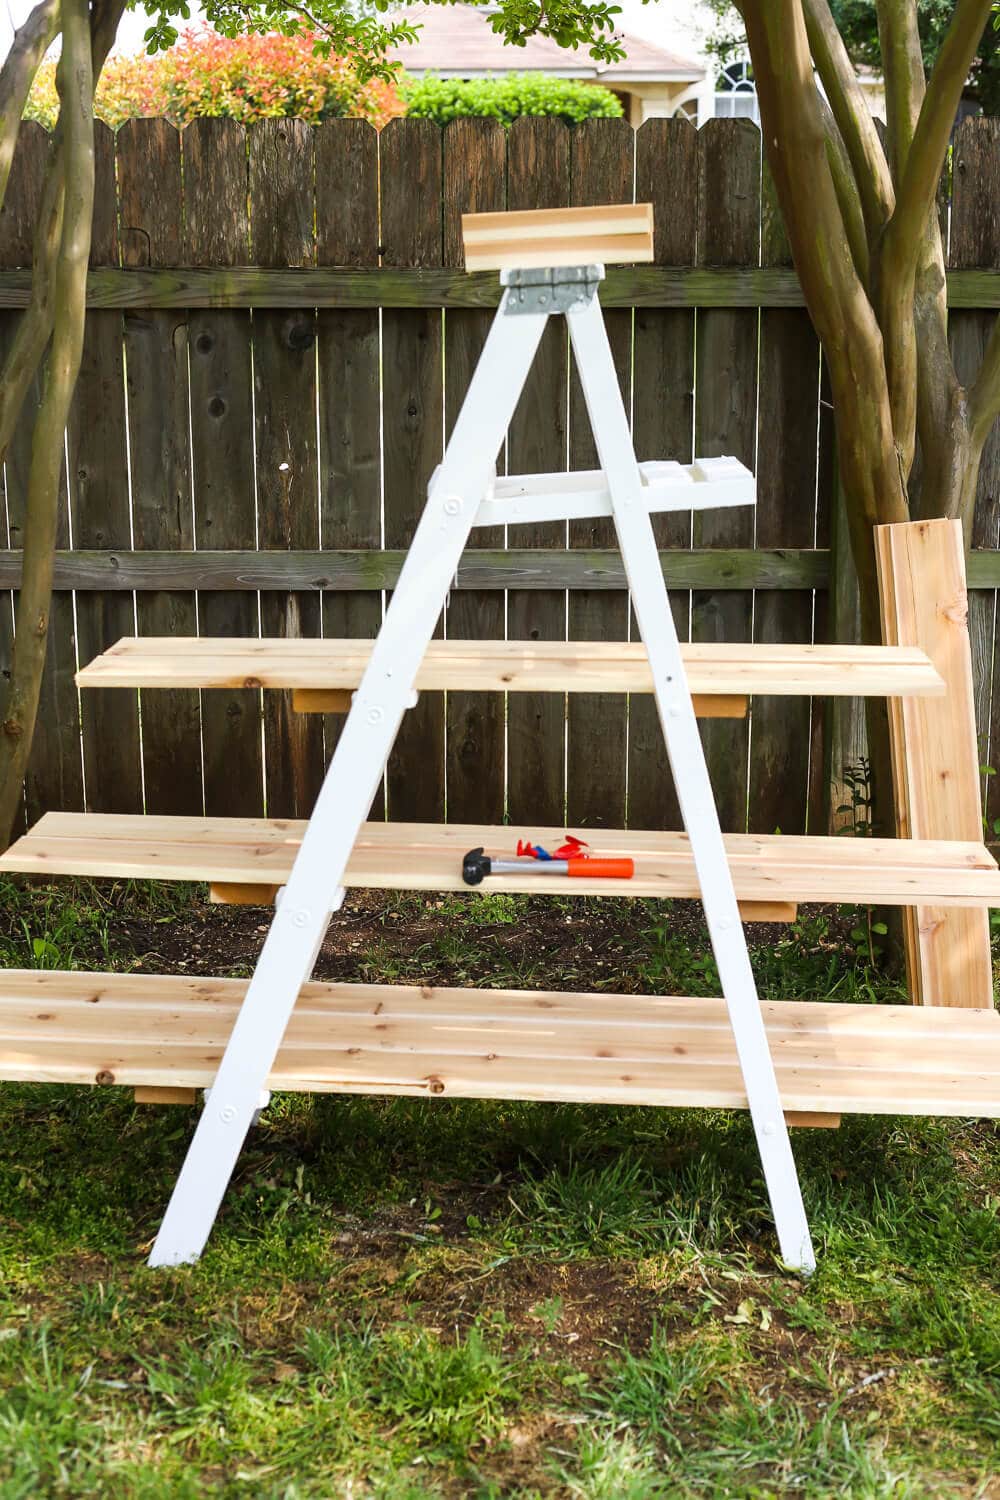
Once we had the size of the boards we wanted, we cut them down (I’ve got a post on how to use a miter saw if you don’t know how to make this happen – or you can always have the hardware store do it for you) and attached some supports. We used 2-3 pieces of the 1X6 for each shelf, and we just used a 2X4 cedar board for the bottom – Corey cut down small pieces and attached them to the bottom of the cedar boards with a drill. This helps hold the boards together and also holds it all in place on the ladder – we measured so that the boards sit right on either side of the ladder rungs!
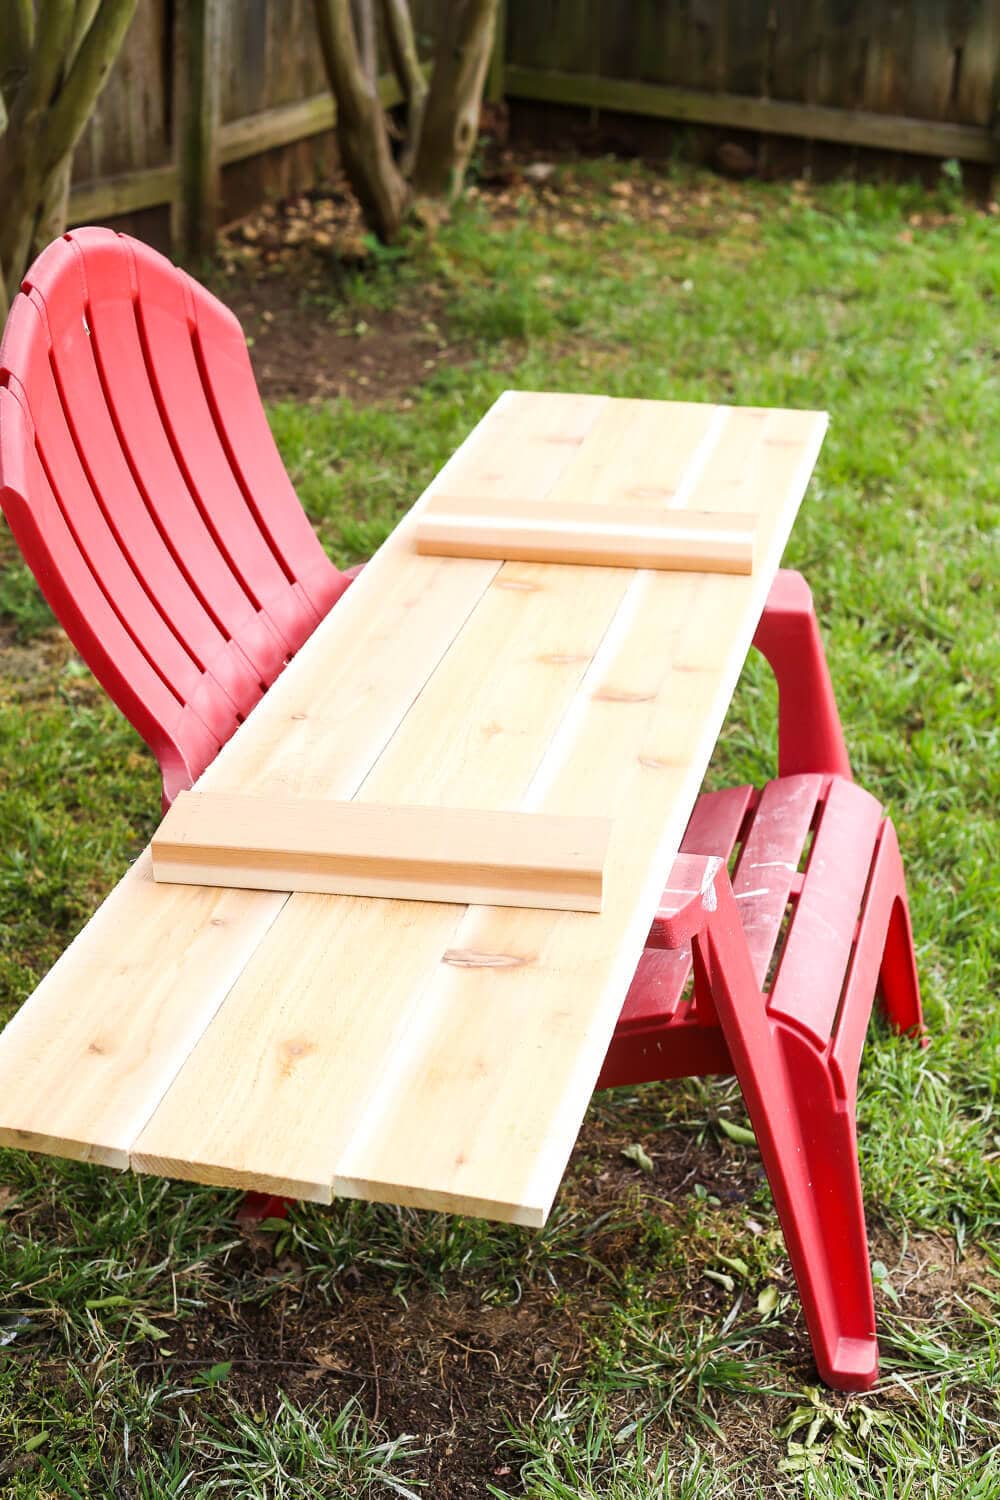
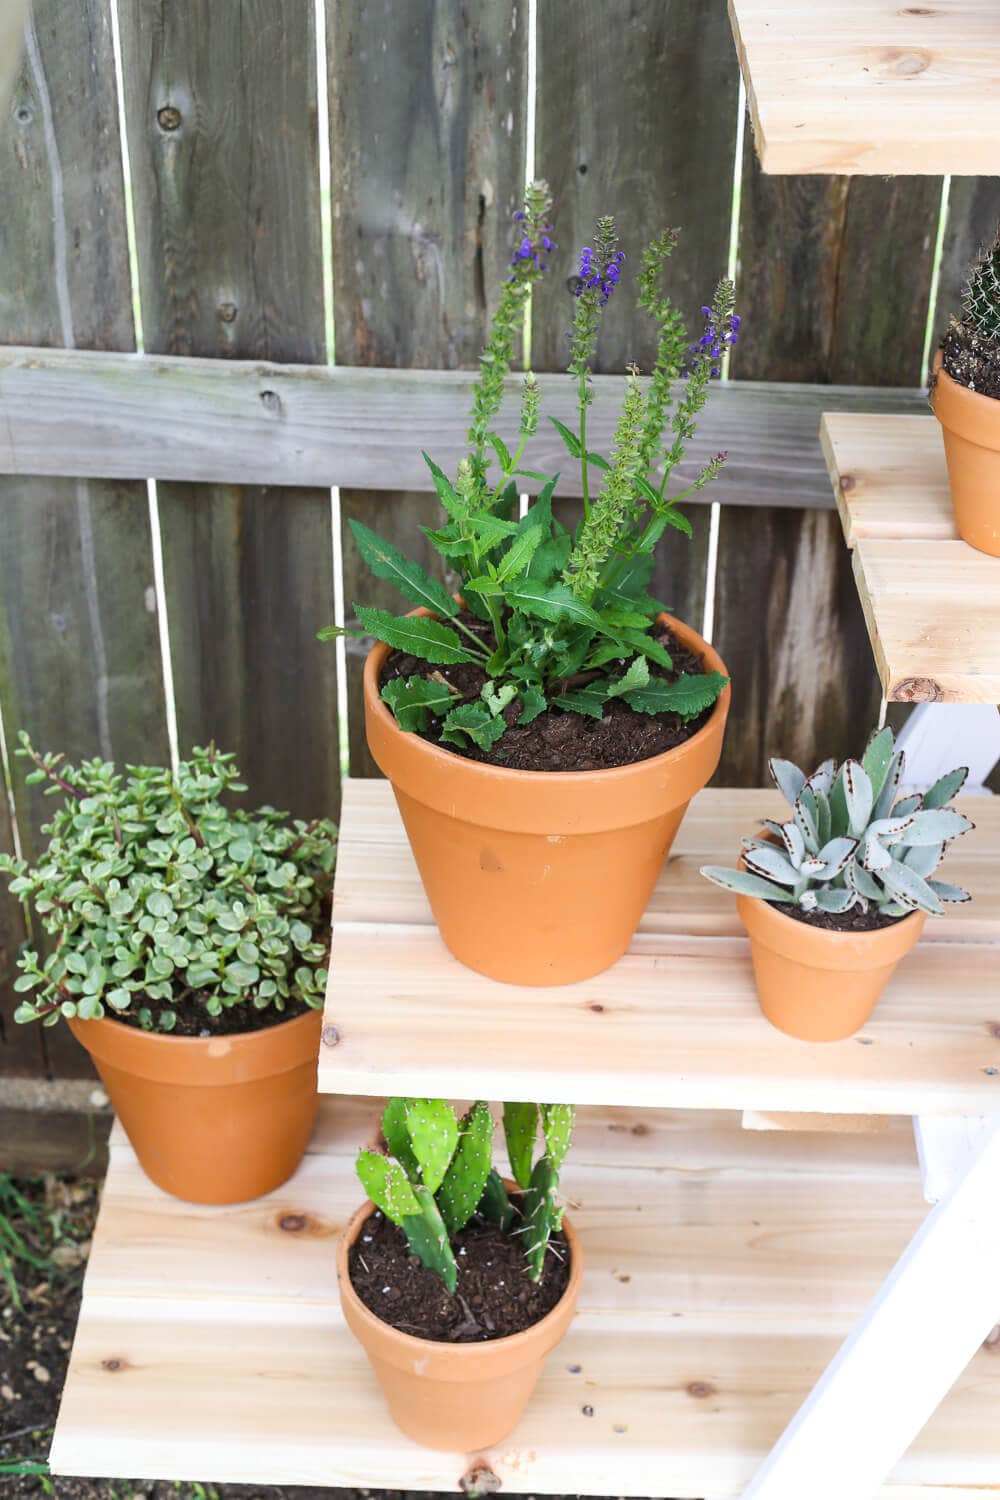
Most of our shelves are two boards wide, but the bottom one was three – it’ll just depend on the size of your ladder. We also left a little space in-between the boards on the middle shelves to help them fill the space up a little better, and to allow any excess water to drain out when watering the plants.
Step 3: Transfer Your Plants!
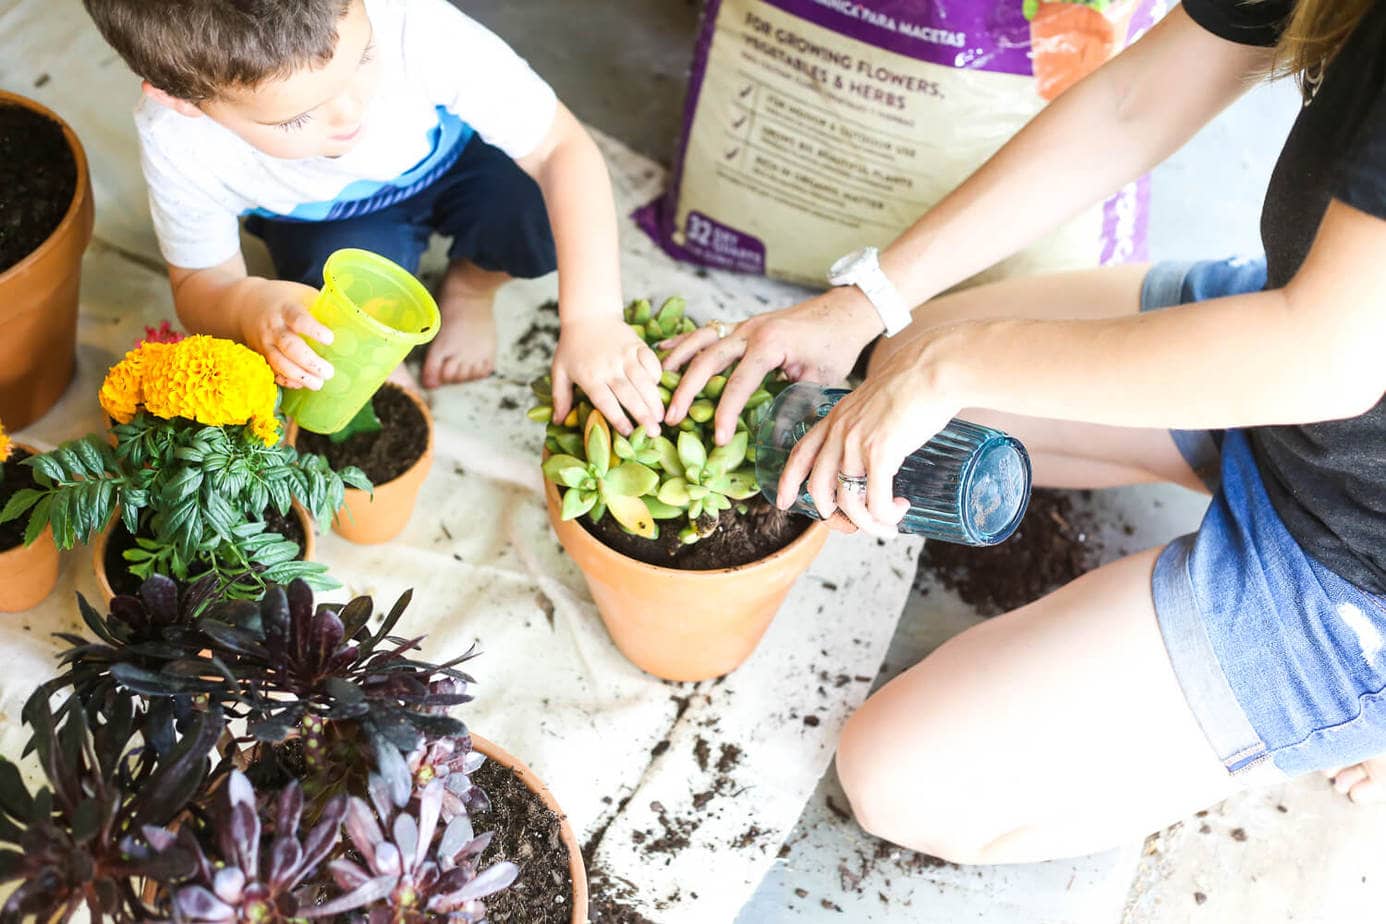
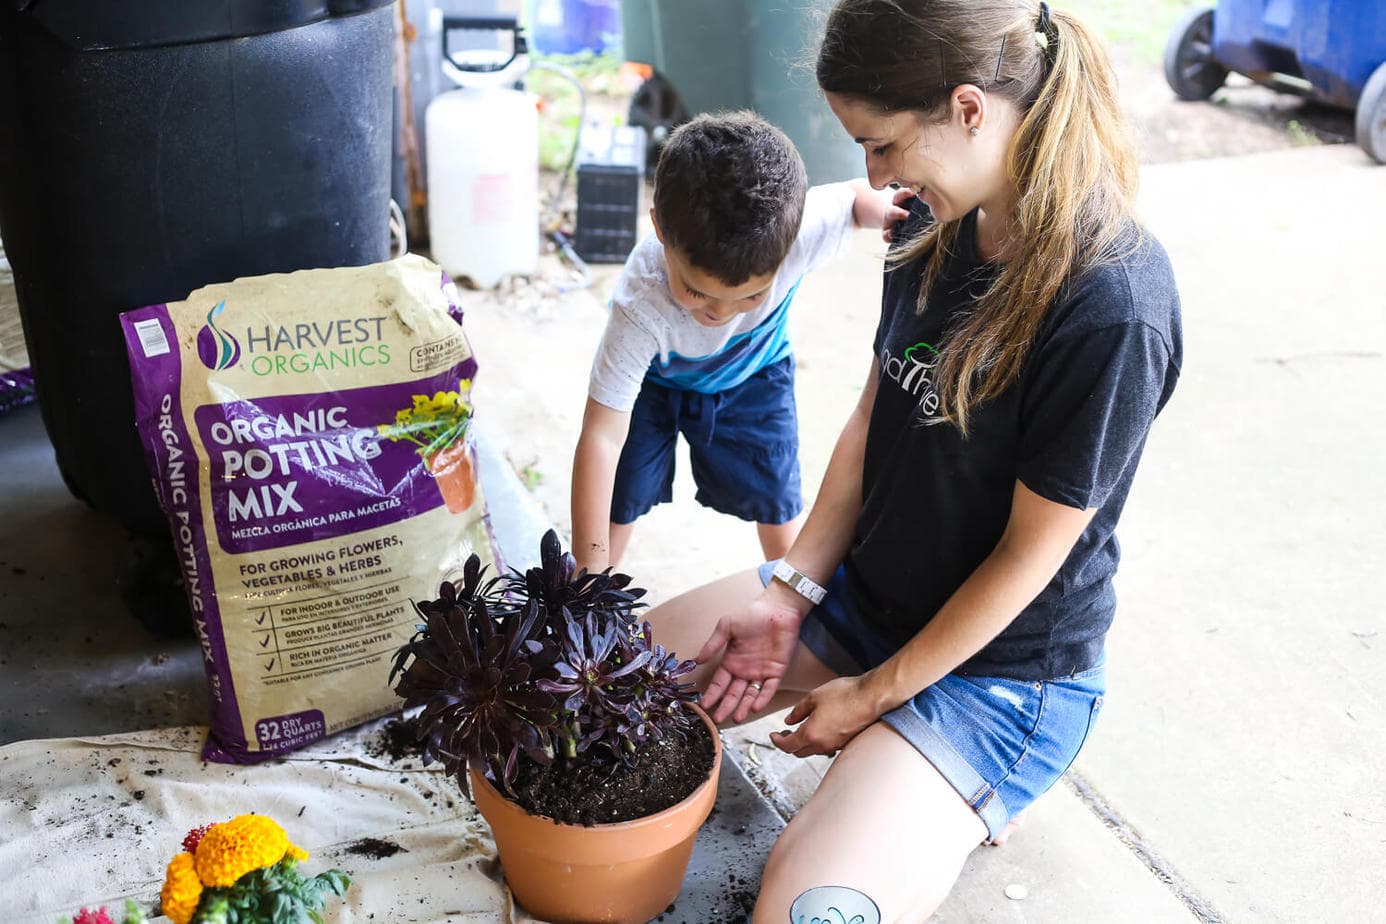
Once all of our shelves were in place, it was time to put the plants in! We used Harvest’s Organic Potting Mix for this project – it’s a really fantastic organic potting soil that doesn’t have any added chemicals, pesticides, or preservatives. I always feel a little icky using non-organic potting soil because you have no idea what all is in there. Jackson loves to help with gardening projects and if you’ve ever been around a toddler you know that anything they touch gets everywhere. With Harvest, I don’t really have to stress about letting him get his hands (and arms, and legs, and hair) dirty because I know it’s clean, healthy soil. Plus, it’s always good to know that the soil I’m using comes from recycled scraps and is helping keep the earth a little bit cleaner – every year, Harvest keeps nearly 2 million tons of waste out of landfills!
All that to say – I don’t know much about gardening (yet), but I do know that the soil you use makes a huge difference. I could see and feel the difference in the quality of this stuff versus other brands I’ve used, and I definitely won’t be going back to anything else.
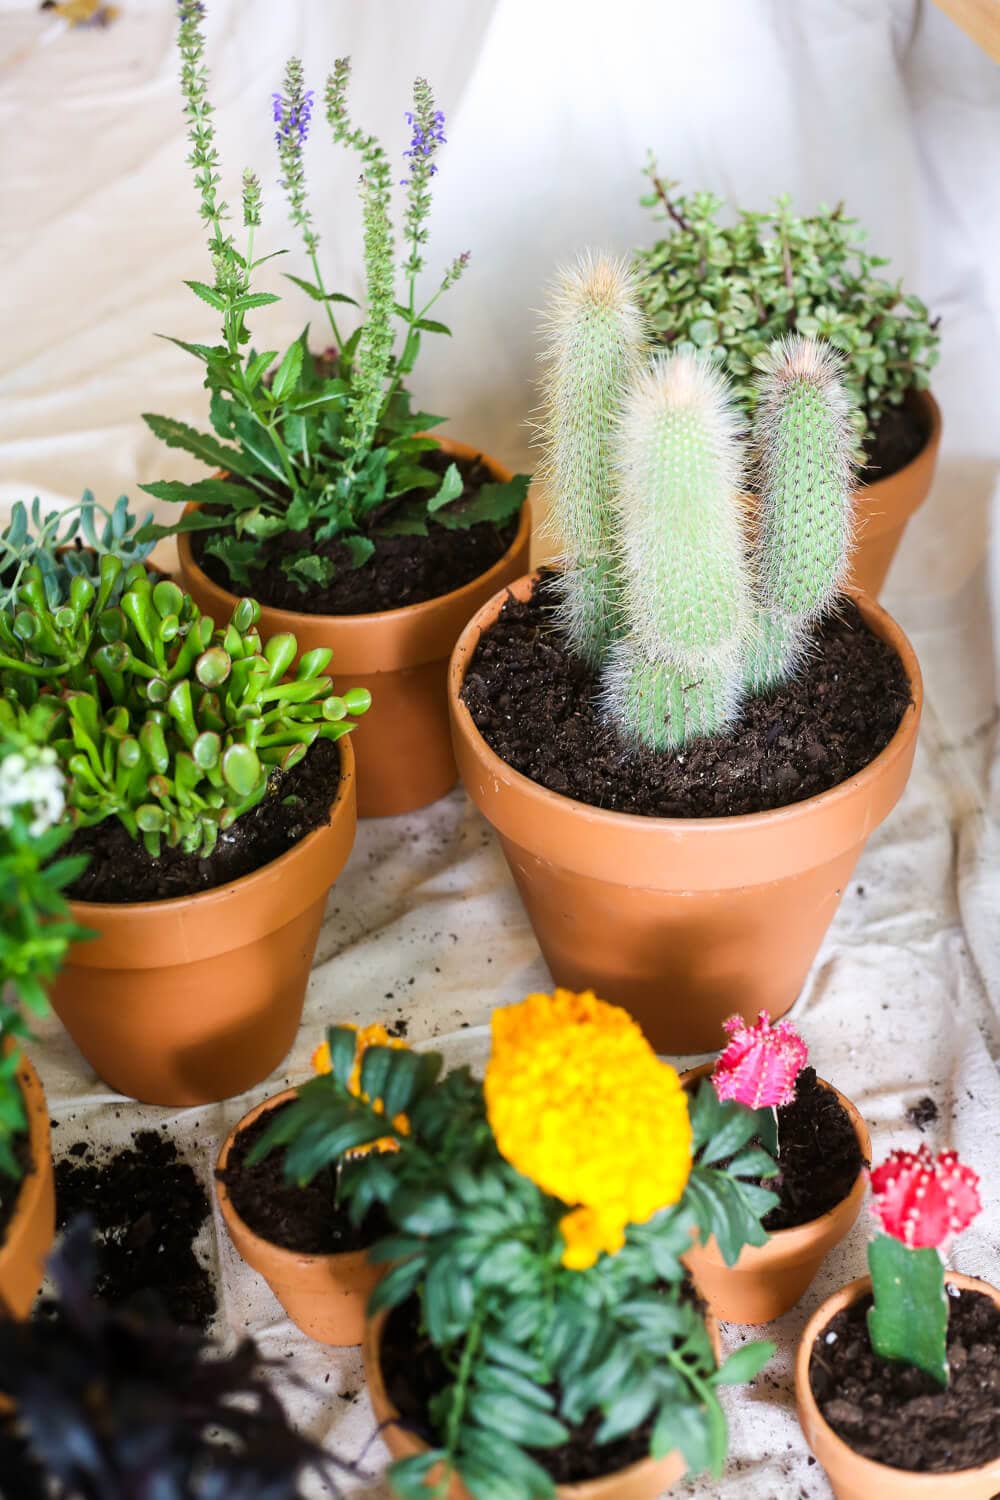
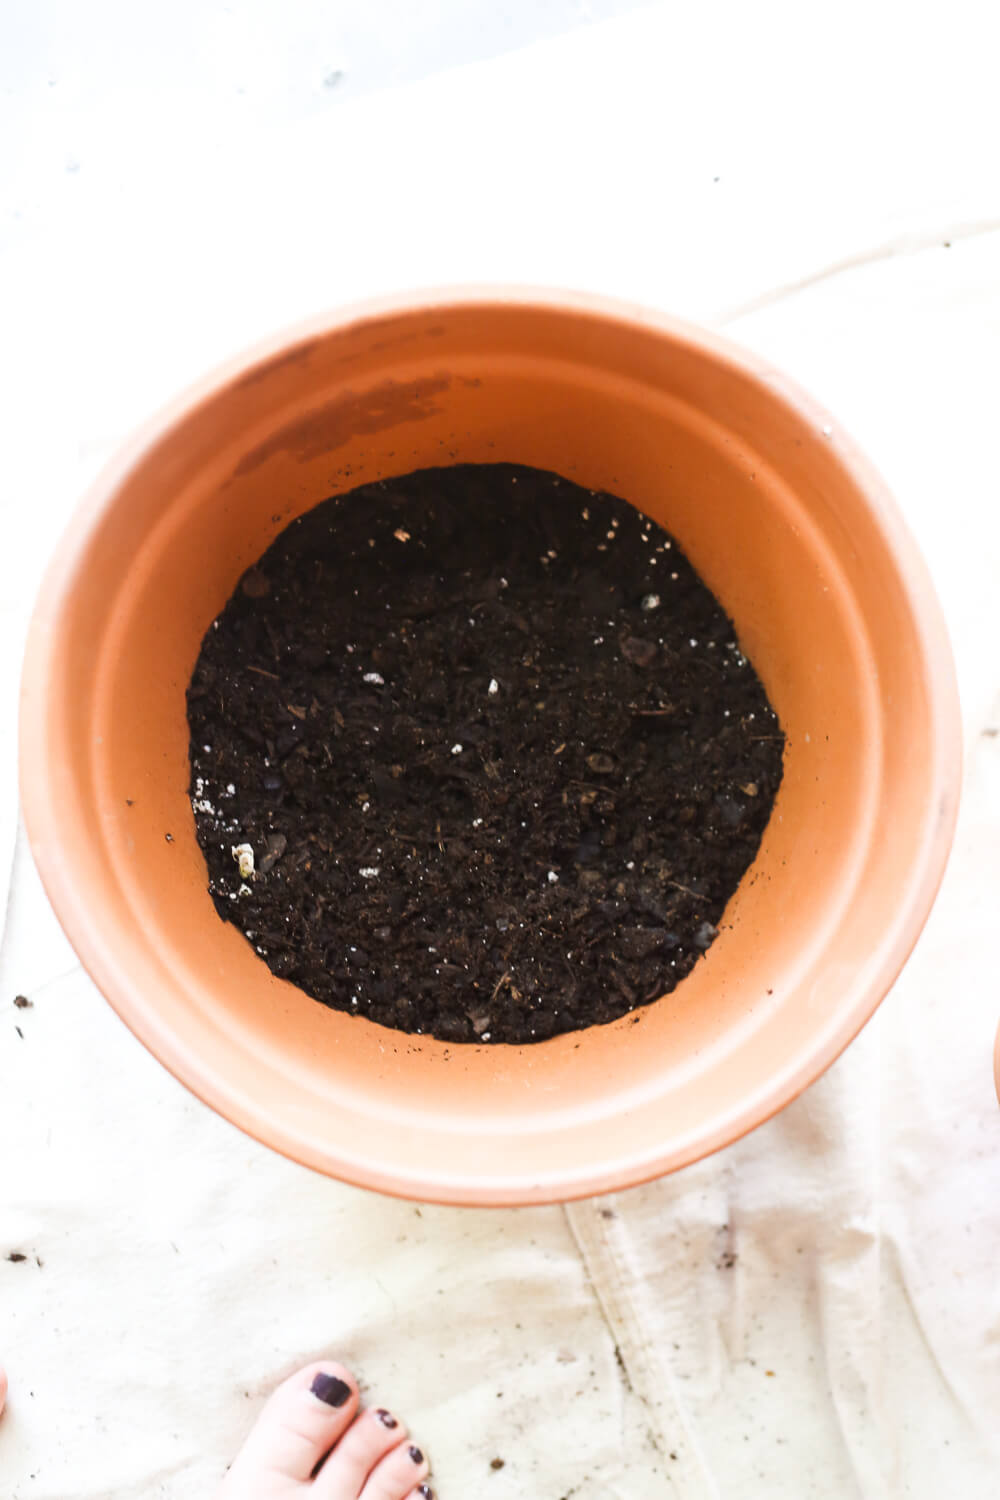
I used all terra cotta pots for my plants in the ladder – they’re affordable, they look great, and I like that they’re all uniform. To transfer my plants, I just filled each pot about 1/3 full of Harvest’s Organic Potting Mix…
Plopped my plant in there…
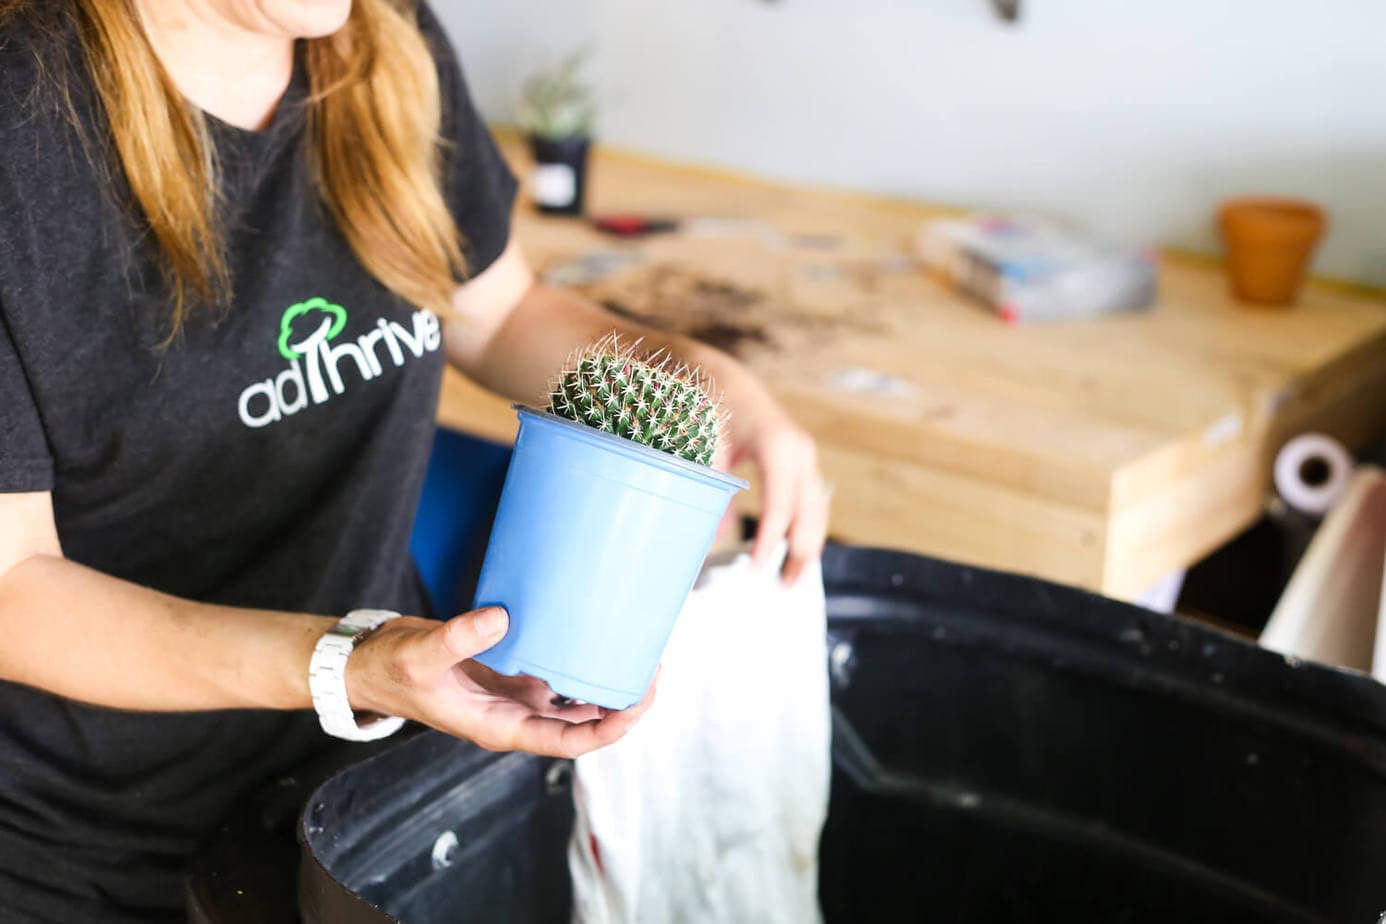
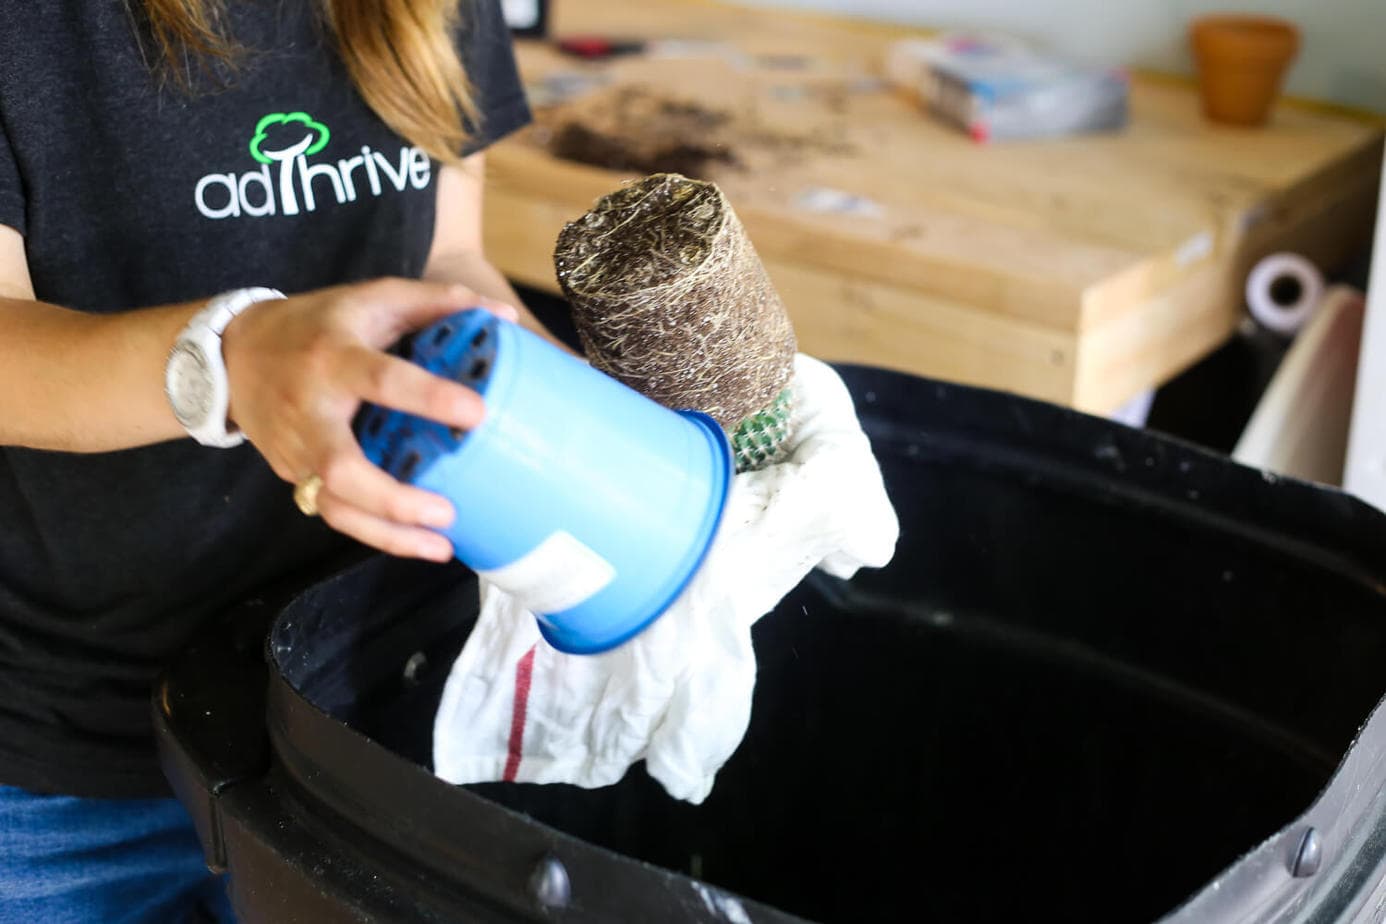
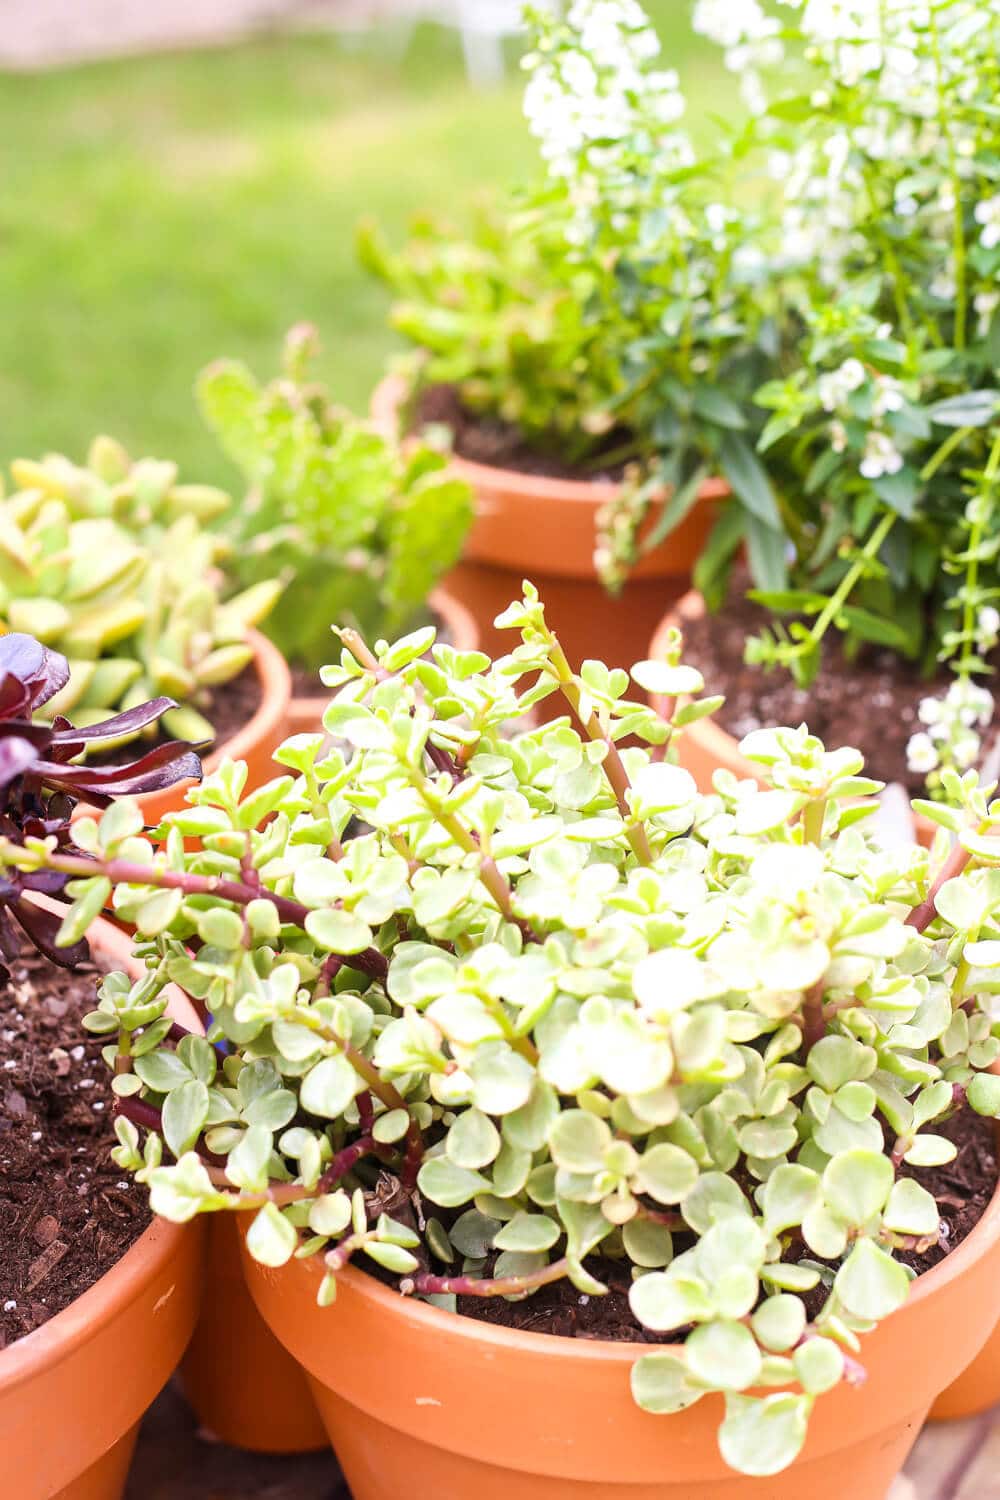
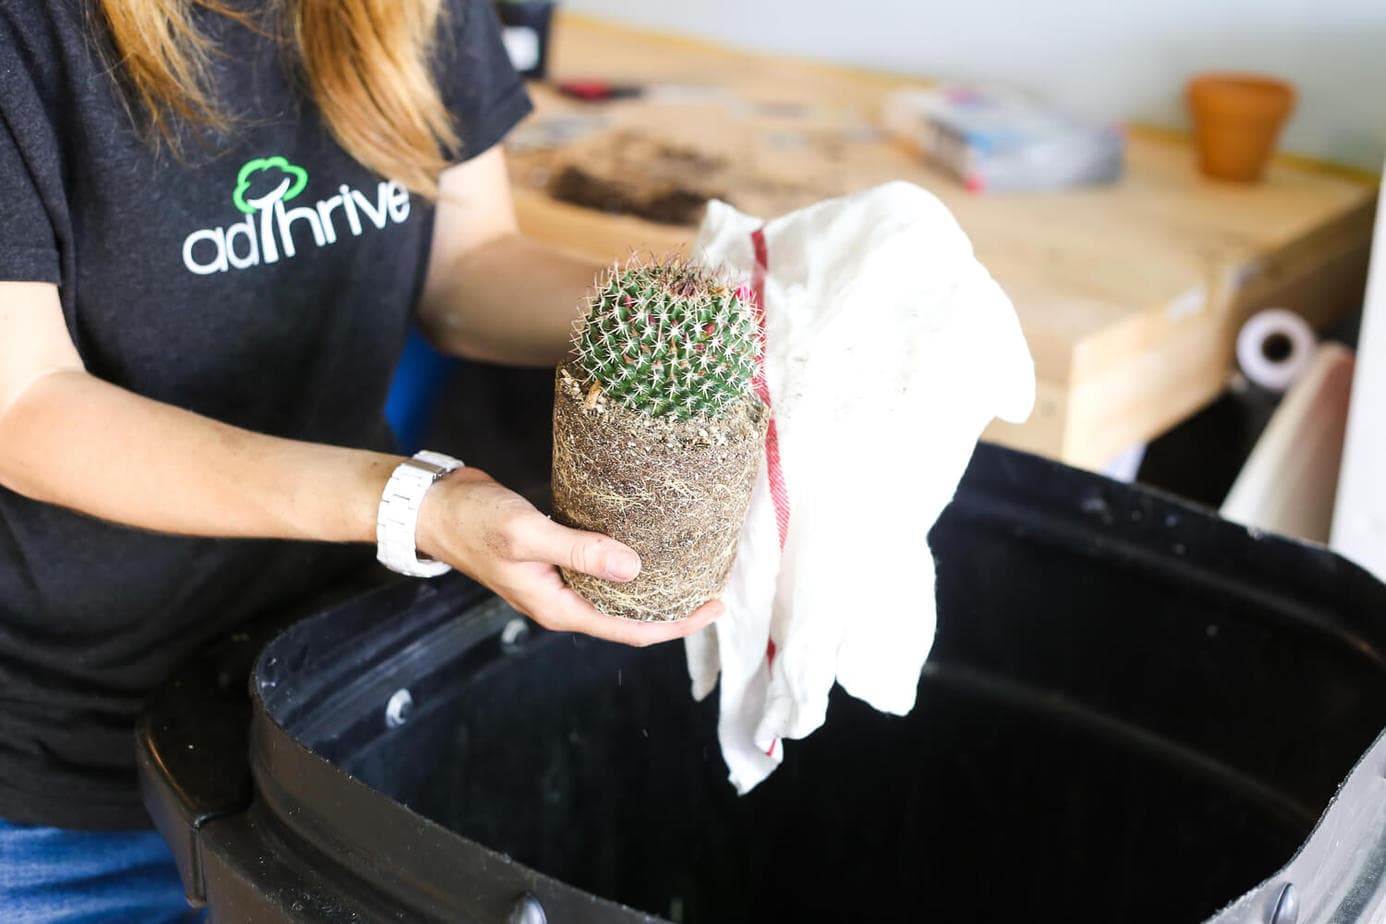
And filled in the rest with my soil! It’s super simple. Oh, and a quick tip – if you’re trying to transplant something spiky (I used mostly succulents and cacti in my planters!) and you don’t have any gloves laying around, just use a dishtowel to help you get it out of the little plastic container it comes in. You don’t get hurt and the plant won’t get damaged.
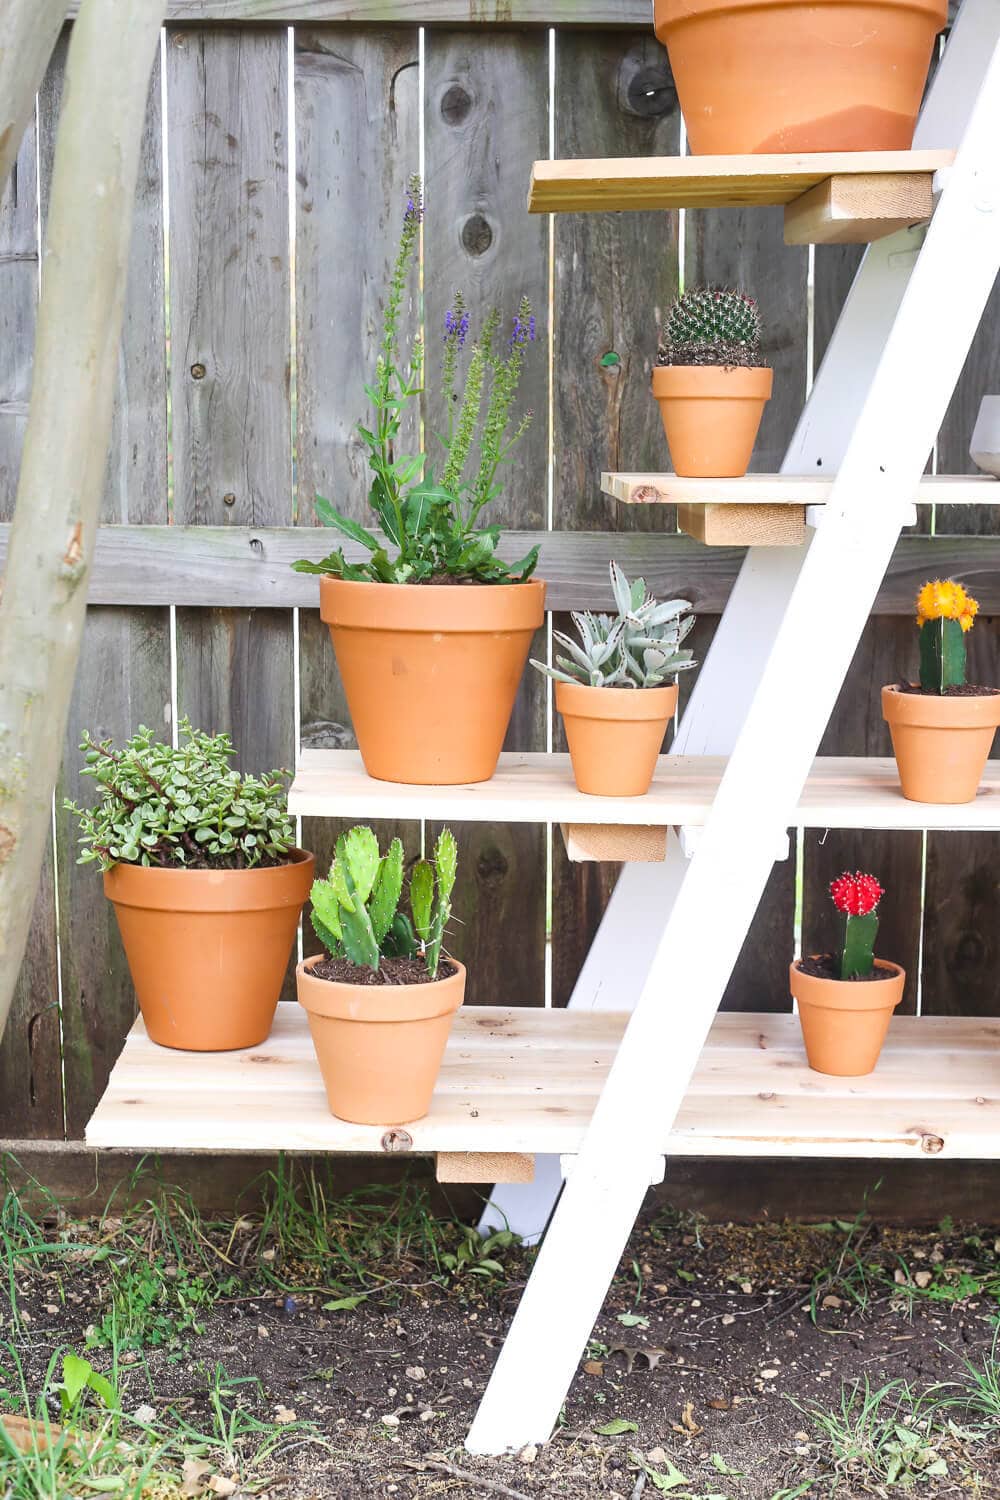
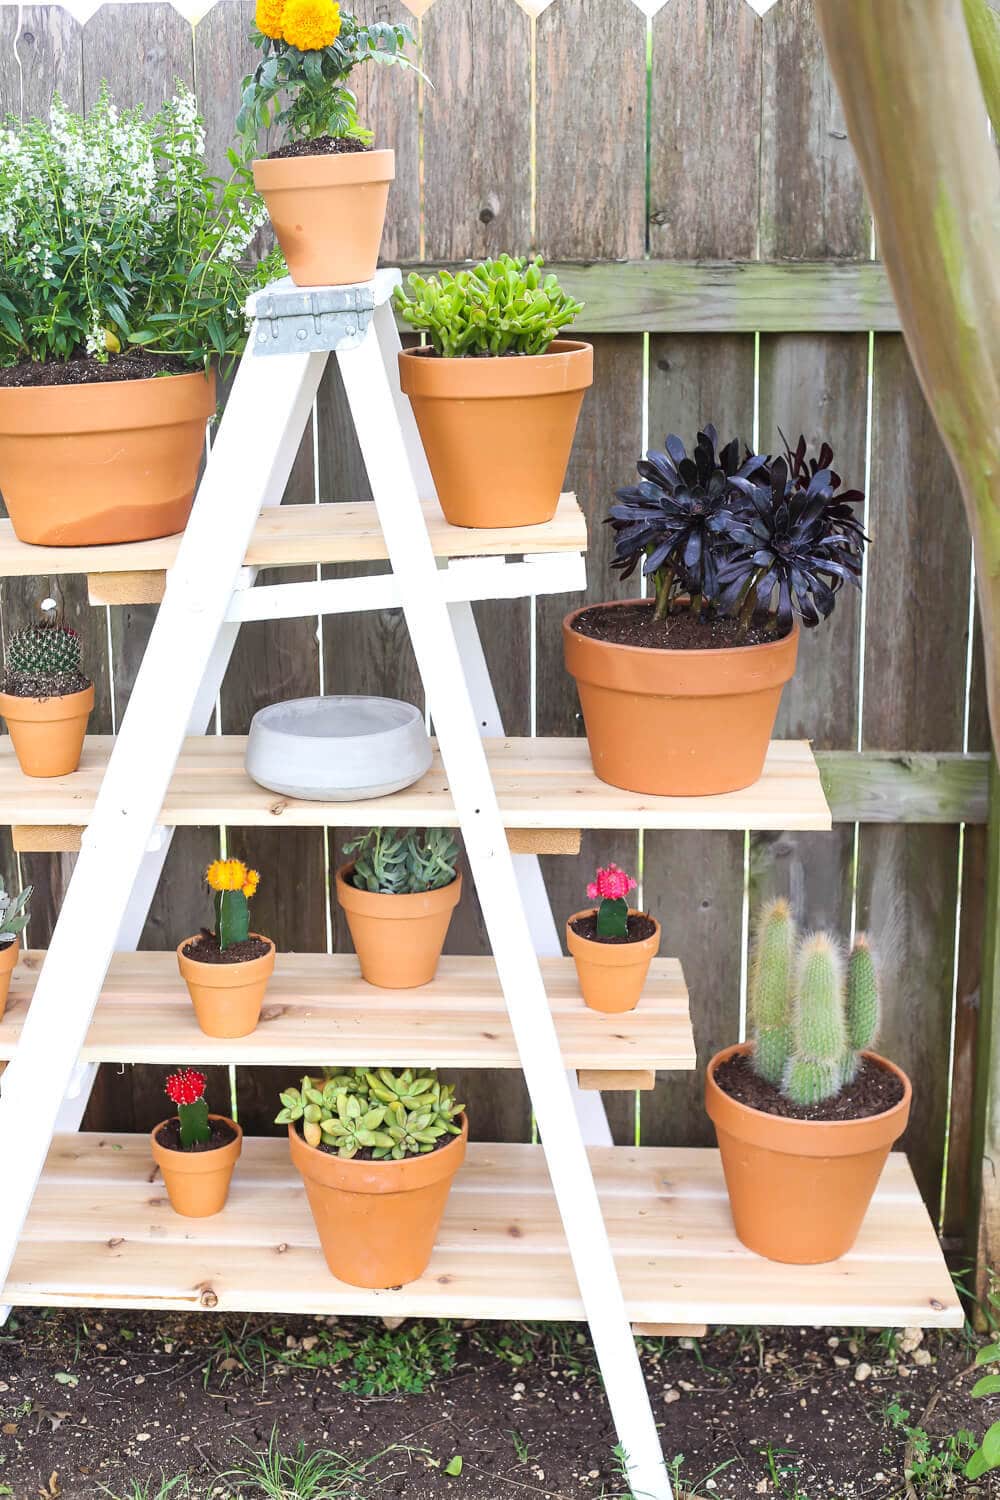
As I mentioned earlier, once we began placing our plants on the shelves we ended up cutting down a couple of the shelves to make more room for the taller plants. We just did this based on the plants we had and what we thought would look best – and it created a really random look that I love.
This won’t actually live by our back fence – I’m working on painting the workshop right now (hopefully I’ll have an update on that for you in the next few weeks!) and I actually plan to have it sit right next to one side of the workshop. I can see it in my head and it’s going to look amazing, just you wait.
I feel like maybe it’s a little ambitious of me to go from no outdoor plants to, like, 12, but I’m feeling confident that this will be my time to shine. Succulents are pretty simple to care for, and I made sure all of the other flowers I picked were also super low-maintenance.
But, just in case, cross your fingers for me.
(Maybe your toes too.)
Send me all the plant care tips you’ve got! I’m hoping that using a super high-quality potting soil will give my plants a little boost and give me a little grace when it comes to keeping them alive. We’ll see what happens, I guess.
Next up – a full vegetable garden!
Just kidding. Kind of.
I mean, there’s no way I could handle that yet.
Or could I?
To be continued…
Update: It took me another year to get comfortable enough to try it, but we have a veggie garden now!
If you want to see more DIY planter ideas, here’s some more inspiration for you!
- DIY wall planter
- How to turn tomato cages into backyard plant stands
- Create a DIY cinder block plant shelf
- How to hang planters from your ceiling
- DIY gardening and planter ideas
- How to make DIY succulent centerpieces

This looks awesome!! Love everything about it. Did you attach the cedar board to the ladder with hardware or are they sort of resting on the ladder and weighed down by the planters?
They just rest on the rungs on the ladder!
Great idea,nice job.An unique idea bring a good result.Your garden an exemple for everyone who want to gardening in there yard.Thanks for given an effective blog…
Good choice using succulents and cacti. They are hardy plants that need little care.
Love the ladder idea!
Thank you, Loretta!
Absolutely love your ideas!! I’m in California and the ladder idea is awesome!!
Also love that couch!! 🙂
Thanks, Sandra!
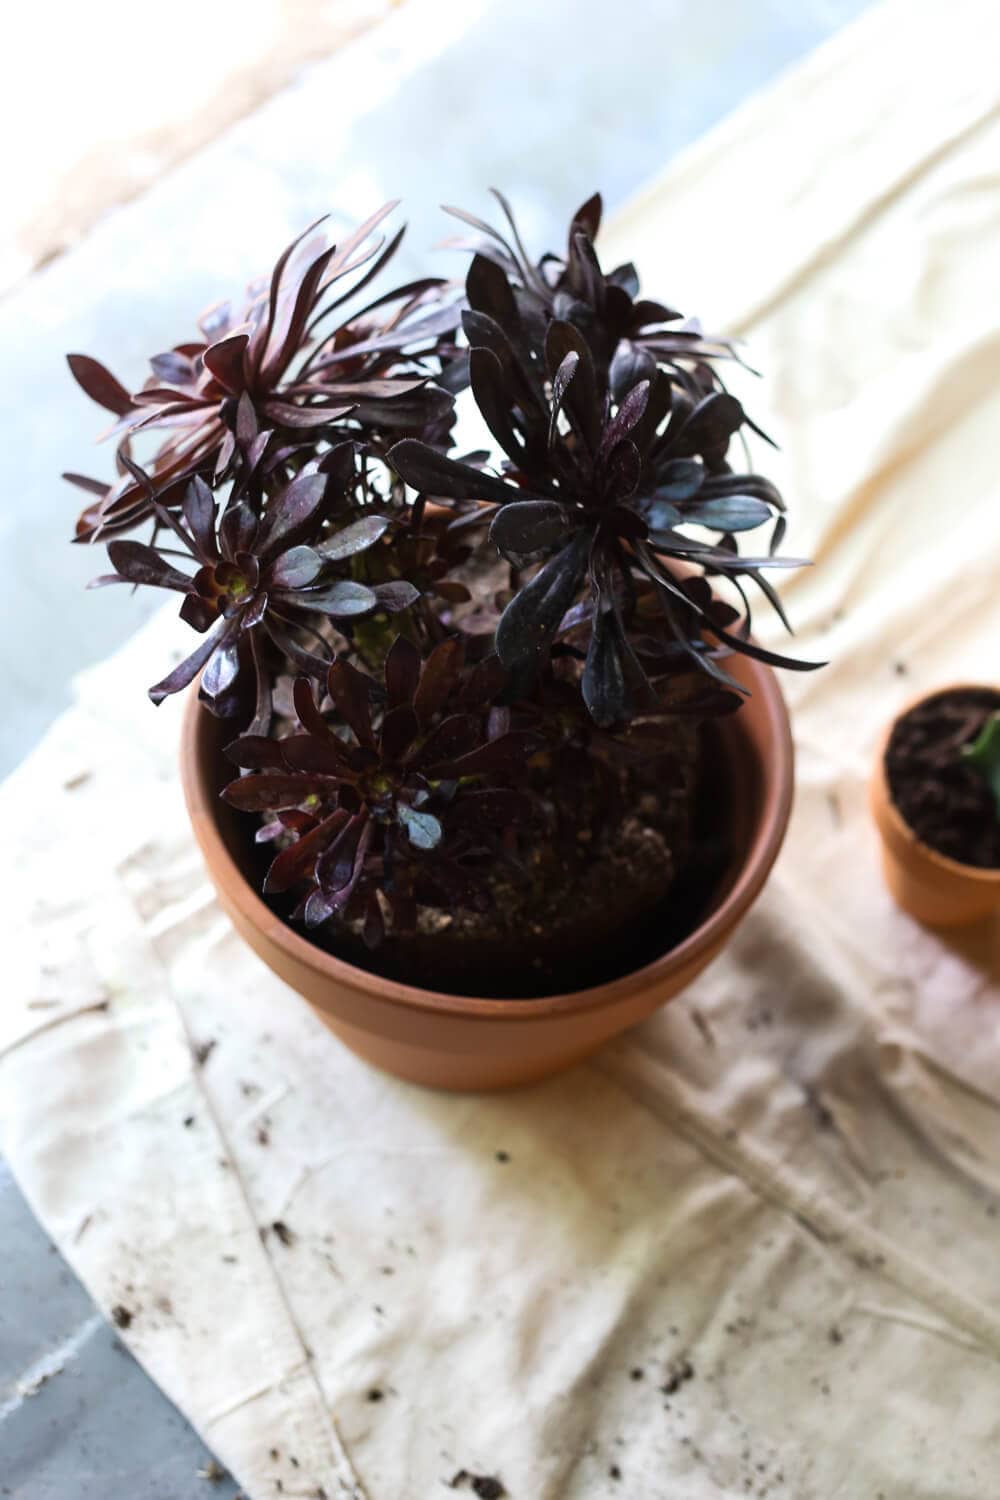
What is that blackish purple plant? Love it.
I believe it’s a Purple Aeonium!
Oh wow, I love this! What a pretty way to display your plants!
I just wanted to let you know that you were featured as a Rockstar at last week’s Creativity Unleashed party! Voting is now open for MEGA Rockstar, so stop by and vote, and good luck! http://www.practicallyfunctional.com/creativity-unleashed-179-stencil-stop-giveaway/
Thanks so much, Jessi!
PS I do know someone in the area looking for a couch! Can you post a link to your ad? Or email?
Hey Jamie! You can have them email me at [email protected]!
I have been slowly trying to get some plants to grow, too! I have had a cactus (like the one you have on the bottom right) for years and it seems to be going strong. It takes zero effort to keep it alive. I never water it! Just when it rains it gets a little and sometimes when we water the yard the sprinkler hits it. I’ve had the colorful cacti too, and those didn’t hold up as well 🙁 Hope you have better luck!!
Cactus seems to be pretty easy, haha! My other ones aren’t looking so hot already – I don’t know what my problem is! 😫