
Easy DIY Outdoor Plant Stand
Last updated on May 1st, 2024 at 11:23 am
Friends, it’s springtime and that means ALL THE PLANT CONTENT is coming your way. Because, it’s literally going to be the only thing I’m going to think about between now and September-ish. Indoor plant stands. Outdoor plant stands. DIY plant stands. Planters. Plant walls. Plant care.
Just call me Bubba.
(You get that reference, right? I’m not getting too old?)
Anyways. The outdoor plant stand. I made one! And it’s cute!
This post is sponsored by Wagner.
My kids really love helping me take care of all of our plants, and they really love having plants of their own. They both have one or two in their rooms and they take a lot of pride in them. And, every time we visit the plant nursery they beg for a plant or two of their own.
So, I decided this summer would be the perfect time to let them have a little fun with an outdoor plant stand of their very own to house some plants they can take care of.
Because wood is so pricey (and this is for the kids), I decided to see what I could throw together using scrap wood. I had enough lying around for almost everything – I had to buy two pieces of wood. And, honestly, if I had done a little more planning before diving into building, I would have been able to get away with just buying one piece of wood.
Not bad, right?!
Let’s chat about how I got this little cutie built, stained, sealed, and set up for the kids to have their very own mini container garden!
DIY Scrap Wood Outdoor Plant Stand
Materials Needed
**A note: I was working with scrap wood, so my wood isn’t cedar or pressure treated. For the most long-lasting project, I recommend using either cedar wood or pressure-treated lumber. I’ve sealed mine and it should hold up fine for several years, but it won’t last as long as it would if I used outdoor wood.
- (2) 8′ long 2×2 boards
- (2) 8′ long 2×3 boards
- (1) 8′ long 2×12 board
- Kreg Jig + pocket hole screws
- Drill + 2.5″ screws
- Wood glue
- Wagner Control Spray QX2
- Stain
Step One: Assemble Legs
Start by determining the size you want for your plant stand, and assemble the legs. Mine is 24″ long, 11.5″ deep, and 32″ tall. My measurements were mostly determined by the wood I had on hand.
Cut four pieces of the 2×3 boards to the height of your plant stand (in my case, 32″). Then, cut six pieces of 2×2 lumber to 8.5″. These will act as the supports on the legs.
Drill pocket holes in both ends of the 2×2 pieces, and then attach three to each set of legs. When you’re done, you should have two legs that look like this:
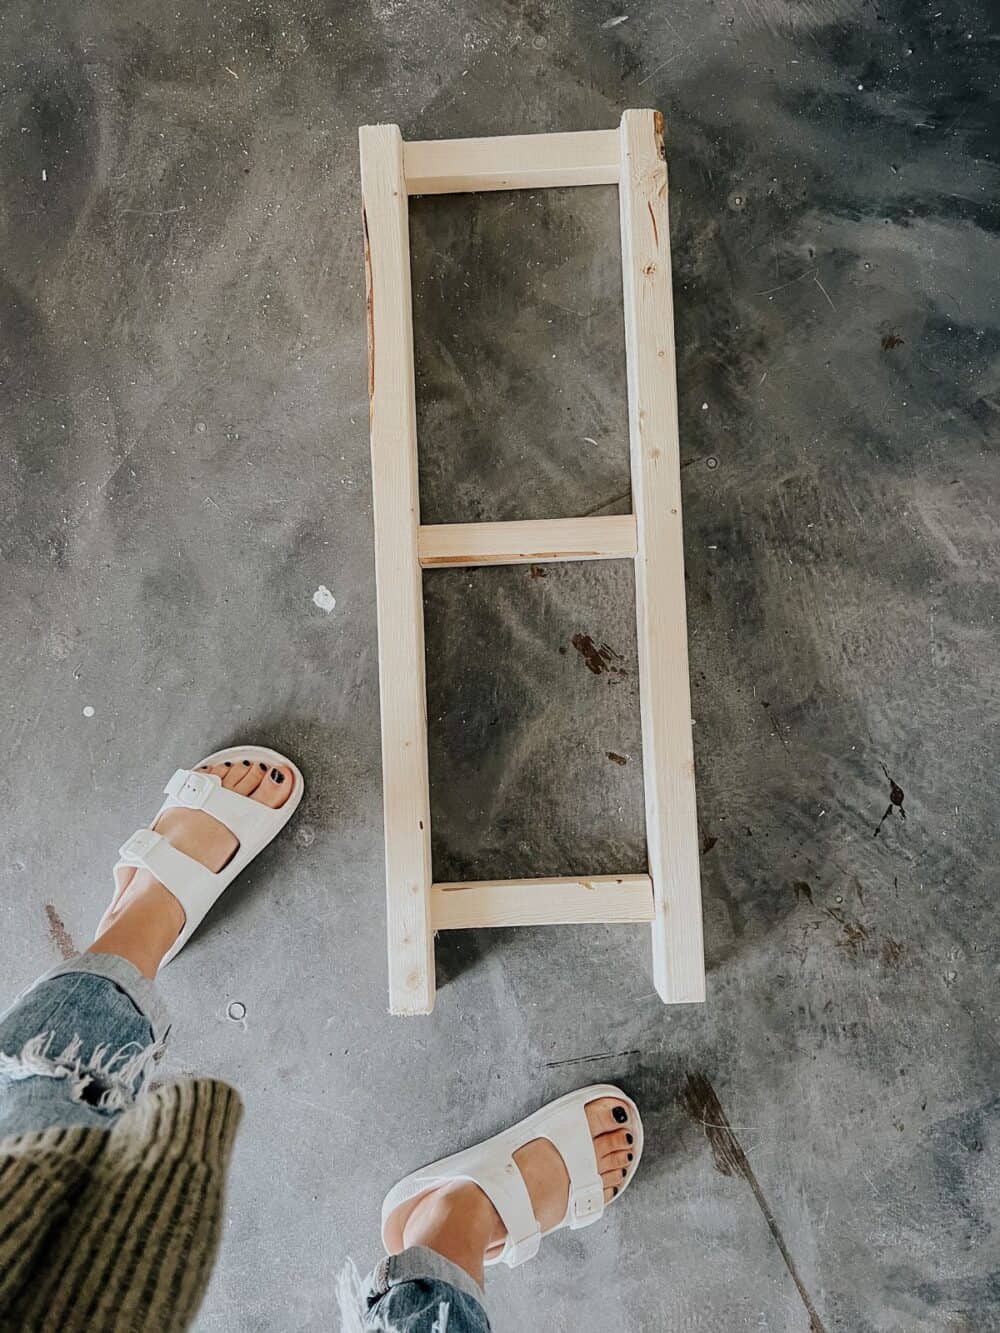
My supports are about 12″ apart. You can make it more or less, just remember that the spacing will determine how large the plants on your shelves can be.
Once you have two legs, built, you’re ready to attach them together and make your frame!
Step Two: Finish Frame
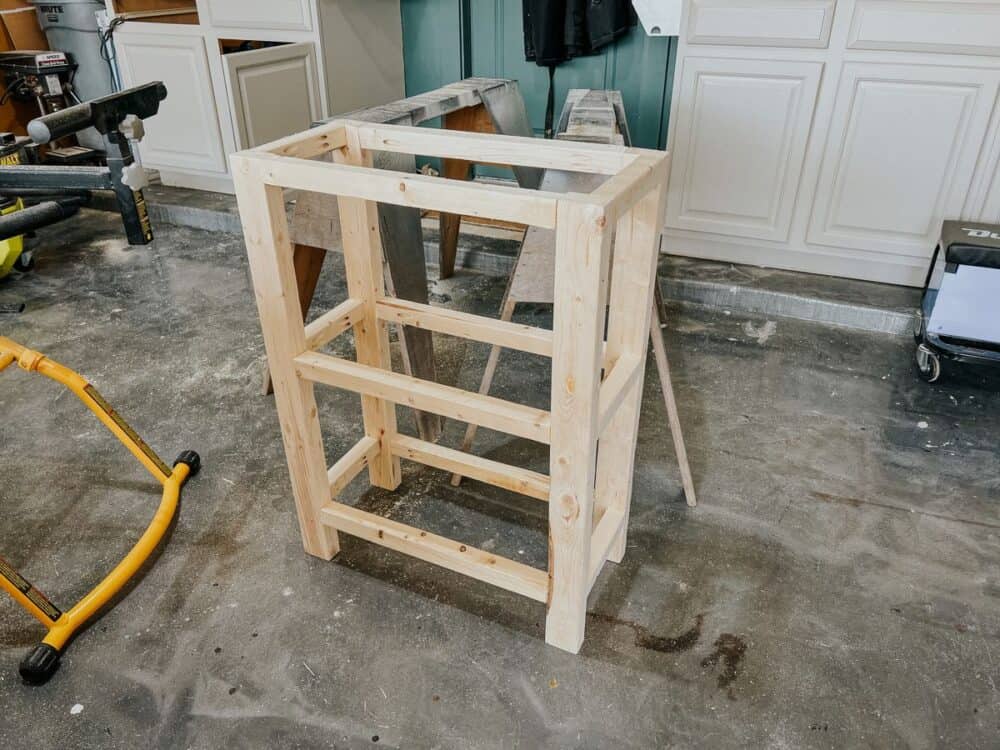
Grab your 2x2s and cut six pieces to 19″ long (for a 24″ long plant stand). Adjust the size of the supports as needed for a smaller or larger stand. These will be the supports that hold everything together and hold the shelves in place.
Repeat the process of drilling pocket holes in each side, then use wood glue and pocket hole screws to connect the two legs. Be sure to line up each of the supports with the supports on the legs!
When you’re done, you should have a frame that looks like this:
You’re almost done!
Step Three: Attach Shelves
Now, you’re ready to add the shelves. I used 2×12 wood literally only because I had some on hand and wanted to use it up. You could easily use 1×12 or even a few slats of smaller wood. It would look great to do planks of 2x4s or just about any size that suits you.
I wanted to do one single piece of wood per shelf, so on the bottom two shelves I took the time to cut out notches on all four corners so that the shelf would slide around the legs.
My cuts aren’t perfect and there are a few little gaps, but you’ll literally never notice because it’s going to be full of happy, thriving plants. And who notices wonky wood cuts when there are plants to look at?!
Not me.
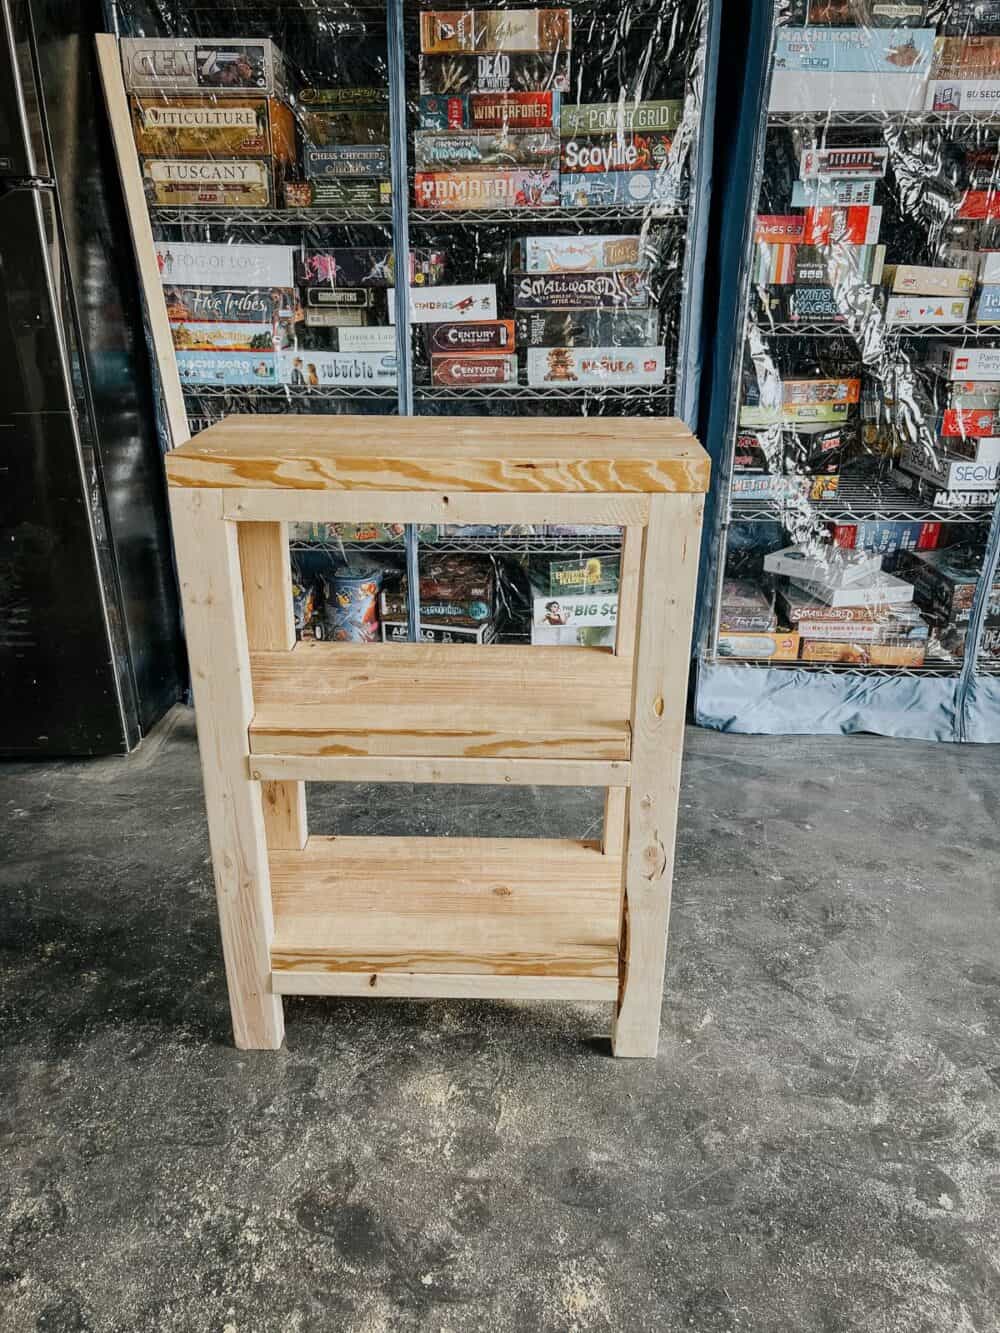
And just like that, you’ve got a cute little outdoor plant stand ready to be stained and filled with plants.
Step Four: Stain Plant Stand
Finally, you’re ready to stain and seal your plant shelves. This is especially important if you’re a rule-breaker like me and are using interior-grade wood. Adding stain and a sealant will help protect the wood and add some longevity to your project. This thing won’t last forever, but I’d give it a solid 3-5 years before it starts warping or rotting from living outside all the time, and that’s plenty for a scrap wood project.
I used the new Wagner Control Spray QX2 for this project. It’s a sprayer meant specifically for stain, which means projects go a lot faster. It’s ideal for something like this where you’re staining a small-ish project with lots of corners and crevices that would be annoying to reach on by hand. It literally took me less than 5 minutes from start to finish to get this entire thing stained with the sprayer! It would have taken me at least three times that to do it by hand.
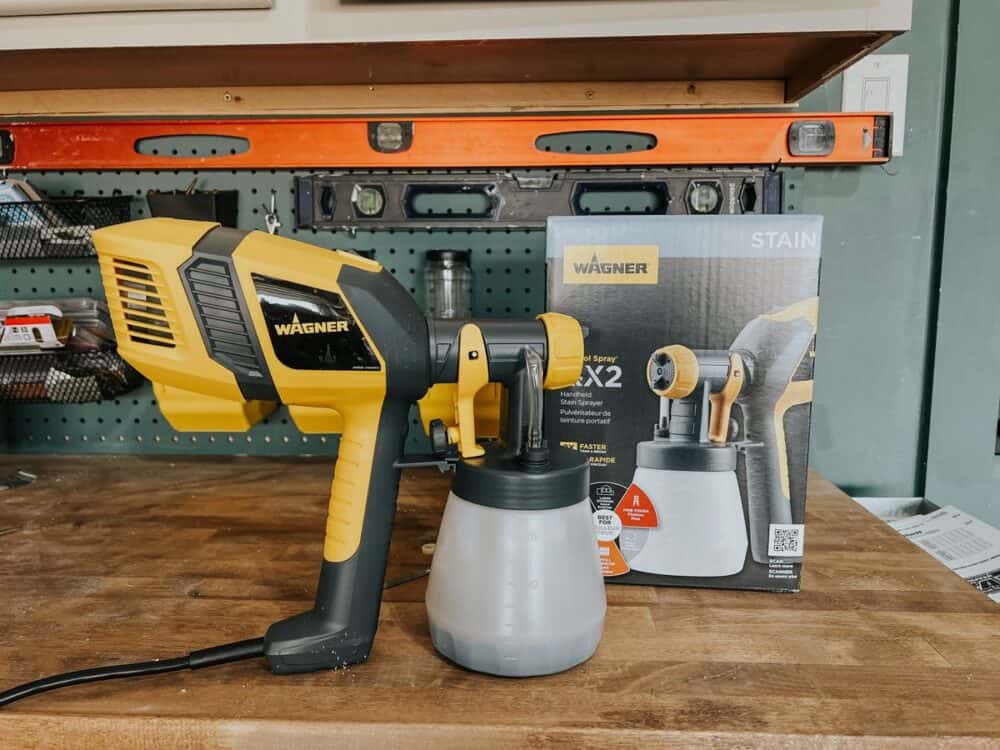

I’m a huge fan of anything that saves me a bit of time and makes life easier, so this was a big win. I also love that it’s so lightweight – when I’m doing a lot of staining my arm can get so tired! Between the lightweight sprayer and how fast it went, it was a breeze.
Once the stain dried, I sealed it with this spray sealer. You can also use the sprayer to seal it (I’d use this sealer if I was doing that!) but I had this stuff on hand so it was easier.
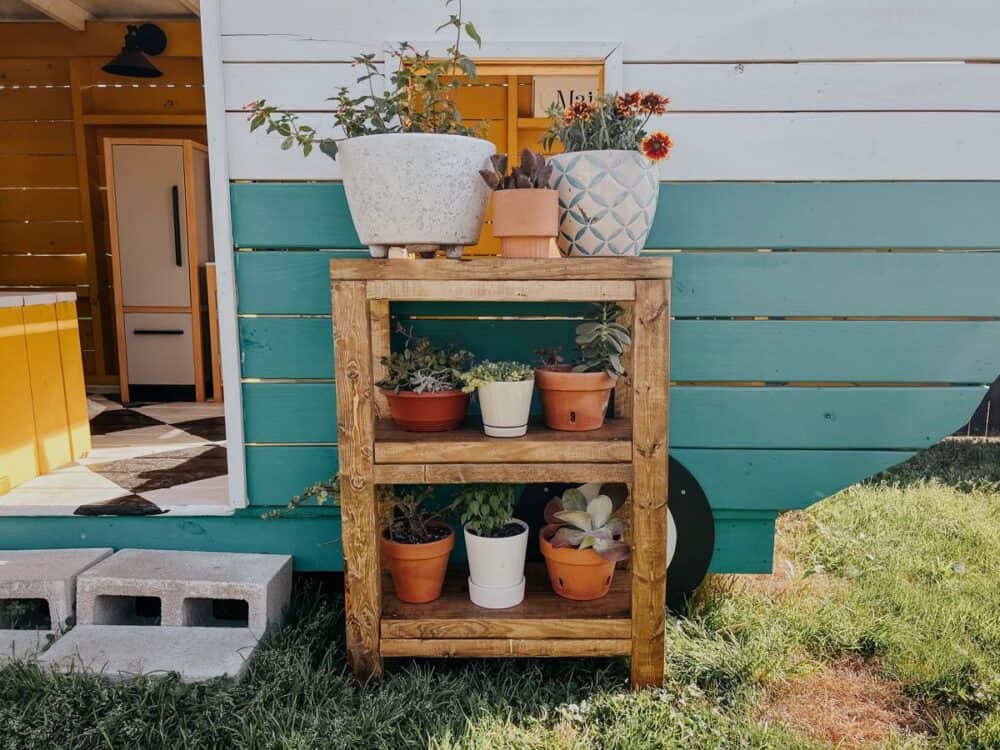
Step Five: Add Plants
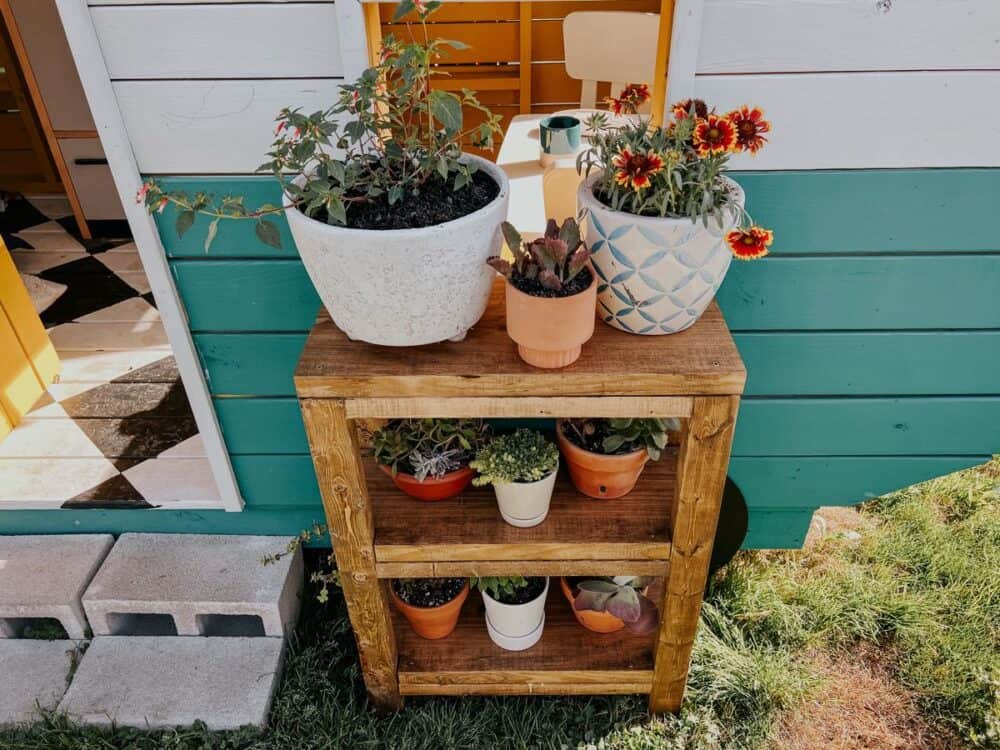
And when that dries? You’re ready to fill ‘er up!
I took the kids with me to do some plant shopping so they could pick out a few things that made their tiny little hearts happy. They had the best time picking out some plants of their very own, and they’re so proud of their little plant stand.
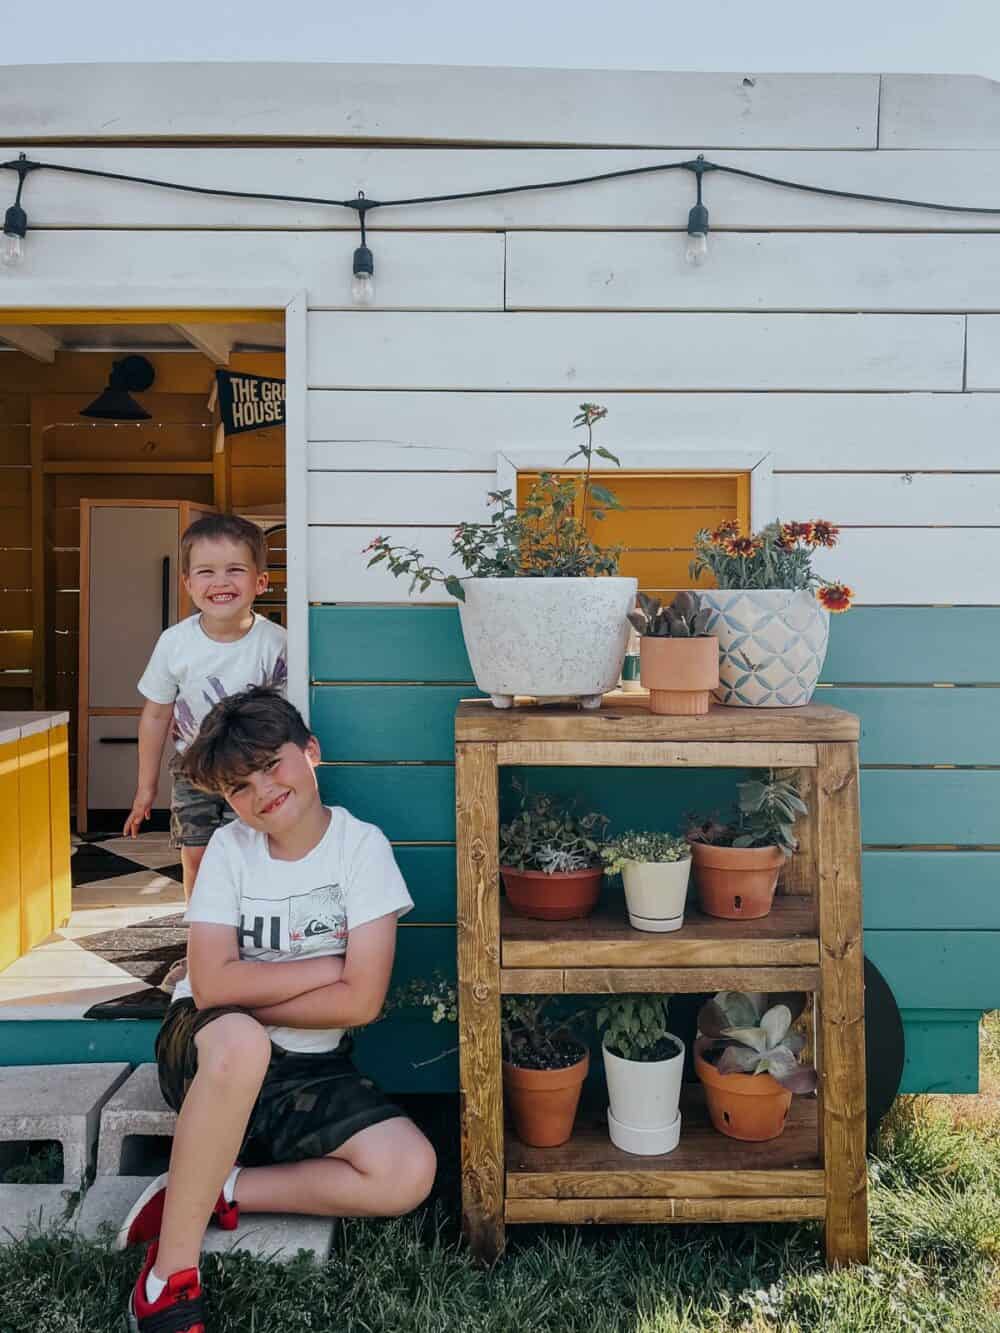
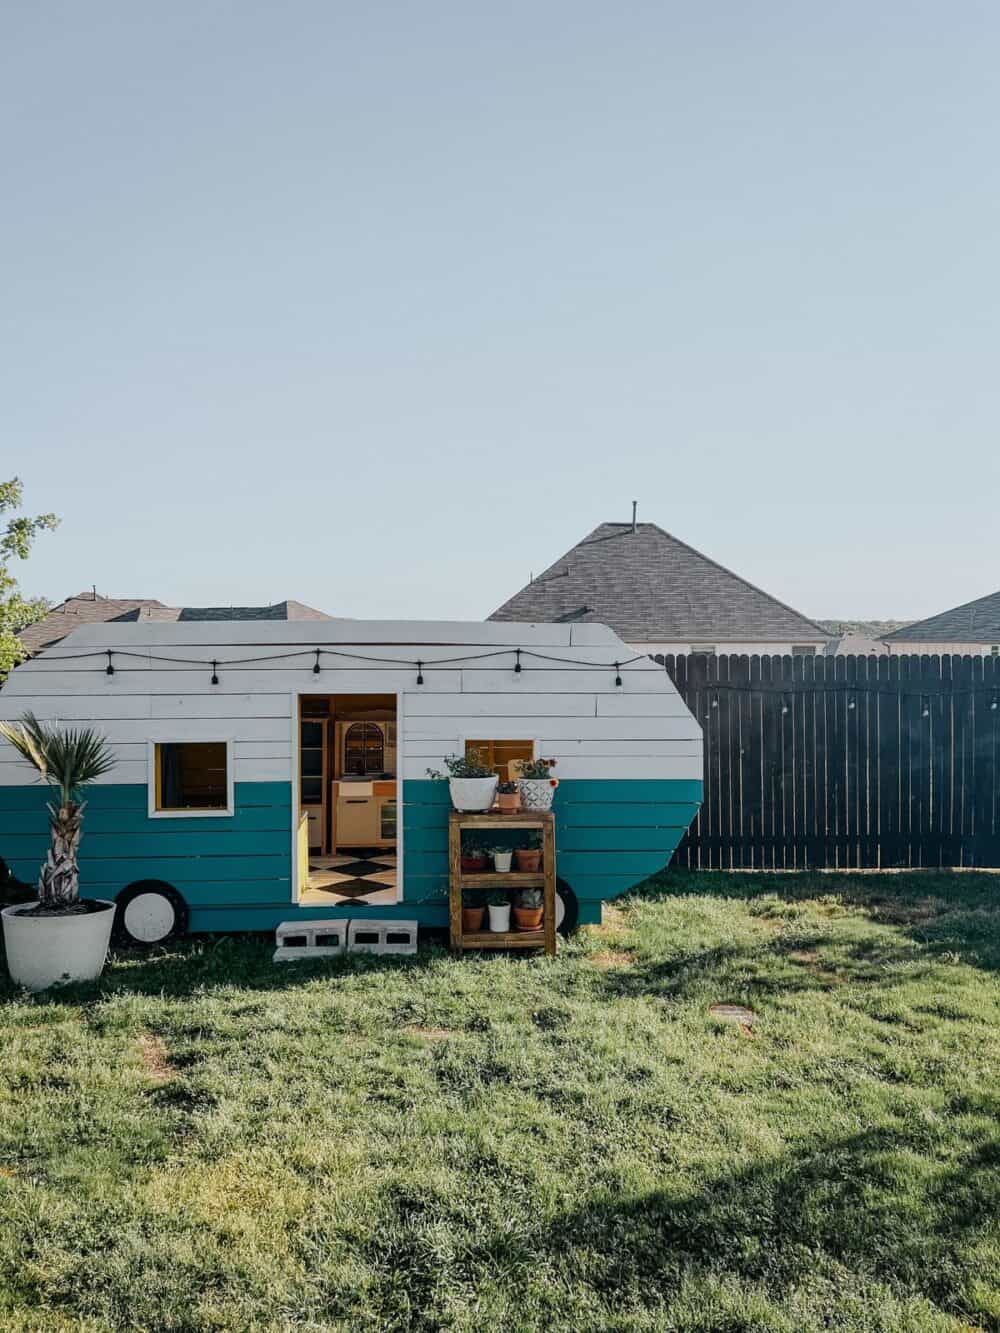
I love how this little stand looks next to the camper, and I feel like it makes it feel that much more cozy and special. It makes my heart so happy to see them using and enjoying this space so much!
Be sure to click here to check out Wagner’s new Control Spray QX2 – it’s a great tool for any small spraying job you have!