How to Caulk Around the Toilet
Yes, that’s right, my friends. Today, we’re talking about the most glamorous and exciting household task of them all: how to caulk around a toilet.
It’s one of those things that isn’t particularly fun to talk about (or think about) but it has to be done. And sometimes, when you have boys, it has to be done more often than you’d like.
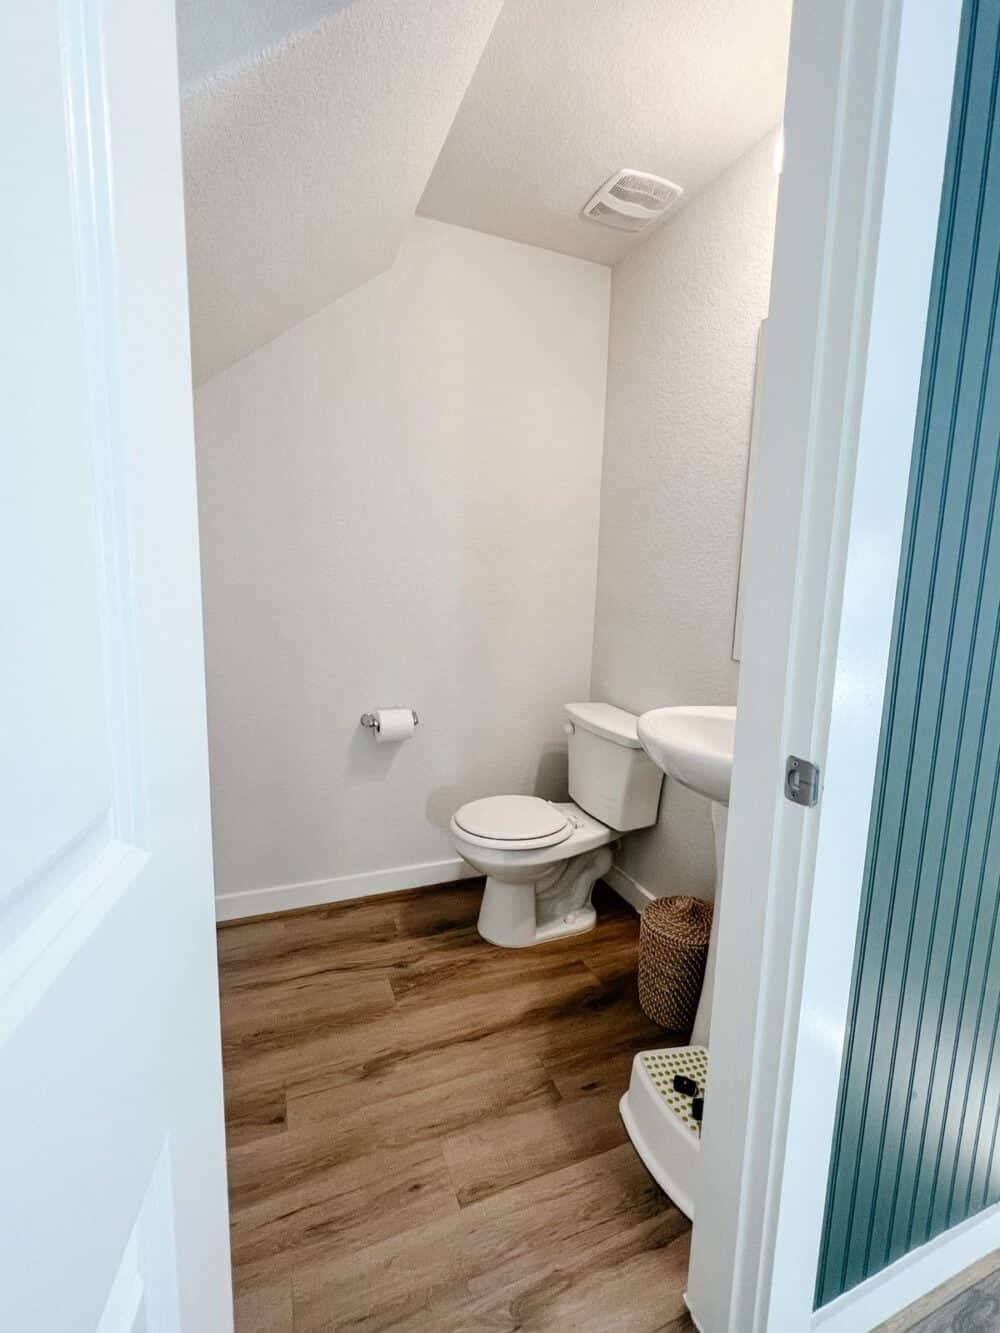
This post is sponsored by DAP.
First of all, let’s talk about why I’m choosing to pull up and replace the caulk around our toilet? How do you know it’s time to replace it? Do you even need to replace it?
Well, brace yourself for a not-so-pretty before photo so I can explain it to you.
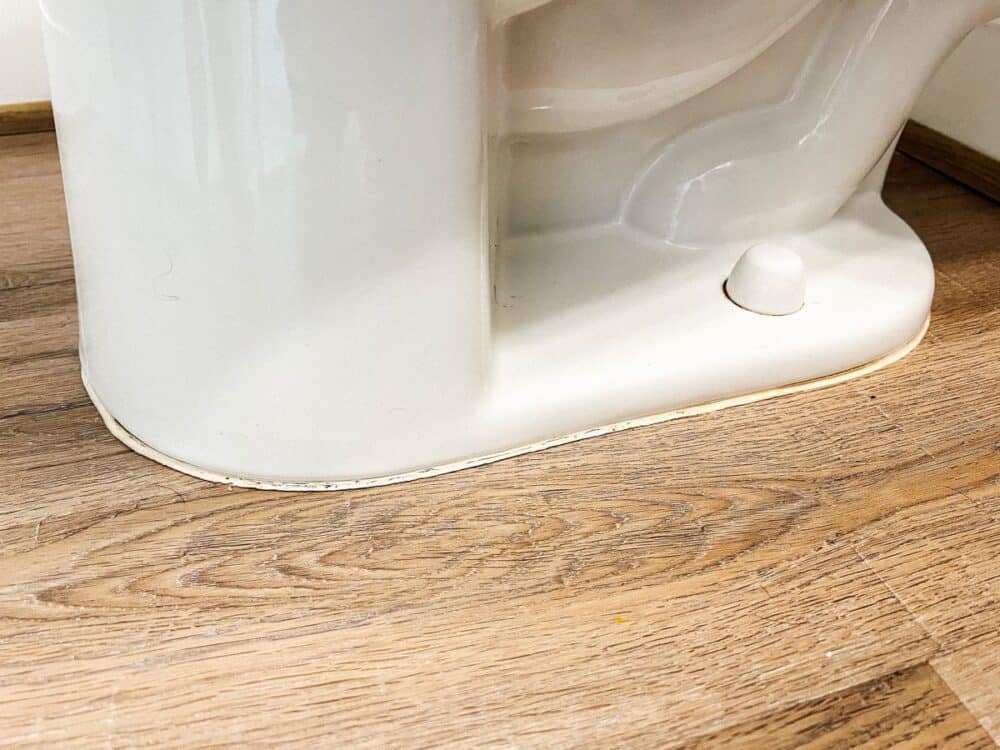
Ew. It looks better in photos than it does in person, but trust me, it’s gross. It’s stained yellow, cracking, and peeling away from the toilet.
And it smells. EW.
It’s pretty obvious that when our house was built, the builders used the cheapest caulk available to them. Within a year or so of moving in, it started to stain and crack. And two years into living here? Well, it’s clearly time to replace it.
Now, let’s address the obvious elephant in the room: this is happening because I have two young boys. And despite my best efforts with cleaning, targets in the toilet, and encouraging the tiny one to sit down on the dang toilet….it gets messy.
So, with constant, ahem, drips on the caulk, it starts to break down. Especially if it isn’t a quality caulk meant for the area around the toilet!
choosing the right caulk
Once things started to look really bad, I reached out to my friends at DAP to see if they had any recommendations for a more high-quality caulk that could stand up to the chaos of my house. Thankfully, they came to the rescue (as always).
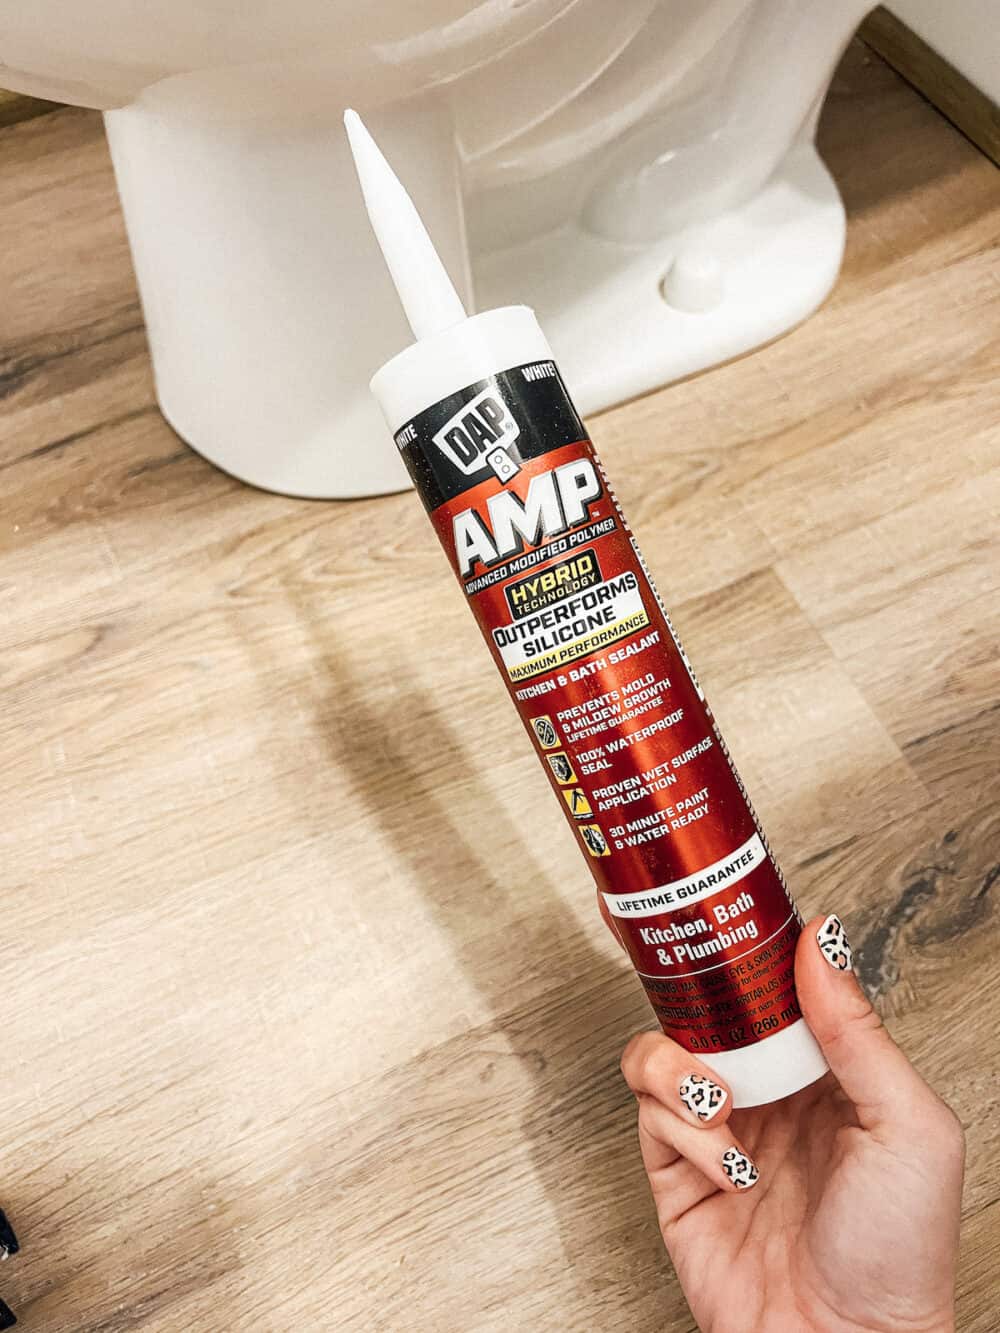
They recommended I use their AMP Kitchen, Bath and Plumbing Sealant. It’s the best caulk for wet areas and provides a 100% waterproof seal around the base of the toilet (or wherever you use it). And, it’s guaranteed to last a lot longer than whatever was there in the first place!
DAP AMP Kitchen & Bath will help prevent mold and mildew, and can be applied on wet or damp surfaces. That makes it ideal for caulking around any kitchen or bath fixtures. It’s able to handle paint and water in just 30 minutes, too, which is awesome when you’ve got a busy family who probably won’t avoid using the bathroom much longer than that.
AMP stands for Advanced Modified Polymer. So, this is different than a silicone caulk, and is specially made for creating a water-tight seal. Choosing the right caulk for the job you’re doing is critical to the longevity of the job. So, if you’re doing any caulking in the bathroom I’d highly recommend AMP Kitchen, Bath and Plumbing Sealant!
I chose white caulk, and that’s generally the go-to for this project. AMP Kitchen & Bath Plumbing Sealant also comes in clear, though, if that’s what you prefer!
why caulk around the toilet?
Some people (ineffectively) argue that you shouldn’t caulk around the toilet because it can hide leaks. However, leaks in that area are usually small enough to soak into the floor beneath the toilet. It’s pretty unlikely for a bead of caulk around the toilet to actually prevent you from noticing a leaking toilet.
However, there are some major benefits to adding caulk around the toilet.
First of all, caulking around the toilet prevents water (or, let’s be honest, pee) from getting underneath the toilet. If you don’t have caulk around the toilet, liquids splashed onto the floor (like from the tub or sink) can seep under the toilet and just sit. And you know what that causes? Mold. Fungus. Bacteria. Grossness. All things you don’t want hanging out under your toilet.
Also, it looks (and smells) much better to caulk around the toilet. It can hide uneven floors and help prevent any sort of gap showing. It will also prevent any foul smells from the plumbing from seeping into your bathroom.
And finally? It’s required by International Plumbing Code to apply caulk around the toilet!
Don’t skip it, my friends. It’s an important step.
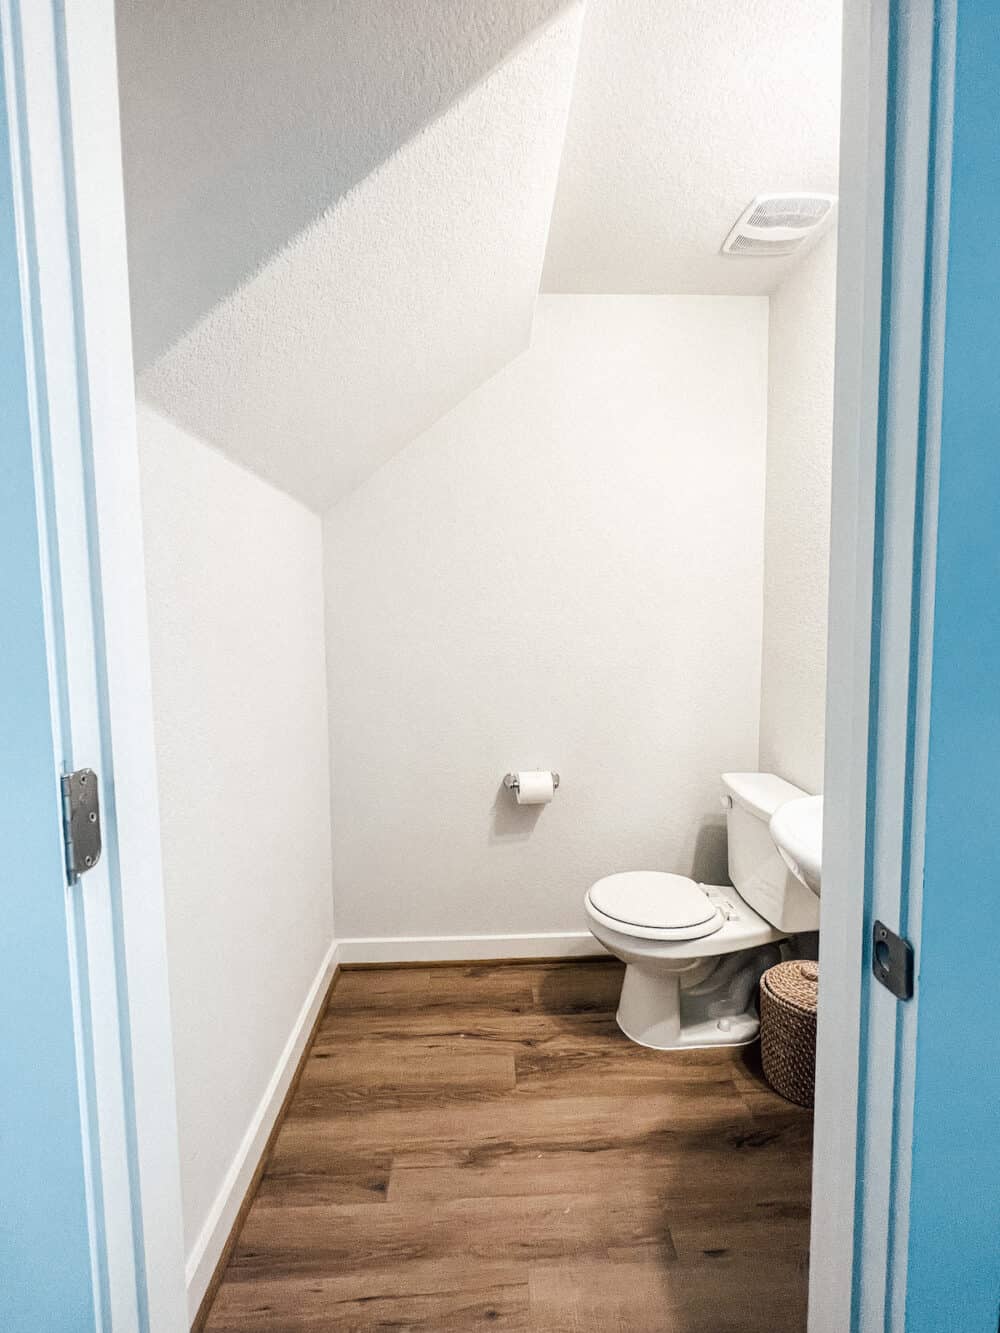
How to caulk around the toilet
Because I’m a firm believer that no question is dumb and no tutorial is too simple, let’s take a deep dive into how to caulk around the toilet.
I’ve also written a full deep dive into how to caulk in general. So, if you’re new to the whole thing you might want to start there and then come back here!
step one: remove old caulk
The first thing you’ll want to do is (obviously) remove the old caulk. In my case, this was really easy because it was so cracked and gross that it more or less popped right up.
Again…ewwww.
But, if you need a little extra help, here are some tips:
- Start by running a utility knife or razor blade along the joint where the caulk meets the toilet. Do the same around the floor joint. This will help loosen it up and pull it away from the surface of the toilet and floor. Obviously, you’ll want to be careful here not to cut into your floors or damage your tiles with the knife. Just be gentle!
- Once you’ve scored the caulk all the way around, try peeling it up. I usually use the edge of my utility knife to get it started, then use my hands from there. But, there are caulk removing tools that can be really helpful, too!
- Once you’ve got the main part of the caulk pulled up, clean any residue.
If you get stuck at any point, this caulk remover was really helpful for me on the more stubborn spots.
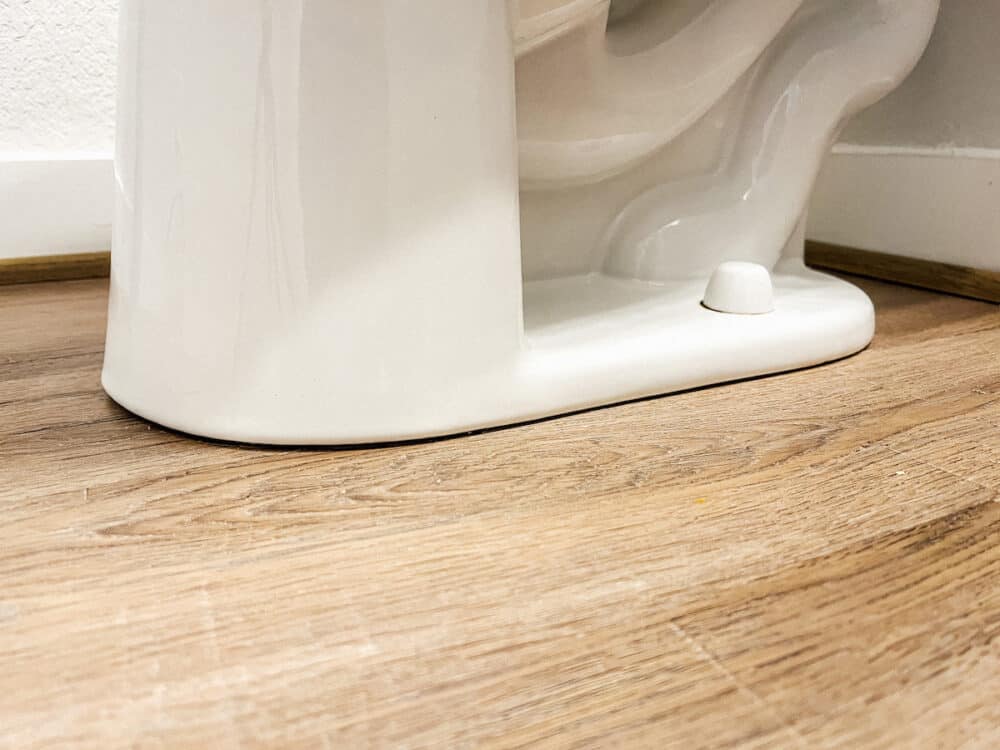
Once the caulk has been removed, make sure the floor and toilet are clean and dry before. moving onto the next step!
You should also take second to make sure the toilet is tight to the floor. If it rocks at all, you can tighten the bolts in the back to add stability. Then, flush it once without any caulk on. This is just to ensure the wax ring is still in good condition there’s no leaking!
Step Two: Apply Painter’s Tape (Optional)
If you’re nervous about making a mess or relatively new to using caulk, you can apply painter’s tape to the floor around the toilet’s base before starting. Use small strips to help you follow the curve of the toilet. Place the tape about 1/4″ or so away from the toilet to allow the caulk to spread a bit.
I caulk quite often and wasn’t worried about a mess, so I skipped this step. But, it’s a great way to add a little confidence and assurance the finished product will be polished!
After applying the caulk, it is important to remove the masking tape immediately after the sealant has been smoothed and tooled and prior to the sealant surface drying, to avoid lifting up the freshly applied bead.
Step Three: Set up caulk gun
Now you’re ready to get the caulk into your caulk gun and get it all set up.
This is something I cover in more depth in my guide to using caulk. But, the general overview is as follows.
Start by cutting the tip of the caulk tube off at an angle. The caulk will have markings on it for various sized openings, just choose the one that matches how big your want your bead of caulk to be. I find somewhere in the middle for a job like this one is usually a good fit.
Some cartridges, such as AMP, have a foil seal at the base of the nozzle that needs to be thoroughly punctured prior to using. The easiest way to do this is to use the seal puncturing tool included on the side or on the inside of the trigger handle of the caulk gun.
Then, slip the caulk tube into the caulk gun and tighten it into place. I recommend if you’re new to using a caulk gun, go ahead and practice a bead or two before you start – some guns will continue to push caulk out after you stop pulling the trigger, and it can make a big mess. Just make sure you’re familiar with your gun and how to stop the flow of caulk before you start working on the toilet!
Step four: apply caulk
And now, you’re ready to add the caulk around the toilet!
Hold your caulk gun at a 45-degree angle and slowly move it around the toilet while engaging the trigger. A bead of caulk will come out and be applied to the area between the toilet and the floor.
For best results, keep the pressure on the trigger consistent, and keep your movements slow and steady all the way around the toilet without stopping.
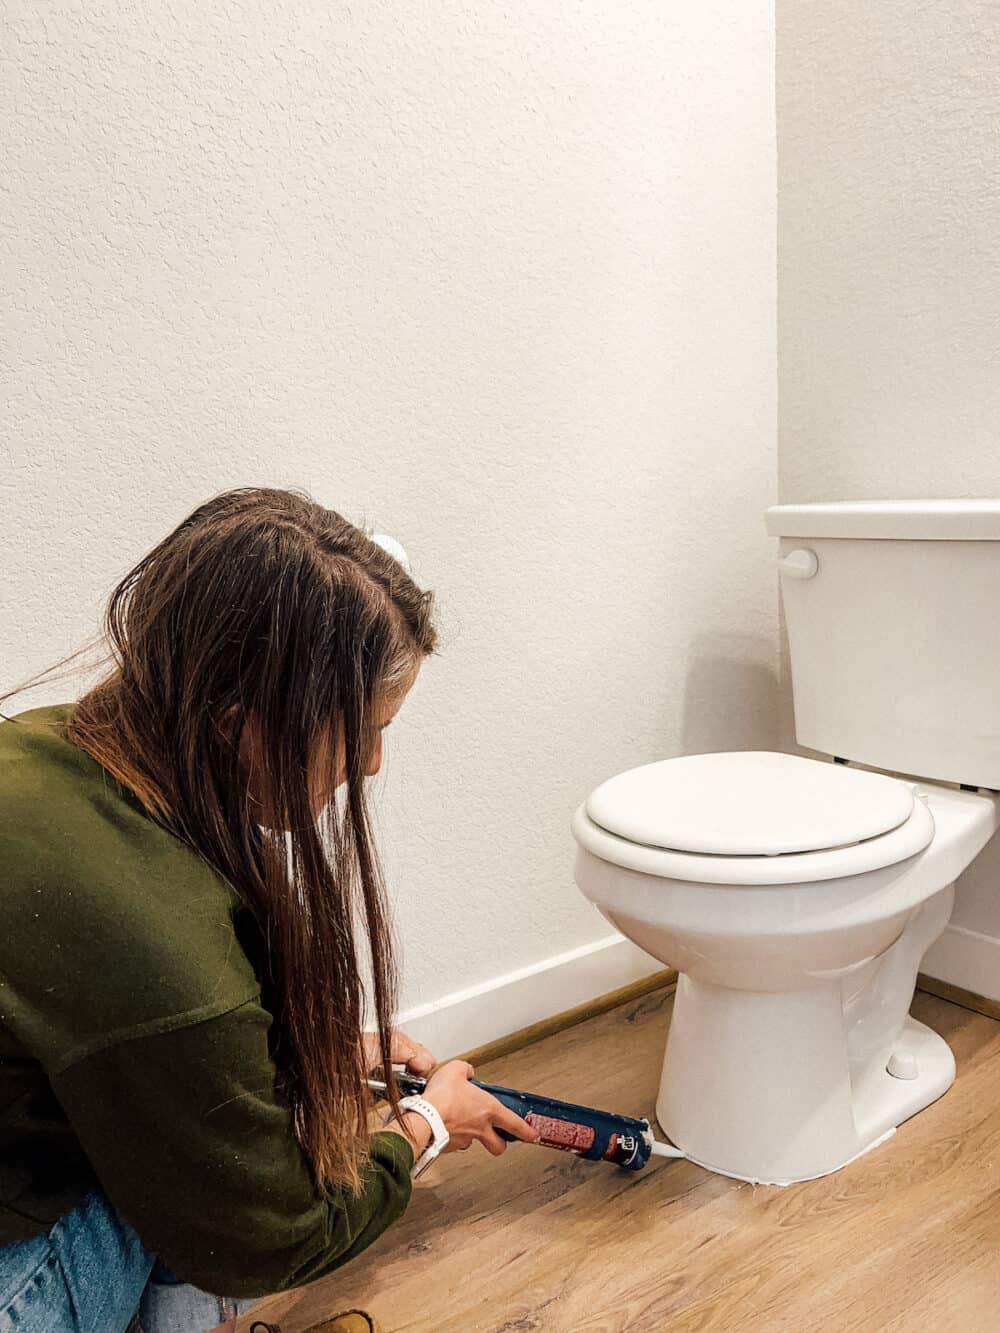
While you’re working with caulk, you generally want to pull the caulk gun towards you as you work rather than pushing it away from you. This helps create a more consistent and even bead of caulk.
step five: smooth caulk
Once your caulk has been applied all the way around the toilet, it’s time to smooth it out. My favorite method of smoothing caulk out is a baby wipe – I simply wrap it around my finger and gently run my finger along the bead of caulk to smooth it out. Any excess caulk will end up on the baby wipe instead of your finger.
If you were using a latex caulk, tooling with your bare finger would be fine. But all other chemistries – including AMP’s hybrid formula – should be tooled with a gloved finger or caulking tool.
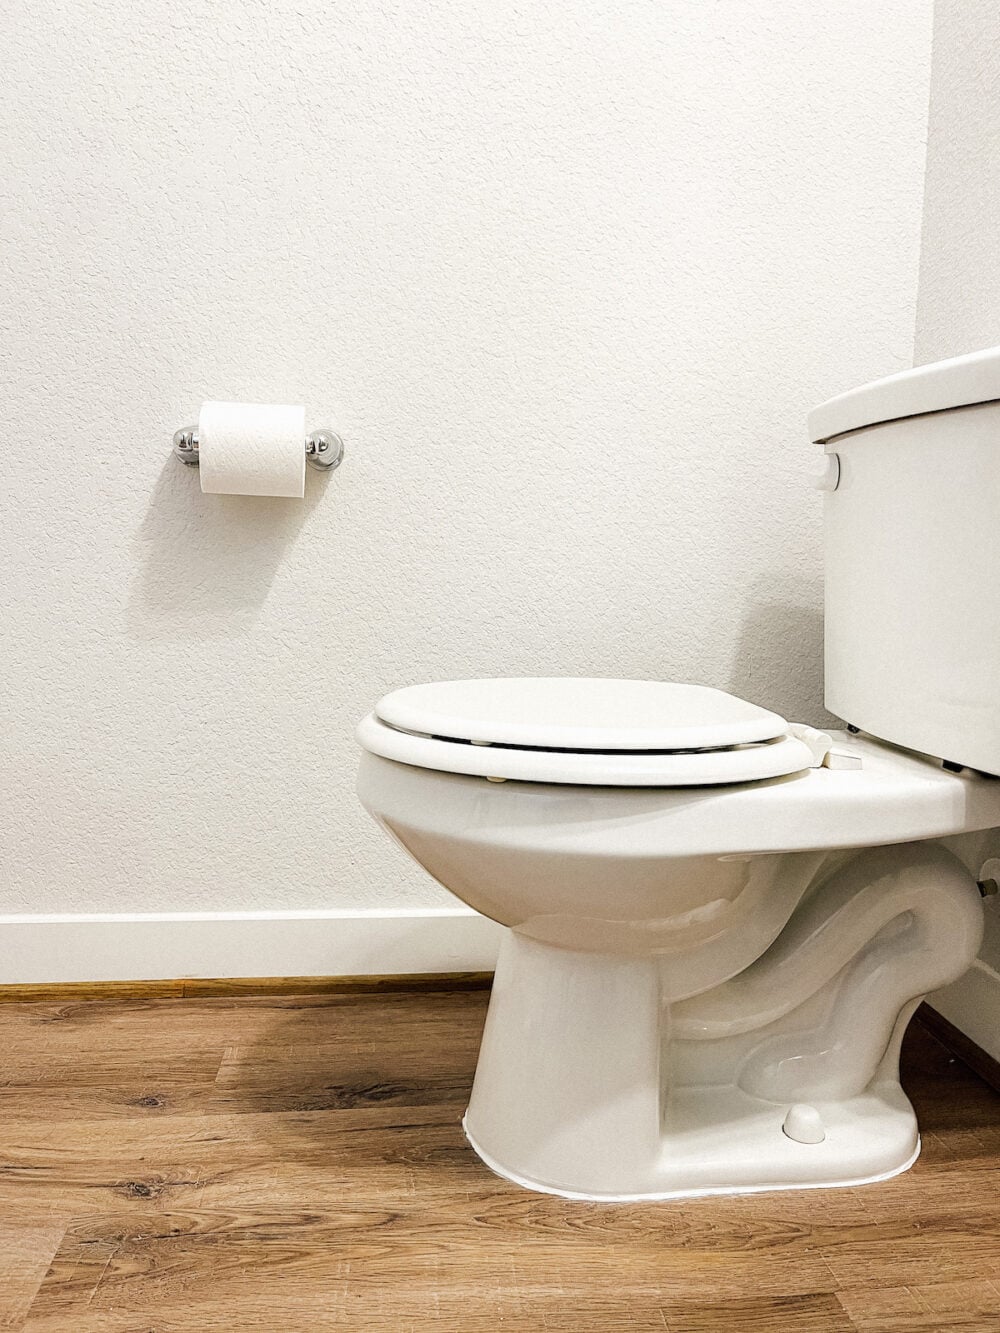
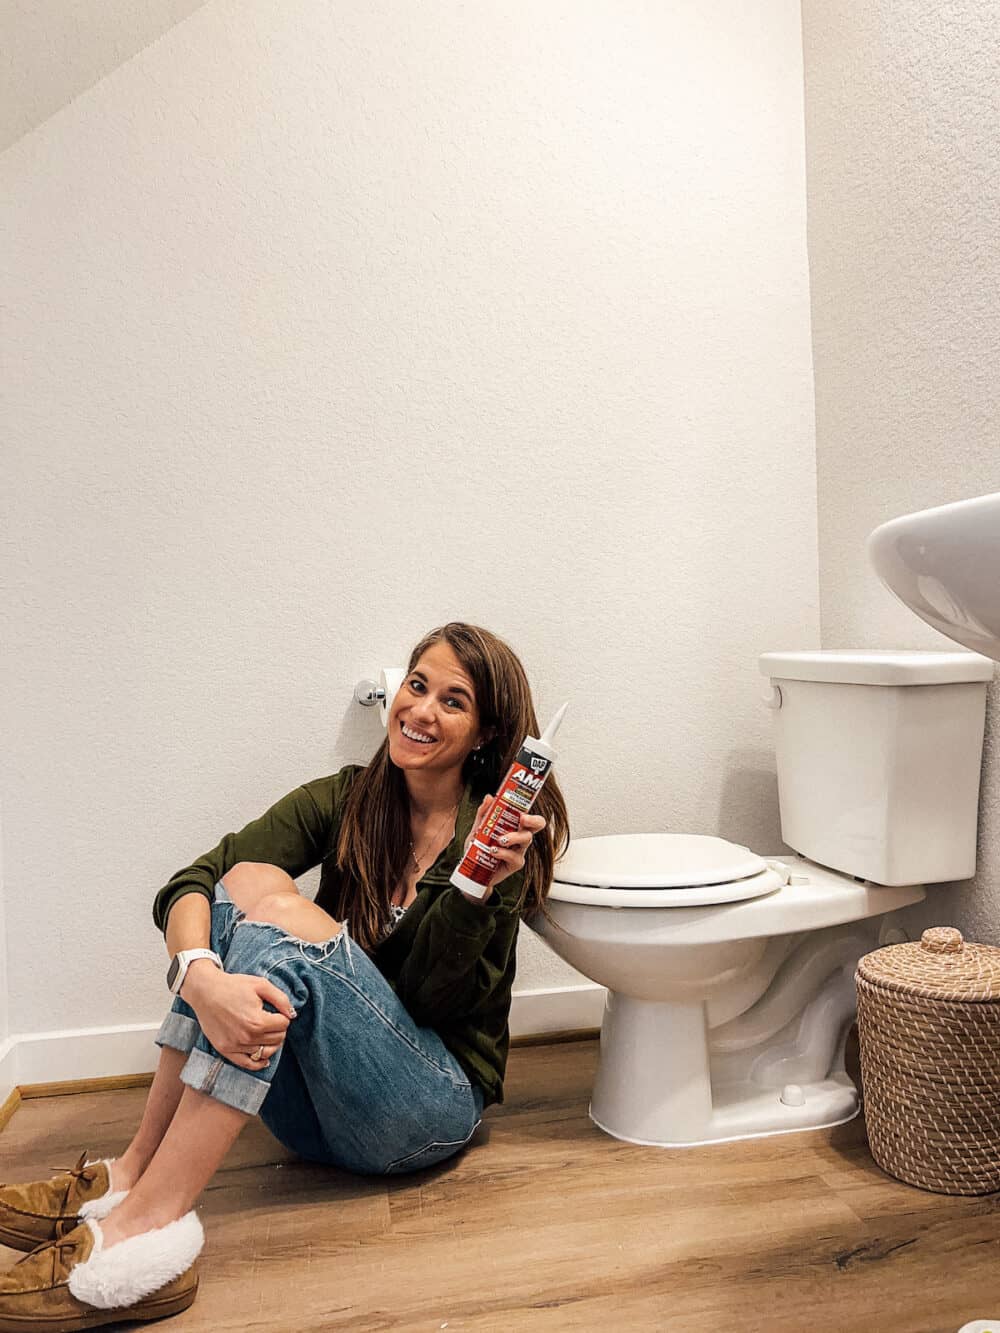
Once you’ve smoothed the caulk out, allow it to dry for the time recommended on the caulk tube (only 30 minutes for this stuff!) and you’re good to go.
This was a really simple update that took less than an hour but was desperately needed. We’re actually planning on fully gutting and renovating this bathroom later this year, but I couldn’t look at that gross caulk line one more day without doing something about it!
If you also have a toilet in your house that needs some fresh caulk, I highly recommend you check out AMP Kitchen, Bath and Plumbing Sealant. My bathroom looks (and smells) so much cleaner, and it’ll make things a lot less painful until I’m able to actually renovate this room!

Toilet is an important part of the bathroom. Installing the flange flush with the floor and making good caulk can make sure the steadiness of the toilet.