
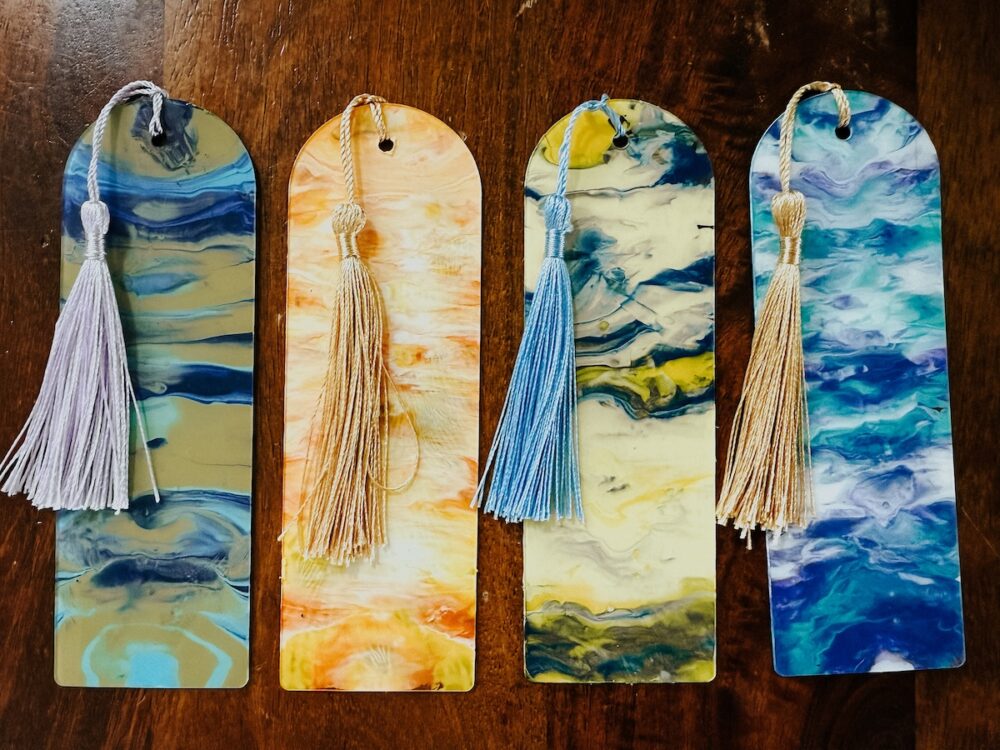
The Cutest DIY Bookmarks
I needed a few bookmarks and decided to get creative and make my own! Today I’m showing you how to make this simple 5-minute craft – painted DIY bookmarks with acrylic paint!
I have a confession: I’m a page-folder in books. I know, I know. It’s blasphemous to many. But, I almost never can find a bookmark when I need one, and I’m often reading in bed before I go to sleep. I’m not about to climb out of bed to find something to save my spot!
I finally decided it was time to make my own DIY bookmarks. Thankfully, it was really simple and took about 5 minutes each. And now, I have a whole little collection of adorable bookmarks so that I’m never without one again. This is also a really great craft to do with your kids if you need an easy activity to do together.
Here’s how I did it.
The Easiest DIY Bookmarks
Materials Needed:
- Blank acrylic bookmarks
- Acrylic paint
- Parchment paper
- Mod Podge
- Small craft paintbrush or foam brush
Video Tutorial
Prefer to learn via video? Here’s a video that shows a full walkthrough of how I made these DIY painted bookmarks in just a few minutes!
Step One: Prep Bookmark + Choose Paint
Your acrylic bookmarks will come with a plastic cover on each side to prevent scratches. Peel the coating off of one side so that you can paint it.
Next, choose a few colors from your craft paint. I went with 3 most times but you can do as few or as many as you’d like!
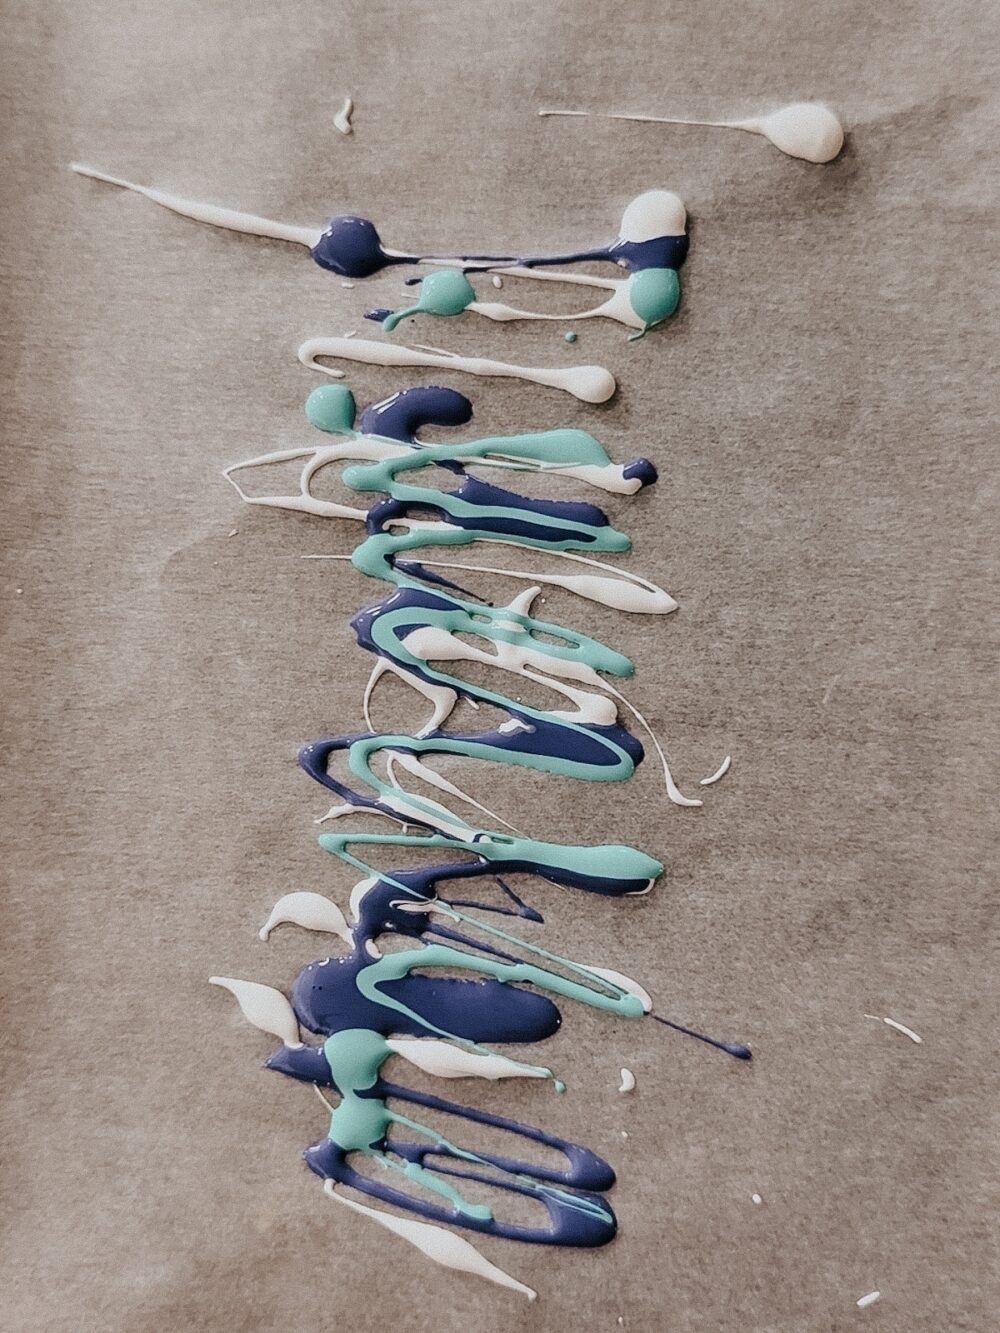
Step Two: Drizzle Paint onto Parchment Paper
Now, drizzle some of each color of paint onto your parchment paper. You can play around with doing drops versus swirls versus lines – they’ll all create different finished results.
Keep in mind that you don’t need a ton of paint here, but if you end up going overboard you can easily use it for more than one bookmark. So, don’t stress either way.
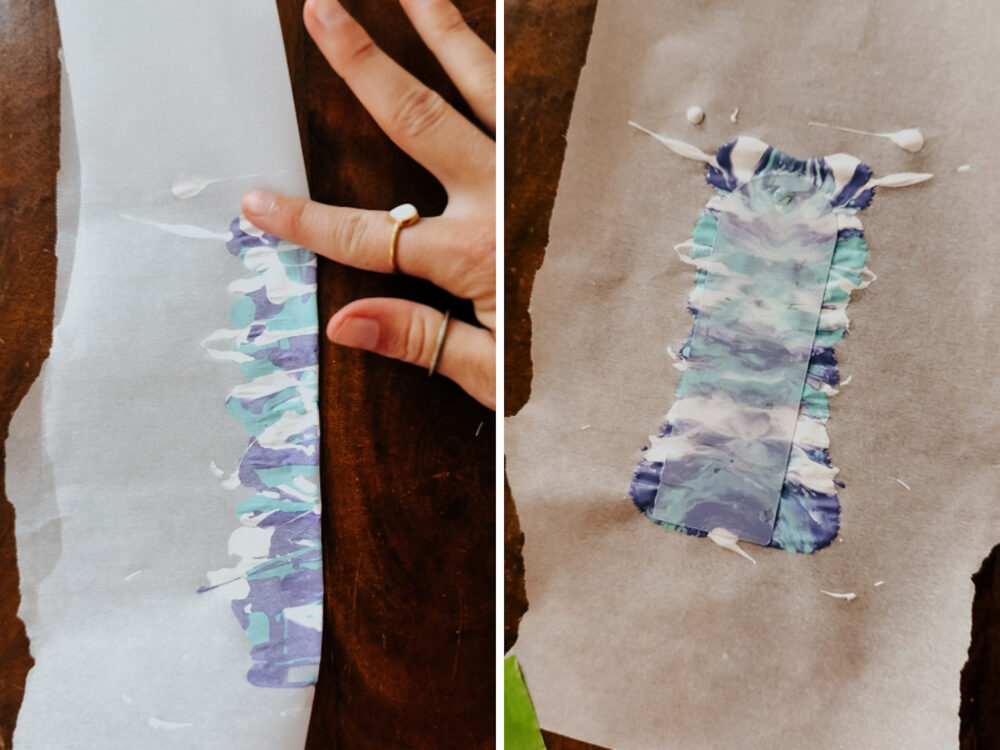
Step Three: Fold Parchment + Press Bookmark Into Paint
Once you’ve chosen the colors you like and added it to your parchment paper, gently fold the paper in half and lightly press the paint. You’re wanting to create a bit of a swirled pattern here and get it so that the entire surface area is covered in paint and ready for your bookmark.
Now, unfold the parchment and gently press the side of your bookmark that you uncovered into the paint. Use your fingertips to gently push it into the paint so that you can’t see any blank spots.
Gently peel up the bookmark, flip it over, and set it somewhere safe to dry. It’ll take a while, since the paint is on the thicker side!
Step Four: Seal Bookmark and Remove Remaining Plastic
Once the paint dries, use a foam brush or a small craft paintbrush to paint a couple of thin coats of Mod Podge on your DIY bookmarks. This will seal the bookmarks and help ensure that your paint won’t scratch off!
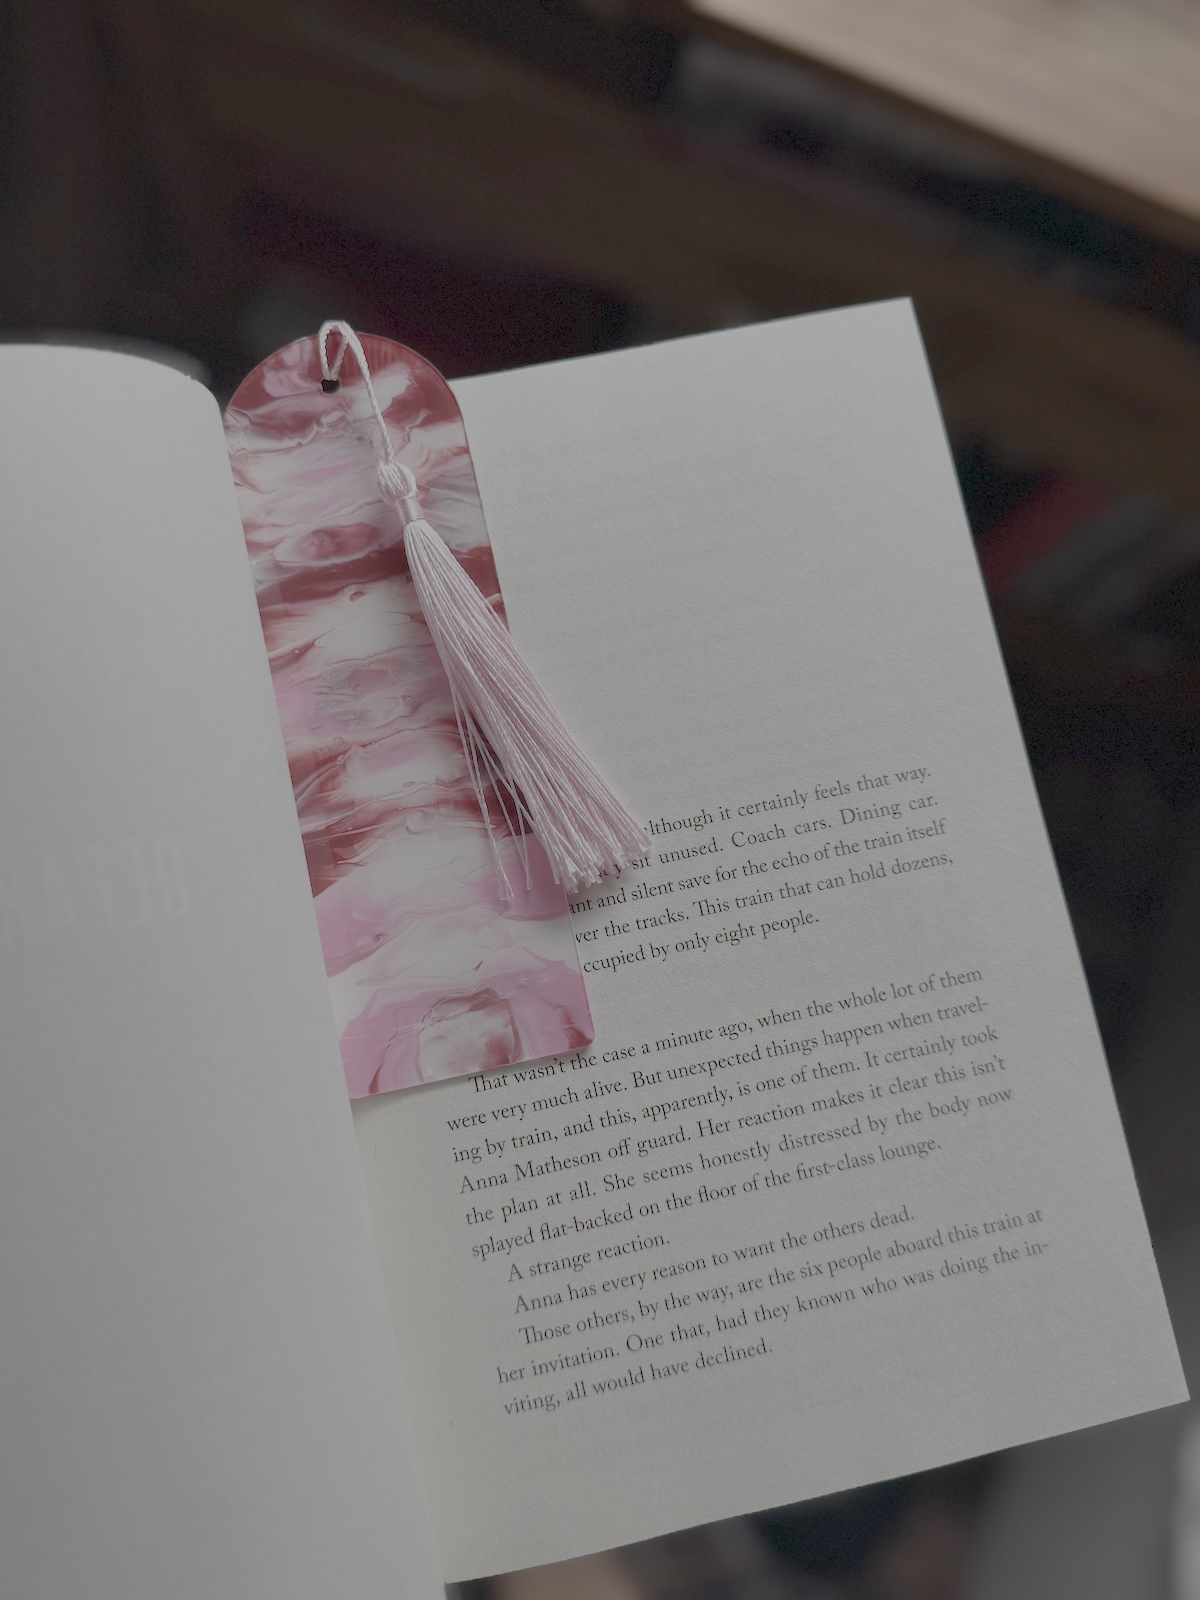
Once the Mod Podge has dried, you can remove the plastic from the back side of the bookmark! If you got bookmarks with tassels like I did, you can also add those at this time.
This project was so fun and so satisfying. I let the kids make a few bookmarks with me while I was working, and they were so proud of their creations! It’s a really easy and foolproof craft which, honestly, is my favorite kind.
Nice bookmarks Thanks