An Easy Canvas Art Project
This easy canvas art project will only take you a few minutes to put together, but it’s a gorgeous project that will add so much personality to your home! Learn how to do it here – including tips for how to trace words onto a canvas!
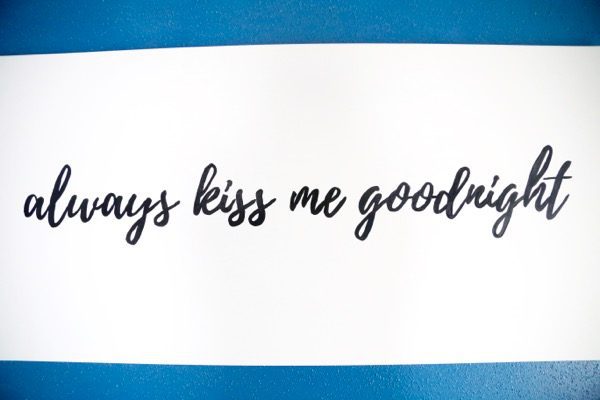
Ever have one of those projects that you put off for months years because you just can’t decide what you want to do and then all of the sudden you figure it out and wonder why in the world it took you so dang long because it’s the simplest thing in the world?
Yeah, me neither.
But, hypothetically speaking, if I had ever been in that situation this project might be a good example.
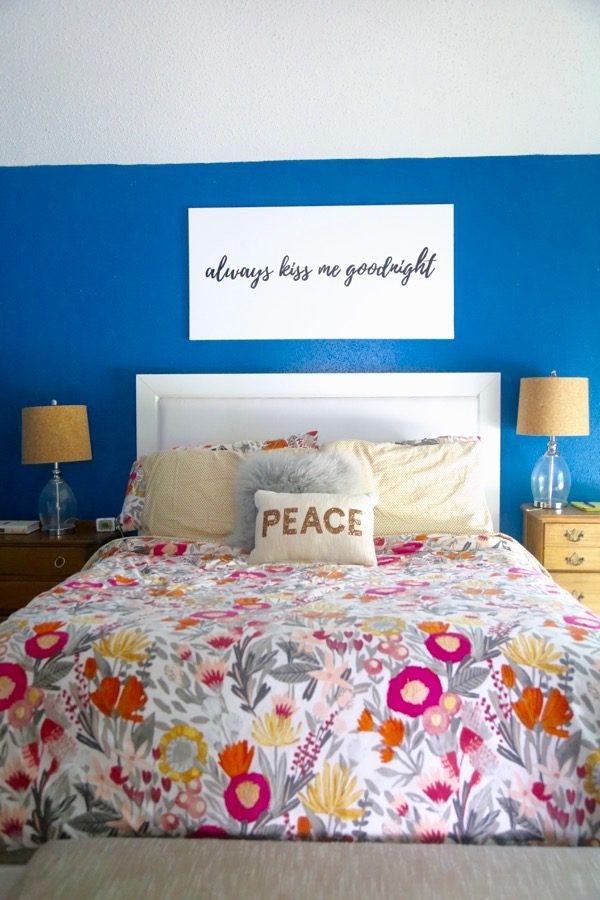
Corey and I have been thinking for a long, long time about how to decorate the space above our bed. We had a ton of different ideas, tried several different things, and hated everything we thought of. No matter how much we tried, we couldn’t ever land on how we should decorate that oh-so-prominent space in our bedroom. A few weeks ago, in a last-ditch attempt to come up with a good idea, I shared a roundup of a few favorite ideas for decorating above the bed. And, as luck would have it, that little post was exactly the inspiration I needed to make a decision.
This post contains affiliate links. Click here to read my full disclosure policy.
And just like that, all my procrastination is over and I’ve got some art above my bed! I’m in love with how it turned out, and I am so happy that we went this route. It took me under an hour from start to finish, it’s absolutely gorgeous, and the project itself is practically fool-proof.
DIY Easy Canvas Art Project
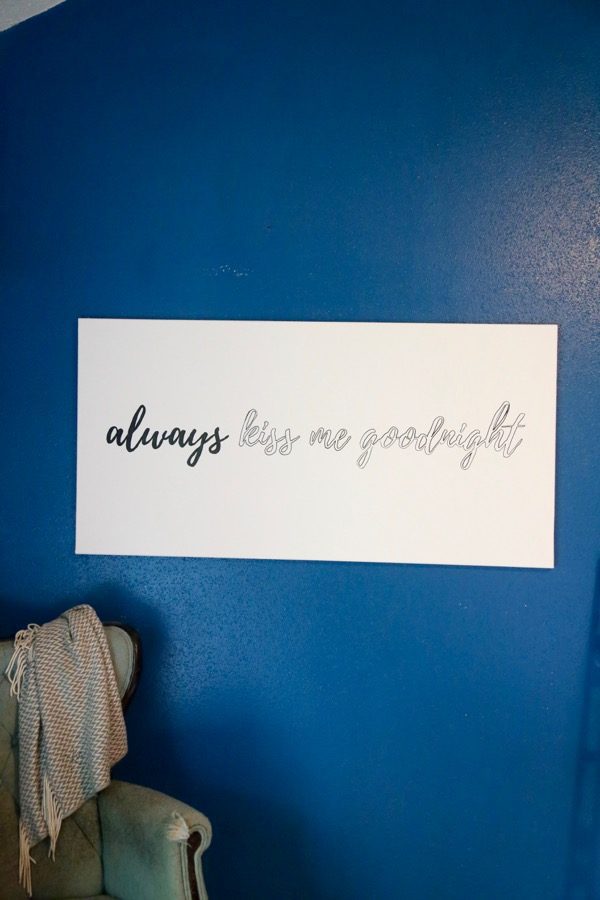
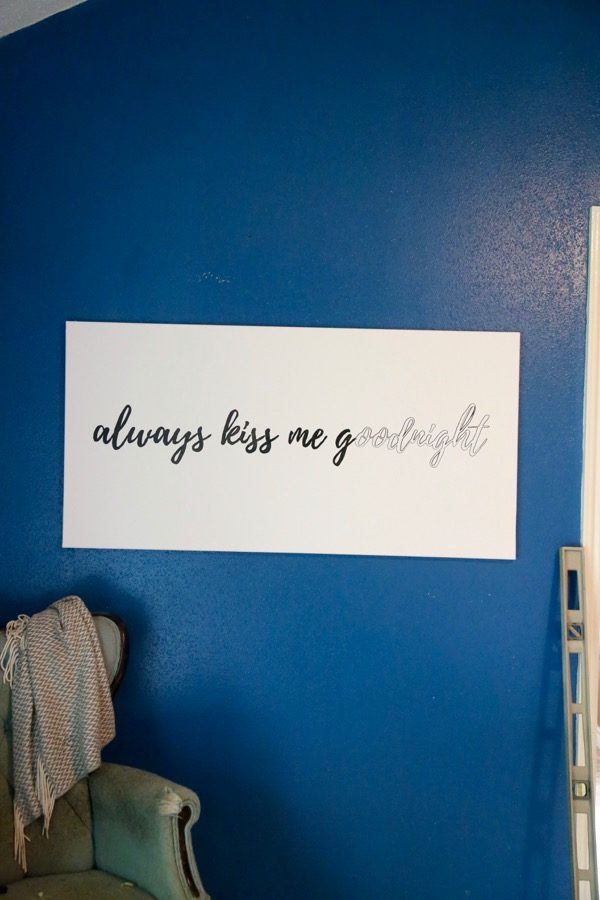
Step 1: Trace your design onto the canvas
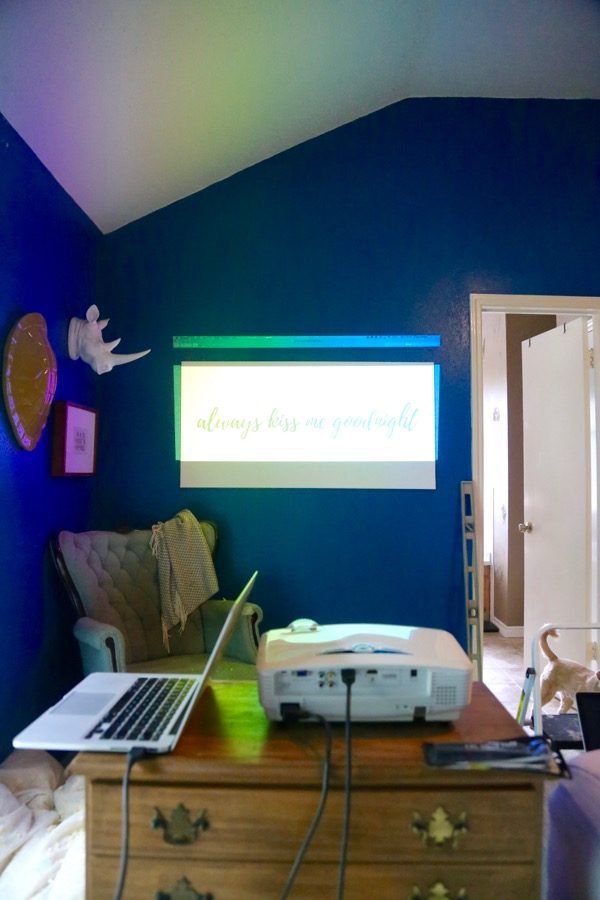
There are several different ways you could tackle this project (like doing a pencil transfer – which I used here, or using vinyl), but we went with a projector. We’ve used this method before in our garage and it’s super easy if you happen to have a projector lying around (for some reason we always manage to have a spare).
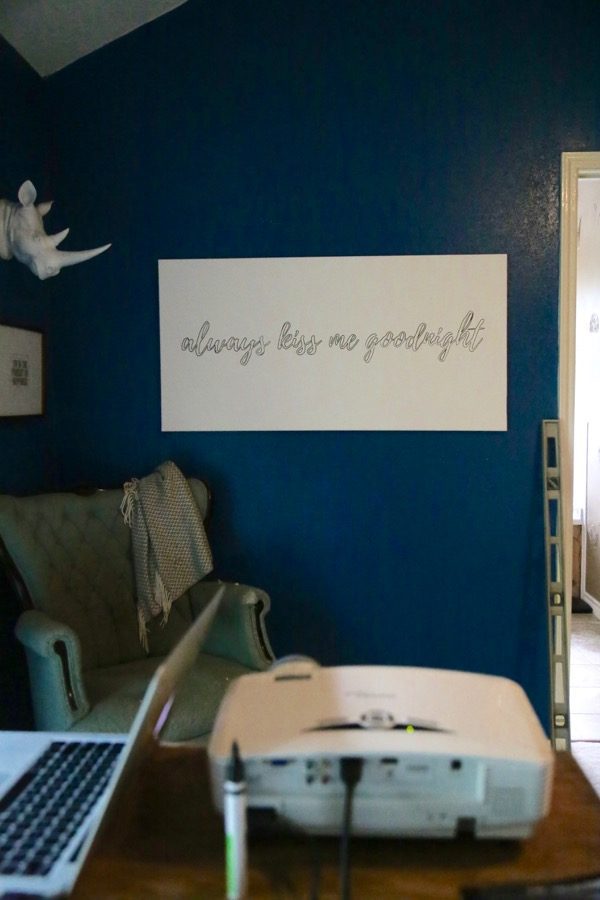
I designed our image using Canva – I just picked a quote and a pretty font (I used Playlist Script, if you’re curious) and made it nice and big so it would fill the whole canvas. Then, I used a paint pen to trace the outline of the letters. You have to be slow and steady with this part – if you aren’t careful you’ll end up with wobbly lines and it will look obviously hand-drawn.
Step 2: Fill letters in with paint pen
Once all of my letters were traced, I turned off the projector and started to fill my letters in. Every few letters, I would step back and make sure it looked okay from far away. Sometimes I had to go back in and smooth out some lines or fill in spots that weren’t dark enough, but it looked better and better with every check!
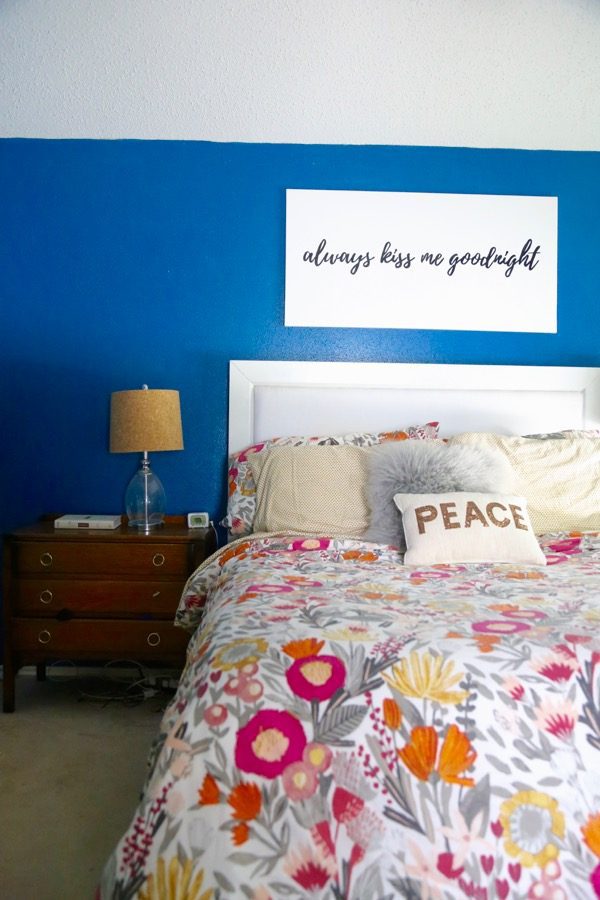
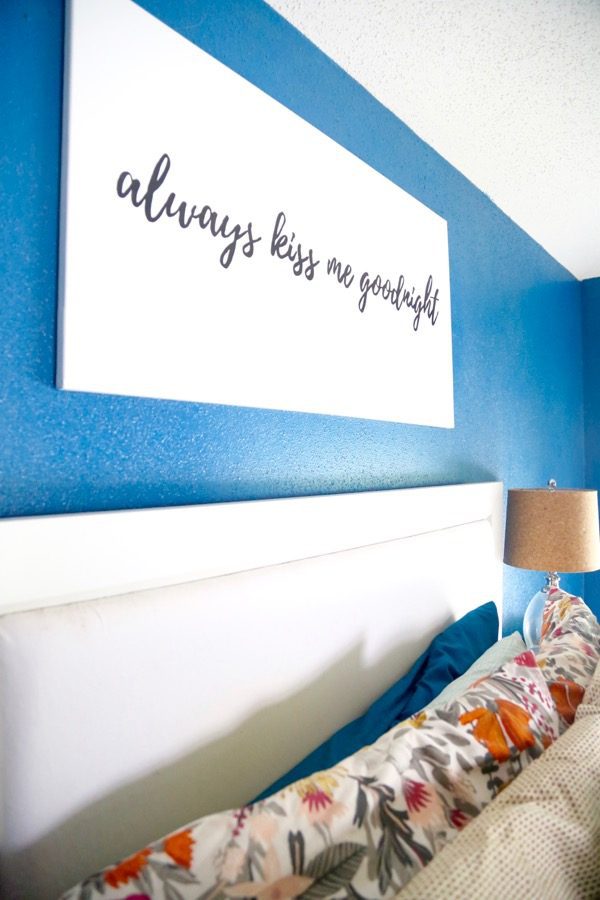
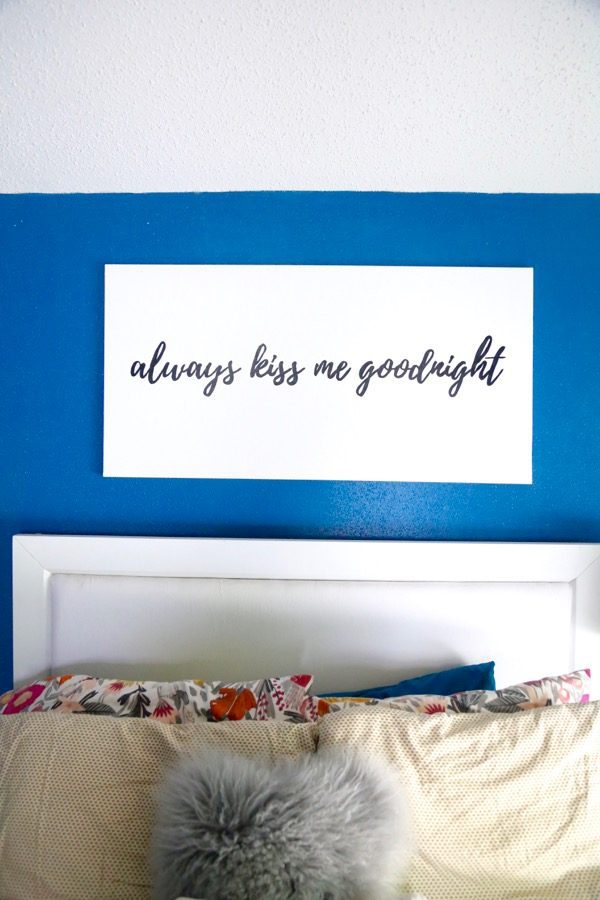
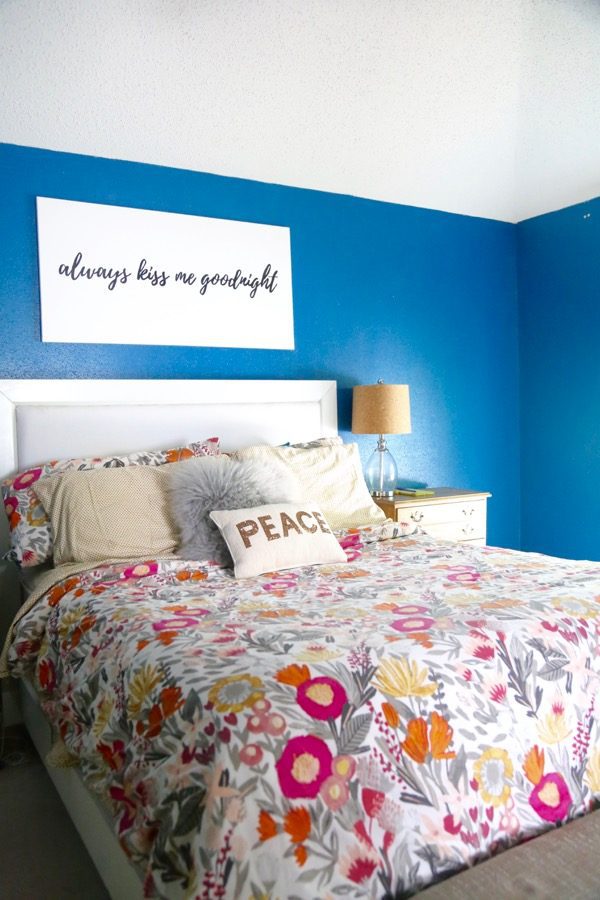
As soon as I was done, we moved it over to its new home and…voila!
It’s amazing, right?
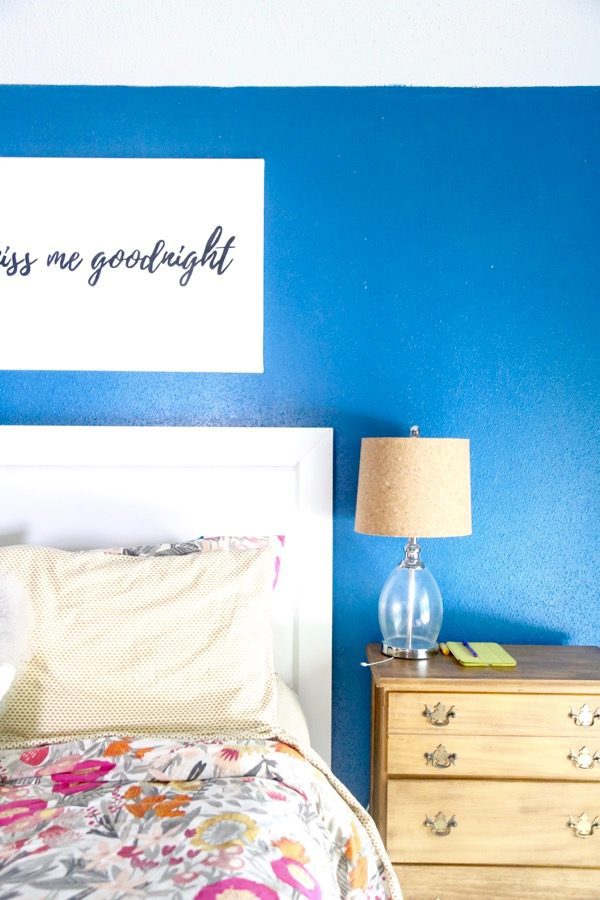
This ended up being the absolute perfect solution for our room – the white space gives your eye a great place to rest since there’s so much color in other places around the room, and I love how the quote pops against the simple background.
Of course, the next piece of the puzzle is a new bed – we’ve been itching to upgrade for a while now, and we’re actively brainstorming and coming up with a plan of attack for what we want to do in here, so keep your fingers crossed that we’ll be sharing a brand new bed by the end of the summer!
UPDATE: Click here to see where our bedroom ended up before we moved out of this house!
I’m so excited to have this crossed off the list! There are still a billion things we want to accomplish in here, but our new art makes me smile every time I walk in the room so I think we’re off to a good start.
Now, I just have to decide what to tackle next…the lamps? The bed? The awkward corner? The nightstands? Help!

What size canvas did you use? What size bed do you have?
Hi Tera! It’s a queen bed, and we used a 24X36 canvas
Great choice!!!!
Thanks, Sara!
This is so smart! We used a projector in our little man’s room when we did the map wall but I never thought to do this!
Thanks, Ashley! It’s my absolute favorite trick, haha