
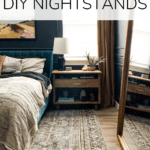
Our DIY Nightstands
I often get asked about the DIY nightstand in my bedroom. They’re something I built shortly after we moved into this house and, shockingly, never put up a full tutorial for! So, this post is lonnnnnng overdue. This DIY project is one that goes slightly above and beyond my typical “even beginners can tackle it!” level of projects. But, that shouldn’t make it intimidating or stop you from trying. In fact, it should be even more reason for you to give it a go. You might surprise yourself.
I created this DIY nightstand design for our bedroom after spending months searching for the perfect nightstand to no avail. I couldn’t find anything that met the criteria I wanted, and I had a very specific vision in mind. So, I sketched it out and had Corey help me come up with a plan to make it happen. This was well before I was out here building fireplaces and backyard play campers, so it was a pretty big deal that I did it.
All that to say, if I can do this, you can do this. Got it? Okay. Let’s get to the tutorial.
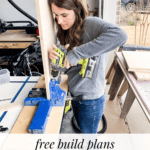
DIY Diary: Video Tutorial
If you like like to watch projects come together renovation-log style, I’ve got you covered! Below, you’ll find a video compilation of all of the Instagram stories I shared from this project. This video isn’t a full tutorial, but should give you an idea of how it all works!
How to Build a Gorgeous DIY Nightstand
Materials Needed
I used primarily pine wood for this project. If you want to use a nicer lumber, you could go for oak or something else. But, the pine has held up beautifully five years in! The materials below are for one nightstand, so double it for two!
The Cut List:
Start off by making your cuts to the following specifications:
- (2) Shelves (Plywood): 30.5” x 15”
- (2) Nightstand Sides (Plywood): 20.5” x 15”
- (2) Long Drawer Sides (Plywood): 29.25” x 4”
- (2) Short Drawer Sides (Plywood): 13.25” x 4”
- (1) Drawer Bottom (Plywood): 30” x 14”
- (1) Drawer Front (Pine): 30” x 5”
- (2) Top Piece (Pine) 35” x 10”
I recommend using a pencil to label each piece with what it’s for, so it’s easier as you work!
The dimensions of this nightstand will be 18.5″ x 35″. You can, of course, adjust the numbers accordingly if you need a different size.
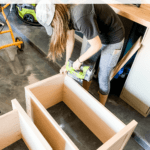
Step One: Assemble Main Box
You’ll start by assembling basically a box for the main part of your nightstand. Begin by adding pocket holes to the two plywood shelf pieces. One of these will become the bottom of your nightstand (which is an open shelf) and the other will be the shelf above the drawer.
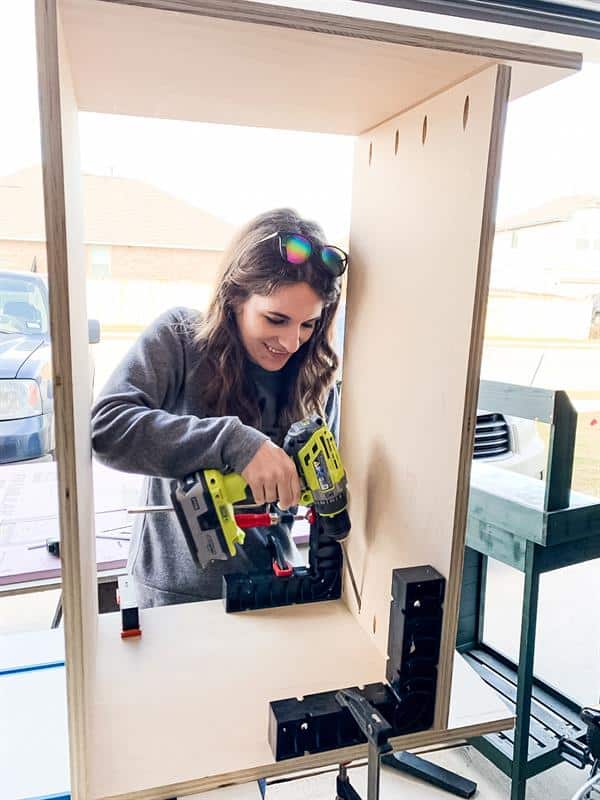
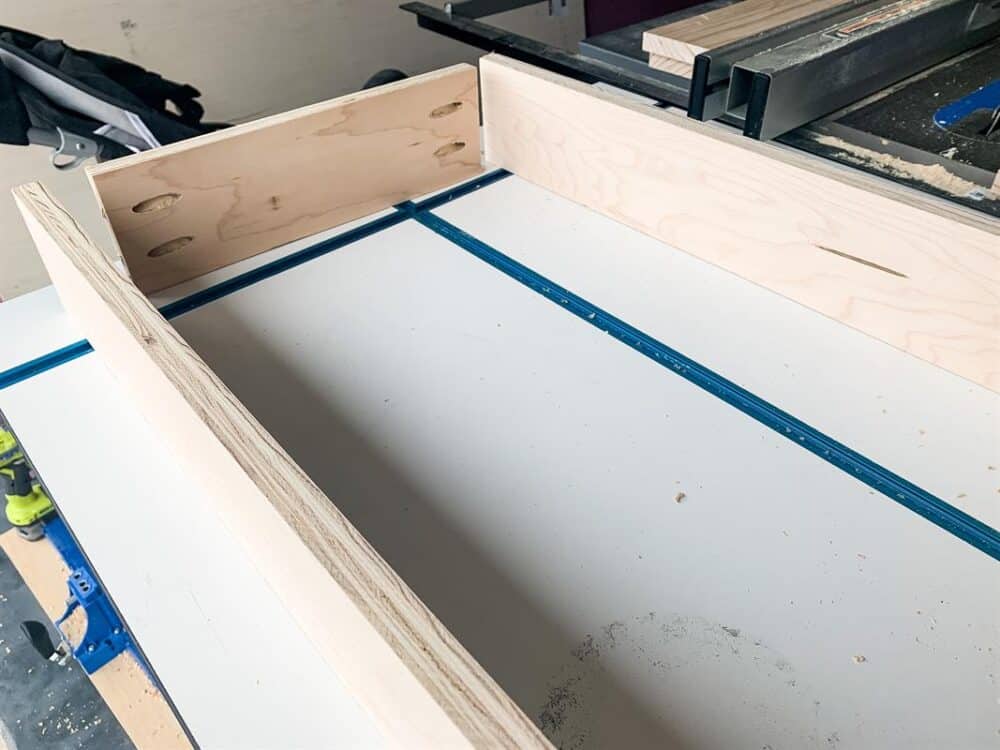
Once the pocket holes are drilled, you’re ready to create your box. Attach one of those shelf pieces to the two nightstand sides using wood glue and 1″ pocket hole screws. This piece should be lined up with the bottom of the sides, as pictured below! I highly recommend using your speed square to make sure it’s all square and straight.
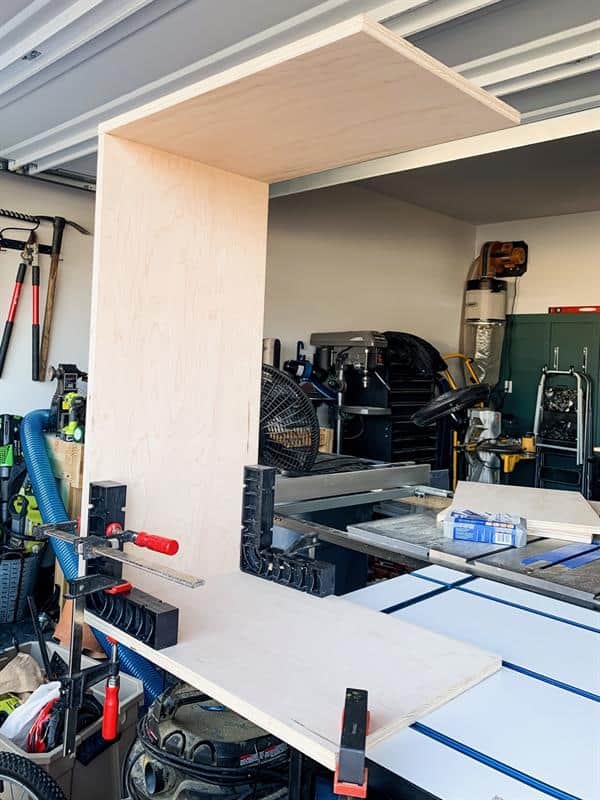
Then, grab the second shelf and attach it 4″ down from the top of your sides. Again, use wood glue and pocket holes here. This will create the shelf. I would highly recommend using some positioning squares and clamps to help hold things in place while you work.
Once you’re done with this step, the nightstand frame should look something like this:
Step Two: Add Trim (Optional)
Now you’ve got the main frame of your nightstand done! Now, it’s time to make things look a little nicer. You’ll start by using the 1×2 pieces to create a box around the edges of the sides. I didn’t include these in the cut list, because I recommend cutting and measuring as you go (to account for any variations in your measuring).
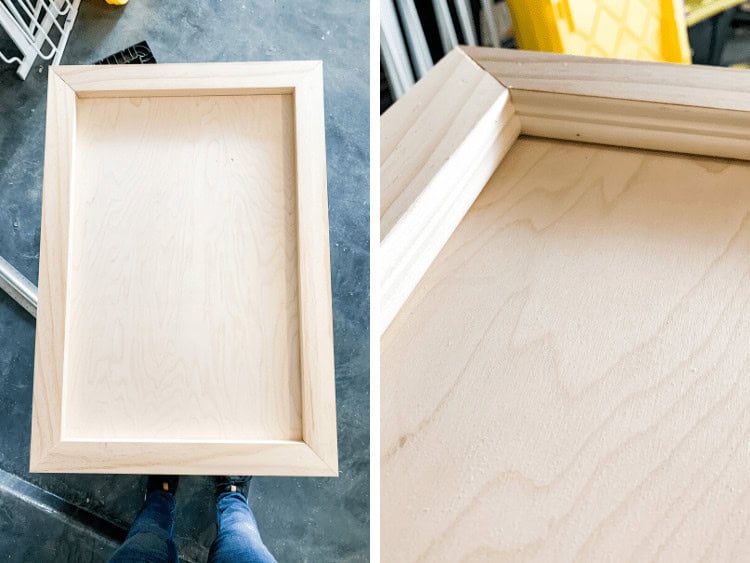
I added a small piece of decorative trim on the inside of the box after installing the 1x2s. This is totally optional, and you can’t even see it with the way my nightstands are positioned. But, I know it’s there and it makes me happy.
To install these, simply measure each side, then cut a piece with a mitered edge to fit. Use wood glue and finishing nails to attach. Do the same thing with the decorative trim, if you choose to add it.
Once you’re done, cut another two pieces of 1×2 pine boards to fit over the exposed edges of the plywood on the front of the nightstand. This really helps everything look a lot more polished!
For the shelf and bottom of the nightstand, I used the table saw to rip the 1X2 down to ¾” so it perfectly covered the plywood without leaving a lip. This isn’t a requirement, though!
Here’s a closer look at what I’m talking about here:
Step Three: Build + Install Drawer
Now you’re ready for the drawer! This is arguably the hardest part of the entire build. Just take your time and go slow and you’ll be okay. I promise it’s worth it for the extra storage it adds to your nightstand!
Here’s the process for building a drawer:
- Use pocket holes to attach the two short sides of the drawer to the two long pieces. This will form a rectangle.
- Once you’ve got your rectangle, attach the 1/4″ drawer bottom piece to the drawer using wood glue and finishing nails.
- Attach the Pine drawer front to one long side of your drawer using 1″ screws. Drill from the inside of the drawer so your screws aren’t visible.
- Then, follow the directions that come with your drawer slides to install the drawer. You want it to sit flush with the front of the cabinet.
It sounds simple enough, right? I promise you’ll run into some frustrations, so just prepare yourself. Drawer boxes can be finicky and they have to be very precisely made in order to slide smoothly. Don’t give up. You’ve got it.
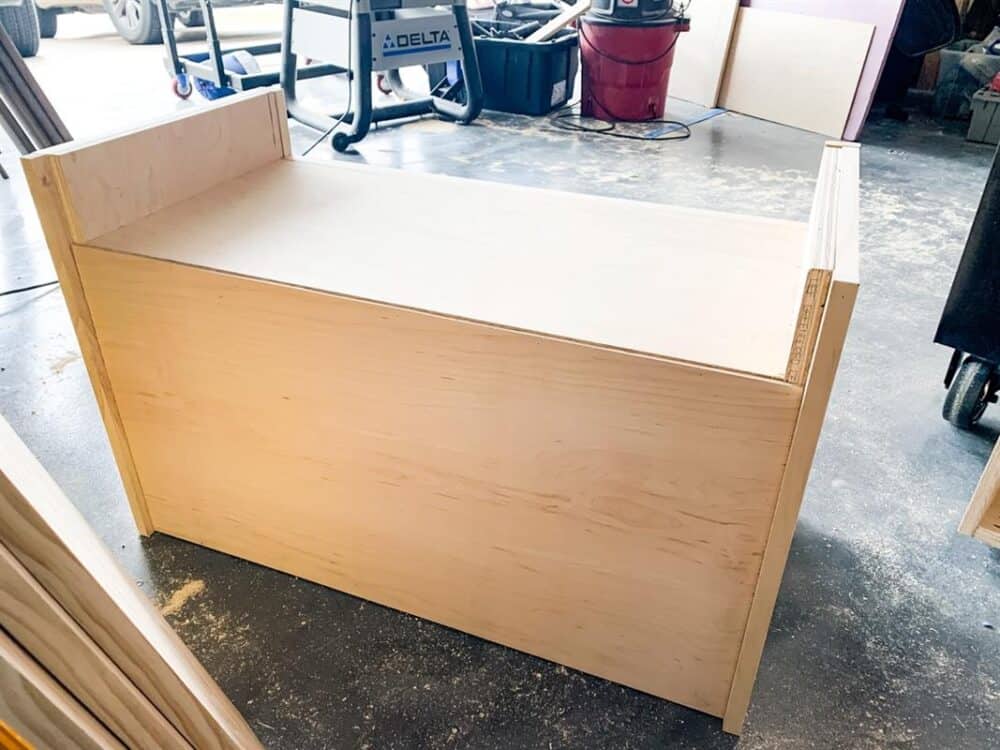
Step Four: Attach Backing
You’re so close to the finish line! This DIY nightstand is almost done, and the rest of the project will be easy. Promise.
Now, it’s time to attach a backing to the nightstand. This isn’t a requirement but it makes things look a lot more polished and can help hide cords! This is another piece I didn’t provide measurements for in the cut list. You’ll want to measure this based on your actual drawer to account for any small variations. Just measure the size of the entire thing so far and cut a piece of 1/4″ plywood to fit. Then, use wood glue and finishing nails to attach it to the back of your nightstand.
Step Five: Assemble & Attach Top of the DIY Nightstand
Next up, it’s time to create the top of your nightstand. I used pocket holes to attach two of the 1×10 pine boards together for this. It’s super simple, and looks completely seamless if done properly.
Drill 5-6 pocket holes in the side of one of your 10” x 35” pine boards. Then, use wood glue and pocket hole screws to attach it to the other piece to create one large tabletop. Let this dry and set fully before attaching it to the nightstand!
When it’s ready, use wood glue and finishing nails to attach the top piece to the base of the cabinet, centering it so that the overhang is equal on all sides. Use clamps or heavy objects to hold it steady while it dries.
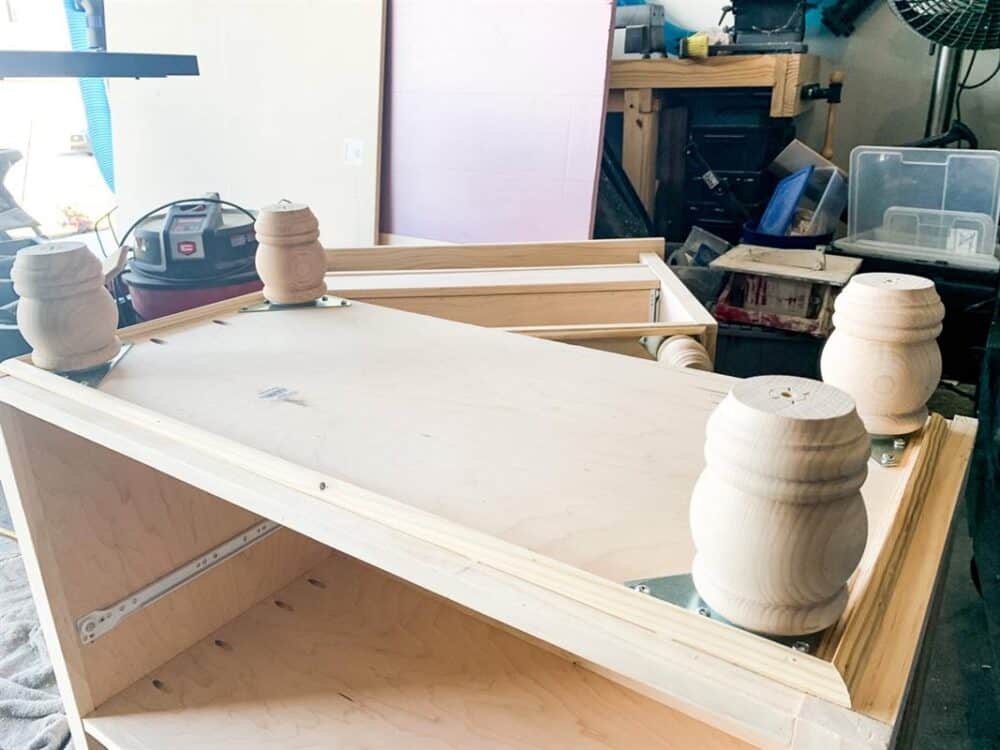
Step Six: Add Furniture Legs to Your Nightstand
And now the final piece to assembly – adding your legs! I used pre-made furniture legs here, because they take things up a notch and feel really custom. Use the furniture leg brackets to attach the four furniture legs to your piece. I installed them about 1.5” in on all sides. If you’d like, you can cover any gap between the leg and the nightstand base by adding corner round just in front of the legs, as shown in the image below. It makes things look just a little more polished, and those small details add up!
Step Seven: Sand and Stain or Paint!
And just like that, your DIY nightstand is complete. You did it! The final step is to thoroughly sand the whole thing down and finish it off.
When sanding, I highly recommend you use an orbital sander. Start with 180-grit sandpaper, then work your way up in grit slowly. You should sand the entire thing multiple times – with 180, then 220, then 400. This will create a really smooth and beautiful finish.
I stained my nightstands with a custom combo of stain. But, a close match to the color I used would be Varathane’s Early American.
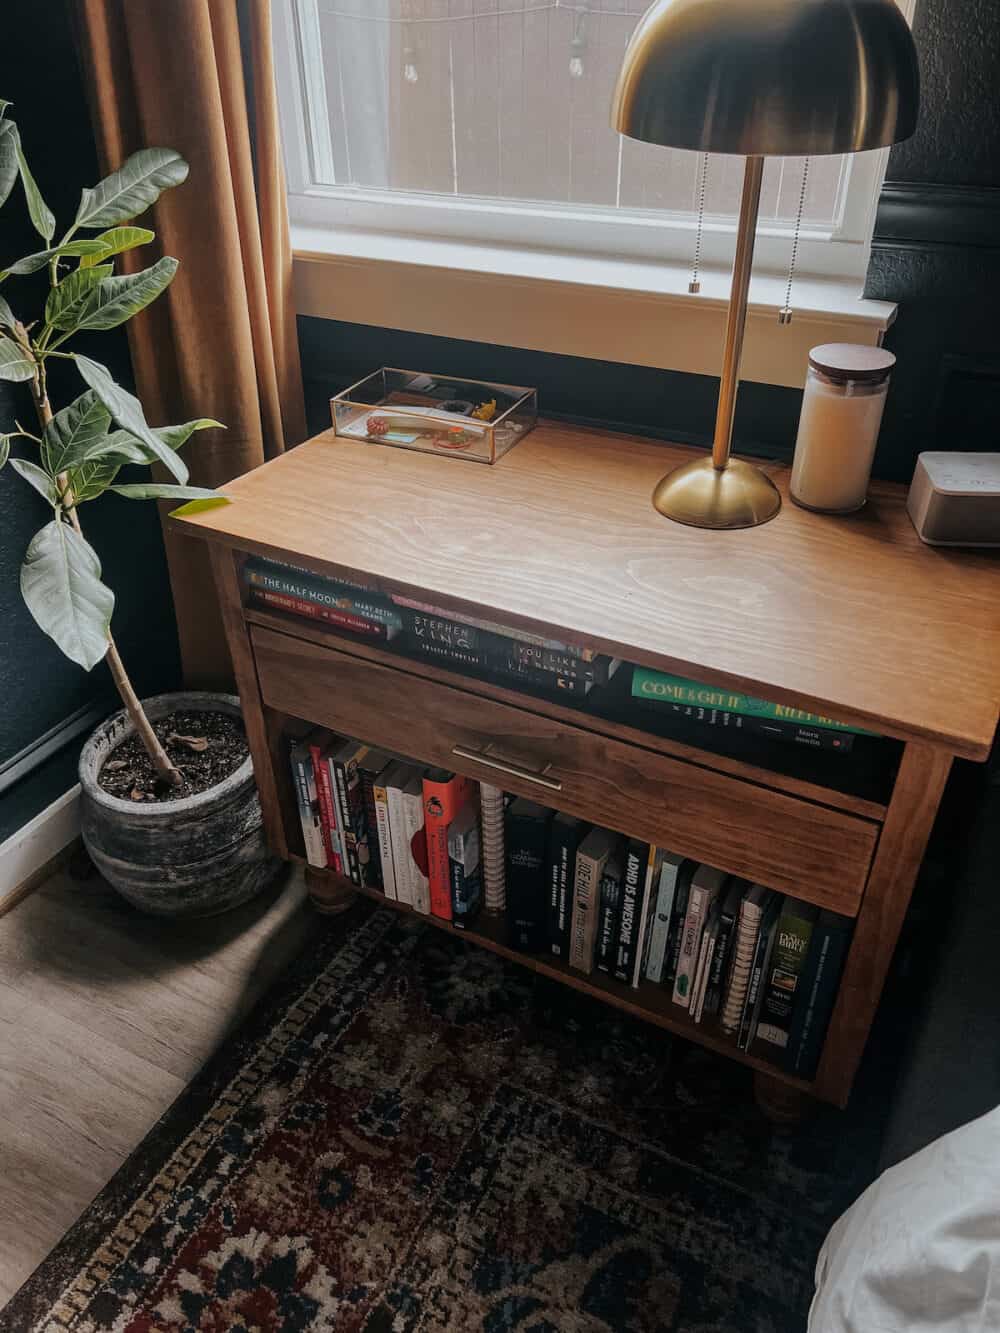
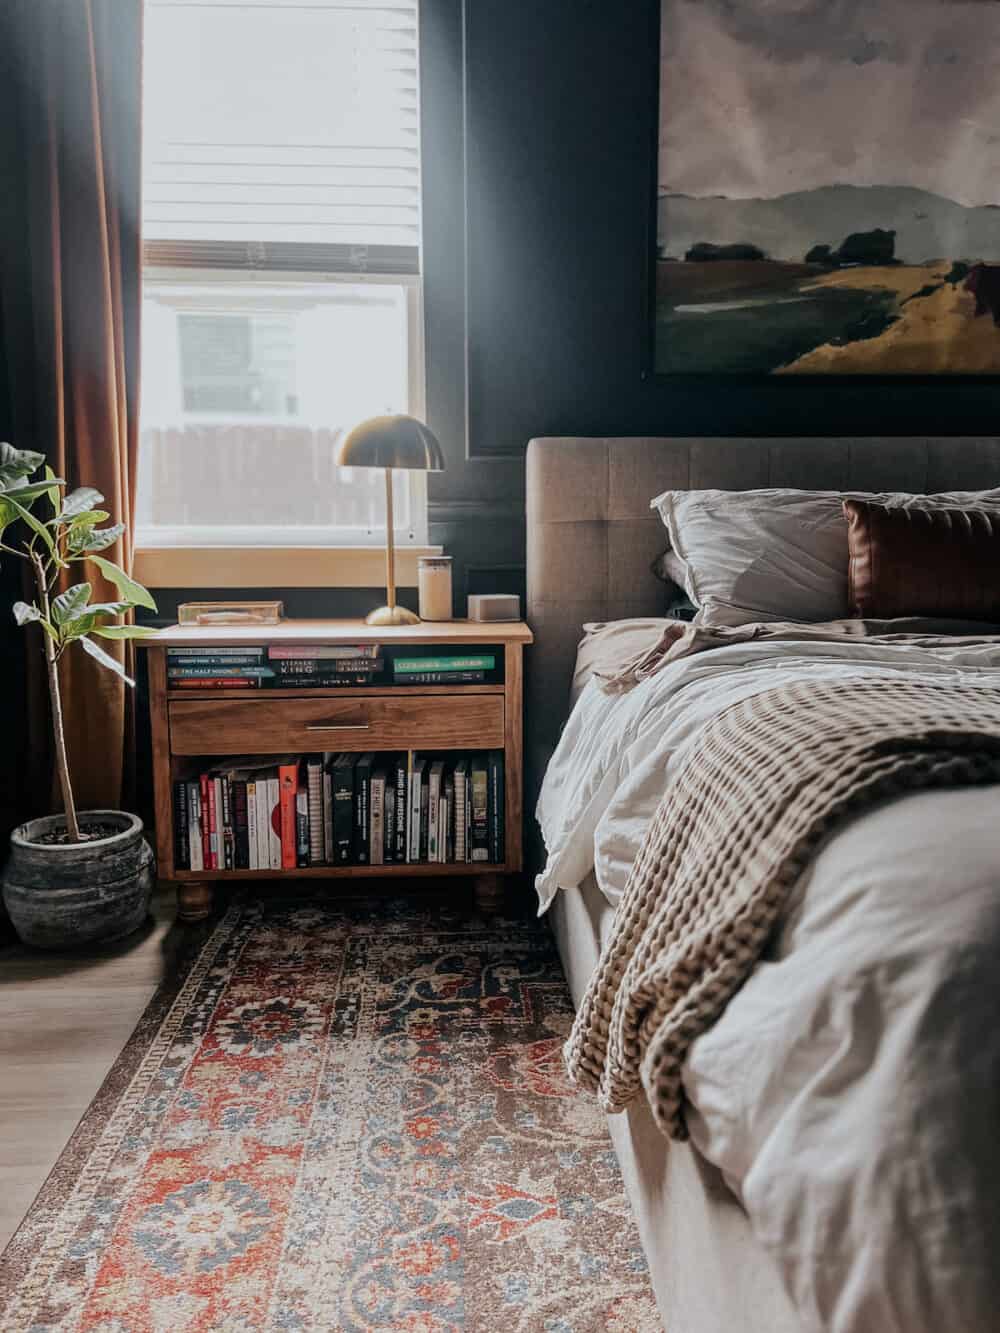
These nightstands have been going strong in our bedroom for 5 years now, and I still love them. They’re classic and beautiful, they plenty of storage space, and they’re unlike anything I can find anywhere else. I think they’ll be heirloom pieces that stick with us forever, to be honest!
I can’t wait to hear if you give this DIY nightstand build a shot. Be sure to let me know if you do!
What is the dimensions of the nightstands. BTW they are Georgous!
What stain did you use on these it looks amazing
I’m so impressed and excited for you all that you opted to work in your master suite first. People usually put the master last on the list but doesn’t it make a difference to have a sanctuary to enter into each evening!!??!!?? It has to give you renewed energy for the rest of your projects as well as your main job of mom-ing the heck out of those cute boys! Congrats!!
Thank you! And yes, it has been SO nice to focus on our bedroom this time around. It’s my favorite spot in the house!
Wow they turned out so well!!! They look super expensive and really do complete the room. Well done!!! I’m so proud of you
Thank you so much!
The nightstands are beautiful! What an accomplishment. Love how the whole room looks.