DIY Picture Frame Moulding in the Master Bedroom
One of the very first projects I tackled in this house when we moved in was to add some DIY picture frame moulding to our bedroom. Four and a half years later it’s still one of my very favorite things we’ve done, and it brings me so much happiness every day.
I can’t overstate how much of a difference it makes in your home to add trim and molding throughout the rooms. It brings in texture and interest, makes the space feel cozy, and just generally makes everything better.
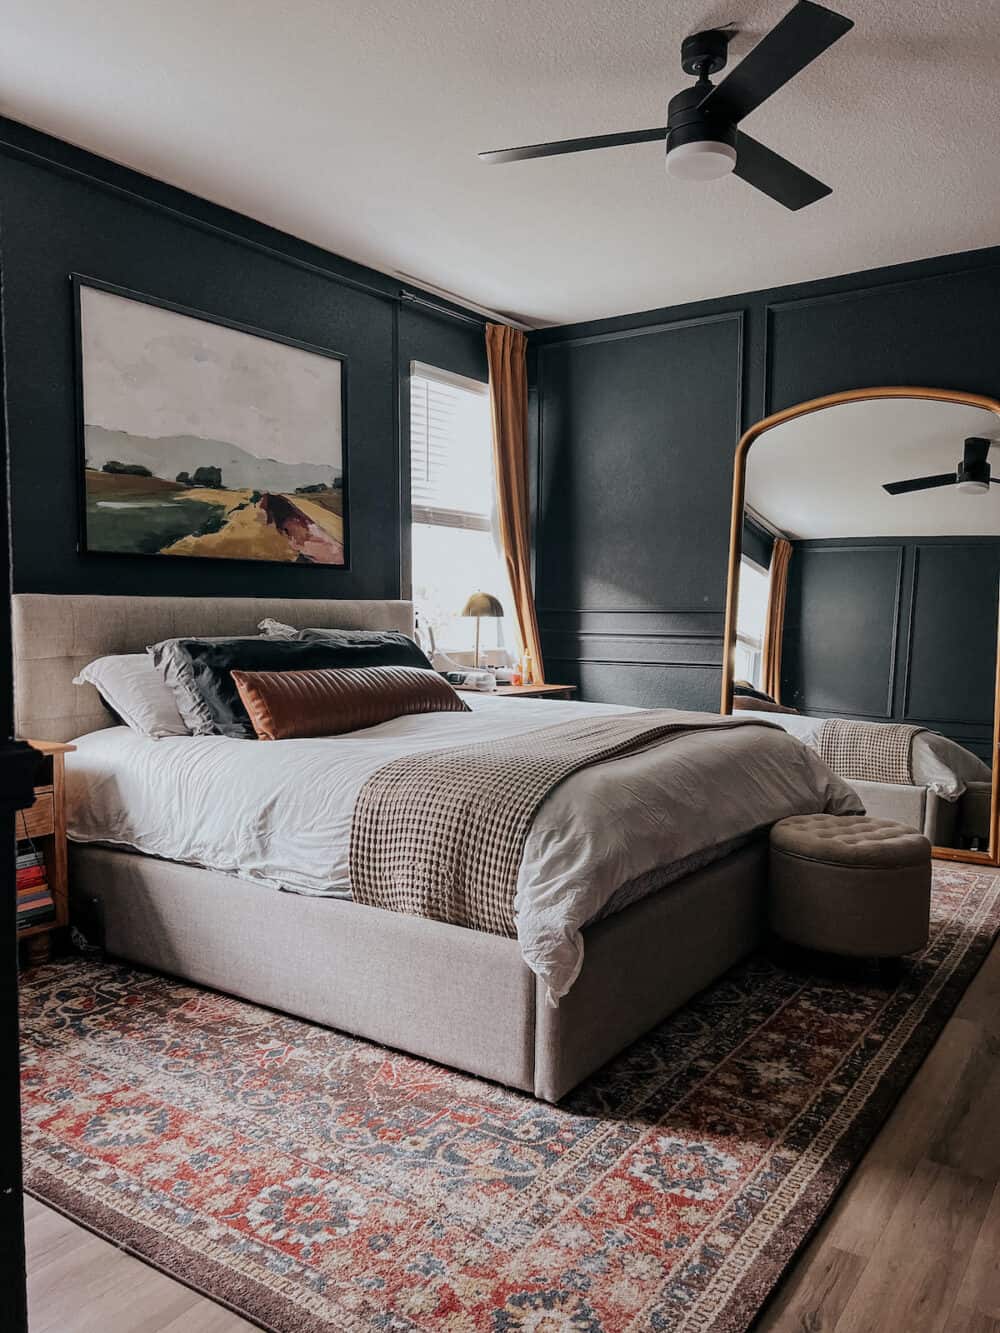
I don’t know that I really even have the describe the vibes in this room with the molding.
Magical. Moody. Sexy (?!). Amazing.
None of them seem quite right to describe what’s happening here.
It’s safe to say I’m over the moon about how my big master bedroom picture frame moulding project turned out, and I still pinch myself every time I walk into our room. Is this space really mine?!
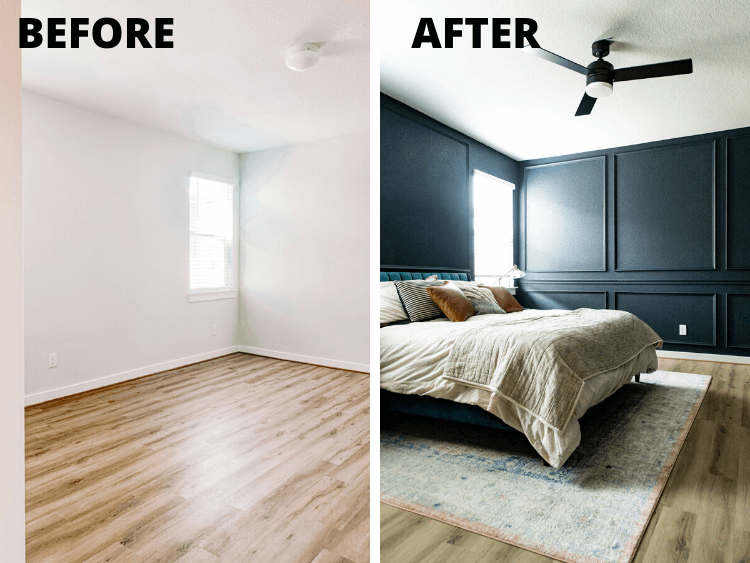
Are you ready to learn how you can get the look yourself?! Today I’m sharing all of the details about how I installed this DIY picture frame moulding, plus some tricks I used to make the job way easier.
FAQs About the Paint Color
First of all, let’s take a moment to talk about the paint job. There have been about 7.5 million questions about the paint color I used in here and the tools I used to make the job easier, so I want to make sure that’s covered up front!
What color did you use?
The walls and trim are painted Ink Black by Behr in a matte finish. It’s one shade darker than Calligraphy, which is the color we used (and adored) in our last master bedroom and it couldn’t possibly be more perfect.
What about that tool you painted with?
I used my handy Wagner SMART Sidekick Power Roller to paint our master bedroom, and the questions about it were rolling in constantly as I was working. I heard from many of you who purchased it that very day because you could tell that it was going to be life-changing.
And, I’m telling you, it IS!
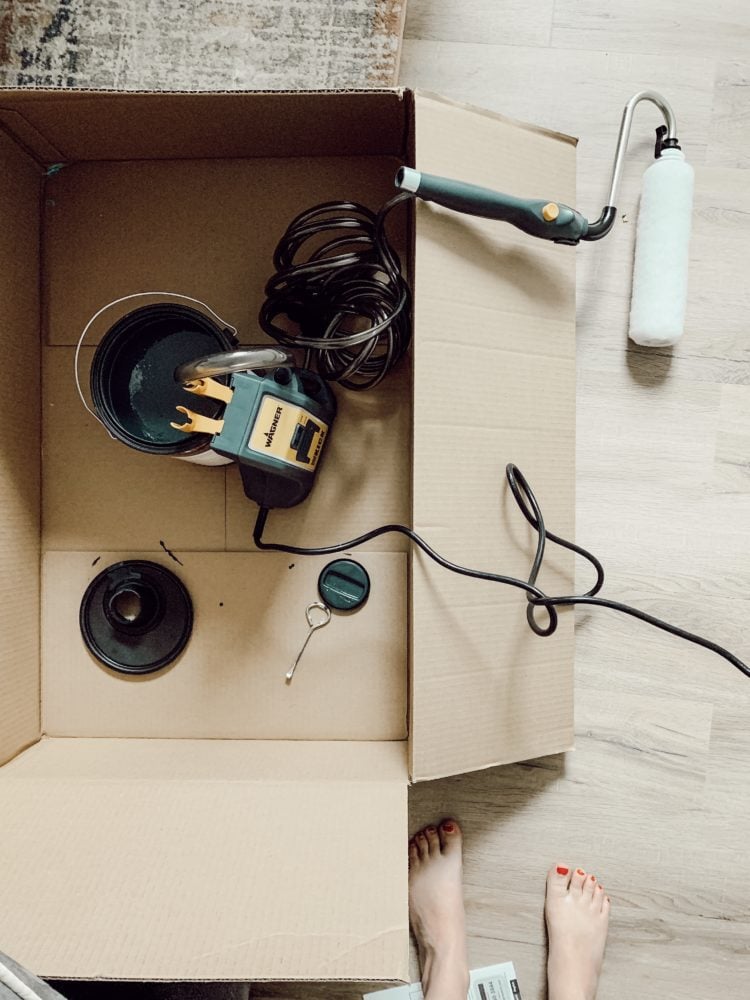
You can read all about the Wagner Sidekick and how to use it right here, and you can get all of my very best tips for how to paint a room right here. It’s a complete guide that should answer every question you could possibly ever have about painting a room.
I highly recommend painting the entire room before you get started on adding the trim, and also pre-painting the trim before installing it.
Once your room is painted – you’re ready for the fun (also, exhausting) part. Let’s install some picture frame moulding!
How to Install DIY Picture Frame Moulding
Materials Needed
*A note on choosing trim: You can choose either pre-primed trim made of PVC, or a wood trim like walnut or maple for this. You’ll spend more money if you choose an unfinished, wood trim. However, it allows you to choose your own finish if you prefer a wood look. Raw wood mouldings can be incredibly expensive, so plan ahead and budget accordingly!
Step One: Purchase + Paint Your Trim
You may be wondering how to know exactly how much trim to purchase for this project.
Honestly? I’m not sure I can give you a straight answer. For the chair rail, it’s easy to just measure all of the walls, add it up, and get that amount of trim. For the boxes, however, things get more complicated.
If you’re a planner, I recommend planning out each wall, measuring everything, and purchasing the correct amount of trim plus about 10-20% extra for mistakes/scraps. However, if your brain works more like mine and you need to take it one step at a time, I’d recommend estimating an amount you feel is probably close to appropriate. Get a rough estimate and purchase that amount, then go back and get more as needed.
For me, at least, that method made the most sense and kept things from feeling too overwhelming!
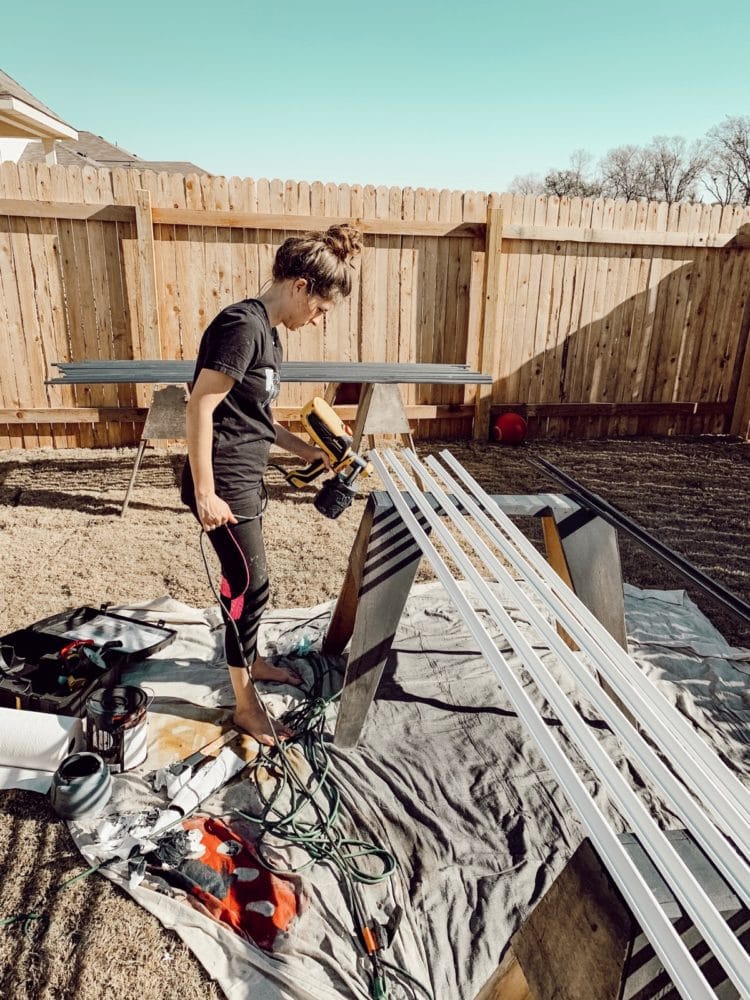
Once you’ve purchased your trim it’s time to paint it! I highly recommend using your paint sprayer to paint all of the trim before you cut and install it. I tested it both ways (painting before installing and painting after), and found that it was so (so!) much faster to paint it first.
To paint the trim, I used my Wagner FLEXiO 3000 outside before I made a single cut. I just laid them out next to each other on two sawhorses and worked in batches. It only took me about 20 minutes to paint 15-20 pieces of trim at a time.
Step Two: Install the Chair Rail
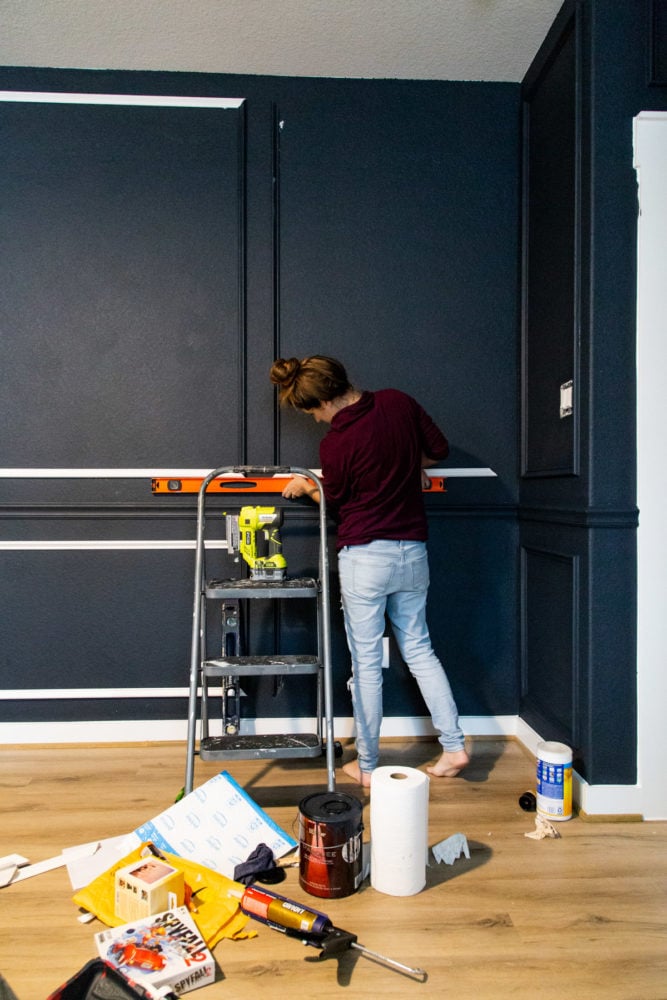
My first step was to install the chair rail all around the room.
The general rule of thumb for your chair rail height is to install it about 1/3 of the way up the wall. So, if you have 9 foot ceilings (which we do), then you’ll want your chair rail to be somewhere around 36″ off the ground. There is no right or wrong way to do this – just choose a height that looks the most pleasing to your eyes!
Start installing your chair rail in one corner of the room. Cut one end of your trim at a 45-degree angle (learn more about mitered edges and how to use a miter saw right here), use a pencil to make a small mark on your wall where you want the bottom of the chair rail to go, and use your level to help ensure you install it straight. We used this laser level to draw a level line and get the chair rail started, but a laser level definitely isn’t necessary.
For installing the chair rail, I simply used my caulk gun to apply liquid nails to the back of my trim, then pressed it into place (use your level to keep it straight!), and used my nail gun to nail into the studs whenever possible.
Step Three: Measure + Plan
For the picture moulding around the room, I recommend you take it one wall at a time. I found that it was easiest when I just focused on the room by sections rather than trying to do it all at once. So, I’m going to walk you through the entire process for one wall, then you’ll just take it and repeat for each wall you need to cover in your room!
Your very first decision for this project is what you want your spacing between your boxes to be. This is a completely subjective choice and totally depends on what you personally prefer. We chose to go with 4″ spacing (both between the boxes and between the boxes and the chair rail), but some people prefer a wider spacing for their trim. Play around with holding your trim up at a few different distances to see what look you like best!
Once you’ve determined your spacing, you’re ready to plan out your boxes.
I found it worked best for me if I drew out one entire wall at a time as I planned the layout.
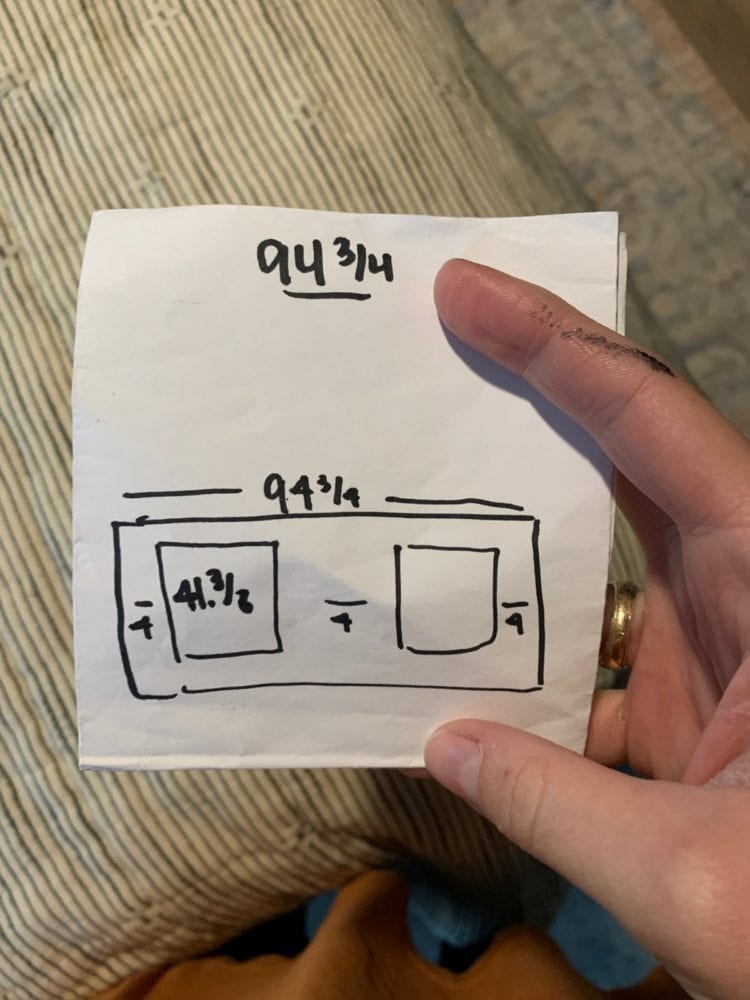
Determining Sizing for the picture frame boxes:
- Determine the height of the bottom box by measuring the distance between the baseboard and the bottom of the chair rail. Subtract your spacing times two. For example, if the bottom of your chair rail is 33″ from the baseboards, and your spacing is 4″, your bottom boxes will be 25″ tall (33″-4″-4″=25″).
- Determine the height of your top box by measuring the distance from the top of the chair rail to the ceiling. Subtract your spacing times two. For example, if the distance from the chair rail to the ceiling is 69″, and your spacing is 4″, your boxes will be 61″ tall (69″-4″-4″=61″).
- Determine the width of your boxes by deciding how many boxes you want on each wall (remember, there’s no right or wrong answer – it’s just a matter of how big you want the boxes to be!), measuring the entire width of the wall, subtracting your spacing, and dividing by the total number of boxes. For example, if your wall is 120″ long, you want 3 boxes, and you have 4″ spacing, each box would be about 34.5″ wide. (120″-16″=104″ and 104″/3=34.6″)
Hopefully the image above with the drawing helps make some more sense of this! The math can be a little overwhelming, so I also walked through this process in stories. Watch the video below if you’re still confused.
Step Four: Cut + Install Your Boxes!
Once you have your spacing for your wall, you are ready to use your miter saw to cut the boards to the appropriate lengths.
Be sure to use a mitered edge on each end (so they fit together like a picture frame), and be sure to measure your boards from the longest part of the mitered edge.
To install the boards, I recommend using a spacer board. Cut a piece of wood to the spacing you want between each board, then hold it against the chair rail (or the other boxes) to help you space out your boards. For the bottom boxes, I recommend starting with the top piece and working your way down to the vertical pieces. Then, do the opposite for the upper boxes!
Start by nailing in the top piece, making sure it’s fully level. Then, add the left piece and right piece, nailing only at the top so you have some wiggle room. Finally, add the bottom piece in and adjust everything so that it fits together nicely. Once everything is all lined up how you like it and looks good, you can nail it in the rest of the way!
You can also use painter’s tape to help you hold the trim pieces in place as you work and adjust!
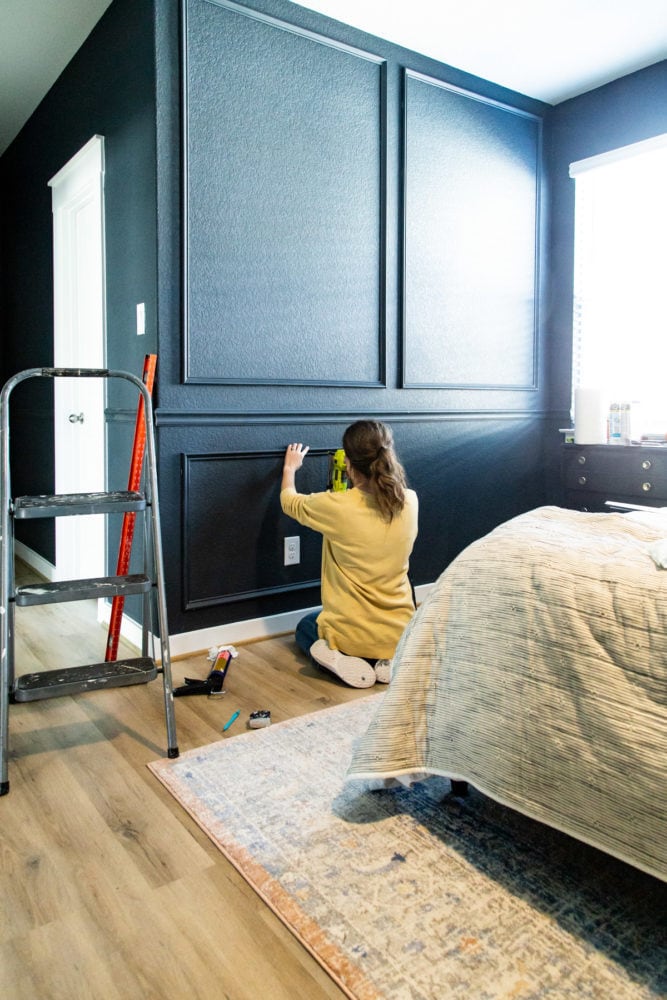
Here’s another video that will help you walk through this process if you’re struggling!
Step Five: Caulk + Patch
After you’ve installed all of your boxes on the wall, you’re ready for the finishing touches. I had a few people ask me if caulking was necessary, and my answer is yes! If you’re going to go through all of the trouble of installing this trim, you absolutely should take the time to caulk and patch everything for a super professional finish.
Your walls are almost never fully flat and straight, and neither is most trim. As a result, there will be some minor spacing between your boards and the wall (and it will vary along the wall as the drywall dips in and out). Caulking hides all of those little gaps and provides a really polished-looking result.
Simply run a bead of calk along where the board meets the wall, then drag your finger over the caulk line to level it out and press it into place. You can wet your finger beforehand to help keep it less messy. Keep a paper towel or baby wipe on hand to clean off your finger as you work. I promise, it takes less time than you might think! Click here for a detailed tutorial on how to use caulk!
I also used wood filler on all of the seams where the boards meet each other to hide any imperfections in my mitered corners. You’ll also use wood filler on the nail holes to help them blend right in. Click here for a detailed tutorial on how to use wood filler.
Step Six: Touch Up Paint!
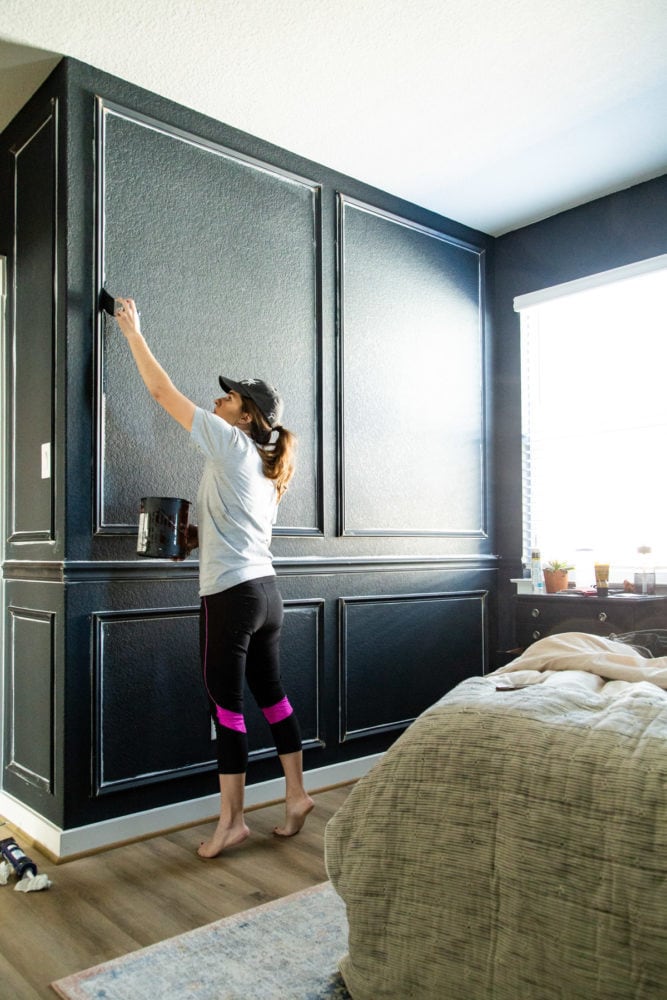
After your caulk and wood filler has fully dried, you can use your paint brush to touch up the paint. You’ll want to paint over all of the caulk and wood filler, and it’s also a good time to get a close look at your walls and paint any spots that need touch ups (you know, since your face will be up close and personal with the drywall as you work!).
I found that I only needed one coat of paint to cover up the caulk, and it went really fast with my brush.
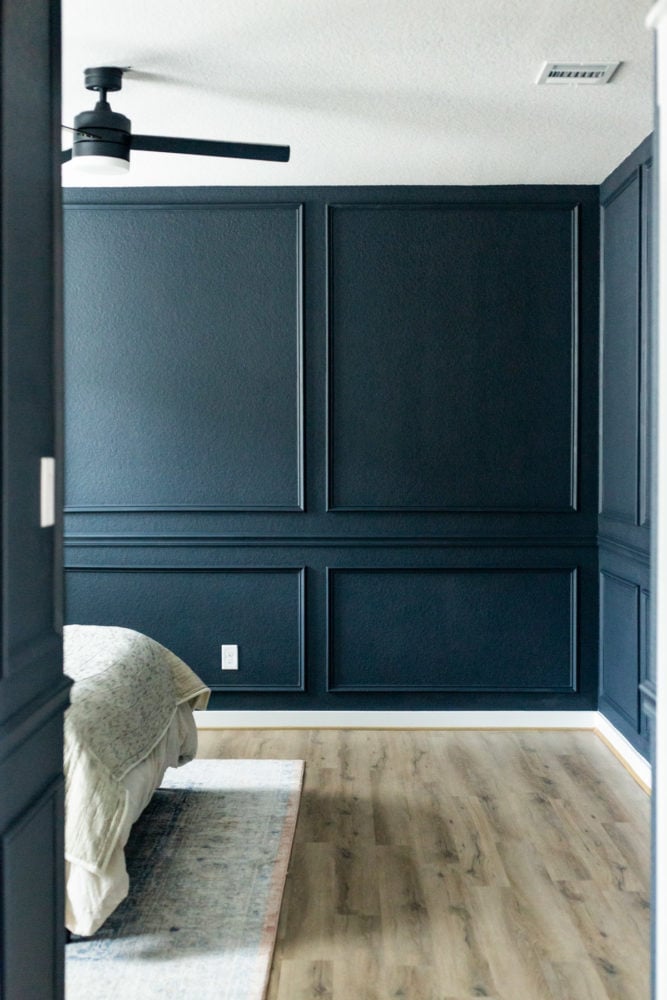
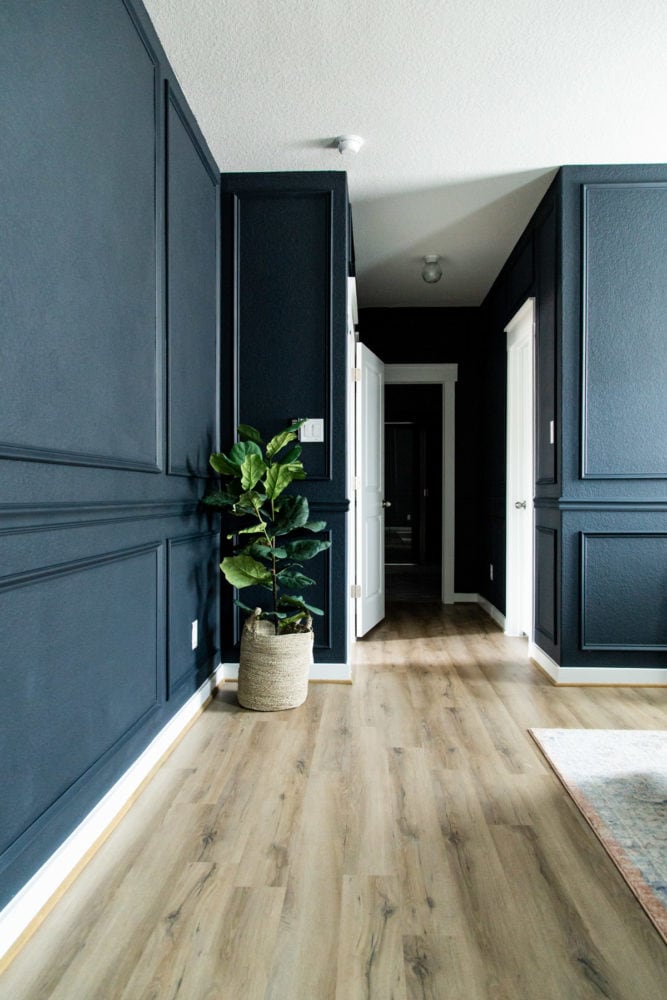
And that is all there is to it!
Hah. I know. It’s not simple. Or quick. Or cheap.
But my goodness, is it ever worth it. This beautiful picture frame molding would look great in a living room, a staircase, or a dining room as well, and I am already thinking of all the other places I can try this!
Want to see what our room looks like with

Beautiful work! Question – do your walls have a texture to them? I’d love to try this in my room but my walls have a soft orange peel texture and I’m worried it would look bad. Thanks!
Hi! Yes, we have a knockdown texture on our walls, very similar to orange peel
It is unfortunate that you have let one small detail destroy all of your hard work. Instead of loving what should should have been a great looking room not to mention fantastic photos, all i could do was stare at those glaring, jarring, and completely distracting bright white outlets, switches, and plate covers. Call an electrician and have them changed out for grey or anything that isn’t such a stark contrast
Wow, Kenneth, strong feelings much? They’ve since been upgraded – this isn’t HGTV and we don’t always do everything at once. 🙂
Hello! Love this room so much! Wondering if you used the same matte sheen for the trim/molding or if you went for eggshell or something with more sheen?
Hi! It’s all the same sheen – but that’s 100% a personal preference. You could do a different sheen if you like that look!
Love your wall color choice and this tutorial! About how much did it cost you if you don’t mind me asking? Thank you in advance 🙂
It was around $300!
I absolutely love what you did to your master bedroom. My I ask the color that you used?
Hi! It’s Ink Black by Behr
Its so classy &stunning & I just can’t say enough! Question…the black painted walls…does it need to be a large room? I have a good sized master with windows that get afternoon & evening west sun. BUT I have the 80’s cathedral ceiling in bedroom & bath! will that open up room enough or too much?
Definitely not! I think this color would be beautiful in a smaller room, too.
I, too, watched you complete this amazing project on Insta stories. I really appreciate you posting on there, and doing this complete post here. I’ll refer back to this for sure! Also, I’m the painter in my family, and I think you’ve convinced me to try a power roller!
I absolutely loved watching this progress over Instagram. Looking at the photos on big scale, I’m wondering if you are considering getting wooden outlet covers to paint so they blend in?