
How to Replace an Interior Door
I’m slowly working on replacing all of the interior doors in our house, and today I’m sharing a full and detailed tutorial for how to replace an interior door!
It’s been quite a while since we lived in an older house, but one thing I remember about the last time we did is that it is really easy to put off some of the basic upgrades. Things like almond-colored outlets, ugly interior doors, and dated light fixtures can get ignored for a long time. But, they’re also some of the upgrades that make the biggest difference in the feel of the house! So, this time around, I’m trying to be really intentional about them.
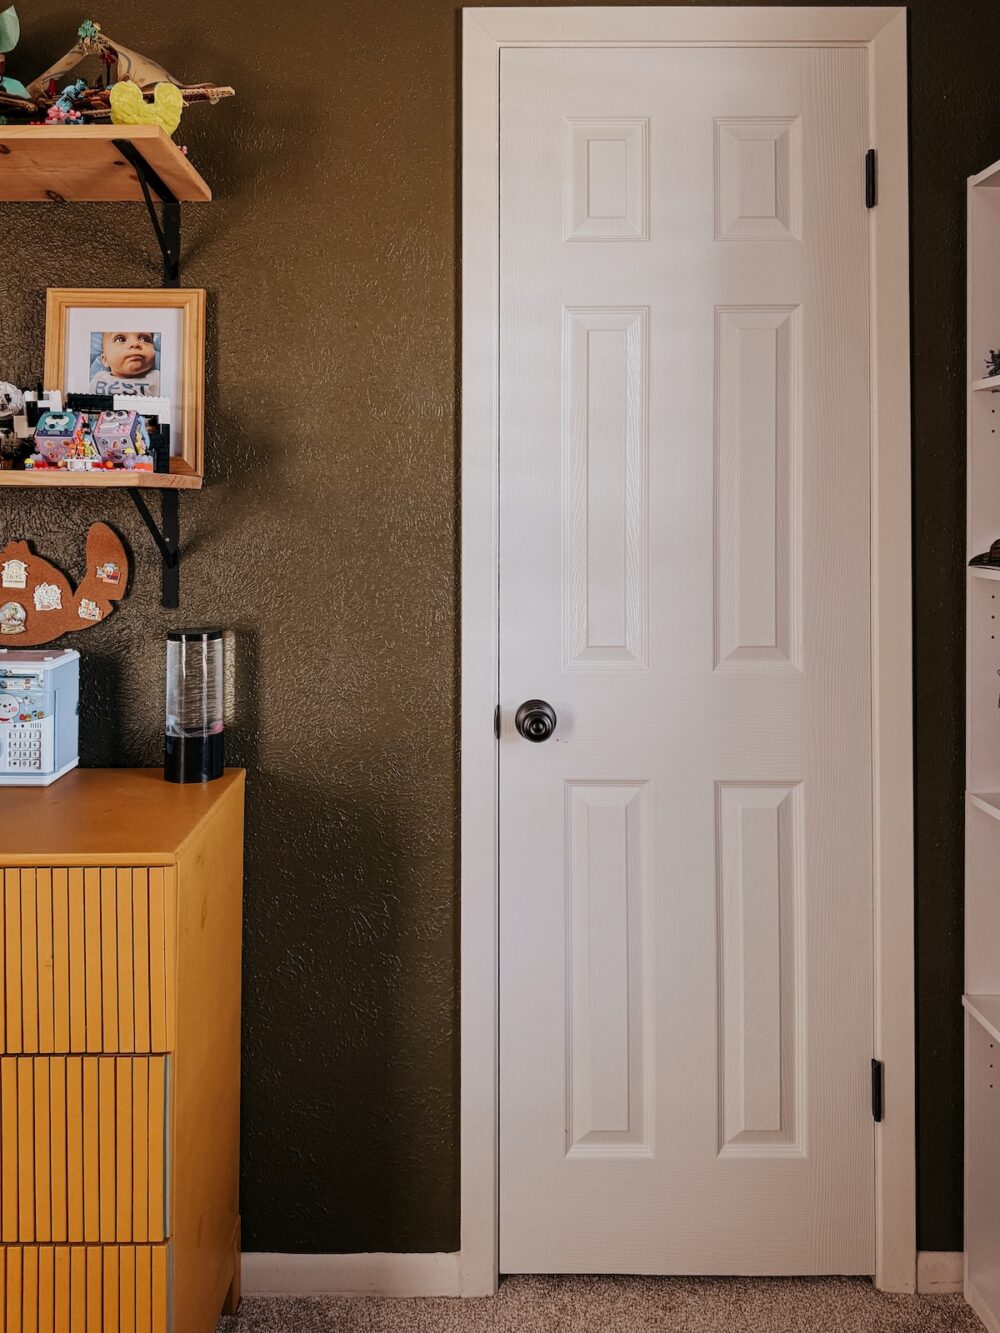
As I work on painting rooms in our house, I’m working to also upgrade outlets, doors, and other little details. So, since both boys rooms have been recently painted, it was time to replace their old, ugly slab doors!
How to Replace an Interior Door
I’m no professional, but I replaced four interior doors this month so. Ithink I’ve got the process down! Here’s a detailed look at what I did.
Replacing an Interior Door: Video Tutorial
First up – a video tutorial! This shows the process from start to finish. If you’re a visual learner, I recommend you watch this, then read on for the details!
Measure and Prepare
The first thing you’ll want to do is measure the width of your doors and choose your replacement doors. The doors to their bedrooms were 32″, and the doors to the closets were 24″.
I went with this 6-panel interior door. It’s a super affordable hollow-core door that looks high-end but won’t break the bank. My favorite combo! The total cost to replace four doors was $287. It’s not cheap, but it was more affordable than I expected!
Once you’ve chosen your doors and purchased them, you’re ready to get going.
Removing the Old Door

Removing your old interior door is really simple. Just grab a hammer and something small and round that will help you pop the hinge pin out. I used a nail setter, but they also make tools specifically for removing hinge pins.
Once you pull the pins out, the door should pop right off!
Remove the screws from the hinges and pull the hinges off, then remove the door knob and set it aside. You can re-use it on the new door, if desired. That’s what I did!
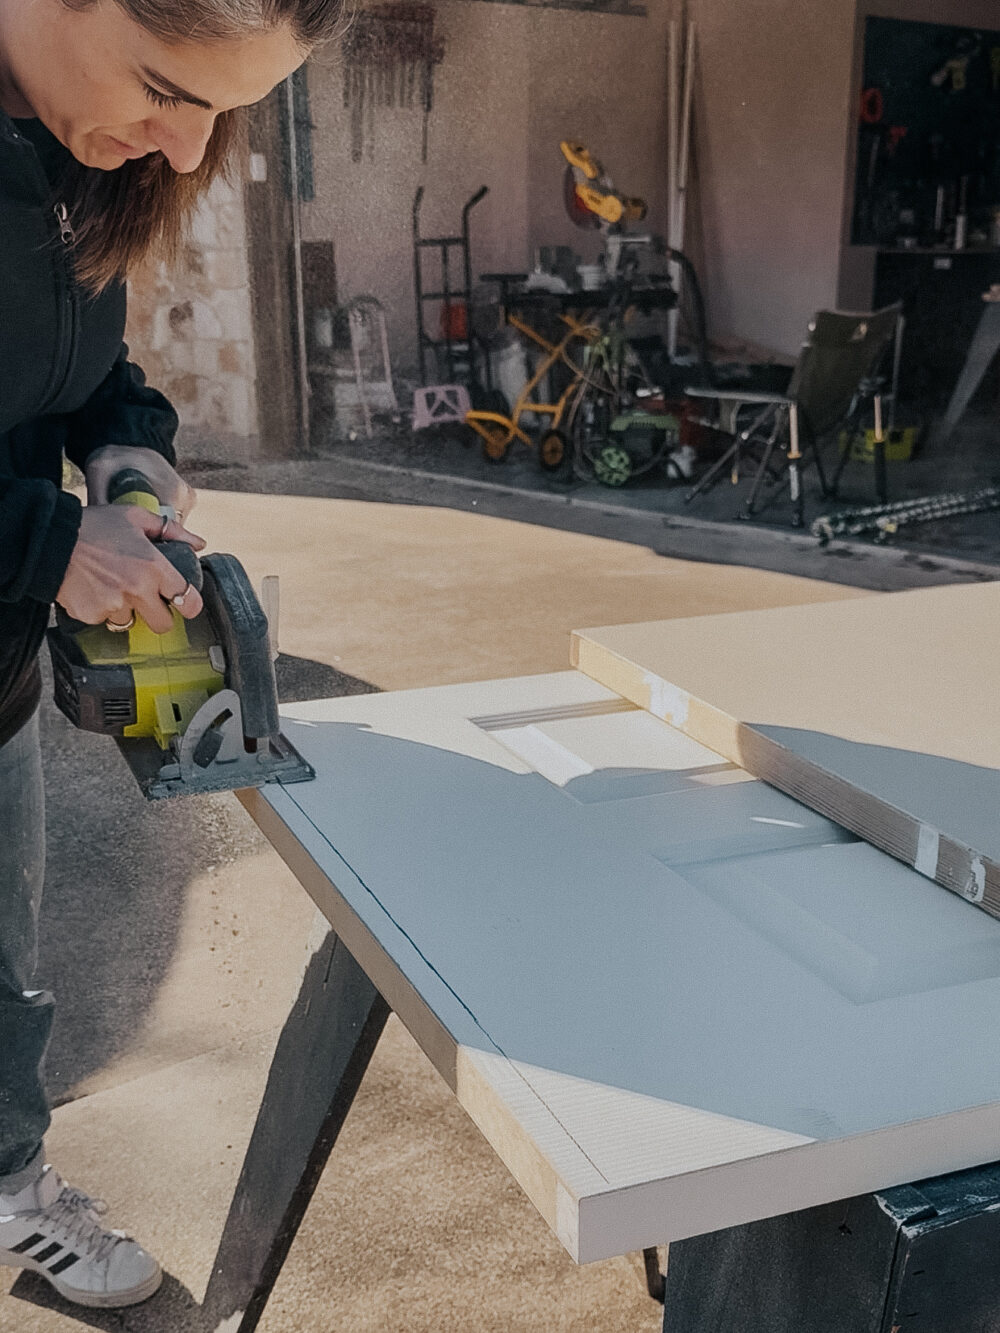
Cut Door Down, If Needed
Now, lay your new door out on a set of sawhorses and line up the old door on top of it. Line them up at the doorknob hole, and make sure they’re the exact same size. In my situation, the new door was about 1″ longer than the old one. This is relatively common for rooms with carpet, as doors are sometimes cut down to make room for the carpet.
To cut the door down, I simply traced along the edge of the original door to show me where to cut. Then, I used my circular saw to cut the excess off the door.
If you’re working with a hollow core door, you might end up with a hole at the bottom of your door, depending on how much you cut off. If that happens, just cut down the excess from your door to slip into the hole and glue it into place. Watch the video above to see that process in action!
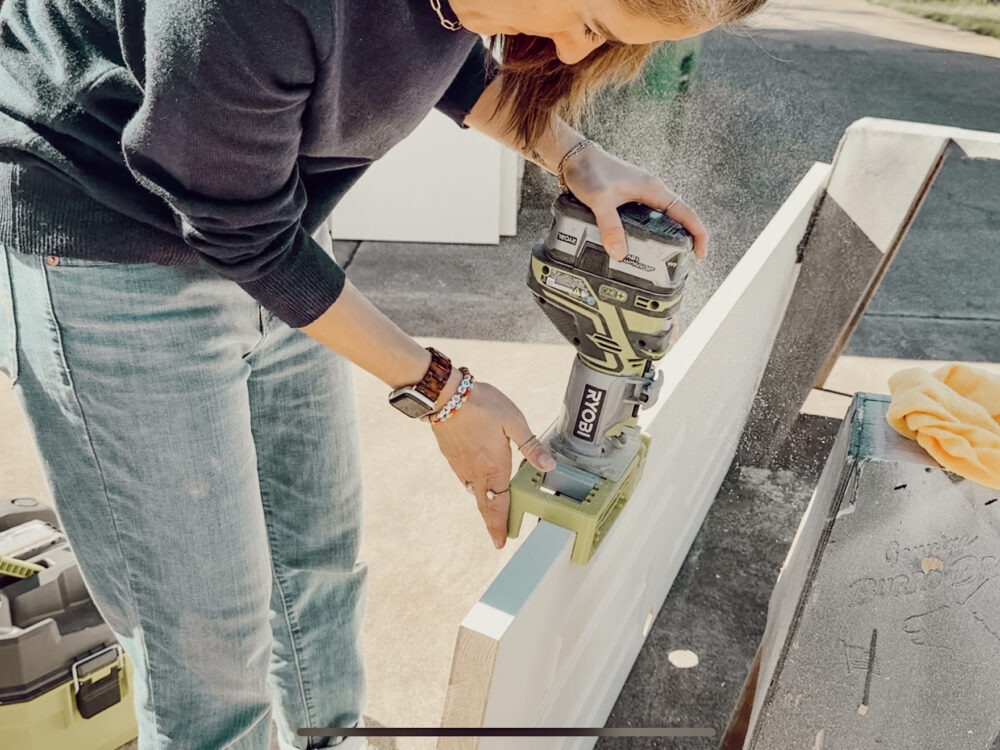
Route Out the Hinges
Now, it’s time to prep the inset area of the door for the hinges. This part is the most intimidating but trust me when I tell you it’s very easy.
You’ll want a hinge jig and a router for this. All you need to do is mark where the hinges go (again – line up the doors on sawhorses and just mark where they are on the original door). Then, place the jig on the door and use your router to carve out an area for the hinges.
The only thing to pay close attention to here is making sure the opening for the hinge faces the same way! It might seem like it doesn’t matter, but it DOES. So, pay attention to the opening direction of the hole (mark it on the new door, if that helps) and make sure they are the same on the original door and the new door. I had one door that I did wrong, and I was so annoyed!
Test Fit the Doors
This is VERY IMPORTANT – before you move on to painting the doors, take a minute to test fit them! You might be tempted to just forge ahead, but trust me when I say you’ll regret that. It’s absolutely worth it to take a minute to make sure everything works before you spend all that time painting.
On one of my doors, I ended up having to sand down the edge a bit since the original framing was a tiny bit too small. On another, I realized I had done the hinges wrong and I had to adjust. Just trust me and test-fit.
Paint the Doors
Once you’re confident everything fits, it’s time to paint. You can use a paint sprayer or just roll the doors, but it’s much easier to paint the doors when they’re off the hinges. It’s tedious and feels like it will take forever, but it’s worth it in the end.
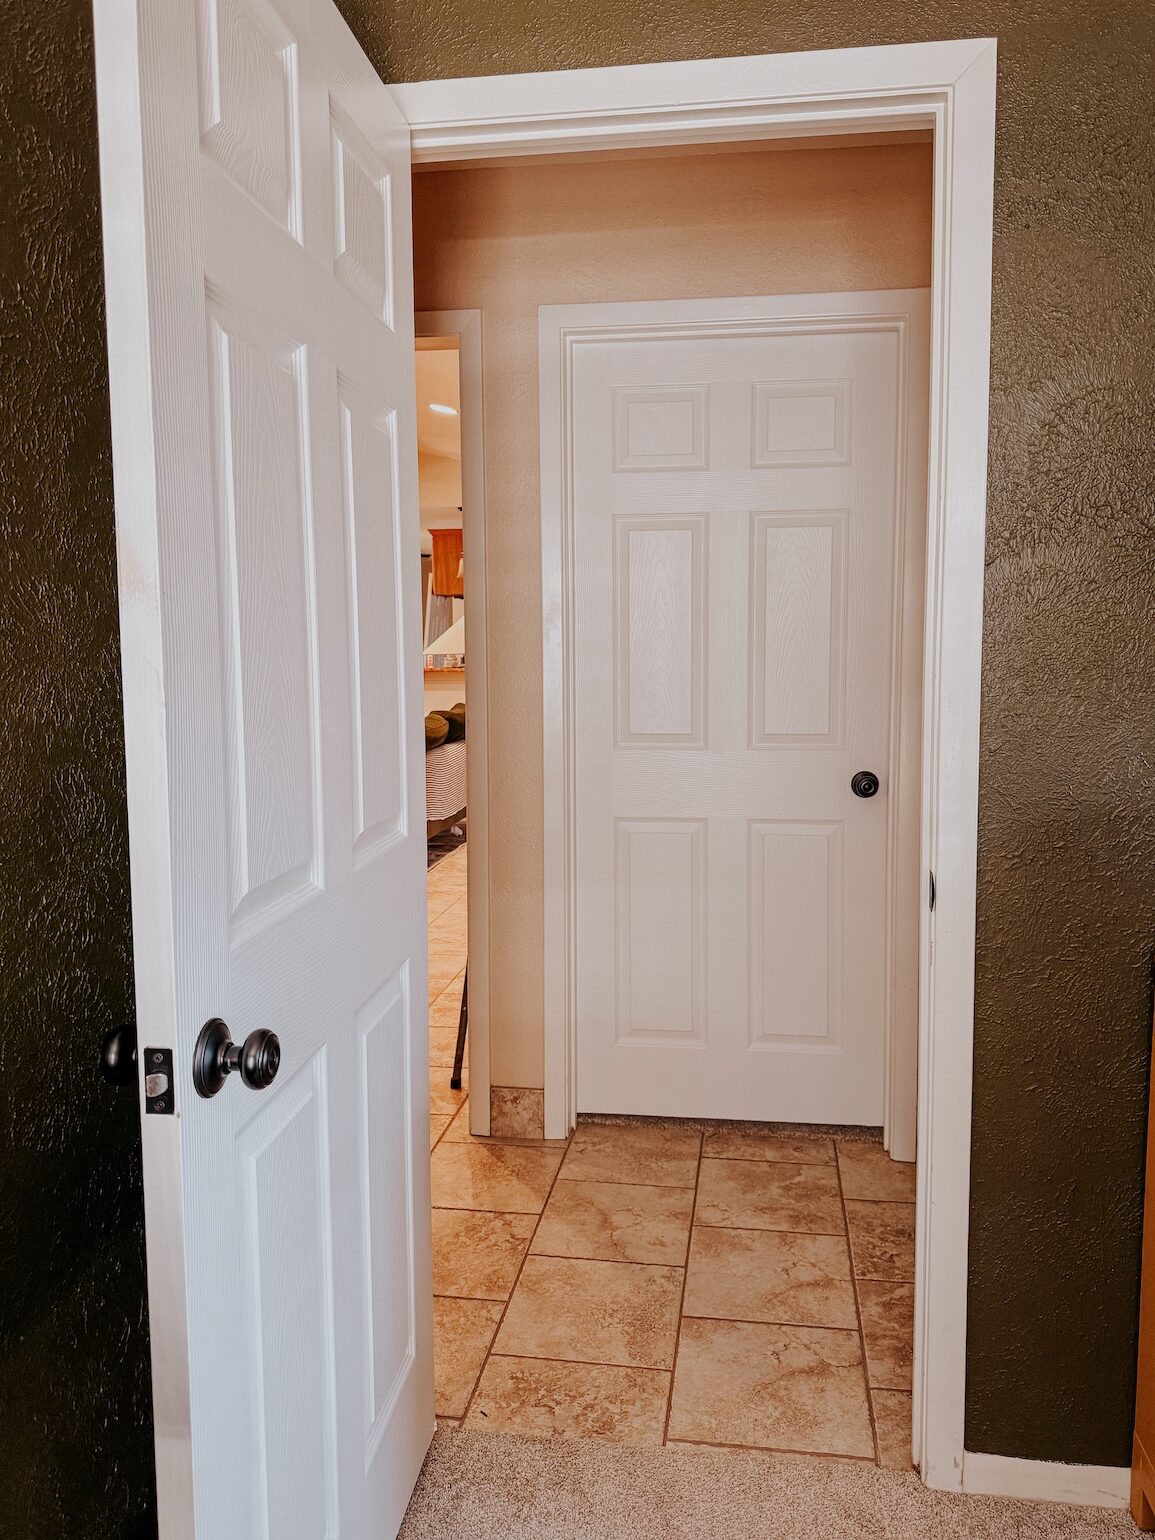
Re-Install the Doors
Once the doors have dried, you can re-install the hinges and door knobs and replace the doors. And just like that, you did it!
Frequently-Asked Questions
Can I replace an interior door myself?
Yup! I did all of this by myself. It’s a great workout, and it’s definitely a project that even a beginner could tackle on their own.
How much does replacing doors cost?
Depends on the new door you choose and the size of the doors. But, for a hollow-core door you can expect to spend about $50-$75 per door. Solid core doors will be significantly more expensive. The price will also increase if you need to replace the hardware, but I just re-used mine!
Can you replace an interior door without replacing the frame?
Yup! I didn’t mess with the trim or the frame at all here – just replaced the doors themselves!