
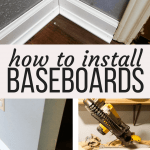
The Complete Guide to Installing Baseboard
Last updated on May 22nd, 2024 at 10:12 am
Looking to learn how to install baseboard? Thankfully, installing baseboard is a really simple project that almost anyone can do. Today, I’m sharing the full (simple!) guide to baseboard installation, to get you started!
Can I confess something to you?
Did you know that Corey and I installed new flooring on the first floor of our home, but never replaced the baseboards?
That’s right, we lived for three years in our house with no baseboards.
You may have already known this. I mean, it’s not like it was exactly hidden in photos.
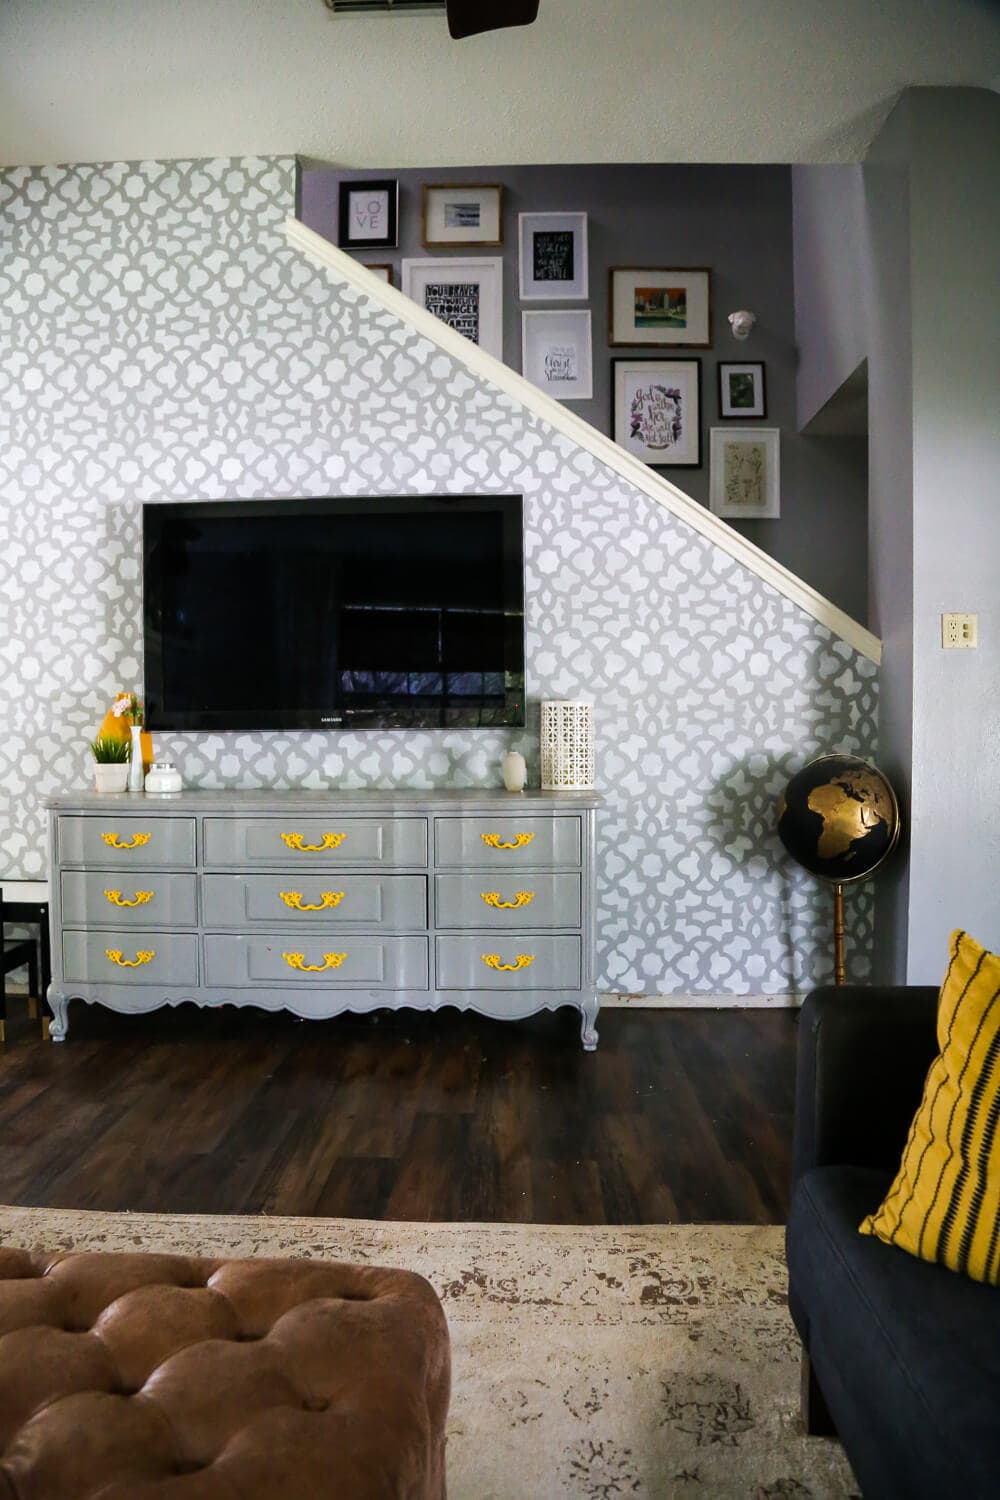
Cute look, right?
Well, when it came time to sell our house, we knew that we would obviously need to put some baseboards up before we could list it, and we didn’t have the budget to hire someone. So I decided to tackle it myself.
As in, alone. All by myself. No help. Installing baseboards like it’s no big deal.
Did I mention this was before I learned how to use power tools?
Thankfully, it’s a really simple project. I promise. If I can do it, you can do it. No contractor or carpenter needed.
Let me teach you how.
Installing Baseboards: The Full Guide
Choosing Your Style
Your first step is to choose the style of baseboard you’d like. You’re going to want to pick out your favorite type of baseboards, and then decide on a decorative cap molding. This is the trim that goes on top of your pieces of baseboard and kind of finishes off the look.
key terms
- Shoe molding is trim that sits in front of your baseboard and is slightly dome shaped. It’s by far the most common type of cap molding, and what you’ll find in most housees.
- Cove molding is concave, and is a less common choice but one I really love! It adds a special detail you don’t see often, and is a more unique choice. The installation images you’ll see in this post include cove molding, as that’s what we chose for our first house!
- Of course, you can choose to skip additional molding altogether! It’s not a required step.
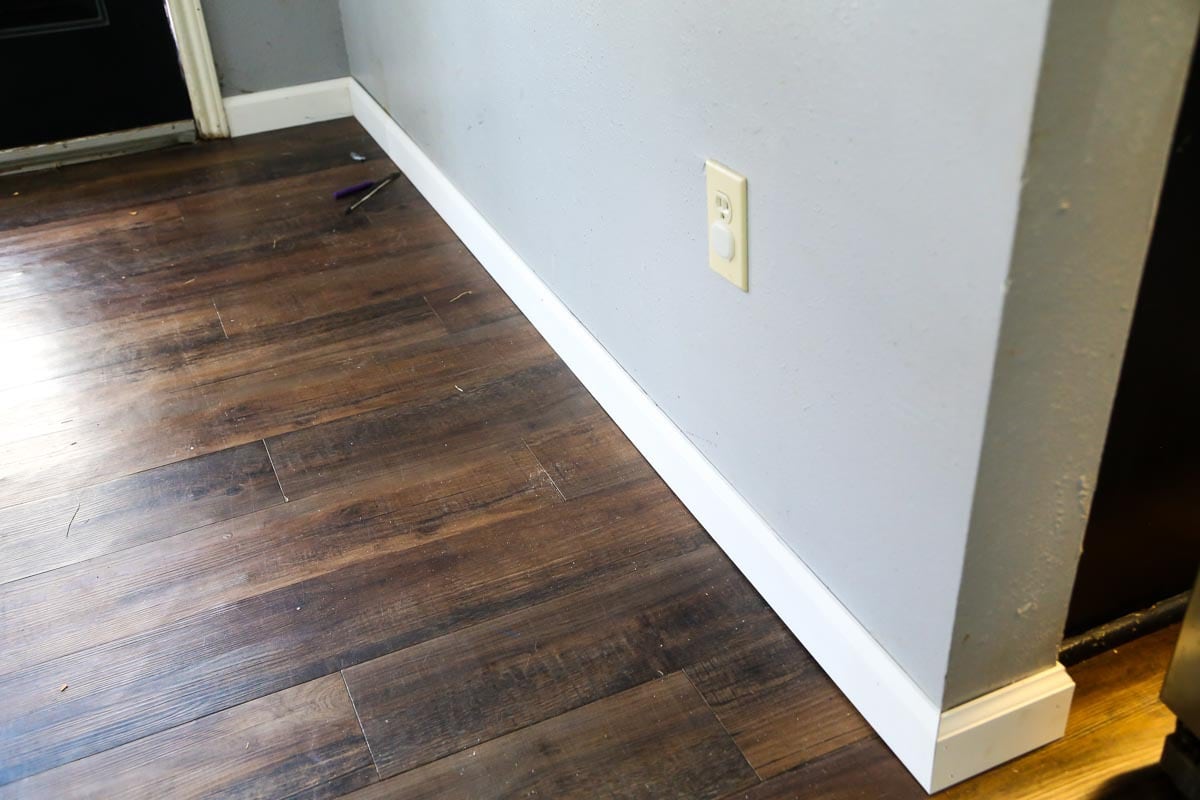
As far as the baseboards themselves, I personally highly recommend going with plain 1×4 pieces of MDF (medium-density fiberboard). It’s easy to work with, it’s a super simple and low profile look, and it’s so easy to clean. This is what we have in our current house, and I’ll never go back to anything else! Check out this post to see it in action.
Demo the Old Baseboards
With your baseboards chosen and purchased, you’re ready to get to work.
Start by removing the old baseboards. Here’s a rundown of how it’s done:
- Run a razor blade along the caulk on the top and bottom of the baseboards. This breaks the seal and makes it easier to pul the baseboard away from the wall.
- Use a hammer and a pry bar to pull the baseboards away from the wall. Be careful not to damage the drywall as you work.
- The nails should (mostly) be set into studs, so focus your efforts on those areas as you pull.
The baseboards should come up pretty quickly and easily! Once everything is cleaned up, it’s time to start fresh.
How to Install Baseboard
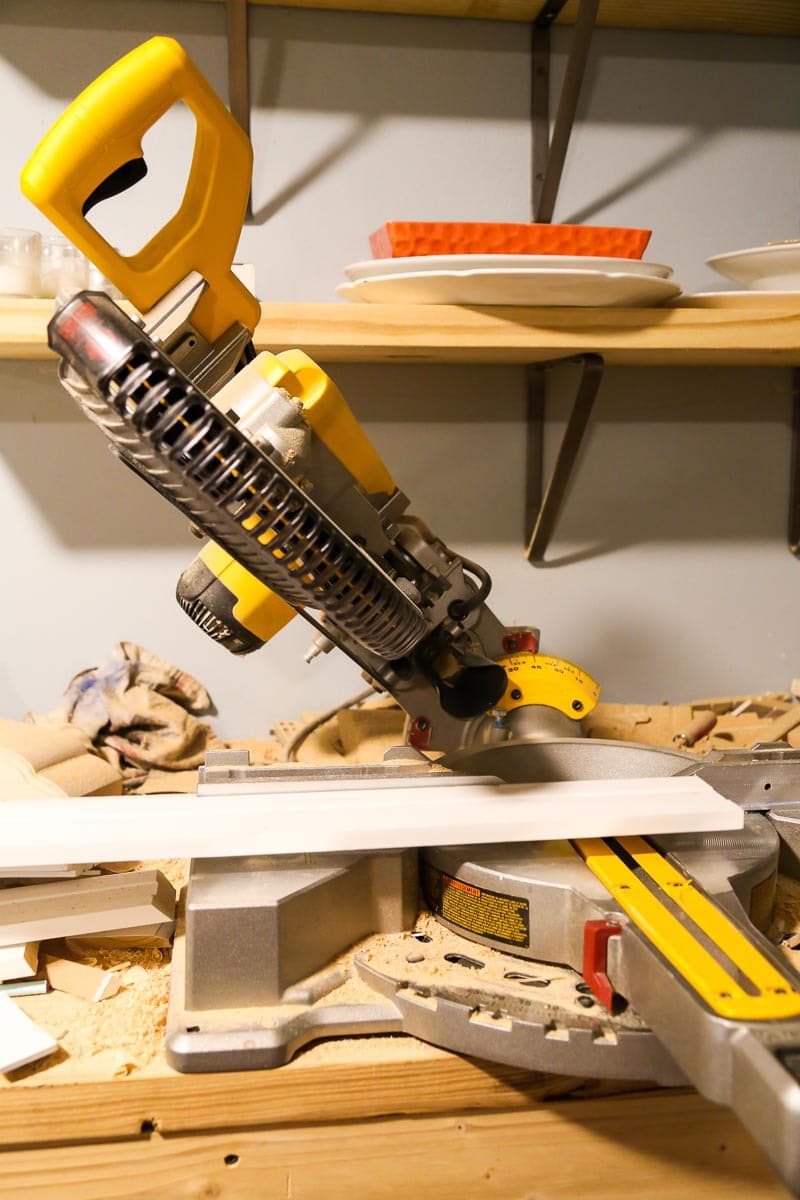
My preferred method is to cut miter joints for the corners. Some people prefer coped joints, I’ll discuss that in a second! For a miter joint, start by cutting one end of your first baseboard piece to a 45-degree angle using a miter saw. I recommend starting on a long wall so you have some time to get the hang of it before you need to finish off a corner.
Push that end up into your corner, and use a nail gun to install the baseboard. Keep a stud finder on hand to help you ensure to nail directly into the studs whenever possible!
With the first piece installed, continue along that long wall. You can either butt the next piece of baseboard up against the first one, or cut a scarf joint for a more seamless look.
Once you get to a point where you need to cut a piece down for the next corner, just measure and cut it to fit. Remember, with mitered inside angles, you want to be measuring the back of your baseboard, not the front.
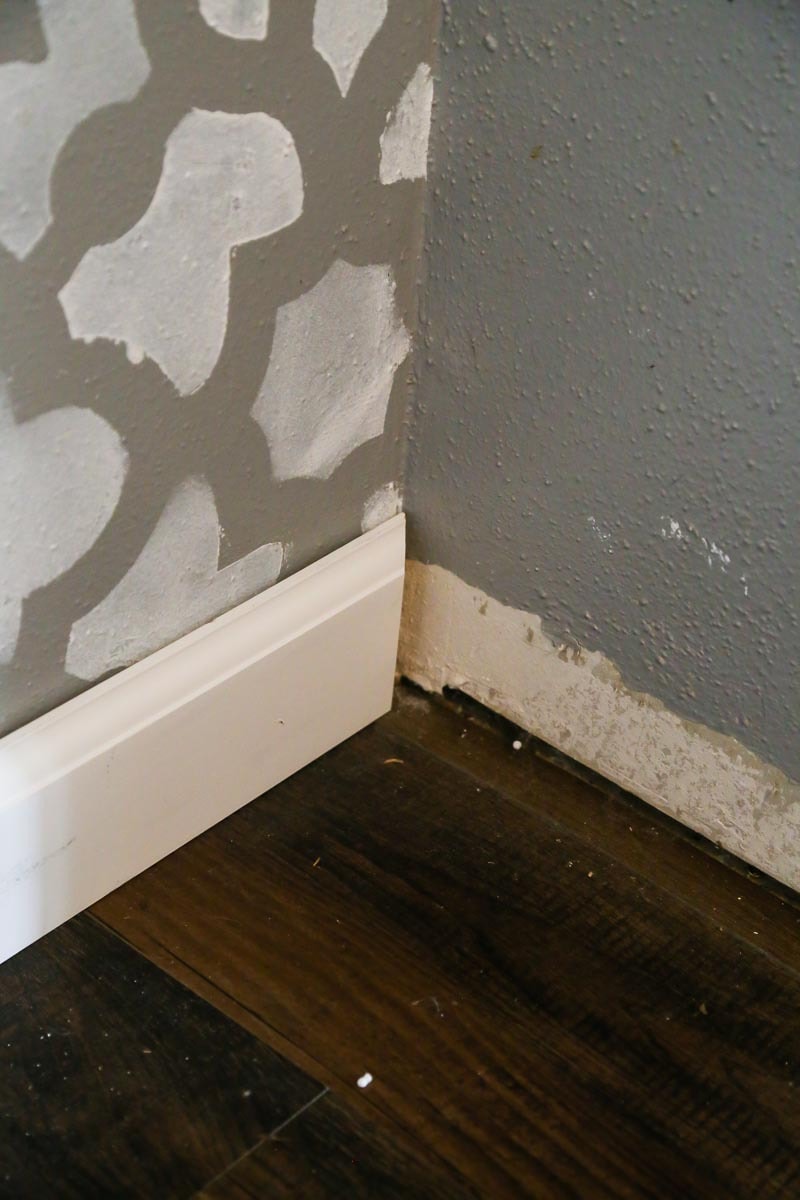
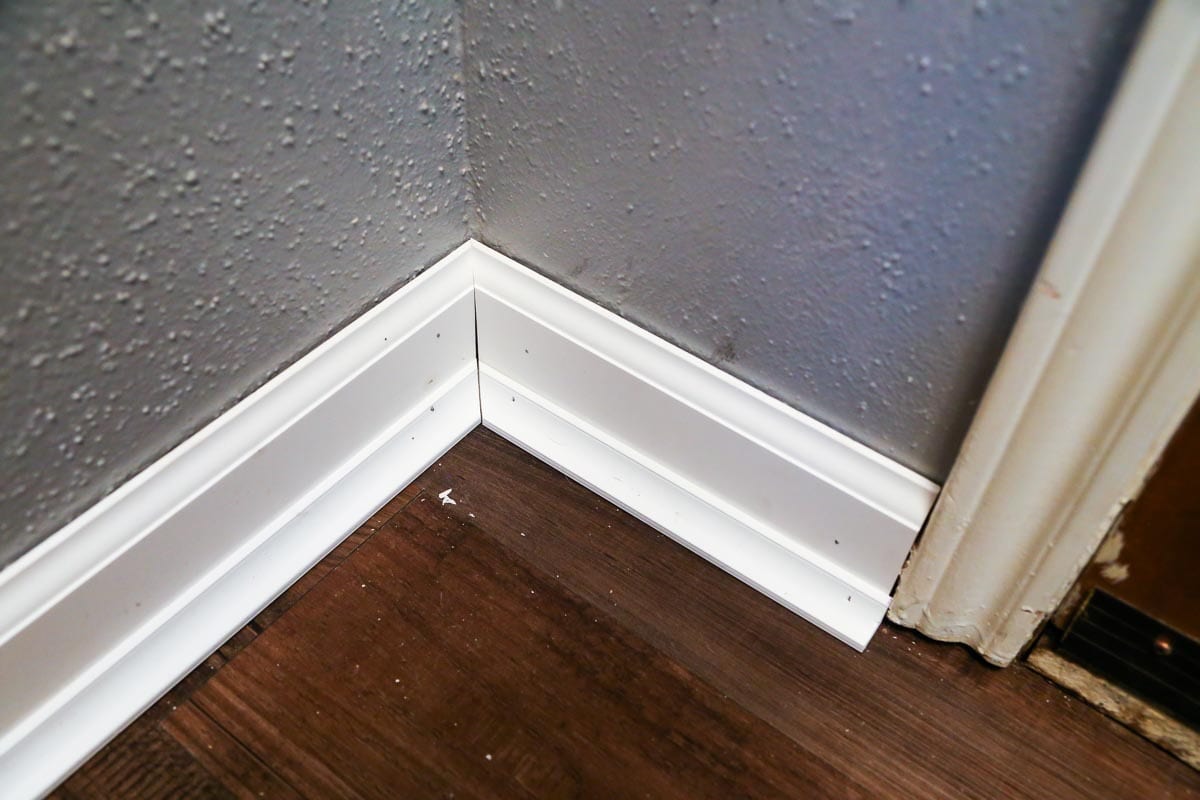
If you’ve done it correctly it will look like this:
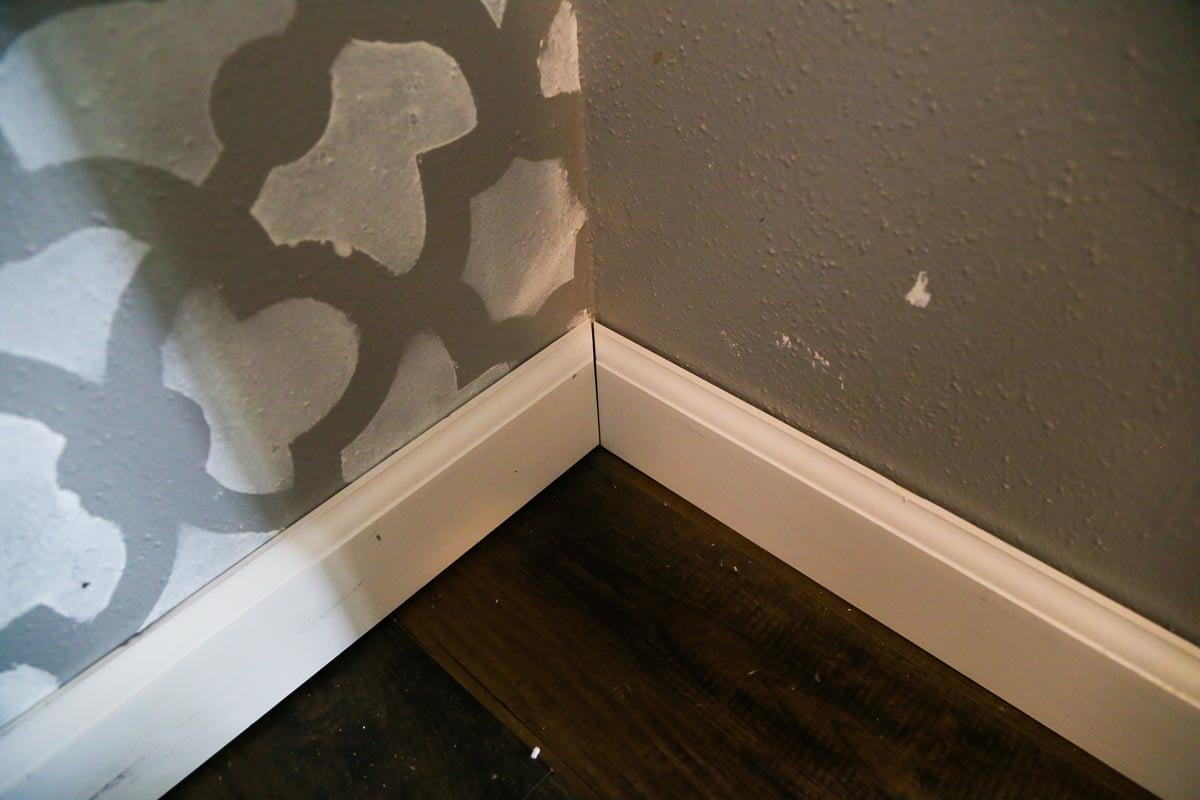
You obviously want the corners to line up as well as you can make them, but if you’re a beginner, there may be some occasional gaps, like you see above. Do not stress about these. Caulk covers a multitude of sins, and you’ll be amazed at how well it covers up any little imperfections like this.
You may also have an outside corner or two that requires an outside miter cut rather than an inside one. They’re the corners that look like this (the one at the end of the wall):
On these cuts, the front of the board will be longer than the back of the board when you’re cutting your miter joint. My recommendation is to use a scrap piece of baseboard trim and play around with the cuts until you get them to line up. Then make your cuts for real. It just takes a bit of practice!
A Note on Coping
Some people prefer a coped corner to a miter joint on inside corners. This isn’t something I have experience with, but it’s a more seamless look that requires less finishing work in the end.
You can click here to learn about how to cope joints!
Adding the Trim
Once you’ve got all of your baseboard molding in, it’s time to move onto trim. It’s the exact same process as before, just with a smaller piece of trim that sits in front of the baseboard.

Follow the same routine to get your trim installed all the way around the room, and then you’re ready to caulk and paint! We always buy pre-primed baseboards, because it makes the painting process a lot faster – and painting trim is no joke, y’all.
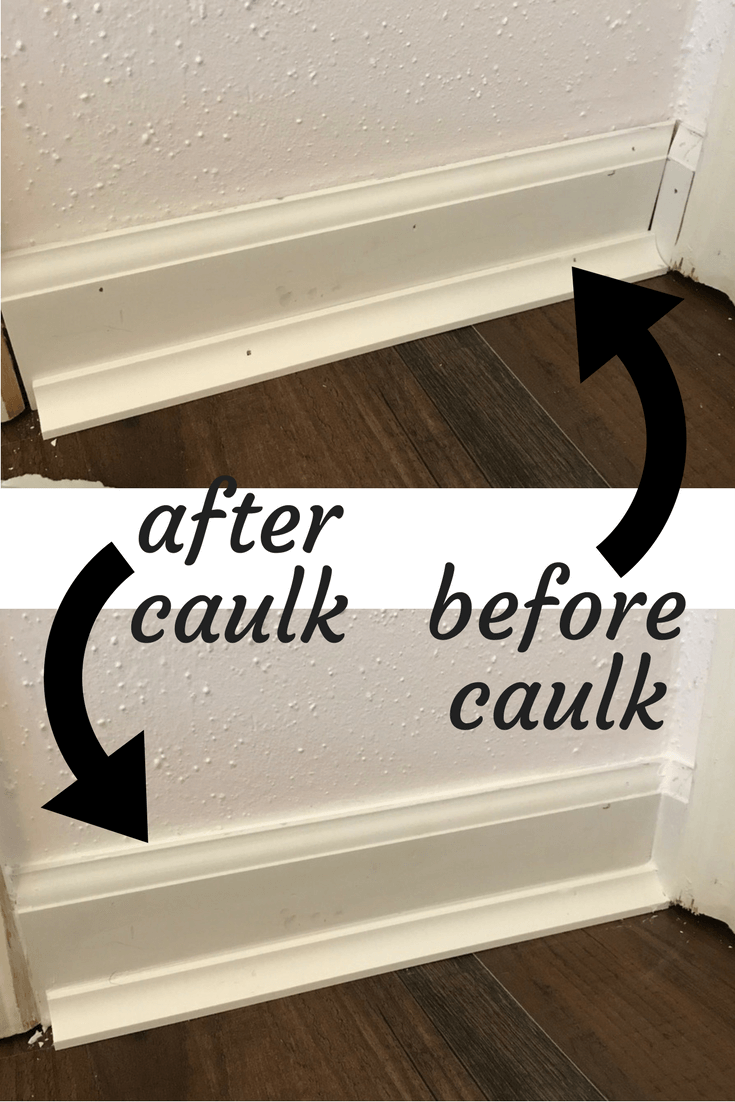
Caulking and Finishing
You’ll want to caulk all of the lines where the baseboard meeds the wall and where the trim meets the baseboard. Click here for a full tutorial on how to use caulk. It’s a super simple process, you’ll just need a caulking gun and some patience.
You’ll also want to use wood putty to fill any nail holes. Click here for a full tutorial on wood filler! Be sure to have a nail set on hand to deal with any nails that didn’t go all the way in! Once the wood filler has had a chance to dry, be sure to sand it prior to painting. This will give you a smoother finish, and is a step you can’t skip!
And, of course, paint. I always go with the plain ol’ semi-gloss white that comes premixed at the hardware store. Click here for all of my tips on how to paint baseboards.


Have you by any chance discovered what the shiny weird paint is that was used to paint Tim & doors in 80’s builders homes? It looks like it will be difficult to paint over…like it is not actually a paint but a sealed weird finish and horrible beige color? Hoping you have suggestions!
We’ve had pretty high gloss paint on the trim in our older homes as well! It certainly would help to sand it down a bit before painting over it, but I’ve also had okay luck just painting directly over it – it just requires an extra coat, usually.
Couldn’t have found the article at a better time! I’m putting moulding up around a 1×2 bench leg in my mudroom. I’m having a hard time figuring out how to determine where to make the other 45 degree cut. I either get the piece too short, or it’s upside-down. I’m a little (too) independent and want to do this WITHOUT my husband’s help. Can YOU help me?
Hey, Heather! It can be so tricky to figure out those angles! The general rule of thumb is that you’ll flip the board so that you’re working from the opposite direction to make the appropriate cut (alternatively, you could re-angle the miter saw to face 45-degrees in the OTHER way). What I generally do when I’m struggling is practice with some scrap wood until I get the angles right, then I save those pieces and label them so that if I start to struggle again and I can put that scrap piece back on the saw and remind myself of how the board needs to sit.
As for the board being too short, the biggest thing to remember is that you always measure and cut from the BACK of the board – that’s the part that will be touching the wall! So, for outside corners, the back should end up being shorter than the front, and for inside corners the back will be longer.
Hope that helps a bit!
Well, nice try. Internal corners should be scribed to fit, not cut at 45deg as they will always open up and look like a beginner has done it…
Thanks for your comment! As I stated in the post, I am a beginner (and this blog is geared towards beginners), so I generally stick with beginner-level strategies. I’m pretty pleased with how ours have turned out, and I haven’t had a single guest comment that our baseboards look as if a beginner installed them, so I think my strategy worked okay. 🙂
Agreed. Cope your inside corners. It’s a tighter joint, looks better. Also, caulk trim, spackle nail holes. Caulk in a nail hole will shrink and the nail hole will still be visible when painted over.
What a great tutorial. I hired it out but had I seen this I may have tried it myself.
It’s definitely not as hard as you might think!
Great post! Great job! I am with you, let’s let someone else do it. Lol. Pinned! Thank you for sharing on Merry Monday! Hope to see ya next week!
Kim