How to Paint Baseboards {Entry Update}
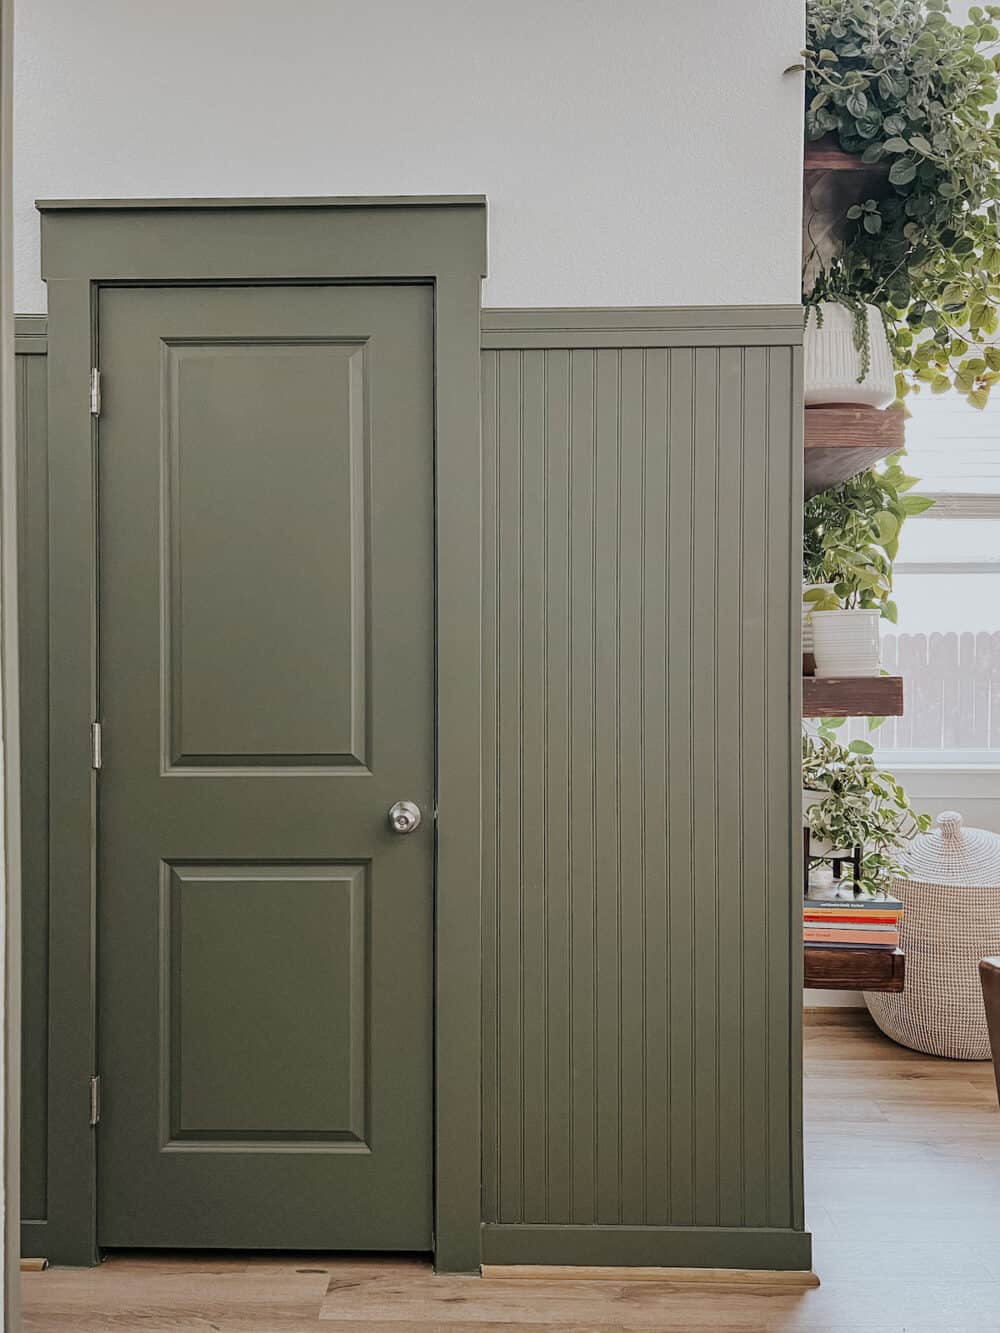
Well, I did it! For months I’ve been side-eying the trim and doors in our entryway. We added some dark and moody bead board a while back and I still love it, but it was feeling a little busy. Painting baseboards and trim to match the walls can make a huge difference in how busy a room feels, and I had a feeling it would be the perfect solution for me in this space.
And, the best part is, I had enough leftover paint to do it without spending a dime! It fit right into my No-Spend Summer Challenge that I issued myself at the beginning of June.
And the before and after?
Well, let’s just say Corey told me it messed with his brain because he knew it was different but at the same time he felt like it had always looked like this. To me, that’s a sign of a project that was meant to be!
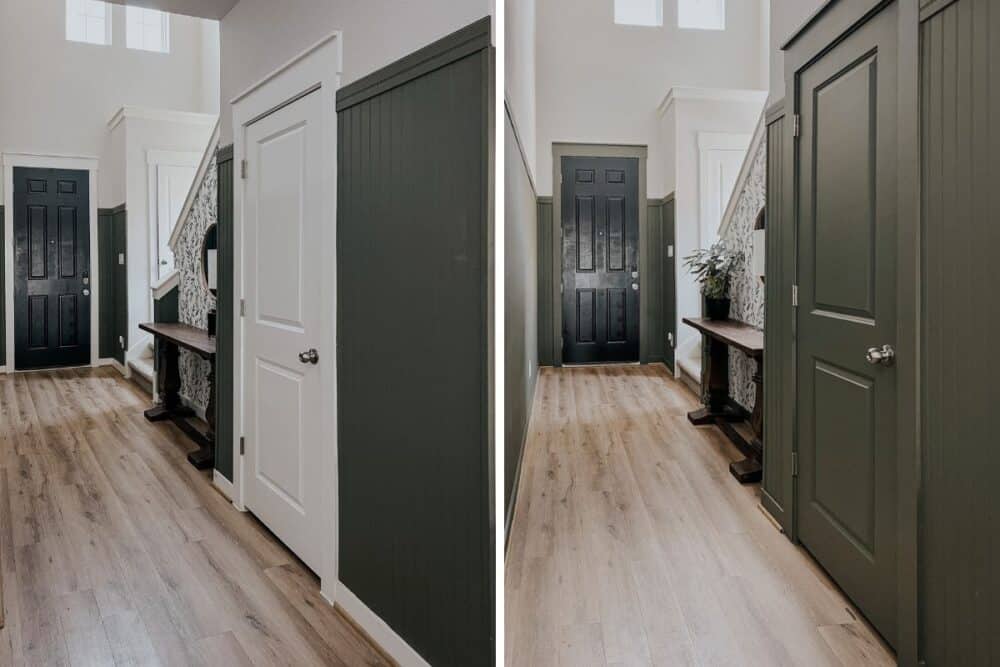
Many people choose to paint their baseboards with plain ol’ white paint. And that’s what most of our baseboards are painted throughout the house! Most of our baseboards are painted Sherwin Williams Extra White. But, in the entry I wanted them to match the bead board. So, we went with Behr’s Bonsai Trunk. And oh boy, am I ever in love with how it turned out!
I wanted to give a quick tutorial today for painting baseboards. I had a lot of people mention that they felt like painting trim is really intimidating – but it doesn’t have to be! This is a super simple – and super satisfying – process. And, it’s absolutely worth the effort! So, here’s all the details you need on how to paint baseboards, whether you’re going for a whole new look or just adding a fresh coat of paint!
how to paint baseboards
tools & materials
You don’t need anything fancy to paint your baseboards and trim. But, here’s a rundown of everything I recommend having on hand:
- Short-handle angled paintbrush
- Semi-gloss or high-gloss paint {more on that in a second}
- HANDy Paint Pail
- Sanding sponge or 120-grit sandpaper
- Painter’s tape
- Baby wipes or Clorox wipes
- Krud Kutter Latex Paint Remover {for inevitable messes}
Step 1: Clean + Prep Baseboards
You’ll start by cleaning your baseboards and preparing them for paint. A little bit of prep work up front will make all the difference in the finished product. You’ll want to remove any dust or dirt from the tops of them, and if you have any loose or chipping paint, sand it down a bit. Basically, you want the best, cleanest surface possible for your paint to adhere to.
If your baseboards are really dirty and need some extra TLC, I’d recommend cleaning them with some TSP and allow it to fully dry before painting.
In my case, my baseboards were in great shape already and just needed a quick wipe-down. I just used a damp cloth to wipe them down, and my handheld vacuum to grab and larger dust balls in the corners.
Other Prep Steps
Here’s a quick list of other things you should check for before moving onto painting. These are things that are more likely to come up if you have an older house or one where the baseboards haven’t ever been painted!
- Are there any nails sticking out that need to be set?
- Are there any dents or nail holes that need to be filled with wood filler?
- Do I need to patch any areas on the lower walls with spackle before I start?
- Do the baseboards need caulk?
- Is there any flaking paint that needs to be sanded down?
- Do you need to re-attach the baseboards at any points?
Once you’ve confirmed the baseboards are in good shape, fully clean, and ready to go, it’s time to move onto step two!
Step 2: Tape off floors + walls
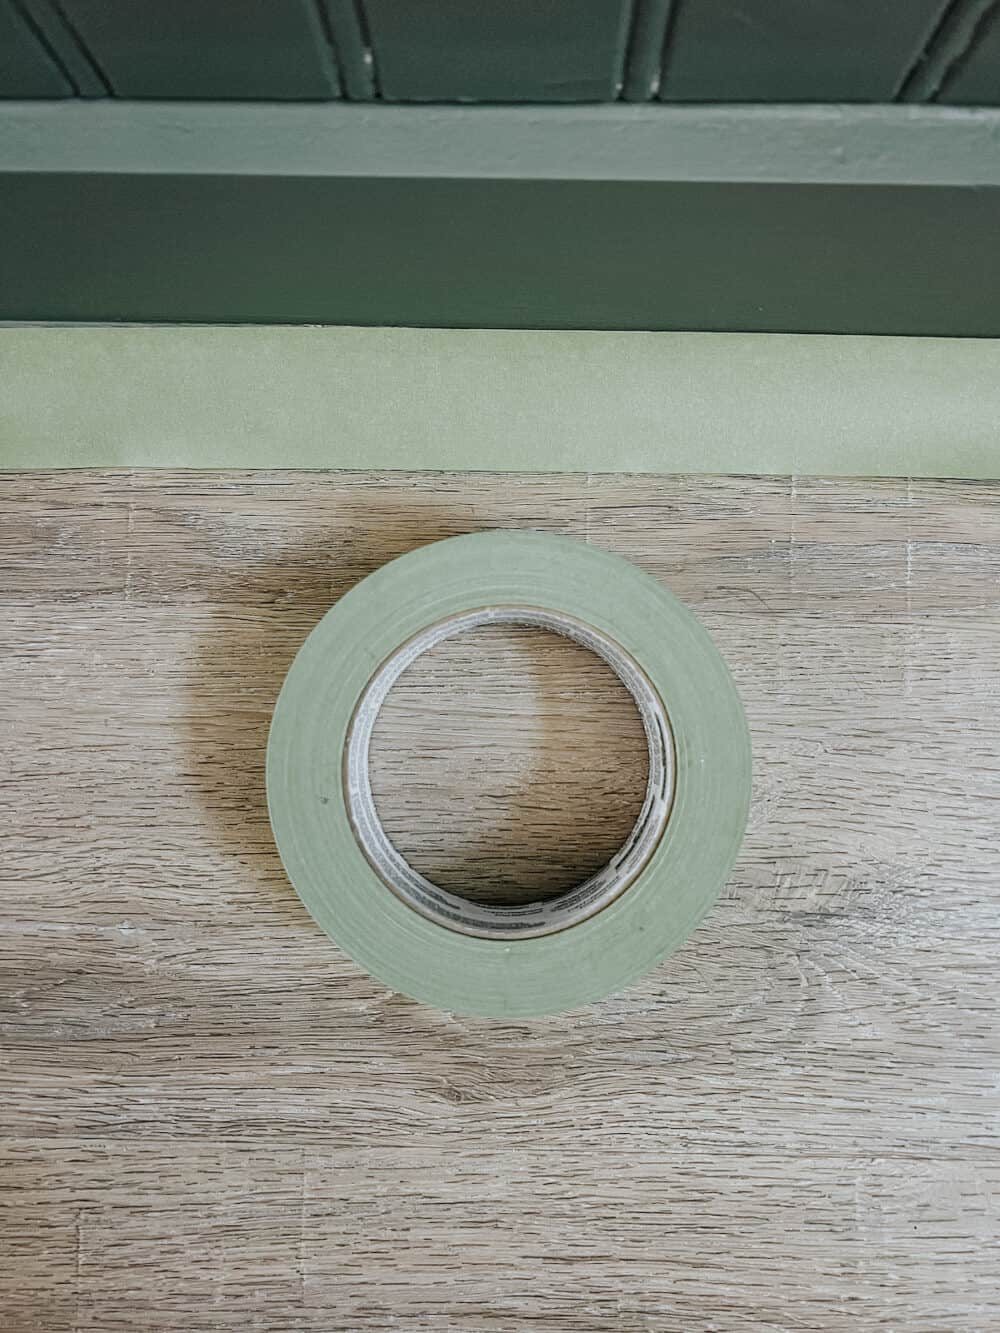
This step is obviously optional – if you have a lot of confidence and a steady hand, you can do it without tape! But, painter’s tape makes things a lot easier when you’re painting baseboards.
I recommend taping off the floor (or shoe molding if you’re like me and have wood shoe molding that matches the floors). I’d also tape off along the wall if it’s not the same color as the baseboards. And, if you have door jambs to paint, tape off along the line where you’ll stop painting!
If you’re a messy painter, it’s also a good idea to lay down a drop cloth on the ground before you get started. I like to live wild, so I don’t usually do this. But, I also always have my Latex Paint Remover nearby, just in case!
Step 3: Start painting!
Now, you’re ready to paint!
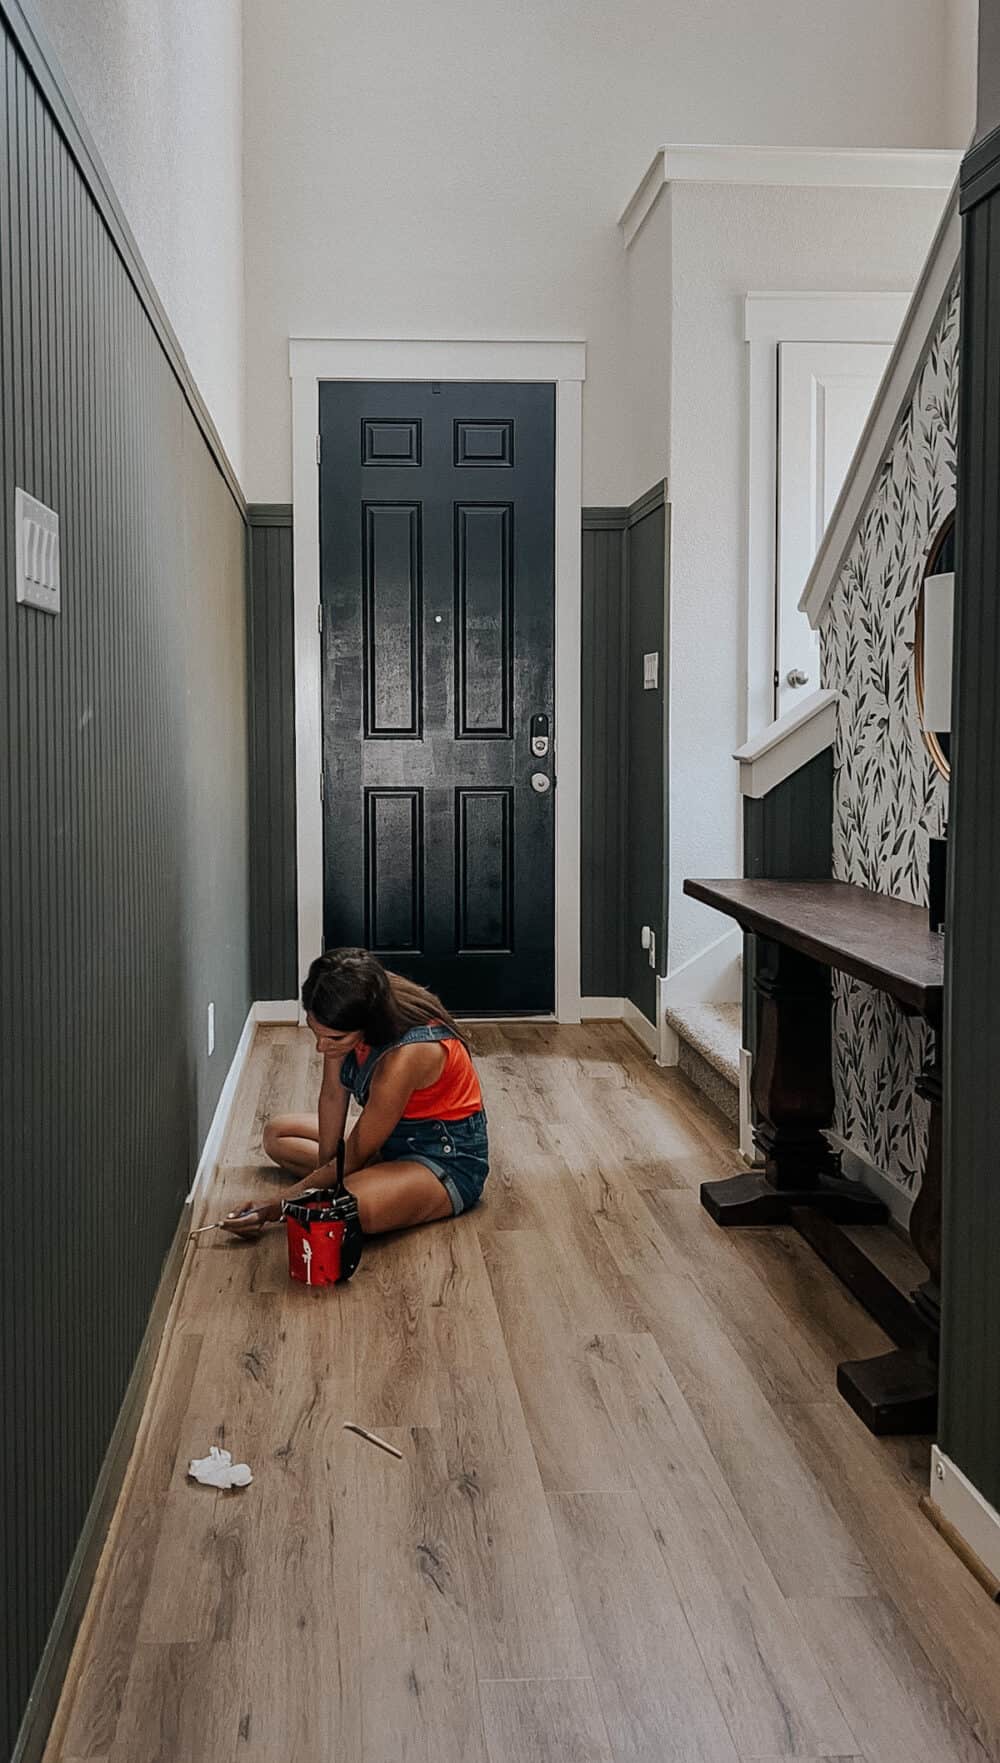
I always recommend using a short-handled angled brush for this kind of job. It’s easier to get a nice straight line with them. High-quality paint brushes also make all the difference on a job like this!
I recommend painting baseboards and trim with a semi-gloss or high gloss paint. It’s more durable and easy to clean. BUT, that being said, these baseboards were painted with leftover matte paint. Because it’s what I had. Sometimes the rules were made to be broken!
If you’re working with wood baseboards that you are painting, you may want to spend some time priming first. A good coat of primer will make the paint job so much easier!
Take your time, move slow and steady, and don’t go over spots you’ve already painted. Here are a few more specific tips and tricks:
- Start in a corner and work your way around the room. Be sure you’re brushing parallel to the way the baseboards run, not up and down on the boards!
- If there is a lot of intricate details on the trim, push the brush into the crevices to help get paint on them.
- Don’t overload your brush! You should never cover more than 1/2 of the bristle length with paint, and you should always remove excess paint before starting.
- Fix obvious paint drips or blobs of paint as you go. But, other than that, don’t go back to areas you’ve already painted. This can create flashing and obvious brush strokes in your paint. Resist the urge to keep messing with it once you’ve painted!
- You’ll want to do two coats of paint, allowing the paint to dry fully before starting the second coat. The first coat will have you questioning everything. Don’t stress, trust the process.
I recommend always keeping baby wipes (or even a damp rag) nearby as you work to help wipe up any drips or spills right away.
How do I paint baseboards with carpet?
When I’m painting baseboards that have carpet under them, I like to use a small piece of cardboard to help me! Simply shove the cardboard between the carpet and the bottom of the baseboard, then paint along it. Slide it down as you work, and you won’t get any paint on the carpet! You can also use a large putty knife to help cover the carpet as you work.
Step 4: Clean up!
Once you’re done painting, remove the painter’s tape and clean up. I always recommend removing painter’s tape while the paint is still wet to avoid peeling up the paint at all. Just be careful not to touch the wet paint as you work.
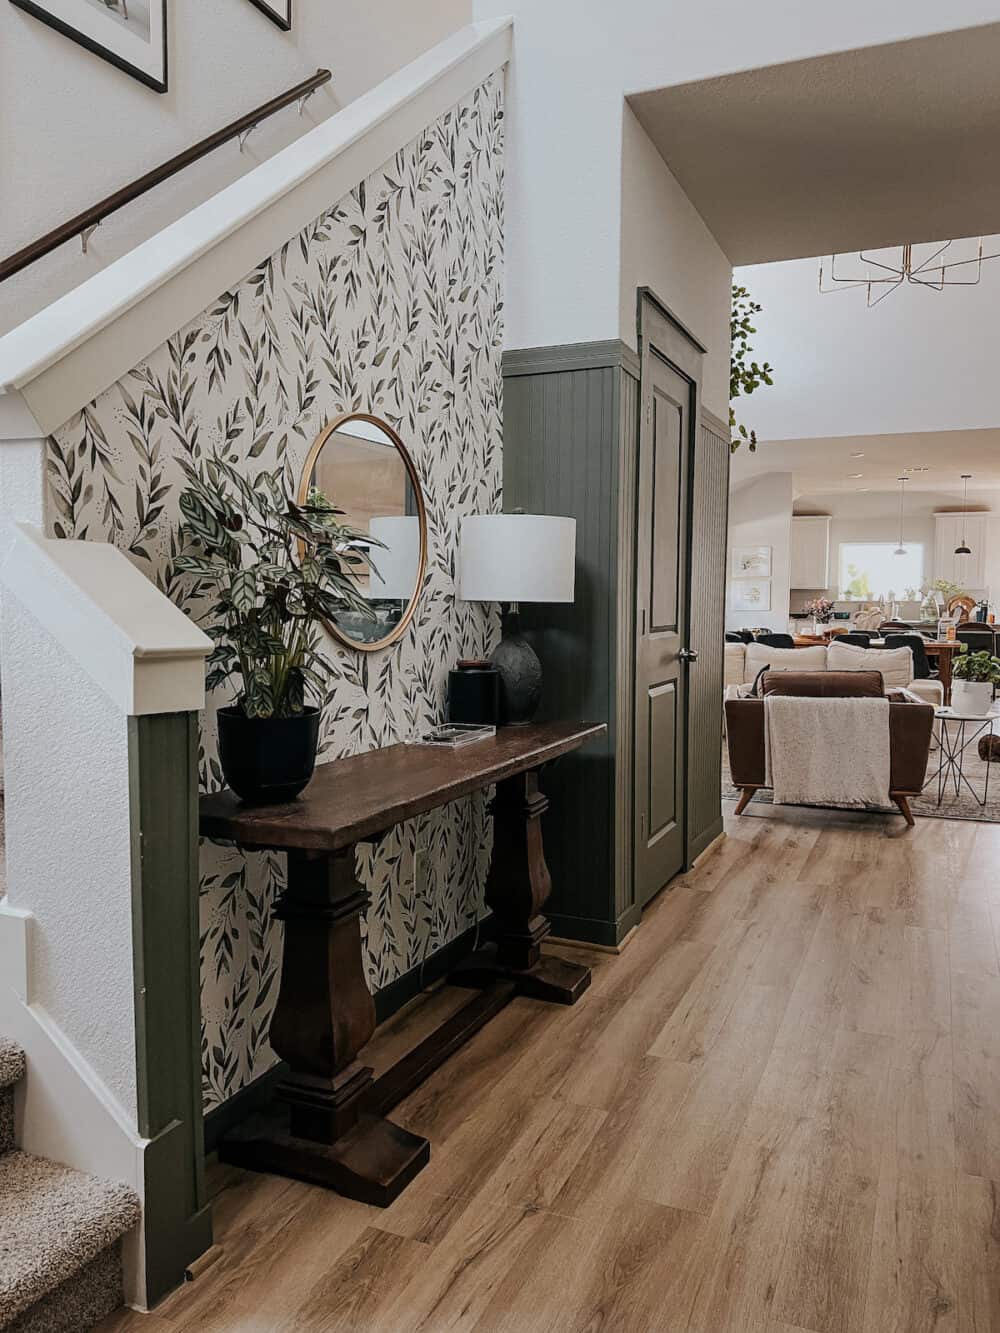
You did it! That’s all there is to painting baseboards, and now you know how to paint trim in your home! It’s such a great way to make a big change without a ton of money or effort. I’m so in love with how it turned out, and I’m so glad I took the time to paint the baseboards and trim in our entry.
Still need help?
If you need some more details on anything, I’ve got you covered! Here are some blog posts that cover a lot more detail on various steps of the process:
