
How to Touch Up Paint On Your Walls
Have some scuffed or scratched paint on your walls? I’m going to teach you exactly how to touch up paint on your walls without it looking obvious!
Touching up paint sounds simple until you actually do it and somehow the “fix” ends up standing out more than the original problem. If you’ve ever brushed a little paint on a scuff, let it dry and thought “why does that look worse?” you’re not alone.
The good news is, wall touch-ups are actually really easy once you know a couple of small tricks. You don’t need to repaint the whole wall, and it definitely doesn’t have to be perfect to look good. Today, I’m going to teach you all of the tricks!
Why Do Paint Touch-Ups Look So Bad?
The biggest reason paint touch-ups stand out has nothing to do with your skill level. It’s usually one of these:
- The paint doesn’t quite match anymore. If paint has been on your walls and exposed to the sun for a while, it can fade over time. Paint that has been sitting in the can won’t be the exact same color anymore!
- Too much paint was applied in one spot. This can lead to an obvious texture (or sometimes even color) difference. This can create flashing (where the paint sheen looks different) and it’s the most annoying issue!
- It wasn’t blended out at all. Blending is key when it comes to touching up paint, and if you focus your efforts only on the area to be touched up, you’ll have problems.
Materials You’ll Need:
For most touch-ups, you can keep it really simple. All you need to touch up your paint is:
- A can of the original paint color
- A small angled paintbrush or even a clean cloth (sometimes I use a paper towel!)
- A damp rag or damp sponge for prep
- Fine grit sandpaper, if needed
- Optional: a small foam roller for larger areas
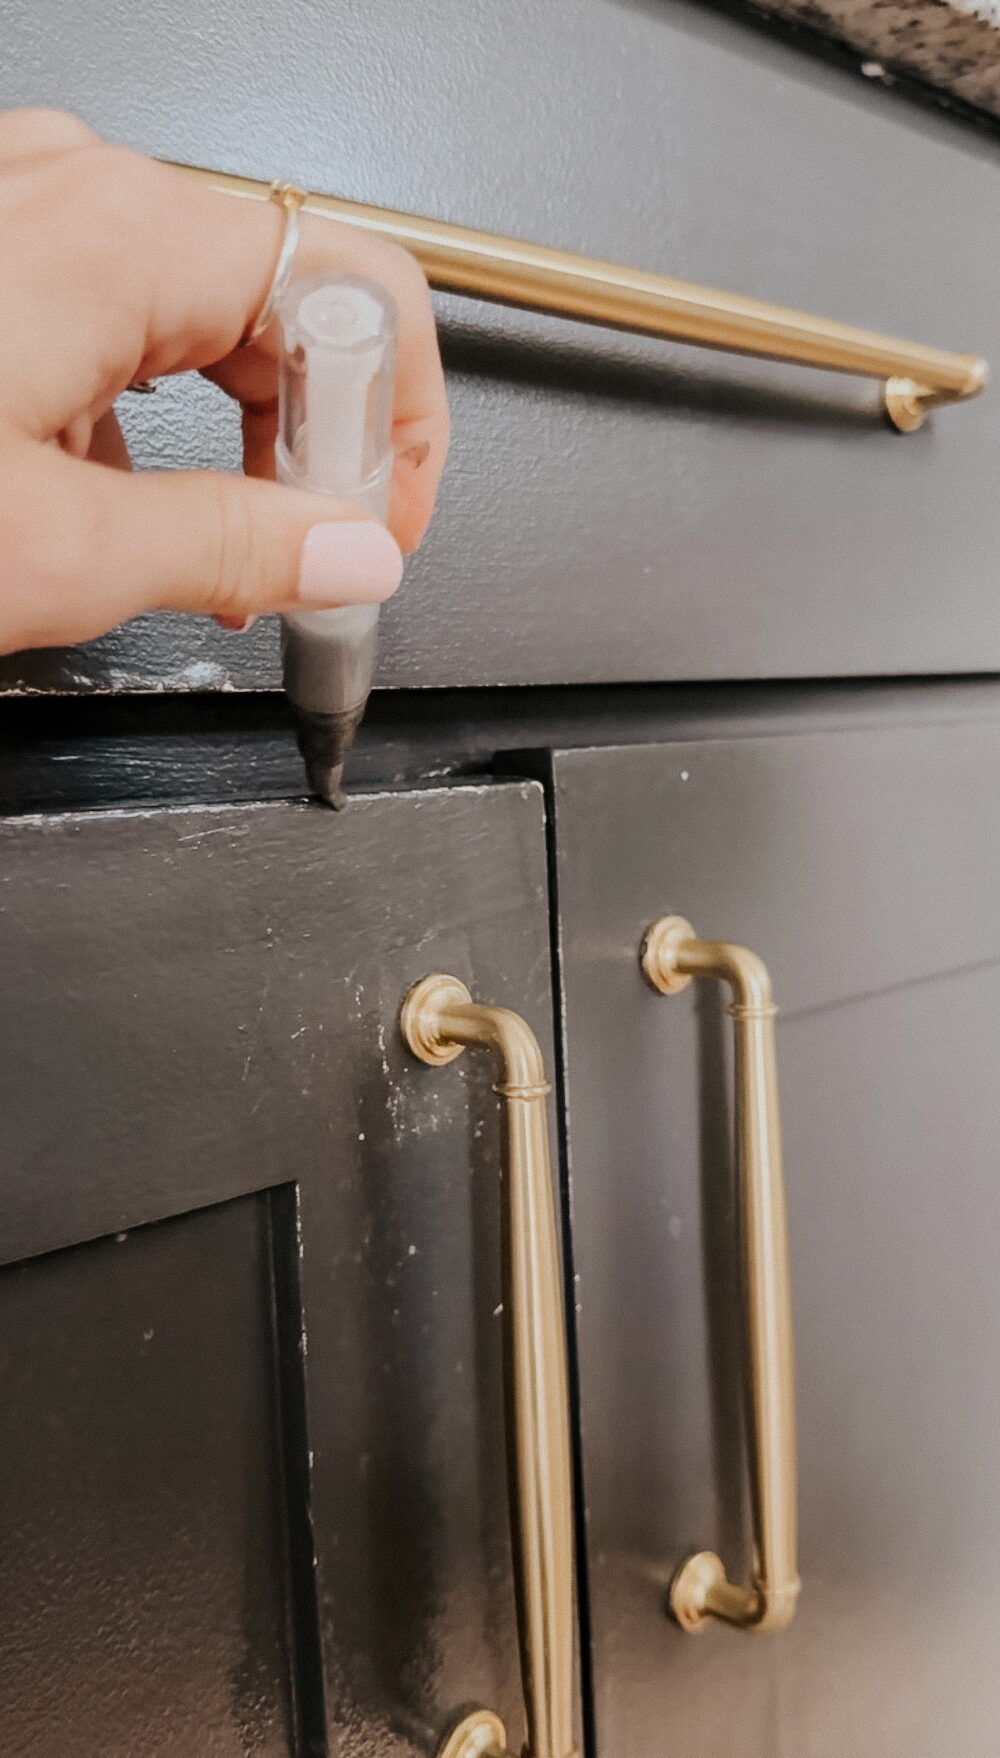
Bonus Touch Up Paint Tool:
If you find yourself repeatedly touching up paint on a specific area or piece of furniture (for me it was always my kitchen cabinets!), I love this paint touch up tool. Toss it in a drawer and pull it out anytime you need. Just be sure to use a light hand when you work!
How to Touch Up Paint
Before you start, it’s important to know that this is one of those projects where less is more. You’re not trying to repaint – you’re just trying to make things blend in.
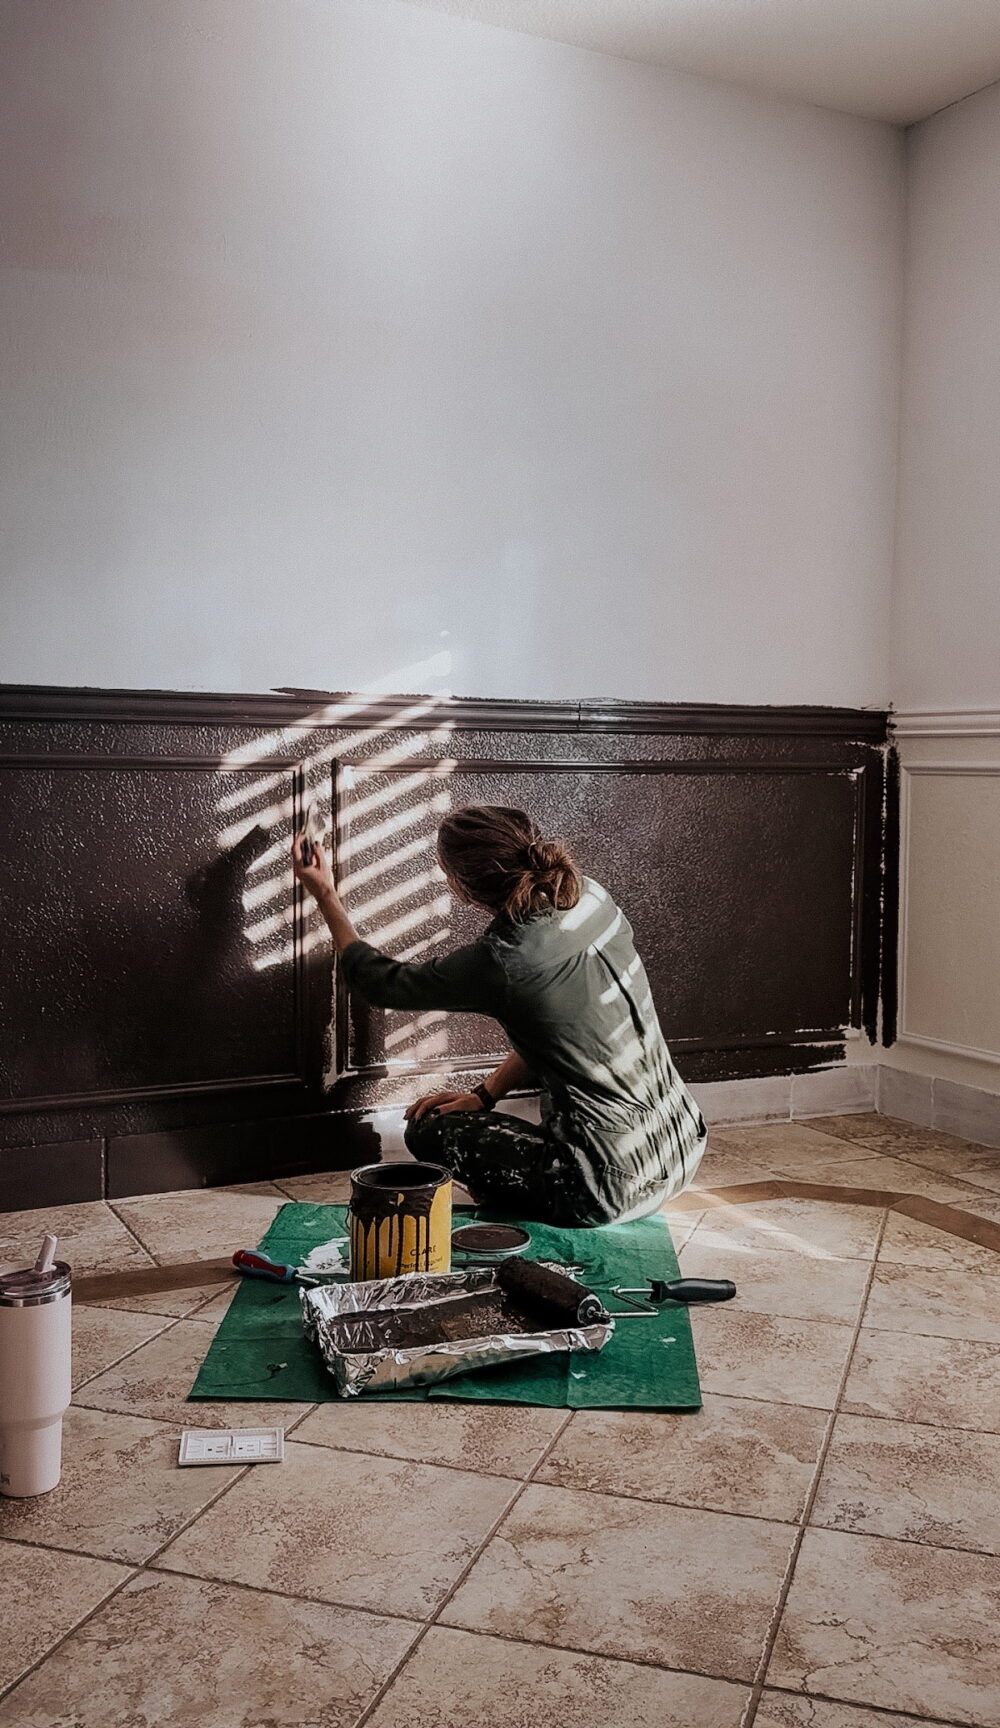
Start With a Clean Surface
Even if the wall looks fine, give it a quick wipe first. Dust or grime can affect how the paint sticks and dries. So, grab a clean rag, wet it slightly, and thoroughly clean the touch-up area. If you have an area where the wall is rough, it can also be helpful to lightly sand a small area around where you’re touching up. It’s not necessary every time, though!
Use VERY LITTLE Paint
This is where things usually go wrong. If you load up your brush and fully “cover” the spot, it’s going to flash (look shinier or thicker than the rest of the wall).
Instead, use a tiny amount and build it up if needed. There are a variety of paint applicators you can use here but my go-tos are:
- An angled paintbrush
- A clean paper towel (seriously!)
- A foam brush
- This paint applicator
The method of application matters much less than the actual process. As you work, remember to:
- Dab, don’t brush! Rather than brushing back and forth, lightly dab or feather the paint onto the wall. This helps it blend instead of creating a defined patch.
- Blend the edges. Before the paint dries, soften the edges with your brush or even your fingertip. You don’t want a hard outline.
- Let it dry before judging. Fresh paint almost always looks different at first. Give it time to dry completely before deciding if you need another pass.
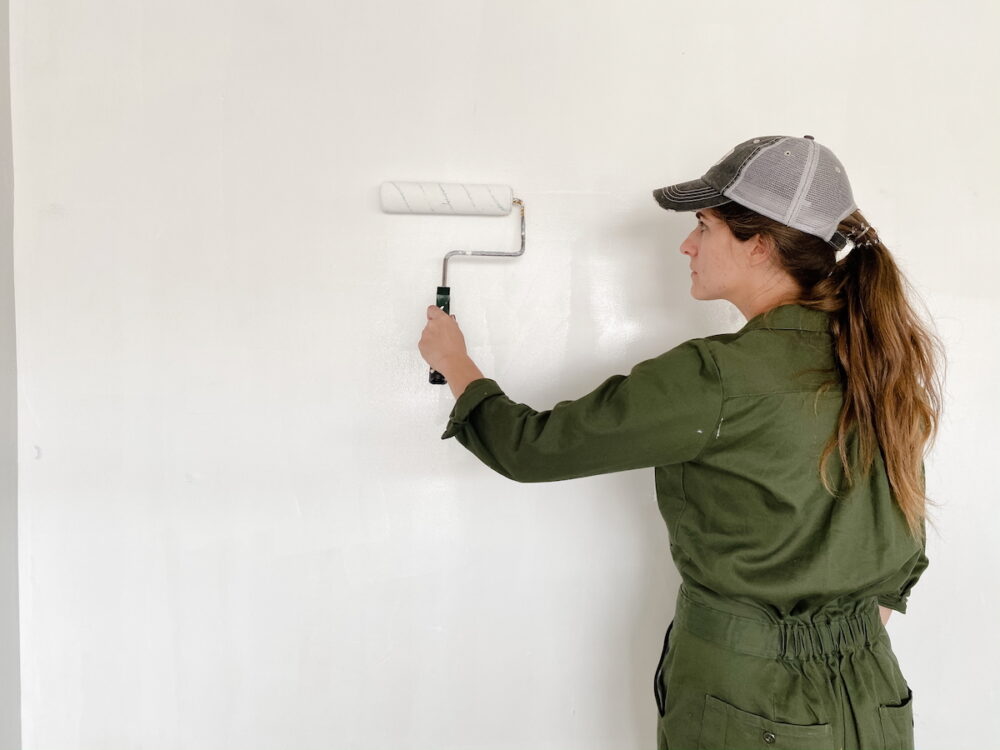
Dealing With Larger Areas:
If you’re dealing with a slightly larger area (not just a nail hole or scuff), a small foam roller can make a big difference. It helps mimic the texture of the original paint so the touch-up doesn’t look flat or obvious. This is especially helpful on eggshell or satin finishes or walls with visible roller texture.
Again, be sure to very lightly load the roller up. You may even want to have some scrap cardboard laying around to brush off excess on! I only recommend reaching for a roller if you’ve got an area larger than a few inches that you’re trying to touch up.
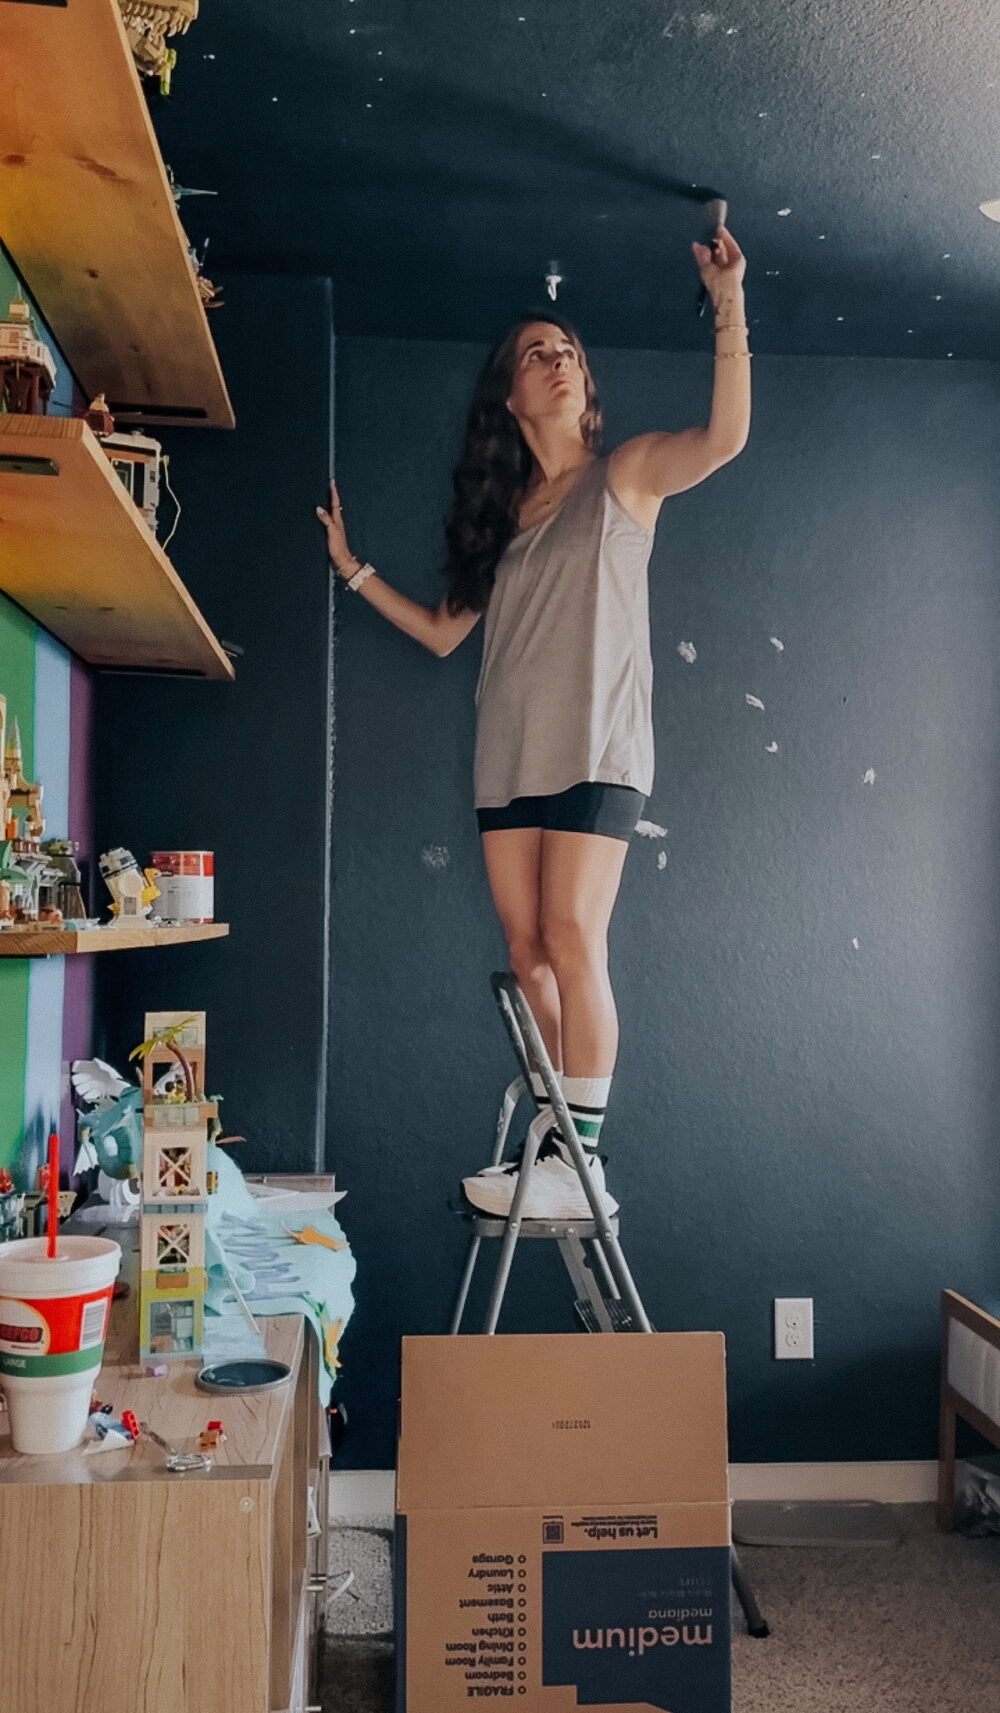
When It’s Better to Repaint Instead
Sometimes touch-ups just aren’t worth fighting with.
If you’re seeing multiple scuffs across a large area, uneven fading, or lots of small patched spots, it’s usually faster (and looks better) to just repaint that section of the wall, or even the entire wall. Yes, it’s annoying and tedious but I promise it’s far less annoying than continuing to do touch-ups over and over with no success!
A Few Small Tricks
If you find yourself feeling really intimidated by the idea of dealing with paint touch-ups, here are a few quick tips that’ll help it feel less overwhelming.
- Use natural light if possible. Touch-ups are much easier to blend when you can clearly see what you’re doing.
- Keep a small container of leftover paint. When you paint rooms moving forward, it’s so helpful to label and save a small can of paint (sometimes I use a mason jar!) so you can save the guesswork later. If you don’t already have touch-up paint on hand…
- Paint stores can work miracles. It’s always amazing to me how good of a job the paint store can do at color matching! You can use a small razor blade to peel off a small piece of drywall + paint to bring into the store, and chances are they can color match it for you! Do it in an inconspicuous spot and then simply patch it.
- Remember: less paint is always better. You can always add more, but it’s hard to fix a heavy spot! Plus, loading your brush or applicator up with more paint can lead to drips, which create a whole new issue.
- Don’t overthink it. Most people notice imperfections way more when they’re looking for them. Once you step back, it almost always looks better than you think.
FAQs About Touching Up Paint
Can you touch up paint without repainting the whole wall?
Yes! Small scuffs, nail holes, and marks can usually be touched up easily if you blend the paint well and use a light hand. Most of the time, you won’t need to paint the entire wall.
Why does my paint touch-up look worse?
It’s often because too much paint was used or the edges weren’t blended out. Using less paint and dabbing instead of brushing helps.
Do I need the exact same paint color?
Of course, it’s ideal to be working with the exact same paint color, yes. But, even with the same color it might not match perfectly due to fading! If you absolutely cannot get the exact same color, try grabbing a sample pot of something as close to it as possible – if you blend it in well enough, it might just totally disappear!
Should I do touch ups with a brush or a roller?
Generally speaking, a brush is going to be your friend here. It allows you more control over how much paint you’re putting on the walls, and is easier to blend. But, for bigger areas a roller might end up being necessary.
The Bottom Line
Touching up paint is one of those things that feels intimidating until you do it a couple of times. Then, you’ll realize it’s truly no big deal!
Remember, it’s not about doing it perfectly – it’s about making the imperfections less noticeable. And most of the time, that only takes a few minutes and a tiny bit of paint.