How to Paint a Room: The Complete Guide
Have a question about painting walls? Today I’m sharing the complete guide to how to paint a room – everything you’ve ever wanted to know about painting rooms but were too afraid to ask!
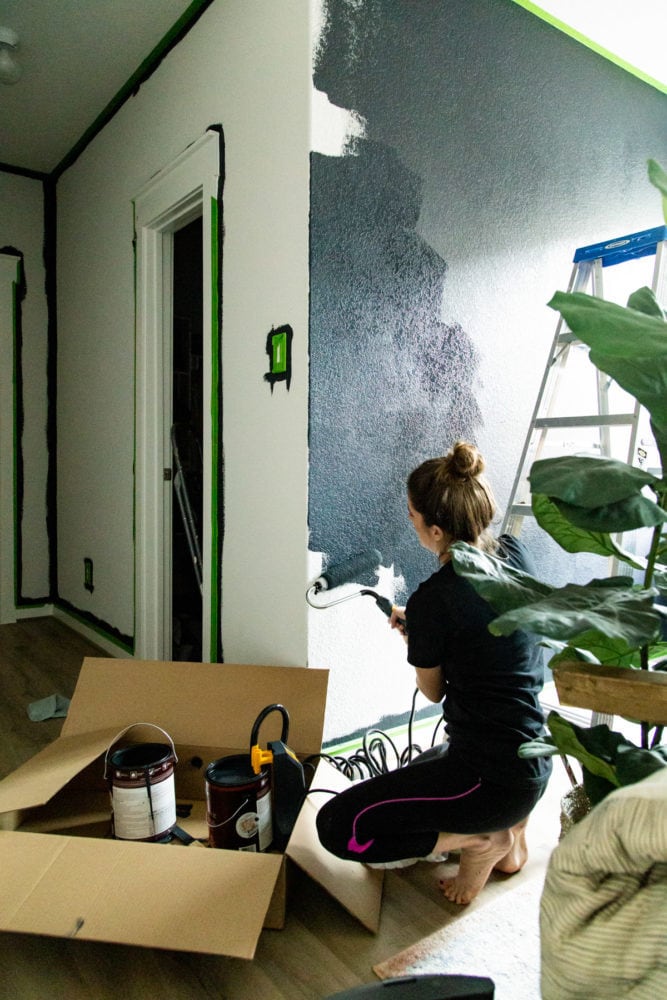
A few years back I committed to bring you more simple, accessible tutorials on the things that help you tackle more projects in your home. Things like how to use a drill. And how to hang a picture. And now, the Beginner Guides section of my site is stuffed full of some of my favorite posts – intended to help you get started with DIY!
Today’s post is an important one. It’s one you might not even realize you need – everything you ever wanted to know about how to paint a room but were too afraid to ask.
Are you excited? Because I’m excited.
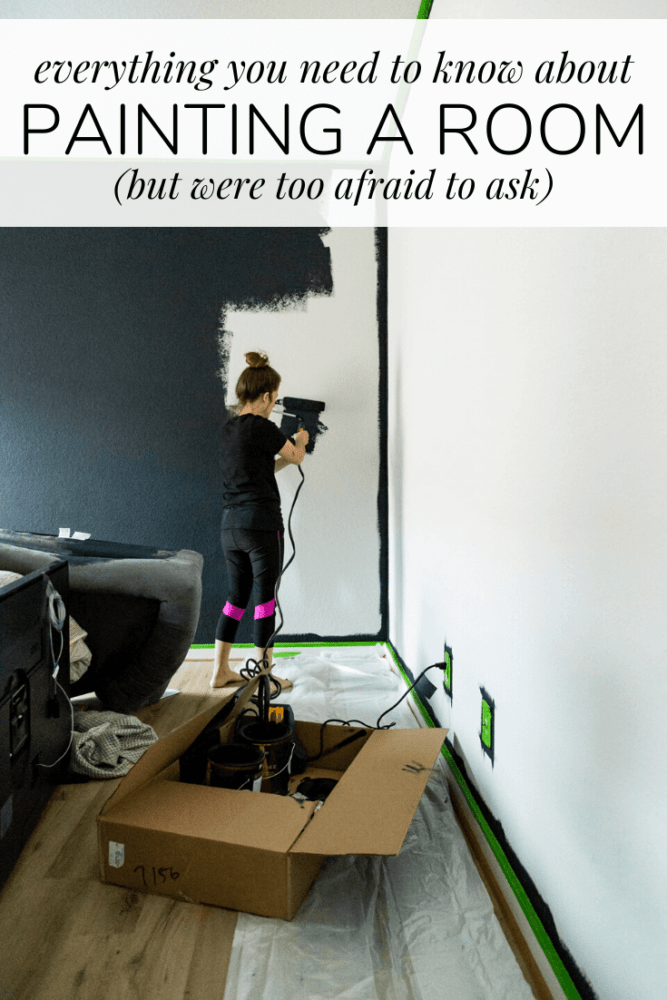
We’ll talk tools needed, the steps to take for prep, painting, and cleanup, and we’ll cover some of the most common questions people have about painting rooms. Hopefully this will serve as a resource that you can turn to over and over again as you’re working.
Painting Tools & Materials
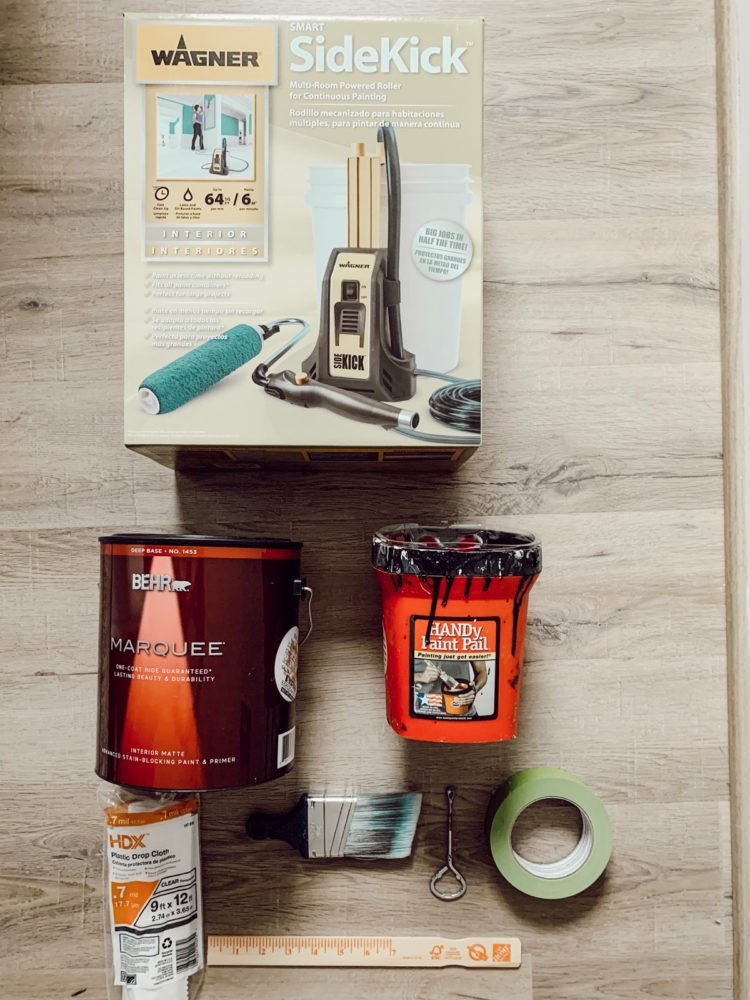
Here’s a quick list of the tools and materials I like to use when painting a room. I find that these sorts of things largely boil down to personal preference, so you may find that you have other brands or tools that you like better – but over the years this is what has come to be must-haves in my painting toolkit.
Prep & Organization
- SureSwatch Clear Paintable Film
- A plastic drop cloth
- Frog Tape
- An empty cardboard box (I’ll explain why in a second!)
- Tons of extra paint stir sticks!
- Caulk (if needed)
- Primer (see note in FAQs)
Painting Tools
- A high-quality paint brush with a short handle and angled bristles
- A paint roller with a 3/8″ or 3/4″ nap roller cover (3/4″ is better for more textured walls, 3/8″ is best for smoother walls)
- A HANDy Paint Pail (with liners!)
- A HANDy Paint Tray (again, I love the liners)
Note: I’ll talk more on this in a minute, but I actually prefer to use my Wagner Sidekick Power Roller when painting rooms. The tools listed above are for manual rolling, but if I always gravitate to my power roller instead!
I often get asked if I recommend using my paint sprayer for interior walls. My official answer is no, I do not. I know some people who swear by using a sprayer to paint interior rooms, but I personally find that the prep work isn’t really worth it. Sprayers give off tiny specks of overspray as you work, and if you want to keep the room fully clean you’d have to cover everything in the room. Again, this is a personal preference but I’ll almost always just grab my power roller and a paintbrush.
There are a few exceptions. For painting things like ceilings, complex trim work, or cabinets, I do bust out the sprayer. But for a regular ol’ wall? I usually just do it by hand.
Paint
I like to use Behr Marquee paint in matte when I’m painting interior rooms.
Everyone will have a vastly different preference when it comes to paint brands, so here’s what I’ll say: it is always (100% of the time) worth it to splurge on the most high-quality paint you can. So if you prefer Valspar or Sherwin Williams or whatever over Behr, my only requirement for you is that you don’t cheap out. Get the good stuff. You won’t regret it!
A Note on Paint Sheens:
Each brand has slightly different options for paint sheens, but here’s a general rundown of what you need to know about the options:
- Flat / Matte: Some brands (like Behr) separate these out and some consider them the same thing. This is my personal go-to for pretty much all of my interior walls. It has a very velvety finish, hides imperfections in your walls (and minimizes texture!), and provides great coverage. The con? It can be difficult to clean without removing the paint.
- Eggshell: If you’re worried about durability, this is a solid option. There’s a bit more sheen to it, so it will reflect more light and will be more likely to show imperfections in the walls, but it’s easier to clean than flat or matte is.
- Satin: Very easy to clean and good for high-traffic areas. This sheen is most commonly used in kid’s rooms and other areas where you may see a lot of wear and tear.
- Semi-Gloss: You’ll often see semi-gloss used on trim, or in bathrooms and kitchens where you see a lot of dirt and grime come through. It’s highly durable but does have a very noticeable sheen to it that highlights imperfections in the walls.
- High-Gloss: This is the most durable sheen of paint, but also the shiniest! It isn’t really recommended for interior walls and is best left for things like trim, cabinets, furniture, and doors.
Painting a Room: Prep Work
If you want to do a great job painting your room, the first step will always be to take a bit of time to do some prep work.
My General Prep Steps
- Move all of your furniture to the center of the room. If you can remove it fully, even better!
- Wipe down all of your walls with a damp rag. This removes dust, dirt, and fingerprints that might mess up the finish of your paint. Allow any moisture to dry before painting.
- Check for any repairs that need to be done. Things like cracks or holes can be patched with spackle. Flaking paint can be sanded with 220-grit sandpaper or a sanding sponge.
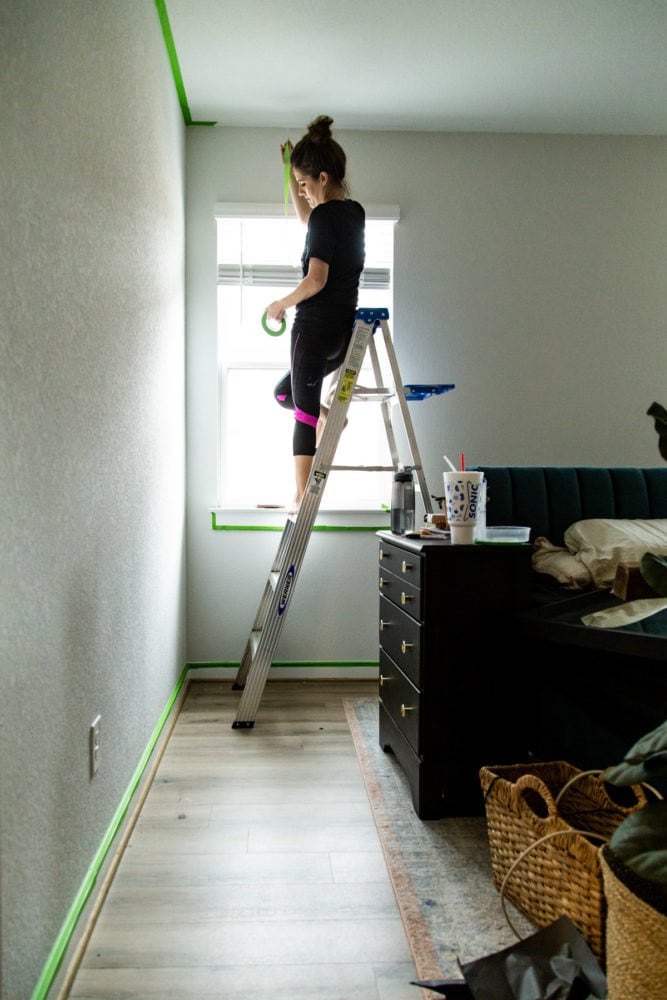
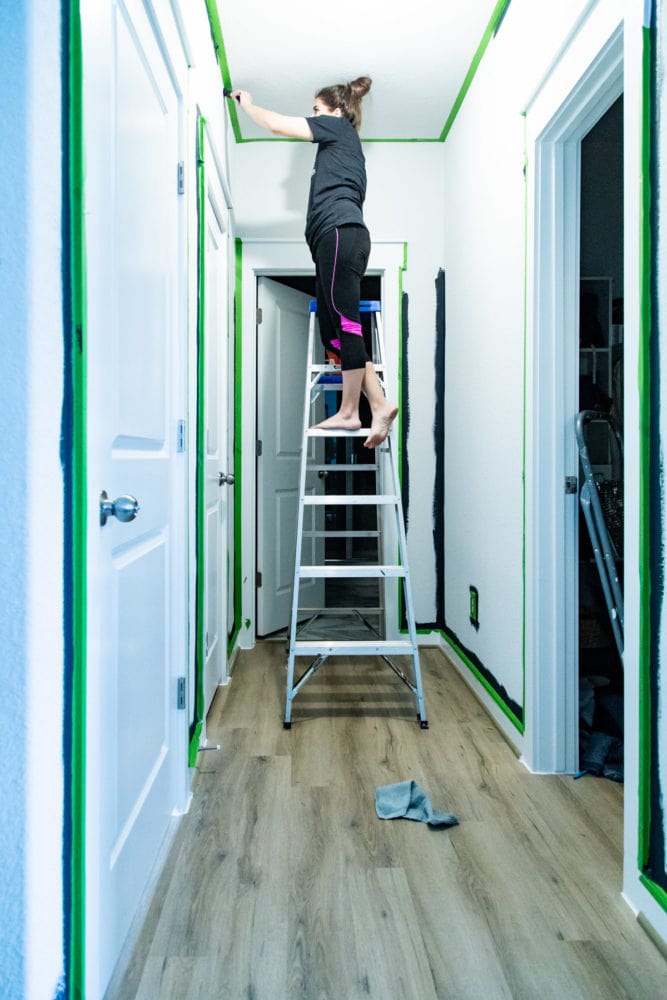
- Tape off the baseboards, ceiling, doors, and windows with painter’s tape.
- Remove all outlet covers, light switch plates, and any vent covers.
- Caulk, if necessary. Do a once-over around the trim and baseboards and touch up any areas that need to be re-caulked before you paint.
- Lay down your plastic drop cloth. I find that it works best if I leave it partially folded up and just lay it in front of the wall I’m painting with about 18-24″ covering the floor. I use painter’s tape to hold it down, and just move it to the next wall when I’m ready.
Once you’ve prepped the room itself, you’re ready to prep your materials!
How to Paint a Room: The Step-by-Step
Gather Your Materials
When I’m painting a room, I like to gather all of my materials in one place and set them in an empty cardboard box. This acts as a barrier between my paint can and the floor, and makes it much easier to move my supplies around the room as I work (simply scoot it along the floor – don’t try to pick it up!).
Generally, in my cardboard box I have the following:
- Paint can and lid (here’s how to open it without making a mess!)
- Sidekick Power Roller (if you aren’t using this, it’s a good place to set your paint tray and roller)
- Paint stir stick
- HANDy Paint Pail with my brush on the magnet
As I work my way around the room, I simply set anything I’m not actively using in the cardboard box, and just move it around the room so it can stay close to me.
Get Started Painting!
Once you’ve got everything set up, you’re ready to paint!
One thing I’ve recently learned about achieving the best finish while painting is that you want to paint one wall at a time. This helps prevent the edges of the wall from drying before you get around to rolling, which can create flashing (or lap marks). Flashing is where there’s a difference in the sheen of the paint because the first coat wasn’t allowed to fully cure before a second coat was applied.
So, your process should look like this:
- Cut in all of the baseboards, corners, and ceiling of one wall using your short-handled, angled paintbrush
- Roll the entire wall using long strokes and overlapping your rows slightly
- Move on to the next wall
You should allow each coat to fully dry (for 2-4 hours) before applying a second coat.
A note on cutting in: it’s fully possible to cut in your paint without using painter’s tape. In fact, I did it for years! But, I’ve found that I get a more consistent result if I just take the time to tape – it is not faster, but it leaves less room for error.
When cutting in, you should get a small amount of paint on the end of your paintbrush, wipe off any excess, and then start painting about 1-2 inches away from the edge of your wall – slowly and gently push the brush towards the edge until you reach your line, then steadily move downwards against the line. It takes some practice, but with a steady hand and some patience you’ll end up with a great line every time!
need more details?
Related Posts
Clean Up
As soon as you’re done painting, you should remove the painter’s tape from around the room. You can run a sharp blade along the tape as you pull it up if you have issues with the paint being removed from the wall – but I generally find that as long as I pull it up as soon as I’m done working, it does just fine.
As long as you’re working with latex paint, your paintbrush can typically be cleaned with simply dish soap and warm water. Clean it thoroughly until the water runs clear, blot off as much excess water as you can using a paper towel, and then allow it to air dry.
Roller covers can be cleaned the same way, however my personal recommendation is to not save them. Unless you’re painting rooms very often, it doesn’t save you a ton of money to just buy a new one each time. And you know what it does save you? Time. A ton of time cleaning roller covers.
That being said, if you do decide you want to clean your roller cover, I recommend using just soap and warm water in a 5-gallon bucket. Massage the roller with your hand until the paint is out and rinse until it runs clear.
Frequently Asked Questions
What About Primer?
I’ll be frank: if you want the most professional paint job you can get, you’re going to want to take the extra step to prime the walls. I recommend this primer.
However, do I generally prime rooms before painting them? Nope.
Personally, I find that for most homes and most people, a “good enough” paint job is good enough. I’ve always been pleased with my results using just a high-quality paint + primer and have never felt the need to do the added step of priming. It’s a personal preference and it all boils down to how much time you’re willing to put into it!
How Much Paint Should I Purchase?
Generally speaking, one gallon of paint will cover between 250-400 square feet with one coat of paint. You can use a paint coverage calculator to help you determine how much paint you need!
What if I Have Wallpaper / Wall Treatments / Other Issues With My Walls?
Wallpaper should always be removed fully before painting a room. Technically you can paint over it, but that doesn’t mean you should! Over time, wallpaper can peel and once it has layers of paint on top of it, it’ll bring the paint right up with it.
You can use a steamer to remove the wallpaper prior to painting. It’s an extra (annoying) step, but it’ll be worth it in the long run.
If you have walls that are damaged in other ways, you should take the time to repair any holes and sand any spots that are rough or overly textured.
I also wrote this post on how to patch nail and screw holes that may be helpful!
How Long Does it Take to Paint a Room?
This largely depends on the size of the room, how fast you’re able to work, and the state of the walls in your room!
Most rooms should be able to be completed start to finish in less than a day. Smaller rooms should only take a few hours, while a larger room might take you a full day of work.
What if I Need to Stop in the Middle?
Life happens – sometimes you need to step away from the project to have lunch, deal with your kids, or even stop for the day.
If you need to take a break, simply grab a plastic grocery bag and place your roller and paintbrush in it. Wrap it up and place it in the refrigerator. This will prevent the brushes from drying out and they should last in the fridge for up to a few days at a time!
Be sure to fully seal your paint can lid prior to stopping, and be sure to thoroughly mix it back up once you’re ready to begin working again.
I Need to Paint my Ceiling. Any Tips?
Painting a ceiling is a not fun, but sometimes necessary, part of painting a room.
Here are my best tips for painting a ceiling:
- If you’re painting the ceiling, you should do it before painting the walls.
- Use flat paint on the ceiling – the lack of sheen makes the ceilings feel taller and brighter. It also hides imperfections in your ceilings much better than anything with a sheen.
- You’ll want to use a dropcloth over the entire floor because drips are inevitable!
- Start with cutting in around the edges, just like on the walls.
- You’ll need an extension pole for your roller (and yes, this can be added to the Wagner Sidekick!). Get the shortest possible extension pole to reduce the weight – you don’t need a 12-foot pole if you have 8-foot ceilings!
- When you’re rolling, work in 3X3 sections (so you don’t lose track of where you’ve been painting), and rather than rolling directly over your head, hold the roller out in front of you and roll towards yourself.
- If you need a second coat, apply it in lines that are perpendicular to the original direction you went!
As far as the color, the most common (and classic) option is to go with a pure white paint. However, if you have a really light or white color being used on the walls, it’s also relatively common to paint the ceiling the same color, to save some money on paint (and just for simplicity’s sake!). In our current home, we have a very light gray color on our walls, and the ceiling is painted the same color. The ceiling appears white, and blends nicely with the walls. The only time this can become an issue is if you ever re-paint your walls to be a more true white – then, the ceiling can look dingy or dirty!
How do I Avoid Flashing or Lap Marks?
I touched a bit on this throughout the tutorial, but here are a few specific tips for how to avoid flashing or lap marks (where the pain sheen appears different on the second coat).
- Use a roller rather than a brush for touch ups. This allows you to feather the edge of the touch up better (since the paint spreads over more surface area) and reduces the appearance of lap marks.
- Be sure to allow the paint to fully dry before applying a second coat. It will vary by brand, but this typically takes 2-4 hours.
- Keep a wet edges as you paint – meaning, you should overlap your paint lines as you go. This helps the paint to all dry evenly and reduces the chance of flashing.
- Use a high-quality paint in a low sheen. Higher sheens are much more likely to have issues with flashing.
- Don’t allow your roller to get too dry when you’re working! It should always stay fully loaded. This is why I love to use my Sidekick, because it’s much easier to keep my roller full of paint!
- Don’t flip the roller as you work. Different sides of the roller apply different levels of pressure, and if you flip it as you work around the room you can end up with obvious roller lines or lap marks.
Has My Paint Gone Bad?
If you’ve had paint sitting around in the garage for a while, you’ll want to make sure it’s still good to use before you pull it out! Here are a few signs your paint has gone bad:
- It has a strong, rancid odor. Latex paint has a chemical-y smell generally, but once it turns you’ll be able to tell pretty easily by the rancid smell!
- It doesn’t blend when stirred. If paint has been sitting around a while, you’ll notice it starts to separate. However, when stirred it should go back to being a uniform color. If it doesn’t this is a sign it’s gone bad.
- It’s lumpy. Lumpy paint is never a good thing, and should just be tossed!
If you want to keep your paint in good condition for a long time, be sure to thoroughly seal the can after painting (use a hammer to get it sealed), and store it in an area that won’t see too many temperature extremes (the garage is generally fine, but if it gets to be freezing or is exposed to the elements, it will go bad much faster).
Further Reading
Want even more info? Here are some other posts on my site you might find helpful.
- How to use the Wagner Sidekick Power Roller
- How to Use a Paint Sprayer
- How to Patch Nail Holes
- Tips for Organizing Paint Supplies
- 5 Painting Mistakes You May be Making
- How to Paint a House Exterior
- How to clean a paintbrush
- How to open a paint can
- 10 must-have painting tools
- Everything you need to know about painter’s tape
And that, my friends, is eeeeeeverything you need to know about painting a room!
Have more questions? Don’t hesitate to ask in the comments! I’ll update this post as questions come in so it’s the most thorough guide possible.

I’m considering buying the wagner sidekick to paint a large interior section of my home and after reading this post and the wagner post I have a question! You talk about cutting in, is this necessary if all the walls are getting painted the same color? I have never done a lot of painting so this might be a dumb question, but I’m picturing not needing to tape off the sides (and thus cutting in) and just paint all the way to the corner. Is this wrong? Help a diy newbie please and thank you!
Hi Michelle! Your roller won’t make it all the way into the corners, so you’ll still need to “cut in” with a paintbrush. You’ll also need to cut in along the top and bottom. But, no you wouldn’t need to tape the corners if you’re painting all four walls!
Love this blog so Informative and well designed
Love this post! Thanks for sharing! Would you be so kind as to share what paint color you used?! It’s so pretty.
This is Ink Black by Behr!
I have painted some of the rooms in my homes with just a brush and roller, but after reading this, I really want a power roller!!! I second your reason for not washing a used paint roller, but for other reasons: the roller NEVER gets as clean as a new one, and cleaning and rinsing uses so much water. In California, wasting water is way worse than tossing a paint roller.
Thank you for such a comprehensive post!
A professional painter taught me that if you are painting the ceiling and the walls of a room at the same time and in different colors that you should paint the lighter color (usually the ceiling) in all the corners where the wall and ceiling meet without cutting in – like you were painting a corner where two walls of the same color meet. Then when dry, you cut in with the darker color. That way you’re only cutting once and you don’t have to worry about a teeny line of some previous color showing where your 2 cut-ins don’t quite meet. Hope that makes sense.
That’s smart!