How to Use Wood Filler
If you’ve ever read a blog about DIY projects or watched anyone build something, it’s likely you’ve heard about wood filler. Wood filler is a product that’s used to hide imperfections in woodworking projects, close small gaps in wood surfaces, and just generally make things look more polished. But, if you haven’t used it before, it can be intimidating! I’m here to help. Today, it’s all about how to use wood filler. I’ll be teaching you everything you need to know to get started!
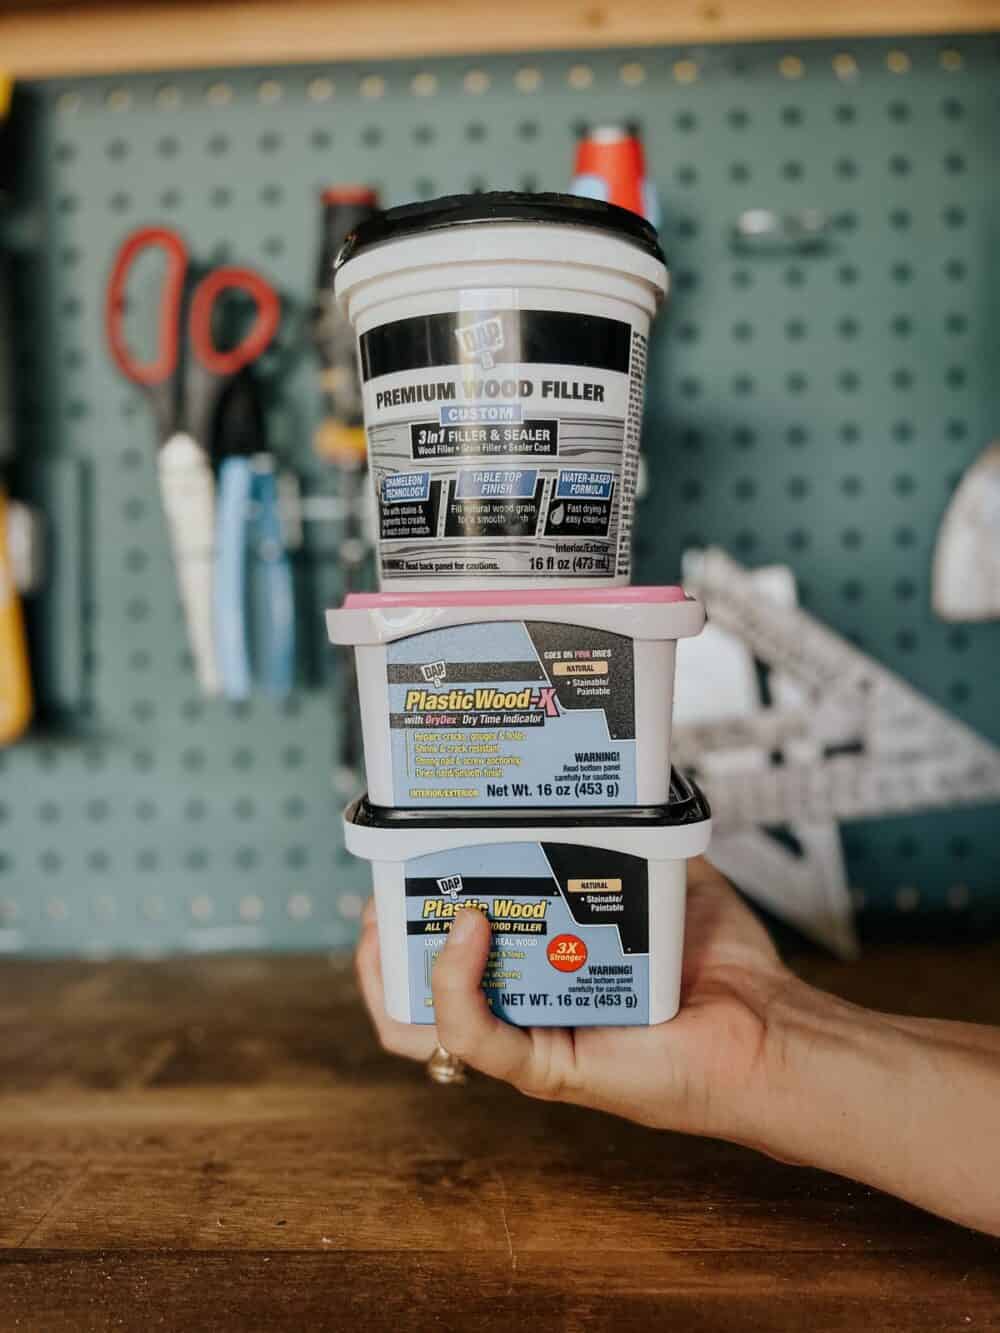
This post is sponsored by DAP.
What is wood filler?
Wood filler is a product that mixes sandable materials (like sawdust) and some sort of hardening solution. It typically has a paste-like consistency when it’s wet, and it will harden as it cures. It is generally sandable, paintable, and stainable. And, when used properly, it’s usually undetectable in a finished project!
Wood filler is used to fill small gaps in wood projects. It can be used on things like nail and screw holes, small splits or cracks, and imperfect seams. It’s kind of like makeup for your woodworking projects – hides all the imperfections and makes it look more polished!
Wood Filler Tips
Need a few super quick tips before we really dive in? Here’s a 30-second video with some highlights for you!
What’s the difference between wood filler and wood putty?
You’ve probably heard the terms “wood filler” and “wood putty” being used more or less interchangeably. They’re very similar but, in reality, they aren’t the same thing!
- Wood filler is a stainable and paintable product meant to be used on unfinished wood projects to make them look more polished. It’s generally odor-free and is a water-solvent filler material. It’s easy to apply and sand.
- Wood putty, in contrast, is meant to be used on finished products! It’s a malleable compound that doesn’t harden fully. It remains somewhat pliable even after it has dried. Wood putty is generally not stainable – it comes in pre-finished colors and you choose the one that best fits your project. You can use wood putty when you want to fill small nail holes or gauges in finished wood, fix a scratch on something, or just generally repair a finished piece. It often comes in a stick form, which makes repairing things like scratches really easy! Generally speaking, it also requires paint thinner, acetone, or another chemical to clean up.
When should I use wood filler versus caulk?
Generally speaking, you should use wood filler on flat surfaces and when repairing joints between two pieces of the same material in a woodworking project.
Caulk, however, should be used to fill gaps between two different materials. For example, caulking a gap between the trim and your wall when adding picture molding or board and batten.
When fixing things like nail holes and gouges, gaps in mitered corners, or other damaged areas on flat wooden surfaces, you’ll use wood filler. For corners and small gaps between two different materials (the window and your wall, drywall and wood, etc), use caulk. If you want to learn more about how to use caulk, I’ve got you covered!
Which wood filler should I use?
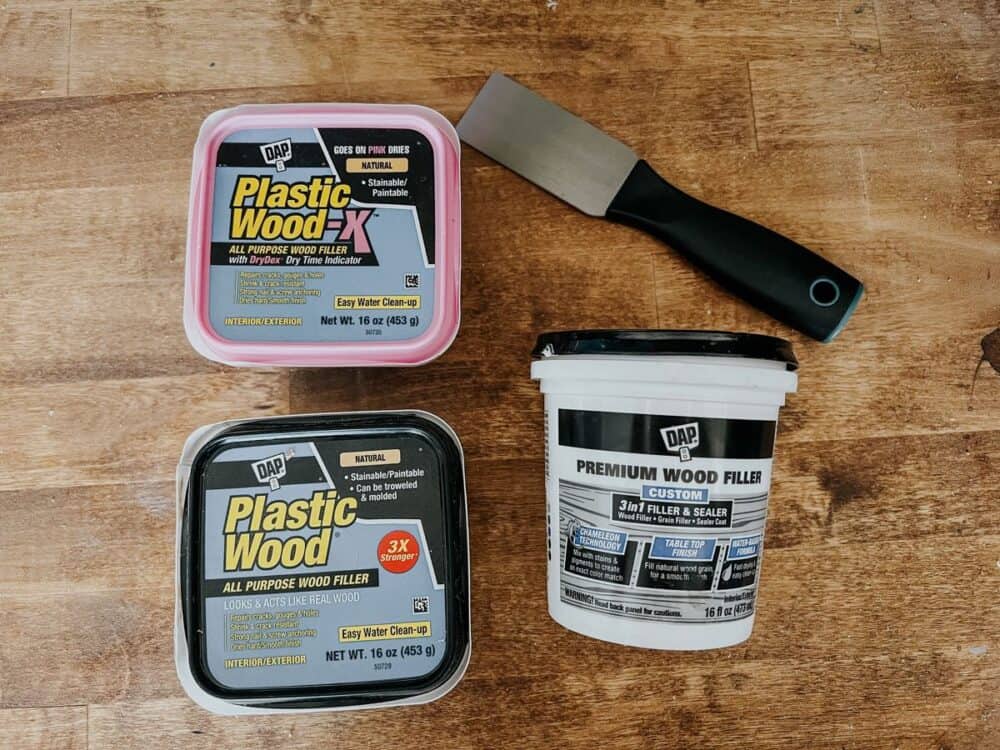
Ahhh, here’s where things get fun! I often get asked what my favorite brand is. I always love sharing because I have deep feelings about this. I’ve tried a lot of types of wood filler over the years, and many (many!) of them have disappointed me. The only one that never lets me down? DAP!
I’ve been lucky enough to partner with DAP for the last few years, but I was a huge fan of their products loooong before they knew I existed. They’re who I reach to for wood filler, caulk, wood glue, and more. My personal favorite all-purpose product is DAP’s Premium Wood Filler. The consistency is really easy to work with and it doesn’t get too hard while you’re spreading it, like some other brands. It sands down really nicely and blends in perfectly when sanded or stained.
DAP also has another all-purpose wood filler called Plastic Wood. It’s really great as well, and comes in a few different shades. That way, you can get it close to the color of your wood before you even stain it. It even comes in pink (and dries to white). That makes it really easy for beginners to tell when it’s ready to be sanded! If you’re new to wood filling, I recommend you try all three and see which works best for you!
How do I use wood filler?
Okay, let’s get to the nitty gritty – how do you actually use and apply wood filler? It’s a really simple process and I promise even the most novice woodworkers and DIYers can do this. Let me break it down for you:
Step One: Sand & clean the surface
Your first step is always to use sandpaper to remove any splinters or rough edges. Then, use a tack cloth (or lint-free rag) to wipe the dust or debris off of the surface you’ll be applying it to. It’s a lot harder to see what’s going on when things are dusty or splintery. A clean surface is a must!
Step Two: Apply wood filler using a putty knife
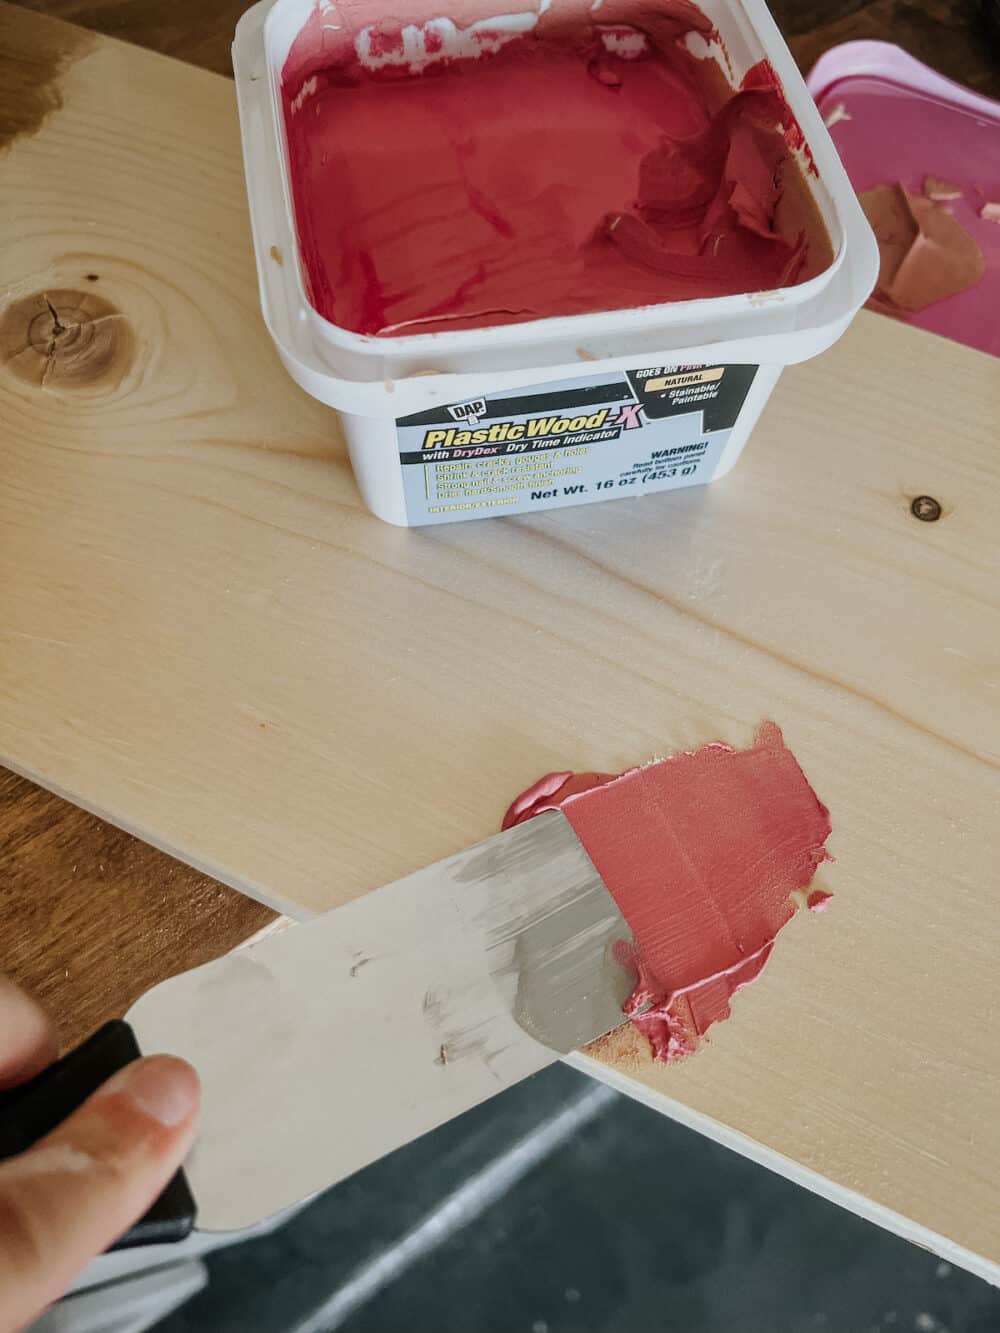
Once your piece is clean (and fully dried, if you wiped it down with a damp cloth), it’s time to apply the wood filler. Use a putty knife like this one to scoop a small amount out of the container and spread it onto the area you’re patching. I always think of it kind of like icing a cake! Work with your putty knife held at a 45-degree angle, and press the wood filler into the crack or gap.
Be sure to slightly overfill the area you’re working on. The putty will shrink a bit as it dries. Plus, you’ll be sanding it down later, and it’s better to have a little too much than not enough! Also, be careful not to get too much on the surrounding wood. It will sand off, but it can be a pain to get it all off later – I always try to scrape as much excess off the filled area as I can before I let it dry.
Step Three: Allow to fully dry
Check the package of your wood filler for the instructions on how long to let it dry. Most wood fillers need 2-3 hours to dry before they are ready to be sanded or finished.
Step Four: Sand excess wood filler

After you’ve allowed it to dry fully, you’re ready to finish up! You can work by hand with a sanding block or use a power sander to sand off the excess wood filler. When you close your eyes and run your hand over the repaired area, you shouldn’t be able to feel a difference. That’s how you know you’re done sanding!
Step Five: Finish!
And finally, you’re ready to stain or paint that project. When you’re done, any previous issues should be totally undetectable, thanks to the wood filler!
Click right here to learn how to use wood stain!
And that’s all there is to it! Now that you know how to use wood filler, you’re ready to use it to fix just about any small mistakes on your woodworking projects. I promise you’ll soon be absolutely hooked! The little finishing touches of woodworking and DIY projects are often the most tedious (and the ones we’re likely to want to skip), but they’re also the most satisfying!

I remember hearing a client say that she didn’t know to to use wood filler but to save money once she used it as caulk for the trim. We laughed so hard. She took about 5 days to caulk a room. Her fingers hurt bad let me tell you. Lol
Ohhhhh man! I bet that was exhausting, haha