How to Replace a Doorknob
Last week, I did something I’ve never done before. it was something I was incredibly intimidated by and thought I’d certainly need help with. But, it only took me 10 minutes and required nothing more than a simple screwdriver. That’s right, friends. I learned how to replace a doorknob.
Doorknobs are one of those things in our homes that most people don’t put too much thought into. They’re just there, right? Wrong! The hardware on your door can make a huge difference in the entire feel of your home. And, it’s worth the effort to find doorknobs you truly love.
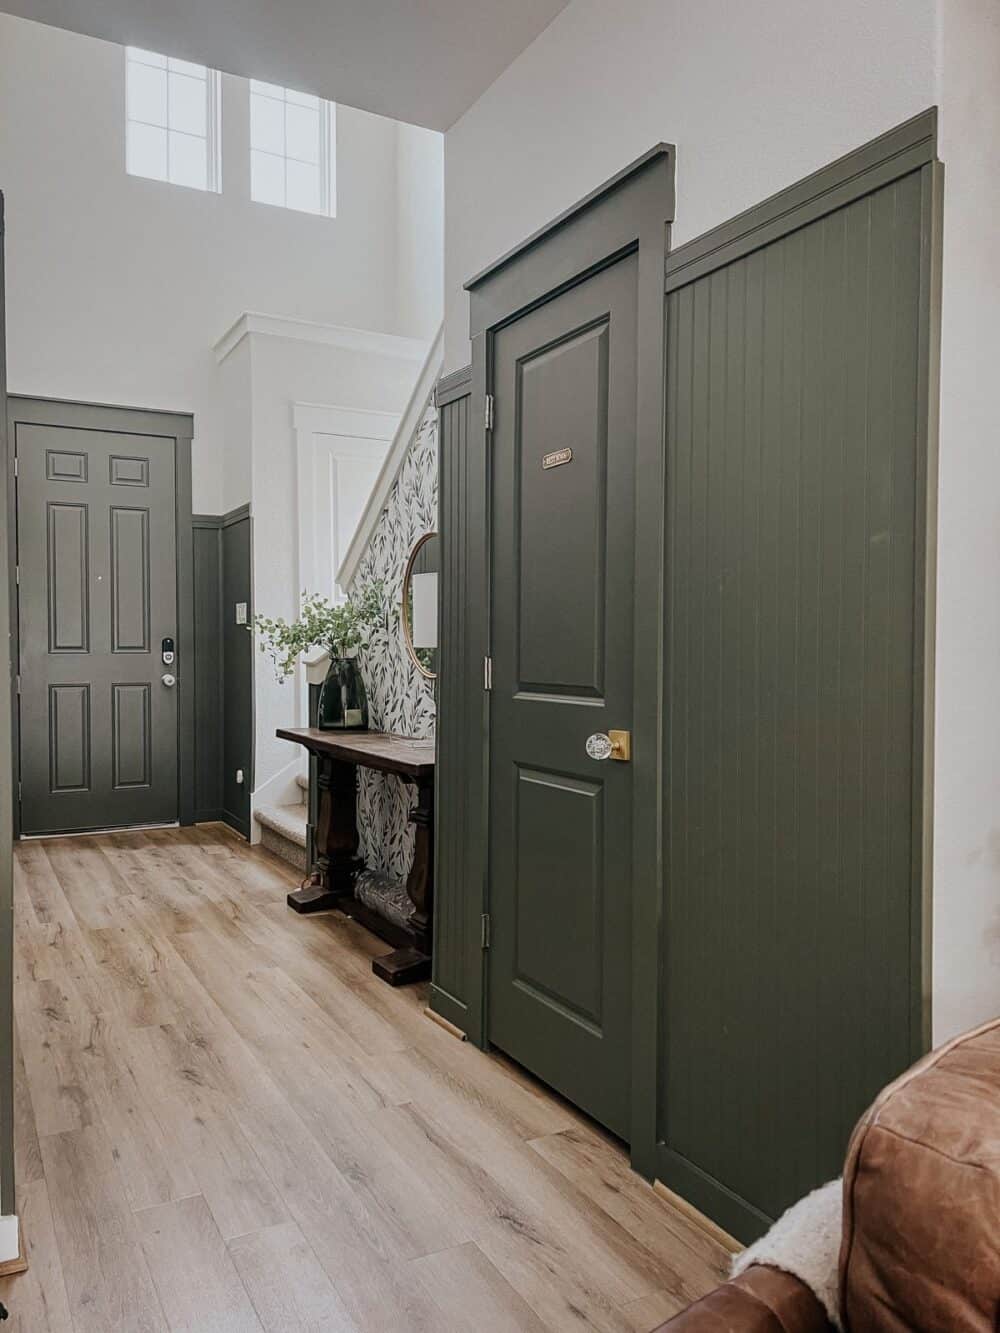
I’ve been working on making some changes to our entry, and I’ve been trying really hard to focus on even the smallest details. In my 11 years of homeownership, I’ve never put much thought into the doorknobs in my house – this is the first time I’ve ever changed out an interior doorknob! But, now that I’ve done it, I can’t stop thinking about the rest of our doorknobs in the house. Nothing is safe anymore!
Choosing a Door Knob
As soon as I decided to swap out the doorknob on our powder room door, I knew I wanted to get a crystal door knob. My grandmother had this style of door knob on the entry to her home, and I always loved it. In fact, I’ve always kicked myself for not sneaking over to her house and swapping it out before the house was sold so I could have the real thing! I’ve always known I wanted to have a crystal door knob somewhere in my house, and the powder room door felt like the perfect place for it.
I’m head over heels in love with this door knob. It’s a little cost prohibitive to replace all of the door knobs in our house with this style (even though I’d love to!), but for the powder room, it’s perfect. I’ve got my eye out for a budget-friendly option that will go nicely with it for the rest of the doors.
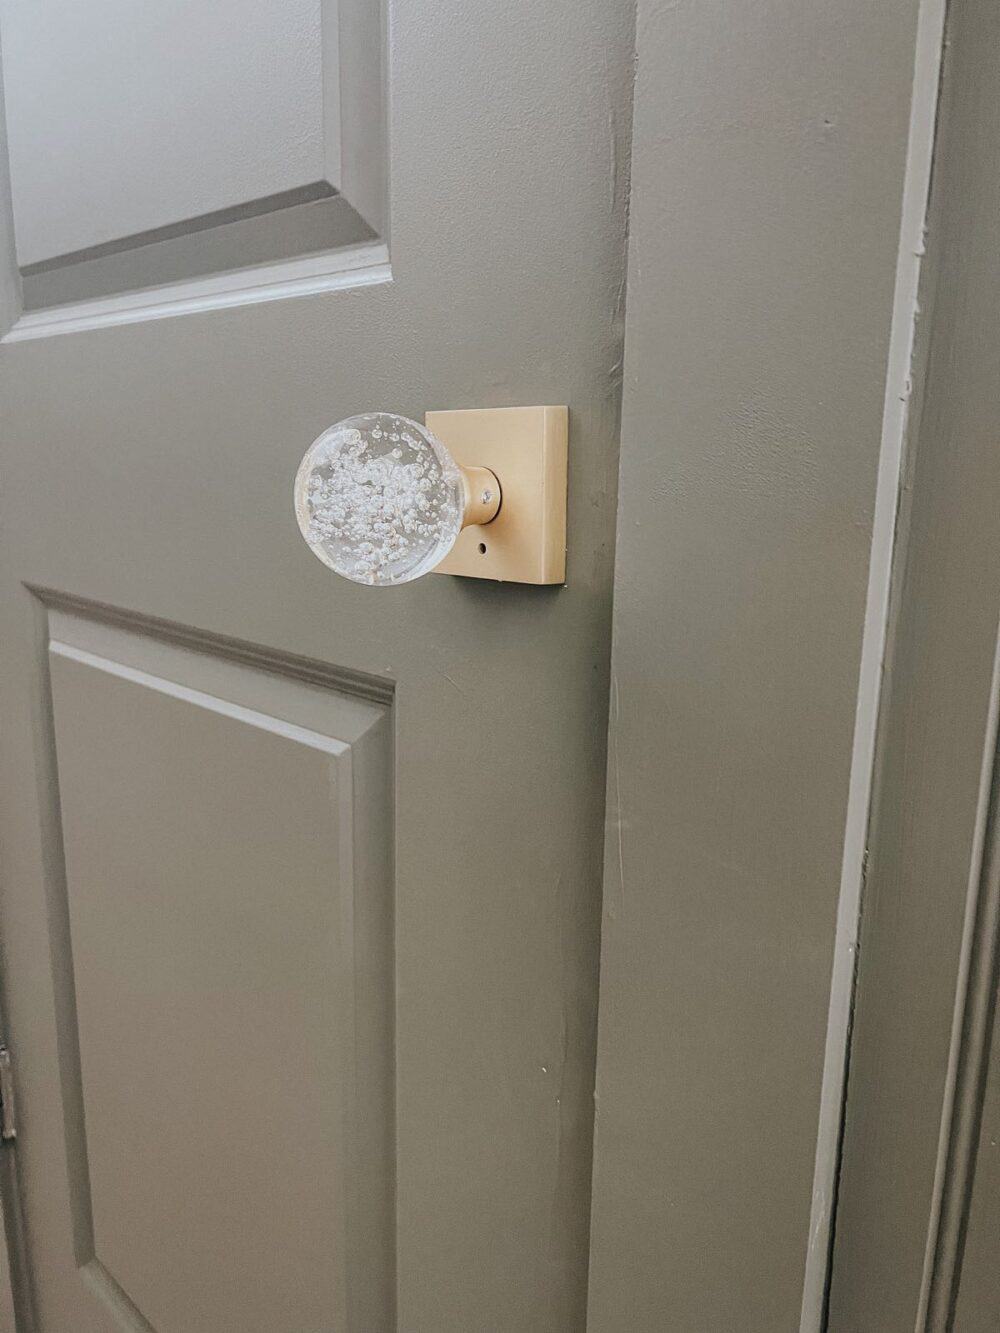
I still need to either paint or swap out the door hinges so they match, but I’m beyond thrilled with the look. And you’ll never believe how easy it was! Here’s a breakdown.
How to Replace a Door Knob
Check the Backset
Your first step is to double-check what’s called the backset on your door knob. This is is a number that measures the distance from the center of the large hole in the door to the edge of the door. There are two typical measurements for this, either 2 3/8″ or 2 3/4″.
Make sure your new doorknob is compatible with the existing backset on your door!
Remove the Old Door Knob
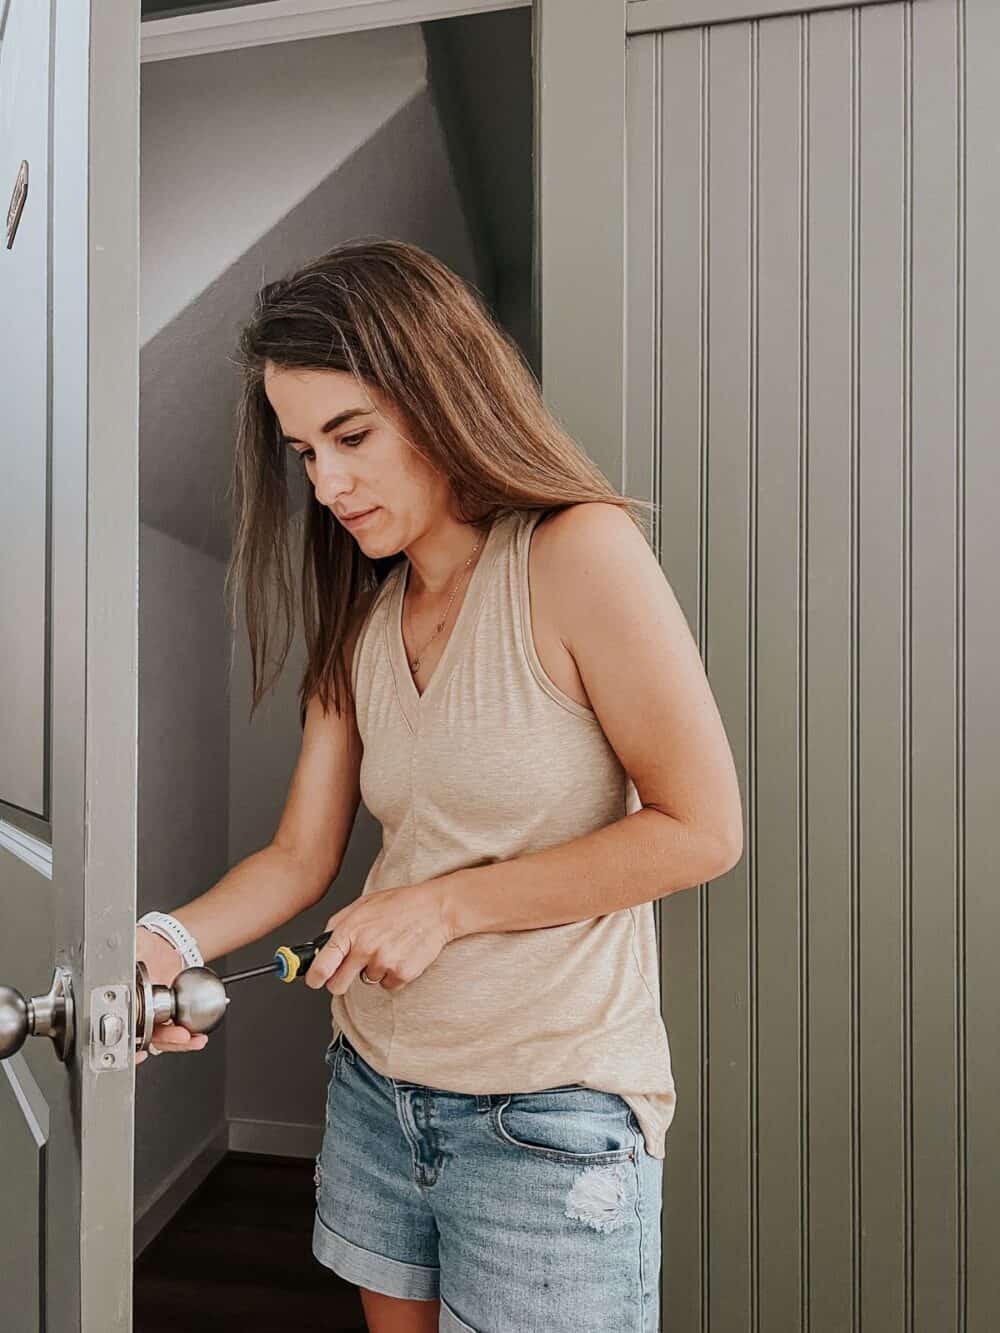
You’ll start off by removing the old door knob. Unscrew the screws on the latch plate in the door, along with the screws on the interior side of the door. Once that’s done, you should be able to easily pull apart the door knob.
When you do this, pay attention to how it all fits together. This will give you an idea of how the new door knob will go in!
While you’re at it, remove the strike plate from the door frame – just unscrew it and pull it off.
Insert the New Latch
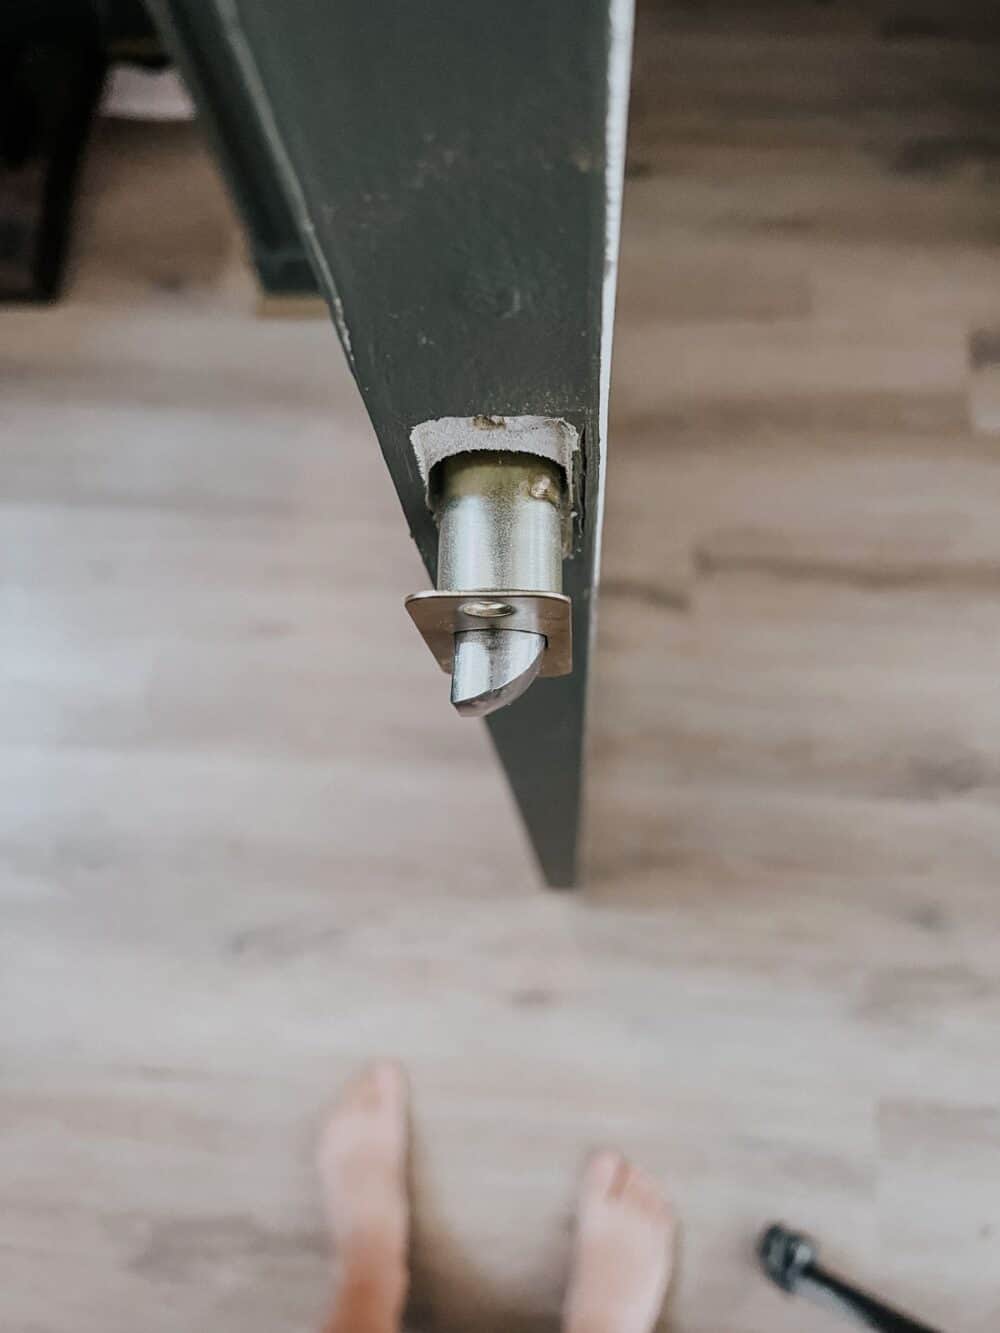
Now, grab the new latch and slide it into the hole in the door’s edge. Be sure to pay attention to the direction the latch faces, so that it will close properly!
Once it’s in place, insert screws in both holes – assuming everything is the standard size, the holes should line up with the existing holes from your last latch.
Insert One Side of Knob
One side of your door knob should have a large steel peg. This is the side you want to insert first. Mine had the peg separate, so I slipped that into the center hole in the latch, and then inserted the exterior side of the door knob.
Double-check the directions that come with your door knob to confirm which side you should insert first, but it’s typically the one that has pegs already sticking out of it! Line them up with the holes in the latch that you can see through the door knob hole, and push into place.
Add Other Side, and Tighten
Depending on the knob you’re using, you may tighten one side at a time. For my knob, after I slipped the first side into place, I added the second. I held it all in place with one hand while I inserted and tightened the screws into the interior side of the door.
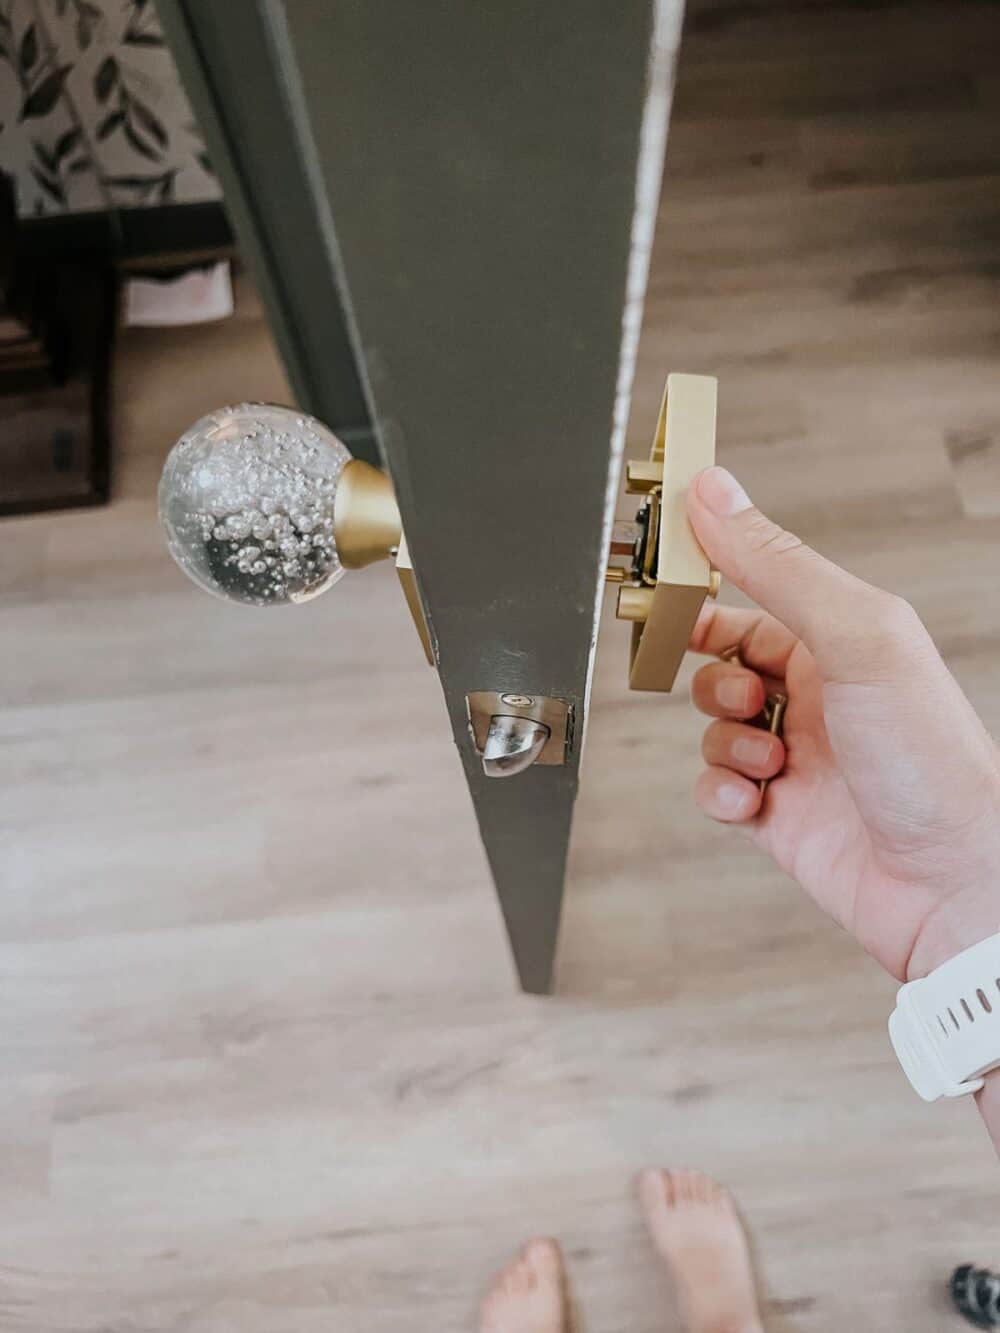
The directions for my door knob had me remove the crystal part from one side of the door knob before installing it. I think that was just to make it easier to tighten it down! I put the crystal piece back on as soon as everything was tightened down, and I was good to go!
Install Strike Plate
And finally, you’re ready to grab your new strike plate and install that. It should fit right into the existing hole from the other one, and your new door knob should come with screws for it.
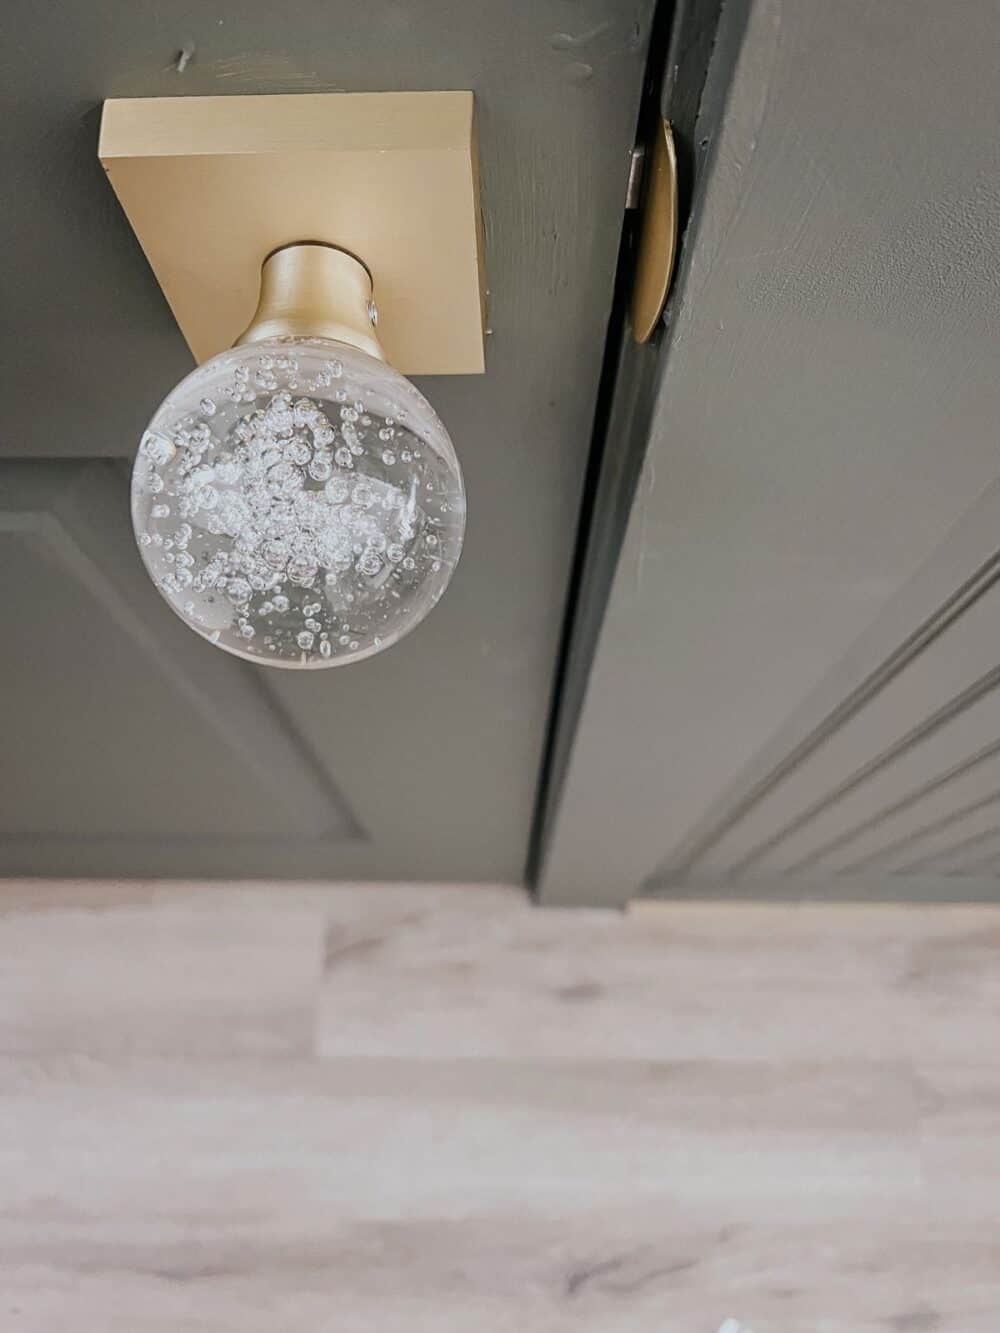
Done and done!
I’m not exaggerating when I tell you it took me about 10 minutes from start to finish, and all I needed was a Phillips-head screwdriver! I was genuinely shocked at how simple it was, and I’m officially addicted.
Here are a few door knob options I’ve rounded up for the rest of my house – do you have a favorite?!


